
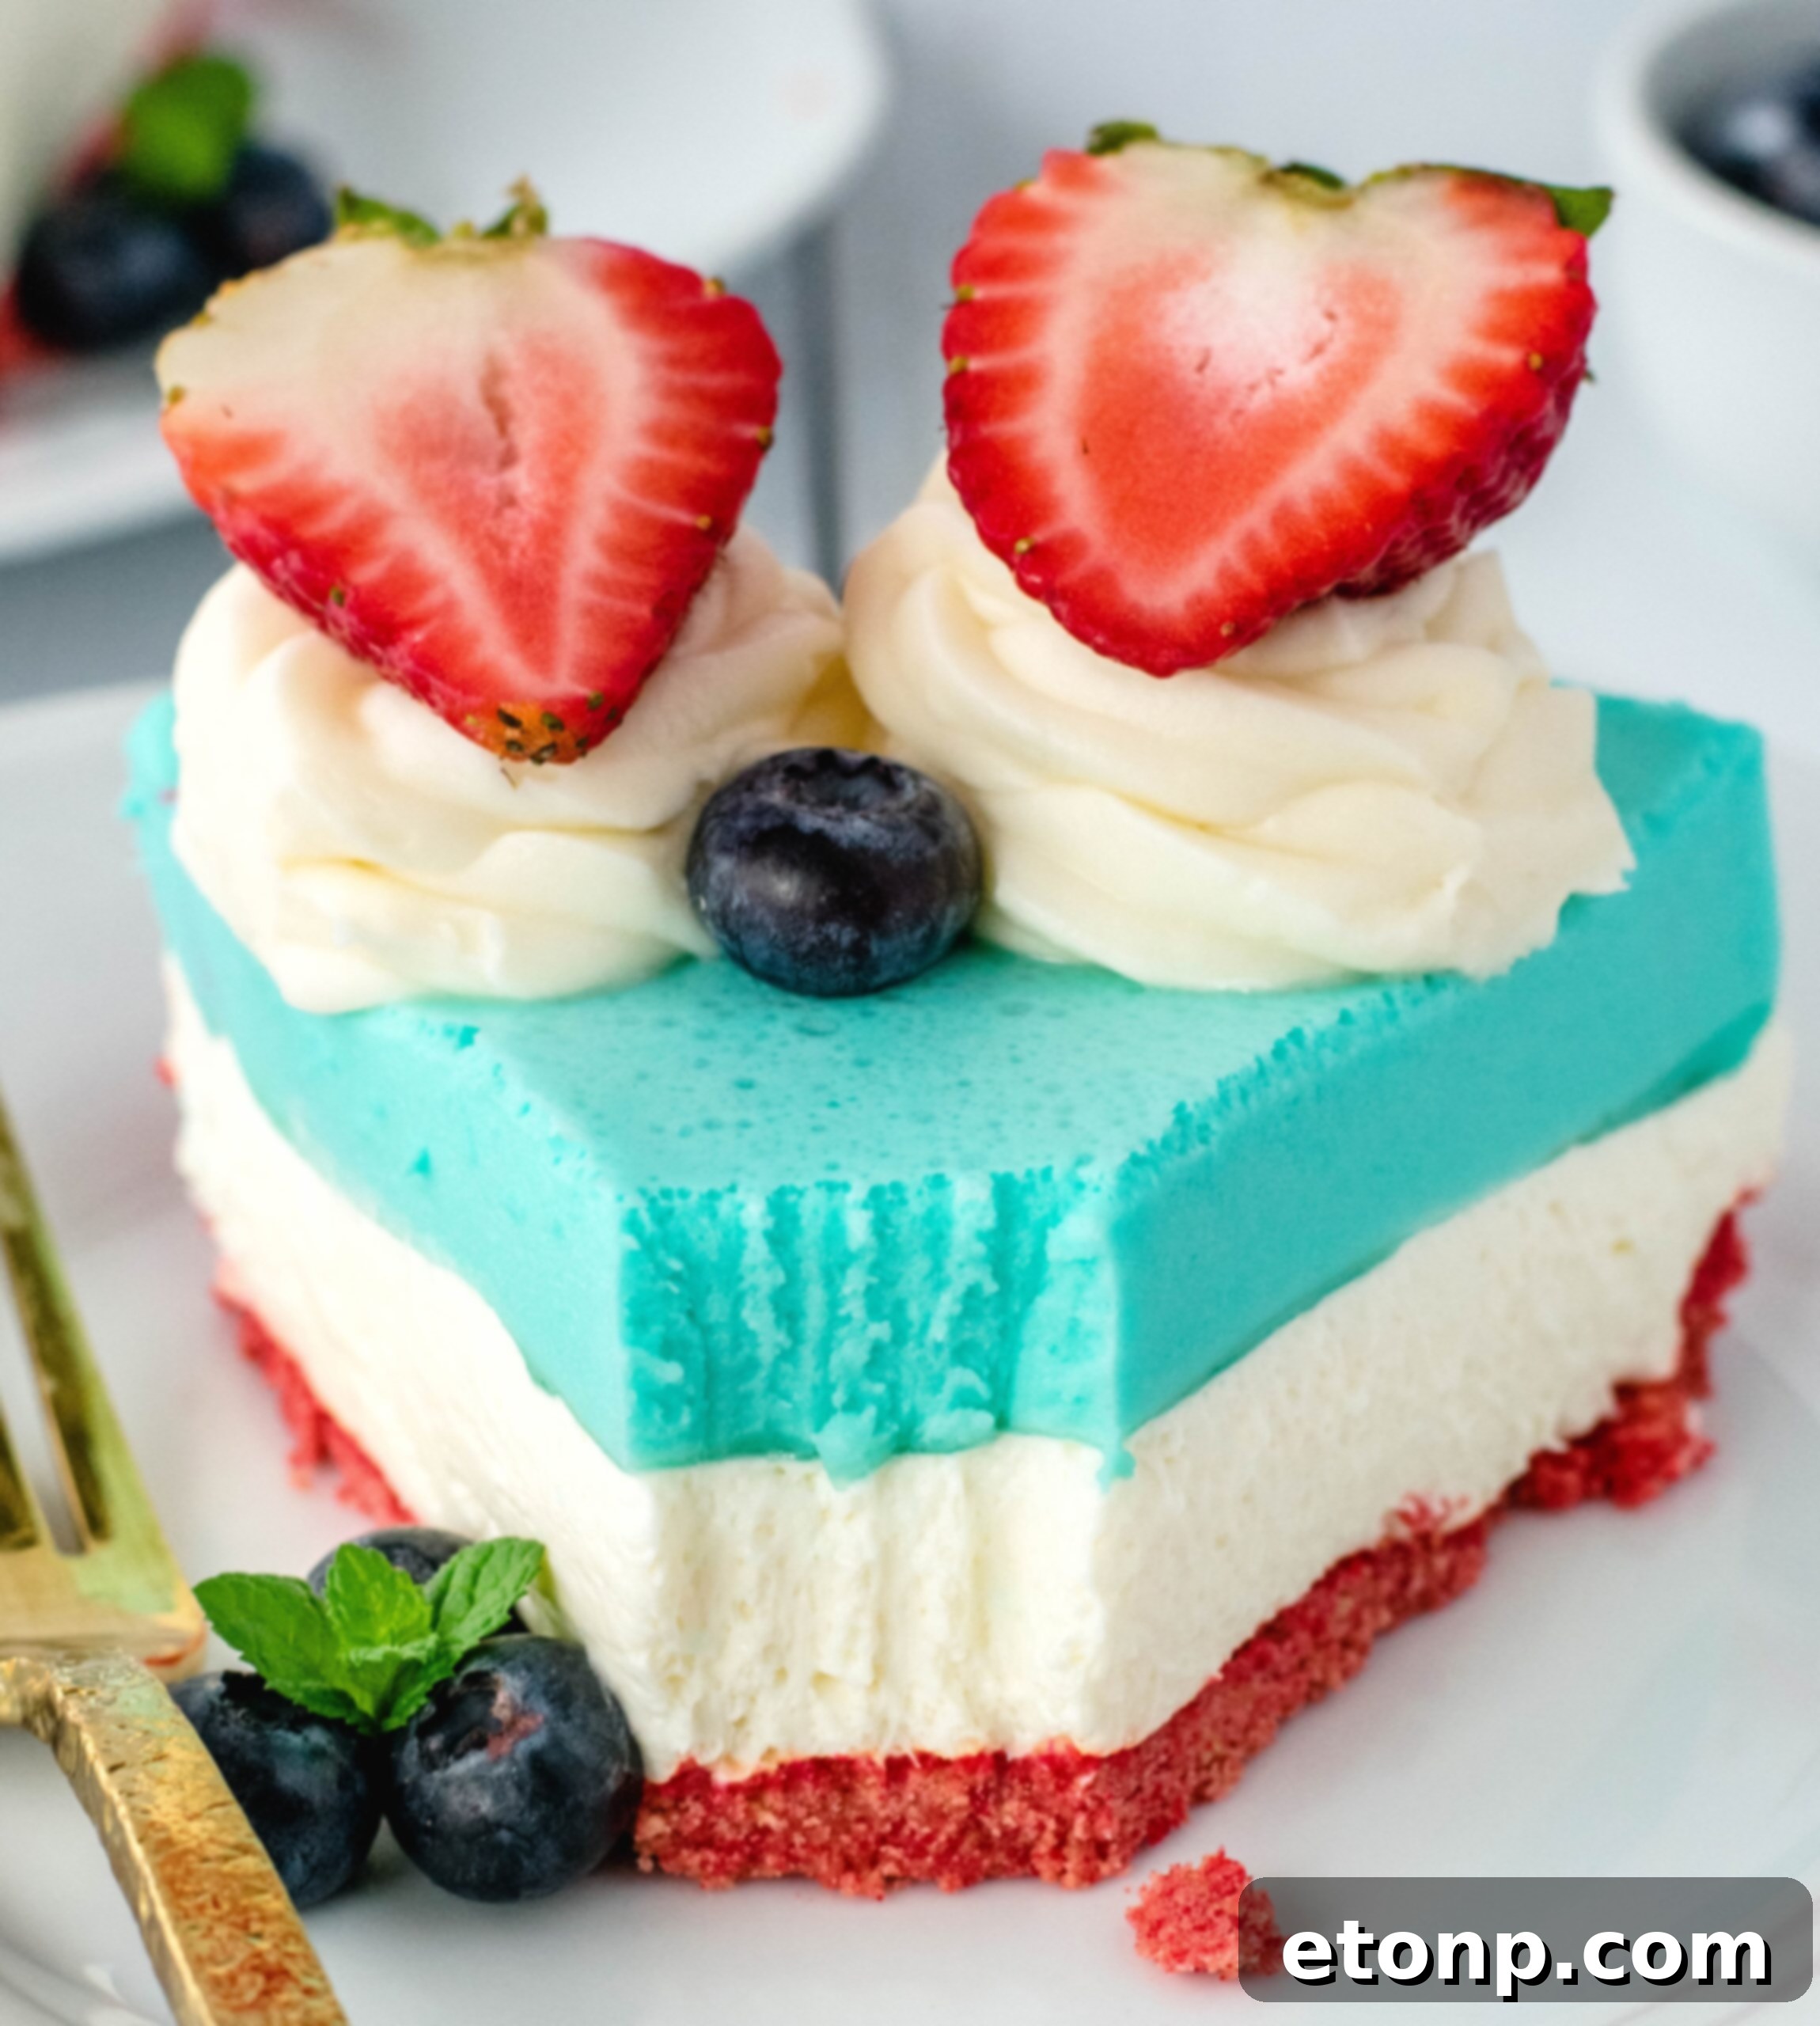
Delicious No-Bake Patriotic Cheesecake: An Effortless Red, White, and Blue Dessert Masterpiece
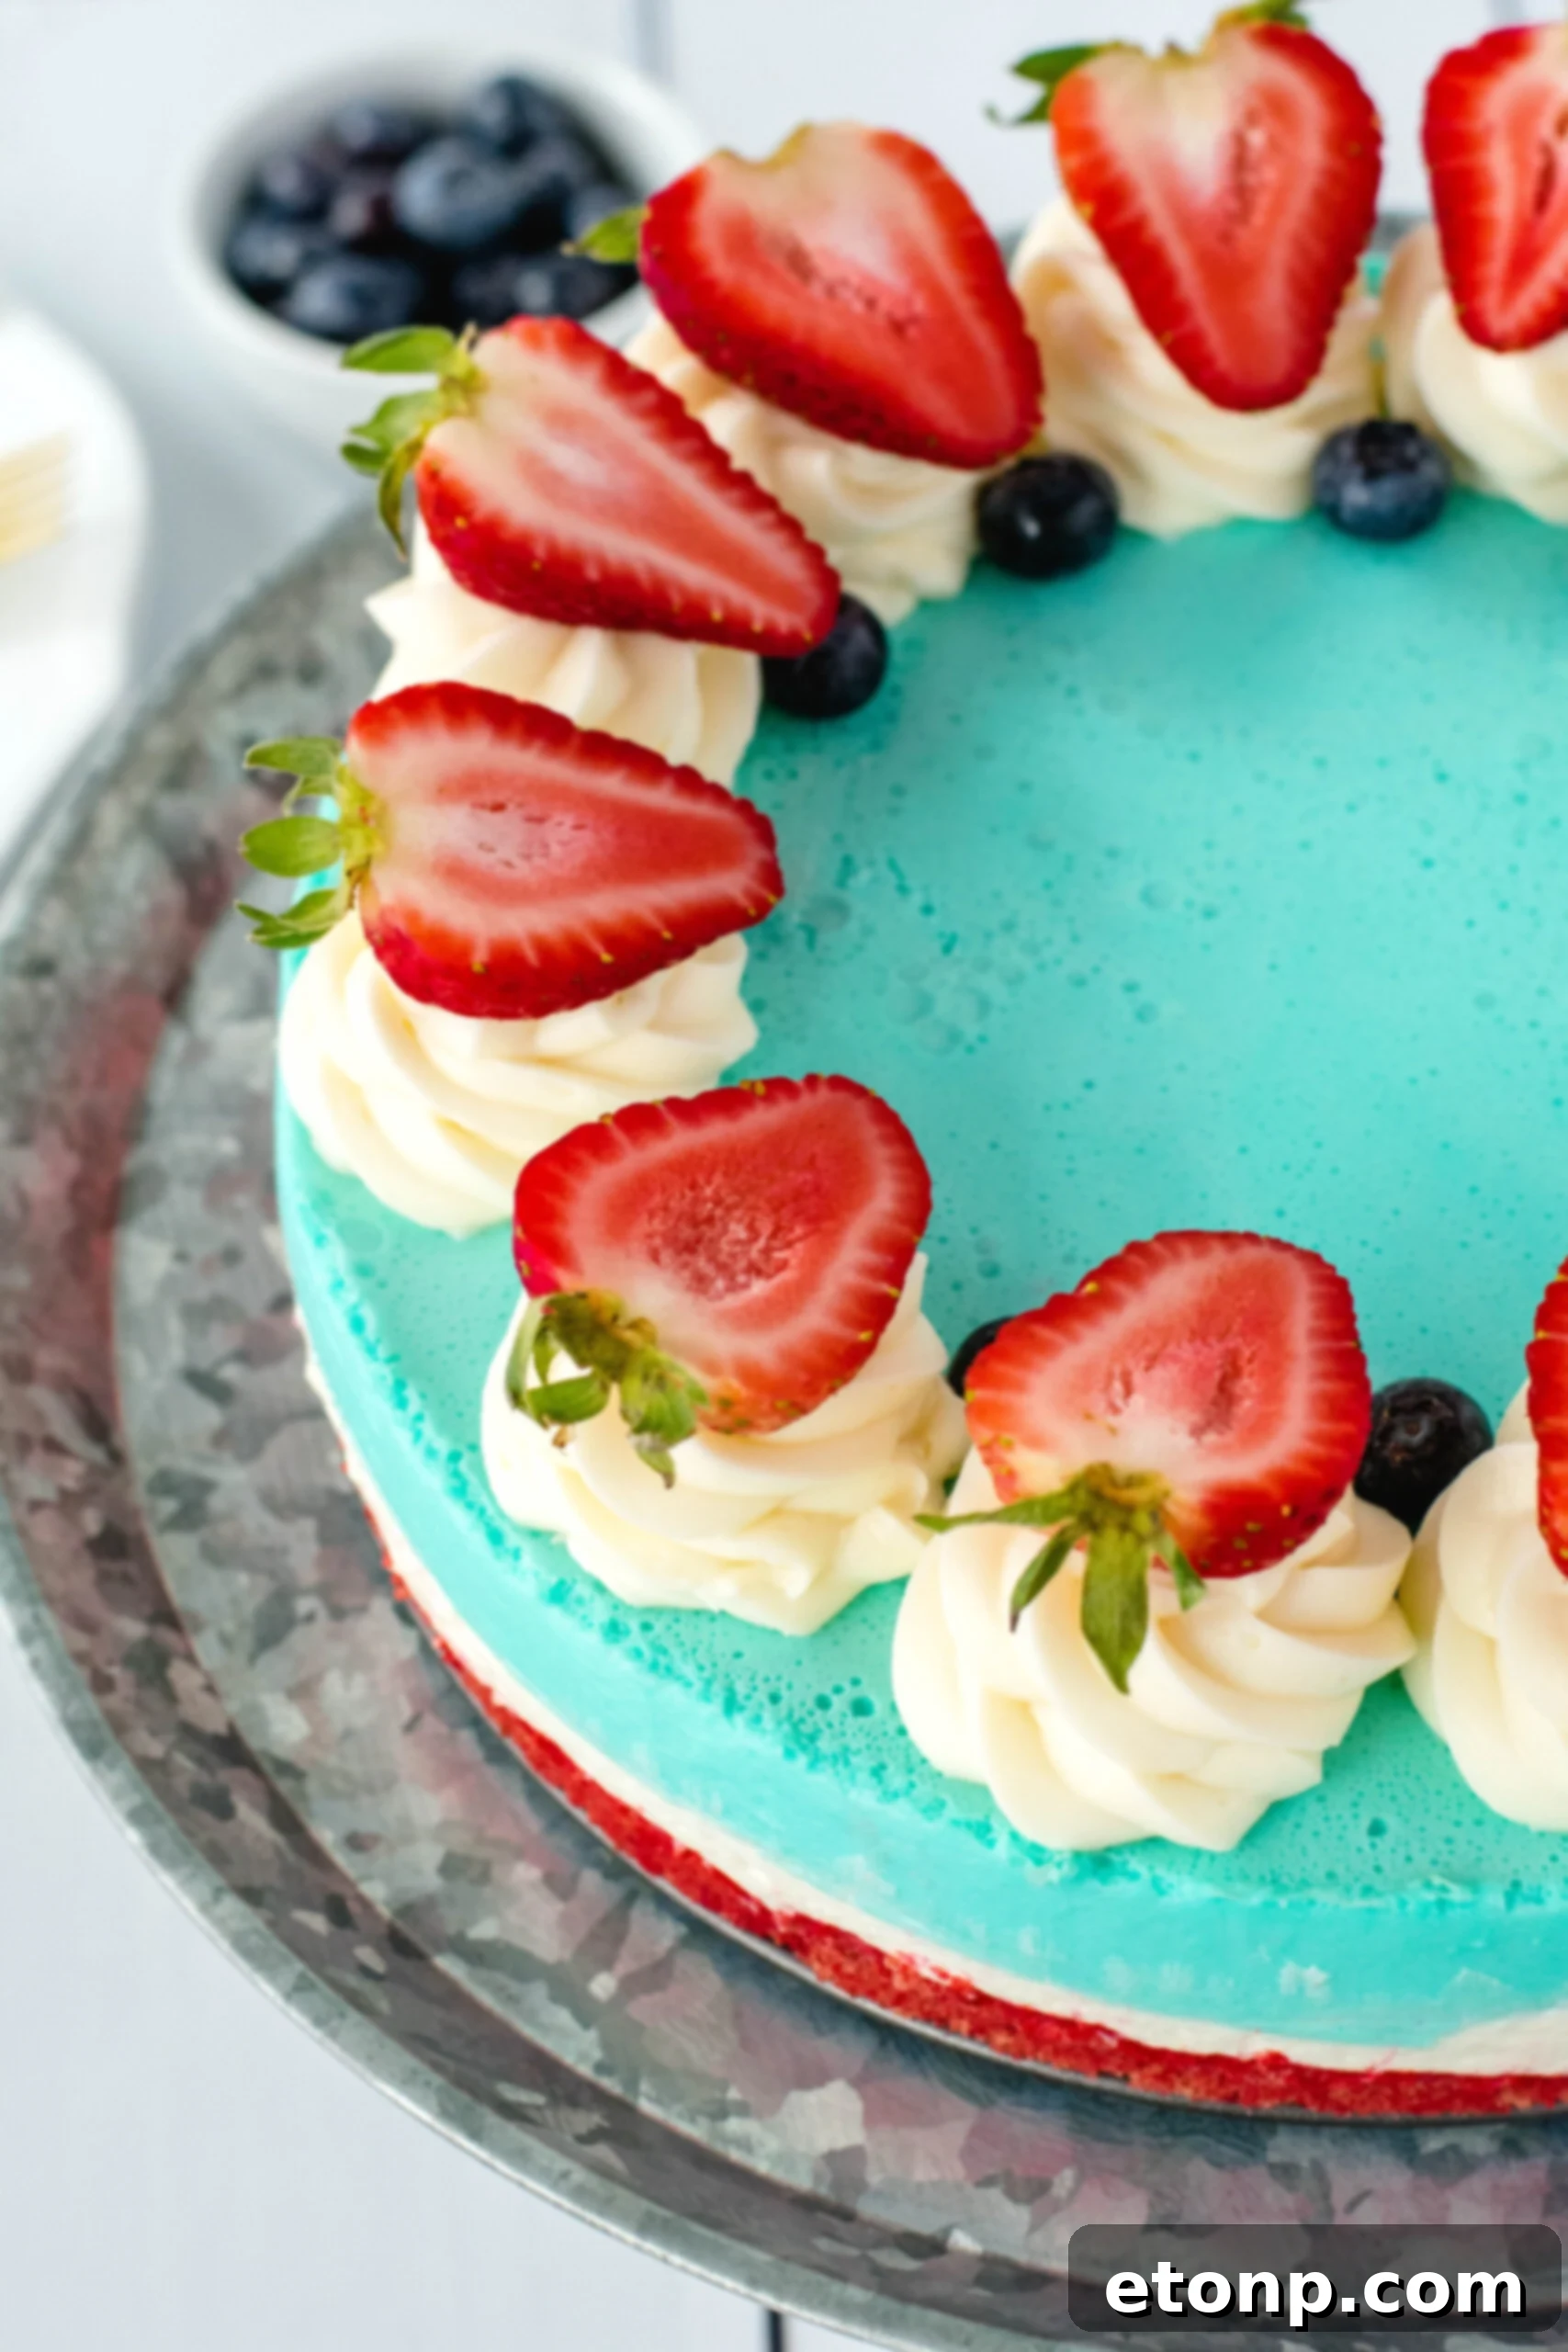
Prepare to impress your guests with a dessert that’s as stunningly gorgeous as it is incredibly easy to make. This No-Bake Patriotic Cheesecake is a true showstopper, perfect for any celebration, particularly those where you want to infuse a vibrant, festive spirit. Its striking red, white, and blue layers make it an instant centerpiece, while its light and creamy texture ensures it will be devoured with delight.
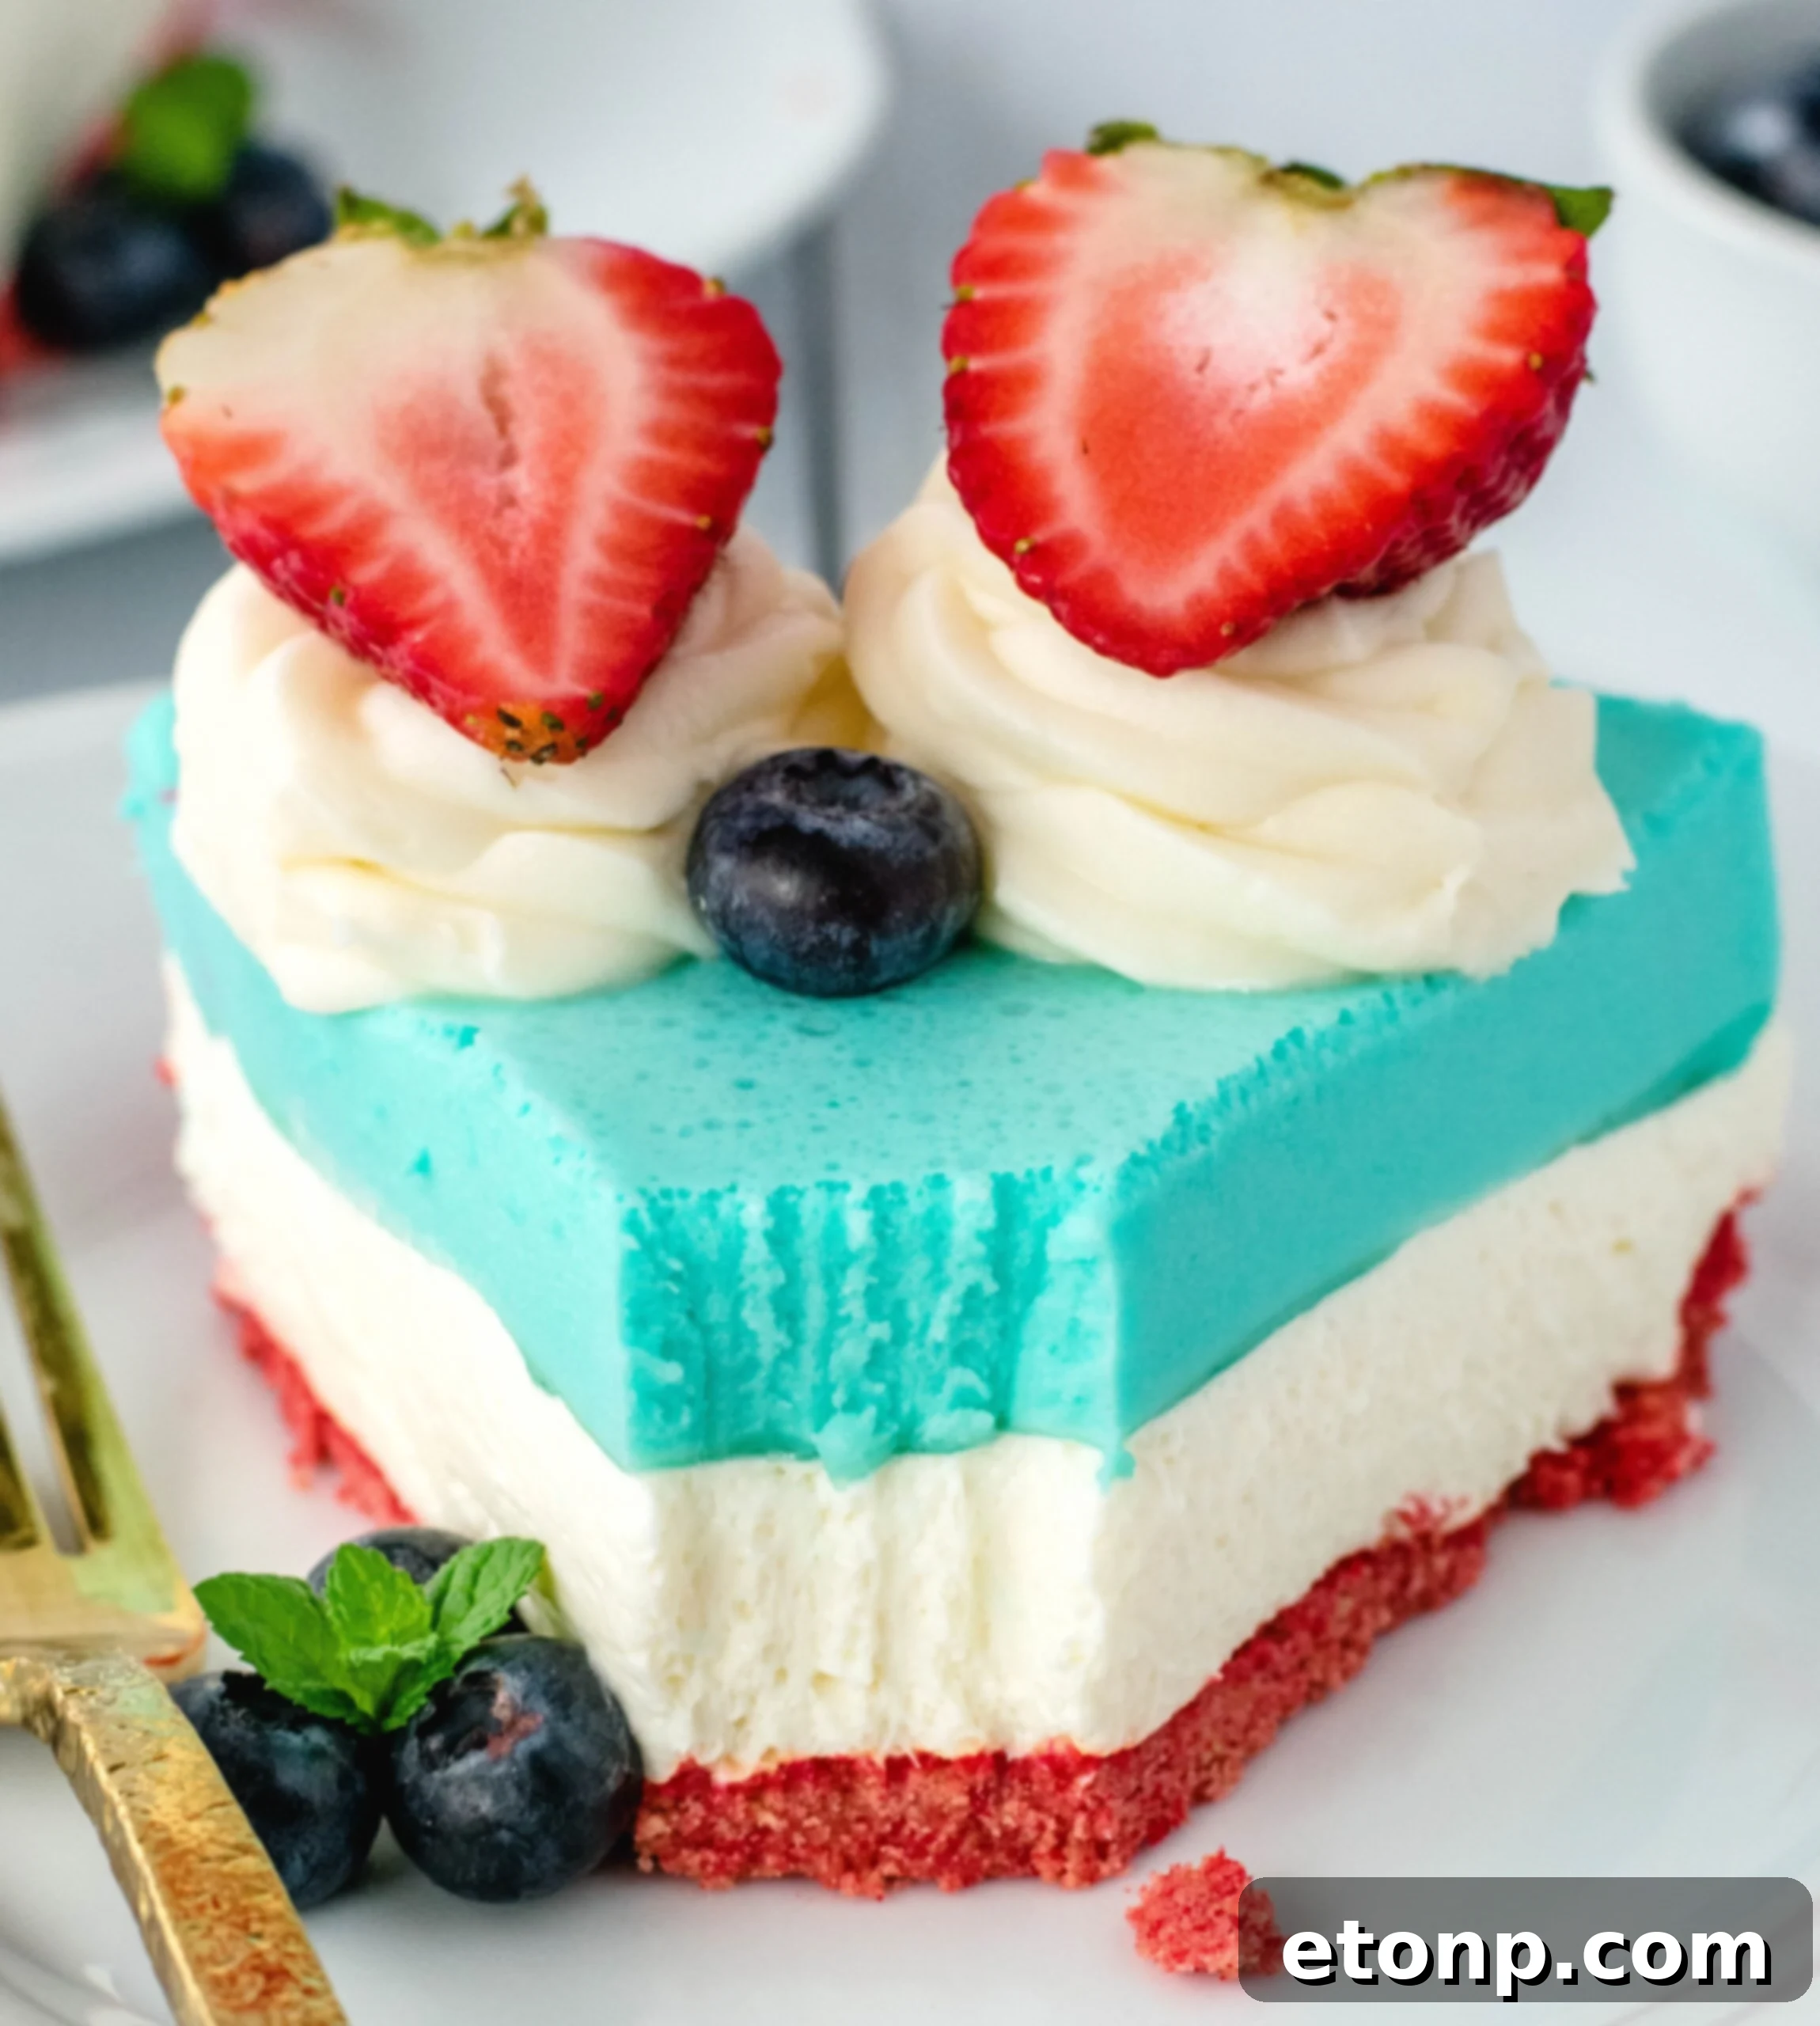
A Crowd-Pleasing Dessert for Every Occasion
There’s nothing quite like an easy yet delicious dessert, especially when it promises to ‘wow’ everyone at first glance. This cheesecake perfectly embodies that sentiment. Whether it’s a Fourth of July barbecue, a Memorial Day gathering, a casual summer cookout, or just a special treat, its patriotic colors and irresistible taste make it an instant hit. You’ll find it’s often the first dessert to disappear from the table, a testament to its widespread appeal and deliciousness.
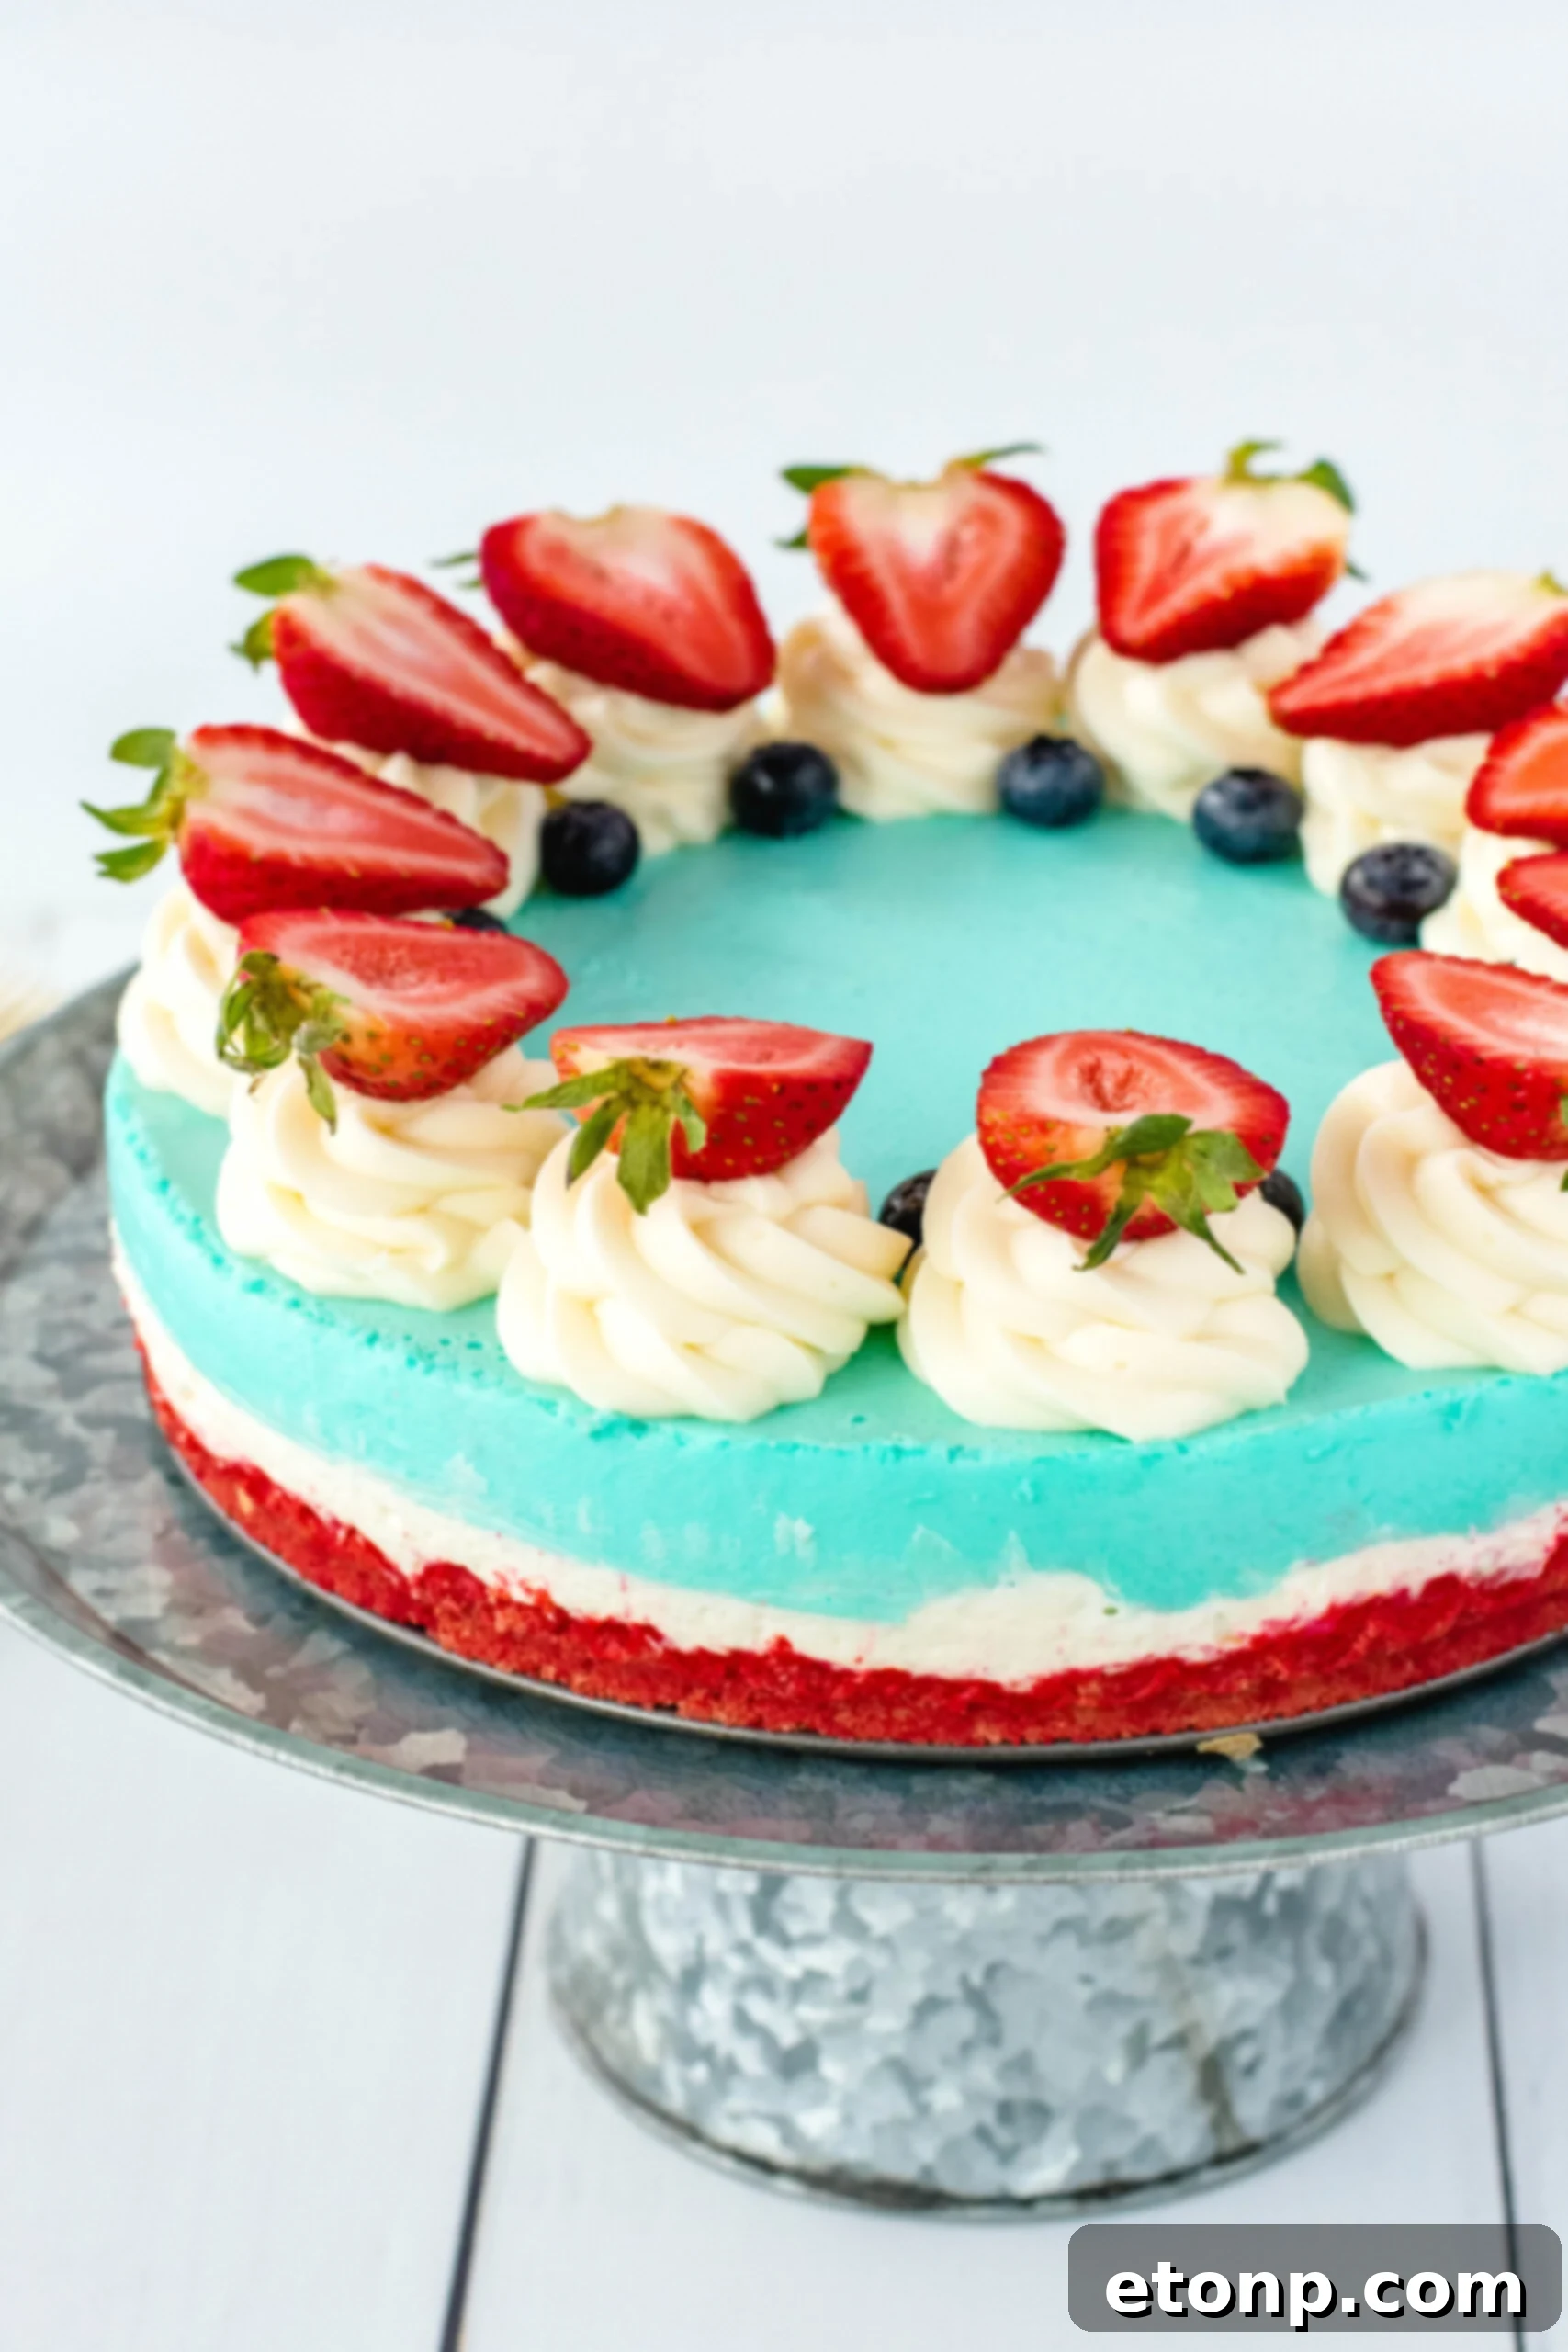
This cheesecake truly stands out with its amazingly smooth and ultra-creamy consistency. It sets beautifully in the refrigerator, eliminating any guesswork or stress associated with traditional baking. Unlike a dense, heavy baked cheesecake, this no-bake version is wonderfully light, delicately sweet, and utterly refreshing. Each bite offers a burst of creamy flavor, making it the perfect cool treat on a warm day. Its elegant layers of red, white, and blue not only invite admiration but also compel everyone to rush over for a taste!
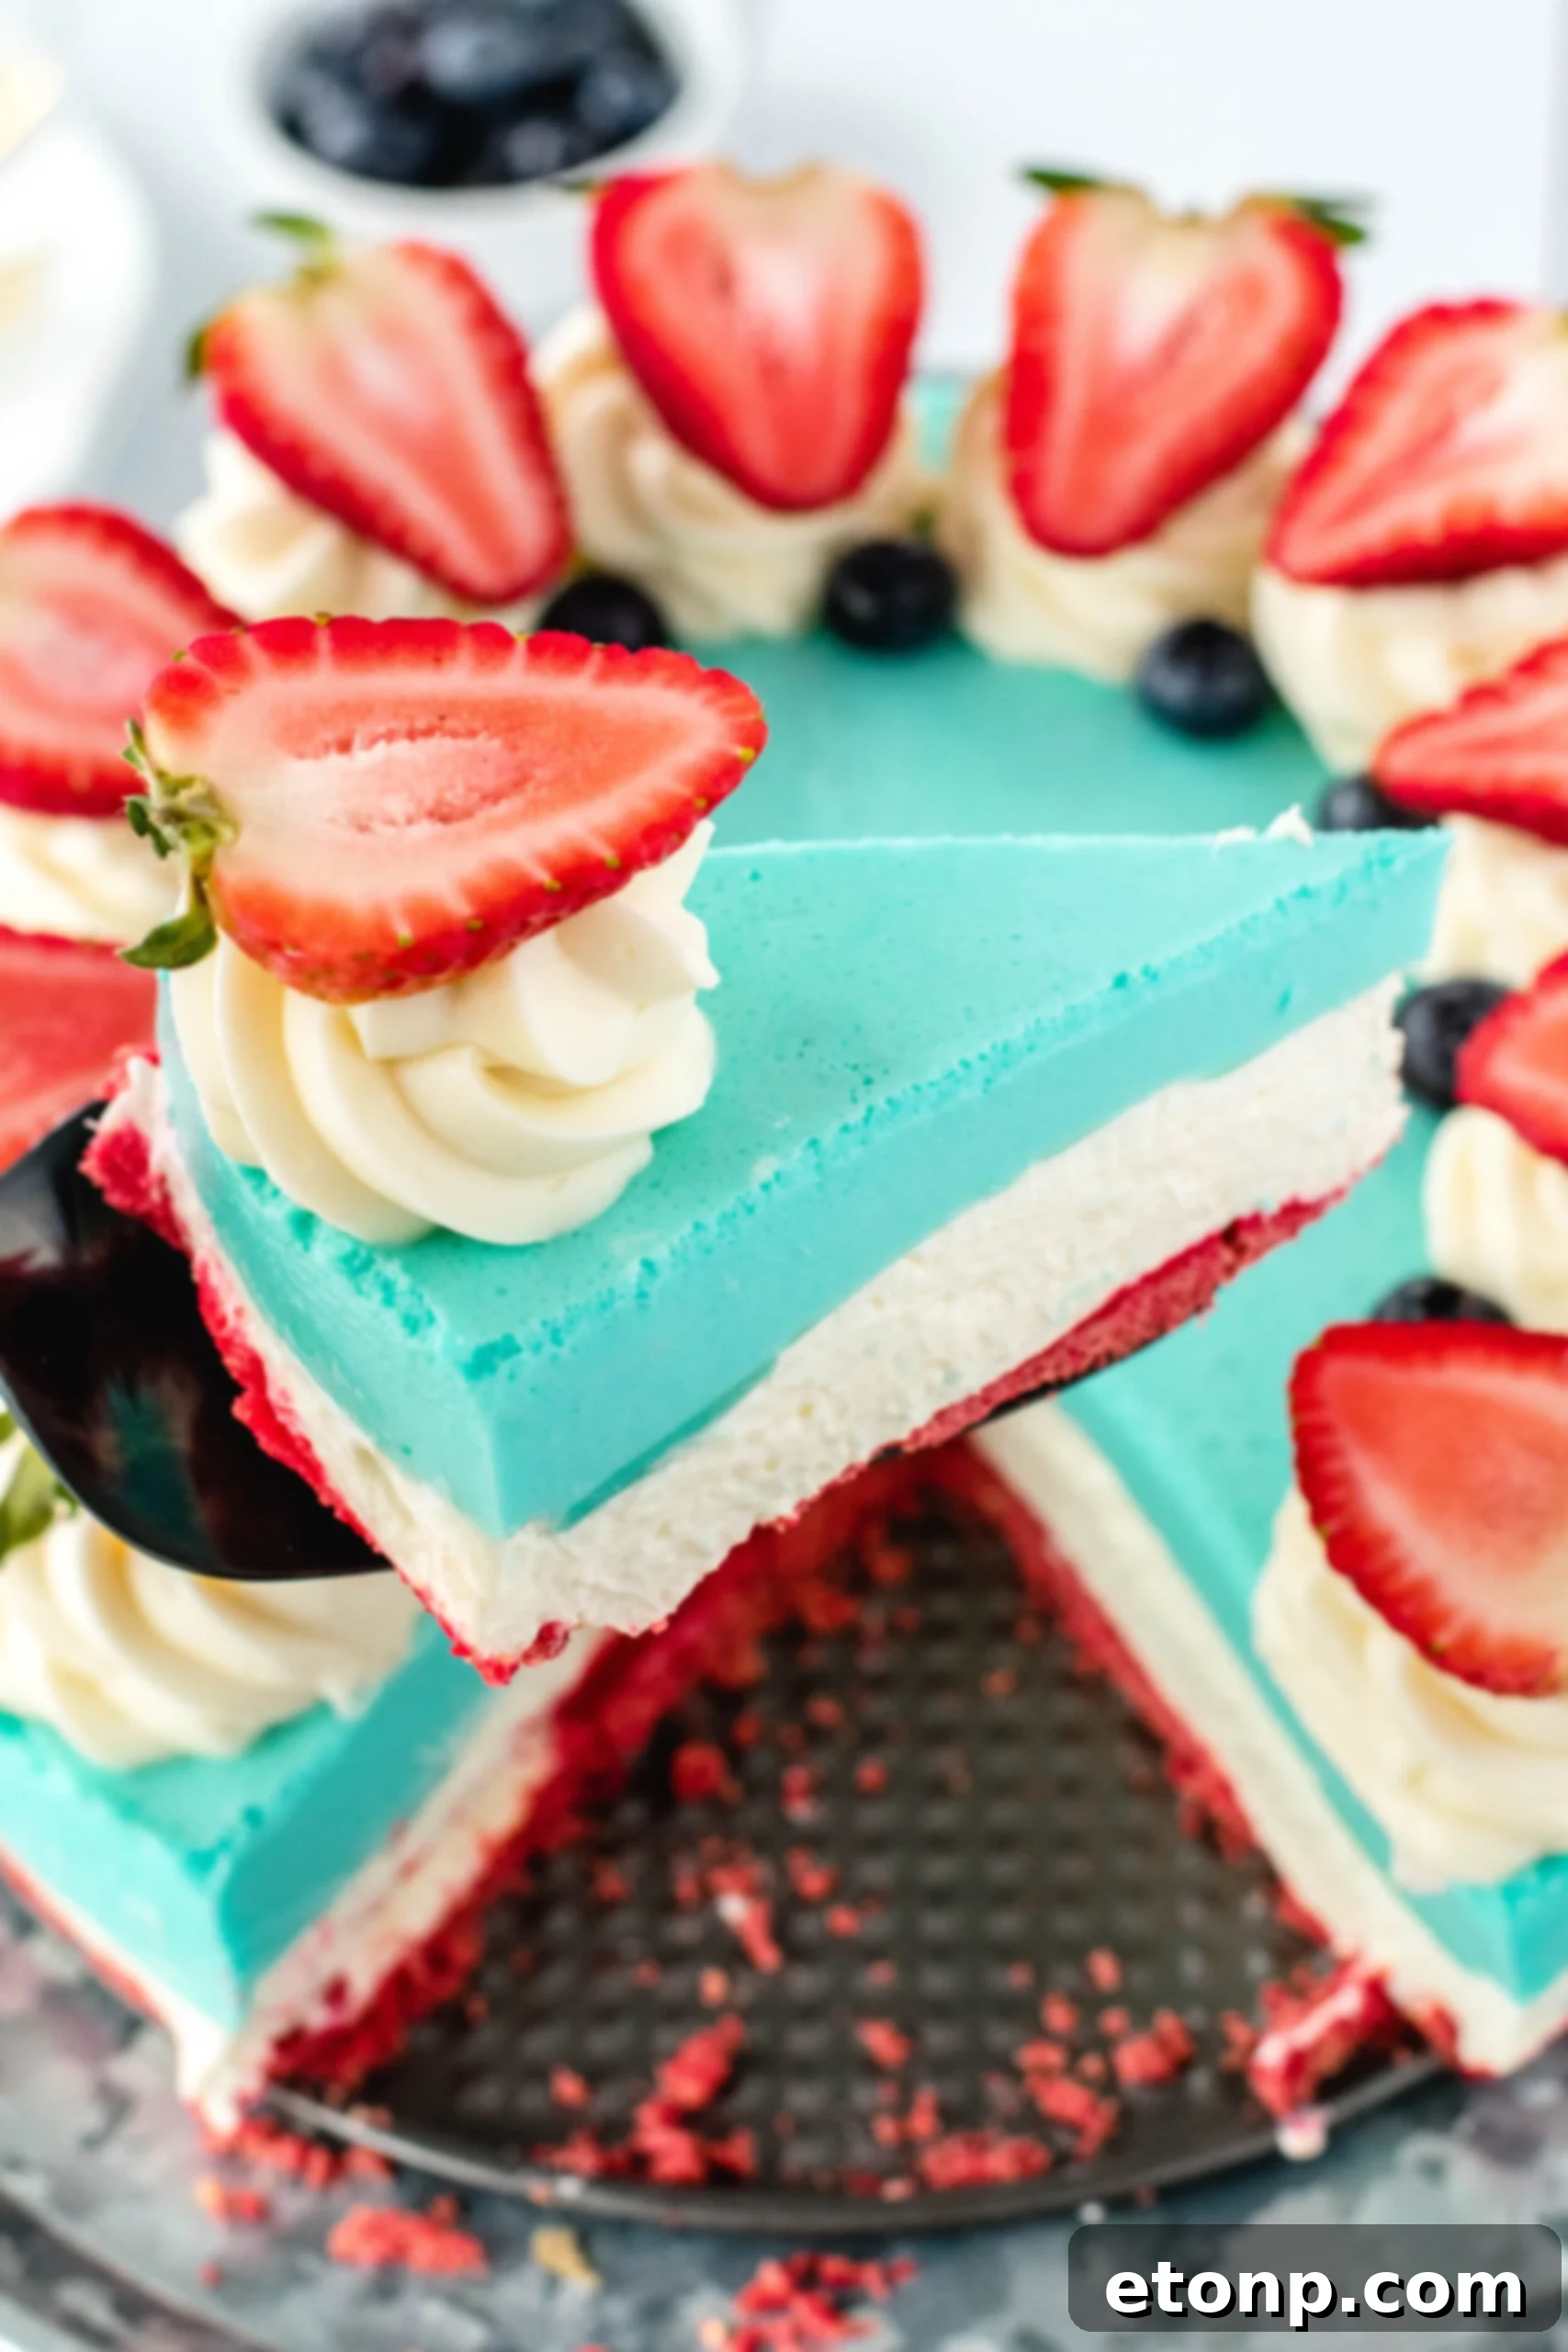
Why Choose a No-Bake Cheesecake? Simplicity Meets Perfection
Many dessert enthusiasts wonder why they should opt for a no-bake cheesecake over a traditional baked one. The answer lies in its remarkable simplicity and foolproof nature. One of the primary advantages of a no-bake cheesecake is that it doesn’t require eggs, which are a common culprit for cracking and denseness in baked cheesecakes. This means you bypass the often-complicated steps of a water bath and the anxiety of potential cracks, making it nearly impossible to ‘mess up’. It’s truly an easy-peasy dessert that delivers professional-looking results without the stress of oven-baking. The absence of baking also contributes to its lighter, airier texture, a welcome change from the richness of its baked counterpart.
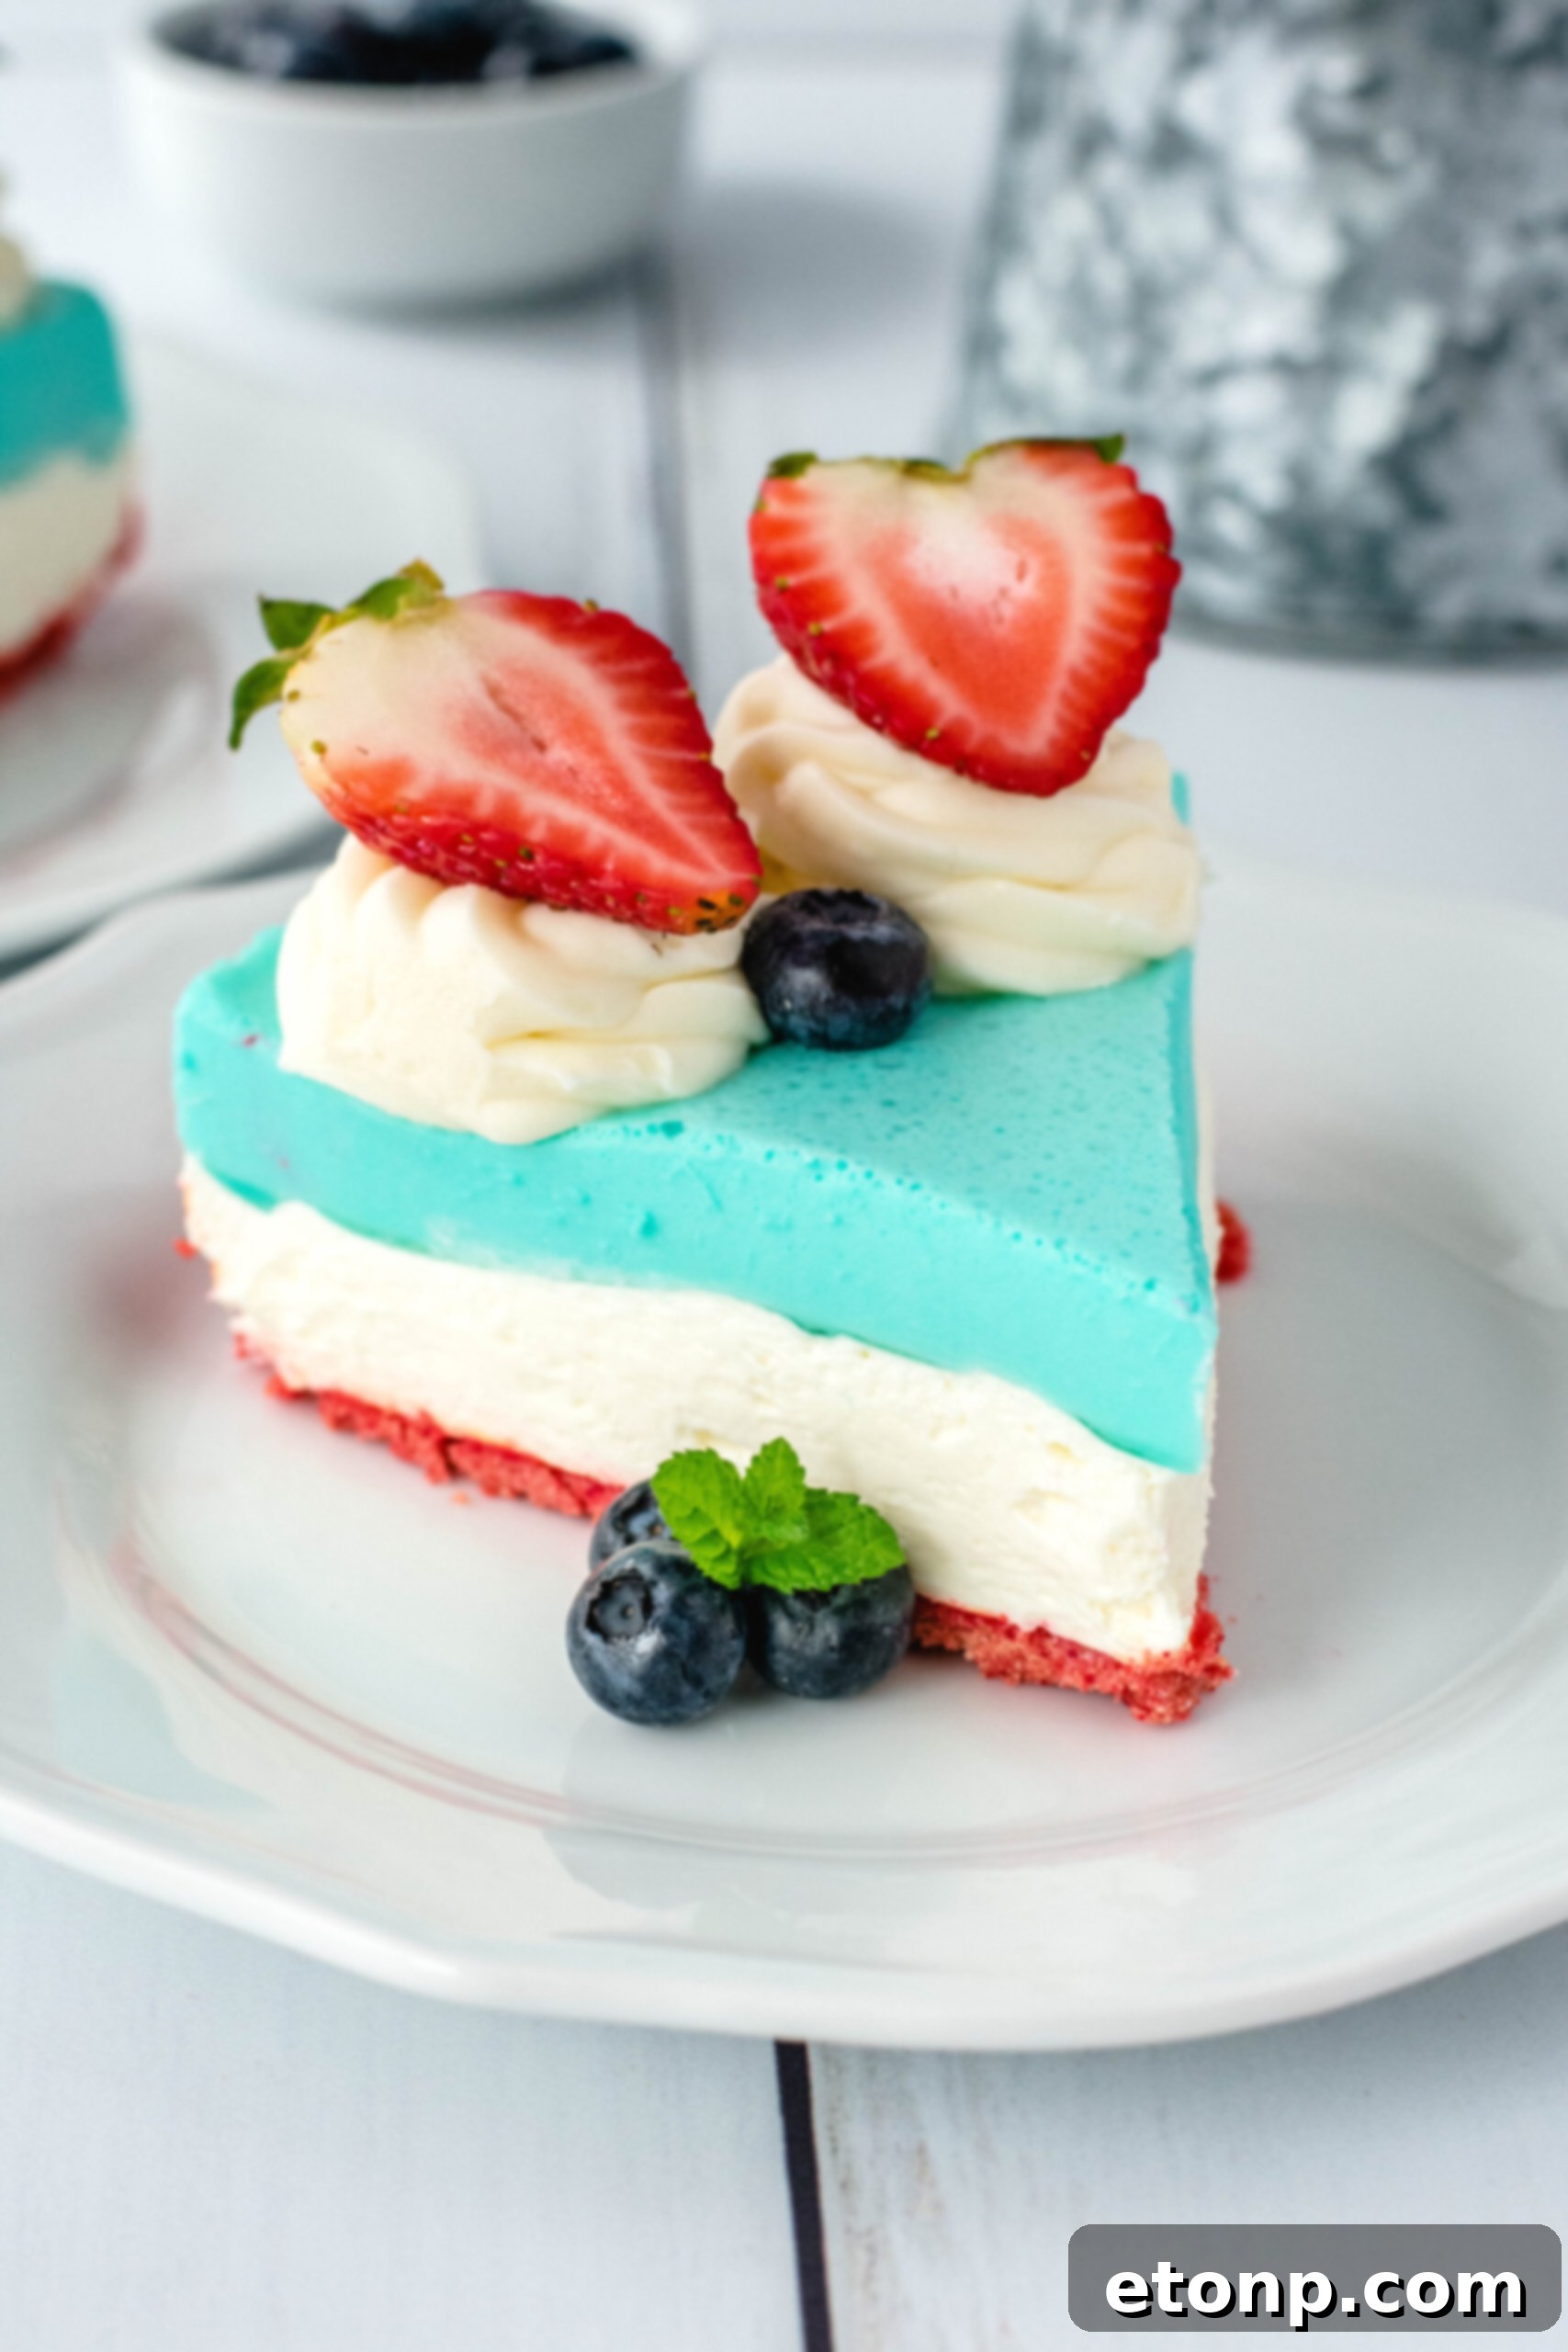
I assure you, you will absolutely adore this no-bake cheesecake recipe. Its ease is unparalleled, and by choosing the no-bake method, you’re essentially eliminating all those typically complicated steps that can deter even experienced bakers. This recipe streamlines the process, allowing you to create a magnificent dessert with minimal effort and maximum impact. It’s perfect for busy hosts or anyone looking for a stress-free dessert solution that doesn’t compromise on flavor or presentation.
Versatile Servings: From a Grand Cake to Adorable Mini Delights
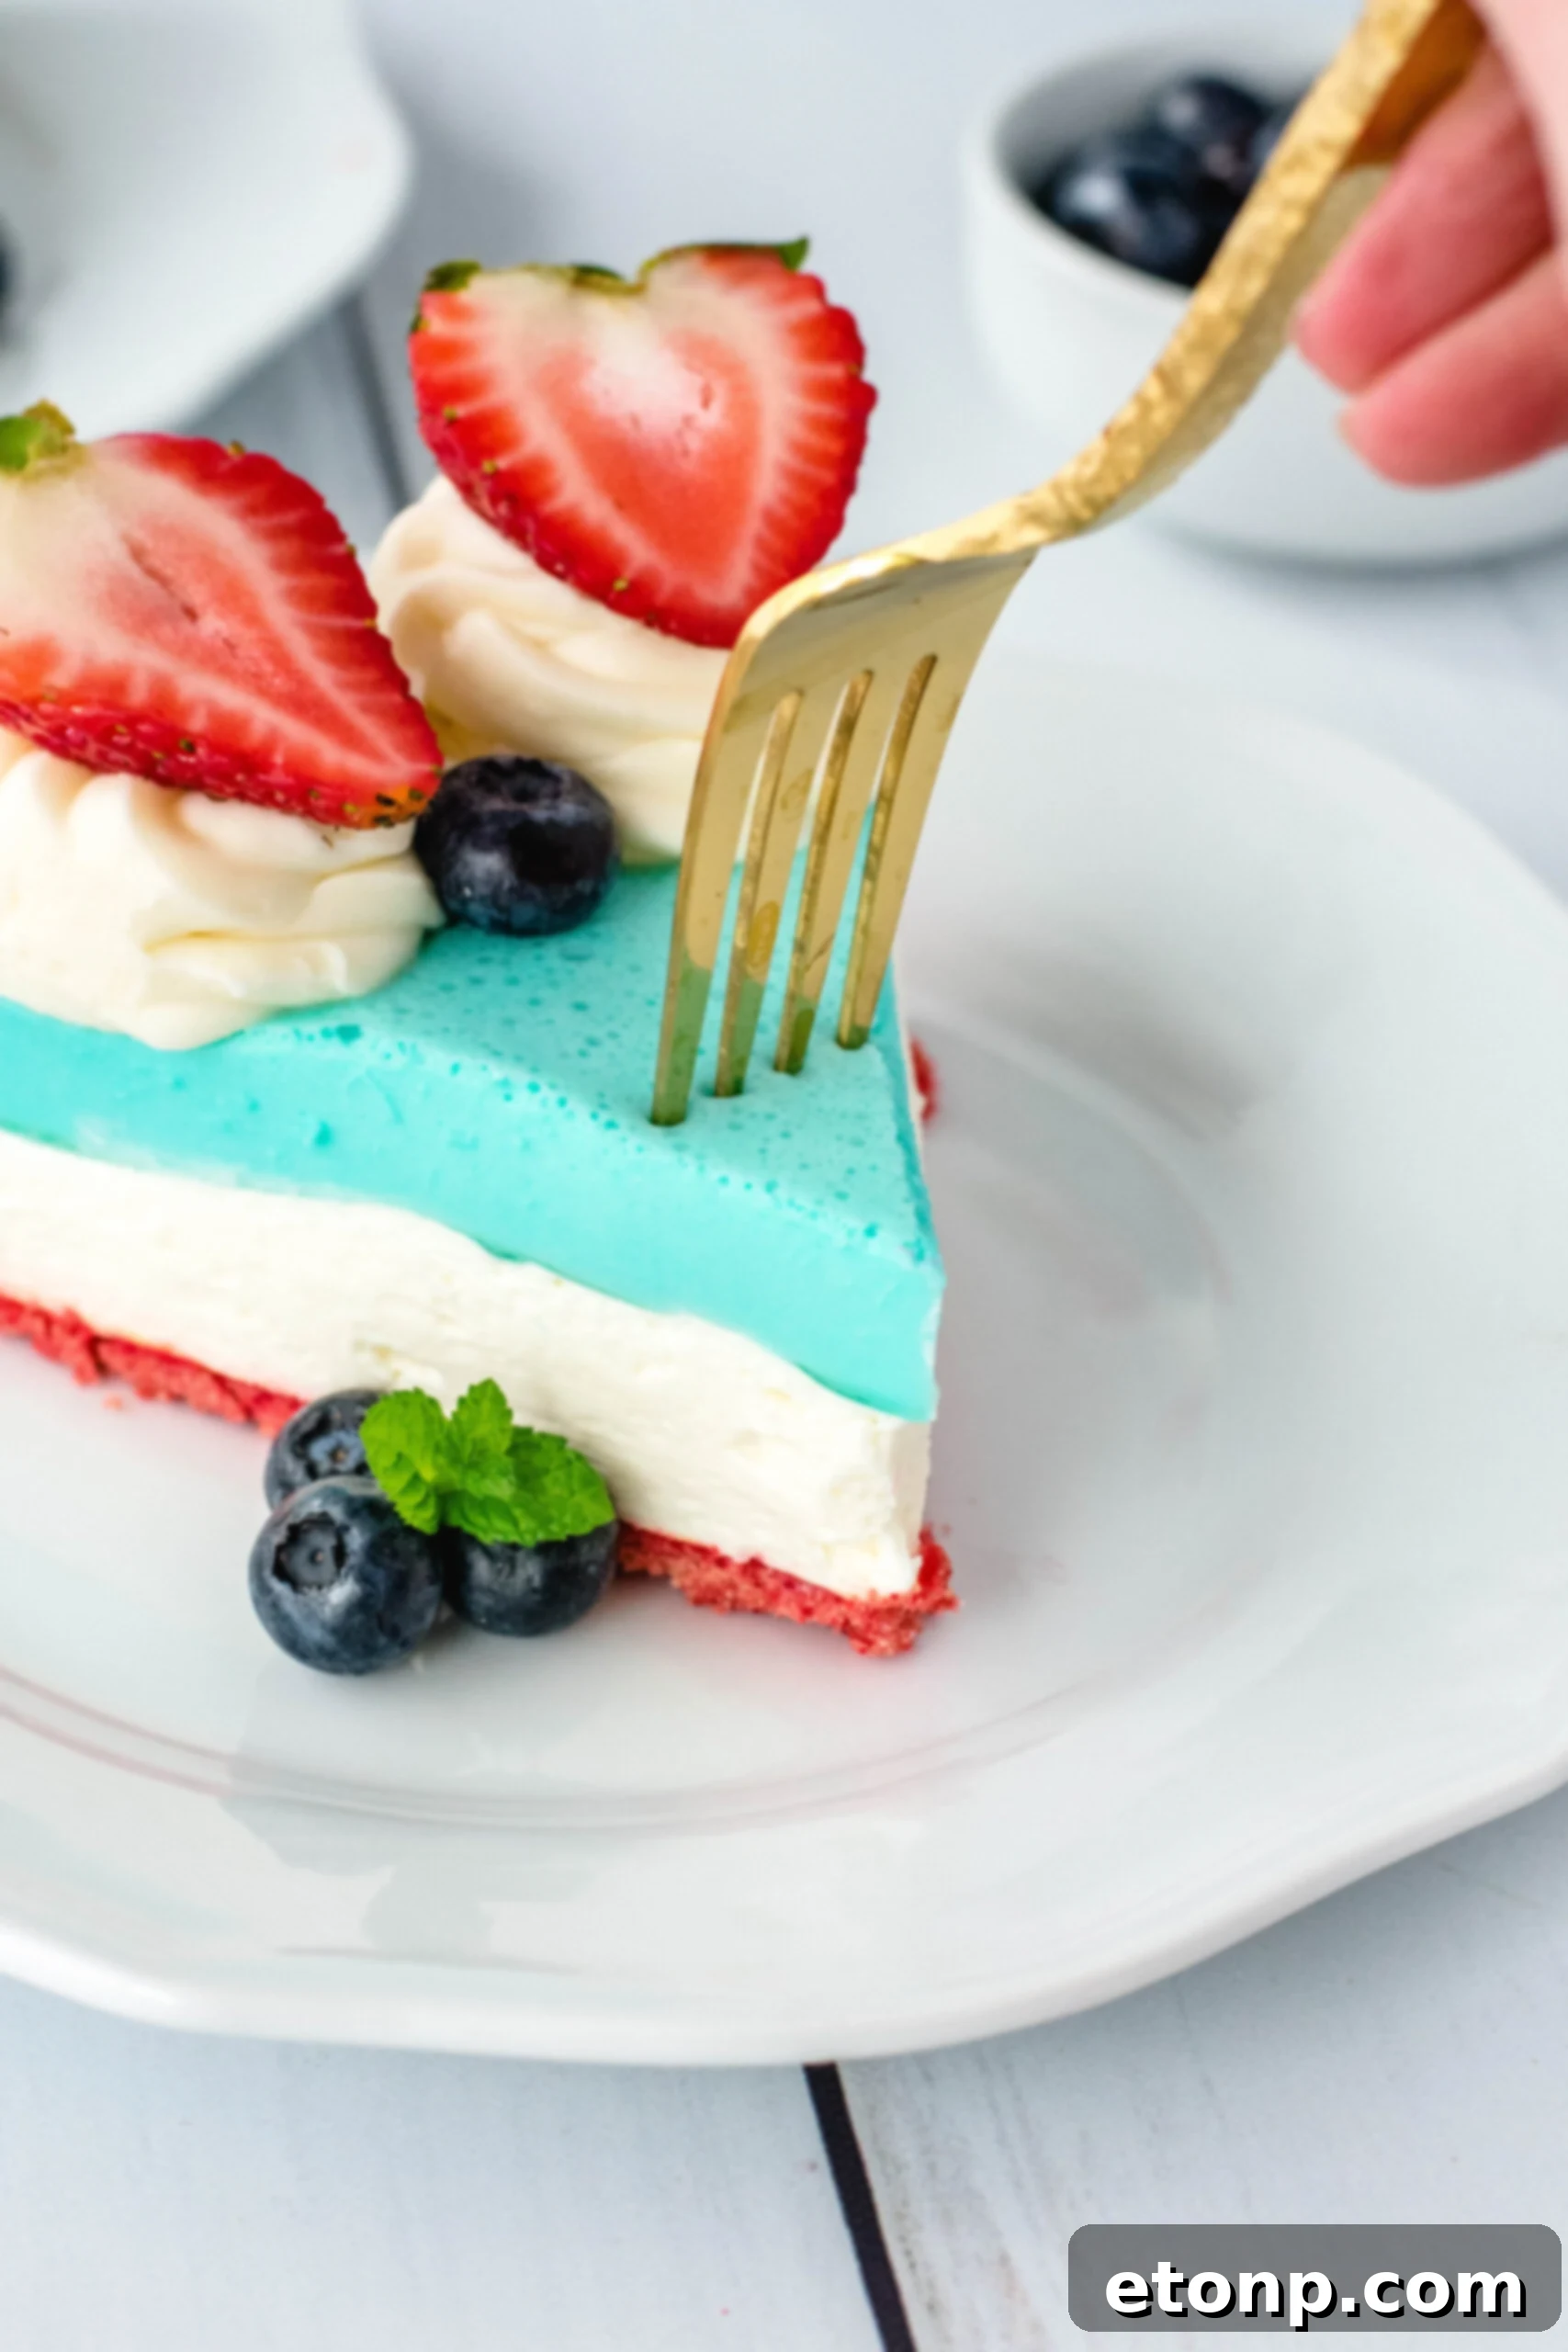
Beyond its traditional form, this recipe offers fantastic versatility. You can effortlessly transform this grand cheesecake into adorable mini cheesecakes simply by using cupcake liners and a standard muffin pan. This variation is wonderful for individual servings, making them perfect for parties where guests can easily grab and go. Imagine a platter of these patriotic mini cheesecakes, each a perfect bite-sized portion, offering both convenience and charm. This adaptability ensures that whether you’re hosting a large celebration or a smaller gathering, this dessert can be tailored to suit your needs perfectly.
Flavor Harmony and Practical Storage
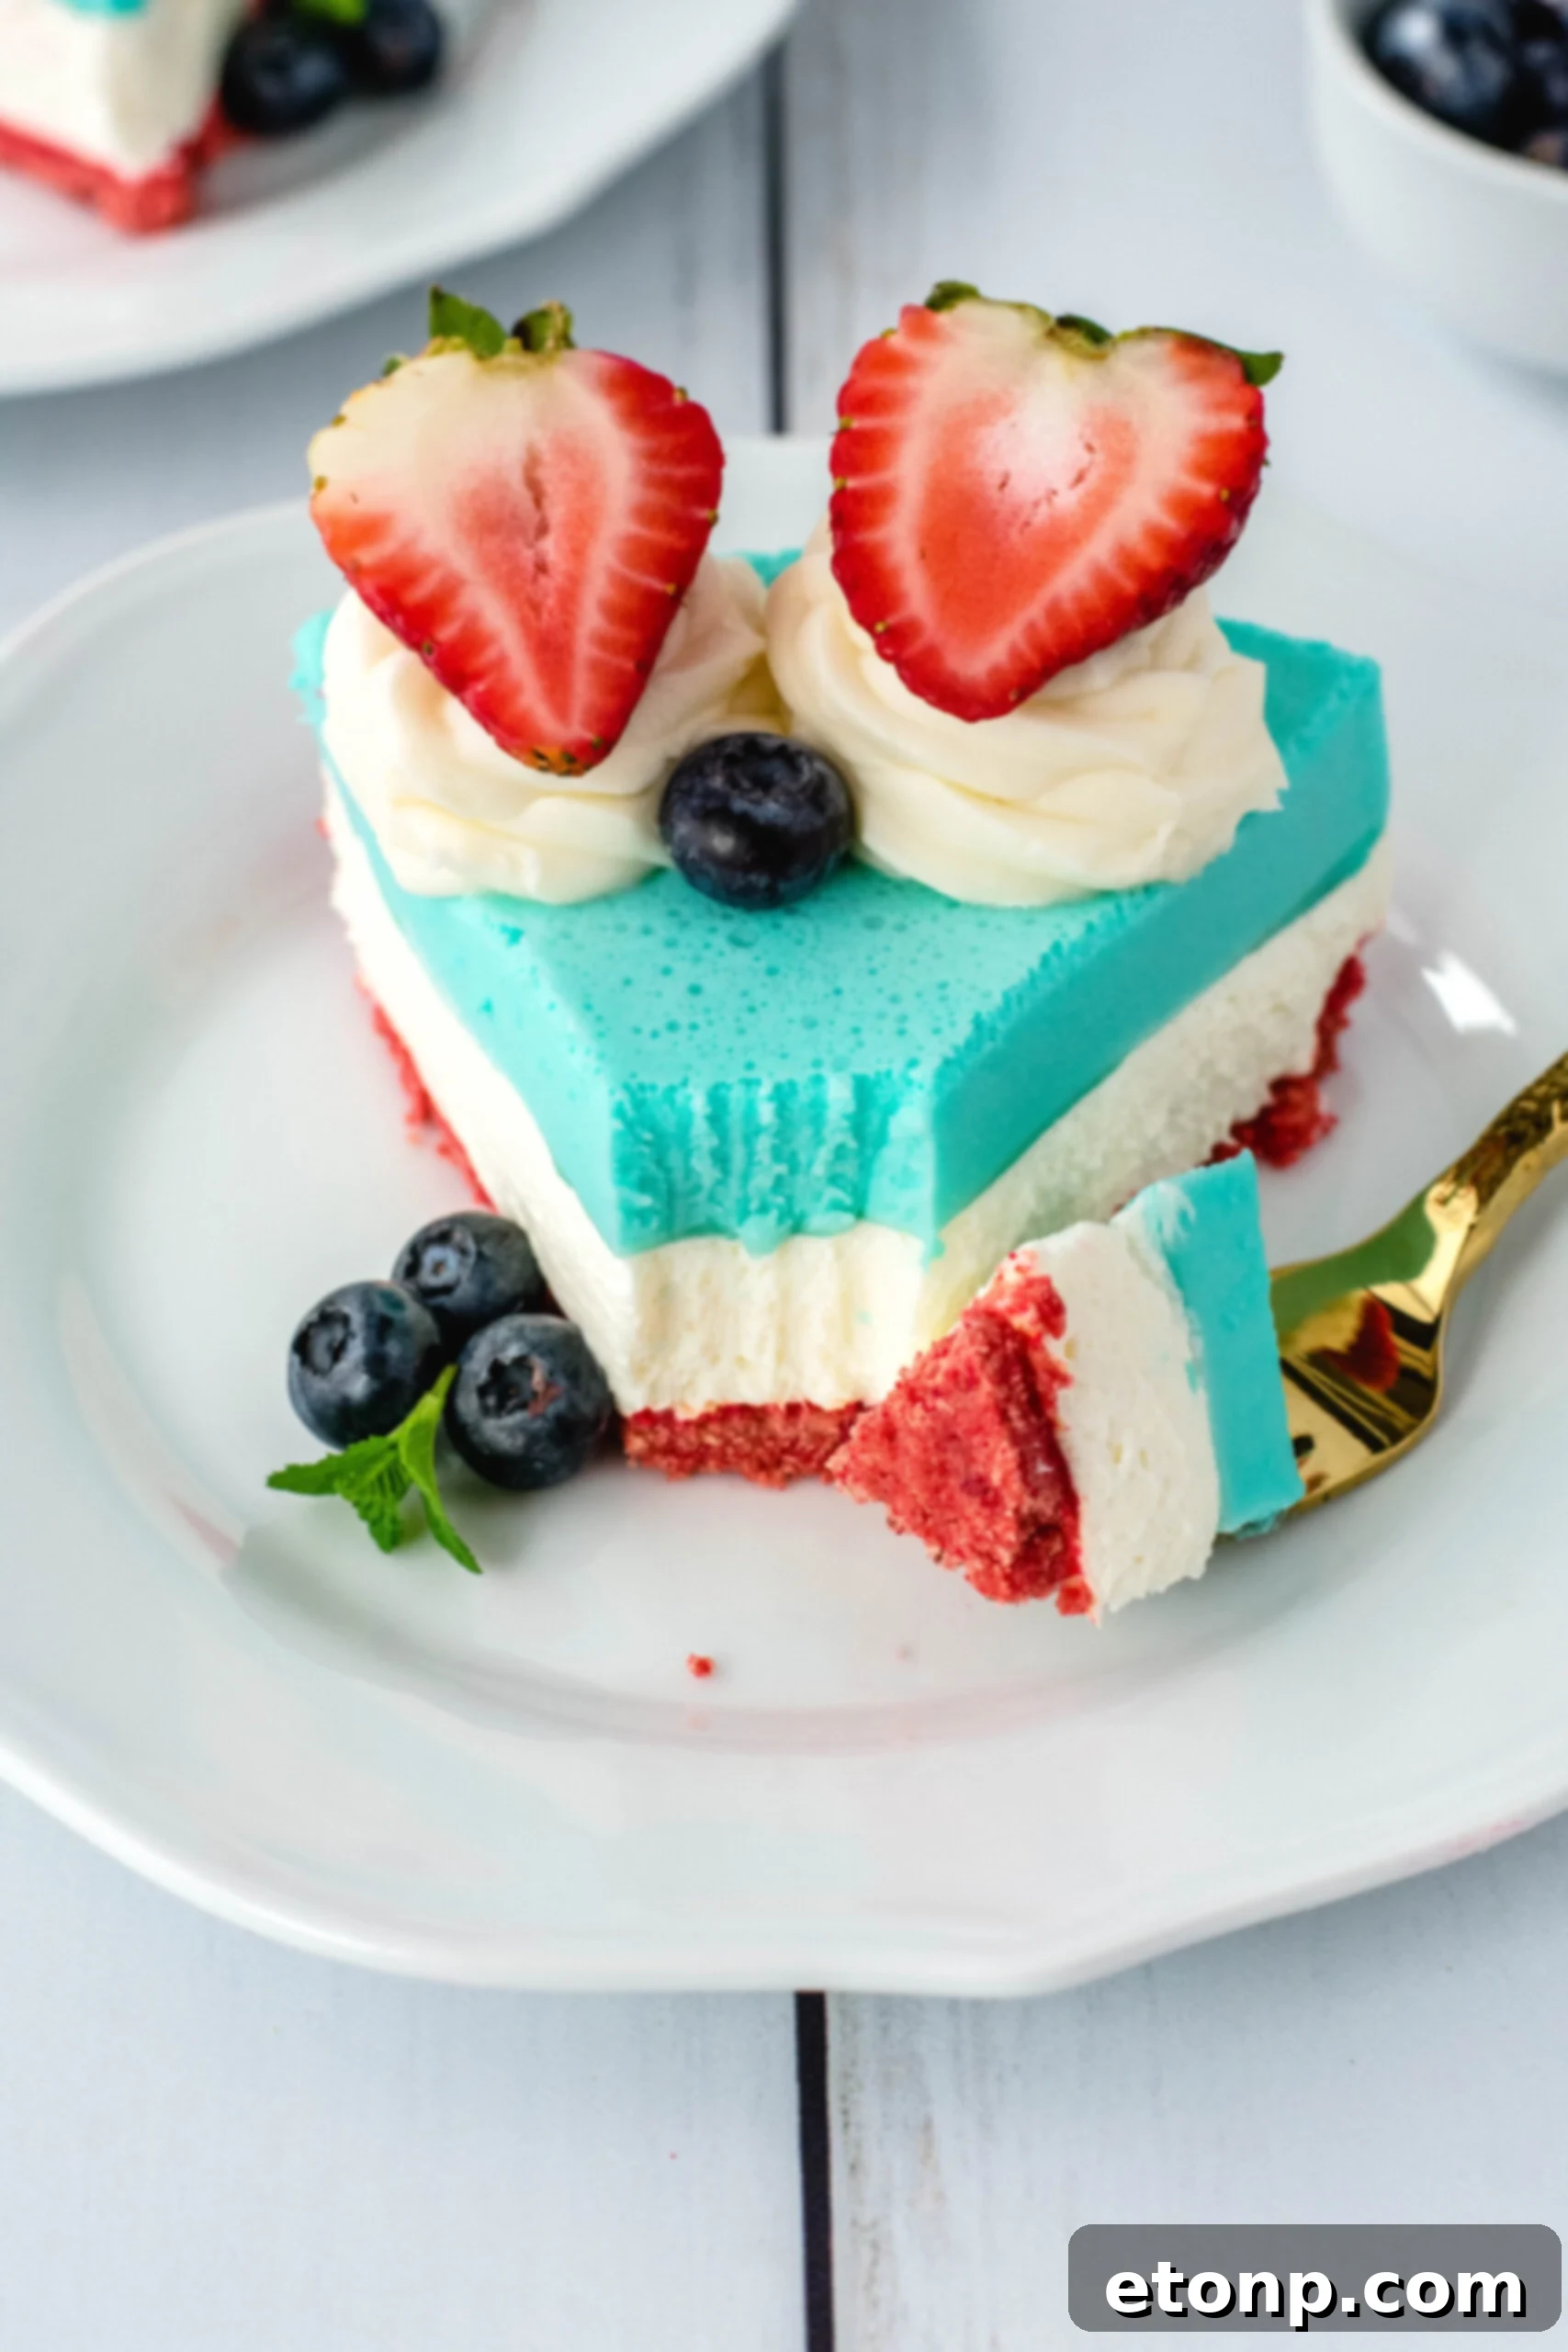
The carefully selected flavors in this cheesecake — from the golden Oreo crust to the creamy filling and fresh berry topping — meld together in perfect harmony, creating a sensationally refreshing taste experience. Each element complements the others, building a symphony of textures and flavors that will delight your palate. Furthermore, this dessert is incredibly practical for entertaining. Once prepared, this delightful cheesecake will last for up to five days when covered and stored properly in the refrigerator, making it an excellent make-ahead option for any event. This means you can prepare it in advance, freeing up valuable time on the day of your celebration to focus on other details or simply enjoy the festivities.
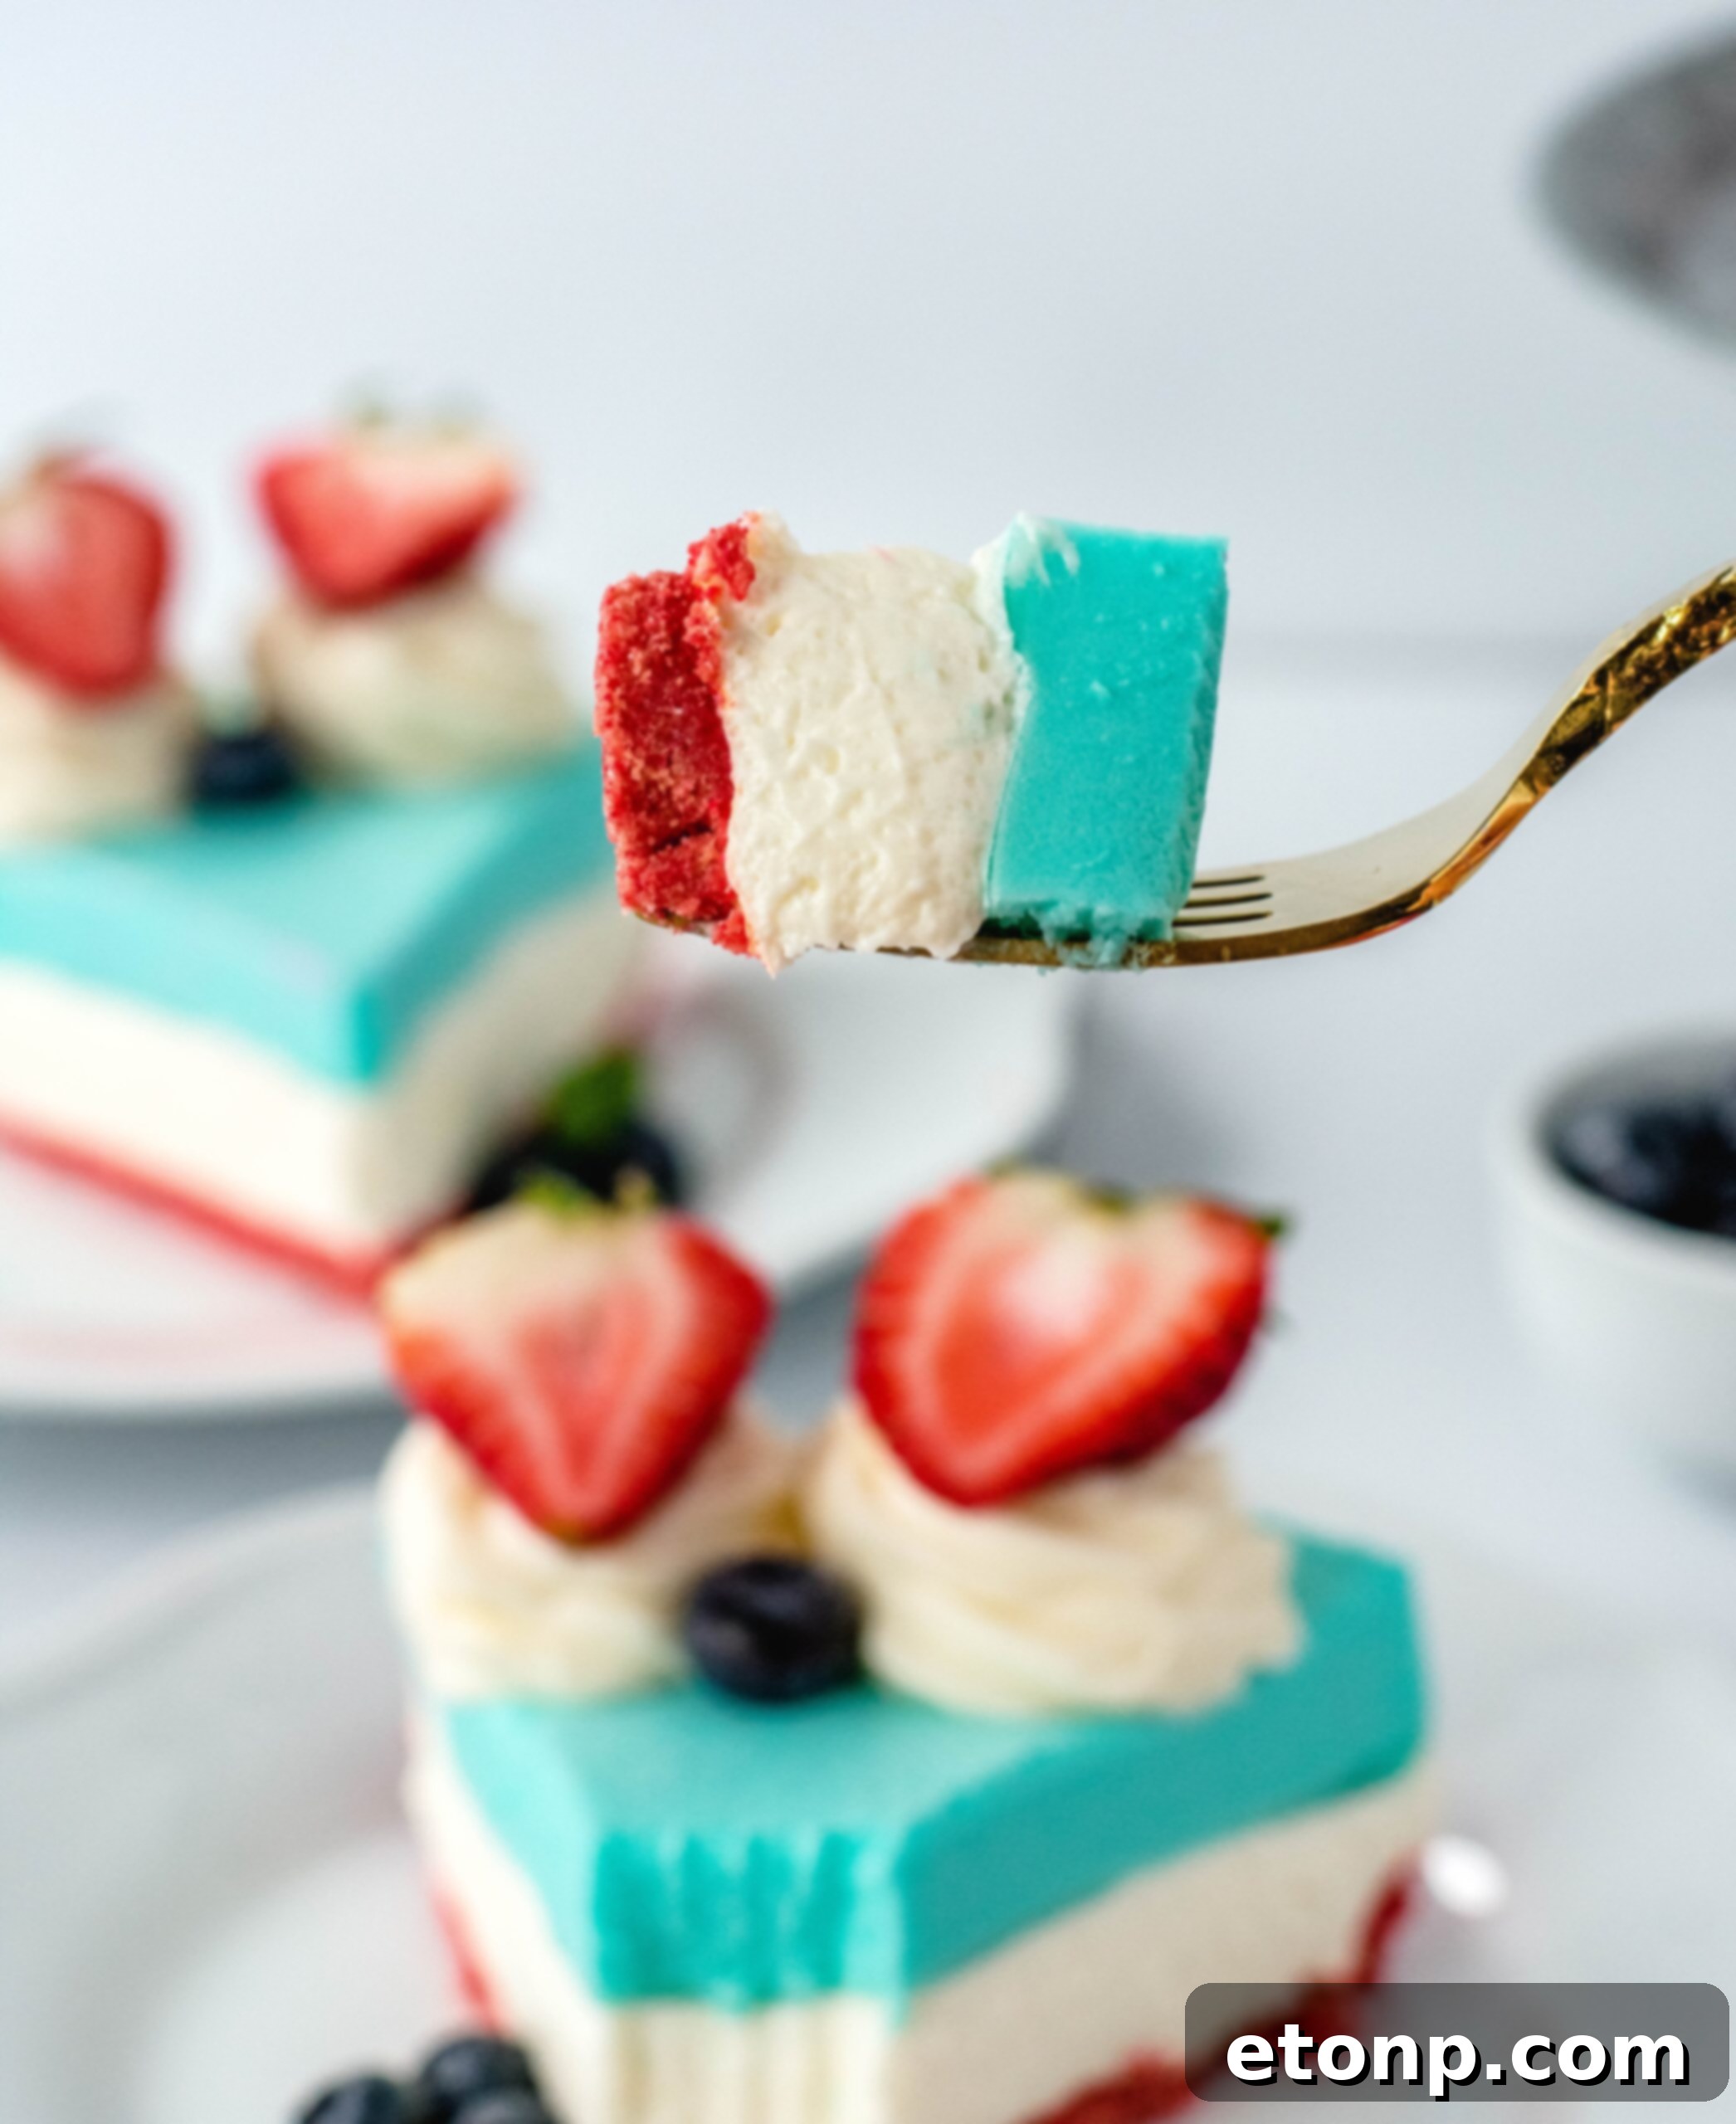
Embrace the simplicity and deliciousness of this No-Bake Patriotic Cheesecake. Its effortless preparation, vibrant presentation, and exquisite taste make it a must-try for your next gathering. Get ready to create lasting memories with a dessert that truly captures the spirit of celebration and homemade goodness.
Please remember to SHARE on Facebook and PIN IT!
FOLLOW ME ONPINTERESTBY CLICKING HERE <——
No Bake Patriotic Cheesecake
Ingredients
- Servings: 14
- Prep Time: 15 minutes
- Set Time: 4-5 hours or overnight
Crust:
- 2 cups golden Oreo crumbs
- 3 Tablespoons butter- melted
- ¼ teaspoon salt
- 1 teaspoon red gel food color
Filling:
- 2-8 oz. packages of cream cheese- softened
- 2 cups powdered sugar
- 2 teaspoons vanilla extract
- 2 cups heavy whipping cream
- 3.94 oz. package of blue raspberry Jell-O
- 1 cup boiling water
Topping:
- 6 oz. cream cheese- softened
- 6 Tablespoons butter- softened
- 3 cups powdered sugar
- 1 teaspoon vanilla extract
- Fresh blueberries
- Fresh strawberries- halved
Instructions
Crust:
-
Add the Oreo cookies into a food processor and pulse until you have about 2 cups of crumbs. Add in the butter, salt, and food coloring and pulse until everything is combined and the color is evenly distributed.
-
Prepare a 9” springform pan by spraying lightly with non-stick spray and pour in the crumbs. Press firmly with a clean hand or the back of a spoon to form the crust. Be sure to bring some of the crumbs up the side of the pan as well.
-
Place the crust in the freezer and prepare the filling.
Filling:
-
In a glass measuring cup, add 1 cup of boiling water and the blueberry Jell-O mix and whisk to combine. Set aside to cool.
-
Prepare the whipped cream by adding 2 cups heavy cream, 1 cup of powdered sugar, and 1 teaspoon of vanilla extract into a large bowl or the bowl of a stand mixer with a whisk attachment. Whisk for 4-5 minutes or until soft peaks form. Set aside.
-
In another medium bowl, add the cream cheese, remaining one cup of powdered sugar, and 1 teaspoon of vanilla extract and cream together for at least 5 minutes. Be sure that the mixture is nice and smooth and there are no lumps.
-
Take half of the whipped cream mixture and add into the cream cheese mixture and fold until combined.
-
Add the blueberry Jell-O into the remaining half of the whipped cream mixture and whisk until everything is combined.
-
Remove the crust from the freezer and layer the white cream cheese mixture on top of the crust and smooth with an offset spatula or spoon.
-
Carefully pour the blue Jell-O layer on top of the cream cheese
-
Place the cheesecake level in the refrigerator for at least 5 hours but I find it is best to let it set overnight.
Topping:
-
Once the cheesecake is set, make the cream cheese frosting by adding the cream cheese and butter into the bowl of a stand mixer or use a hand mixer and cream for 4-5 minutes until smooth.
-
Add in the vanilla extract and mix until combined. Slowly add in the powdered sugar one cup at a time, making sure that each cup is combined before adding the next.
-
Place the frosting into a piping bag fitted with a large star tip. Pipe swirls around the edge of the cheesecake and top with strawberry halves and fresh blueberries.
-
Serve and enjoy!
Did you make this recipe?
Make sure to follow on Pinterest for more recipes!
Pin Recipe
Share on Facebook