
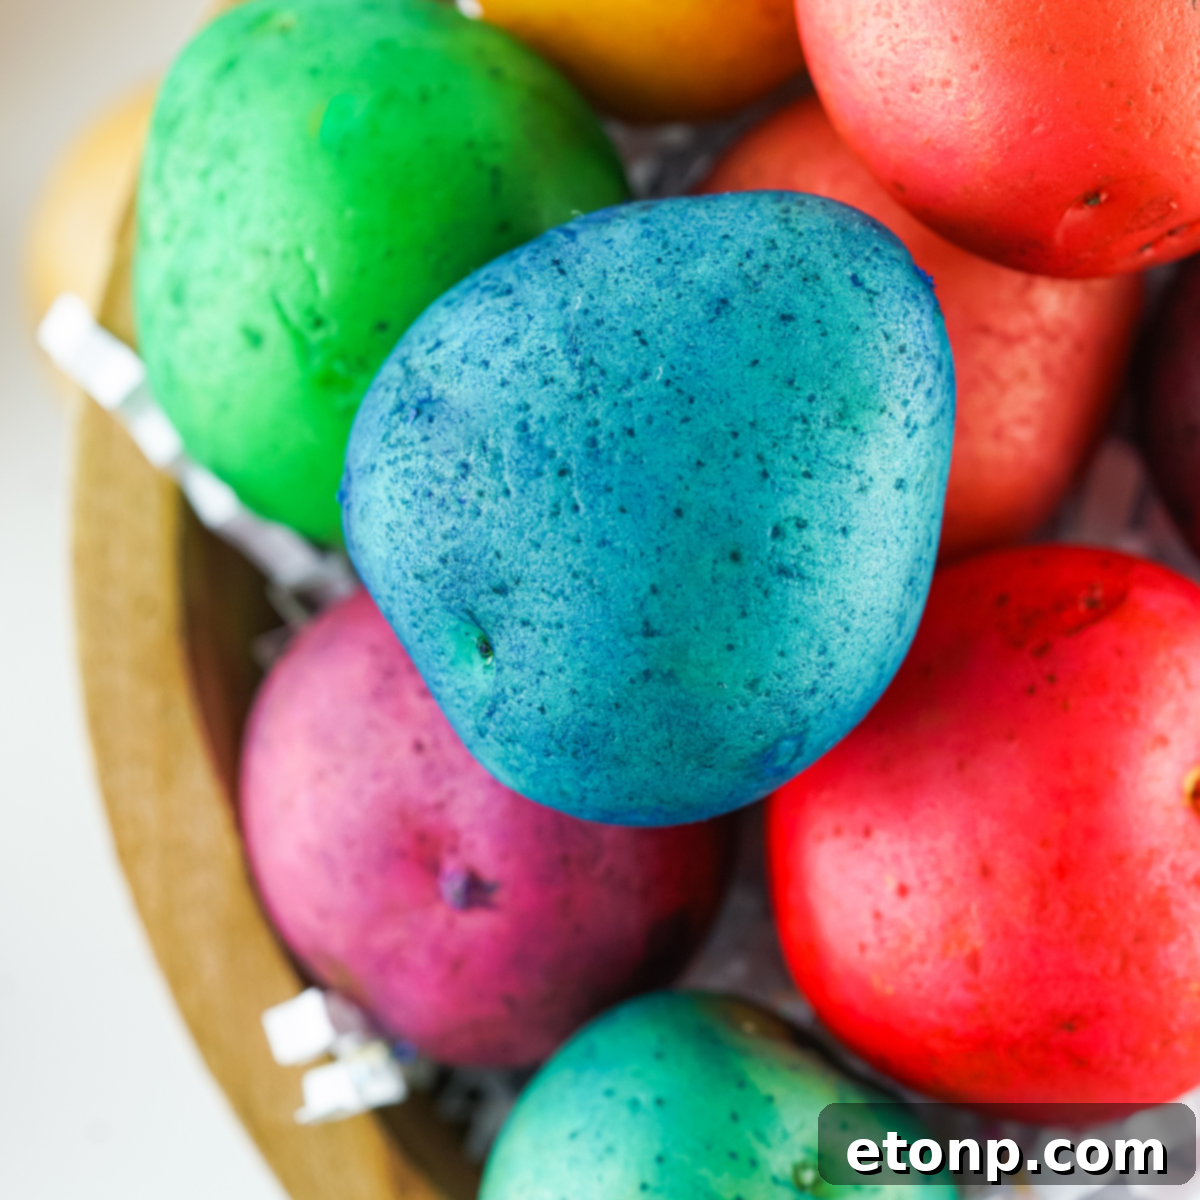
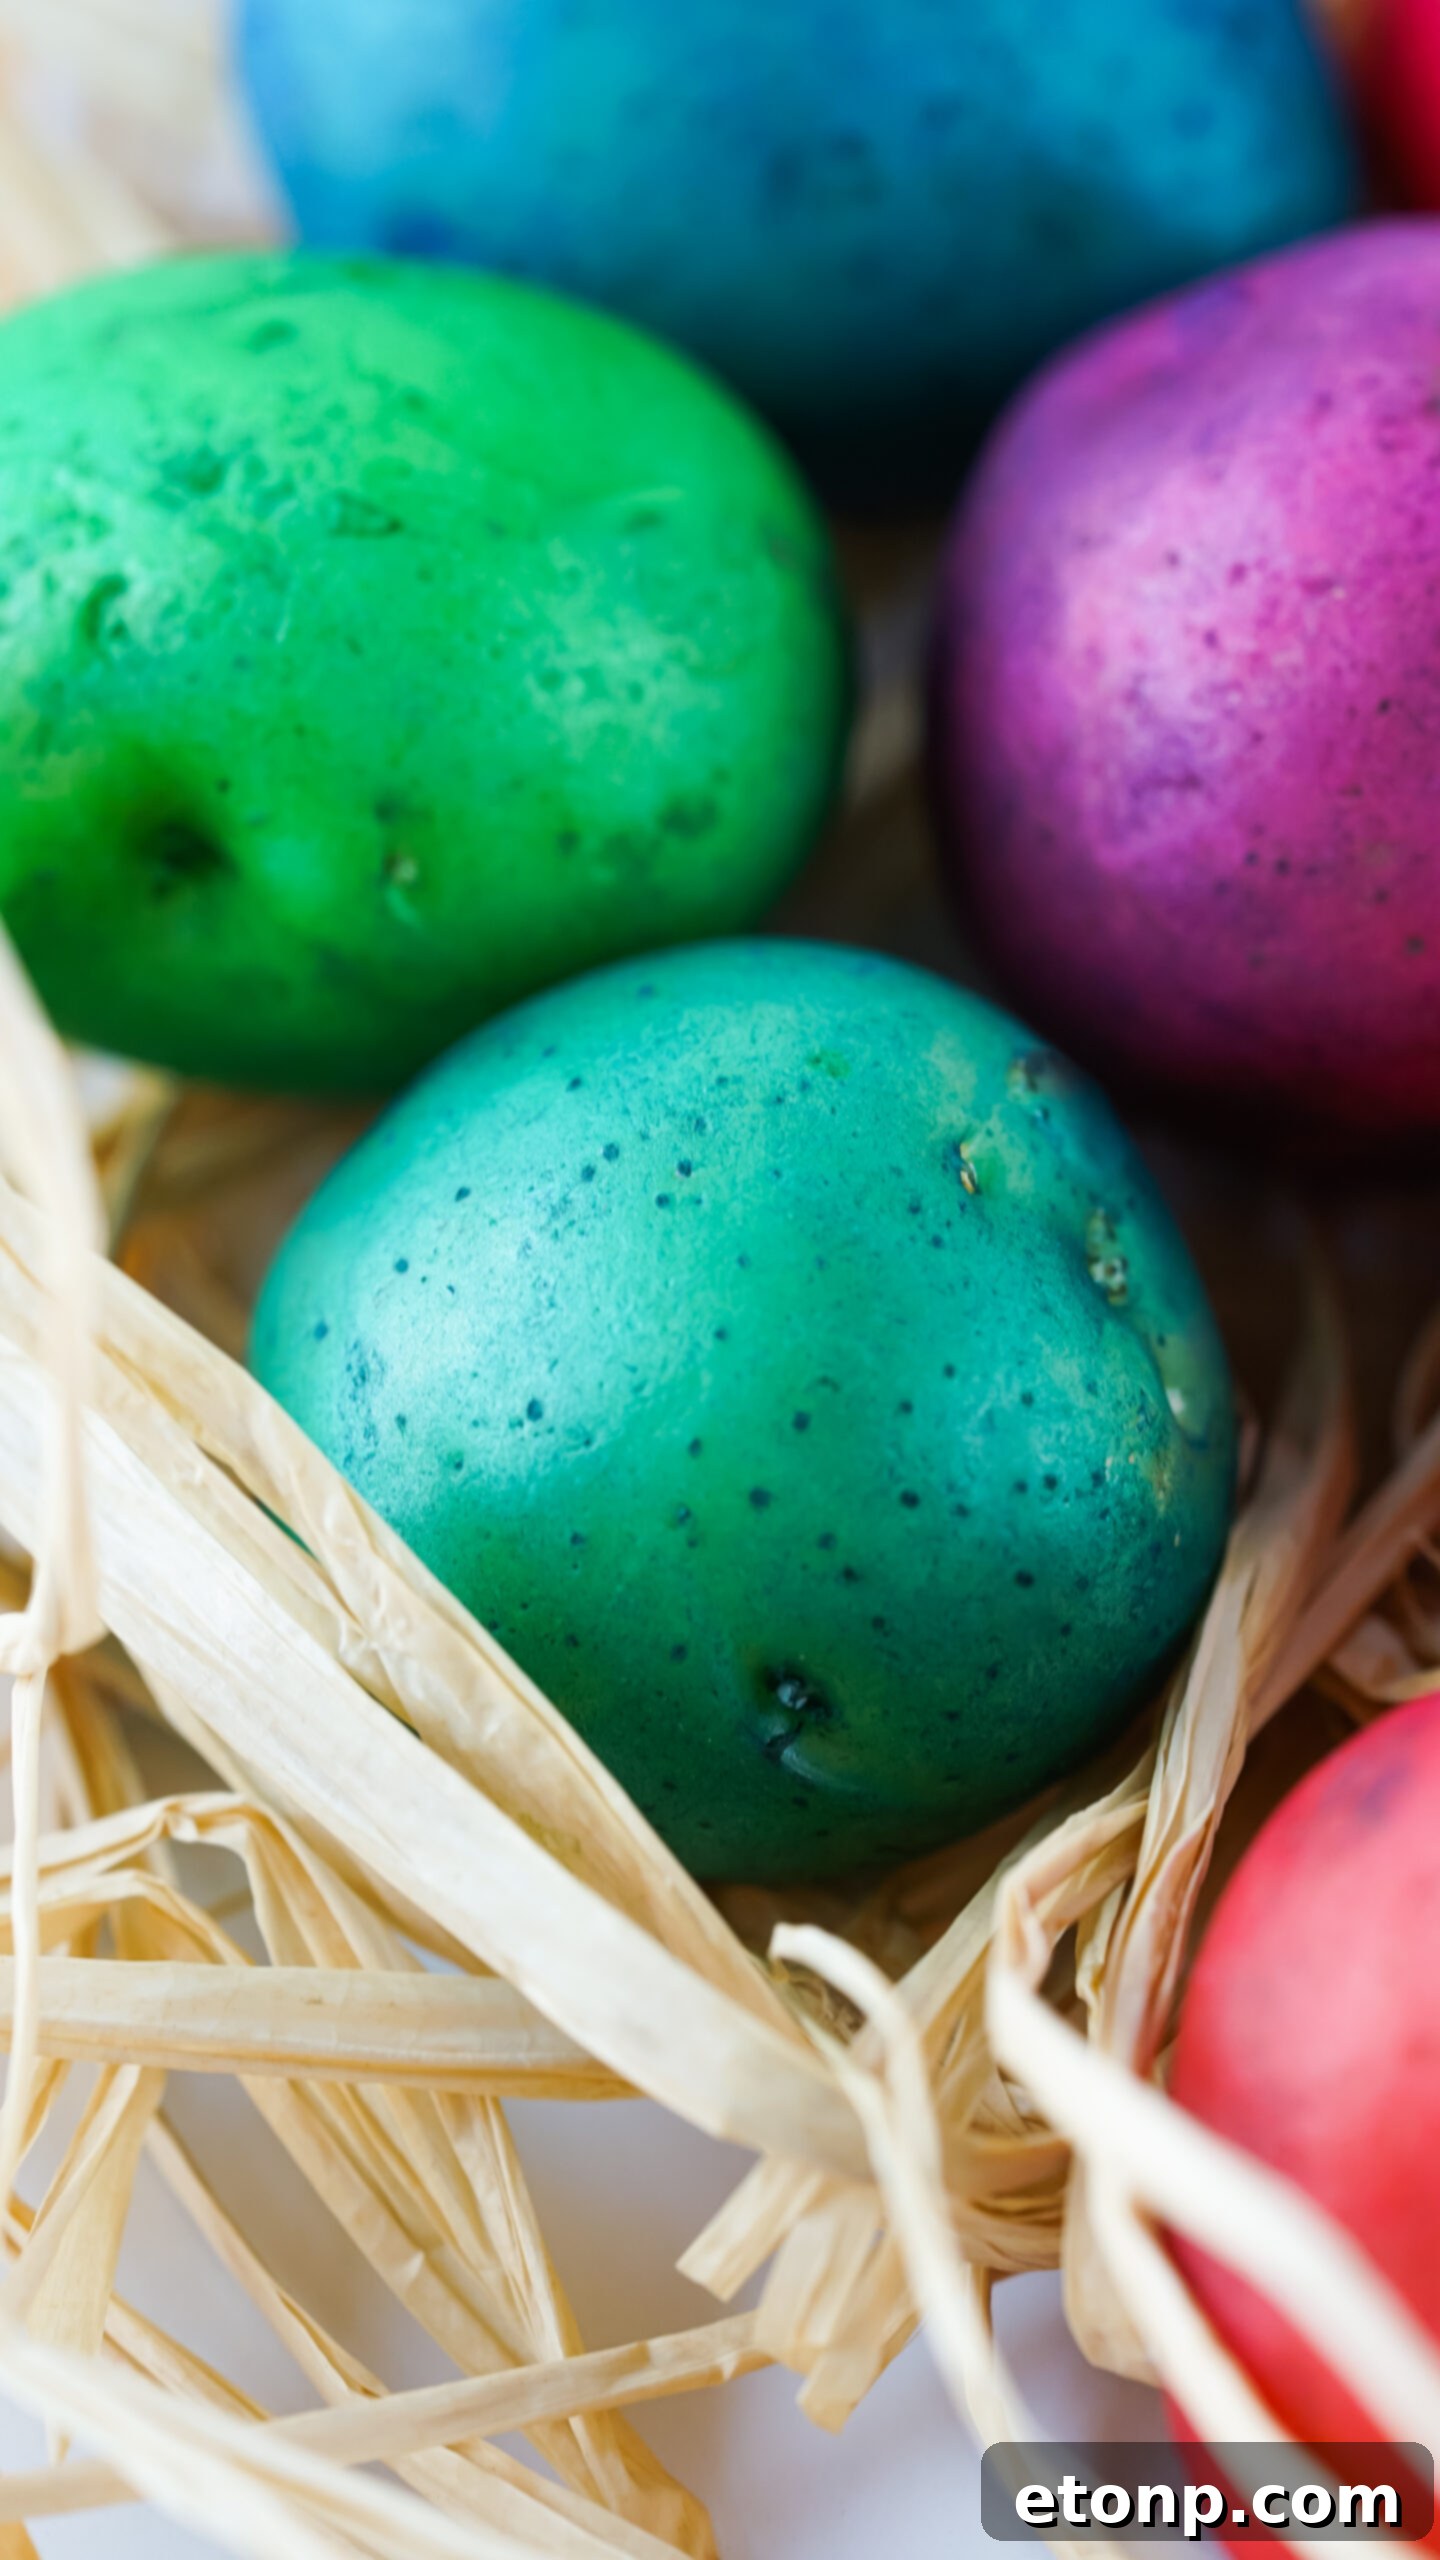
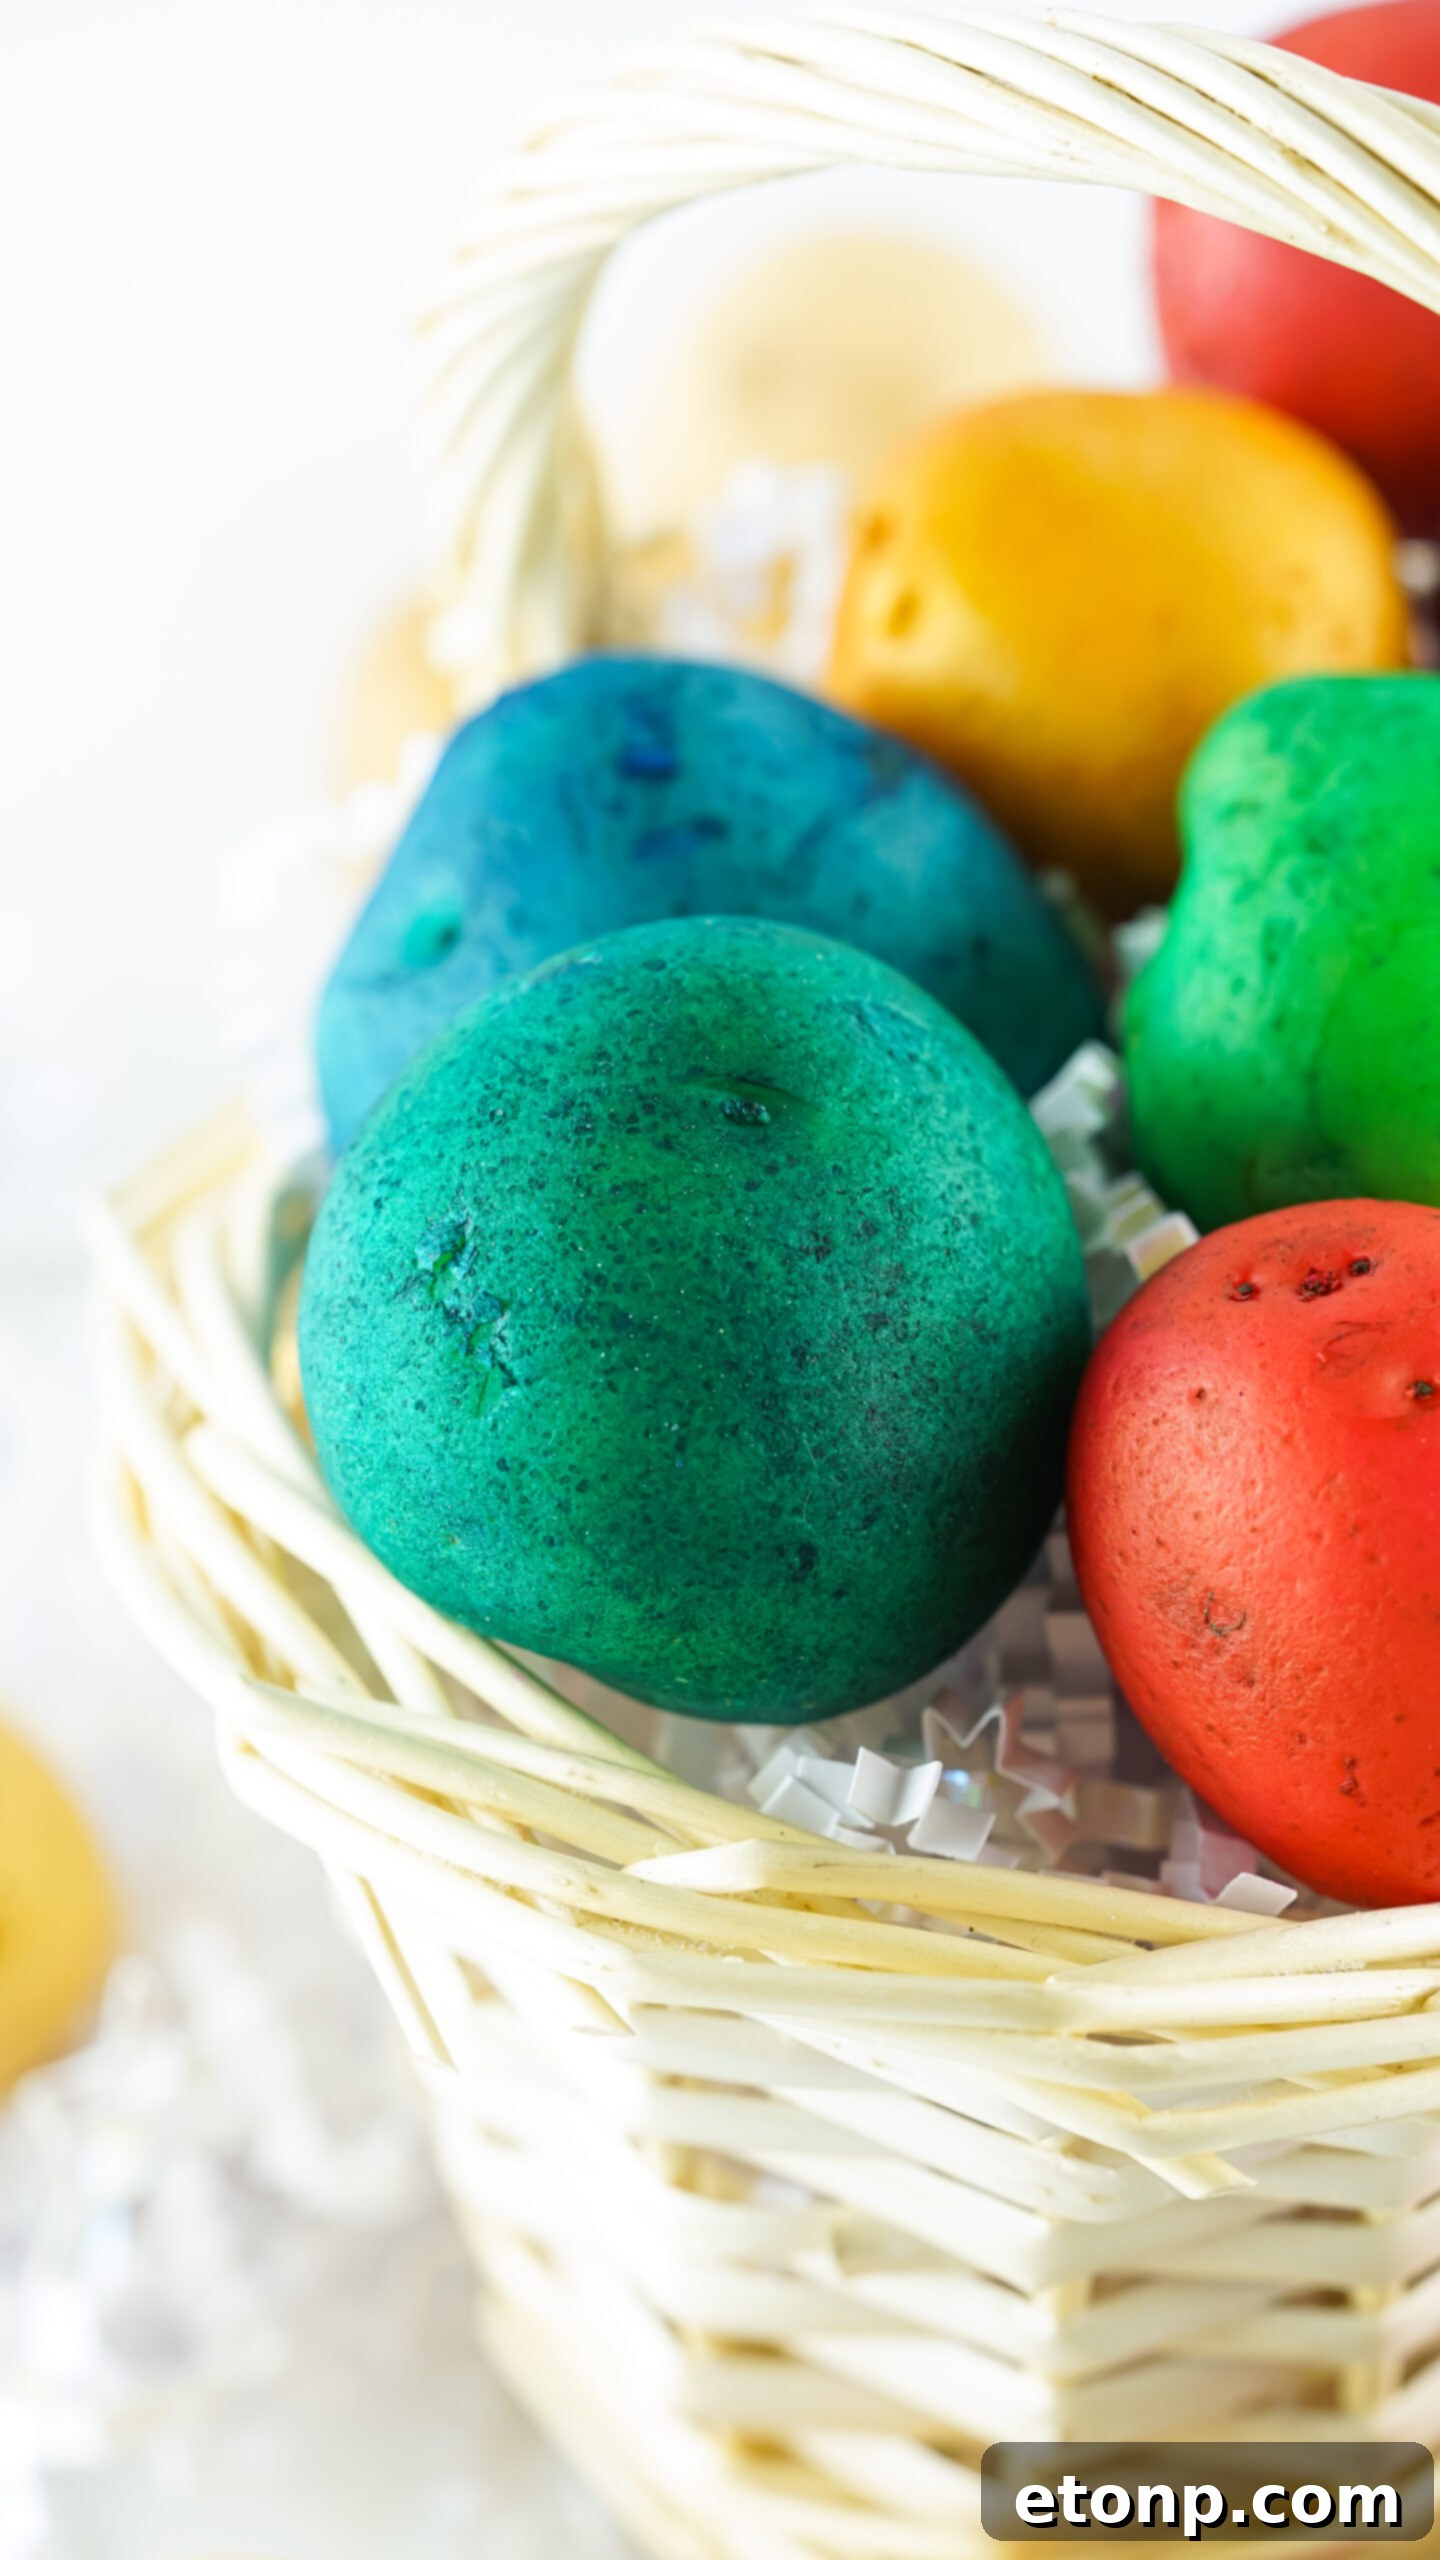
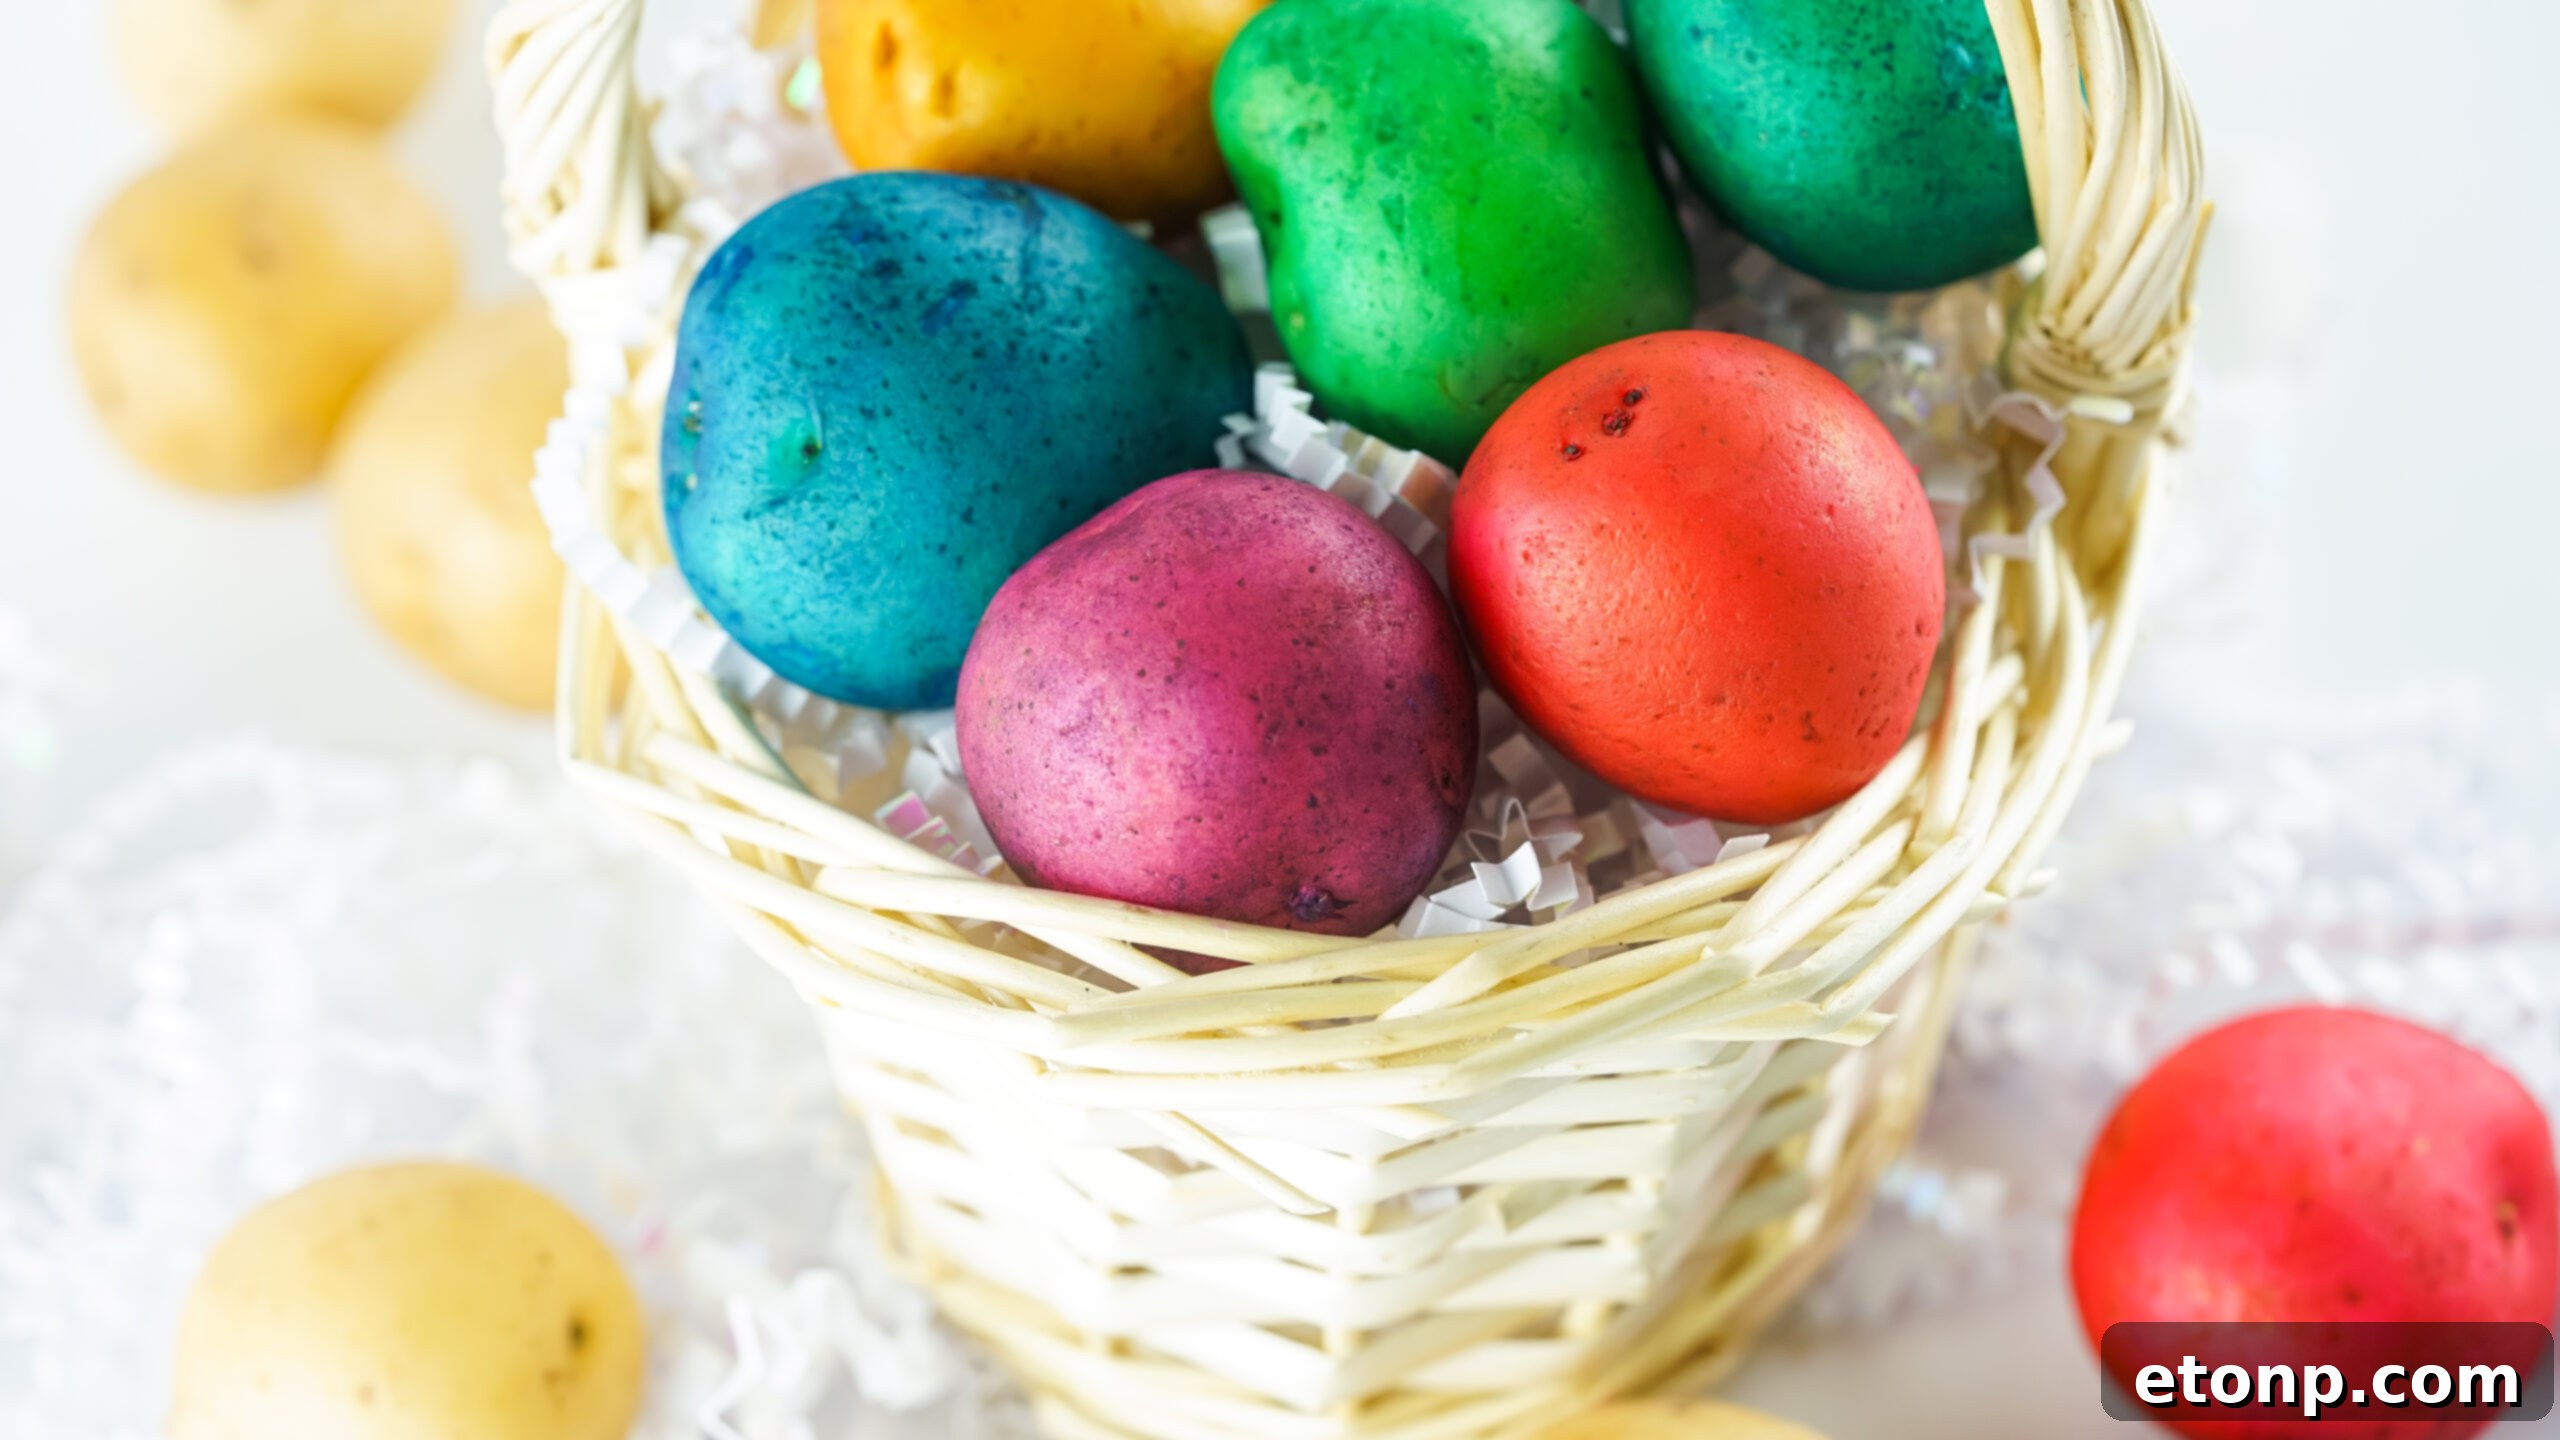
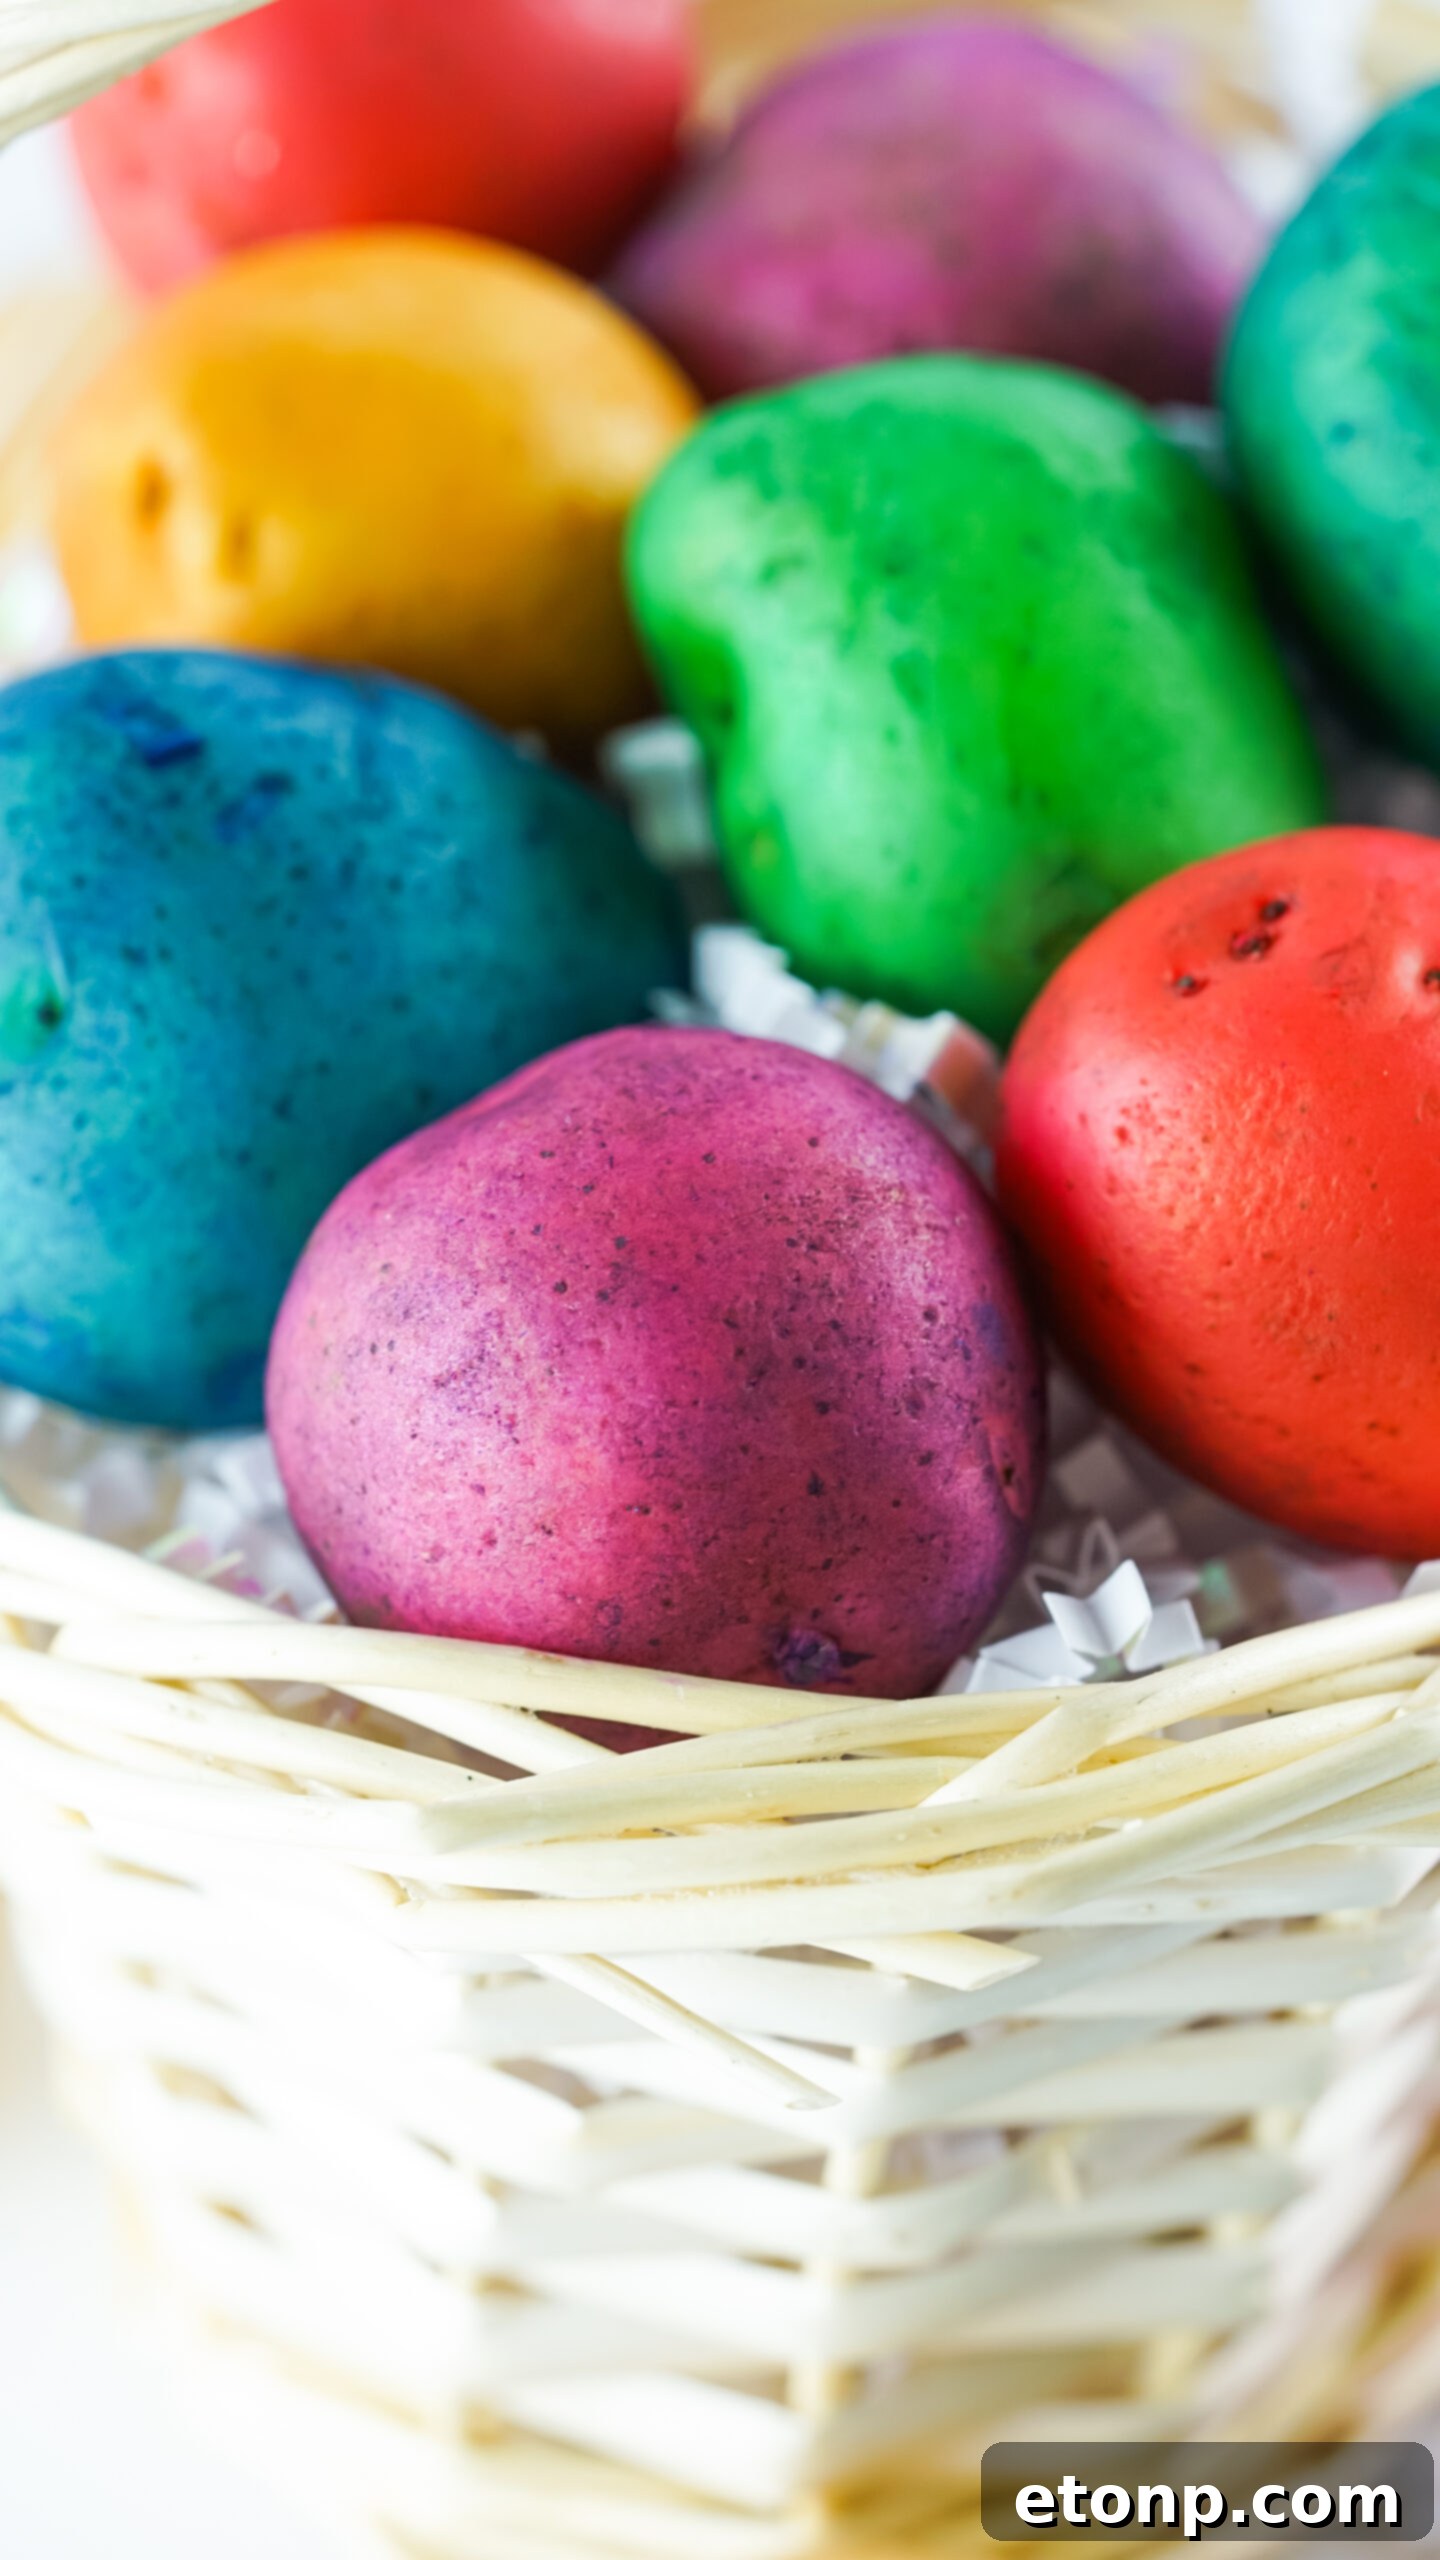
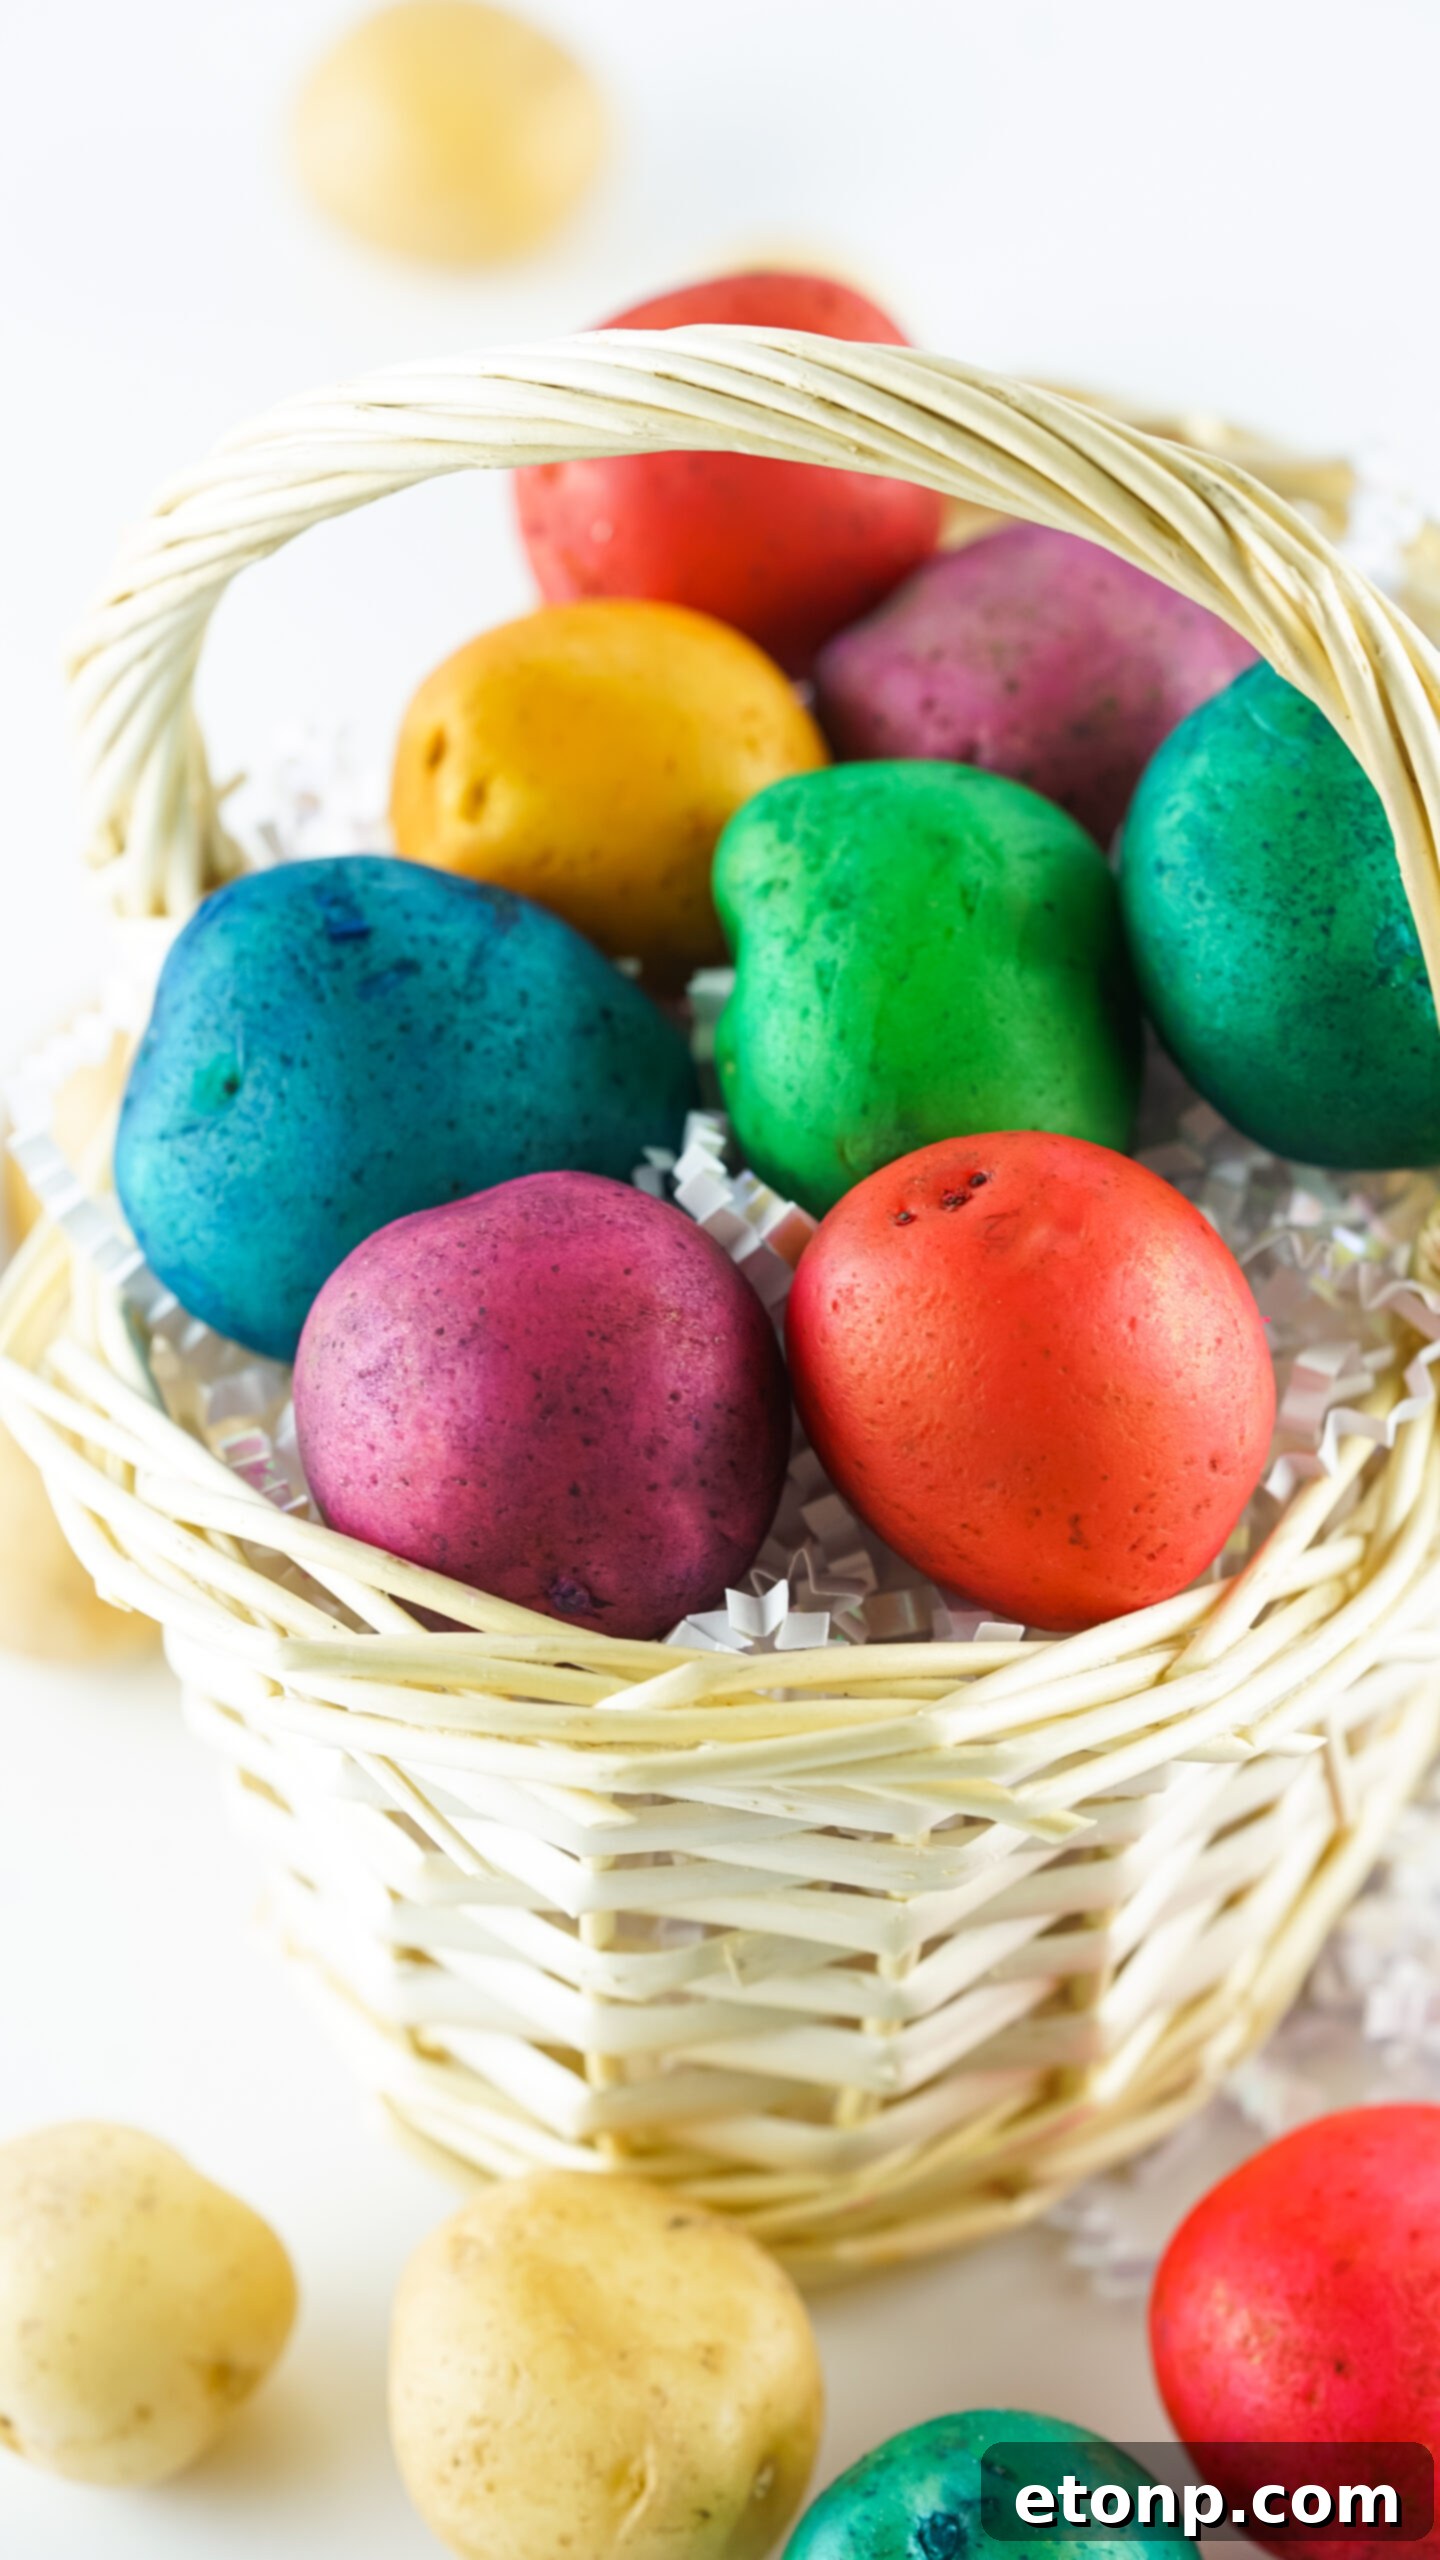
This Easter, discover a delightful and budget-friendly twist on a beloved tradition: **Dyed Easter Egg Potatoes**. Forget the hassle of fragile eggs and embrace the versatility of humble potatoes to create vibrant, festive decorations that will enchant kids and adults alike. This creative craft offers a unique way to infuse your spring celebrations with color and fun, all while being kind to your wallet. These charming potato “eggs” are intended for decorative purposes only and are NOT edible with the ingredients used in this guide.
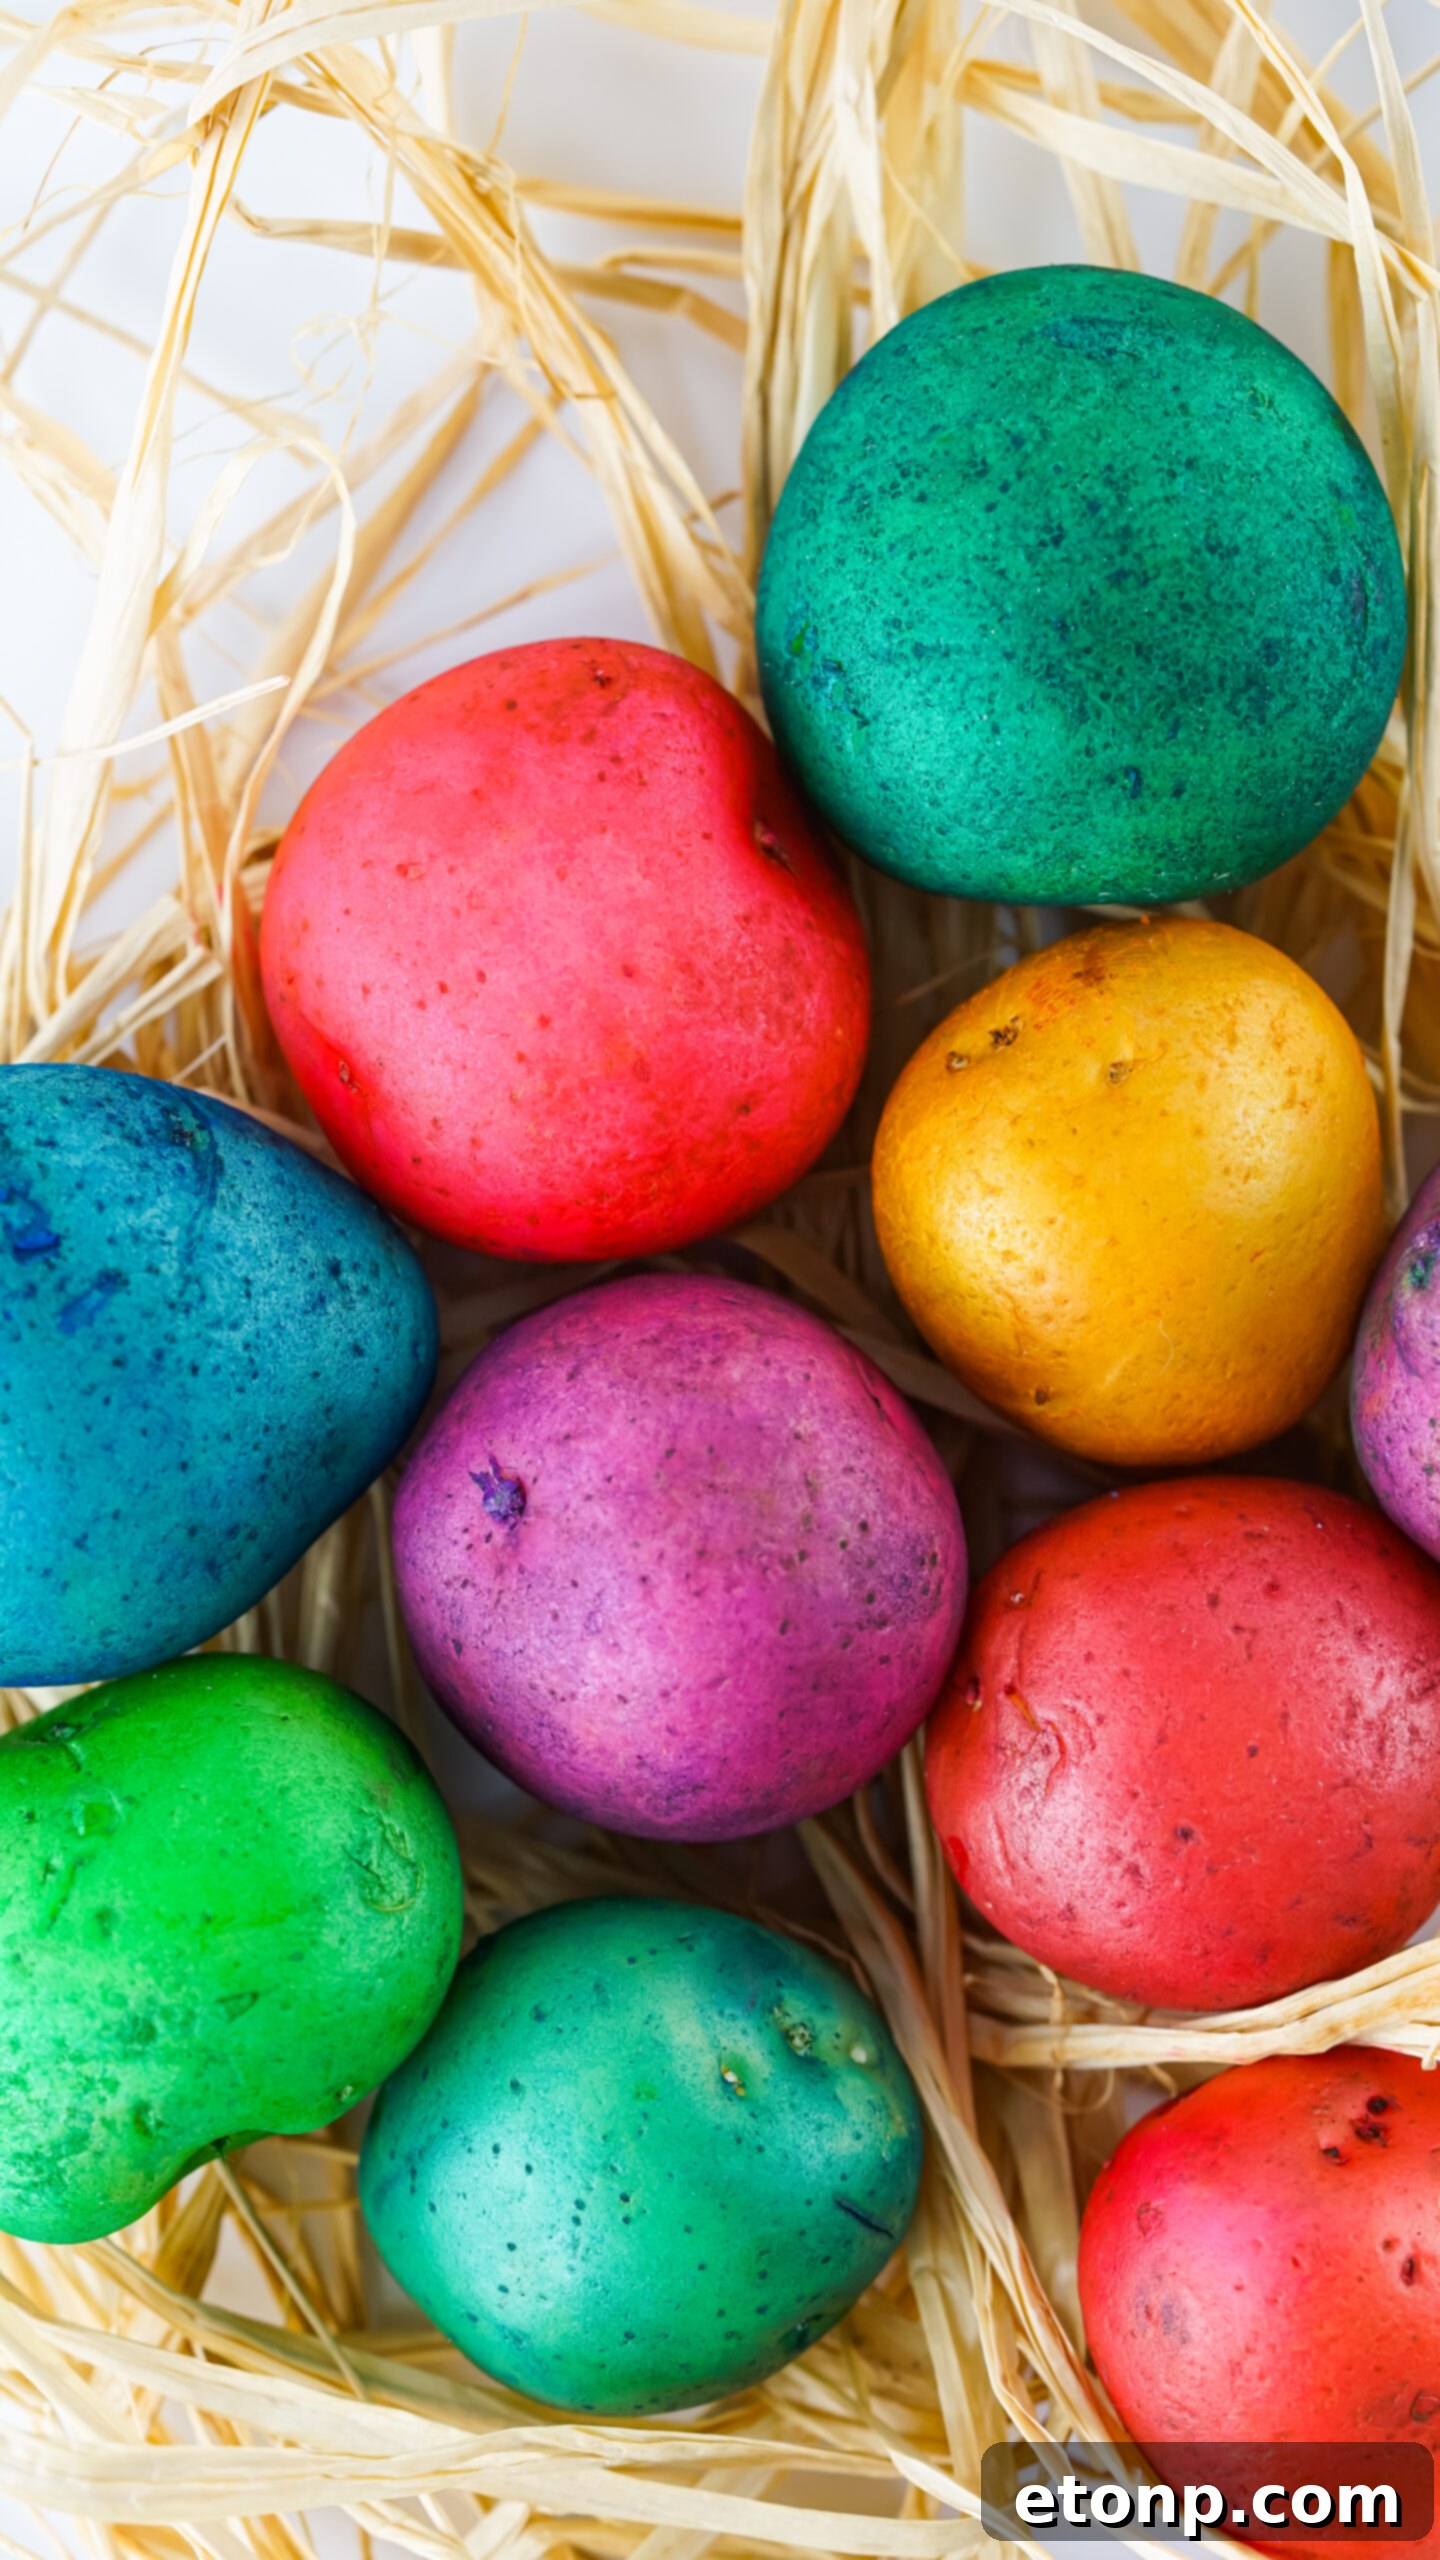
Easter traditions often revolve around beautifully decorated eggs, symbolizing new life and springtime joy. While traditional egg dyeing is a cherished activity, this year, we invite you to explore an innovative alternative that promises just as much enjoyment, if not more! Dyed Easter Egg Potatoes provide a fantastic opportunity to engage in a hands-on holiday activity that is both economical and wonderfully creative. With a few simple craft supplies, you can transform ordinary potatoes into stunning decorative pieces perfect for any Easter gathering or home display.
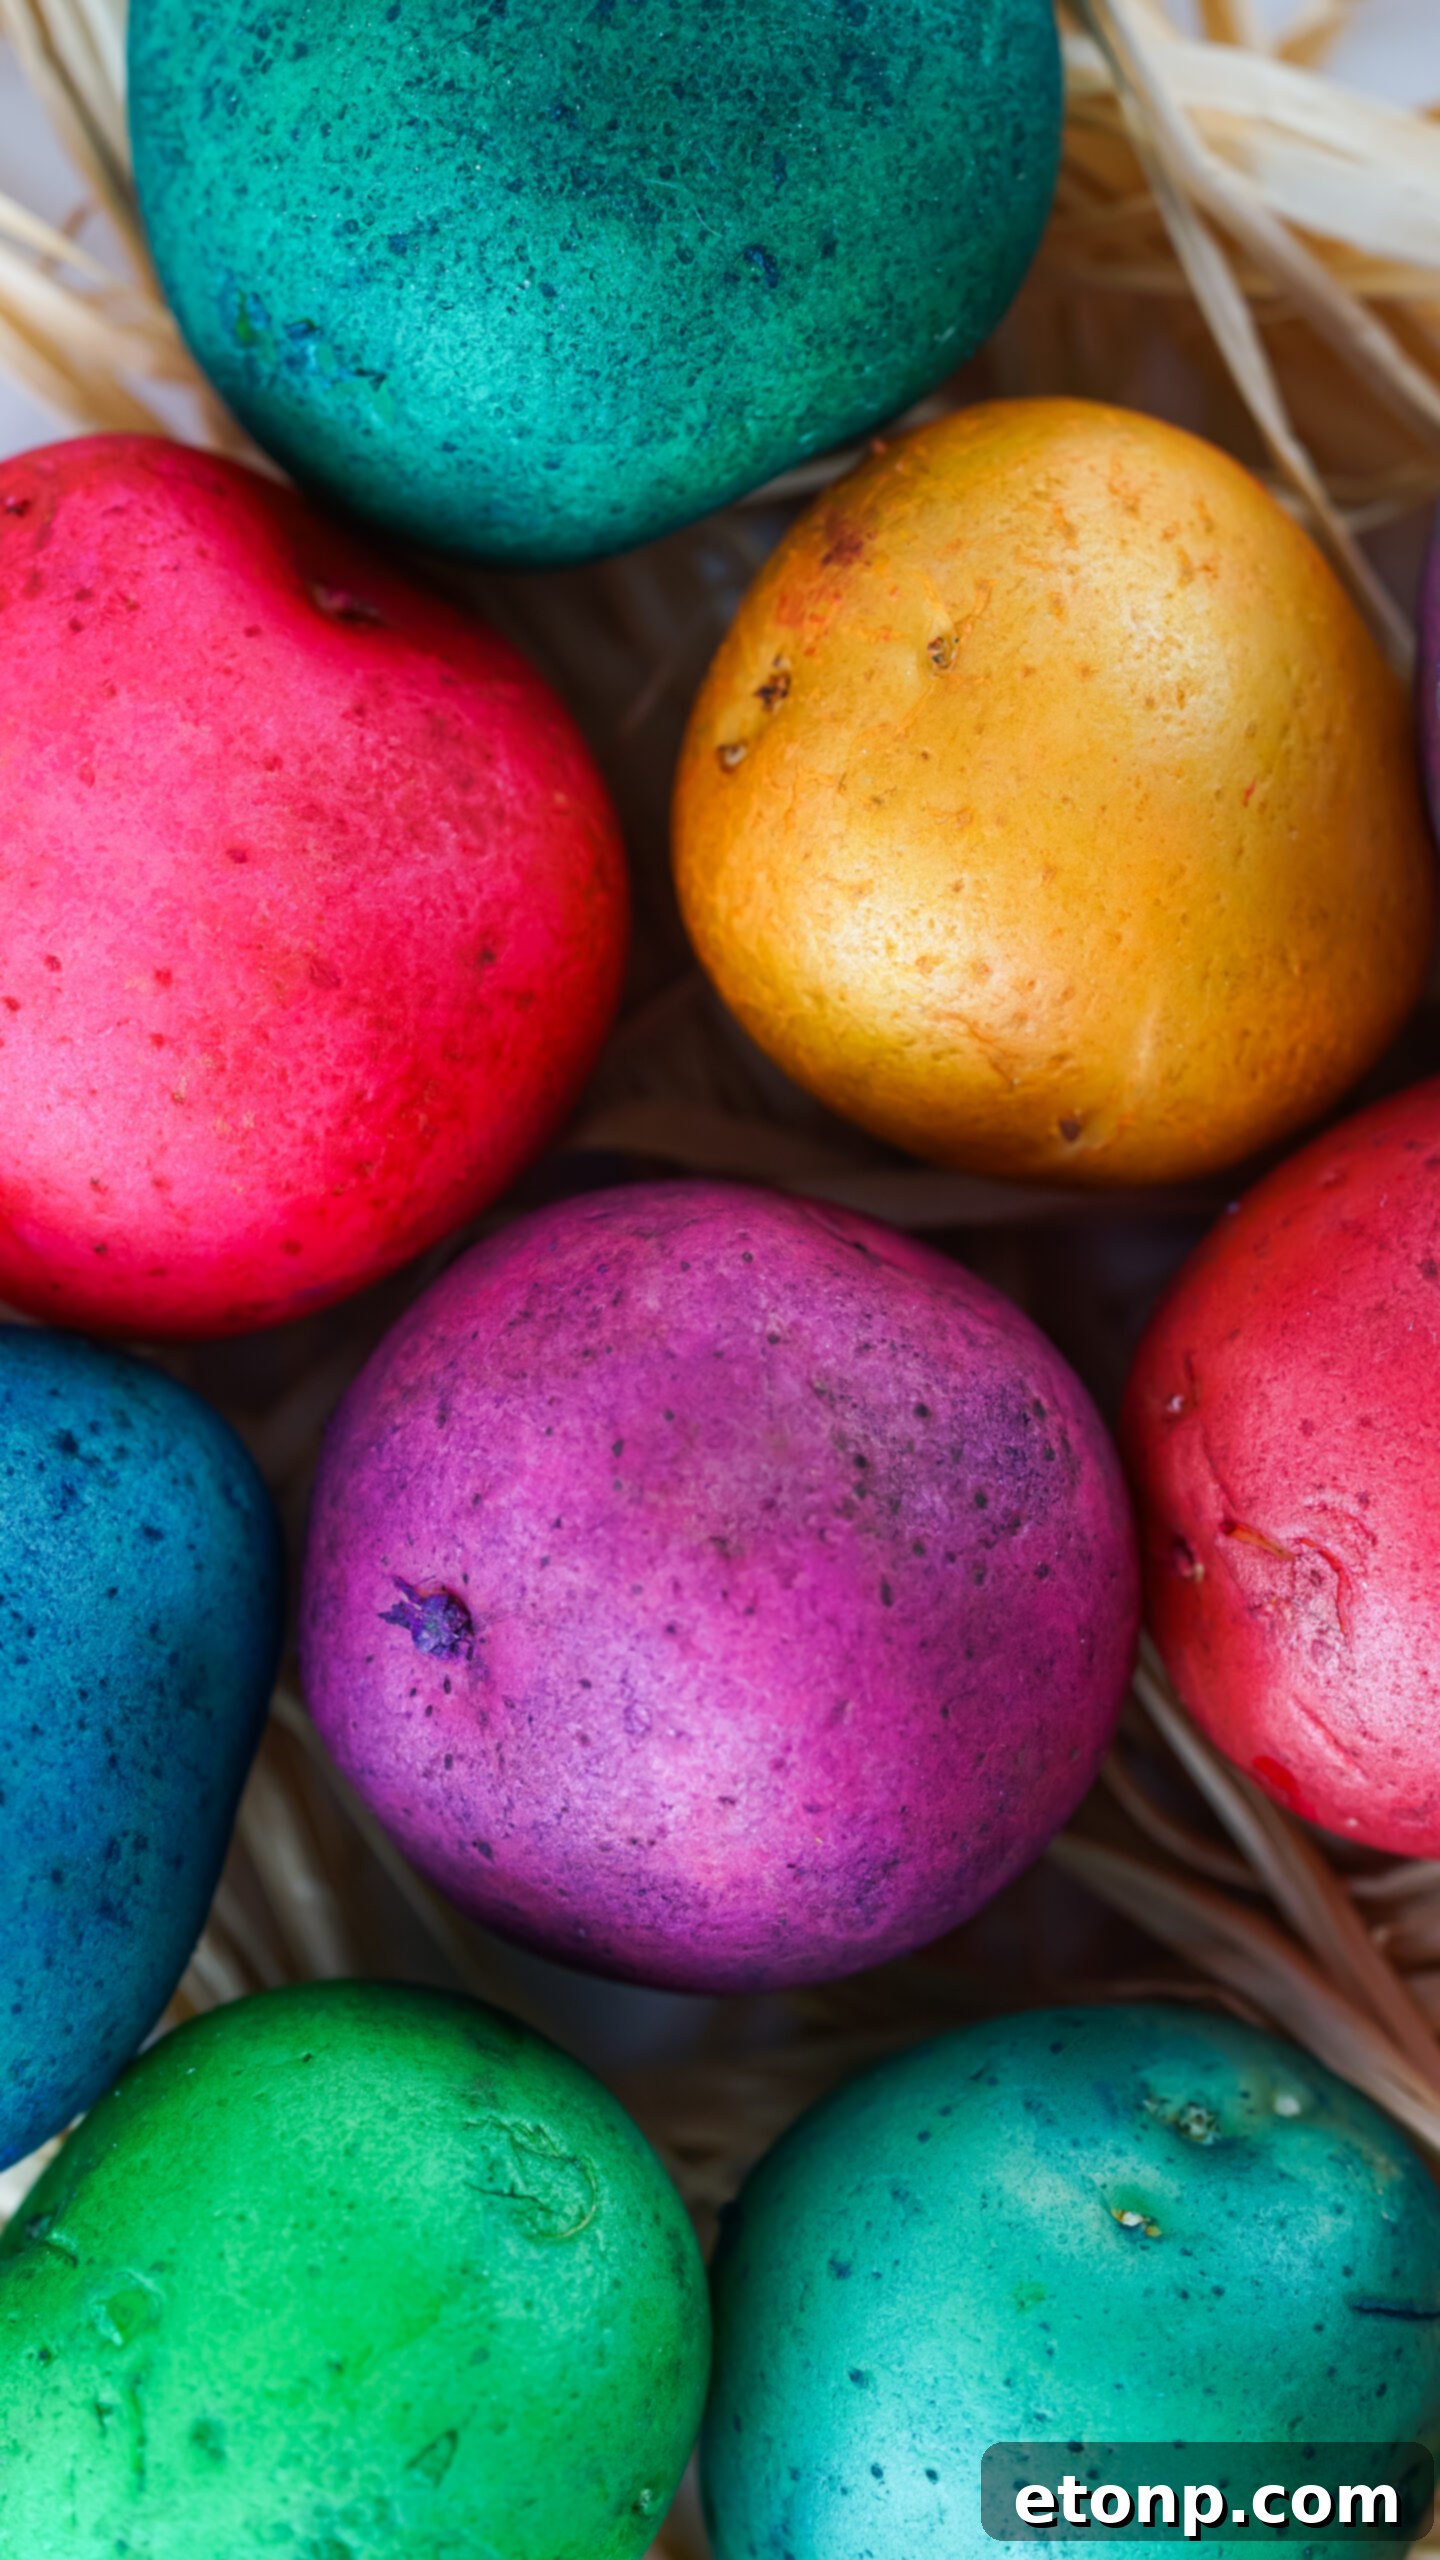
The Budget-Friendly Advantage: Eggs vs. Potatoes
When planning Easter festivities, managing costs is often a consideration. Potatoes and eggs are staples in kitchens worldwide, but their price points differ significantly, especially when purchased for craft purposes rather than consumption. For those looking to enjoy the tradition of “egg” dyeing without the higher expense, potatoes offer a smart and sustainable solution.
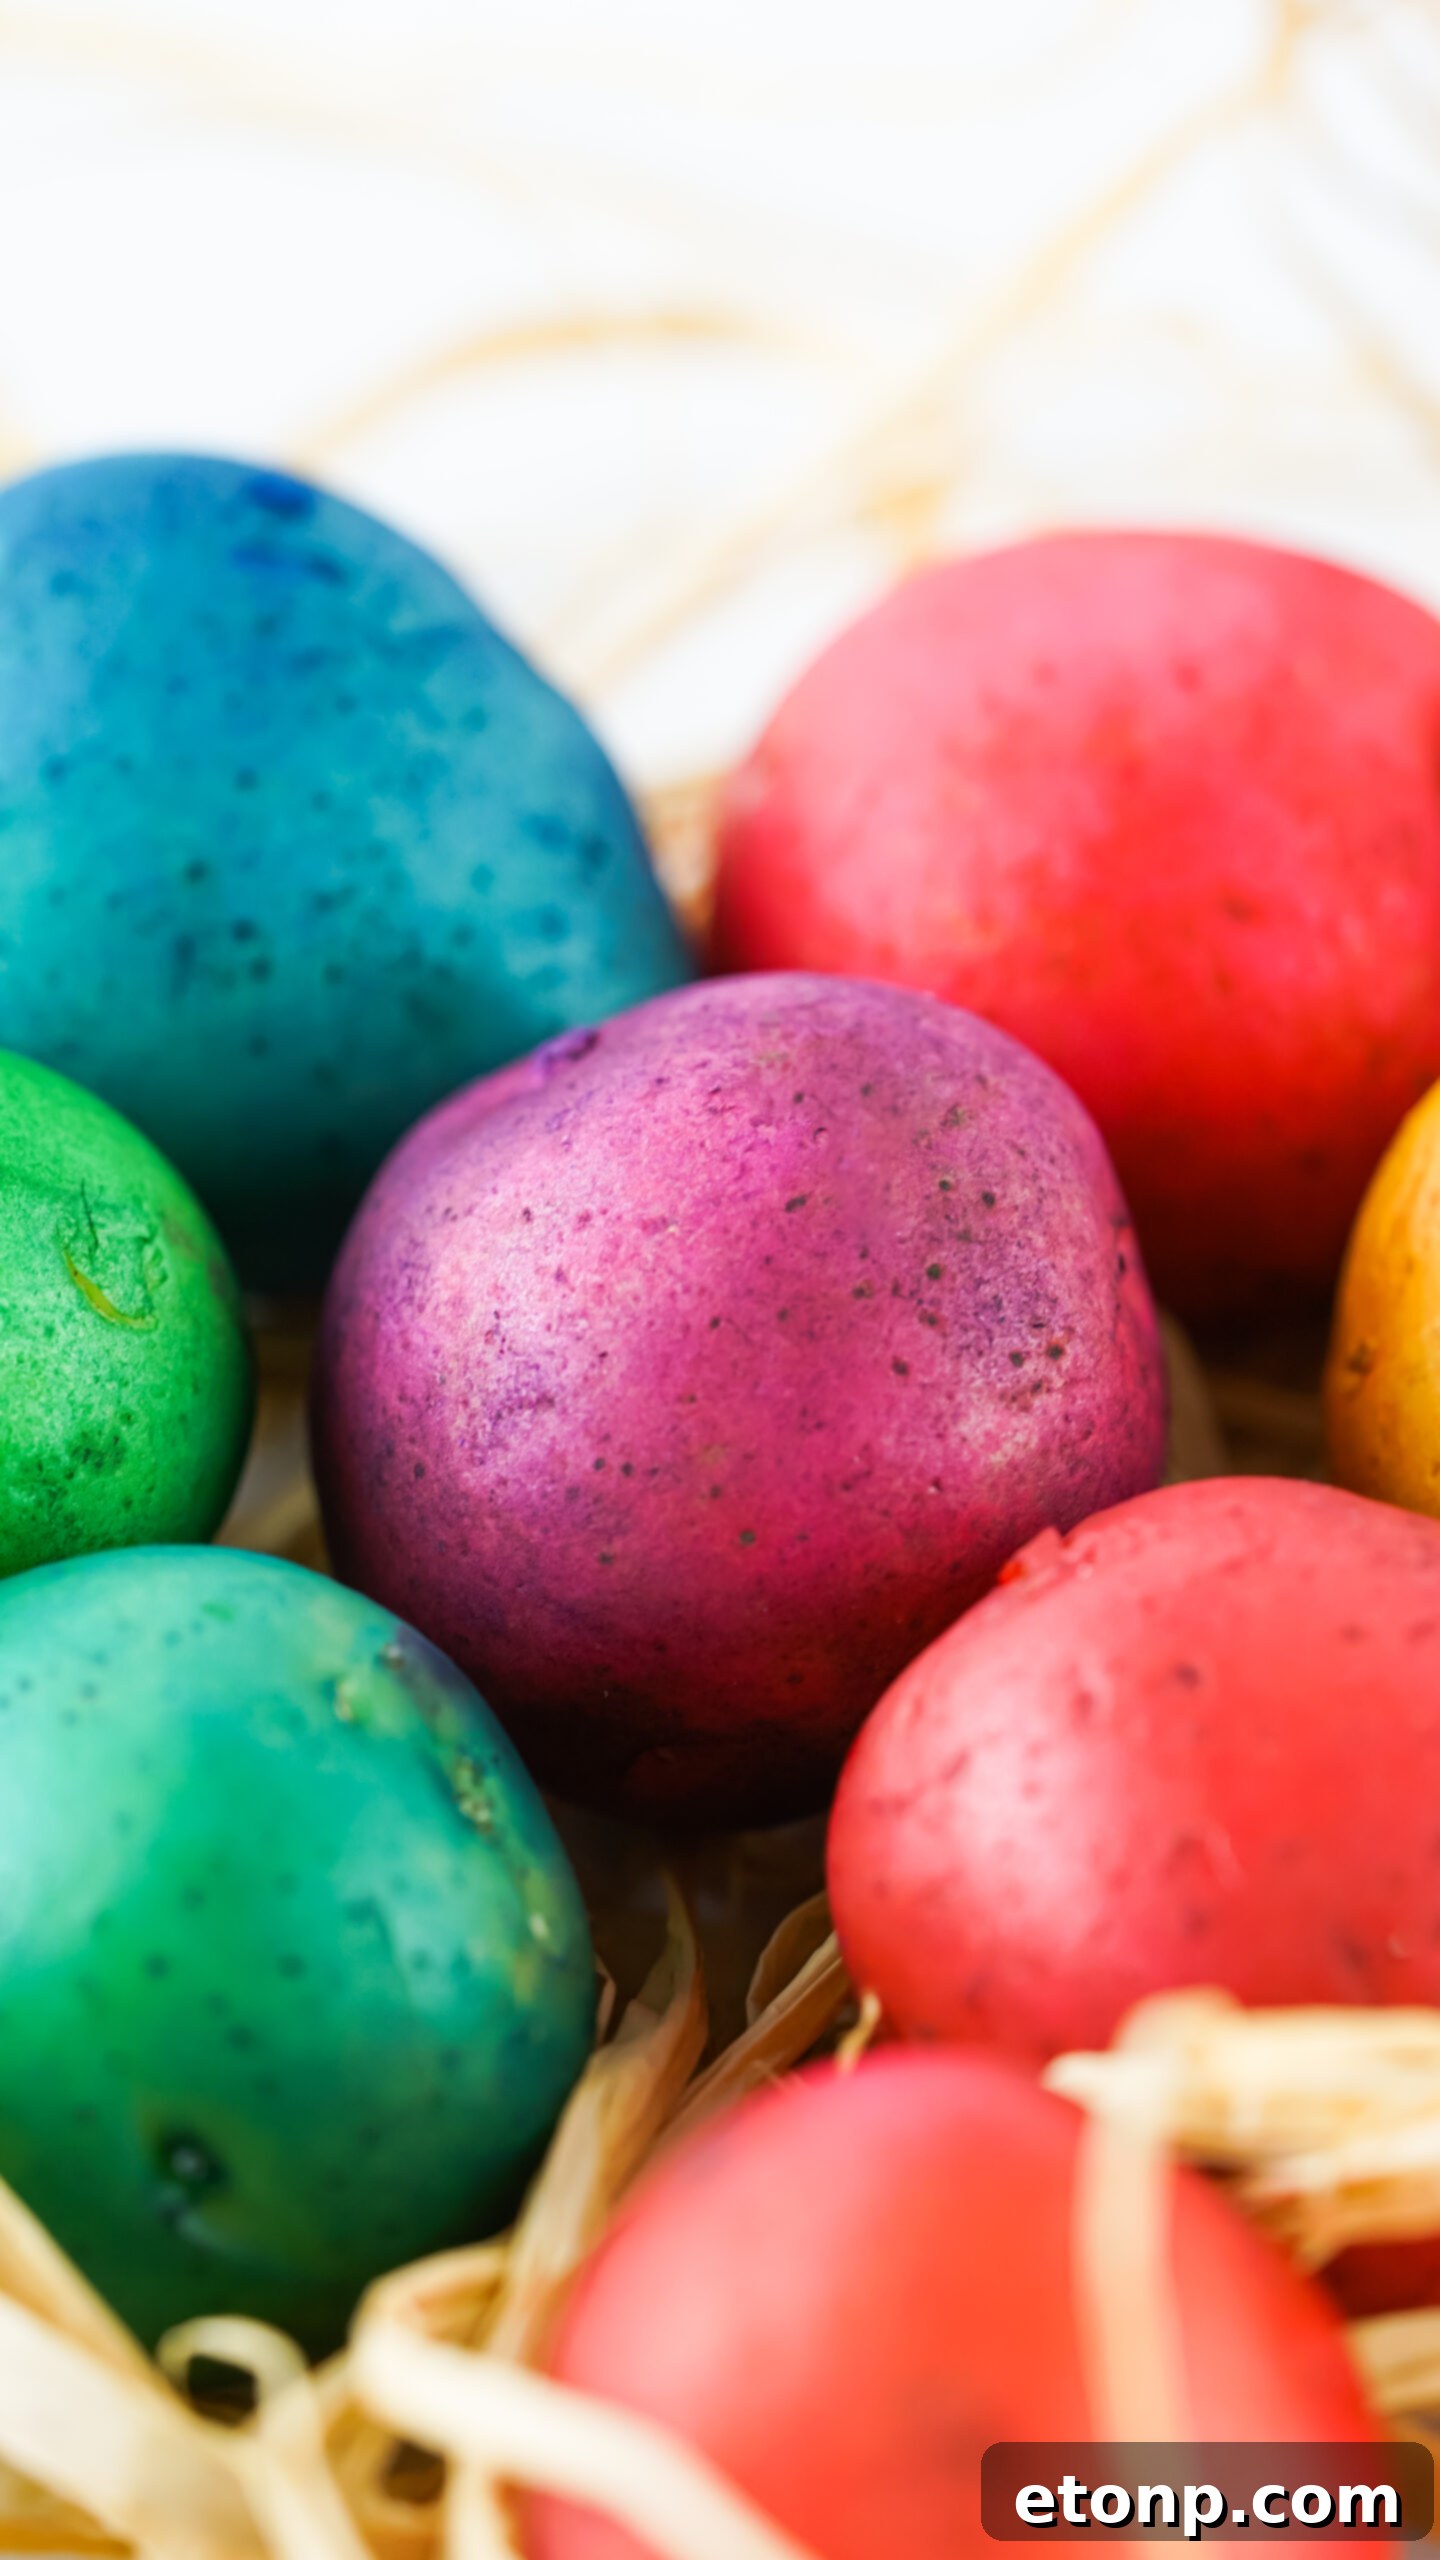
Typically, potatoes are considerably more affordable than eggs. A pound of potatoes might range from $1-$3, while a dozen eggs can cost anywhere from $2-$5, depending on the type and region. This often means that a substantial amount of potatoes can be acquired for a fraction of the cost of the equivalent number of eggs. Opting for potatoes allows families to participate in this fun holiday activity without stretching their budget, making it an ideal choice for frugal and waste-conscious celebrations. Not only do you save money on the primary material, but the finished potato decorations also tend to last longer than hard-boiled eggs, offering extended enjoyment from your creative efforts.
Why You’ll Adore Making Dyed Easter Egg Potatoes
Searching for an Easter activity that promises joy, creativity, and ease for the entire family? Look no further than dyeing Easter egg potatoes! This unique craft offers a host of benefits that make it a standout choice for your holiday celebrations. Here are compelling reasons why you’ll love diving into this colorful project:
- Unleash Your Creativity: Transforming plain potatoes into vibrant “Easter eggs” is an incredible artistic outlet. You have boundless opportunities to experiment with colors, patterns, and designs. From simple splashes of color to intricate motifs, each potato becomes a canvas for unique expression. This project encourages artistic freedom, allowing every participant to create a masterpiece that reflects their personal style.
- Perfectly Kid-Friendly: This activity is exceptionally safe and engaging for children of all ages. Since there’s no need for heat or sharp tools (unless supervised for cutting potatoes for different shapes), it’s a worry-free craft for little hands. Kids will delight in selecting their colors, applying paint, and watching their potato eggs come to life. The hands-on nature of the project also helps develop fine motor skills and color recognition in a fun, festive setting.
- Lasting Decorations: Unlike real hard-boiled eggs that can spoil quickly, dyed potatoes offer a much longer lifespan as decorative items. Properly prepared and stored, these potato “eggs” can last for weeks, or even longer if sealed, allowing you to enjoy your beautiful creations throughout the spring season. This longevity means your crafting efforts contribute to extended holiday cheer, making them a more sustainable decoration choice.
- An Economical Crafting Choice: As mentioned, one of the biggest draws of this project is its affordability. The primary materials – potatoes and food coloring – are inexpensive and readily available. This makes it an accessible craft for everyone, ensuring that budget constraints don’t limit your family’s ability to partake in Easter fun. You can create an impressive array of colorful decorations without breaking the bank.
- A Safe & Hygienic Activity: Traditional egg dyeing can sometimes come with concerns about food safety, particularly the risk of Salmonella from raw or improperly handled eggs. With potatoes, these worries are completely eliminated. You’re working with a clean, sturdy vegetable, making the dyeing process hygienic and safe for all participants, especially children.
- Eco-Conscious Crafting: For those mindful of environmental impact, potato dyeing presents a more sustainable option. After the holiday, decorated potatoes can be composted, returning nutrients to the soil, or even planted (if unsealed and kept raw) to potentially grow new potato plants. This reduces waste compared to plastic eggs or eggs that might end up in the trash, aligning with eco-friendly values.
Don’t miss out on this fantastic new take on a cherished holiday tradition. Gather your family and try making dyed Easter egg potatoes today for an unforgettable and vibrant Easter celebration!
Ingredients and Materials for Your Potato Palette
Creating your stunning Dyed Easter Egg Potatoes requires only a handful of simple, readily available items. The key is choosing the right potatoes and having your artistic tools at hand. Here’s what you’ll need to transform ordinary vegetables into extraordinary decorations:
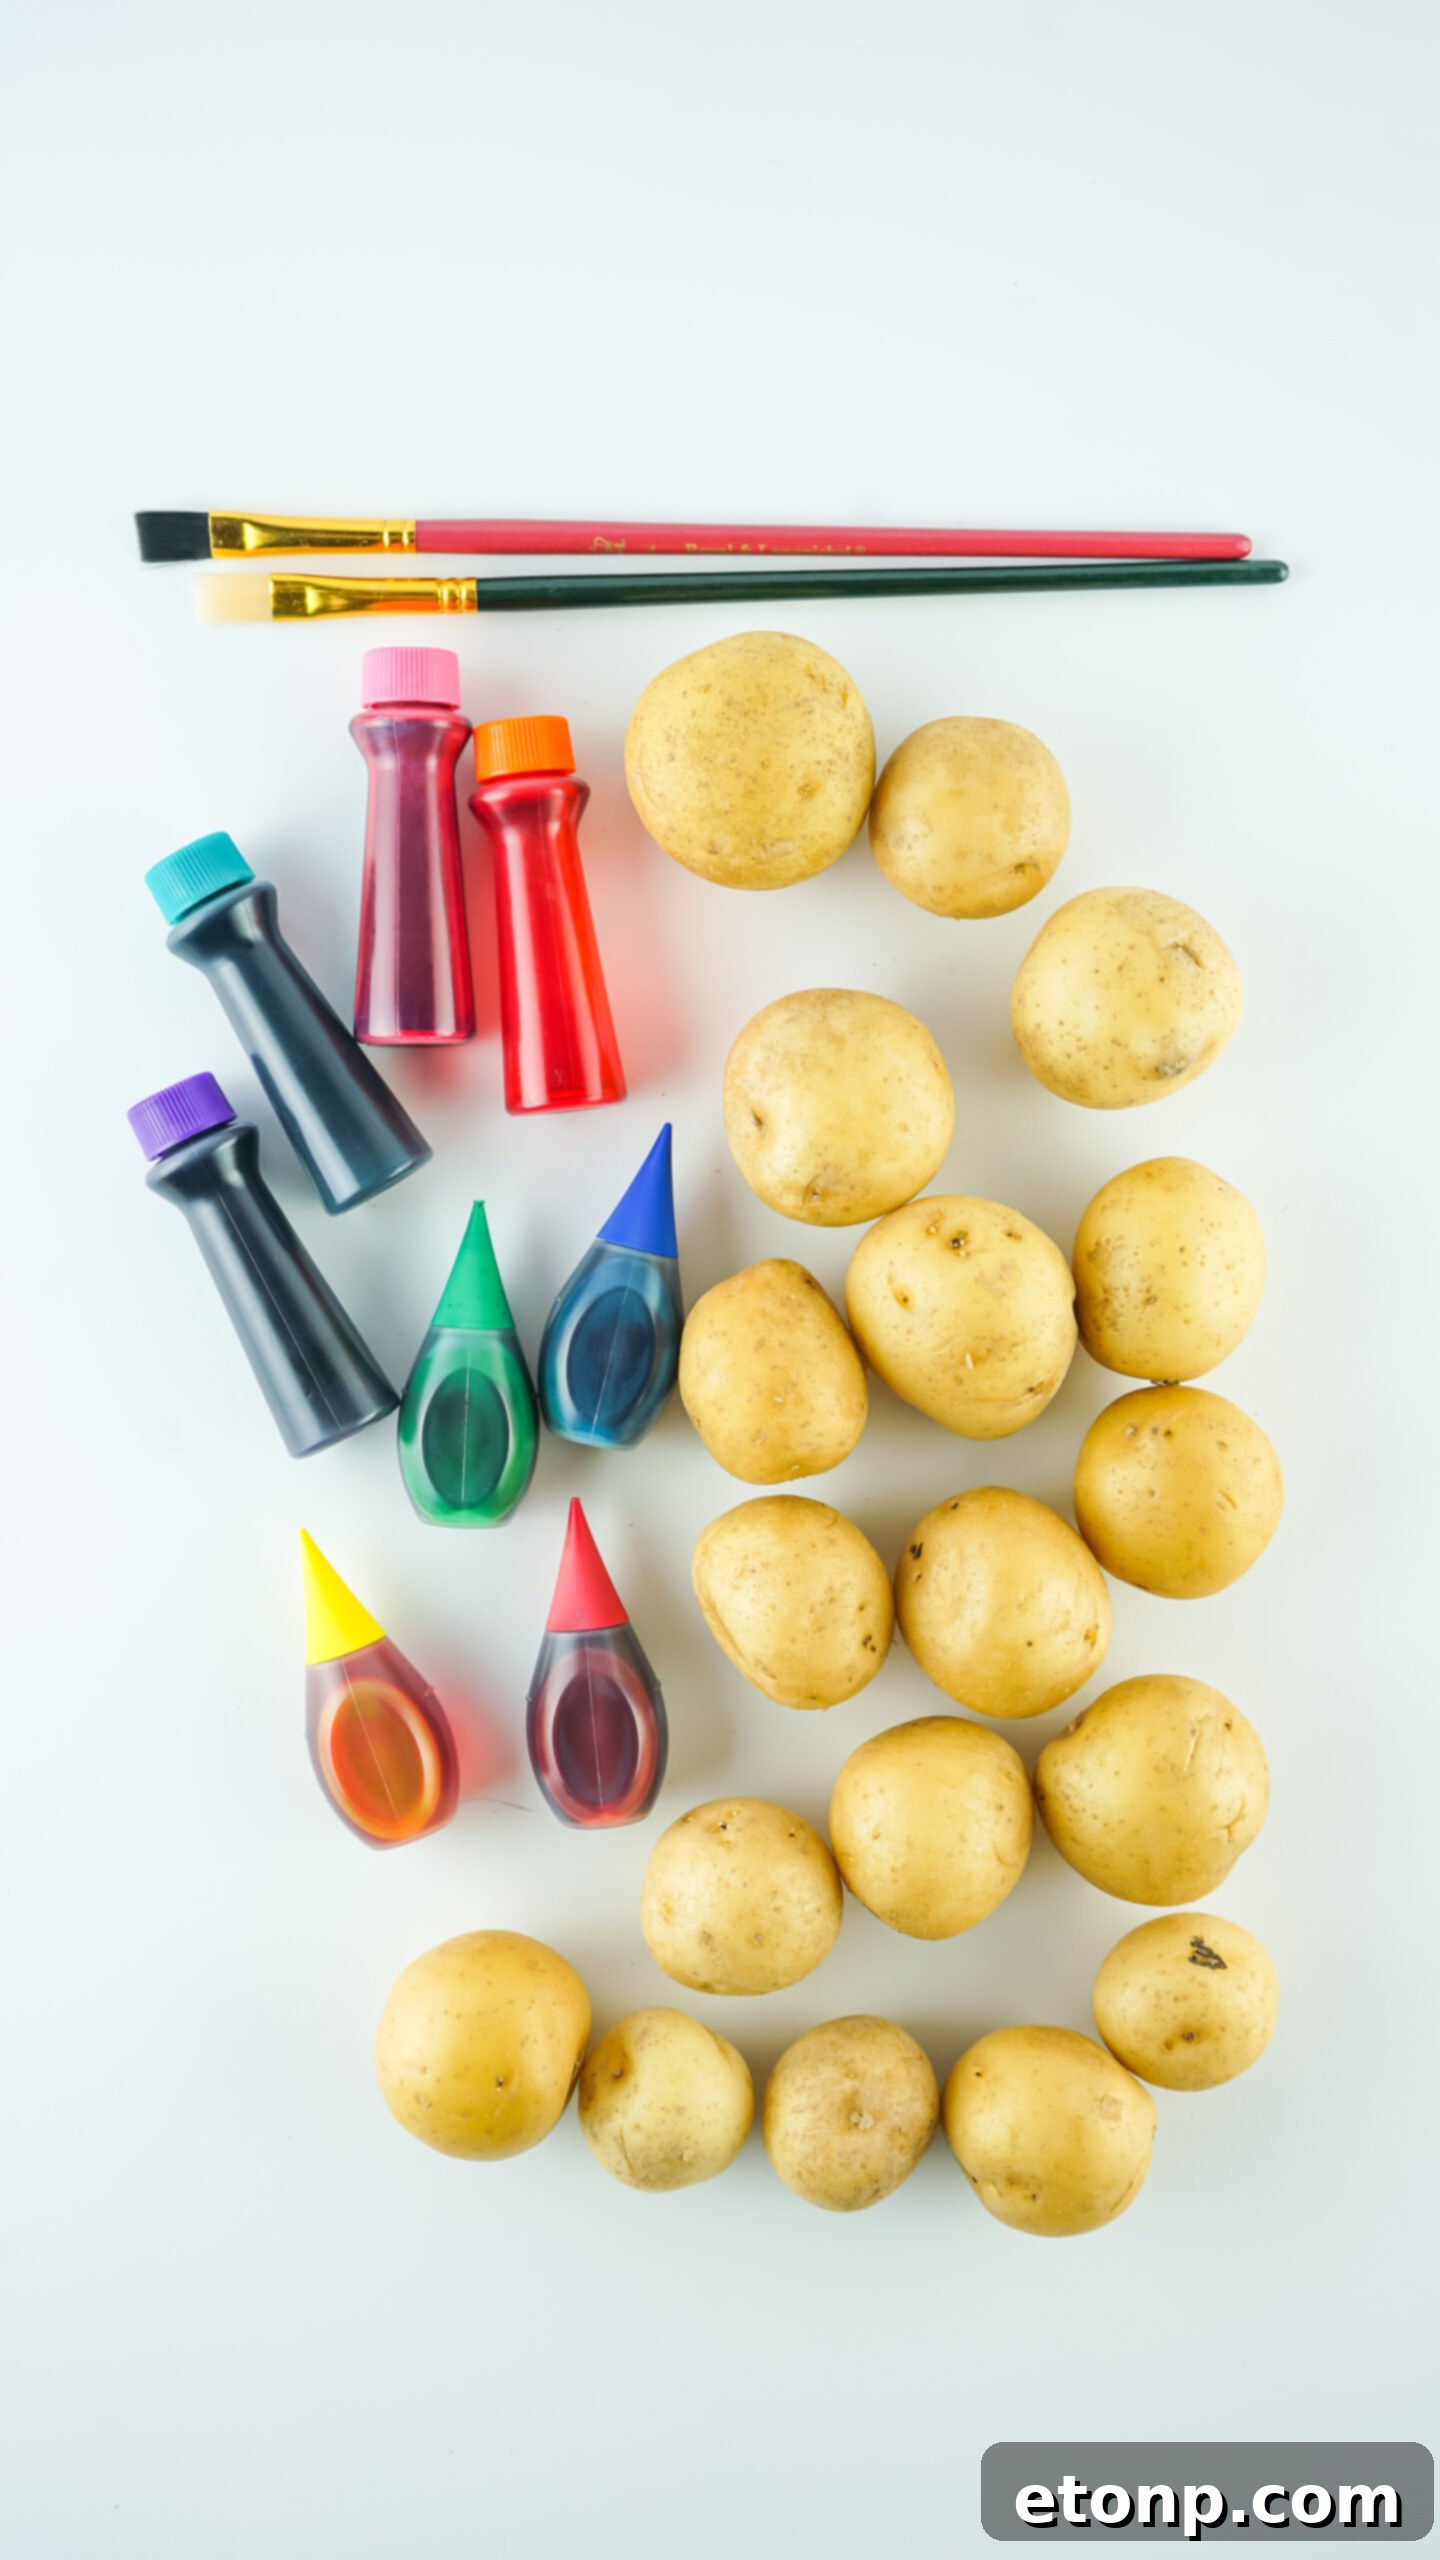
- Potatoes: The foundation of your Easter “eggs”! For the best results, select smaller, smoother varieties like Baby Delicious White or Yukon Gold Potatoes. Their consistent size, smooth skin, and lighter color provide an excellent base for vibrant dye application. You can also experiment with different sizes and shapes for variety.
- Water-Based Food Coloring: This is your primary source of color. Water-based food coloring is ideal because it’s easy to work with, blends well, and cleans up effortlessly. For even more intense and brilliant colors, consider using gel food coloring, which is highly concentrated.
- Small Paintbrushes: Essential for applying the dye and creating intricate designs. Have a variety of sizes on hand – a wider brush for covering larger areas and fine-tipped brushes for details, lines, and patterns.
- Small Bowls (Optional but Recommended): These are incredibly useful for mixing different food coloring shades, diluting colors with a little water to create pastel tones, or holding individual colors for easy dipping. Disposable bowls can make cleanup even simpler.
- Water (Optional): Keep a small container of water nearby to rinse your paintbrushes between colors and to adjust the consistency of your food coloring if you want lighter hues or more watercolor-like effects.
- Paper Towels: An absolute must-have for any crafting session! Use them to dab excess dye from brushes, clean up spills, and protect your workspace. They’ll also be used for drying the potatoes after dyeing.
- Rubber Gloves: While food coloring is generally non-toxic, it can temporarily stain your hands. Wearing rubber gloves offers an extra layer of protection, keeping your hands clean and making cleanup a breeze.
- Hairspray or Clear Craft Sealant (Optional, for preservation): If you want to prevent the dye from rubbing off and to give your potato eggs a slight sheen, a light coat of hairspray or a clear acrylic craft sealant (like Mod Podge spray) can be applied once they’re dry. Ensure any sealant used is non-toxic if there’s any chance of contact with food (though these are decorative).
How to Craft Your Easter Potato Masterpieces
Bringing your Dyed Easter Egg Potatoes to life is a simple and rewarding process. Follow these straightforward steps to create beautiful and colorful decorations:
- Prepare Your Workspace: Begin by setting up a clean, protected crafting area. Lay down plenty of old newspapers, a plastic tablecloth, or paper towels to catch any spills. Have a couple of small dishes filled with water for rinsing brushes, and a stack of paper towels ready for drying brushes and hands. Don’t forget to put on your rubber gloves to protect your hands from dye stains – it’s highly recommended for a cleaner experience!
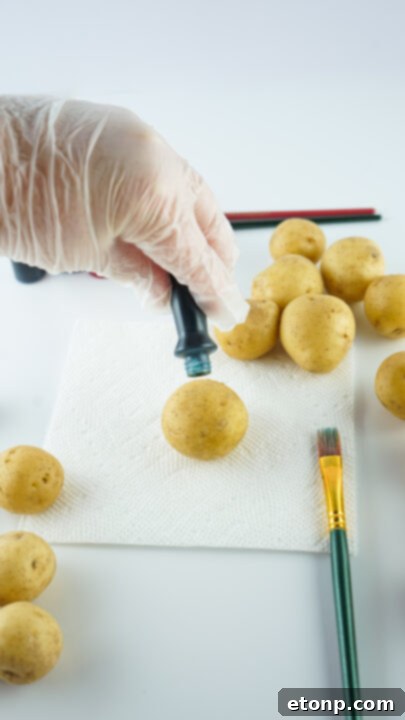
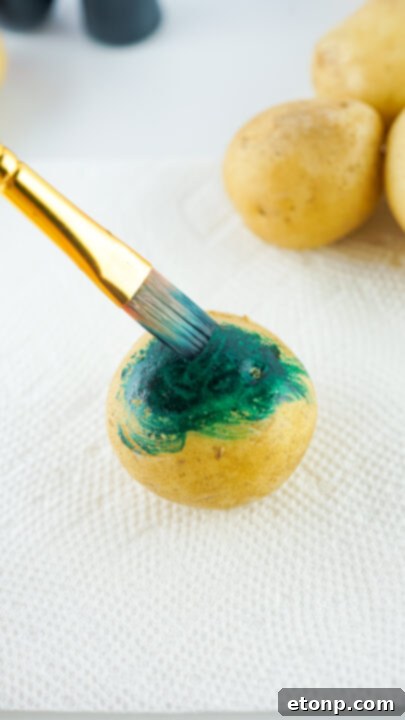
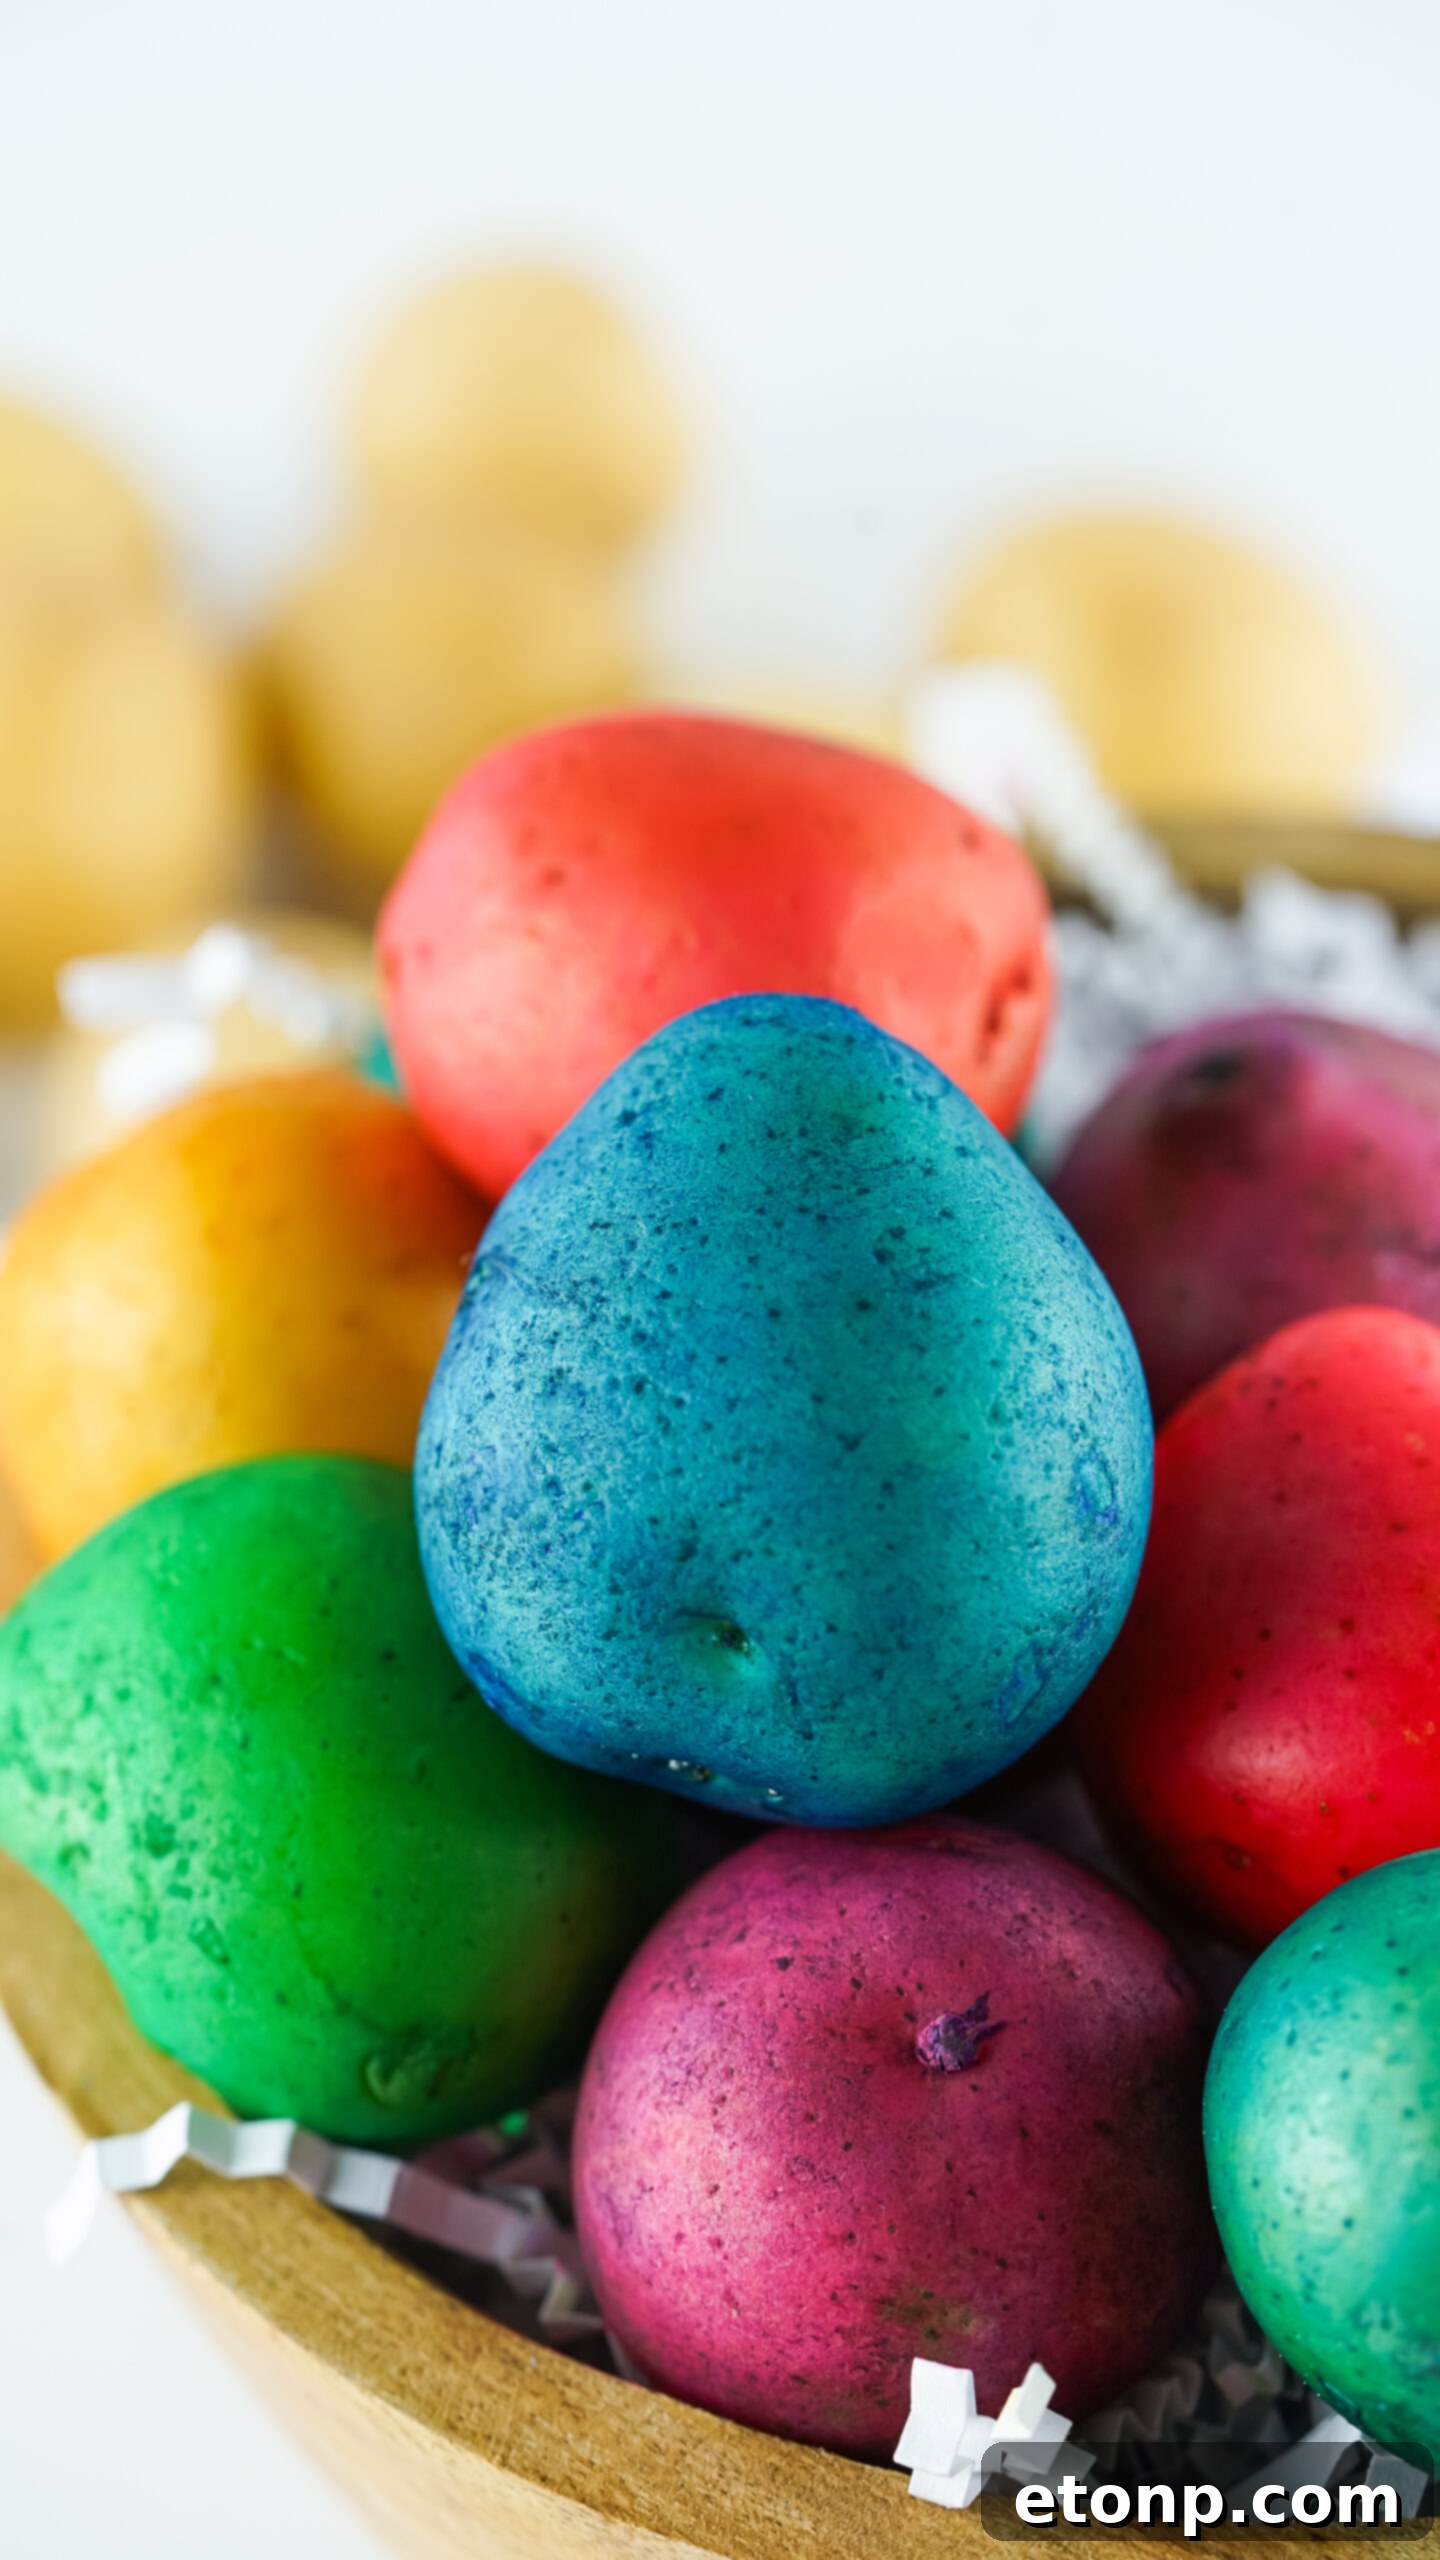
- Apply the Dye: Select a potato. You can either apply a single drop of food coloring directly onto the potato and spread it with a paintbrush, or you can pour small amounts of different colors into your small bowls. Dip your brush into the desired color and begin painting the potato. You have complete creative freedom: cover the entire potato in one solid color, or apply multiple colors to create swirls, stripes, polka dots, or abstract designs. For unique effects, try blending colors directly on the potato or layering different hues.
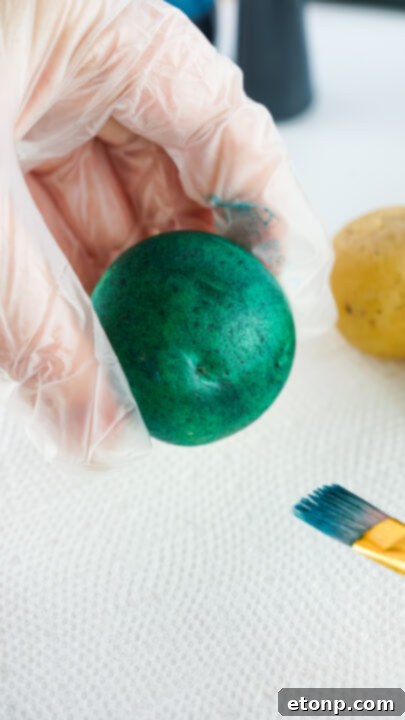
- Achieving Vibrant Coverage: Depending on the size of your potato and the intensity of your food coloring, you might need to add one or two more drops of dye to achieve full, vibrant coverage. Remember, a little food coloring goes a long way, especially with gel varieties. Apply thin, even coats for quicker drying and to prevent the dye from pooling.
- Dry and Preserve Your Creations: Once you’ve finished decorating your potato, carefully place it on a clean section of paper towels to dry. Allow them to air dry for at least 10-15 minutes, or longer if you’ve applied thick layers of dye. To ensure the dye doesn’t rub off easily when handled later, you can apply a light, even mist of hairspray or a clear acrylic craft sealant (like Mod Podge spray). Let the potatoes dry for a few more minutes after applying the sealant until they are completely dry to the touch. This step not only helps set the color but can also give them a lovely, subtle sheen.
Caring for Your Dyed Easter Potato Decorations
To ensure your beautifully dyed potatoes maintain their vibrant colors and structural integrity for as long as possible, proper storage and handling are crucial. While these decorative potatoes naturally last longer than their egg counterparts, a little care can significantly extend their display life.
Store your dyed potatoes in a cool, dry area, away from direct sunlight, which can cause colors to fade and the potato to sprout prematurely. The ideal storage temperature is around 50-60 degrees Fahrenheit (10-15 Celsius), with moderate humidity (40-60%). Avoid extremely warm or moist environments, as these can accelerate sprouting or mold growth. Placing them in a well-ventilated basket or on a breathable tray is better than sealing them in an airtight container, which can trap moisture.
If you’ve applied a sealant like hairspray or acrylic spray, this will help protect the dye from smudging and fading, and also offers a minor barrier against moisture. However, avoid excessive handling, as even sealed colors can eventually wear off or smudge over time. If displaying them horizontally, ensure they are placed on a stable surface. For vertical displays or hanging garlands, use a sturdy, non-abrasive thread or string to prevent damage to the potato or the applied dye. Keep them away from heat sources like radiators or direct heat vents, which can dry out the potato too quickly and lead to wrinkling or deterioration. With proper care, your charming potato “eggs” can be a delightful part of your Easter decor for weeks, adding a unique touch to your home.
Creative Uses for Your Potatoes After Easter
Once the Easter celebrations have concluded, your dyed potatoes don’t have to be discarded. Their unique, handmade charm offers several creative opportunities for repurposing. Here are some imaginative ideas for what you can do with your painted potato masterpieces:
- Create a Framed Piece of Art: If your potato is particularly artistic, consider photographing it and framing the print. Alternatively, for a more hands-on approach, you can carefully slice the potato (if not sealed), let the slices dry completely (which might take several days and result in shrinkage), and then mount them as unique, rustic art.
- Turn It Into a Bookmark: Slice a thin, rectangular or uniquely shaped piece from your painted potato. After ensuring it is thoroughly dry and possibly sealed with Mod Podge (which will also make it slightly rigid), you can use it as a charming, one-of-a-kind bookmark for your favorite books.
- Plant the Potato for Springtime Fun: This is an excellent activity for connecting with nature. If your potatoes were not sealed with hairspray or acrylic spray and are still firm, plant them in your garden or a pot with soil. Ensure the “eyes” of the potato are facing upwards. Over time, you’ll observe sprouts emerging, eventually growing into a potato plant. It’s a wonderful way to teach children about plant growth and enjoy a “second life” for your craft project.
- Craft Decorative Magnets: Cut small sections of your painted potatoes, ensuring they are flat on one side. Allow them to dry completely. Once dry, glue small, strong magnets onto the back of each piece. These delightful mini-artworks can then adorn your refrigerator, whiteboard, or any other magnetic surface, adding a personal and colorful touch to your home decor.
- Make a Festive Garland or Mobile: Carefully pierce dried potatoes with a needle and thread, then string them together to create a colorful garland to hang across a window, mantel, or doorway. You can combine them with beads, ribbons, or other lightweight decorative elements to create a charming mobile.
- Compost Them: As an organic item, unsealed dyed potatoes can be added to your compost pile after the holiday. This is an environmentally friendly way to dispose of them, contributing to rich soil for future gardening endeavors.
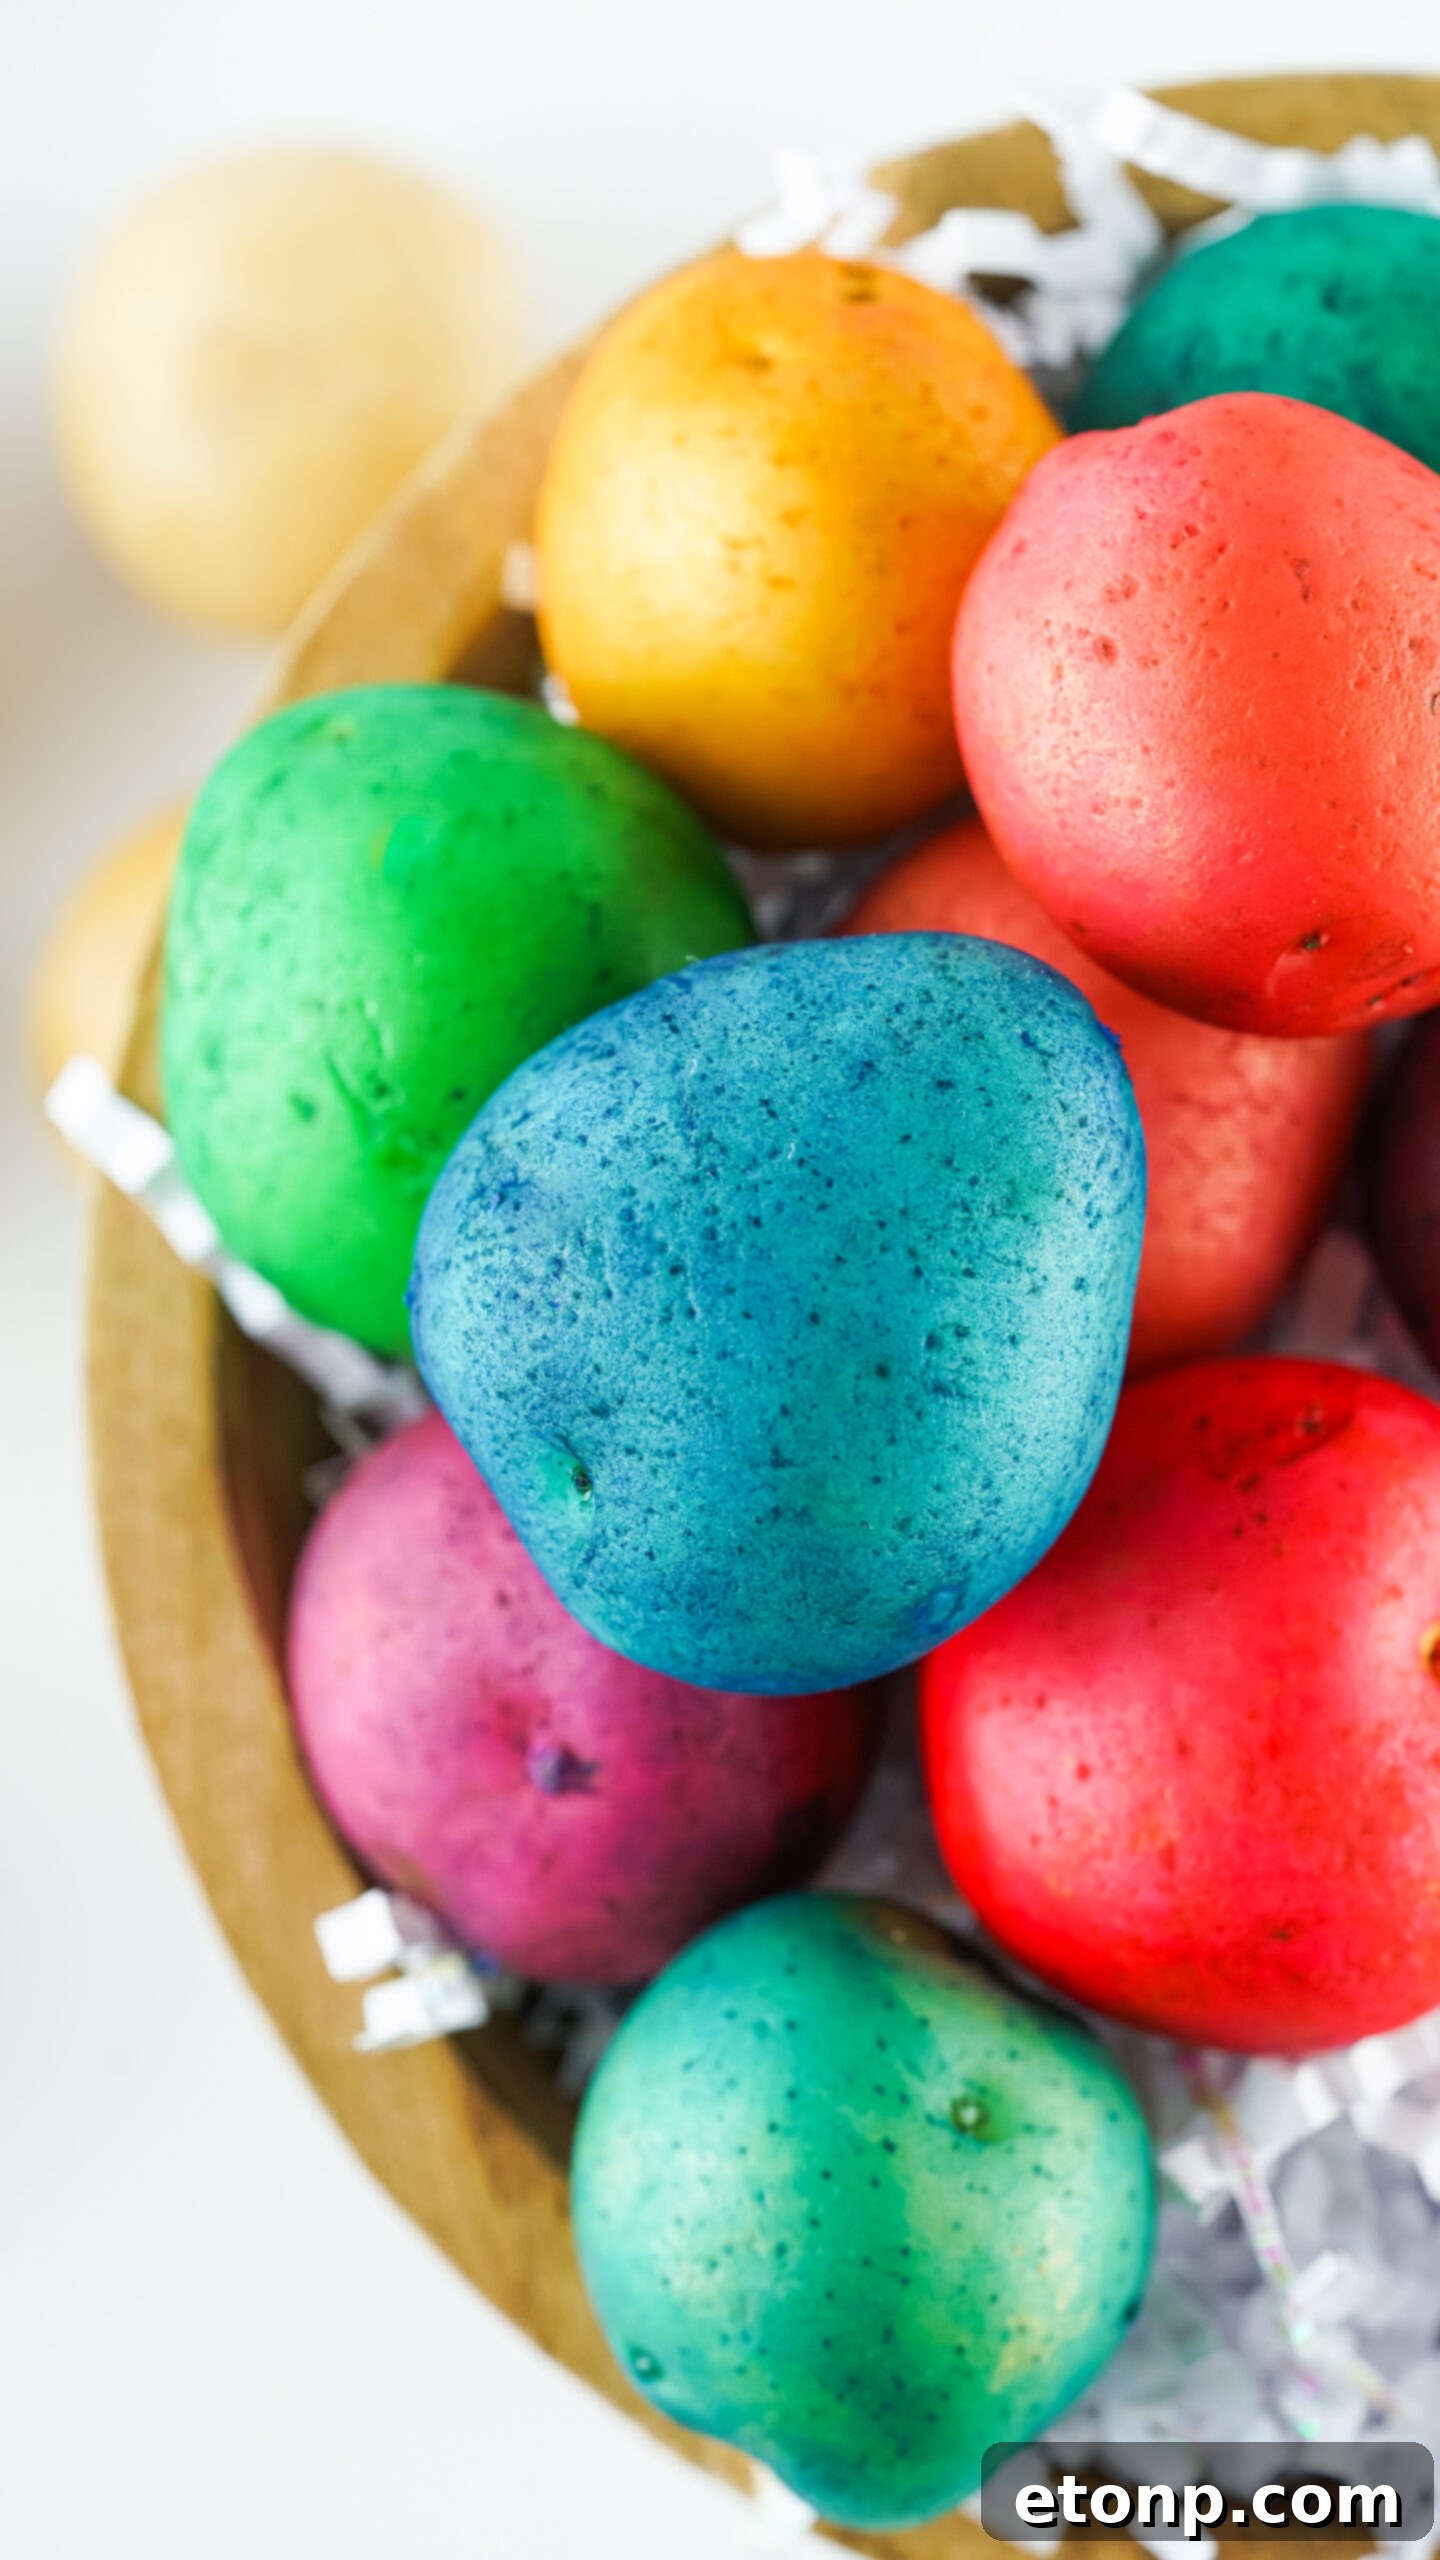
This year, embrace the creativity and cost-effectiveness of dyeing potatoes instead of eggs! While these decorative spuds aren’t for eating, they make incredibly fun, colorful decorations. (Though imagining mashed potatoes with these dyes is certainly a humorous thought!).
More Delightful Easter Craft & Recipe Ideas!
If you enjoyed crafting these Dyed Easter Egg Potatoes, you’ll love these other festive ideas to brighten your spring celebration:
Easter Marshmallow Bark
Bunny Bait Easter Munch
Easter Springtime Thumbprint Cookies
Dyed Easter Egg Potatoes
It’s a year of skipping the eggs and dying the potatoes. These Dyed Easter Egg Potatoes are a fun way for kids to enjoy dying potatoes on a budget!
📌Pin Recipe
👍Share Recipe
Ingredients
- Baby Delicious White or Yukon Gold Potatoes
- Water Based Food Coloring
- Small Paint Brushes
- Small Bowls (optional)
- Water (optional)
- Paper Towels (optional)
- Rubber Gloves (optional)
- Hairspray (optional – don’t use if you are going to cook the potatoes after)
Instructions
- Get a couple of small dishes of water, paper towels, and rubber gloves. Water and paper towels for cleaning the brushes, and gloves for protecting hands from the dye. This isn’t necessary, but I highly suggest it.
- Grab a potato and put one drop of dye directly on it. Use a paint brush to spread it around. You can either cover the entire potato in one color or do multiple colors, however you prefer.
- You may have to add one more drop of dye to the potato to fully color it, depending on the size, but one drop of dye goes a long way.
- Place the dyed potatoes on paper towels and let dry for 10 minutes. If you don’t want any of the dye to rub off later on when handling them, give them a light coating of hairspray and let them dry for a few more minutes. Enjoy!
Did you make this craft?
We’d love to see your creations! Make sure to follow us on Pinterest for more inspiring recipes and craft ideas!
📌Pin Recipe
👍Share on Facebook