
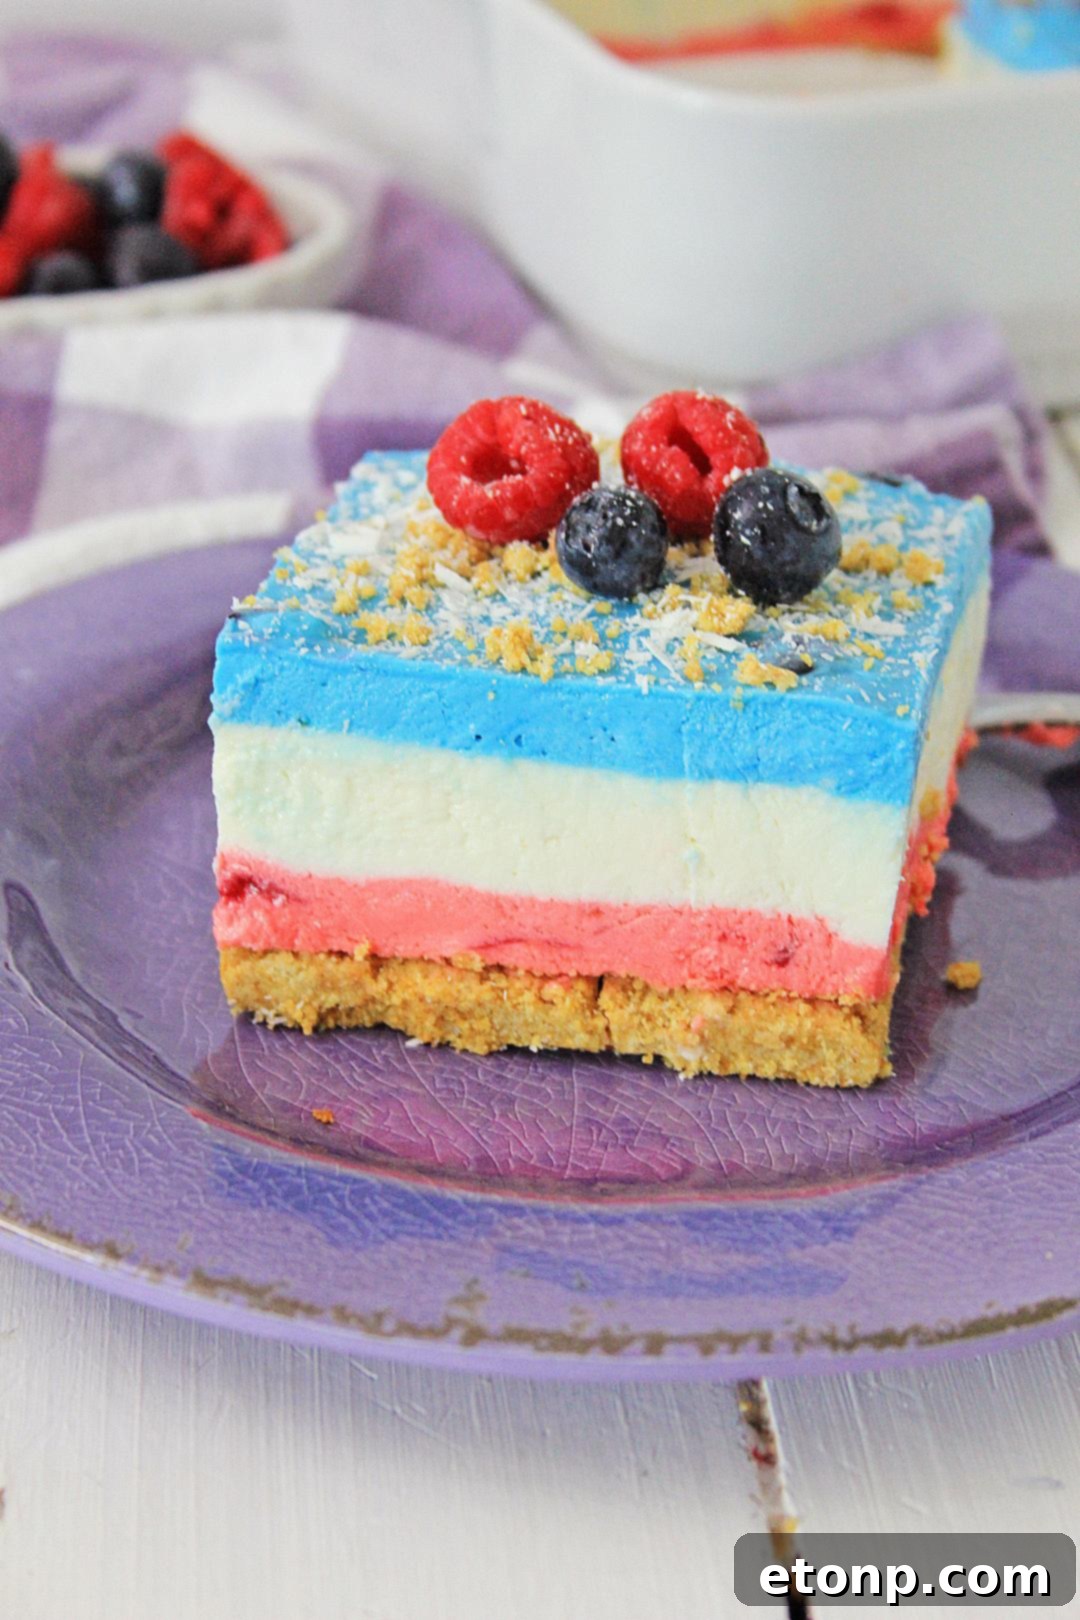
Easy No-Bake Berry Cheesecake Lasagna: Your Ultimate Layered Dessert Recipe
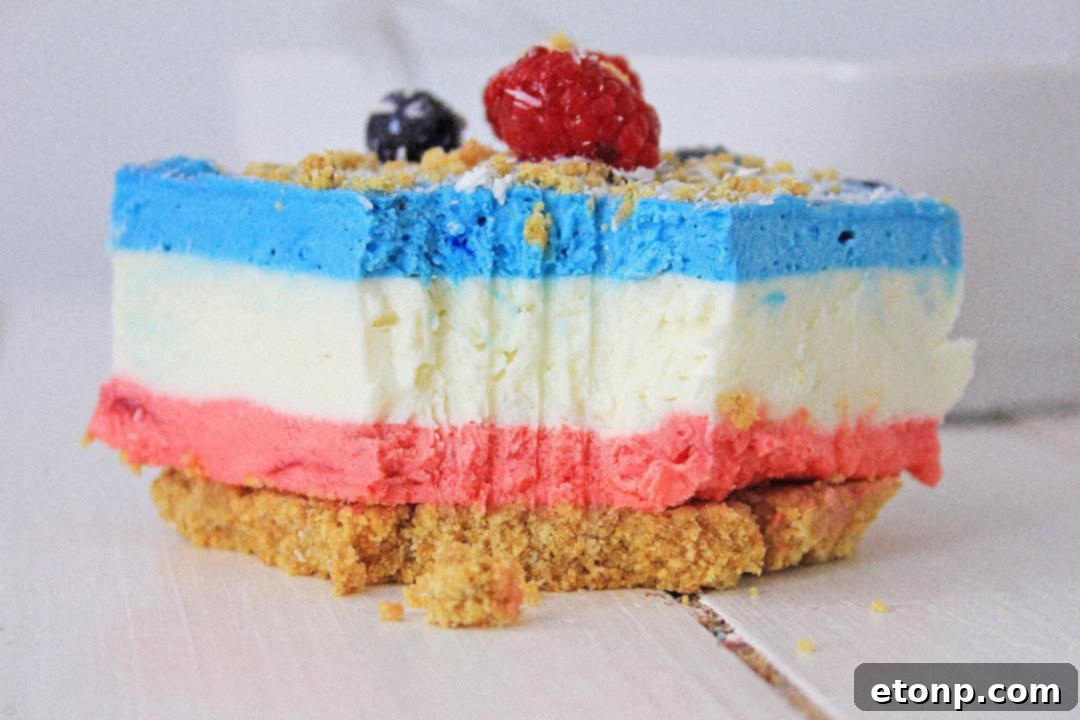
Unveil the magic of a dessert that requires no oven, yet delivers an explosion of creamy, fruity flavor with every bite! Our No-Bake Berry Cheesecake Lasagna is the quintessential treat for any gathering, especially vibrant patriotic celebrations. This stunning layered dessert combines a crunchy graham cracker crust with a silky-smooth cream cheese filling, infused with the fresh zest of berries and a delightful hint of vanilla. Its ease of preparation and impressive presentation make it an instant favorite among hosts and guests alike.
One of the greatest advantages of this recipe is its make-ahead convenience. Prepare it a day in advance, allow it ample time to set beautifully in the freezer, and you’ll have a show-stopping dessert ready to serve exactly when you need it. This not only frees up your time on the day of your event but also ensures a perfectly chilled and firm treat. Imagine the delight on your guests’ faces as they savor this refreshing, lightly sweet, and utterly irresistible cheesecake lasagna. It’s destined to be the highlight of any menu and a recipe you’ll want to revisit time and again.
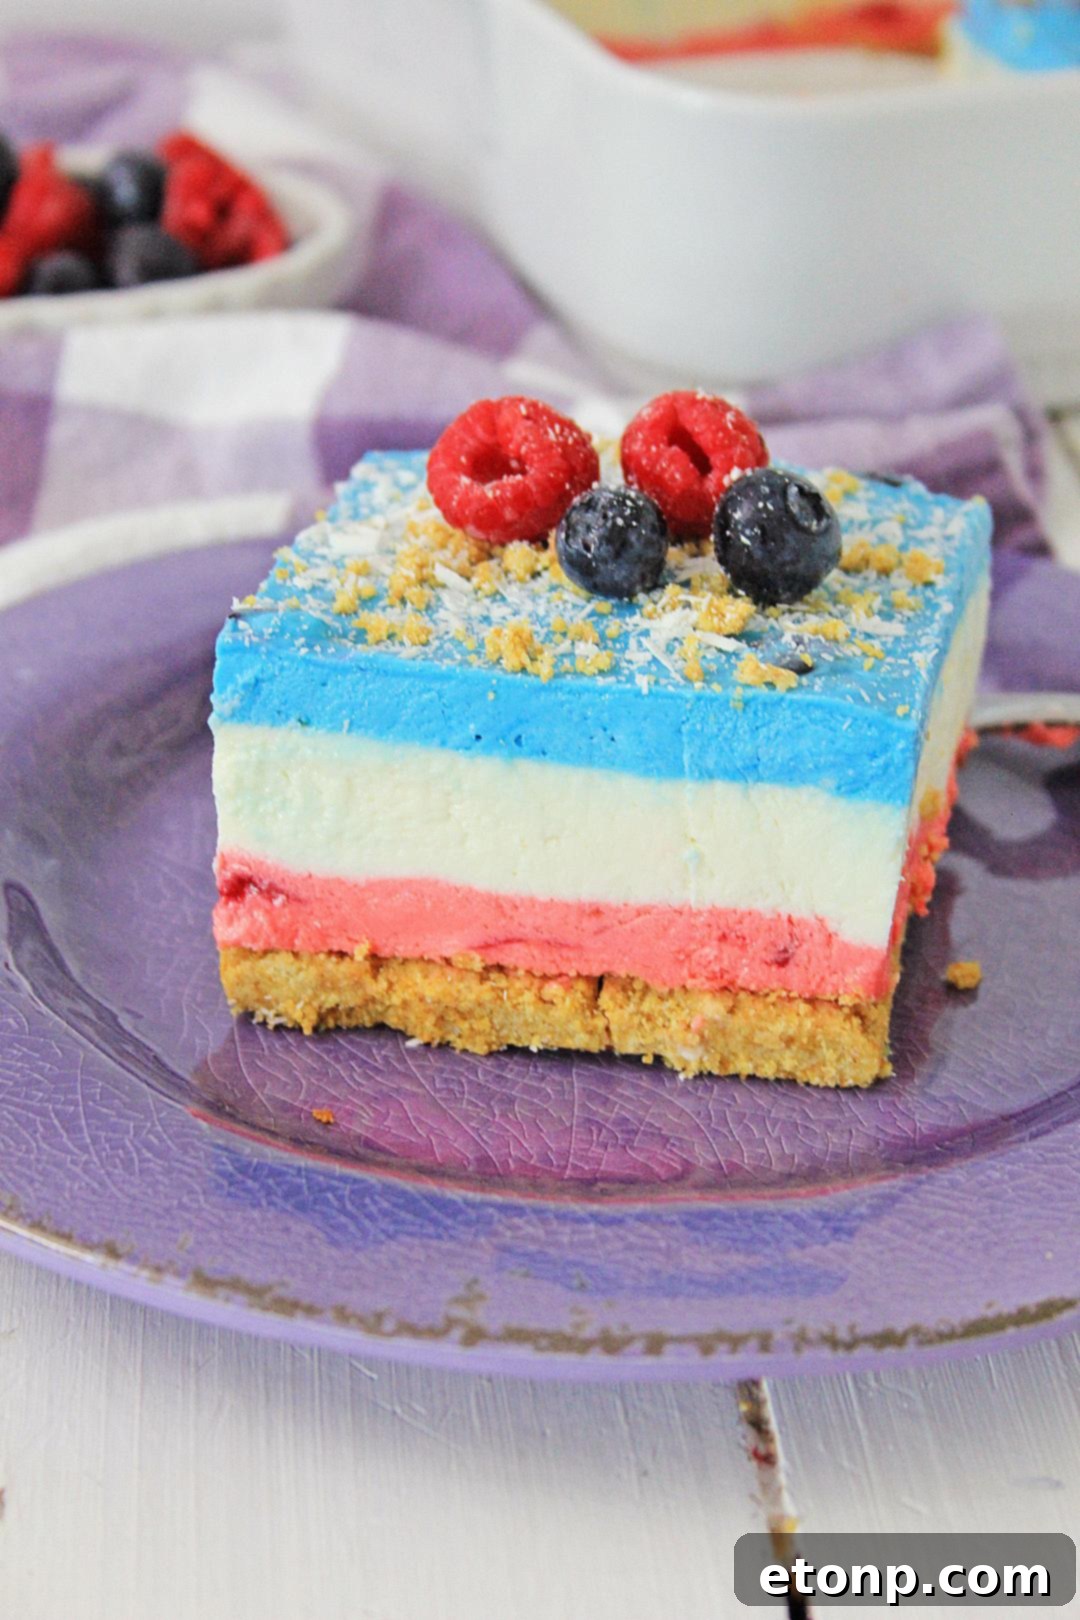
Essential Tips for a Perfect No-Bake Cheesecake Lasagna: While this recipe is remarkably straightforward, a few key considerations will ensure your cheesecake sets perfectly and looks spectacular. For optimal firmness and ease of slicing, we highly recommend setting the cheesecake layers in the freezer. Although you *can* refrigerate it, it won’t achieve the same firm consistency and requires significantly longer setting times between layers. When removed from the freezer for serving, the gelatin in the recipe helps maintain its shape beautifully, preventing it from melting or becoming runny as it thaws slightly.
Another crucial tip involves your choice of food coloring. For those stunning, vibrant hues, always opt for **food coloring GEL** rather than liquid food coloring. Liquid food coloring can alter the consistency of your cheesecake batter, making it too thin and potentially preventing it from setting correctly. Gel colors, on the other hand, provide intense pigmentation without adding excess moisture, allowing you to achieve brilliant reds and blues, perfect for patriotic themes or any festive occasion. The specific neon food coloring gels mentioned in the original recipe (like Great Value Neon food coloring gel) are excellent for achieving bright, bold results, but any quality food coloring gel will work wonders.
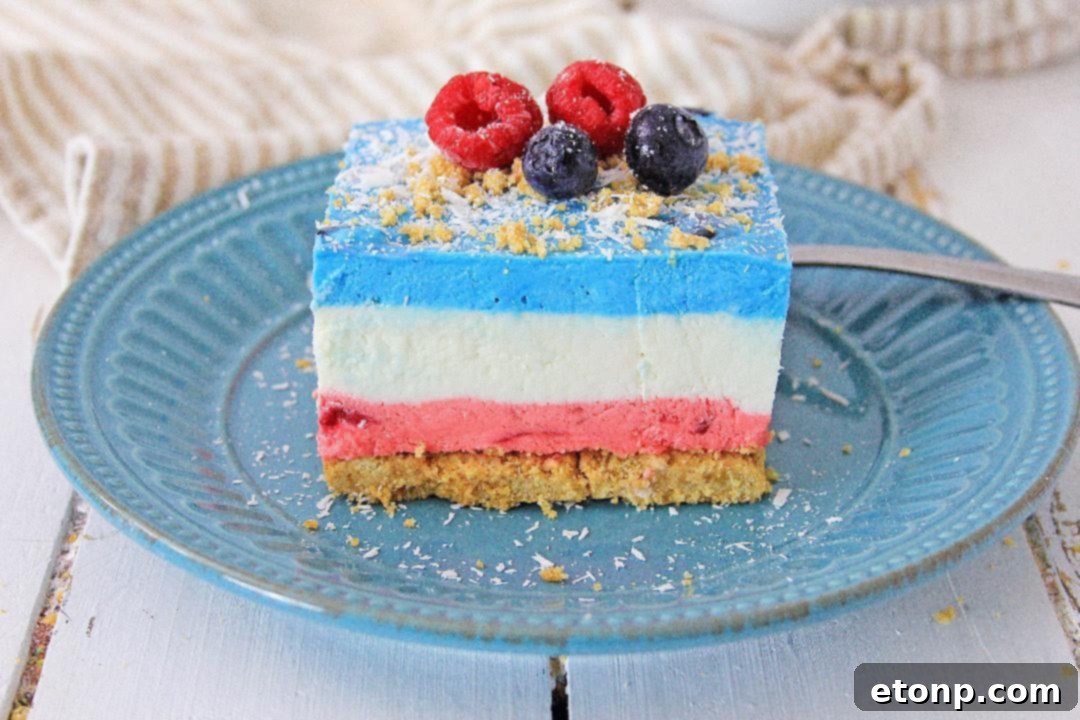
This No-Bake Berry Cheesecake Lasagna stands apart from traditional baked cheesecakes. It boasts an incredibly smooth and creamy texture that sets up flawlessly in the freezer, creating distinct, beautiful layers. Unlike its baked counterpart, this no-bake version is wonderfully light and airy, never feeling overly heavy. It’s delicately sweet, offering a perfect balance that’s incredibly refreshing, making it an ideal dessert for any season or celebration. The combination of its luscious creaminess and the bright tang of fresh berries creates a truly unforgettable taste experience.
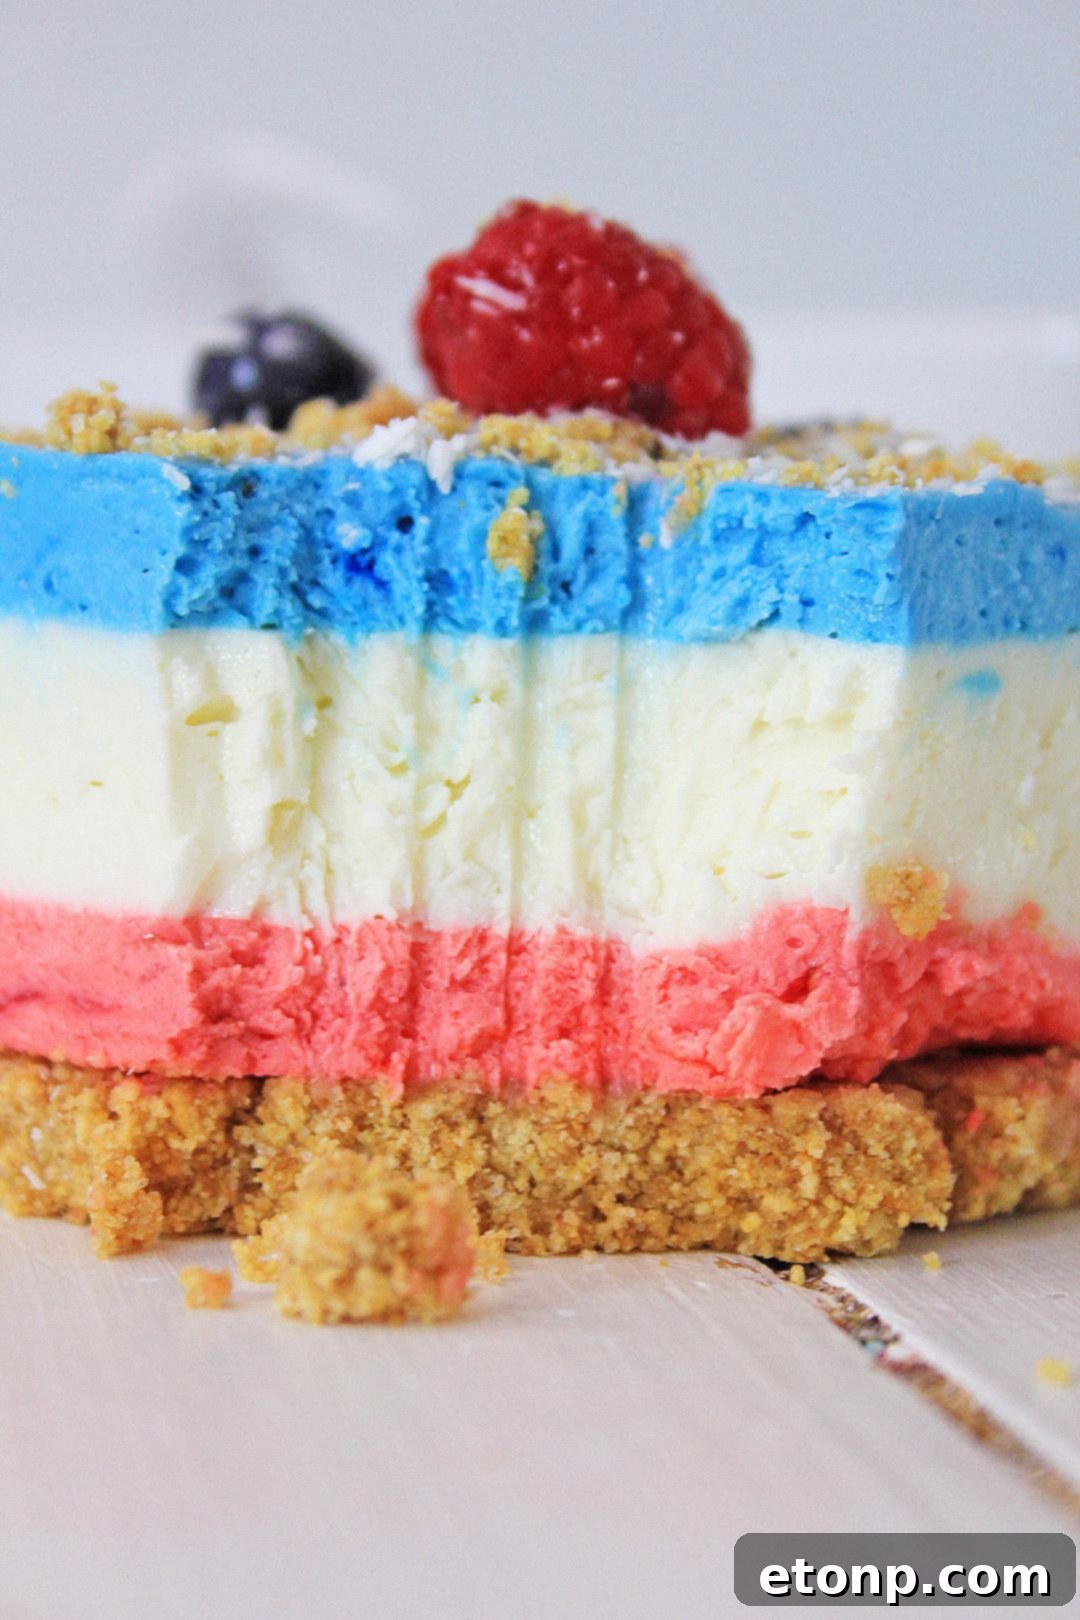
Prepare for rave reviews when you serve this show-stopping dessert! Whether it’s the centerpiece at a lively party, a delightful contribution to a potluck, a tantalizing item at a bake sale, or the perfect patriotic dessert for the 4th of July, everyone will be captivated by its appearance and enchanted by its flavor. Guests will undoubtedly be asking for the recipe, eager to recreate this incredible treat themselves. Its vibrant colors and delectable taste make it a memorable addition to any event.
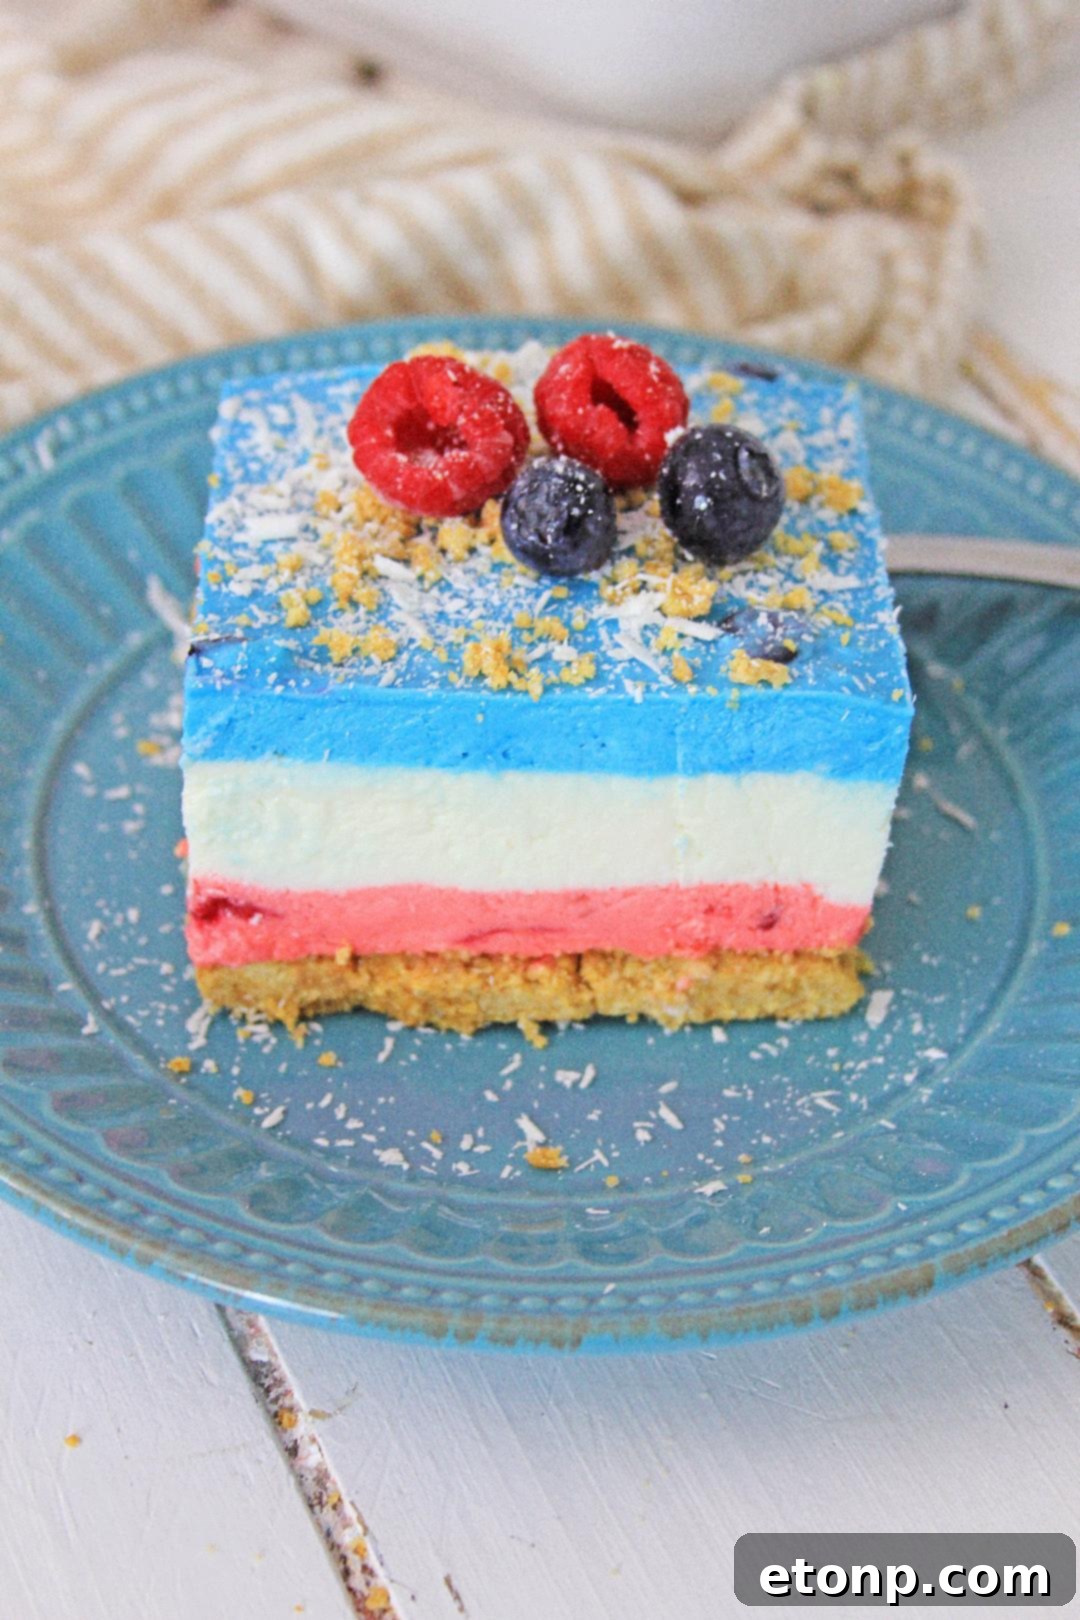
The versatility of this cheesecake lasagna is truly boundless! While it shines as a patriotic dessert with its striking red, white, and blue layers, you can effortlessly adapt it for any occasion by simply changing the food coloring. Imagine pastel layers for an Easter celebration, vibrant greens for St. Patrick’s Day, warm autumn hues for Thanksgiving, or festive reds and greens for Christmas. You can even use different fruits to match your theme – sliced kiwi for green, peaches for orange, or even finely chopped dark chocolate for a rich brown. The possibilities for customization are endless, allowing your creativity to truly flourish and ensuring this dessert perfectly complements any event or holiday throughout the year.
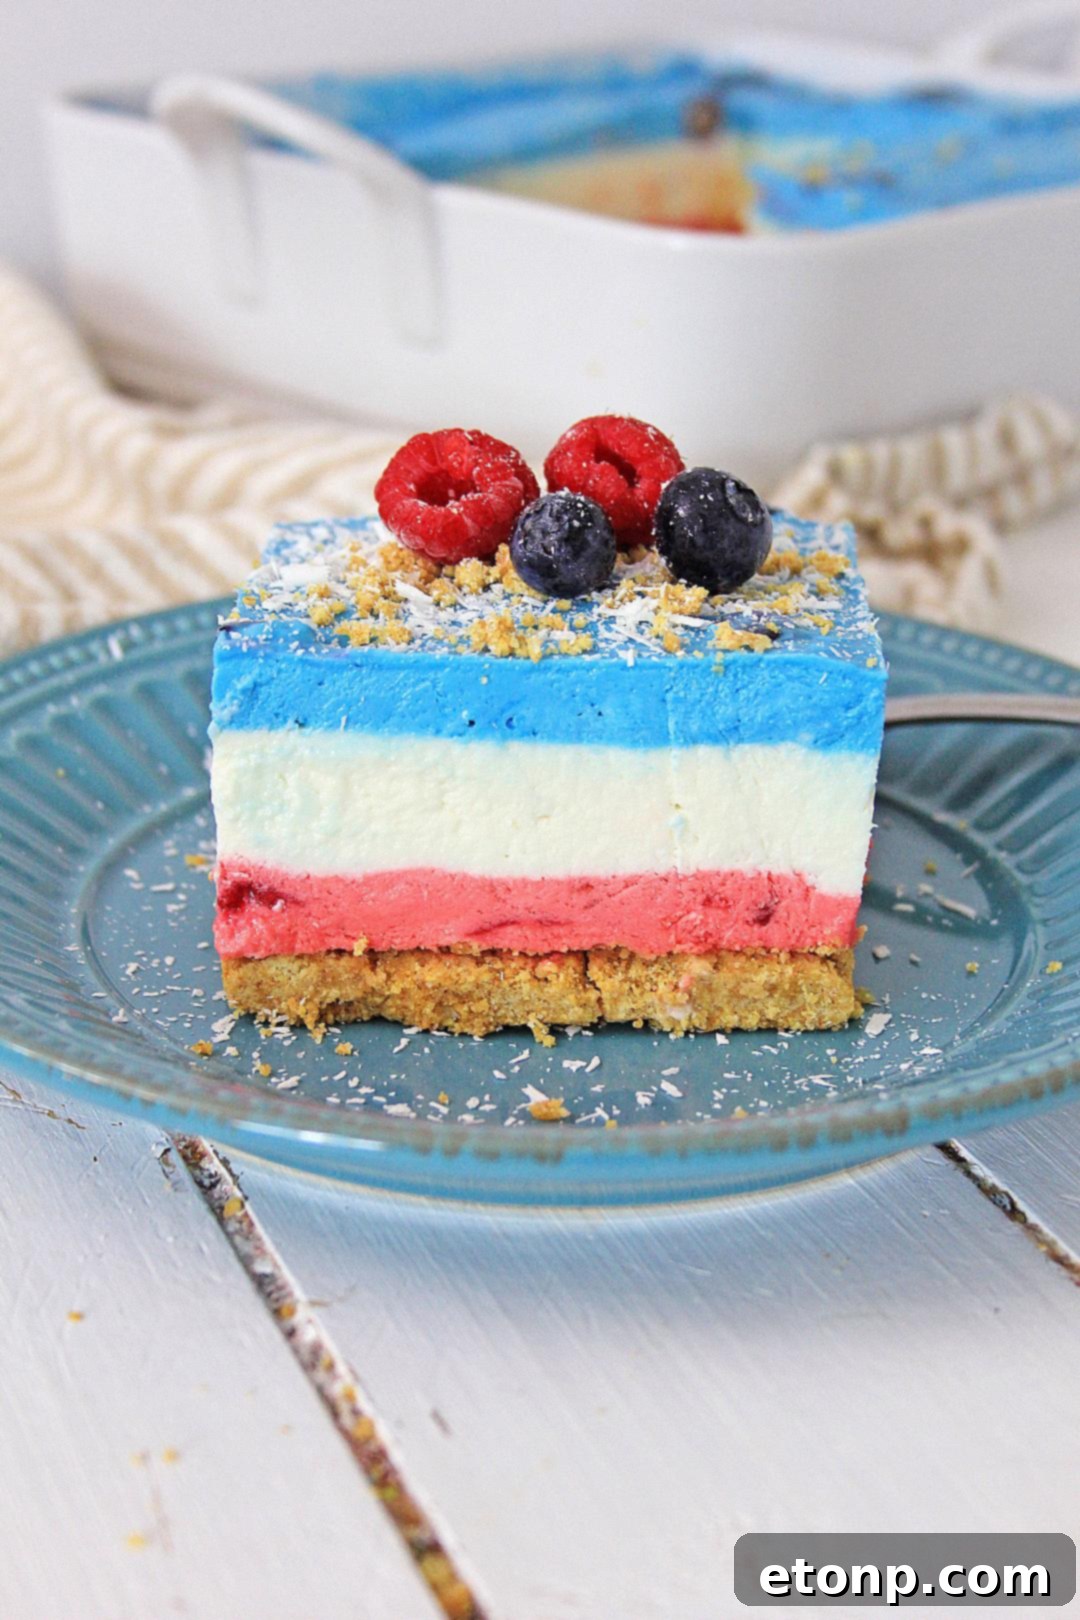
Transforming humble ingredients into a spectacular, multi-layered dessert, this No-Bake Berry Cheesecake Lasagna is more than just a recipe – it’s an invitation to create delightful memories. Its straightforward preparation belies a sophisticated taste and stunning visual appeal. Whether you’re an experienced baker or a kitchen novice, you’ll find this recipe incredibly rewarding. Get ready to impress your friends and family with a dessert that’s as easy to make as it is delicious to eat.
Please remember to SHARE on Facebook and PIN IT!
FOLLOW ME ONPINTERESTBY CLICKING HERE <——
No Bake Berry Cheesecake Lasagna
Print Recipe
Pin Recipe
Share Recipe
Ingredients
CRUST:
- 2 cups of graham cracker crumbs
- 1 Tablespoon of granulated sugar
- 1 stick of unsalted butter – melted
FILLING:
- 5 – 8 ounce packages of full-fat cream cheese – softened to room temperature
- 1/3 cup of heavy cream
- 1 Tablespoon of pure vanilla extract
- 2 cups of granulated sugar
- 2 packages of unflavored gelatin (such as Knox)
- 1/2 cup cold water
- 1/2 cup boiling water
- 1 package of fresh Raspberries – rinsed and thoroughly dried
- 1 package of fresh blueberries – rinsed and thoroughly dried
- Neon dark blue food coloring gel
- Neon aqua blue food coloring gel (optional, for vibrant blue)
- Neon Red food coloring gel
Instructions
-
In a medium bowl, combine the graham cracker crumbs and granulated sugar. Stir them together thoroughly until well mixed.
-
Melt the stick of butter in a microwave-safe bowl. Heat in short intervals, stirring occasionally, until completely melted.
-
Pour the melted butter over the graham cracker and sugar mixture. Stir vigorously until all the crumbs are evenly coated with butter. This forms the base for your delicious cheesecake crust.
-
Set aside approximately 1/4 cup of the buttered graham cracker crumbs. These will be used later as a delightful garnish on top of the finished dessert, adding extra crunch and flavor.
-
Line the bottom of a 9 x 9 inch square baking dish with parchment paper, allowing some overhang on the sides for easy removal of the cheesecake later. Firmly press the remaining graham cracker crumb mixture into an even layer at the bottom of the prepared dish to form the crust. Place this crust in the refrigerator to chill while you prepare the filling.
-
Rinse both the fresh raspberries and blueberries gently under cold running water using a colander. Afterward, spread them out in a single layer on clean kitchen towels or paper towels. Gently pat any excess water from the berries to ensure they are thoroughly dry. This step is important to prevent extra moisture from affecting the cheesecake layers.
-
Place the dried berries into the refrigerator to keep them cool and fresh until they are ready to be incorporated into the cheesecake or used for garnish.
-
In the large mixing bowl of a stand mixer fitted with the whisk attachment, combine the softened cream cheese, granulated sugar, and heavy cream. Begin mixing on low speed, gradually increasing to medium, until the mixture is perfectly smooth, creamy, and free of any lumps. Stop occasionally to scrape down the sides and bottom of the bowl with a spatula to ensure everything is thoroughly blended.
-
Add the pure vanilla extract to the cream cheese mixture and continue to blend on medium speed until it is fully incorporated and the mixture is smooth and fragrant.
-
In a separate small bowl, pour in the 1/2 cup of cold water. Evenly sprinkle the two packages of unflavored gelatin over the surface of the cold water. Allow it to sit for 5 minutes to bloom. Meanwhile, heat 1/2 cup of water until boiling (this can be done in the microwave). Pour the boiling water over the bloomed gelatin mixture.
-
Stir the gelatin and boiling water mixture continuously until the gelatin is completely dissolved and no longer grainy. It should be a clear liquid. This step is critical for the cheesecake to set properly.
-
With the stand mixer running on medium speed, slowly pour the dissolved gelatin mixture into the cream cheese batter. Continue to mix until the gelatin is fully and evenly blended throughout the entire cheesecake mixture.
-
Once the gelatin is incorporated, scrape down the sides of the mixing bowl one last time. Increase the mixer speed to high and beat the batter for approximately 1 minute. This final high-speed mixing helps to ensure a supremely smooth and airy cheesecake filling.
-
Carefully divide the cheesecake batter into three equal portions, placing one-third into two separate bowls and leaving the final third in the mixing bowl. The batter remaining in the mixing bowl will be your white layer; place this bowl in the refrigerator for now. In one of the two separate bowls, add about half of your prepared fresh raspberries. Gently stir to evenly distribute the berries throughout the batter.
-
To the raspberry-infused batter, add approximately 4 to 5 drops of the Neon red food coloring gel. Stir well. If the desired vibrant red color is not yet achieved, add one or two more drops of gel coloring at a time, stirring thoroughly between additions, until you reach your preferred bright red shade.
-
Retrieve the chilled graham cracker crust from the refrigerator. Evenly pour the red cheesecake batter over the crust. Using the back of a spoon or an offset spatula, gently smooth the red layer across the entire surface of the crust, ensuring it forms an even layer.
-
Immediately place the dish with the red layer into the freezer. This rapid chilling helps set the layer quickly and prevents the colors from bleeding into subsequent layers.
-
Now, turn your attention to the remaining separate bowl of cheesecake batter. Add about half of your prepared fresh blueberries to this batter and stir gently to mix them in. Begin adding the blue food coloring: first, add 2 or 3 drops of the Neon dark blue food coloring gel and stir. Then, add 2 or 3 drops of the Neon aqua blue food coloring gel and stir again to blend. To achieve a deeper, brighter blue similar to the one pictured, add 2 or 3 more drops of the dark blue color and stir. If the color still isn’t as vibrant as desired, continue adding a drop or two of both dark blue and aqua gels, stirring thoroughly after each addition, until you achieve a rich, brilliant blue hue.
-
Place the bowl containing the blue cheesecake batter into the refrigerator to keep it cool and slightly firm while the red layer sets. This helps maintain its consistency and ensures a clean layer.
-
Keep the remainder of the fresh raspberries and blueberries refrigerated. These will be used for the final garnish just before serving, adding a burst of fresh flavor and appealing presentation.
-
Leave the dish in the freezer for approximately 45 minutes. It’s crucial that the red layer becomes firm to the touch before proceeding to the next step. Gently press a finger onto the surface; it should feel solid and not sticky.
-
Once the red layer is completely firm, retrieve the white cheesecake batter from the refrigerator. Carefully pour and spread this white layer evenly over the set red layer. Return the dish to the freezer for about an hour, or until the white layer is also firm to the touch. When the white layer is firm, take out the blue cheesecake batter from the refrigerator. Gently spread it out evenly over the set white layer. Place the dish back into the freezer for its final setting.
-
Allow the entire cheesecake lasagna to chill in the freezer for at least 4 hours, or preferably overnight, to ensure all layers are perfectly set and firm. This extended chilling time is key for clean slices. Remove the cake from the freezer approximately 15 minutes before you plan to serve it.
-
After removing the dessert from the freezer, let it sit on the counter for a short while to slightly soften, making it easier to cut. When ready to serve, lift the cheesecake out of the dish using the parchment paper overhang. Cut it into desired 2 x 3 inch pieces or squares. Sprinkle each piece with a few of the reserved graham cracker crumbs for added texture and a decorative touch. Finally, crown each serving with the remaining fresh raspberries and blueberries. Serve immediately and enjoy this delightful, festive treat!
Yields approximately 9 generous servings.
Did you make this delightful recipe?
We’d love to see your creations! Make sure to follow us on Pinterest for more incredible recipes and culinary inspiration!
Print Recipe
Pin Recipe
Share on Facebook
Pin Recipe
Share on Facebook