
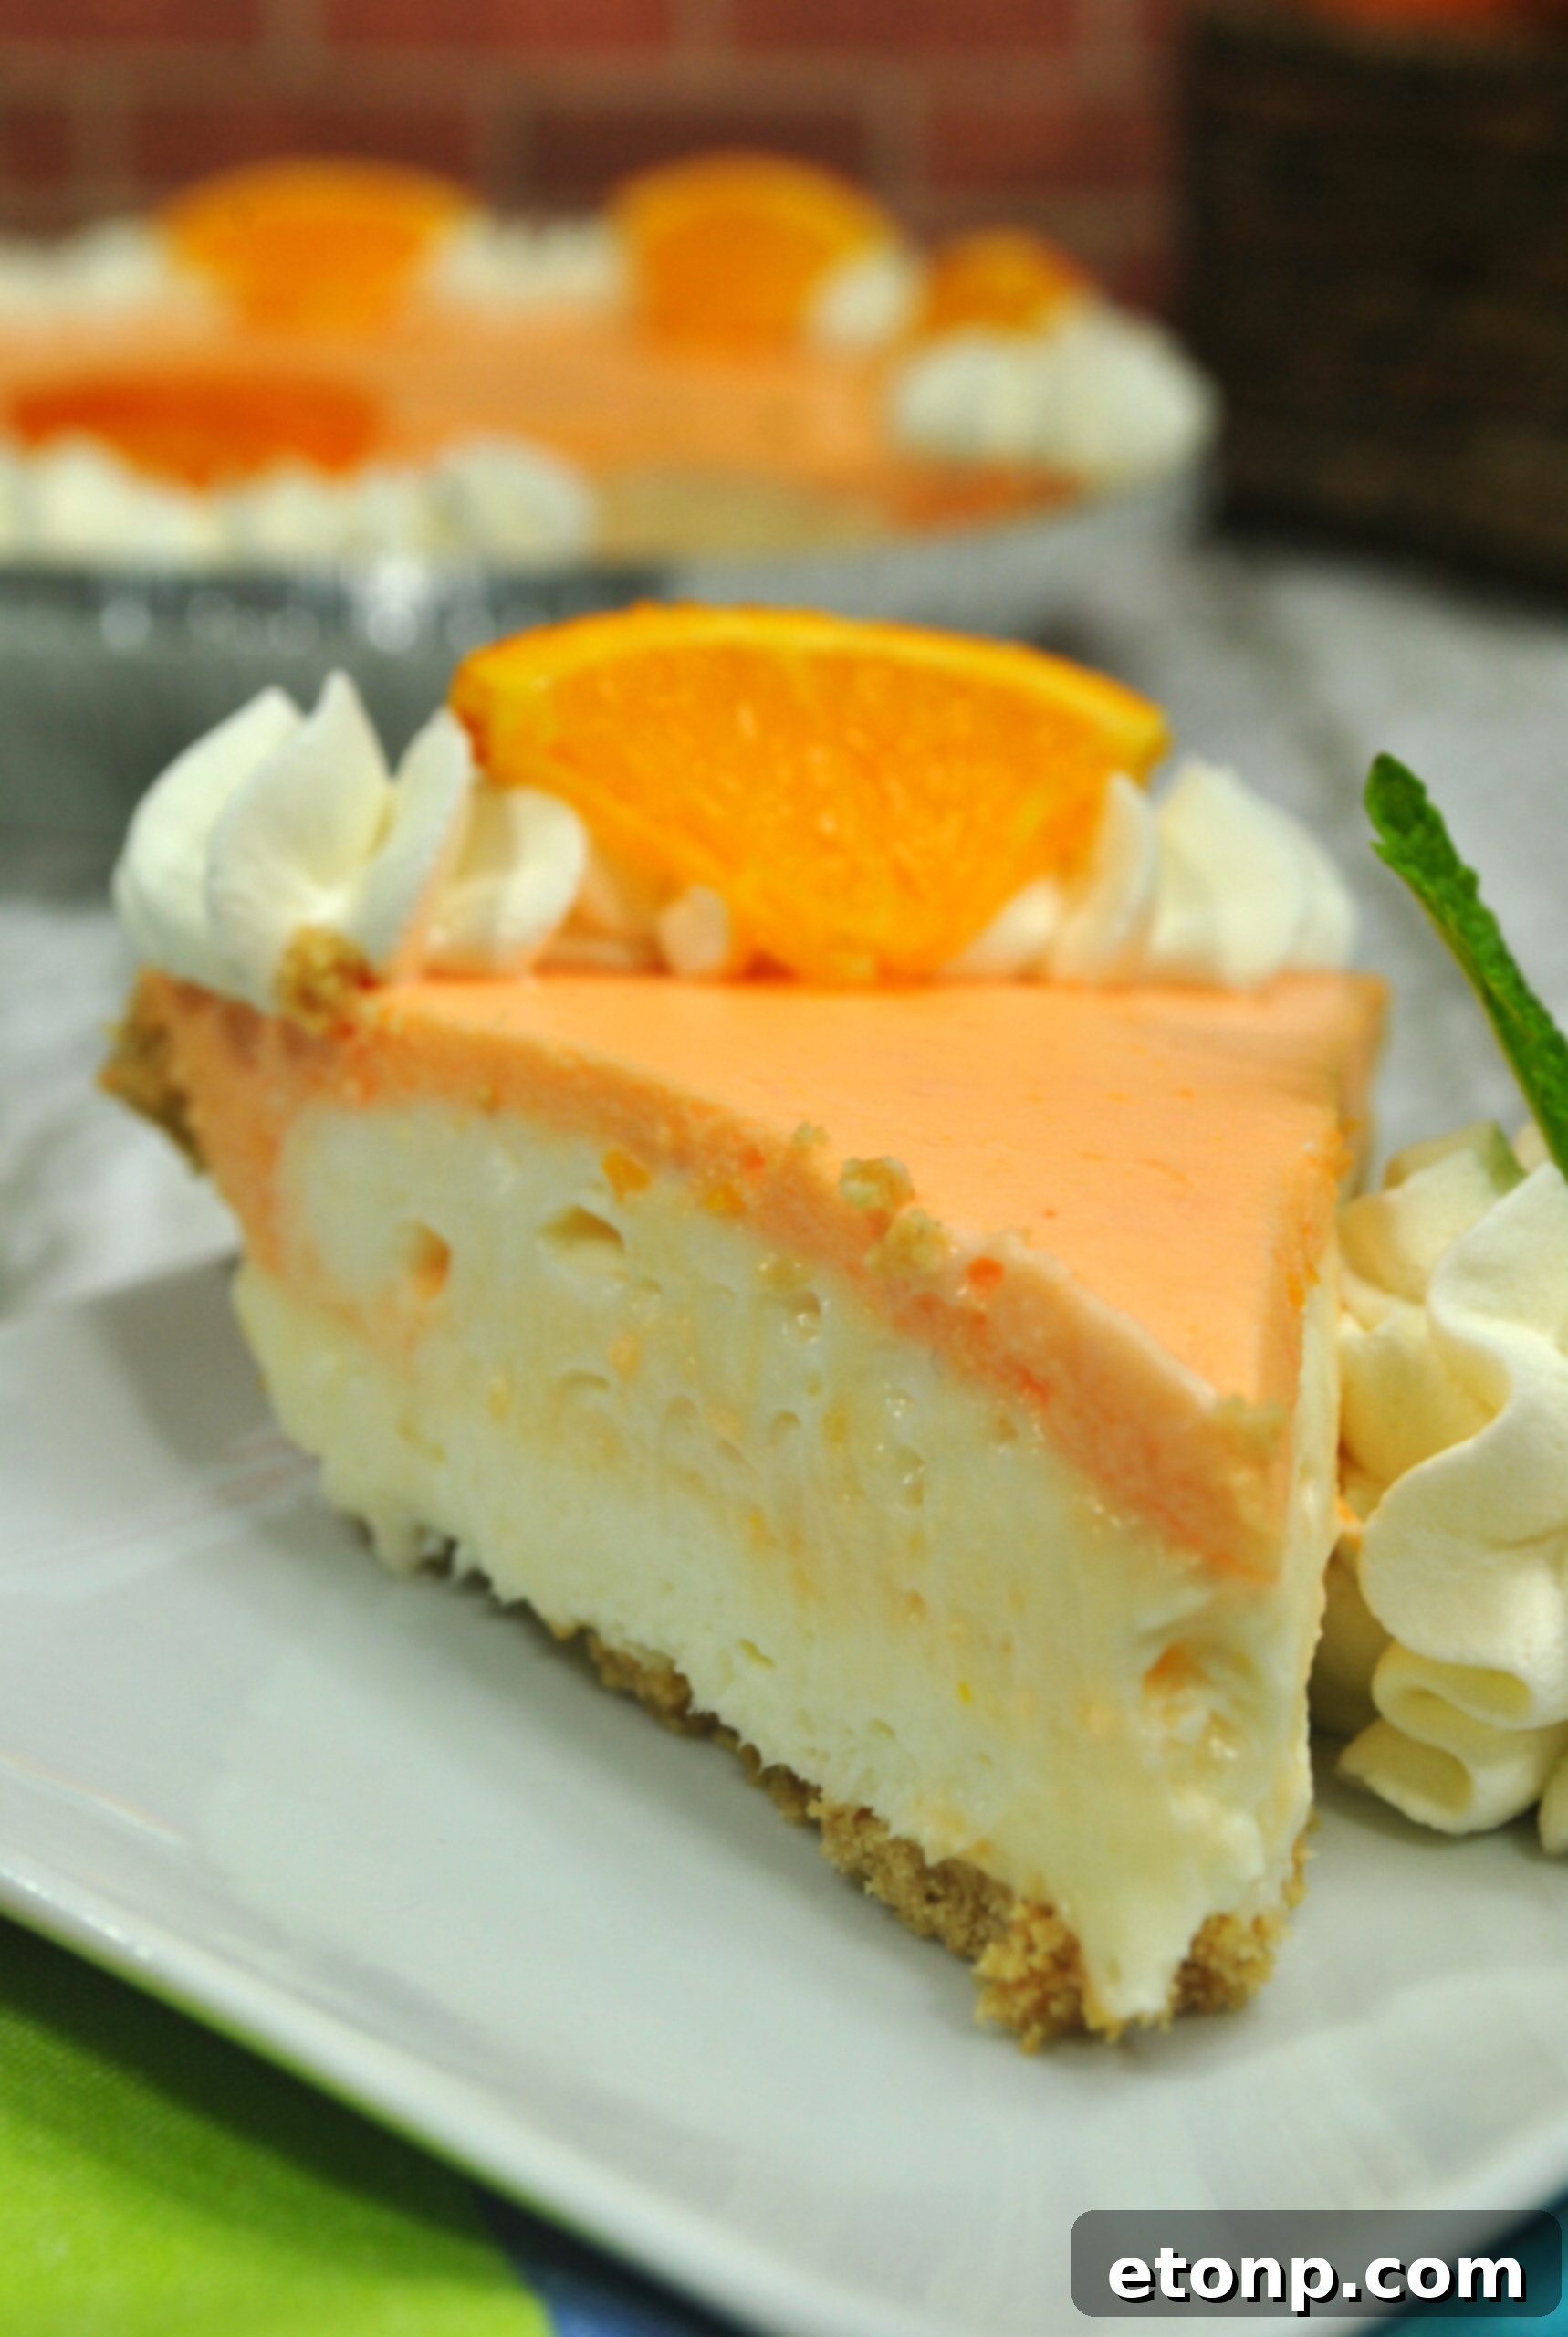
Indulge in the Ultimate No-Bake Orange Creamsicle Cheesecake
Welcome to a delightful journey into the vibrant world of Orange Creamsicle desserts! If you’ve enjoyed our previous Orange Creamsicle concoctions – from the spirited moonshine and delightful cupcakes to the refreshing cocktail – then prepare for the crowning jewel of this theme. We are thrilled to unveil an extraordinary dessert that captures the essence of that nostalgic flavor: our sensational No-Bake Orange Creamsicle Cheesecake. This recipe promises an experience that is truly out of this world, combining zesty orange with rich, creamy goodness in every single bite.
Experience Pure Bliss with Every Slice
Imagine a dessert that’s both invigoratingly zesty and sumptuously creamy, with that unmistakable cheesecake texture you adore. Our Orange Creamsicle Cheesecake is precisely that. It’s a symphony of flavors and textures, offering a bright citrusy tang balanced by a smooth, velvety base. This isn’t just a dessert; it’s a celebration of summer, a taste of childhood, and an absolutely irresistible treat that will leave everyone craving more.
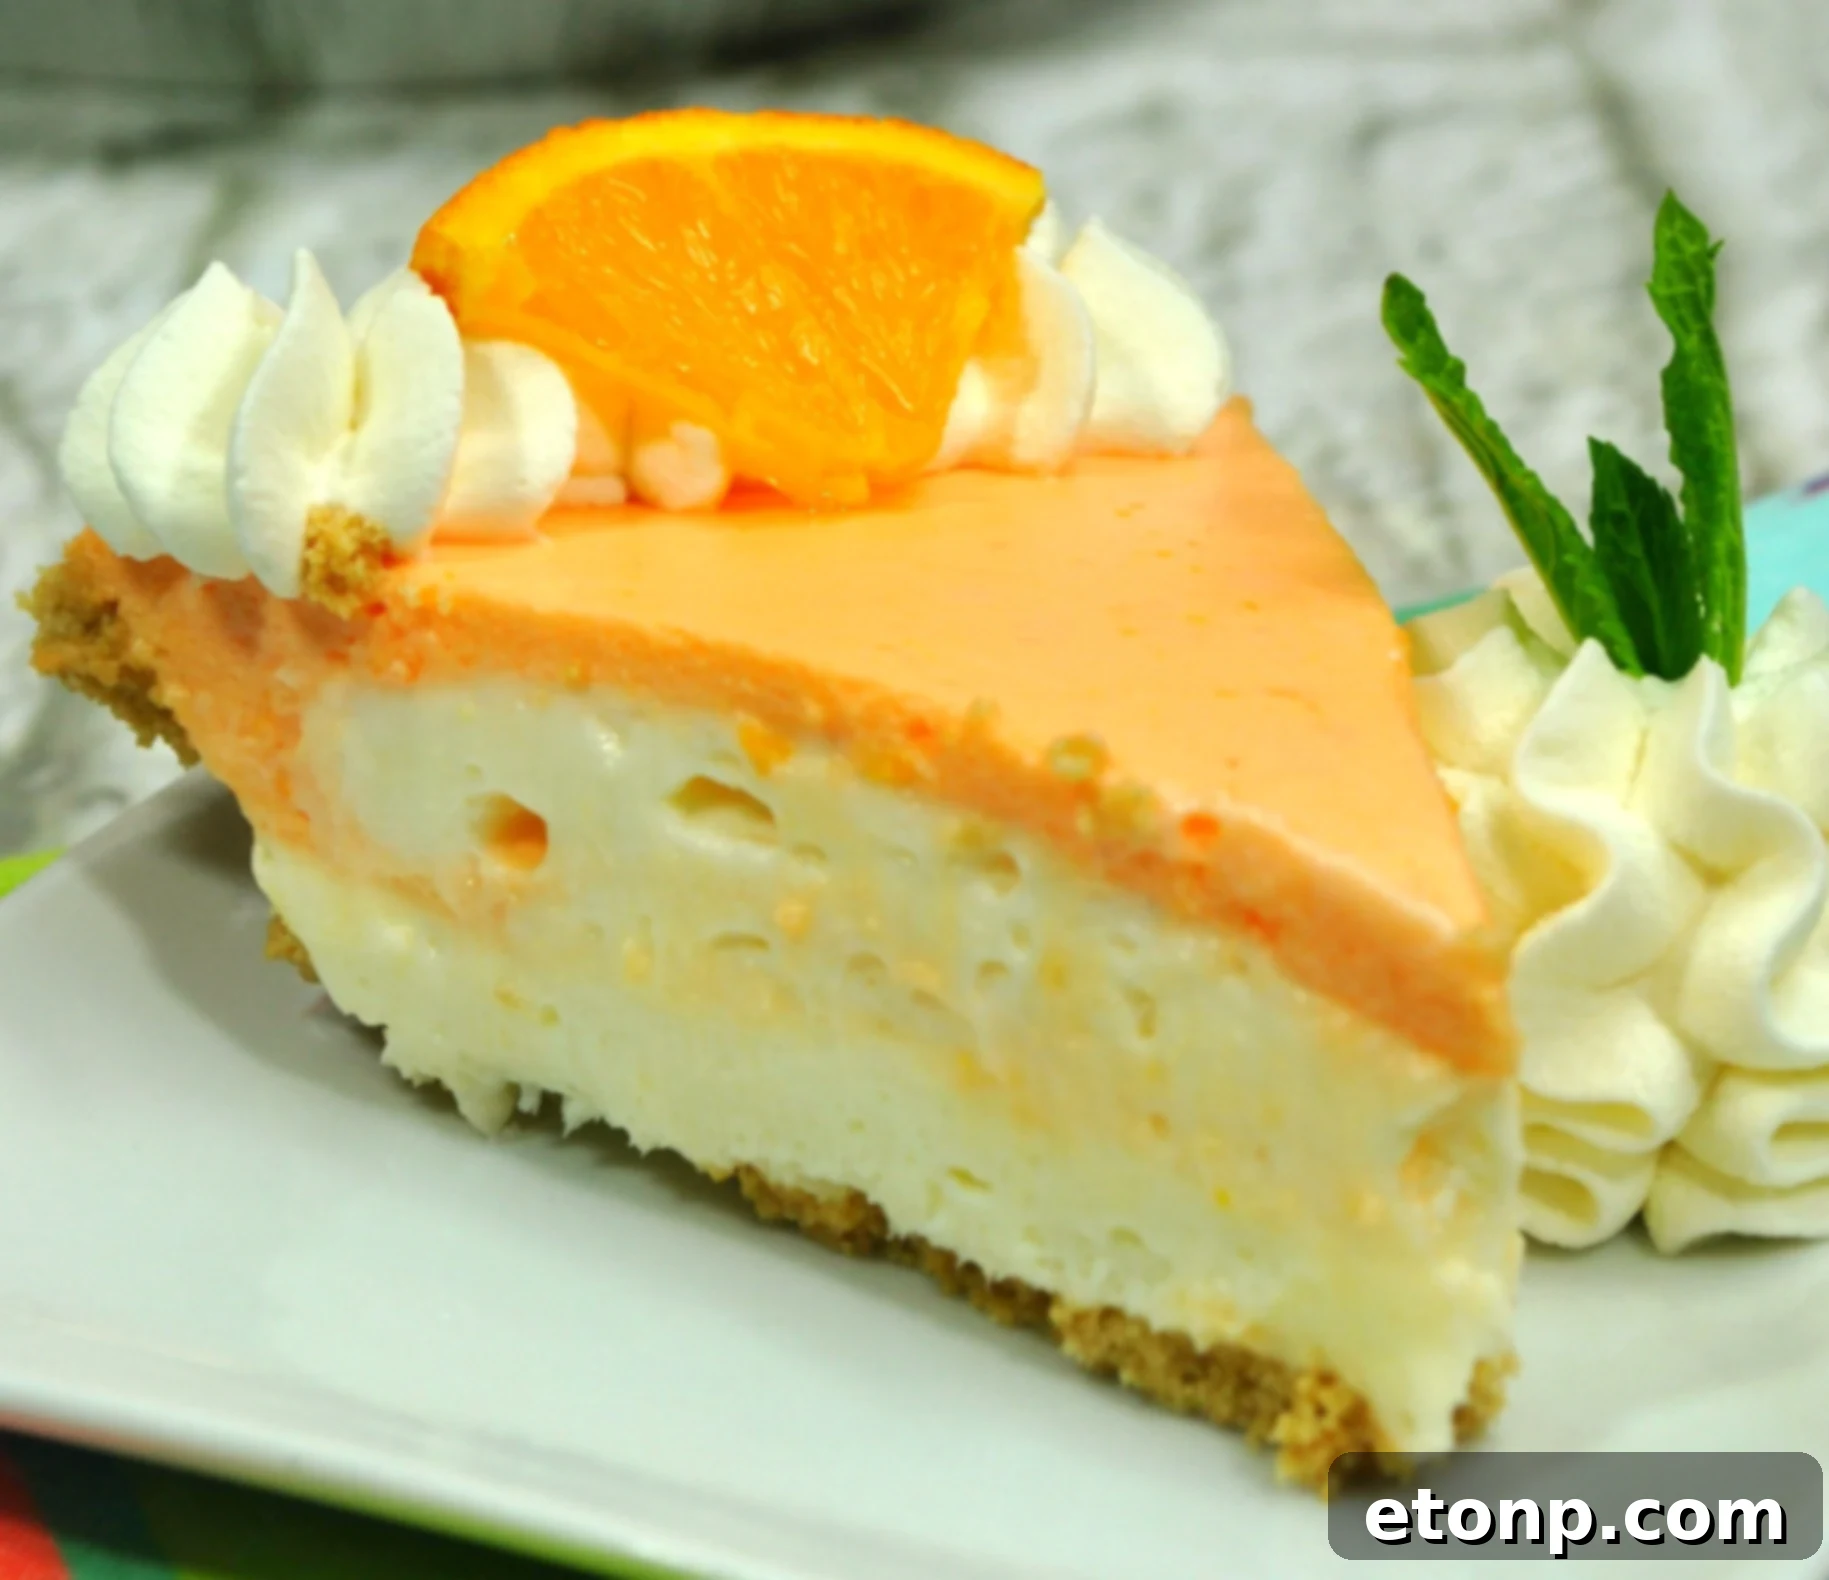
Forget the oven and complicated baking techniques. This recipe is designed for ease and maximum flavor impact. Whether you opt for a quick pre-made crust or decide to bake a simple sugar cookie crust, the main event—the luscious filling—requires no baking at all. This makes it a perfect dessert for any occasion, especially when the weather heats up and you want to keep your kitchen cool.
Why This No-Bake Cheesecake is a Must-Try
What makes this Orange Creamsicle Cheesecake so incredibly special? It’s the perfect harmony of vibrant orange and smooth creaminess, reminiscent of your favorite frozen treat. The zesty notes from fresh orange zest cut through the richness of the cream cheese and whipped cream, creating a light yet indulgent dessert that’s utterly captivating. It’s:
- Effortlessly Delicious: The “no-bake” aspect simplifies the process significantly, making it accessible even for novice bakers.
- Bursting with Flavor: Authentic Orange Creamsicle taste, elevated by real orange zest and a creamy cheesecake base.
- Perfect for Any Occasion: From casual family gatherings to elegant dinner parties, this cheesecake is a crowd-pleaser.
- Visually Stunning: With its beautiful layers and optional whipped cream topping, it’s a showstopper.
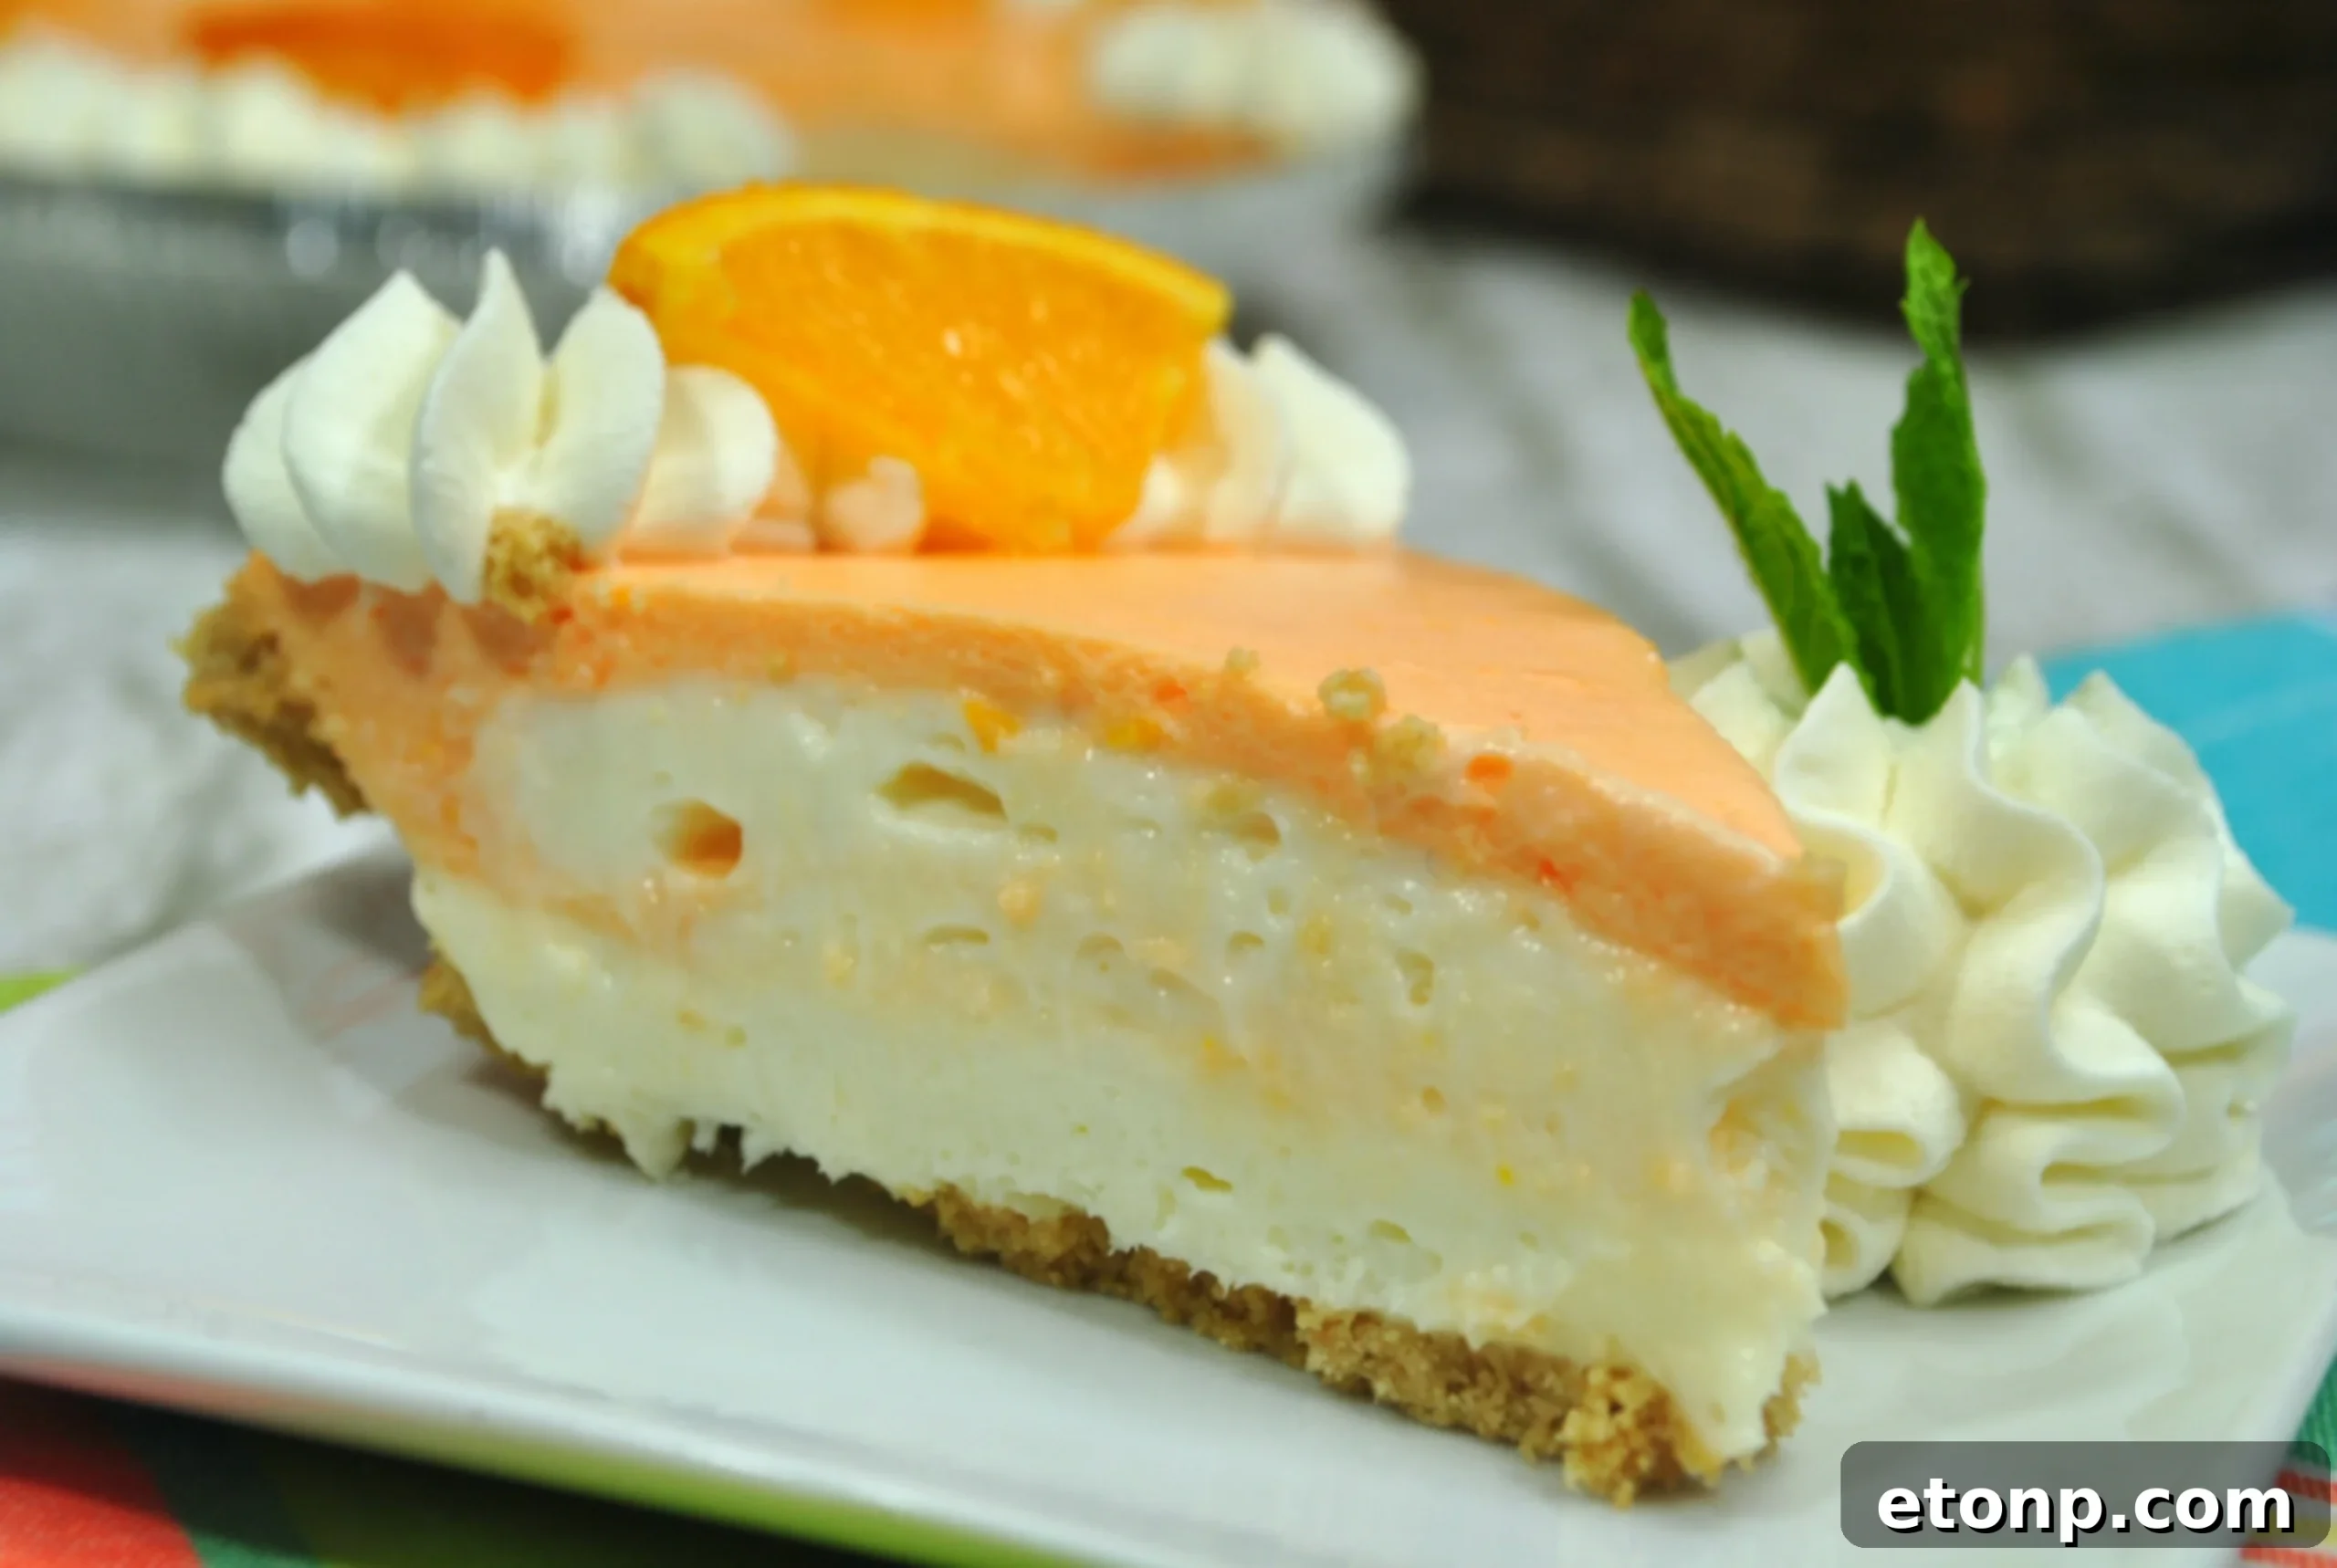
While it requires a little bit of prep work and some overnight chilling, the minimal effort is truly worth the spectacular results. Imagine the delighted faces of your family and friends when they taste this incredible dessert. It’s an absolute must-try recipe that will undoubtedly become a treasured addition to your recipe collection.
Essential Tips for Cheesecake Perfection
Achieving the perfect no-bake cheesecake is all about attention to a few key details. Here are some pro tips to ensure your Orange Creamsicle Cheesecake turns out flawless every time:
- Softened Cream Cheese is Key: Ensure your cream cheese is at room temperature. This is crucial for a smooth, lump-free filling. Cold cream cheese will result in a lumpy texture that no amount of beating can fix. Take it out of the fridge at least an hour before you plan to start mixing.
- Whip Cream to Stiff Peaks: When whipping heavy cream, make sure it forms stiff peaks. This provides the necessary structure and airy texture for your cheesecake filling and topping. Over-whipping can turn it grainy, so watch it closely.
- Cool the Jell-O Completely: The orange-flavored Jell-O mixture must be completely cooled before being folded into the cream cheese and whipped cream. Adding warm Jell-O will melt the other ingredients, preventing your cheesecake from setting properly. Speed up the cooling process by placing the bowl over an ice bath if you’re in a hurry.
- Gentle Folding: When combining the whipped cream with the cream cheese mixture and the Jell-O mixture, use a gentle folding technique to maintain the airiness of the whipped cream. This ensures a light and fluffy cheesecake, rather than a dense one.
- Overnight Chill: While tempting to dig in earlier, an overnight chill (at least 8 hours, preferably 12+) is essential for the cheesecake to firm up perfectly. This allows all the flavors to meld beautifully and ensures clean slices.
- Layering for Visual Appeal: Spreading the layers carefully creates a beautiful presentation. Don’t rush this step. Use an offset spatula for even distribution.
Customization and Serving Suggestions
This Orange Creamsicle Cheesecake is fantastic as is, but feel free to get creative! Here are a few ideas to personalize your dessert:
- Crust Variations: Beyond the sugar cookie or pre-made crust, consider a classic graham cracker crust for a different texture, or even a vanilla wafer crust for a sweeter base.
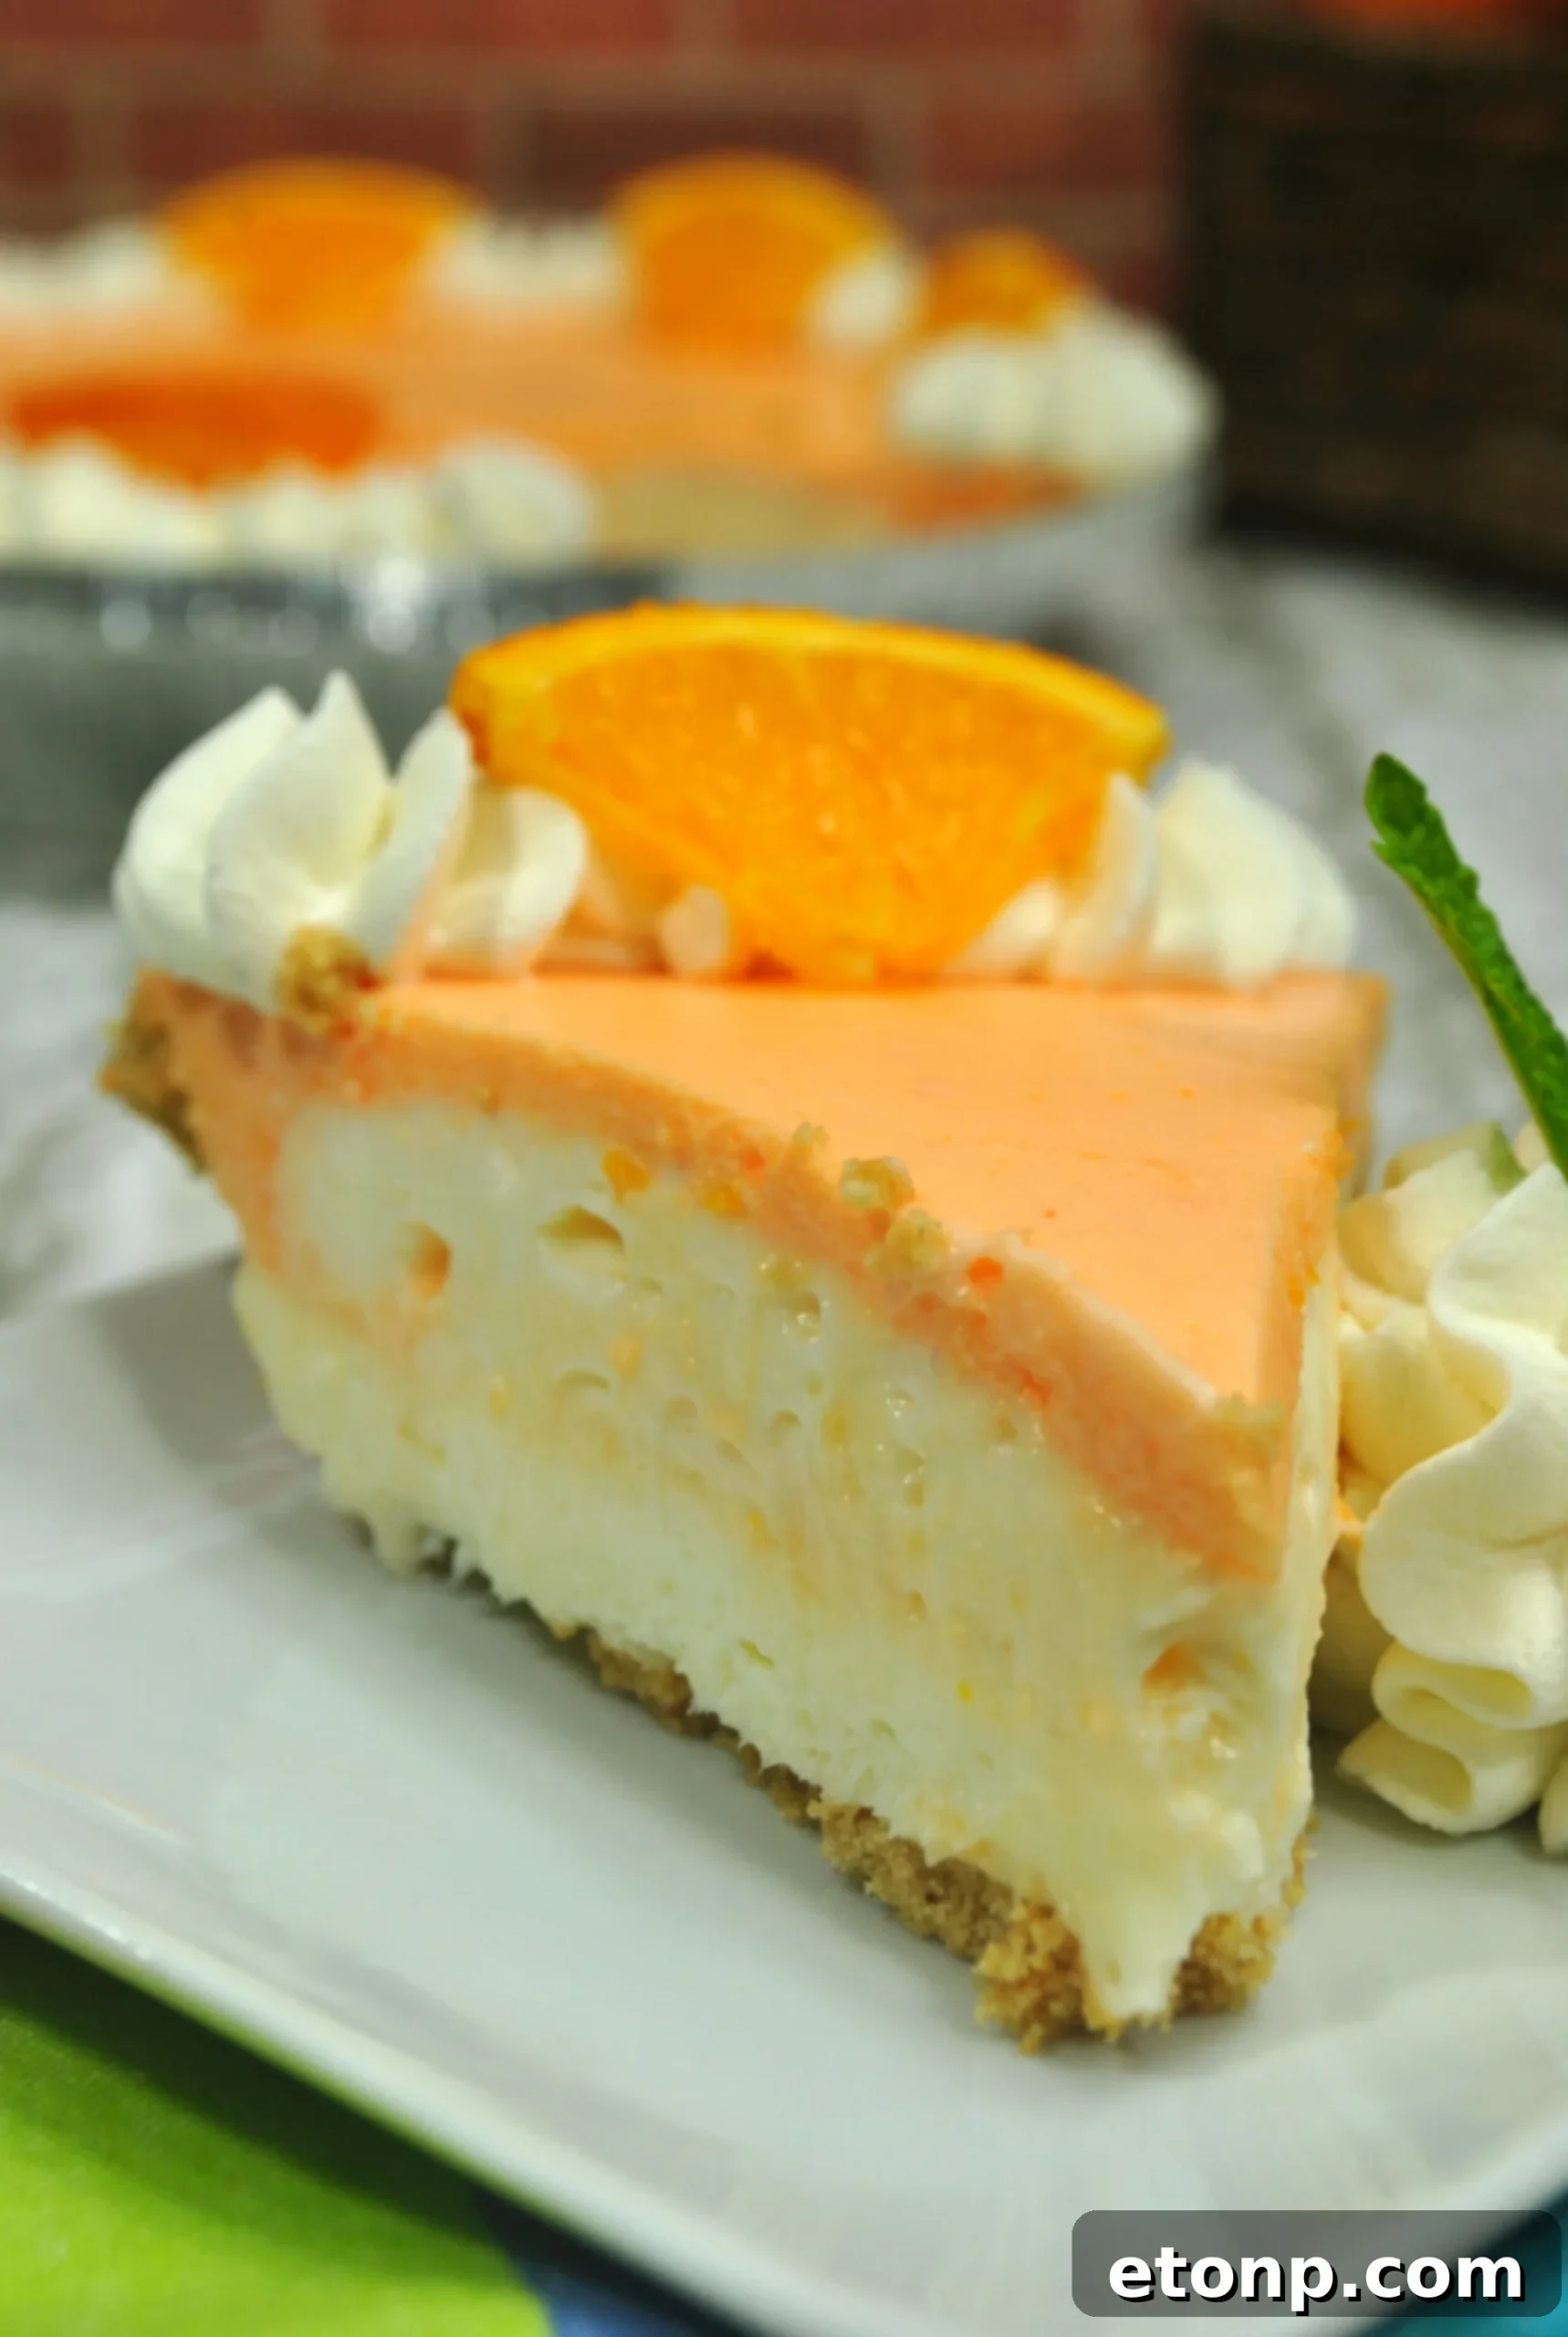
- Garnish Galore: Fresh orange slices, candied orange peel, a sprinkle of extra orange zest, or even some white chocolate shavings can elevate the presentation. A light drizzle of an orange glaze could also add extra sparkle.
- Citrus Swap: While orange is classic, imagine a lemon or lime creamsicle cheesecake! Simply swap the orange Jell-O and zest for another citrus fruit.
- Individual Servings: For a party, prepare this in individual ramekins or small dessert cups for a chic presentation.
Serve this cheesecake chilled, perhaps with a cup of coffee or a glass of chilled prosecco for an adult gathering. It makes for an incredible centerpiece on any dessert table and is especially appreciated during spring and summer festivities.
Storage Instructions
To keep your Orange Creamsicle Cheesecake tasting fresh and delicious, store it in an airtight container in the refrigerator for up to 3-4 days. While it can be frozen, the texture might change slightly upon thawing. If freezing, cover it tightly with plastic wrap and then foil, and it can last for up to one month. Thaw in the refrigerator overnight before serving.
Frequently Asked Questions (FAQs)
Q: Can I make this cheesecake ahead of time?
A: Absolutely! In fact, it’s recommended to make it at least 8 hours, or ideally overnight, before serving to allow it to set completely and for the flavors to fully develop.
Q: What if I don’t have a springform pan?
A: You can use a regular 9-inch pie plate. Just be aware that slicing and serving might be a bit trickier, and you won’t get the clean, tall sides of a cheesecake from a springform pan. Alternatively, you can line a regular cake pan with parchment paper, leaving an overhang to lift the cheesecake out once set.
Q: Can I use fresh orange juice instead of Jell-O?
A: While fresh orange juice would provide great flavor, the Jell-O is crucial for the “creamsicle” flavor profile and, more importantly, for helping the no-bake cheesecake set properly. Without the gelatin in the Jell-O, the cheesecake might not firm up enough.
Q: My cream cheese is still lumpy. What can I do?
A: If your cream cheese is lumpy, it likely wasn’t softened enough. Try beating it longer on medium speed, scraping down the sides of the bowl frequently. If it’s still very lumpy, a very small amount of warm (not hot!) milk can sometimes help to smooth it out, but be careful not to add too much liquid. Prevention by proper softening is the best approach.
Get Ready to Share Your Masterpiece!
We are confident that this No-Bake Orange Creamsicle Cheesecake will become a new favorite in your home. Its vibrant flavor and simple preparation make it an irresistible dessert for any time of year. Don’t forget to capture your delicious creation and share it with us! We love seeing your incredible recipes come to life.
Please remember to SHARE on Facebook and PIN IT!
FOLLOW ME ON PINTEREST BY CLICKING HERE
Orange Creamsicle Cheesecake Pie Recipe
This no-bake delight combines the nostalgic flavors of an orange creamsicle with the creamy texture of a cheesecake. Perfect for a refreshing dessert!
Ingredients
- For the Crust (Choose one):
- 1 pouch of Betty Crocker Sugar Cookie Mix (plus ingredients to prepare it) OR
- 1 pre-made pie crust (for a truly ‘No-Bake’ option)
- For the Filling:
- 2 (8 oz) boxes of cream cheese, softened
- 3/4 cup powdered sugar (for cream cheese mixture)
- 2 cups heavy whipping cream
- 1 (3 oz) box of orange flavored Jell-O
- 1 cup boiling water
- 1 orange, zested
- 1/4 tsp vanilla extract (for cream cheese mixture)
- For the Topping:
- 1 cup heavy whipping cream
- 1/2 cup powdered sugar
- 1/2 tsp vanilla extract
- Equipment:
- 1 disposable piping bag with star tip (optional, for decorative topping)
- 8-inch springform cheesecake pan (if making cookie crust)
Instructions
IF DOING THE COOKIE CRUST:
- Preheat oven to 350°F (175°C). Lightly spray the inside of an 8-inch springform cheesecake pan with baking spray.
- Prepare the sugar cookie batter according to package directions.
- Press the cookie batter evenly into the bottom of the prepared pan, forming a crust.
- Bake for approximately 10-12 minutes, or until the cookie crust is lightly browned.
- Remove from oven and set aside to cool completely.
IF USING A PRE-MADE CRUST OR ONCE COOKIE CRUST IS COOLED, BEGIN HERE:
- In a large mixing bowl, using an electric mixer, beat the softened cream cheese until smooth and creamy.
- Gradually mix in the 3/4 cup powdered sugar until well combined and smooth.
- In a medium, separate bowl, combine the orange Jell-O powder with 1 cup of boiling water. Whisk vigorously until the Jell-O is completely dissolved. Set aside to cool to room temperature (this is crucial!).
- Zest one orange and set aside.
- In a standing mixer or using a hand mixer, whip 2 cups of heavy whipping cream, 1/2 cup powdered sugar (from the filling portion), and 1/4 tsp vanilla extract on medium-high speed until stiff peaks form. Be careful not to over-whip.
- Once the Jell-O mixture has completely cooled (it should still be liquid, but not warm), gently fold about half of the whipped cream into the cooled Jell-O mixture until just combined.
- Gently fold the remaining half of the whipped cream into the cream cheese mixture along with the orange zest.
- Evenly spread half of the cream cheese mixture onto your prepared crust.
- Carefully spread about 2 cups of the orange Jell-O mixture over the cream cheese layer.
- Slowly and carefully spread the remaining cream cheese mixture over the orange layer.
- Place the cheesecake into the refrigerator to set overnight, or for a minimum of 8 hours.
FOR THE OPTIONAL TOPPING (Prepare just before serving):
- Using a standing mixer or hand mixer, whip together the remaining 1 cup heavy whipping cream, 1/2 cup powdered sugar, and 1/2 tsp vanilla extract until stiff peaks form.
- Scoop the whipped cream into a piping bag fitted with a star tip (if using) and pipe small dollops around the edge of the cheesecake, or spread it evenly over the top.
- Carefully remove the cheesecake from the springform pan (if applicable), cut out a slice, and enjoy your sensational Orange Creamsicle Cheesecake!
Did you make this recipe?
We’d love to see your delicious creation! Make sure to follow on Pinterest for more inspiring recipes and share your photos!
Share on Facebook