
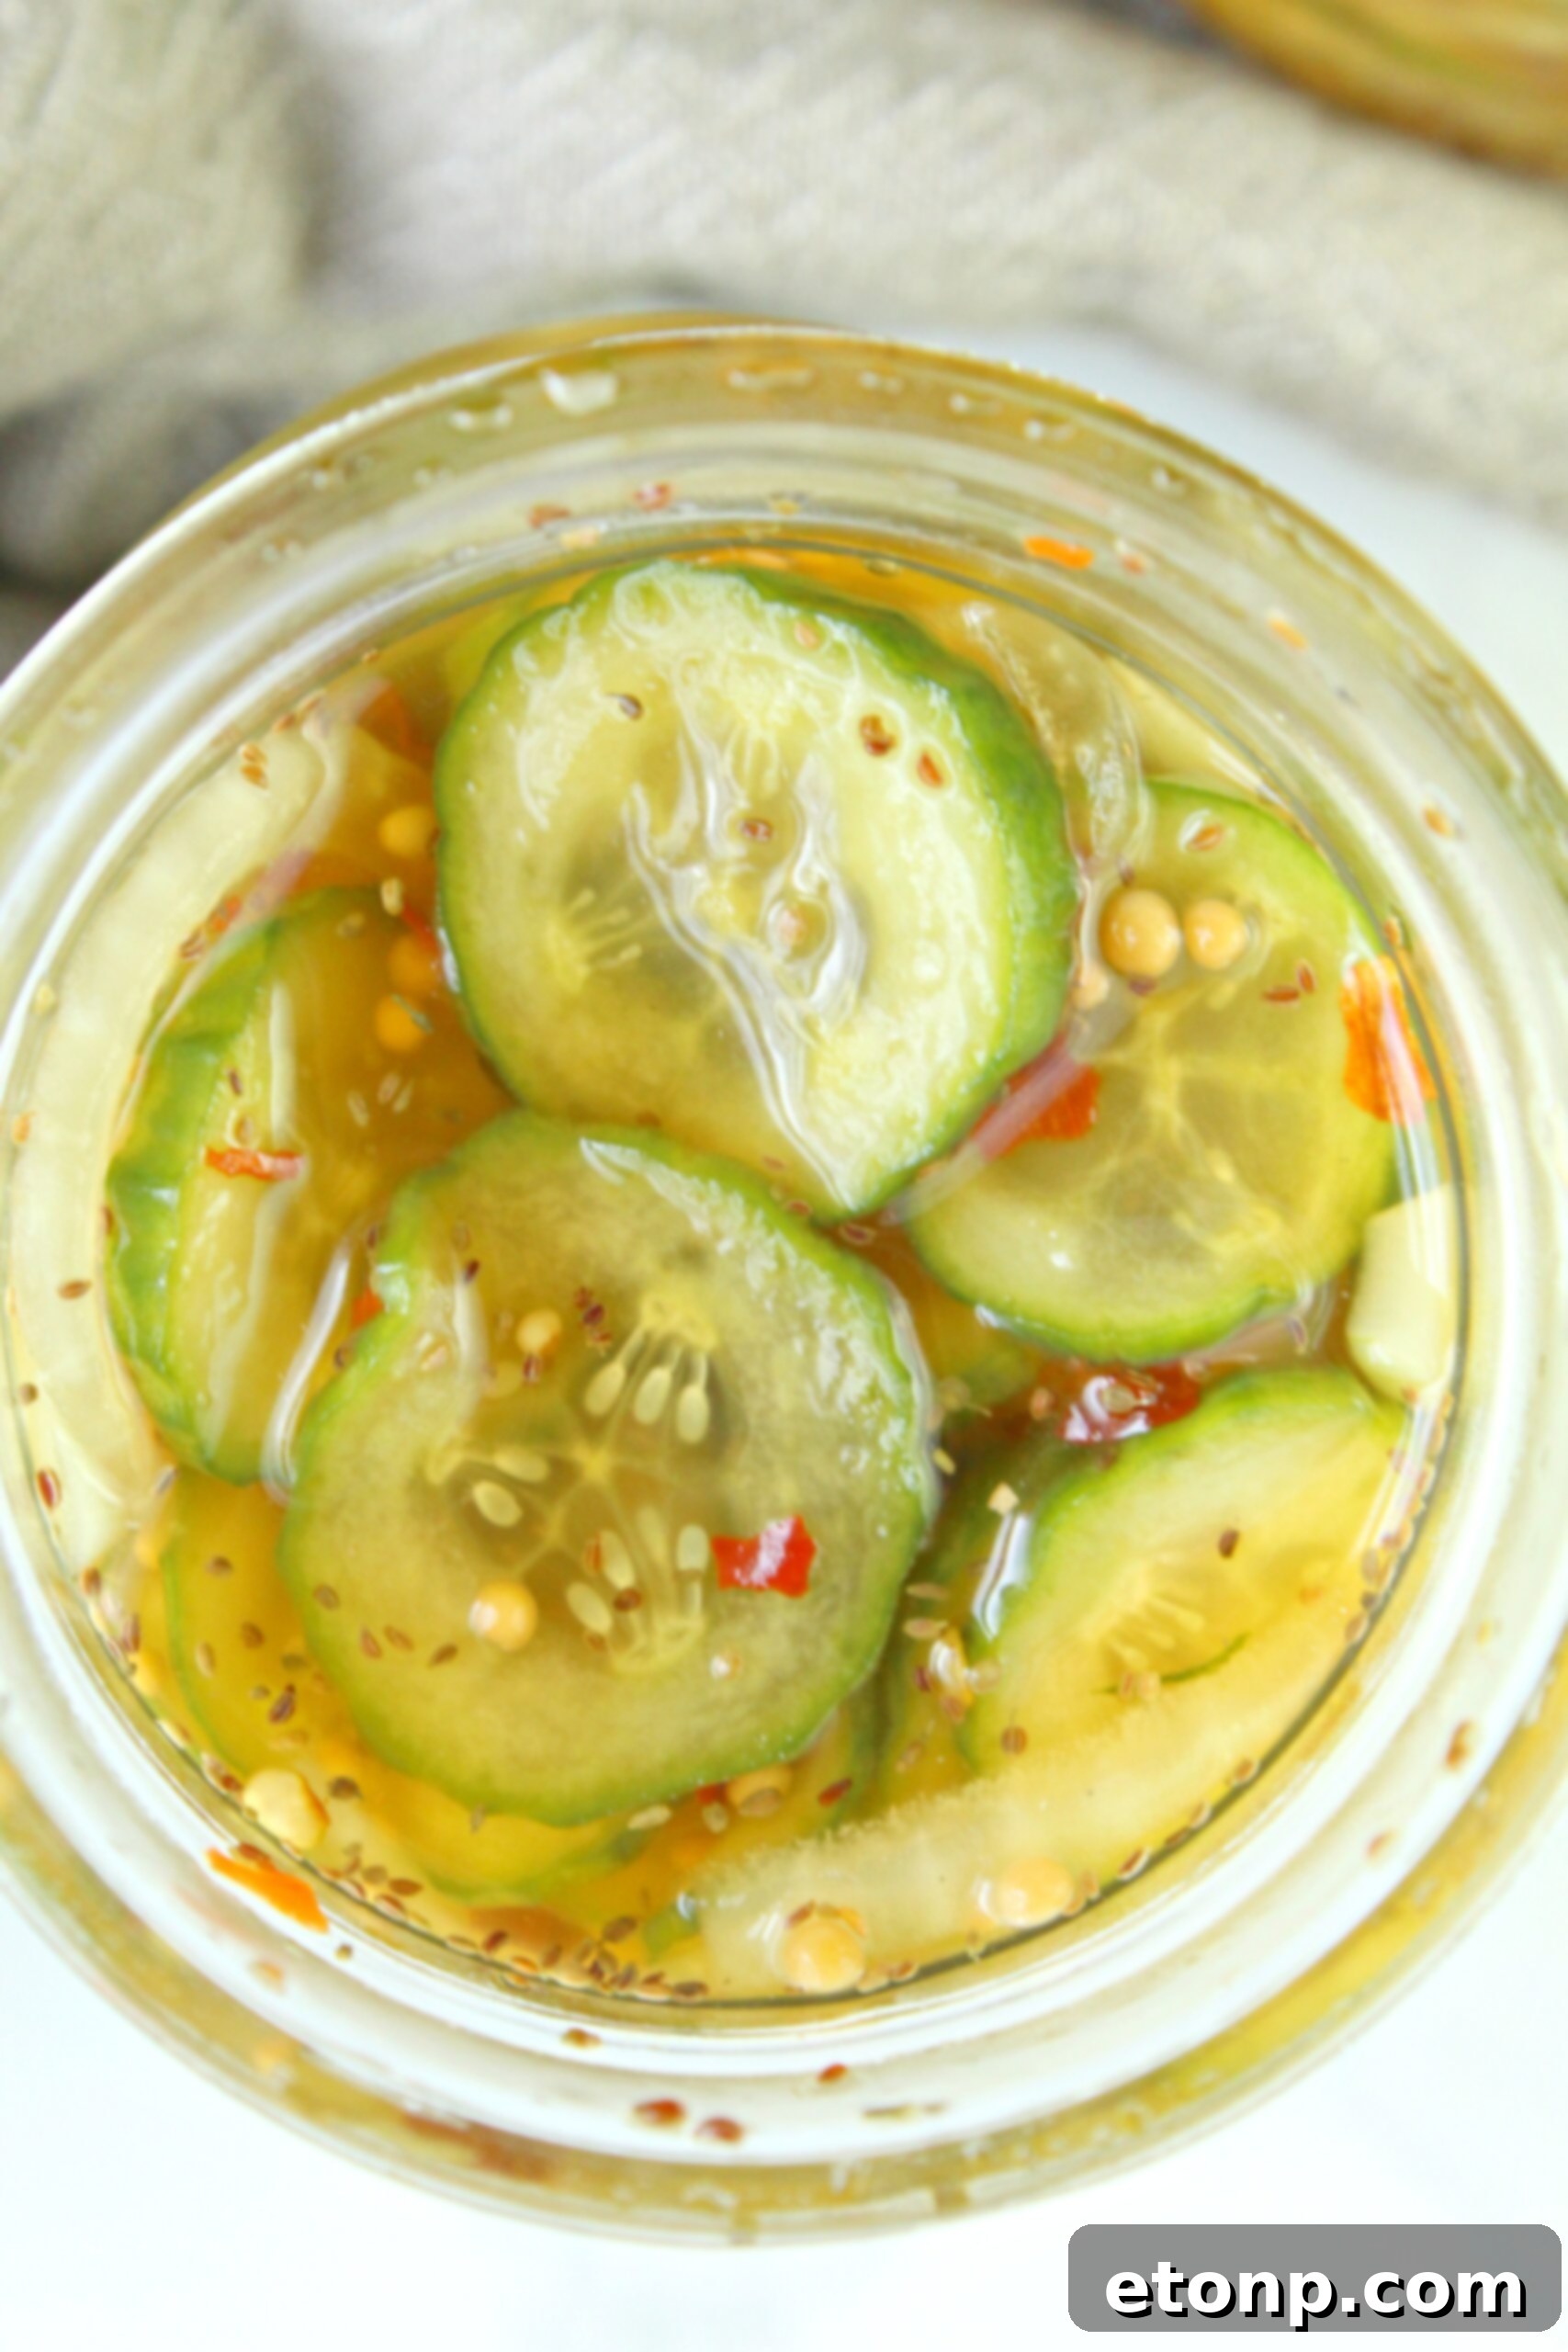
Homemade Refrigerator Bread and Butter Pickles: Your Essential Guide
Do you crave the perfect balance of sweet and tangy in a crunchy pickle? Look no further! This comprehensive guide to making Refrigerator Bread and Butter Pickles will have you ditching store-bought jars and embracing the satisfying simplicity of homemade goodness. Discover everything from the history of these beloved pickles to detailed steps, ingredient insights, and creative ways to enjoy your fresh batch.
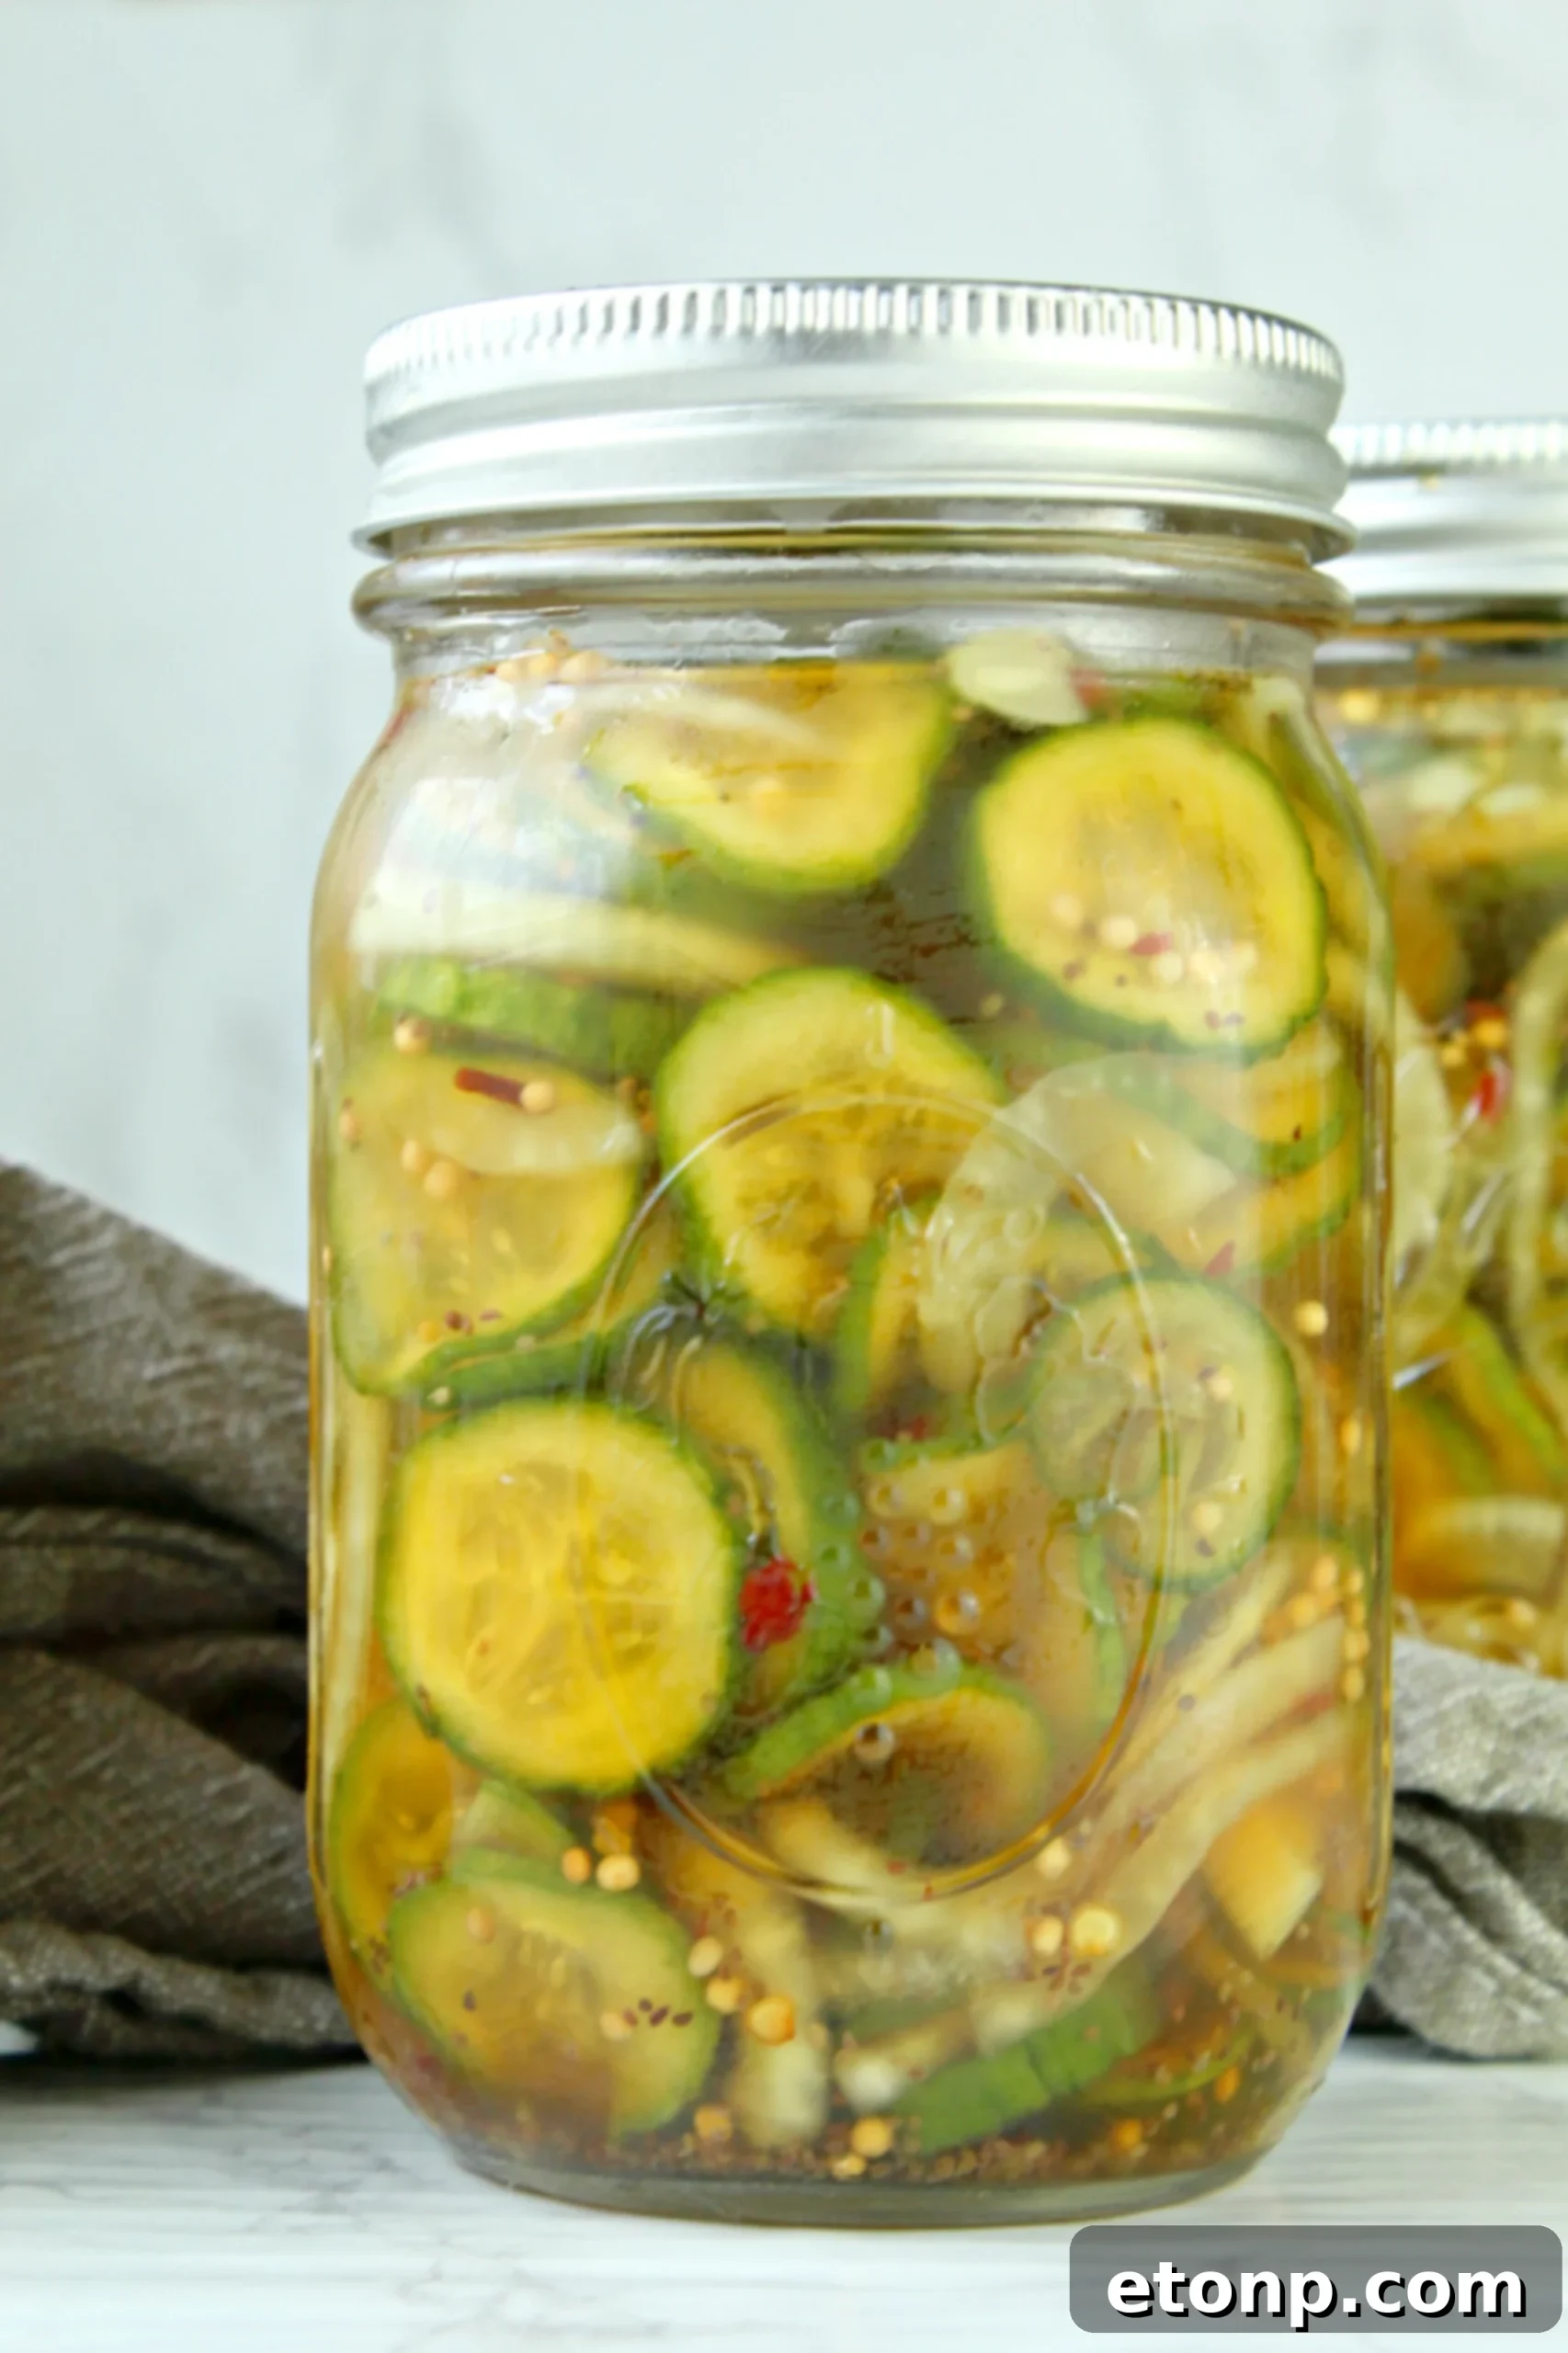
What Exactly Are Bread and Butter Pickles?
Bread and Butter Pickles are a culinary classic, characterized by their distinct sweet-and-sour flavor profile and signature crisp texture. They consist of thinly sliced cucumbers and onions submerged in a flavorful brine made primarily of vinegar, sugar, and various spices. Unlike traditional fermented pickles, these are quick-pickled, meaning they achieve their delicious taste relatively fast without an extensive fermentation process.
The intriguing name “Bread and Butter Pickles” is steeped in history and folklore. One popular theory suggests that during the Great Depression, resourceful farmers would barter their excess cucumbers, preserved in this sweet-tangy brine, for essential household staples like bread and butter. Another delightful explanation is that these pickles pair exceptionally well with simple bread and butter sandwiches, elevating a humble meal into something truly special. Regardless of their origin story, these pickles have earned their place in kitchens worldwide, adding a burst of flavor to countless dishes.
Why Choose Refrigerator Pickles?
Opting for refrigerator pickles offers a host of benefits, especially for home cooks new to pickling or those seeking a simpler, faster method. Unlike traditional canning, refrigerator pickling doesn’t require specialized equipment like pressure canners or extensive knowledge of sterilization techniques for shelf-stable storage. It’s a low-fuss approach that delivers incredibly fresh, crunchy pickles in a fraction of the time. The raw pack method (adding cold brine to cold ingredients) helps maintain the cucumbers’ crispness, resulting in a superior texture. Plus, you have complete control over the ingredients, allowing you to adjust sweetness, tanginess, and spice levels to perfectly suit your palate. It’s a fantastic way to enjoy seasonal cucumbers and minimize food waste, turning a bumper crop into a delectable pantry staple.
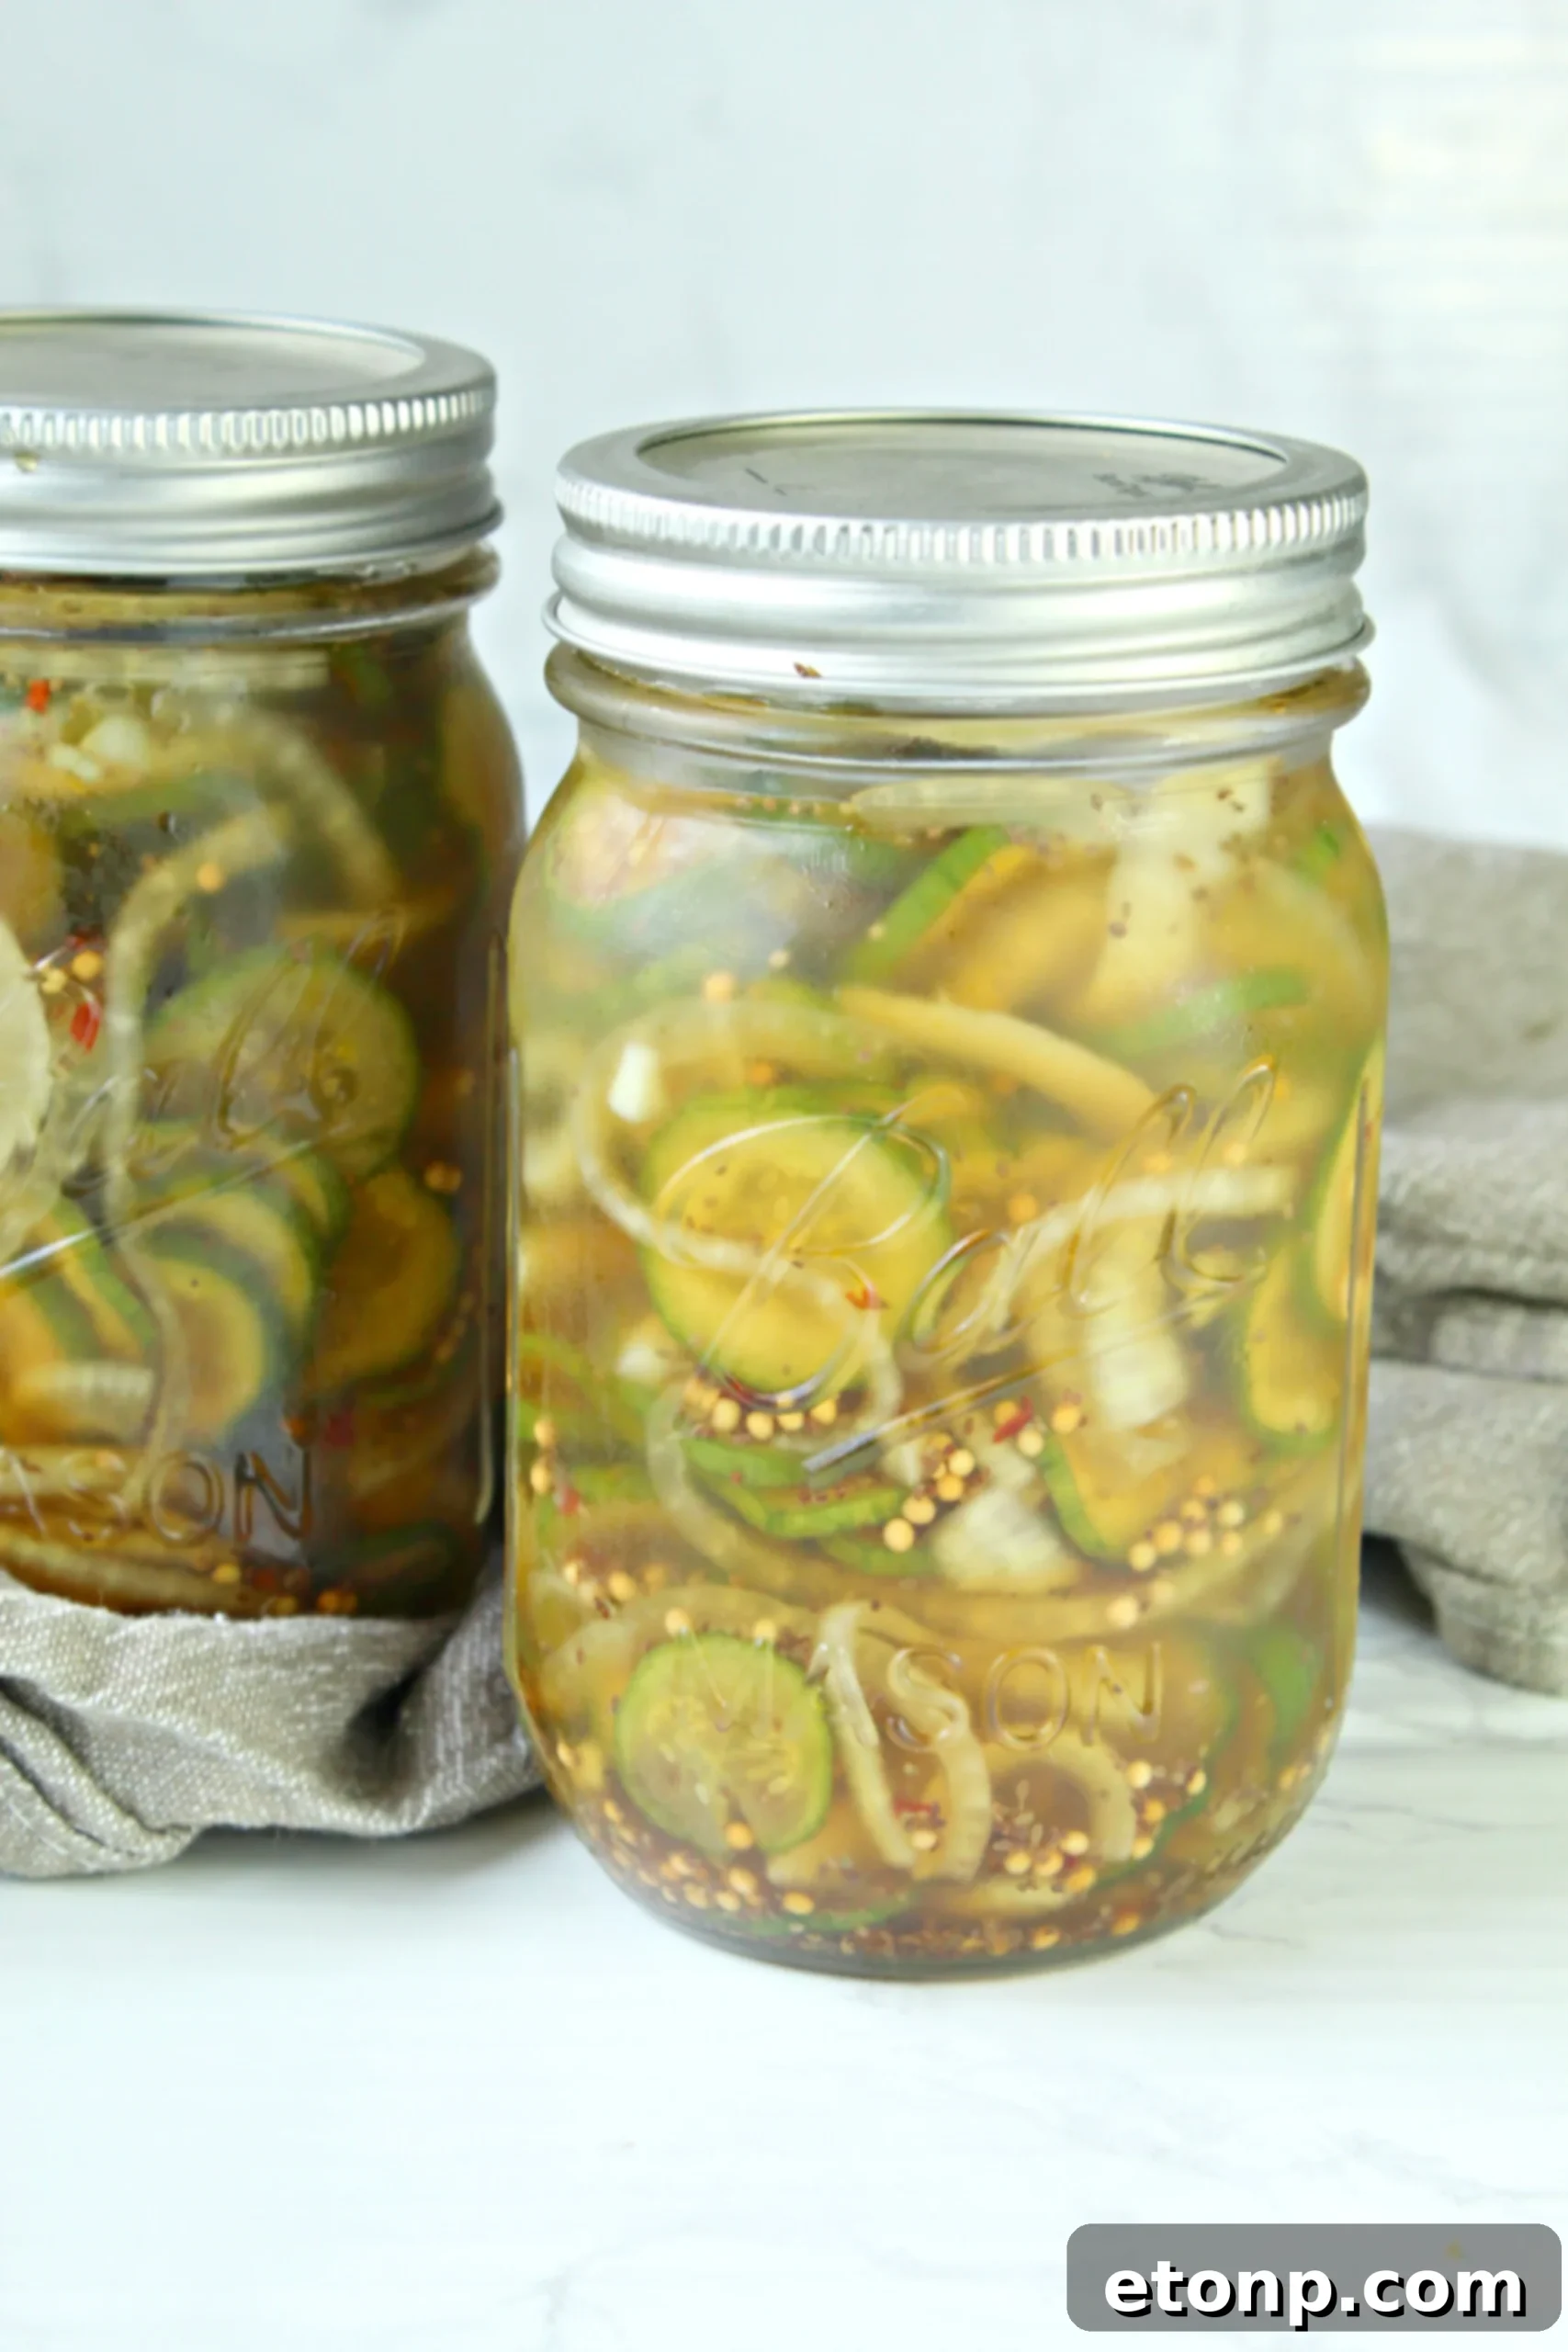
Essential Ingredients for Your Refrigerator Bread and Butter Pickles
Crafting the perfect batch of Bread and Butter Pickles starts with selecting the right ingredients. Each component plays a crucial role in achieving that signature sweet, tangy, and subtly spiced flavor. Here’s a closer look at what you’ll need:
-
Pickling Cucumbers:
For the best results, always opt for small, firm pickling cucumbers (like Kirby, Persian, or gherkins). These varieties have thinner skins and fewer seeds, making them ideal for pickling. You’ll need about seven medium-sized cucumbers to yield a good batch. Ensure they are fresh and free of blemishes for optimal crunch.
-
White Vinegar:
This provides the sharp, clean acidity that defines a pickle. White vinegar has a strong, neutral flavor, acting as the primary pickling agent and contributing to the tartness.
-
Apple Cider Vinegar:
Adding apple cider vinegar introduces a subtle fruity note and a milder acidity compared to white vinegar, rounding out the brine’s flavor profile beautifully. The combination of both vinegars creates a more complex and balanced tang.
-
Kosher Salt:
Crucial for drawing out excess moisture from the cucumbers, which helps maintain their crispness. Kosher salt is preferred over iodized table salt because it contains no anti-caking agents, which can sometimes cloud the pickling liquid or alter the flavor.
-
Brown Sugar:
The star sweetener for these pickles, brown sugar imparts a rich, molasses-like depth that perfectly complements the vinegary tang. This is what gives “Bread and Butter” pickles their signature sweet edge.
-
Other Aromatic Additions:
Beyond these core ingredients, you’ll also need one white onion for an aromatic base, mustard seeds for a classic pickle flavor, celery seeds for earthy notes, and red pepper flakes to introduce a hint of warmth and subtle spice. These spices are essential for the distinctive bread and butter pickle taste.
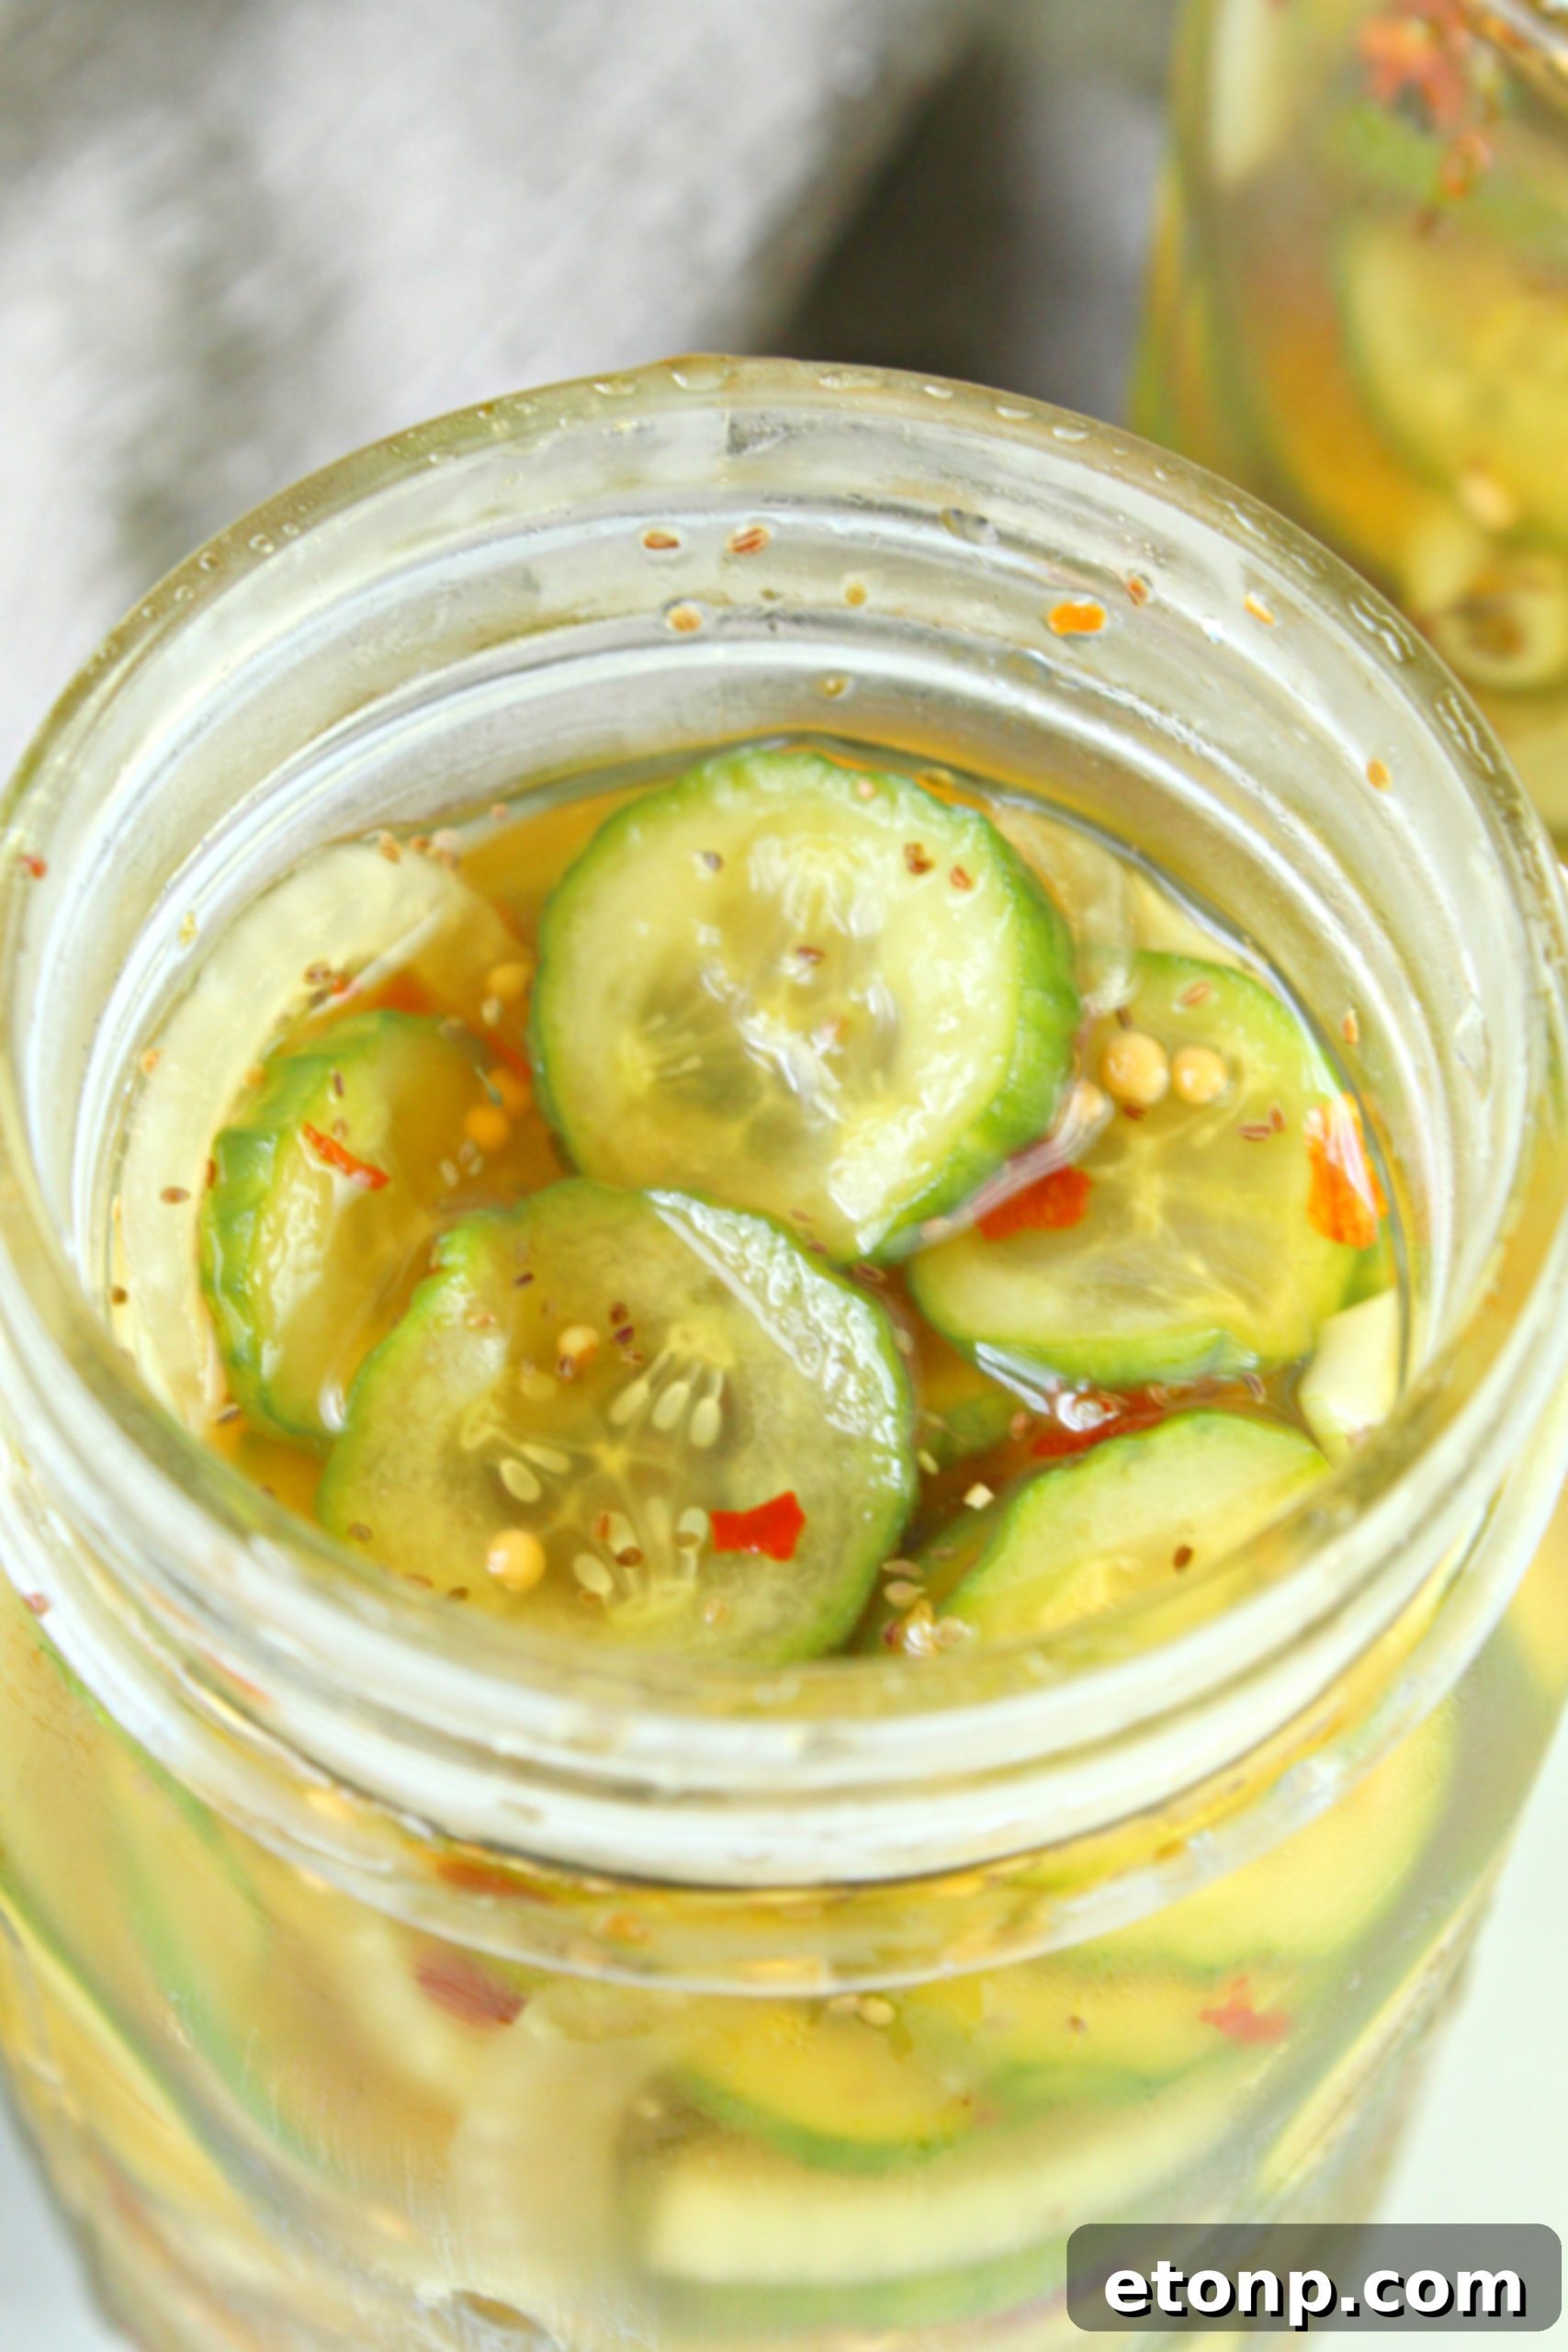
How to Prepare Your Refrigerator Bread and Butter Pickles: A Step-by-Step Guide
Making homemade Refrigerator Bread and Butter Pickles is surprisingly straightforward. Follow these simple steps for a batch of crunchy, flavorful pickles that will impress everyone.
-
Prepare Cucumbers and Onions:
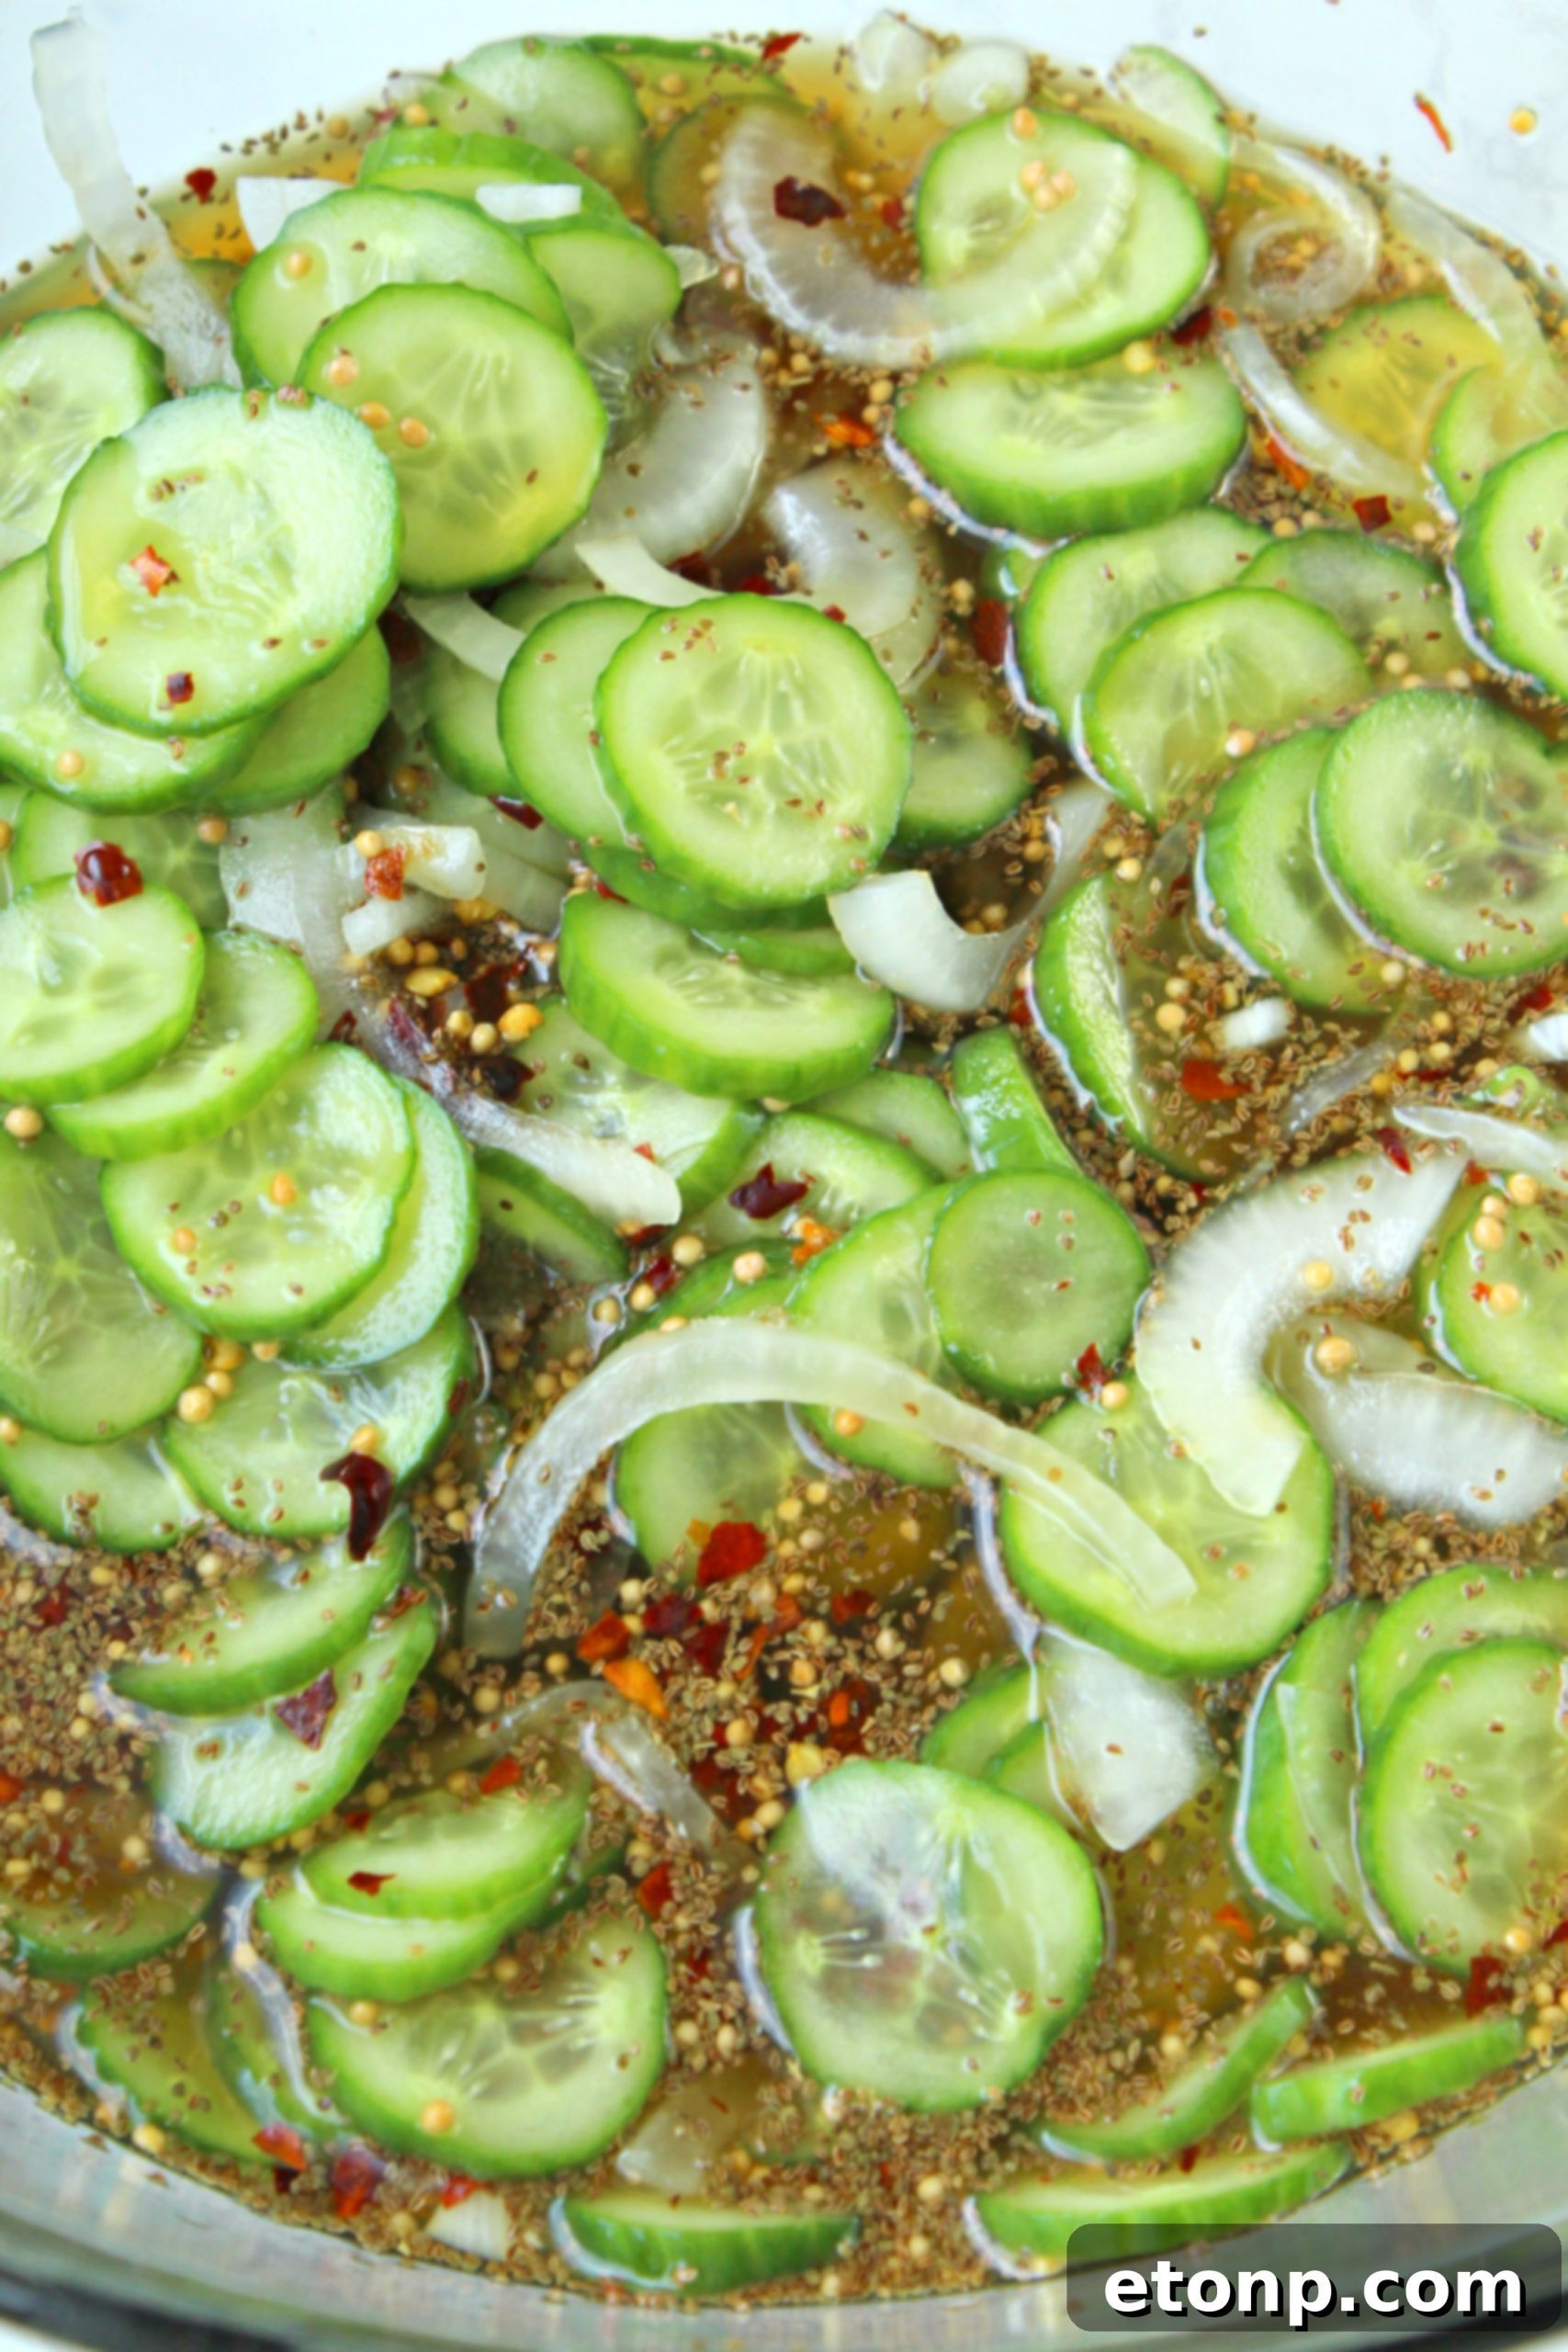
Begin by thoroughly washing your pickling cucumbers. Using a sharp knife or a mandoline for even slices, cut the cucumbers into thin, uniform rounds. Slice the white onion into equally thin pieces. In a large bowl, combine the sliced cucumbers and onions with the kosher salt. Toss everything gently to ensure the salt is evenly distributed. This salting step is crucial as it draws out excess moisture, contributing to crispier pickles. Cover the bowl and refrigerate for at least one hour.
-
Rinse and Drain:
After chilling, transfer the cucumber and onion mixture to a colander. Rinse them thoroughly under cold running water to remove all excess salt. This prevents your pickles from becoming overly salty. Gently shake the colander to drain as much water as possible. You can also press them lightly to squeeze out more liquid. Return the rinsed and drained cucumbers and onions to the clean bowl.
-
Prepare the Brine:
In a small saucepan, combine the brown sugar, white vinegar, apple cider vinegar, celery seeds, mustard seeds, and red pepper flakes. Place the saucepan over medium-high heat. Stir continuously until the brown sugar has completely dissolved. You don’t need to bring the mixture to a rolling boil, just enough heat to dissolve the sugar and meld the flavors. Once dissolved, remove the saucepan from the heat.
-
Combine and Chill:
Pour the warm brine mixture directly over the cucumbers and onions in the bowl. Allow the mixture to cool completely to room temperature. This is important to prevent softening of the cucumbers. Once cooled, transfer the pickles and brine into clean glass jars. Seal the jars tightly and place them in the refrigerator for at least 24 hours before enjoying. The longer they sit, the more the flavors will meld and intensify.
-
Enjoy and Store:
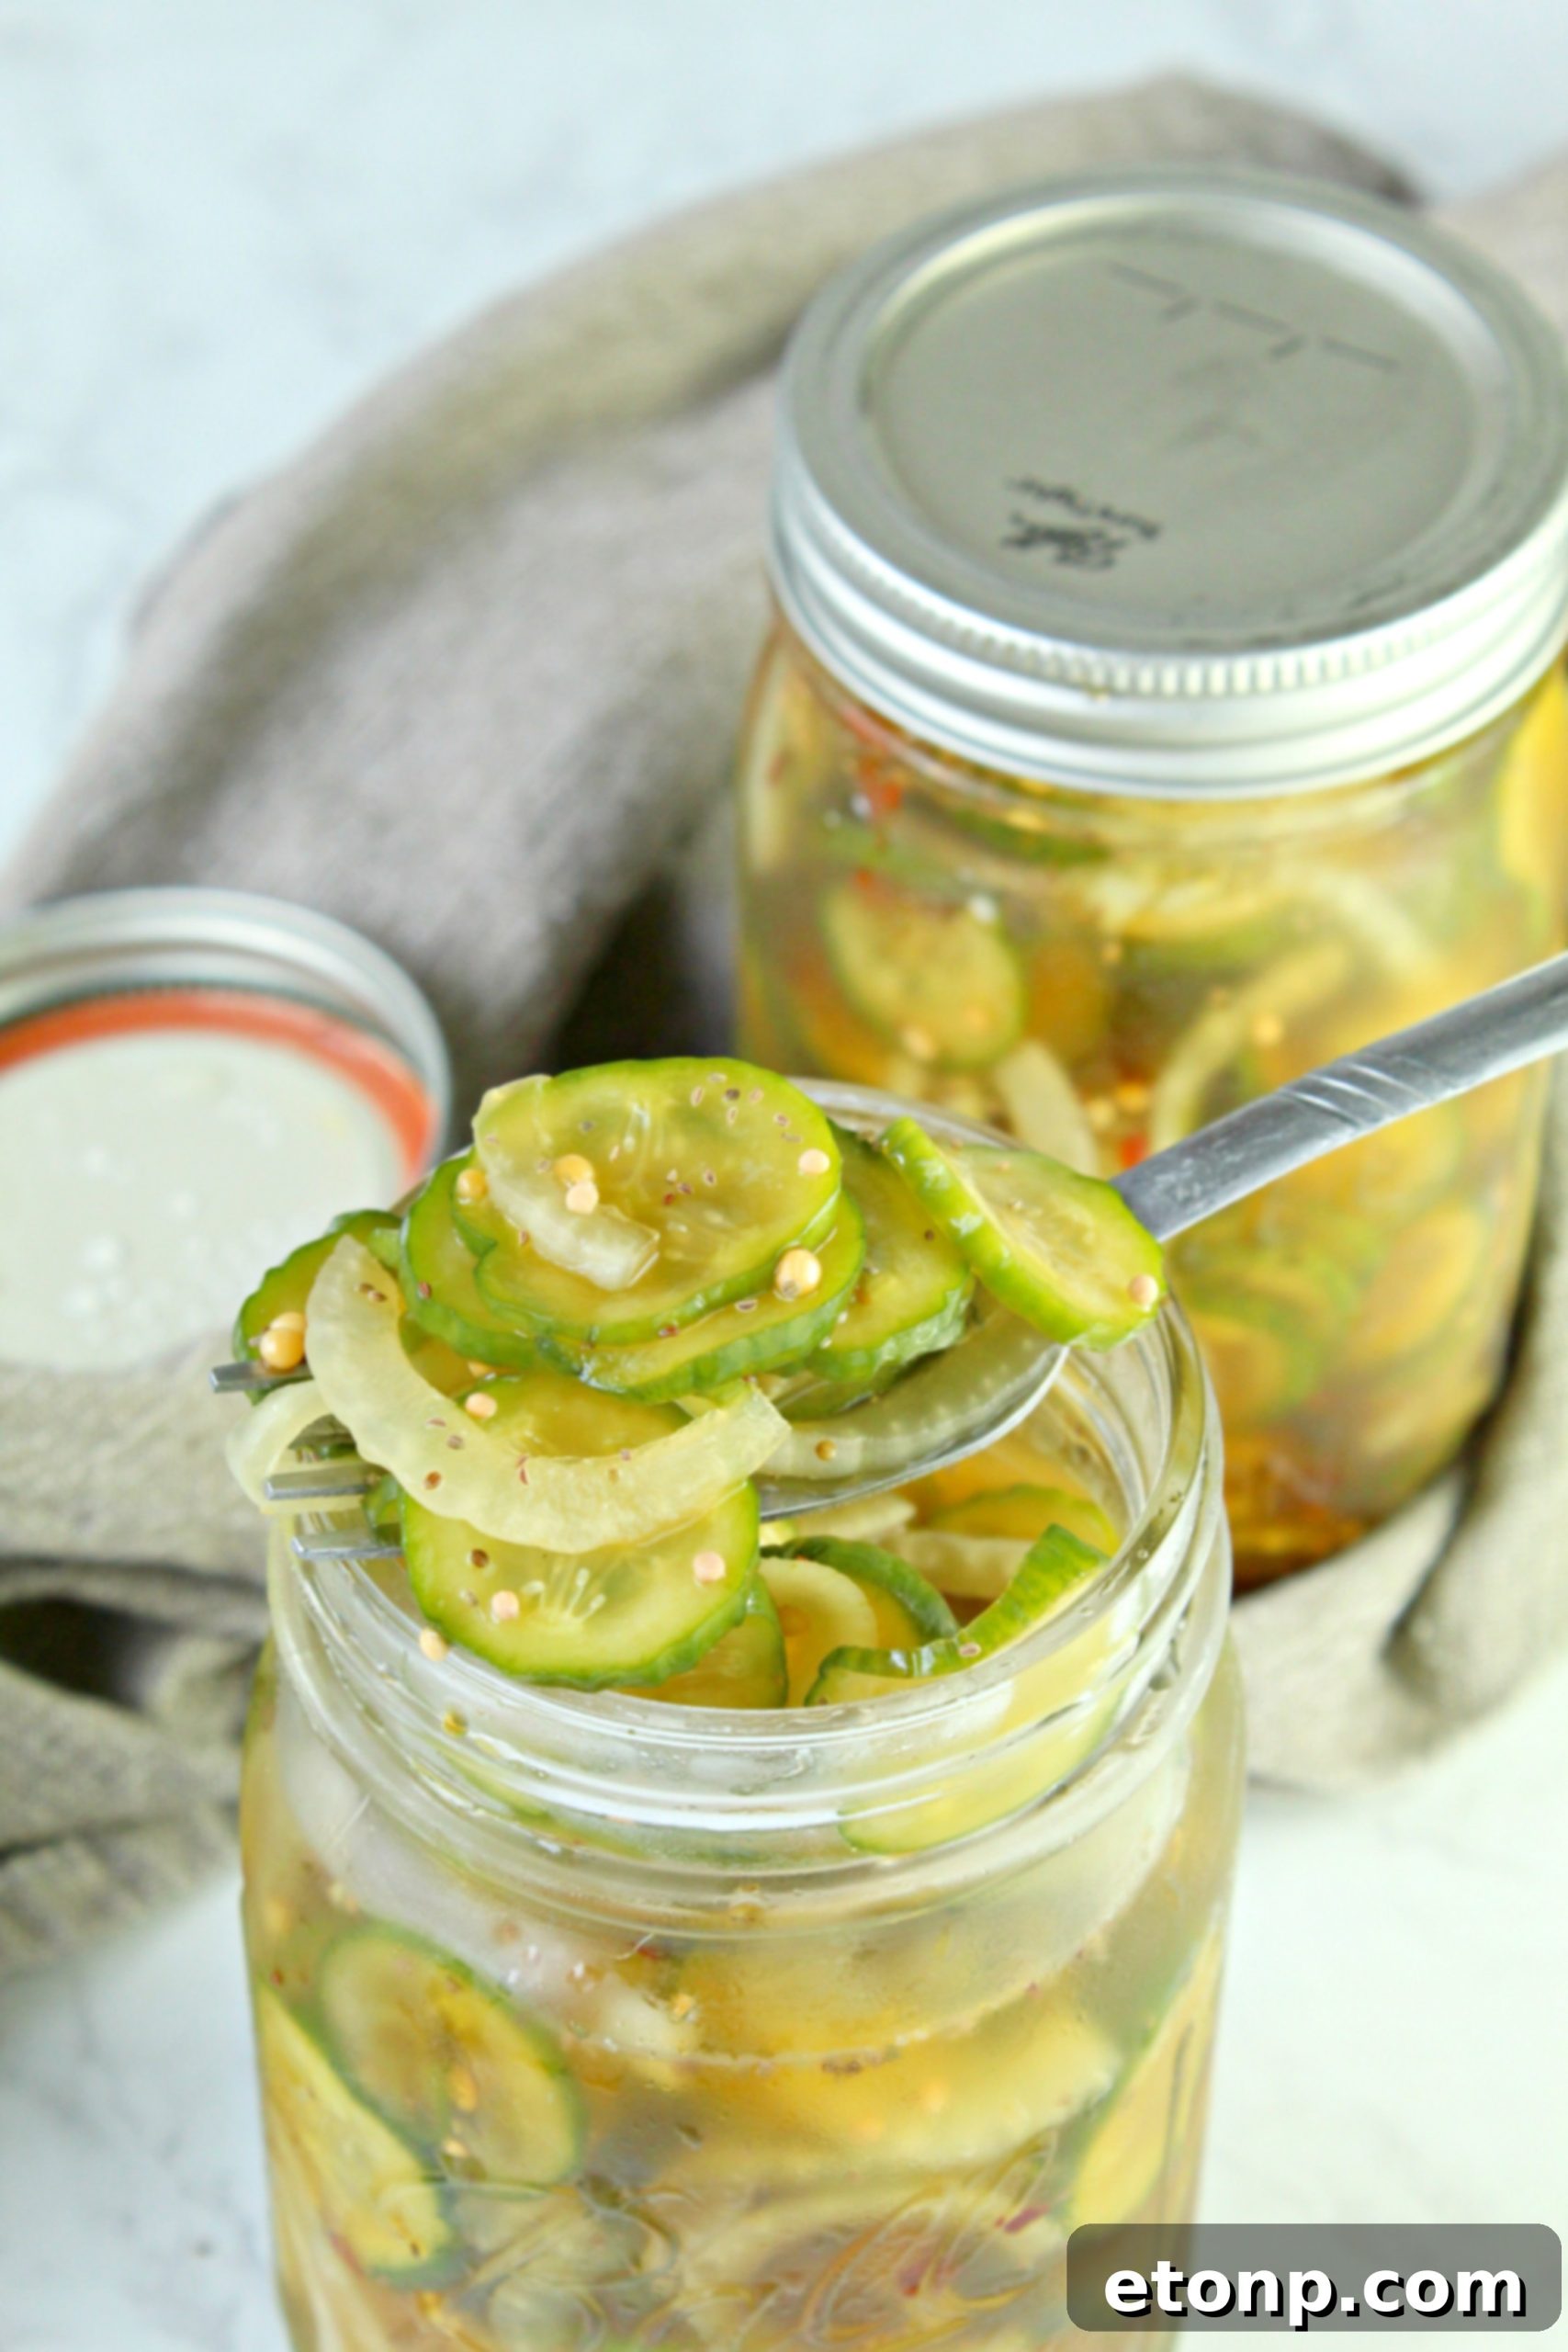
Your delicious homemade refrigerator bread and butter pickles are now ready! Store them in the refrigerator and aim to consume them within two months for the best taste and texture.
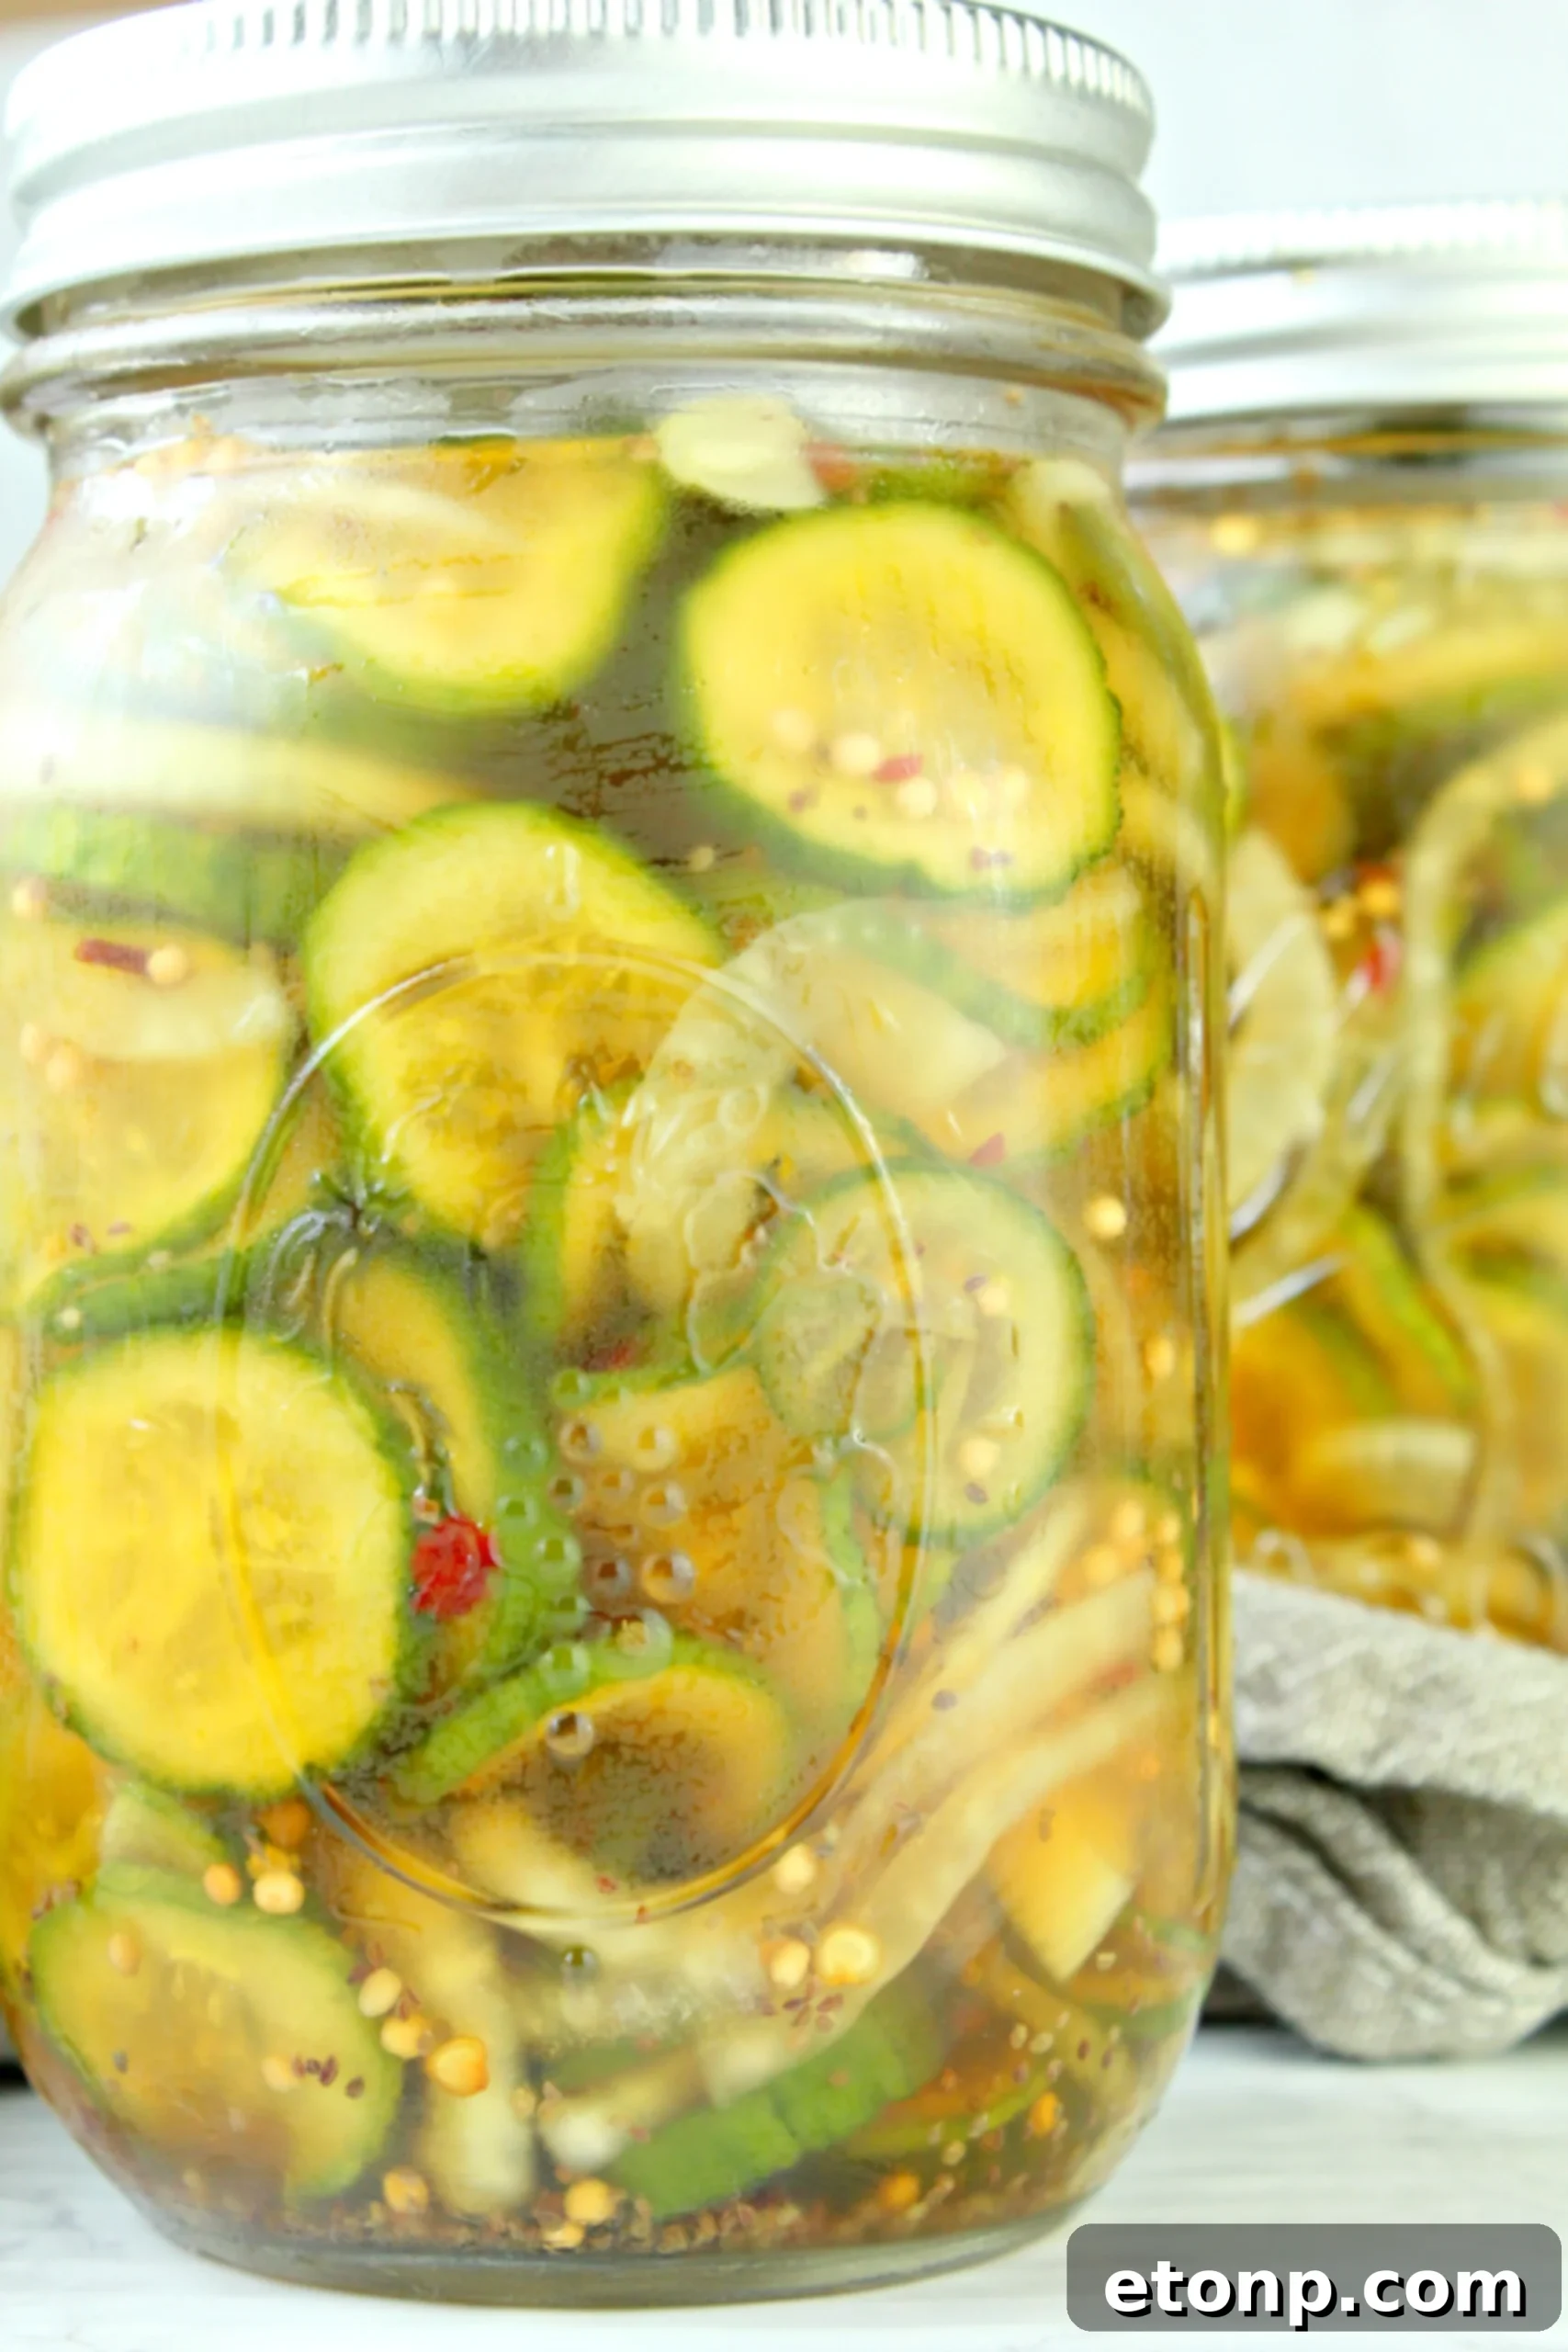
Creative Ways to Enjoy Your Homemade Pickles
Homemade bread and butter pickles are incredibly versatile and can elevate a wide array of dishes. Their sweet and tangy crunch makes them a fantastic addition to almost any meal. Here are some delicious ideas:
-
Burger and Sandwich Booster:
The classic choice! Layer these pickles generously onto your hamburgers, cheeseburgers, hot dogs, pulled pork sandwiches, or even grilled cheese for an irresistible crunch and a burst of flavor that cuts through richer ingredients.
-
Salad Enhancer:
Finely dice or slice them and mix them into your favorite salads. They add a delightful tang and texture to chicken salad, tuna salad, egg salad, macaroni salad, potato salad, or even a simple green salad.
-
Crispy Fried Pickles:
Transform them into a popular appetizer! Dip pickle slices in an egg wash, coat them generously with seasoned breadcrumbs or flour, and then fry them until golden brown and crispy. You can deep-fry them in oil for a classic diner experience or use an air fryer for a healthier alternative. Serve with your favorite dipping sauces like ranch or spicy mayo.
-
Charcuterie Board Star:
Add a bowl of these vibrant pickles to your next charcuterie or cheese board. Their bright flavor provides a wonderful contrast to rich cheeses, cured meats, and crackers.
-
Straight from the Jar:
For true pickle lovers, sometimes the best way to enjoy them is right out of the jar! They make a satisfyingly crunchy and refreshing snack, perfect for curbing a savory craving.
-
Garnish for Cocktails:
While not traditional, some adventurous palates enjoy a small bread and butter pickle spear as a garnish for certain savory cocktails, adding an unexpected twist.
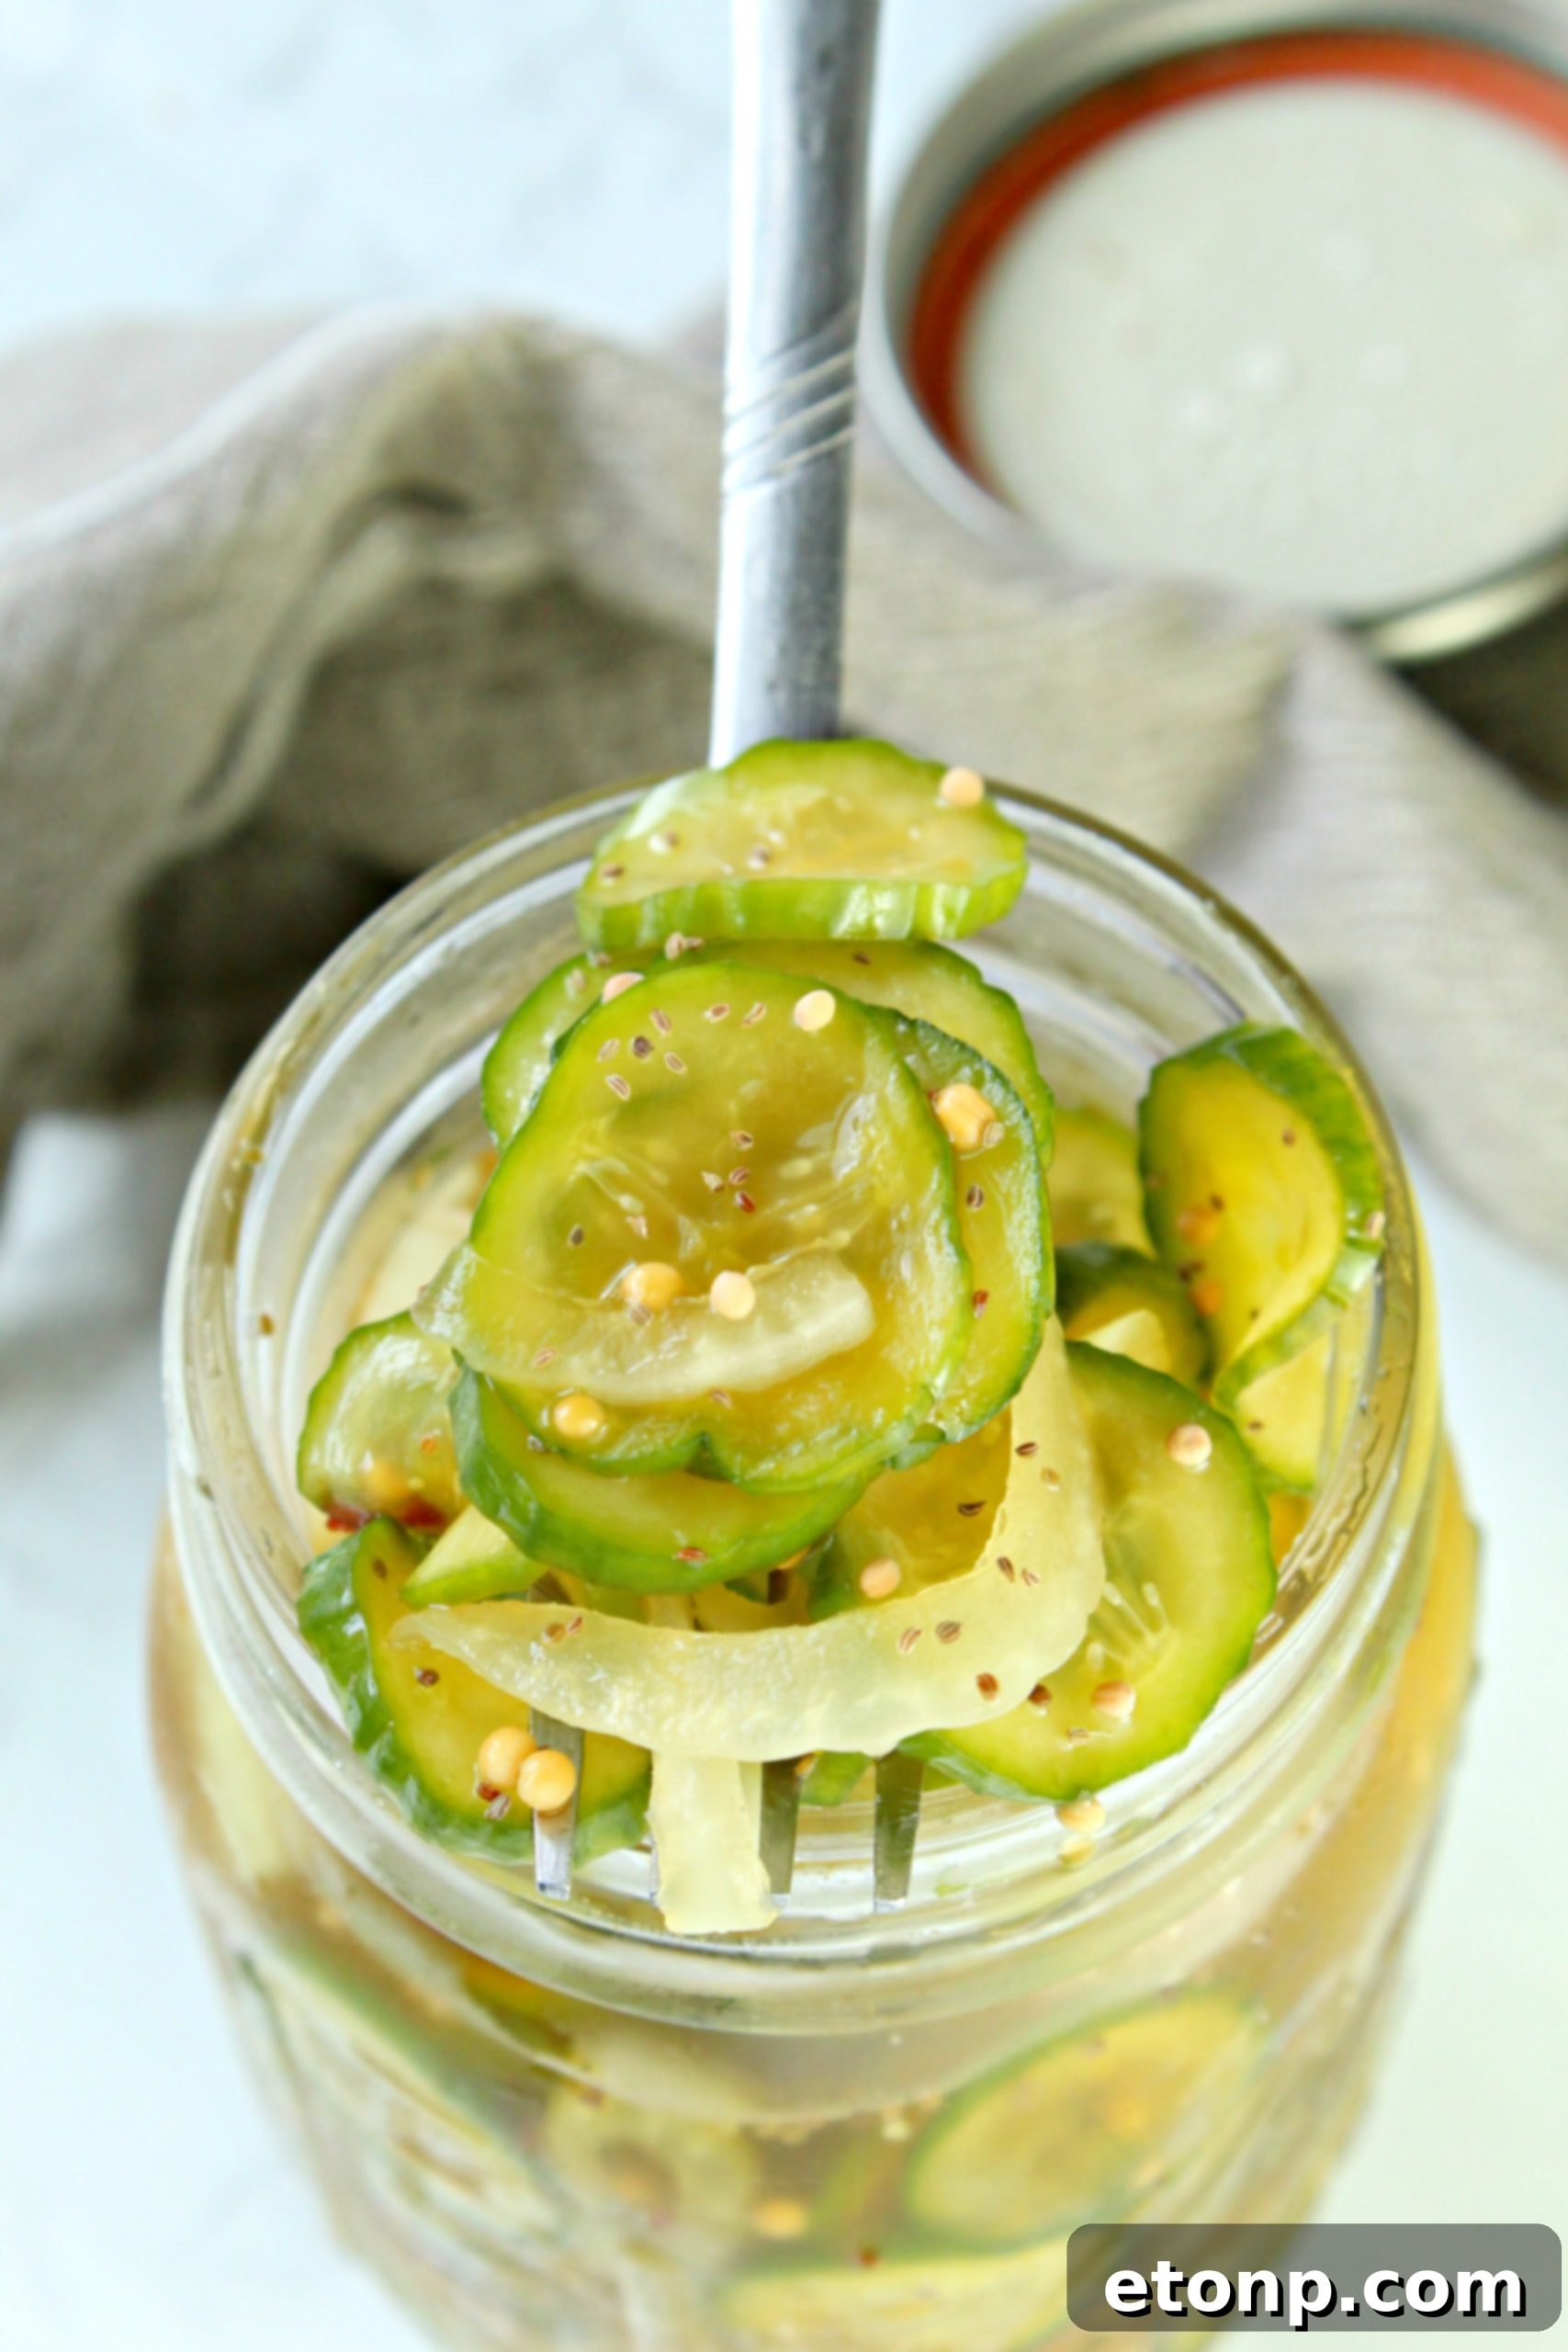
Storage Best Practices: How Long Do Refrigerator Pickles Last?
Proper storage is key to enjoying your homemade bread and butter pickles for as long as possible while maintaining their exquisite flavor and crisp texture.
Refrigeration:
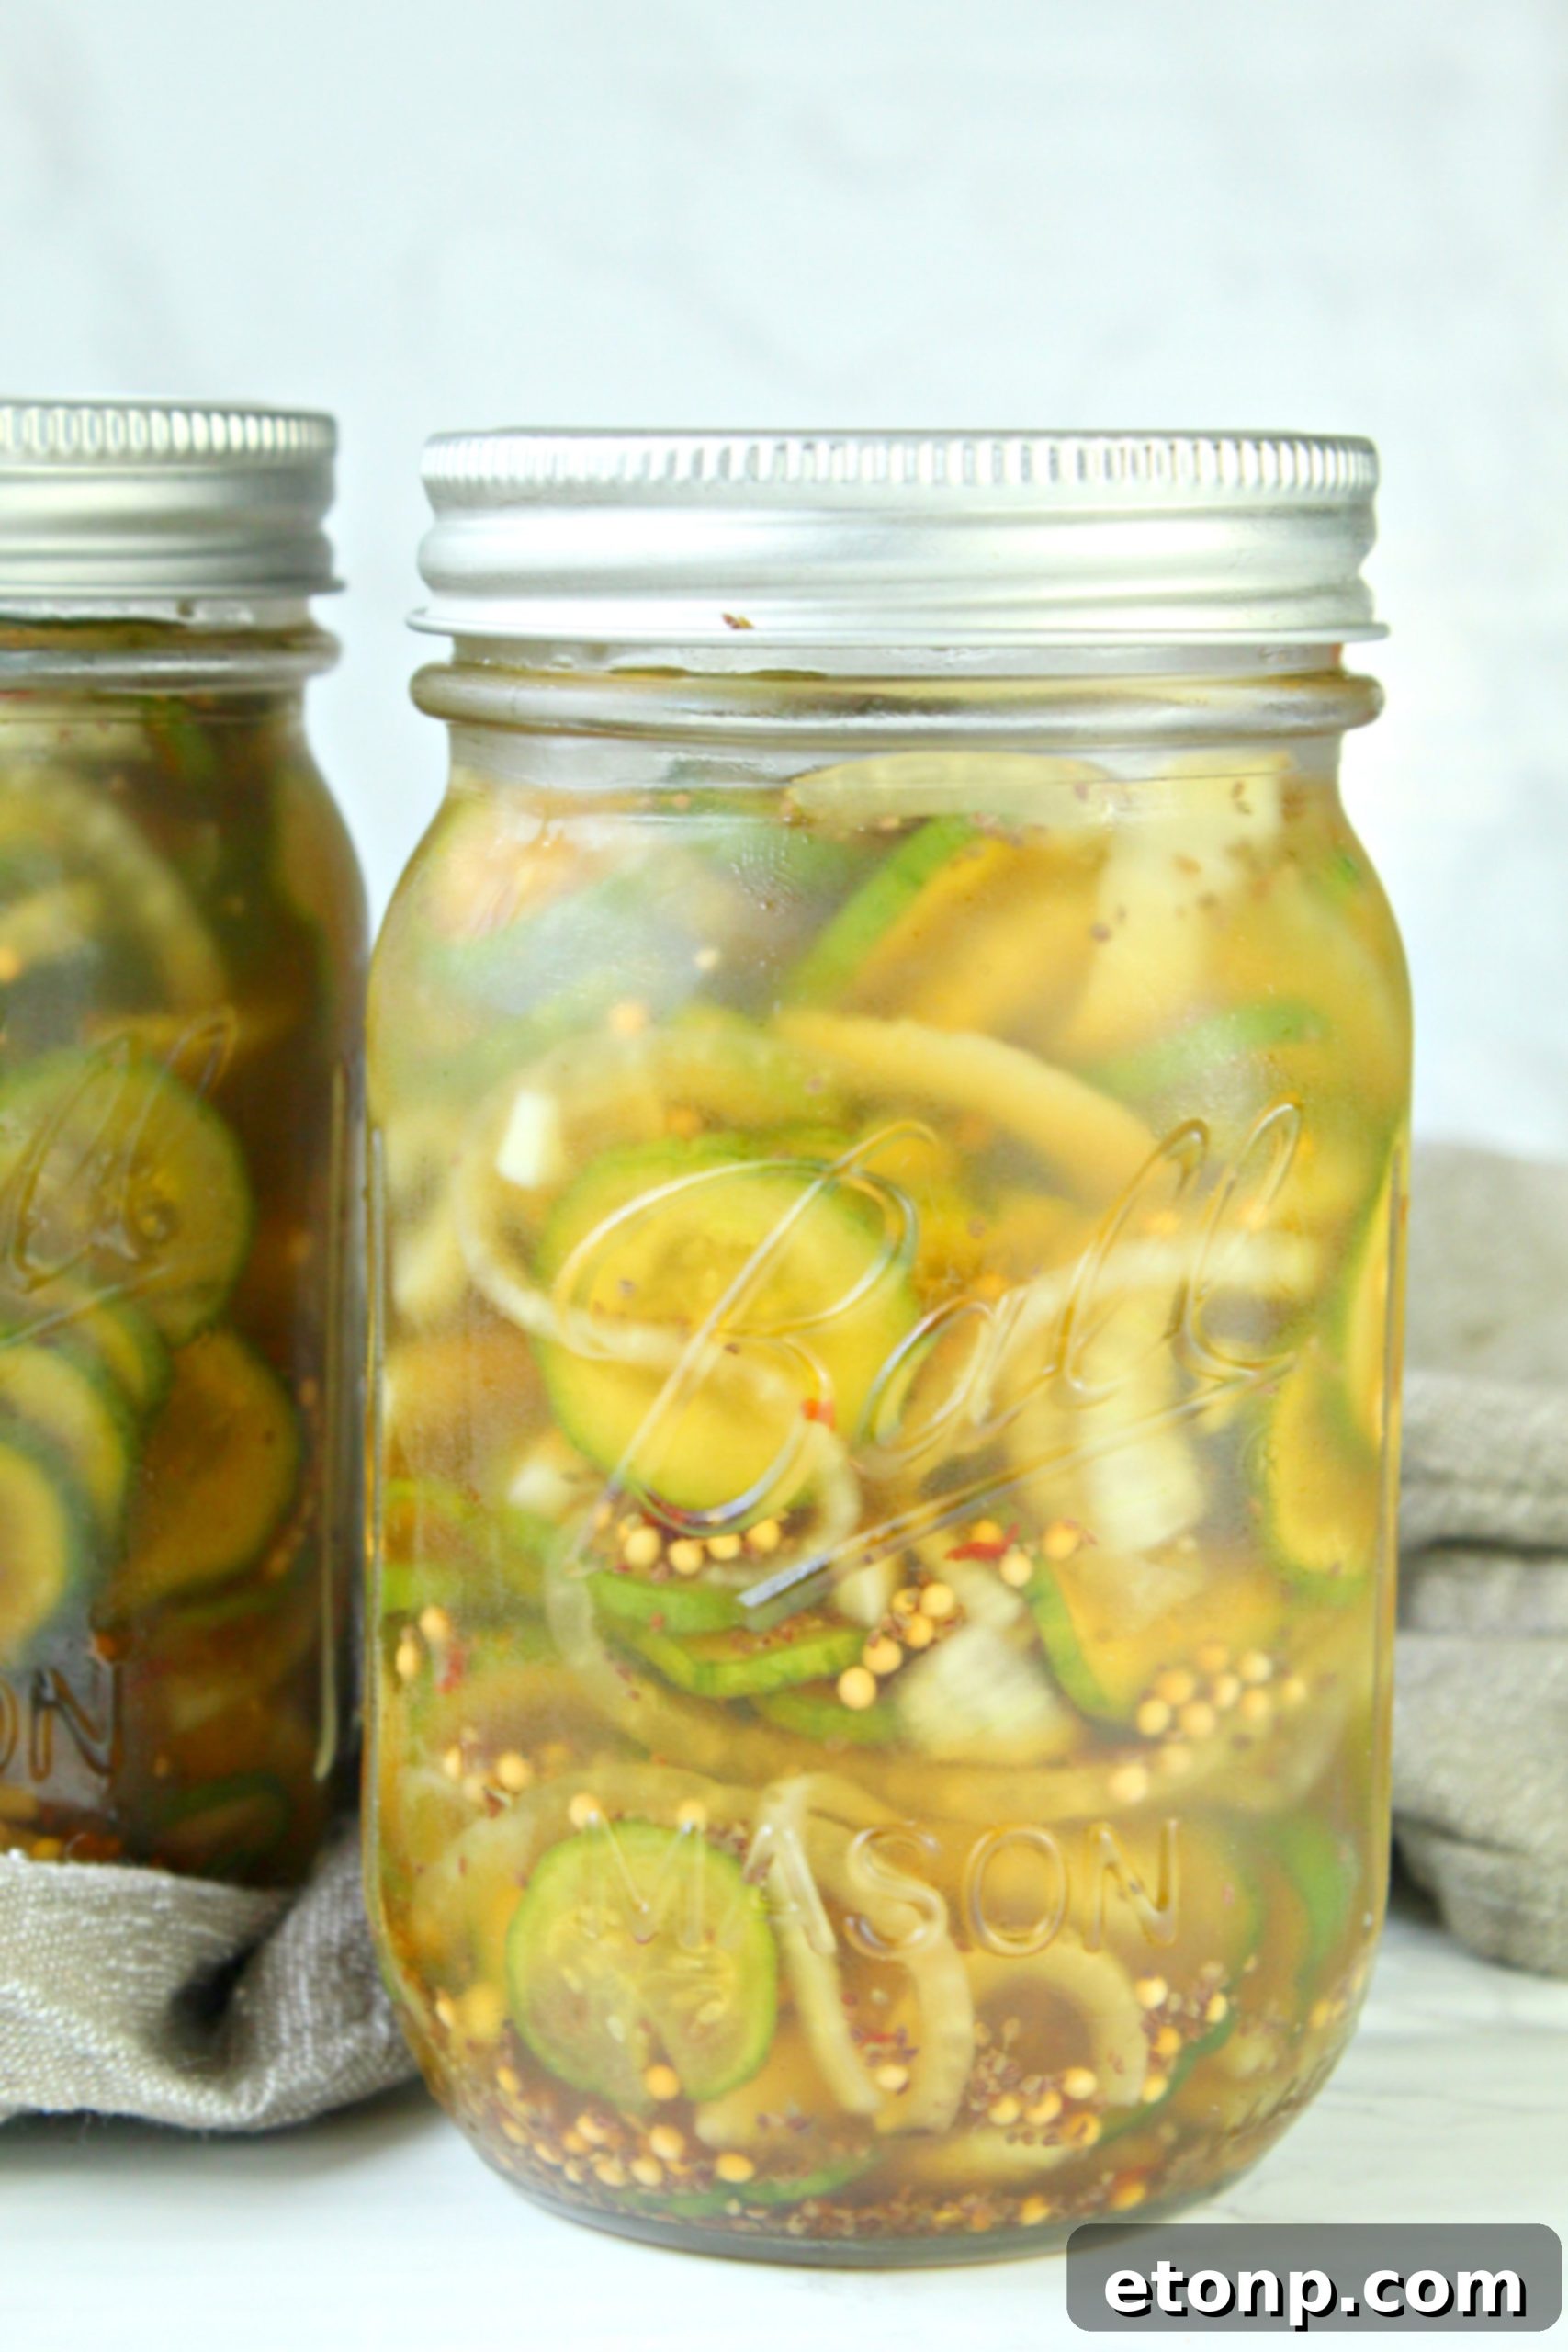
Once prepared, these refrigerator pickles must be kept in an airtight container in the fridge. When stored correctly, they will remain fresh and delicious for up to two months. It’s best to consume them within this period to experience them at their peak crunch and flavor. Always use clean utensils when taking pickles out of the jar to prevent introducing contaminants that could shorten their shelf life.
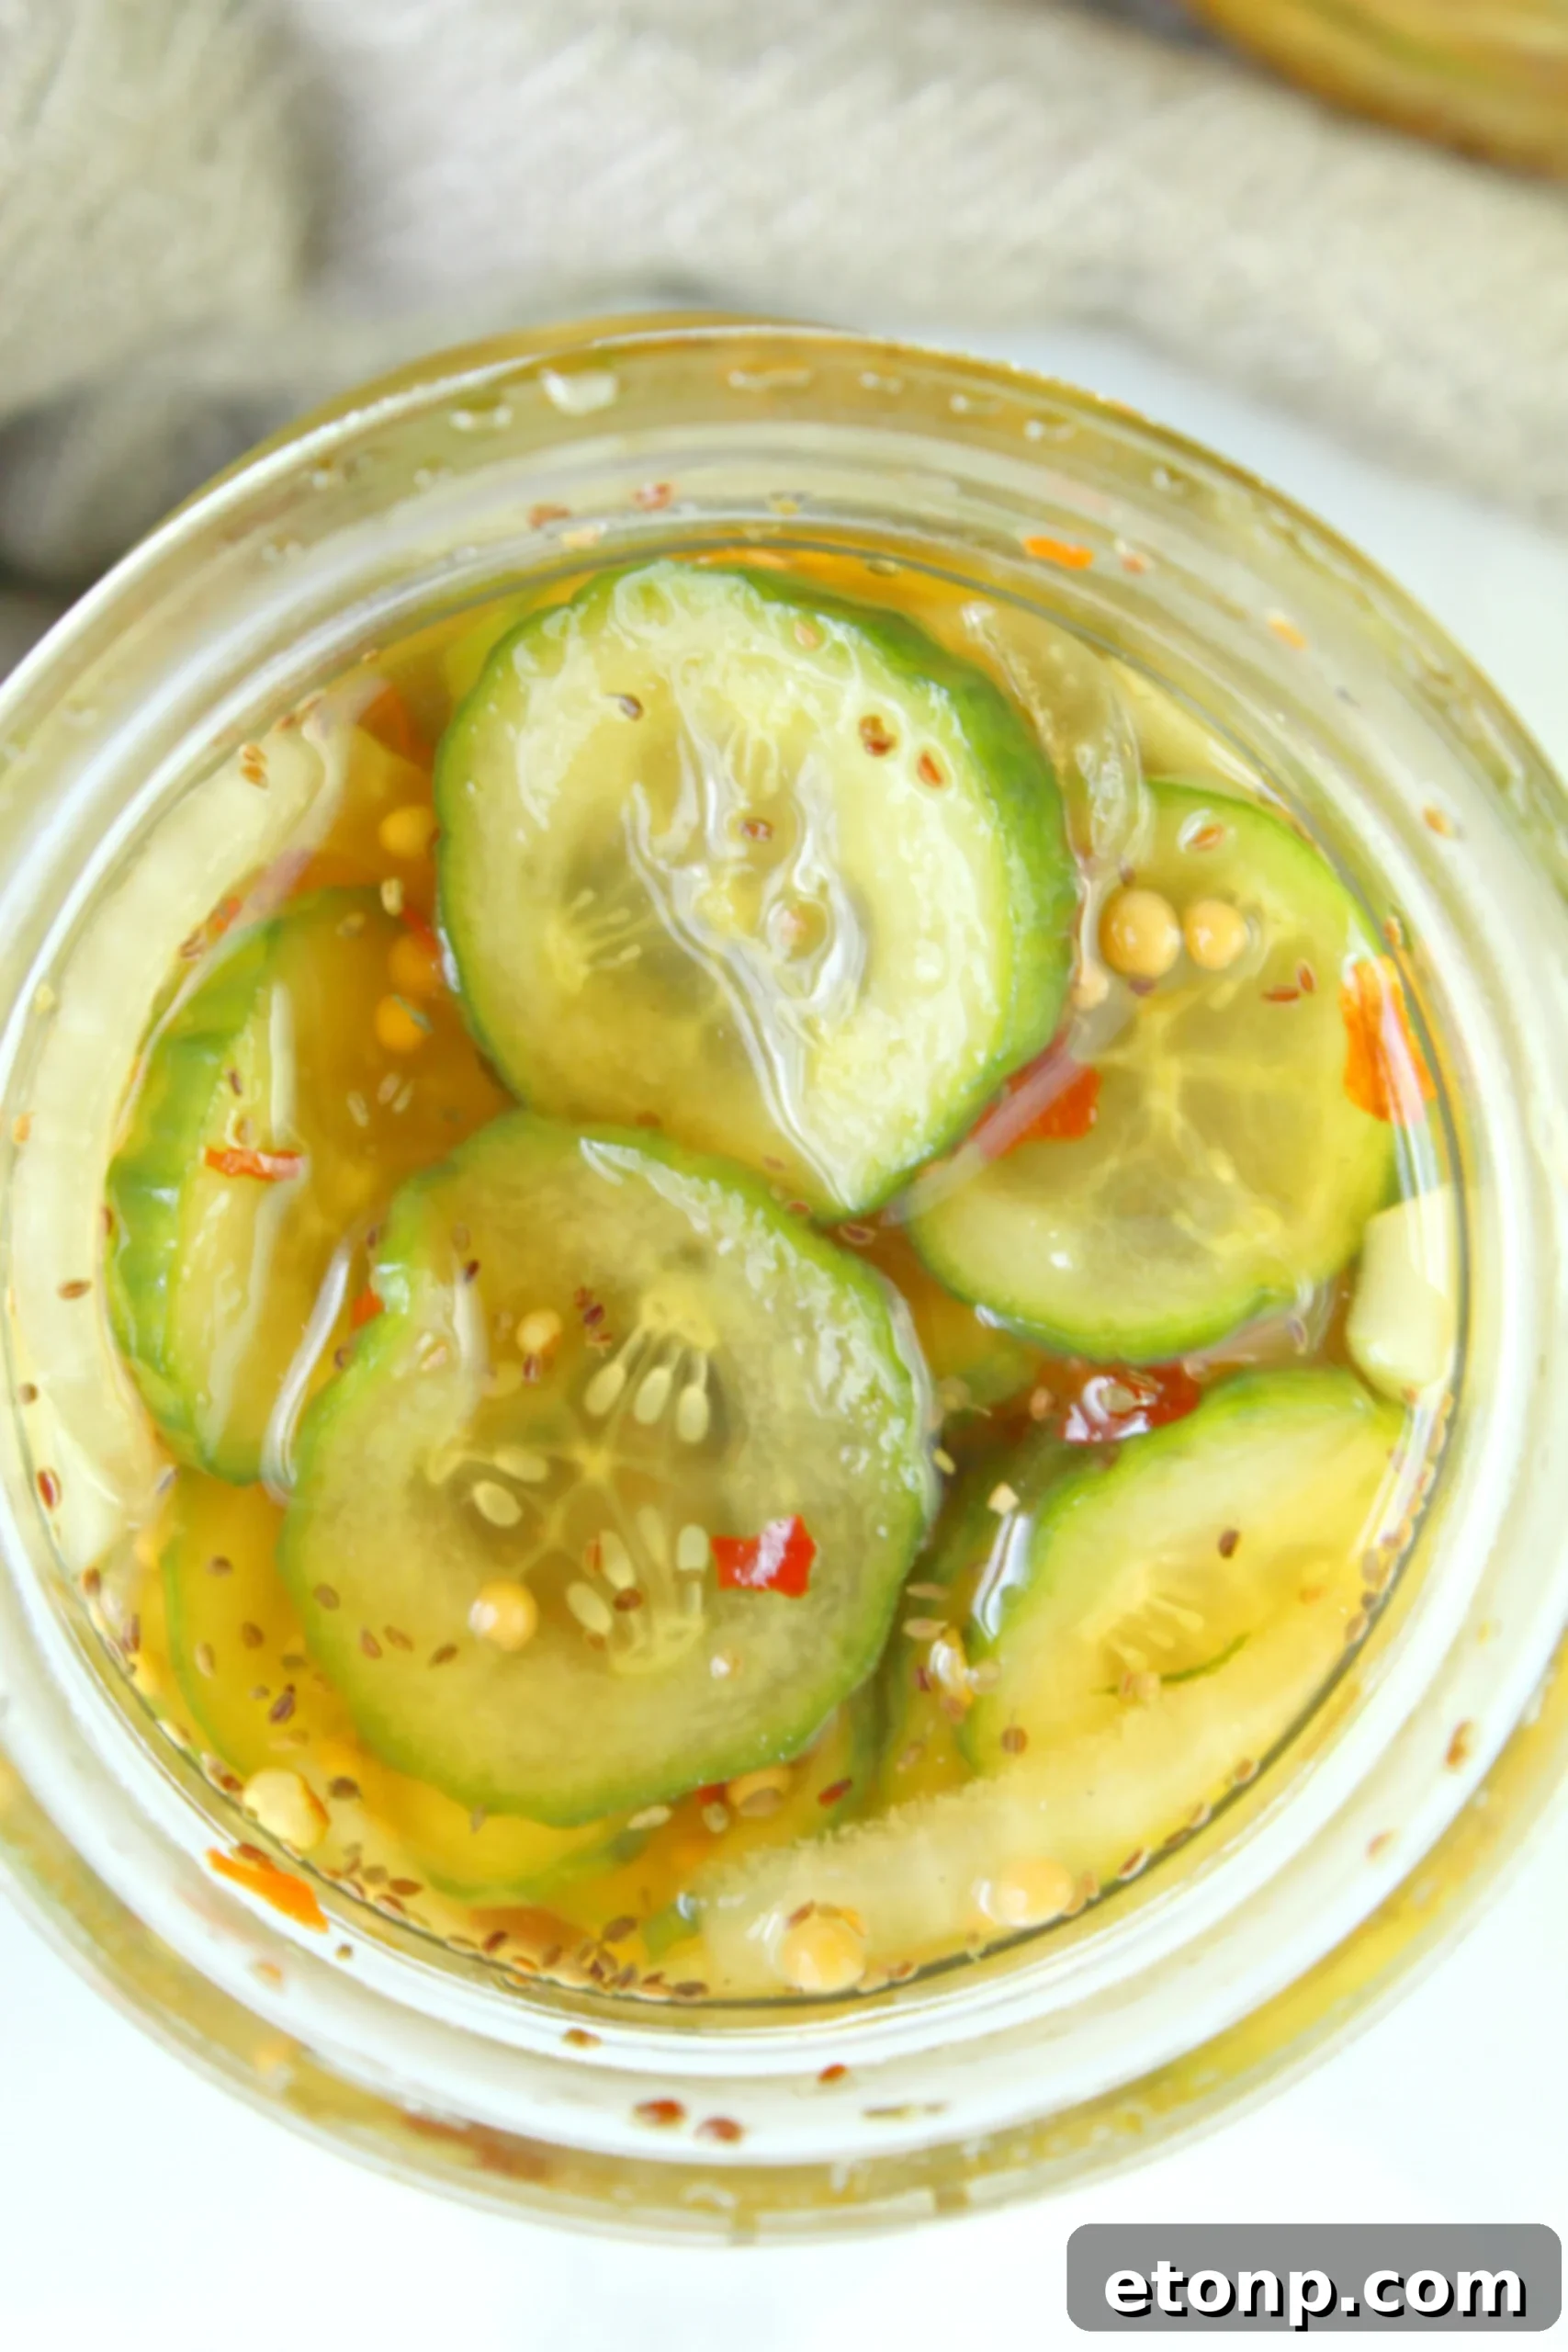
What to Use If You Don’t Have Apple Cider Vinegar
While apple cider vinegar lends a unique, slightly fruity undertone to these pickles, you can still achieve a delicious result with a substitute if it’s not available. Good alternatives that offer a similar acidity and complementary flavor profile include rice wine vinegar, sherry vinegar, or even red wine vinegar. Keep in mind that each substitute will impart a slightly different nuance to the final taste. For the authentic Bread and Butter Pickle flavor, however, apple cider vinegar is highly recommended.
Freezing Your Pickles:
Yes, you can freeze Refrigerator Bread and Butter Pickles! If you’ve made a large batch or simply want to ensure a supply for months to come, freezing is a viable option. When frozen in appropriate airtight, freezer-safe containers, your pickles can stay fresh for up to 12 months. Be aware that the freezing and thawing process may alter their texture slightly, making them a bit softer than freshly made or refrigerated pickles. To thaw, simply transfer them to your refrigerator for 12-24 hours before you plan to serve them. They will still retain their fantastic sweet and tangy flavor, making them perfect for cooking or for those who don’t mind a slightly less crisp bite.
Frequently Asked Questions About Refrigerator Pickles
-
Can I use regular slicing cucumbers?
While you technically can, regular slicing cucumbers tend to be larger, have more seeds, and a higher water content, which can result in a softer, less desirable texture. For the best crispness, stick to pickling varieties like Kirby or Persian cucumbers.
-
Can I reduce the amount of sugar?
Yes, you can adjust the sugar to suit your preference, but remember that “Bread and Butter” pickles are known for their sweetness. Reducing it significantly will alter the traditional flavor profile. Experiment by gradually decreasing it in small batches until you find your ideal balance.
-
What other spices can I add?
Feel free to customize! Common additions include dill seeds, allspice, turmeric (for color and mild flavor), bay leaves, or even a few cloves of garlic for a savory kick. A pinch of black peppercorns can also add complexity.
-
Do I need to sterilize the jars for refrigerator pickles?
While not strictly necessary for safety as it is for shelf-stable canning (since these pickles are stored in the fridge), using clean, hot jars is always good practice. It helps ensure the pickles taste their best and reduces the chance of spoilage.
-
Can I can these pickles for shelf stability?
This specific recipe is designed for refrigerator storage only. For shelf-stable canning, you would need a tested canning recipe that includes precise acidity levels and processing times to ensure food safety. It’s not recommended to adapt refrigerator pickle recipes for canning without expert guidance.
Conclusion: Enjoy Your Homemade Pickles!
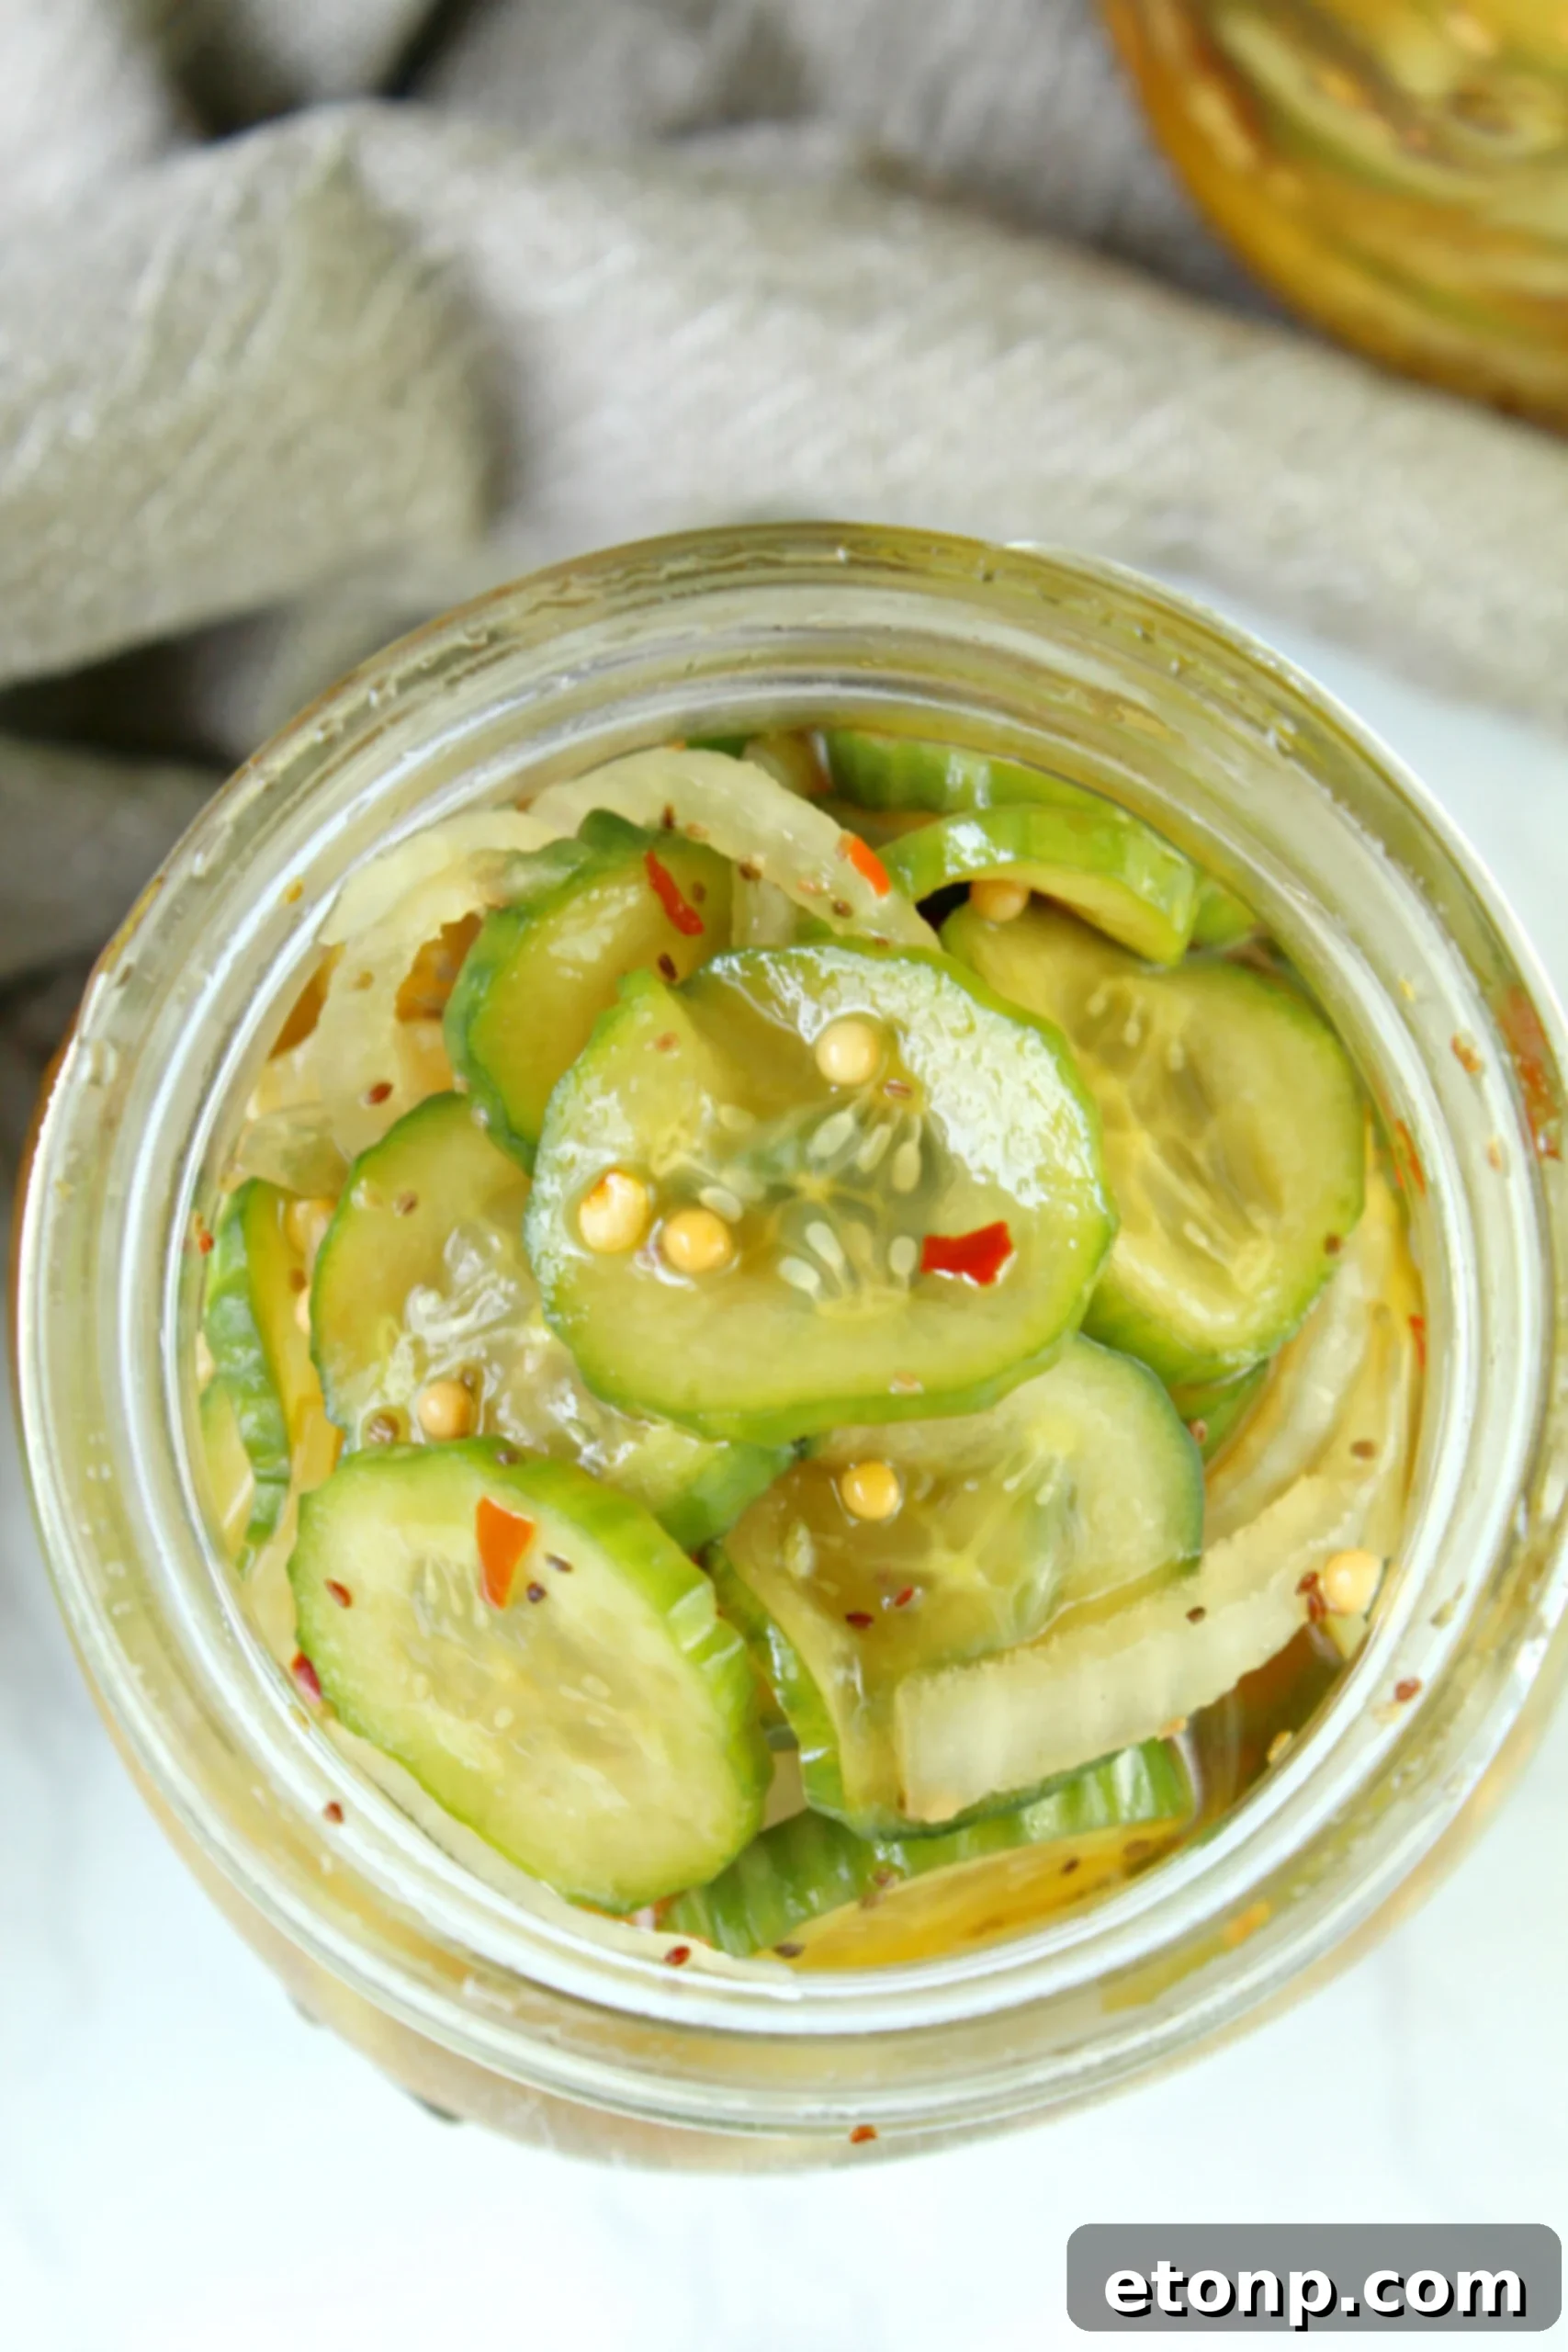
Making your own Refrigerator Bread and Butter Pickles is a rewarding experience that yields incredible flavor and a satisfying crunch. This simple recipe empowers you to create a beloved condiment right in your own kitchen, free from artificial ingredients and tailored to your taste. Get ready to enhance your sandwiches, elevate your salads, and enjoy a delicious snack straight from the jar. Happy pickling!
Please remember to SHARE on Facebook and PIN IT!
FOLLOW ME ONPINTERESTBY CLICKING HERE <——
Refrigerator Bread and Butter Pickles
Pin Recipe
Share Recipe
Ingredients
- 7 pickling cucumbers
- 1 white onion
- 3 Tablespoons kosher salt
- 1 cup brown sugar
- 1 cup white vinegar
- 1/2 cup apple cider vinegar
- 2 teaspoons celery seeds
- 2 teaspoons mustard seeds
- 1/2 teaspoon red pepper flakes
Instructions
-
Slice the cucumbers and onion into thin slices. In a large bowl, toss the cucumber and onion slices with the salt. Cover and chill in the refrigerator for 1 hour.
-
Transfer the cucumbers and onions to a colander and rinse off the salt. Drain excess water from the bowl and return the cucumber and onions to the bowl.
-
In a small saucepan, combine the remaining ingredients (brown sugar, white vinegar, apple cider vinegar, celery seeds, mustard seeds, red pepper flakes) and heat over medium-high heat just until the sugar has dissolved, stirring continuously.
-
Pour the warm vinegar mixture over the cucumbers and onions and allow to cool completely to room temperature. Once cooled, transfer into jars and chill in the refrigerator for at least 24 hours.
-
Enjoy your homemade pickles within two months, keeping them stored in the fridge.
-
ENJOY!
Did you make this recipe?
Make sure to follow on Pinterest for more recipes!
Pin Recipe
Share on Facebook