
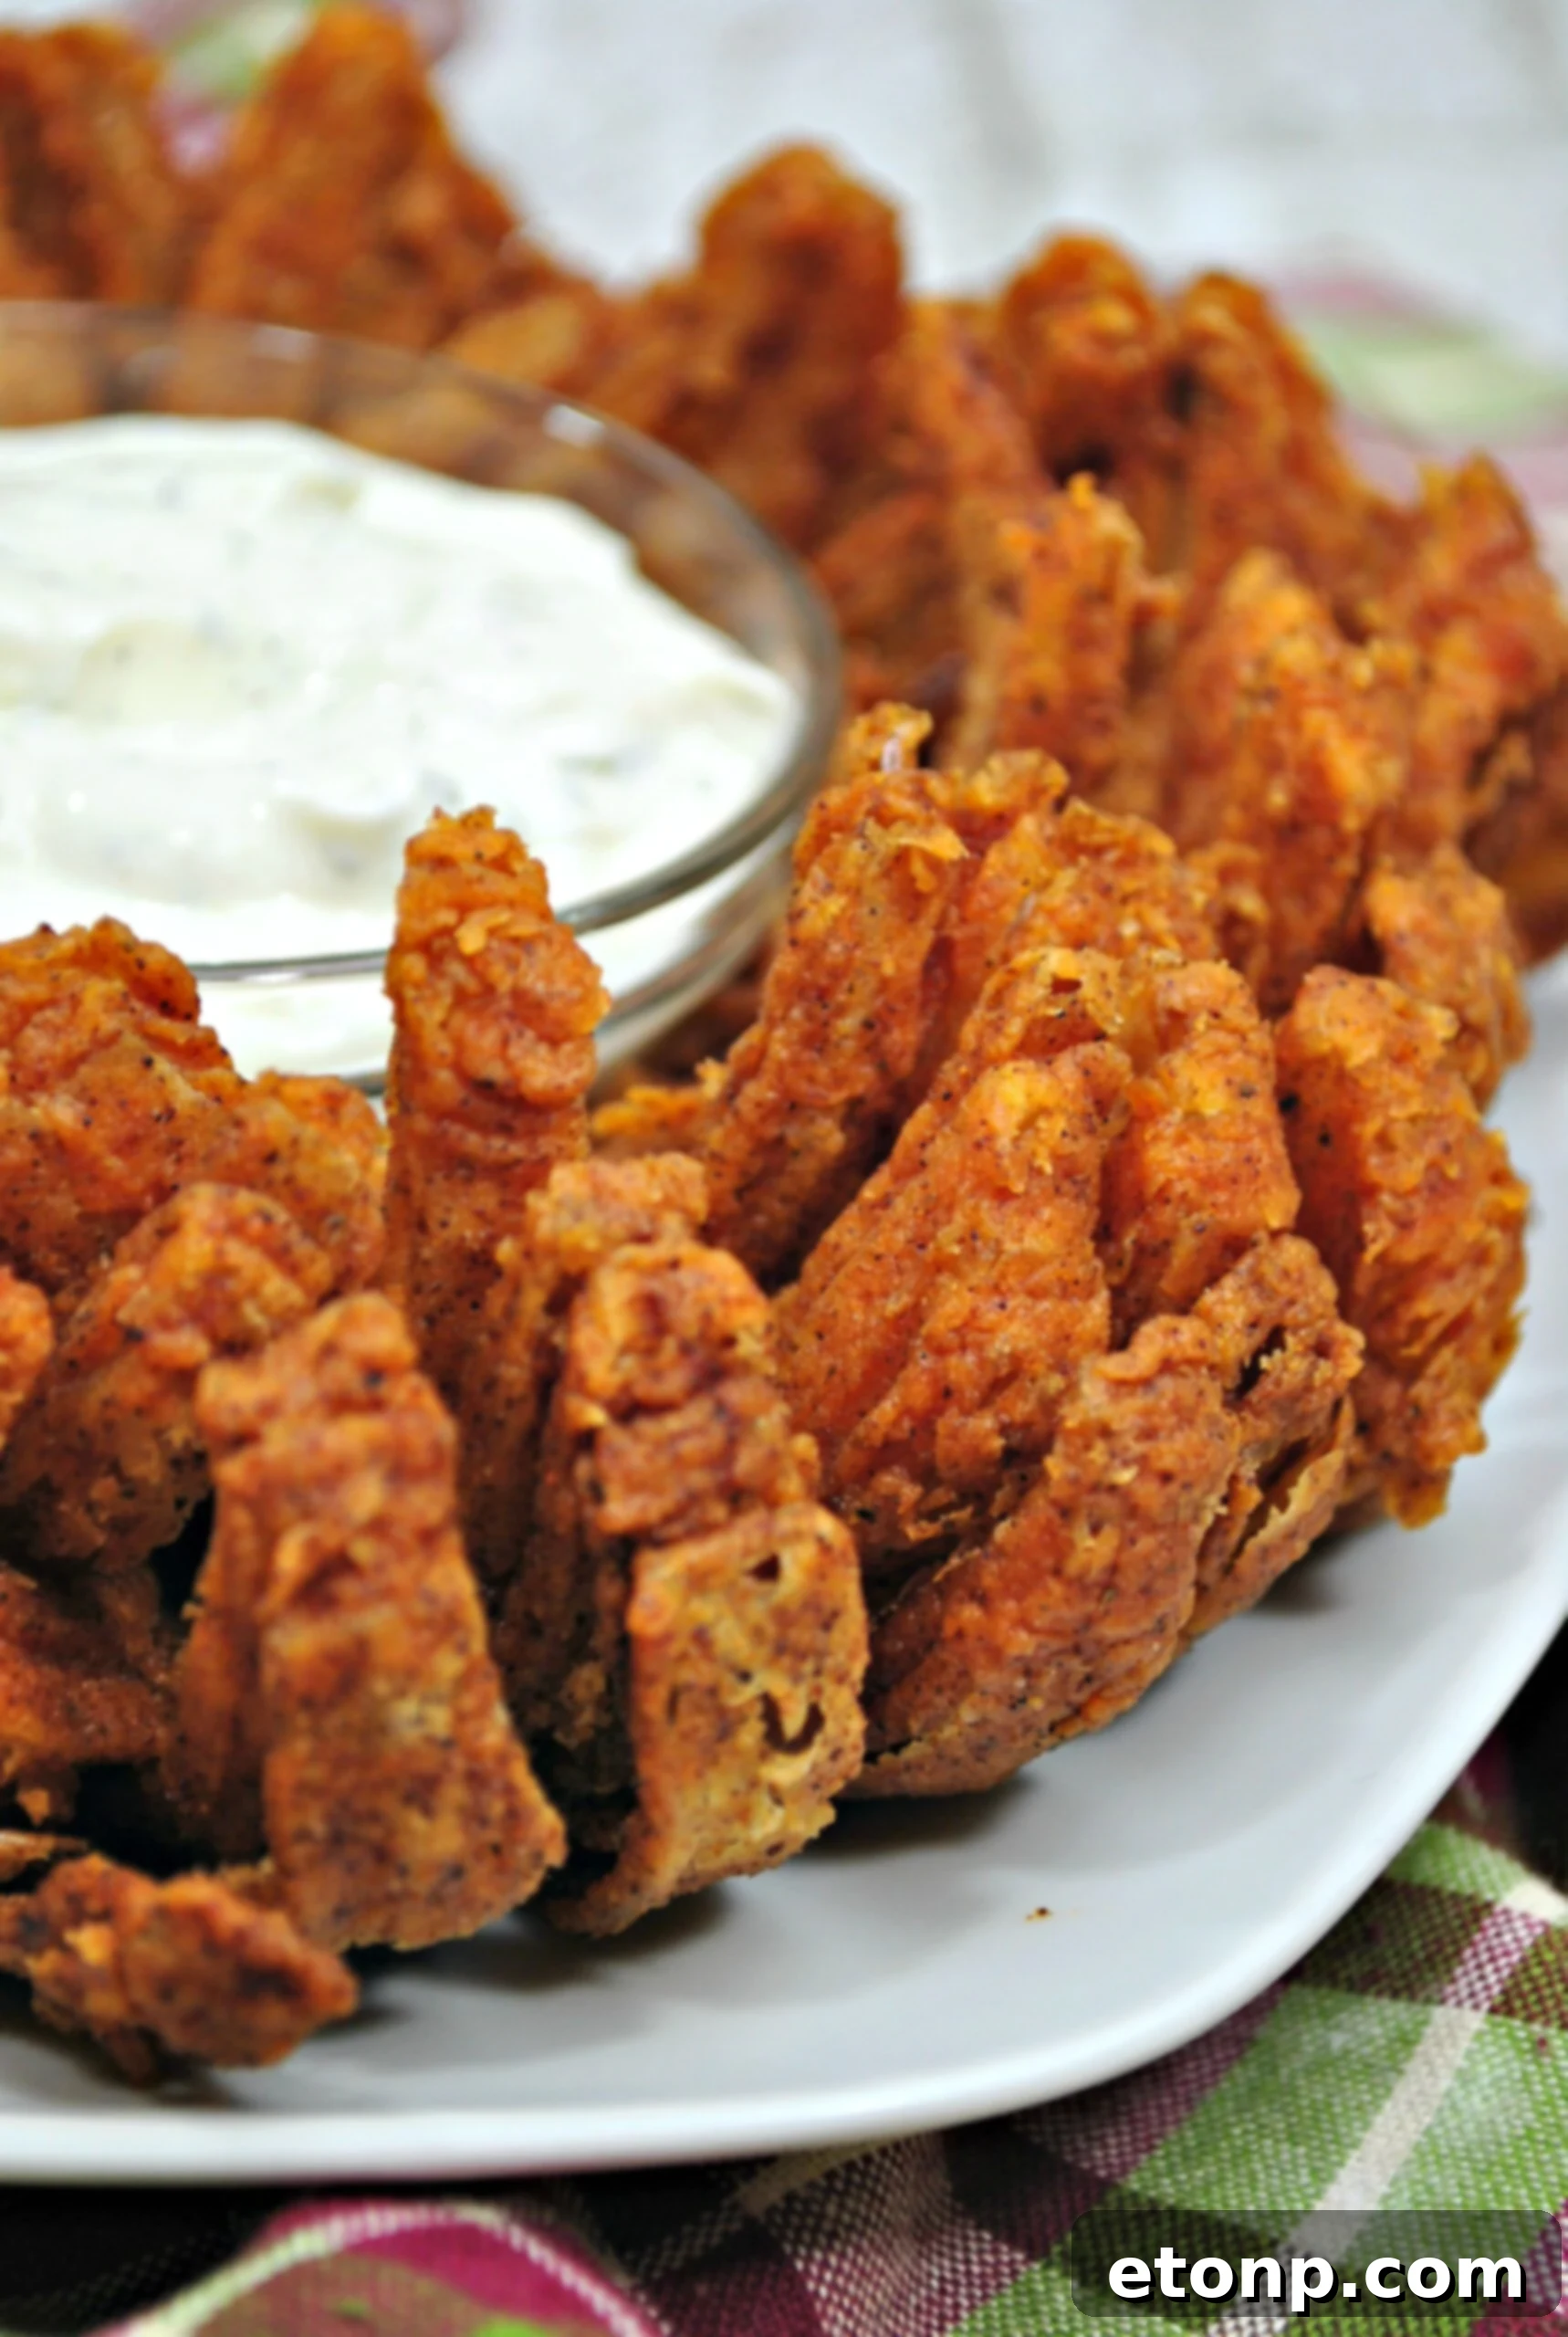
Master the Art of the Homemade Bloomin’ Onion with Zesty Ranch Dip!
If you’ve ever savored the iconic Bloomin’ Onion at Outback Steakhouse, you know it’s more than just an appetizer – it’s an experience. That perfectly fried, petal-like onion, bursting with flavor and served with a creamy dipping sauce, is a true crowd-pleaser. But what if you could recreate that magic at home, making it even better and tailored to your taste? Get ready to transform your kitchen into a gourmet appetizer station, because we’re diving into the ultimate recipe for a crispy, flavorful Bloomin’ Onion, complete with an incredible homemade Green Onion Ranch Dip.
Forget the restaurant queues and elevated prices. Crafting this show-stopping appetizer at home is surprisingly simple, especially when you follow our step-by-step guide. We’ll walk you through selecting the ideal onion, mastering the distinctive “bloom” cut, preparing a perfectly seasoned batter, and achieving that golden, irresistible crispness. Plus, we’re sharing the secret to a luscious, zesty ranch dip that perfectly complements every savory bite. Prepare to delight your taste buds and impress your guests with this fantastic homemade rendition of a classic.
Why Make Your Bloomin’ Onion at Home?
There are countless reasons to take on this culinary adventure. Firstly, homemade always tastes fresher. You control the quality of ingredients, from the sweetness of the onion to the richness of the batter, ensuring no artificial flavors or preservatives. Secondly, customization is key. Want it extra spicy? Add more cayenne! Prefer it super crispy? Adjust the cooking time. When you make it yourself, you dictate every delicious detail, from the seasoning blend to the level of crunch. Thirdly, it’s a fantastic way to impress guests or simply treat your family to a fun, restaurant-quality dish without leaving your house. This recipe is designed for both ease and exceptional results, proving that gourmet appetizers are well within your reach and can be a cost-effective alternative to dining out. It’s also an incredibly satisfying project that yields delicious rewards!
Selecting the Perfect Onion for the Perfect Bloom
The foundation of any great Bloomin’ Onion is, naturally, the onion itself. For this recipe, we highly recommend an extra-large Vidalia onion. Vidalia onions are renowned for their sweet, mild flavor, which stands up beautifully to the savory spices and crispy coating without being overwhelmingly pungent. A large onion ensures you have enough “petals” to create that dramatic, open-flower effect that makes this appetizer so visually appealing and shareable. Look for an onion that feels firm and heavy for its size, with no soft spots, indicating freshness and quality. The larger the onion, the more impressive your bloom will be, making it an excellent centerpiece for any gathering. This choice of onion minimizes the harshness often associated with raw onions, allowing the sweet undertones to shine through once cooked.
Getting Started: Your Culinary Canvas Awaits
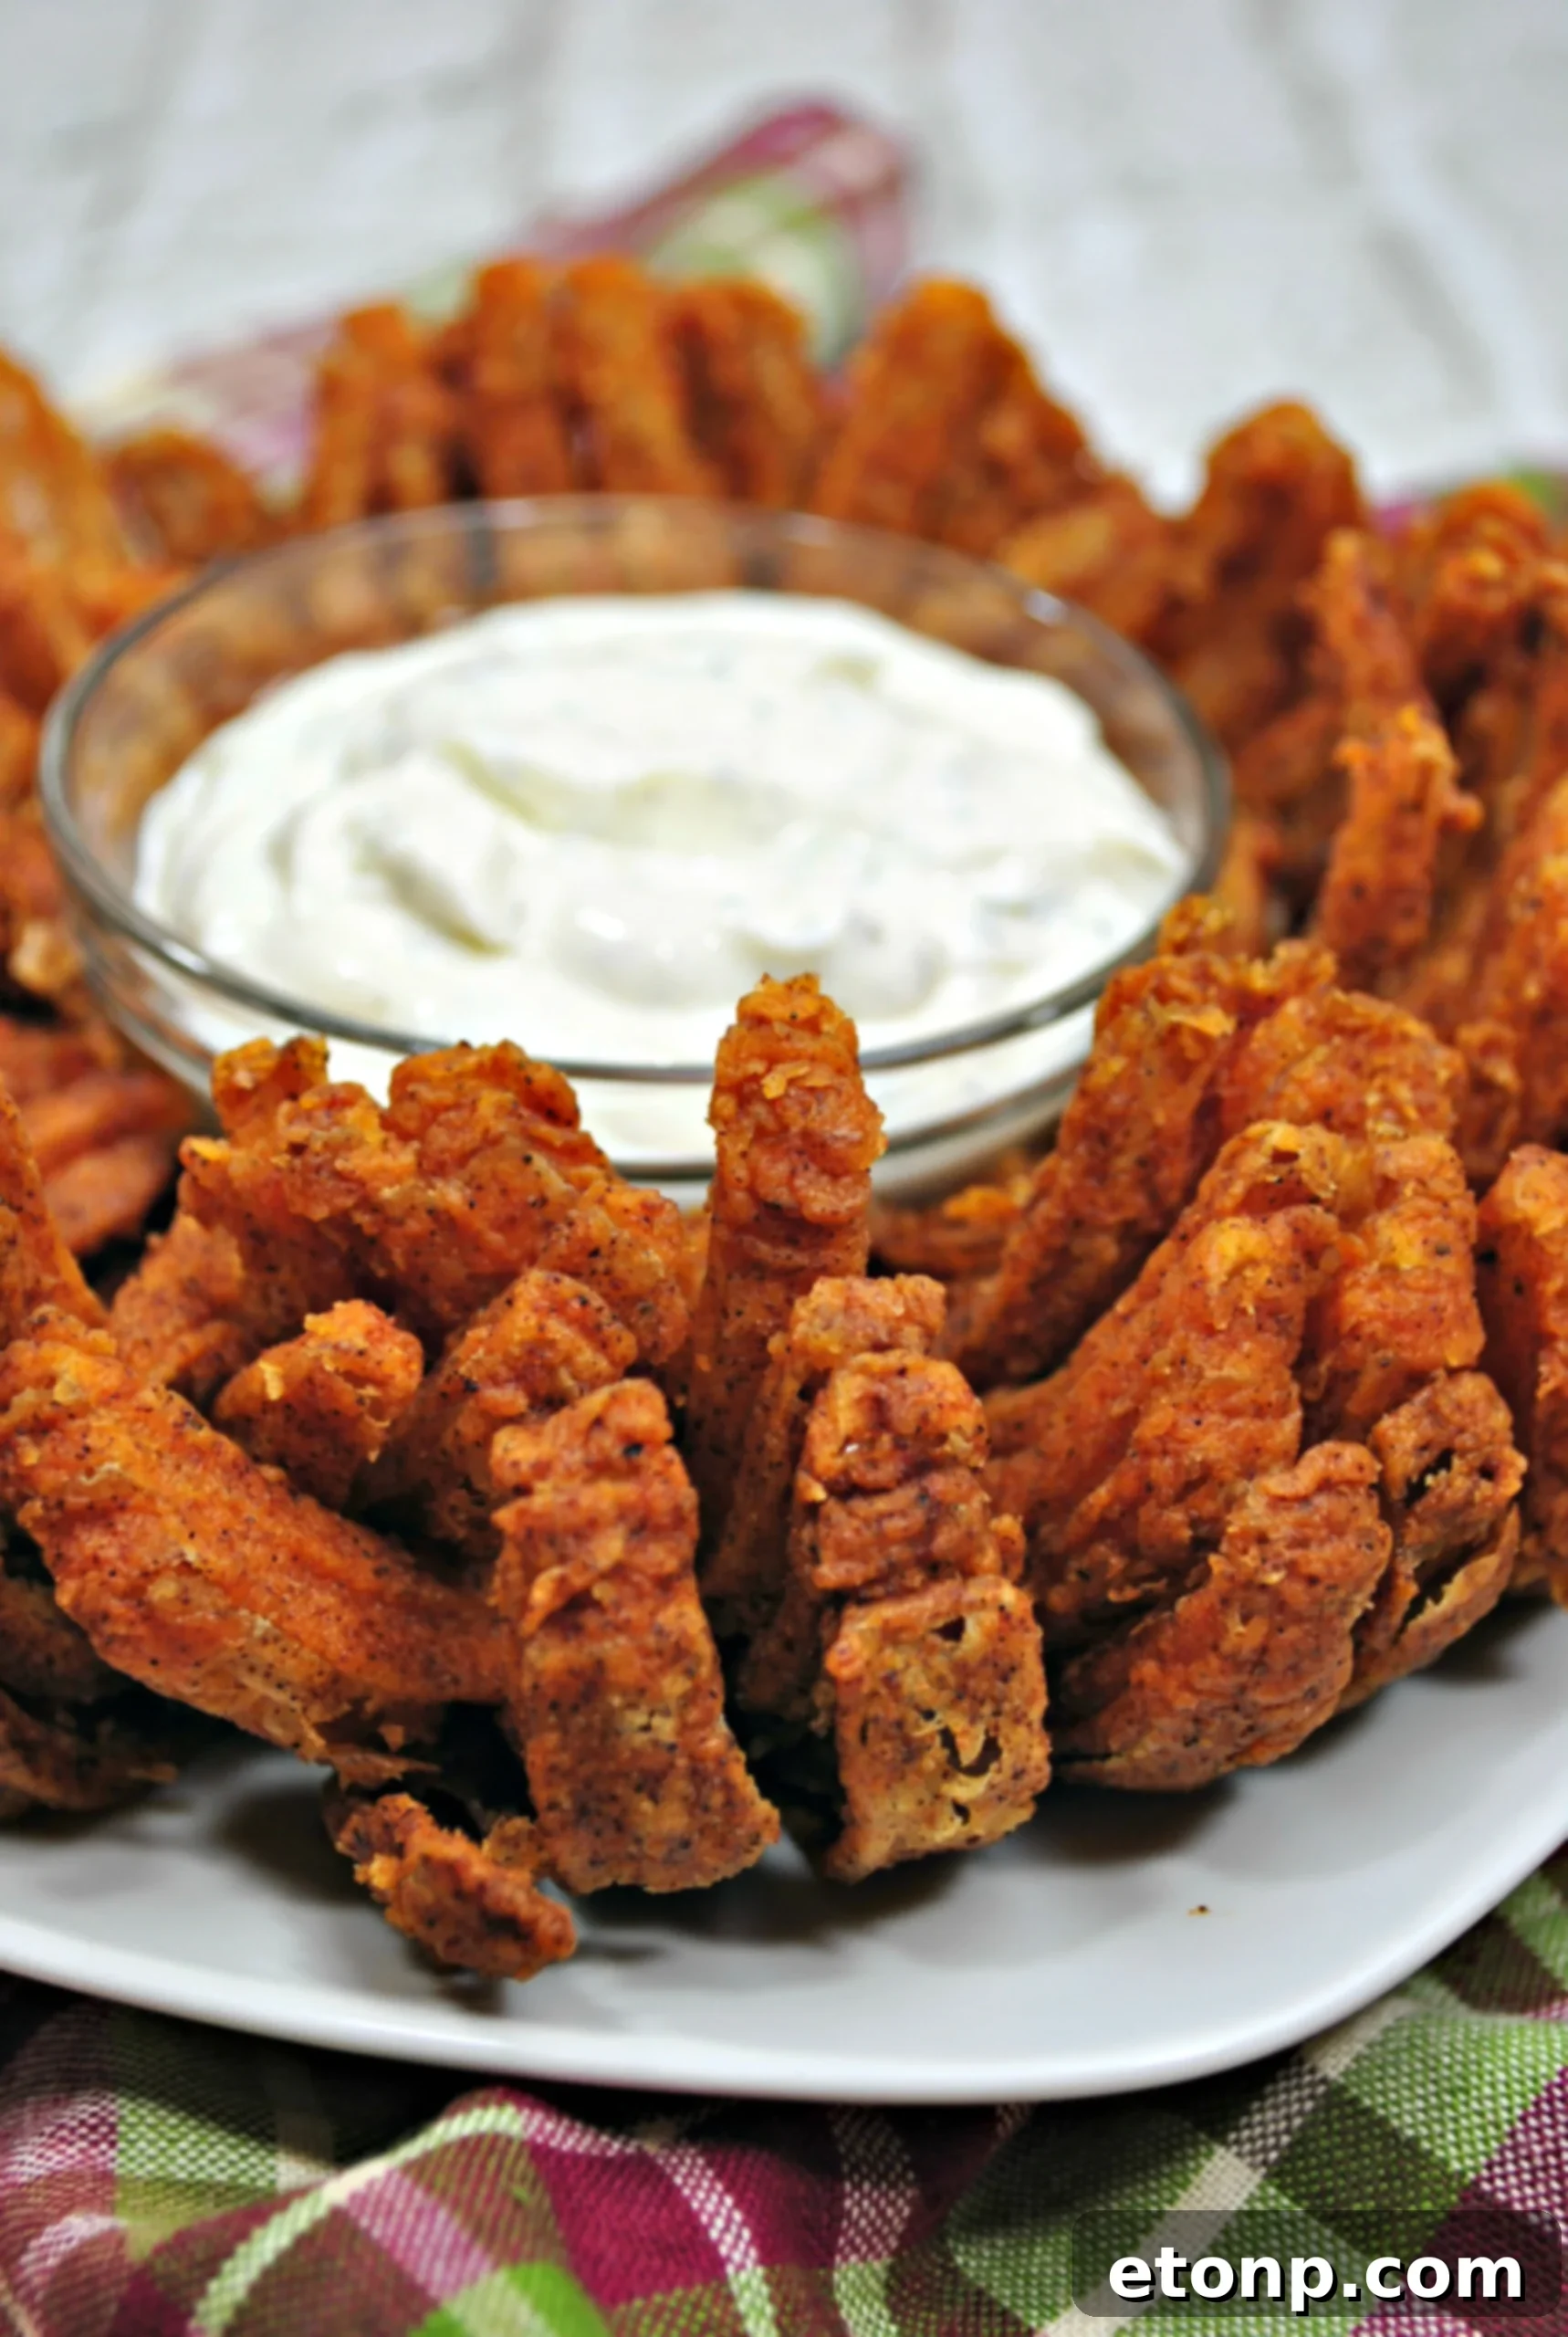
Once you’ve secured your magnificent Vidalia onion, the journey to Bloomin’ Onion perfection begins. This isn’t just any onion ring; it’s an art form. The key is in the preparation – specifically, the unique cutting technique that allows the onion to “bloom” into its signature shape once cooked. Don’t be intimidated; it’s easier than it looks, and incredibly satisfying to achieve. Taking the time to properly prepare the onion ensures a beautiful presentation and even cooking, allowing the batter to coat every delectable layer.
The Secret to the Signature Bloom: Precise Cuts
The cutting process is crucial for achieving the Bloomin’ Onion’s iconic presentation. First, peel your onion completely, removing all outer layers. Then, carefully slice off the very top, creating a stable, flat base. This flat top will be essential for stability during cutting and cooking. Next, place the cut side down onto a sturdy cutting board. This provides a flat, secure surface to work with, preventing the onion from wobbling as you make your cuts. The next step involves a series of precise cuts. You’ll start approximately a half-inch from the root (the uncut bottom center of the onion). This small, intact core is what holds the “petals” together. Make a downward cut with a sharp knife, all the way through to the cutting board. Repeat this process to make 4 evenly spaced cuts around the onion, effectively dividing it into quarters. Continue slicing through each section until you have made 8 to 16 cuts total, ensuring each slice goes deep enough to separate the layers without detaching them from the core. The more cuts you make, the more “petals” your bloom will have, leading to a more dramatic and appealing final product. Once all cuts are made, gently open the onion, allowing its layers to fan out and revealing its beautiful, flower-like “petals” ready to soak up all the delicious batter. This careful technique ensures an even fry and a stunning presentation.
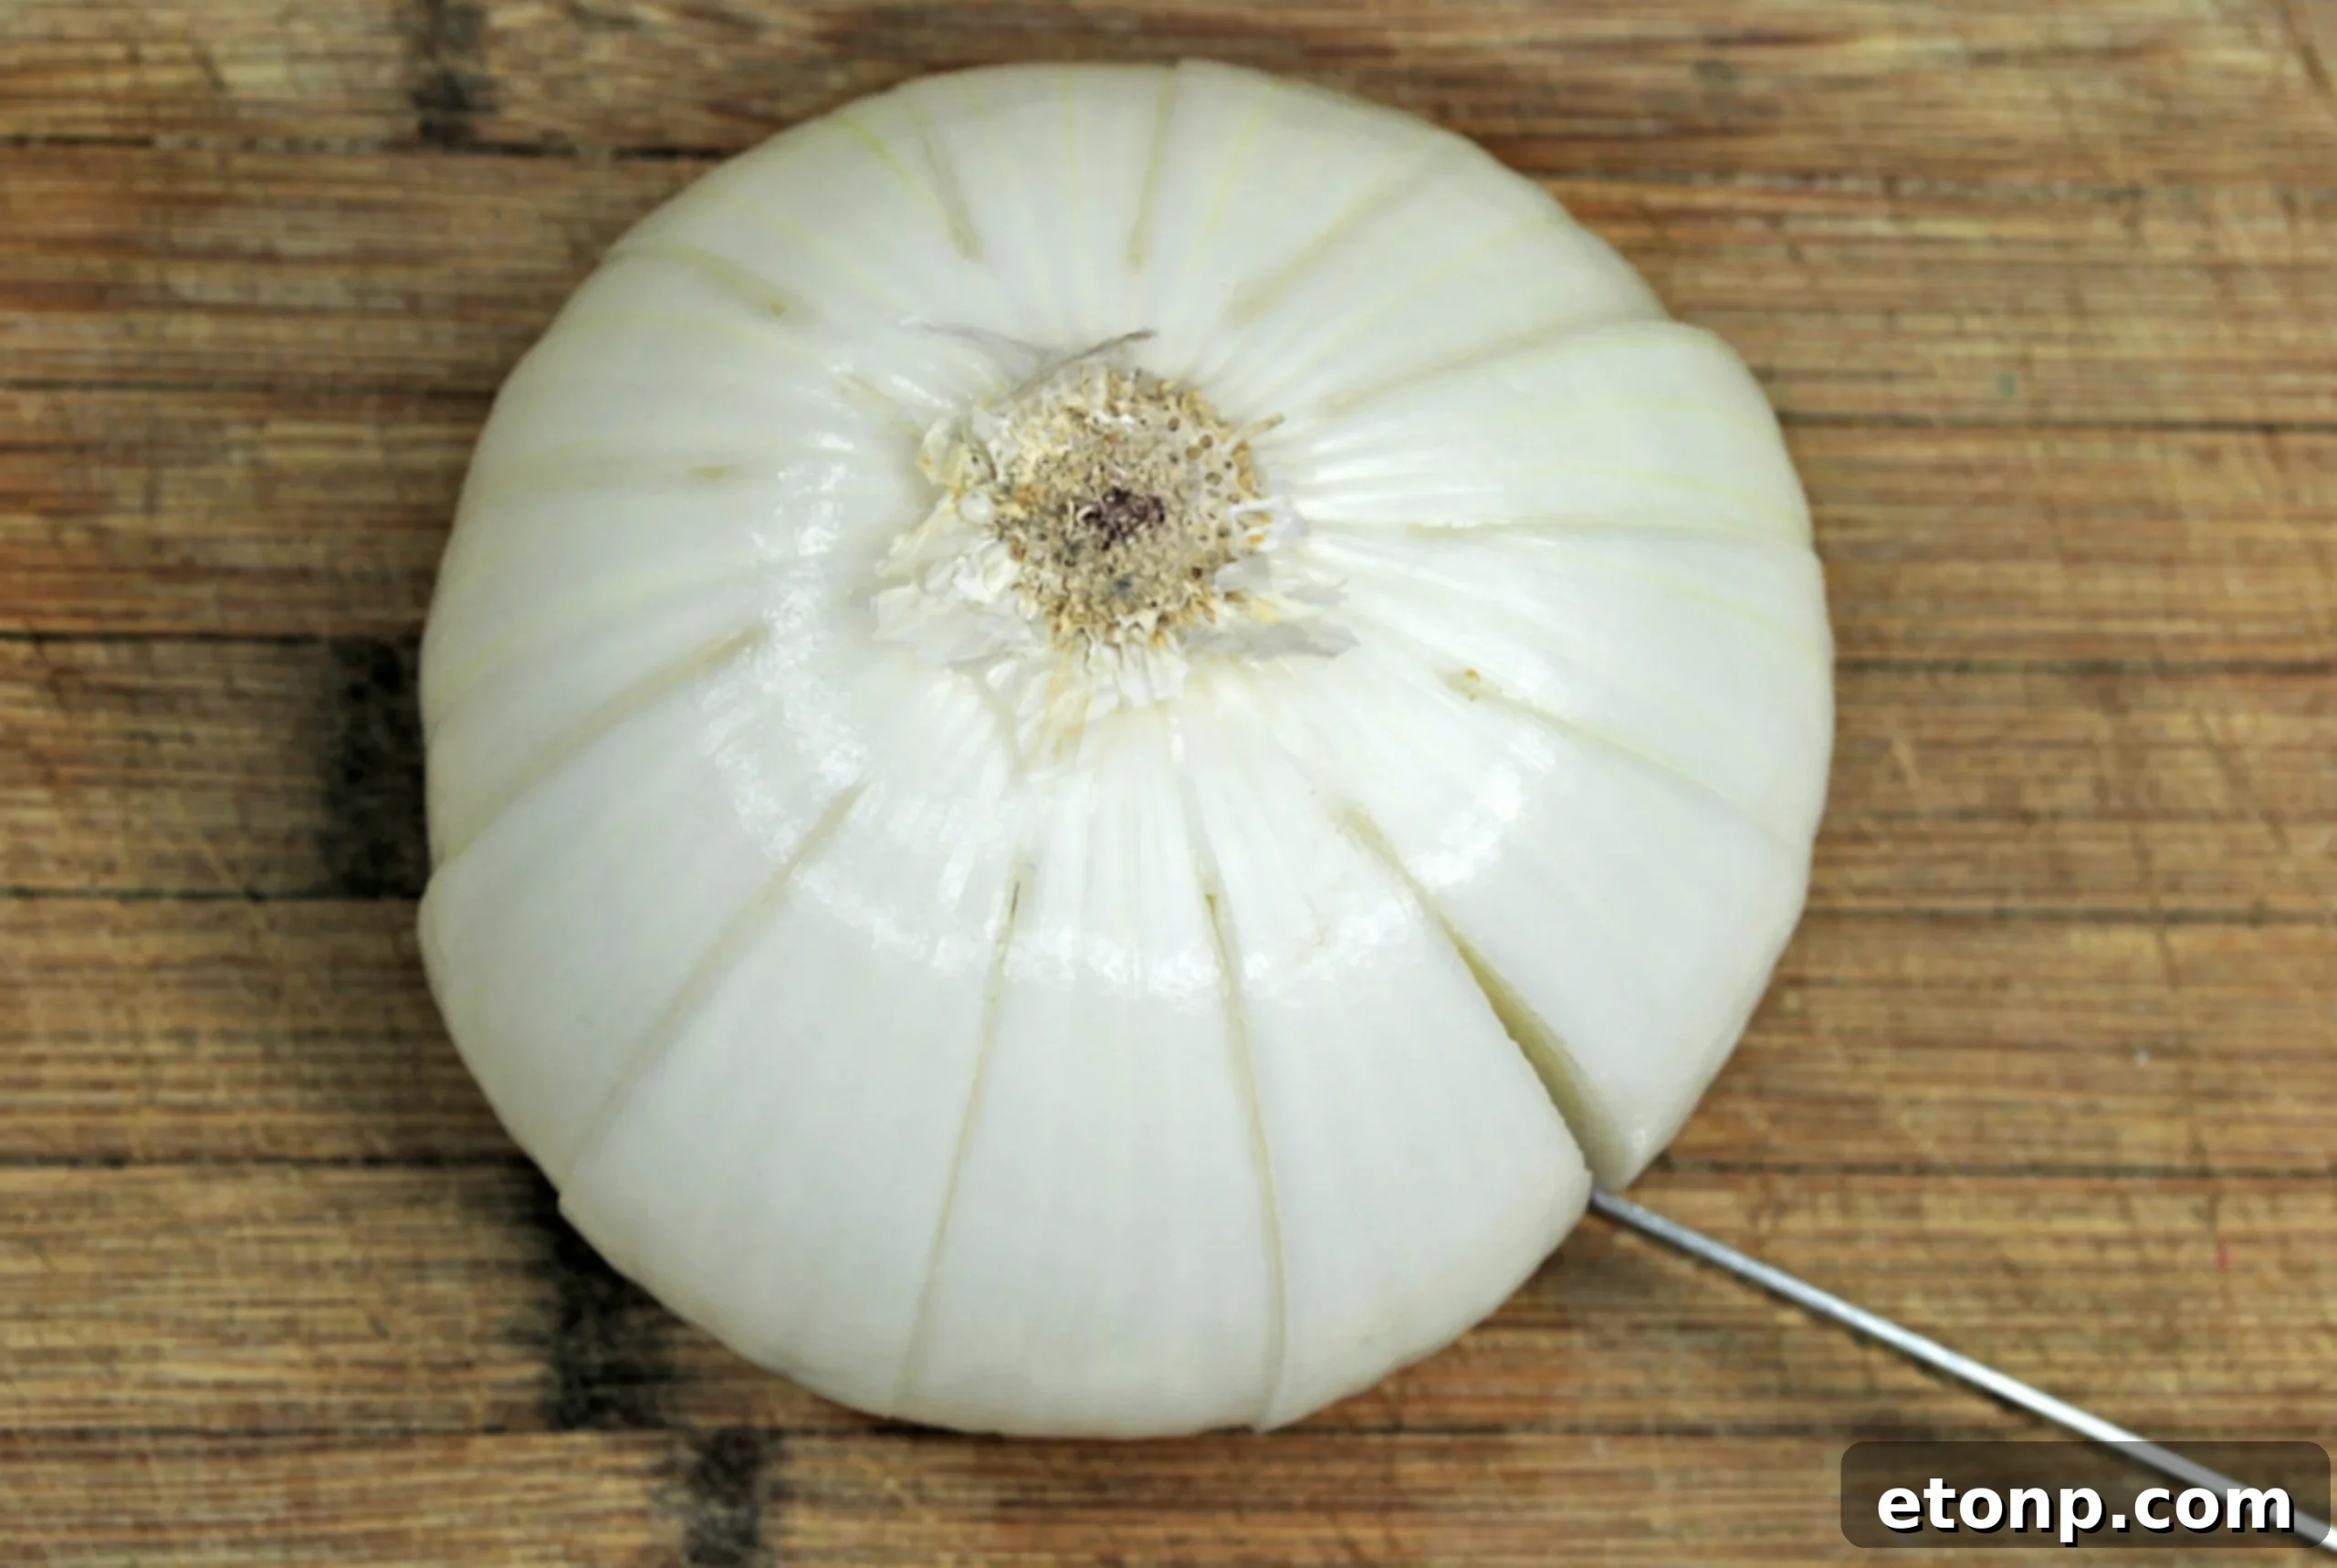
The diagram below offers a visual guide to ensure your cuts are spot on. Remember, practice makes perfect, but even your first attempt will be delicious!
Crafting the Crispy, Flavorful Batter
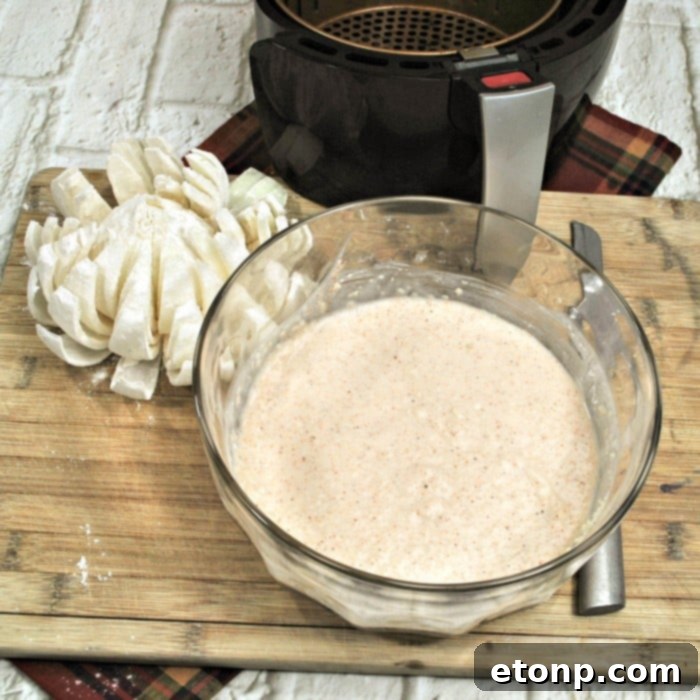
Once your onion is beautifully “bloomed” and ready, it’s time to prepare the star of the show: the crispy coating. This recipe uses a two-stage breading process to ensure maximum crunch and flavor. First, you’ll create a dry flour and spice mixture, followed by a wet batter that perfectly adheres the seasoned breadcrumbs to every onion petal. This layering technique is essential for achieving that delightful, shatteringly crispy texture we all crave in a Bloomin’ Onion, ensuring a robust flavor in every bite and a satisfying crunch.
Preparing Your Breading Station
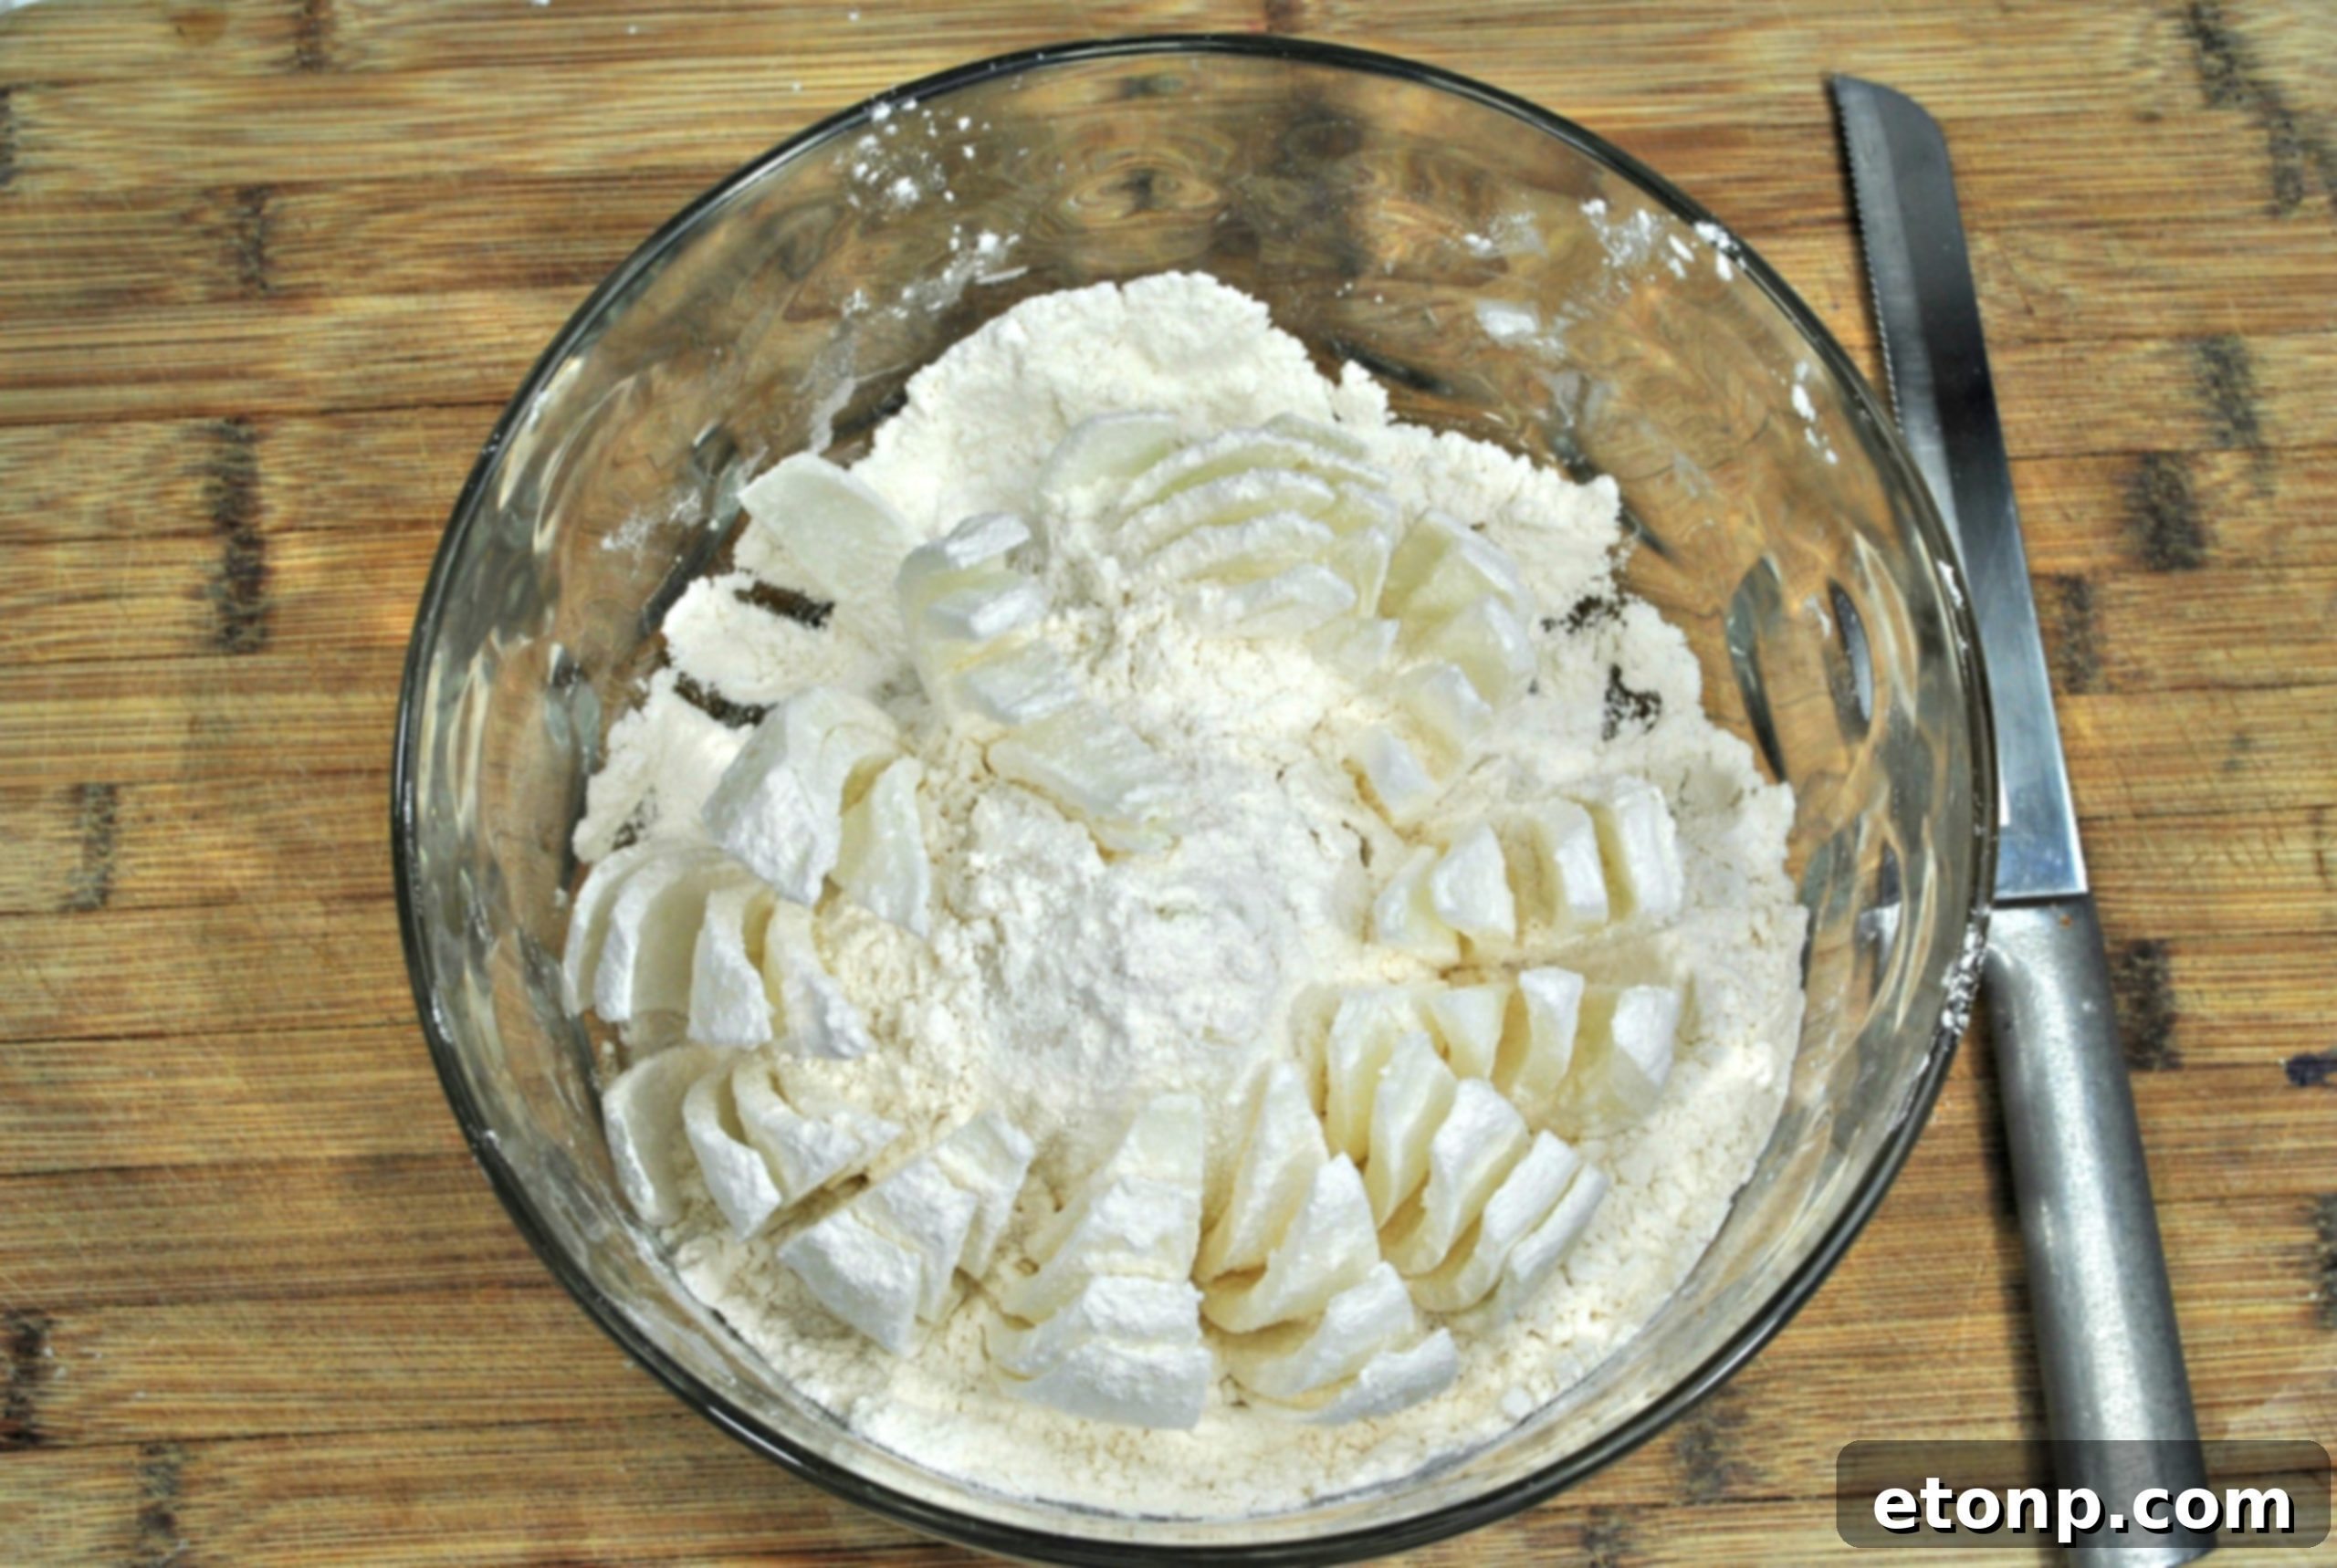
Set up your breading station with three distinct bowls or trays. In the first bowl, combine your Panko breadcrumbs with all the aromatic spices: Cajun seasoning, a hint of fiery cayenne pepper for that authentic kick, earthy cumin, sea salt, and freshly ground black pepper. Panko breadcrumbs are far superior for achieving a light, airy, and incredibly crispy texture compared to traditional breadcrumbs, as their flaky structure provides more surface area for crisping. Mix these dry ingredients thoroughly to ensure the spices are evenly distributed. Set this flavorful mixture aside. In the second, larger bowl, you’ll prepare the wet batter by whisking together cold buttermilk and room-temperature eggs. Buttermilk adds a subtle tang and helps tenderize the onion, while the eggs act as a crucial binder, ensuring the coating sticks perfectly. Once the wet mixture is smooth, gradually add 1 cup of all-purpose flour to it, whisking until you have a thick, smooth, and lump-free batter. The third bowl will contain plain flour for the initial dusting. This organized setup will make the coating process seamless and efficient.
The Art of Coating: Ensuring Every Petal is Covered
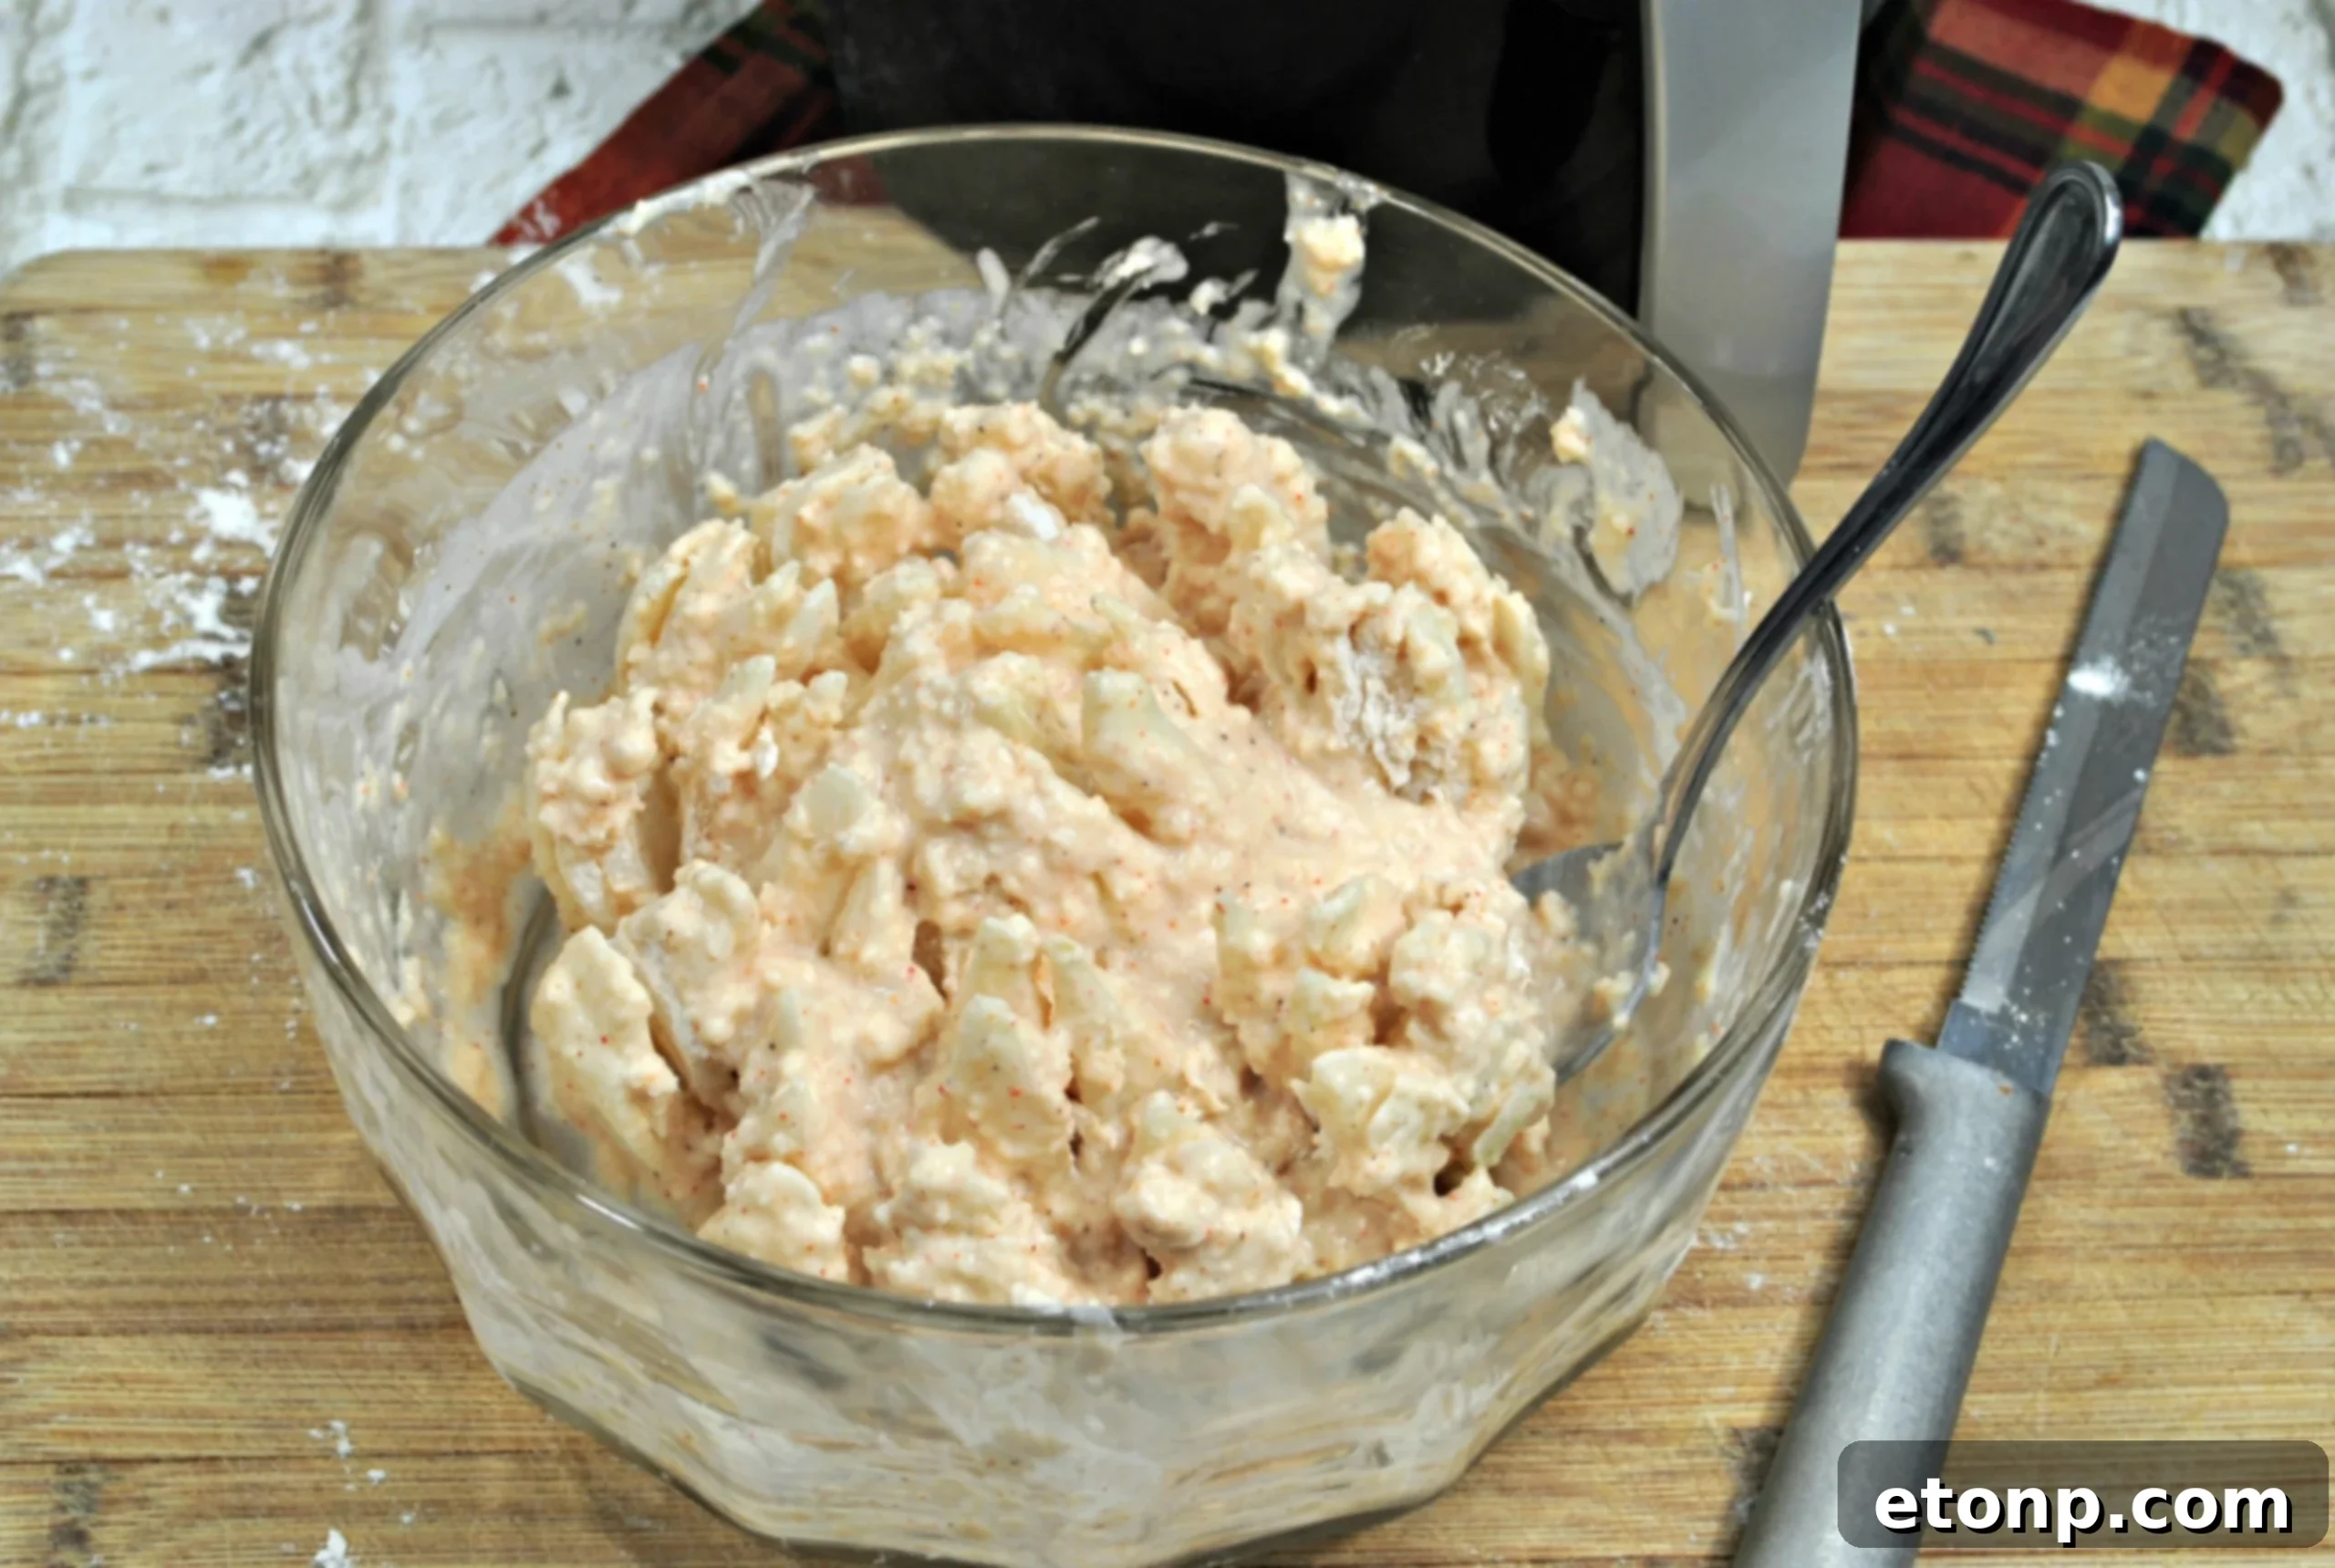
The next crucial step is ensuring every single crevice of your bloomed onion is thoroughly coated. This meticulous process is what guarantees a consistently crispy and flavorful result. Start by dusting the entire bloomed onion with a light layer of plain flour from your third bowl. This initial flour coating creates a dry surface that helps the wet batter adhere better, forming a crucial foundational layer. Next, submerge the floured onion into the wet buttermilk-egg-flour batter, making sure to thoroughly coat all surfaces and get the mixture in between all the “petals.” You might need to gently spread the petals open with your hands or use a ladle to ensure even coverage in every nook and cranny. The goal is to ensure no part of the onion is left bare, as this is what gives you that consistent crispy crust. Once fully coated in the wet batter, lift the onion and allow any excess to drip off briefly, preventing a soggy outcome. Finally, carefully transfer the wet-battered onion into the bowl with the seasoned Panko breadcrumb mixture. Generously coat the entire onion, pressing the crumbs onto every petal and layer. Turn it upside down and all around, gently shaking off any loose excess breadcrumbs. A good, even coating is the secret to a uniformly crispy, golden, and delicious Bloomin’ Onion that boasts flavor from the very first bite.
Cooking Your Bloomin’ Onion to Golden Perfection
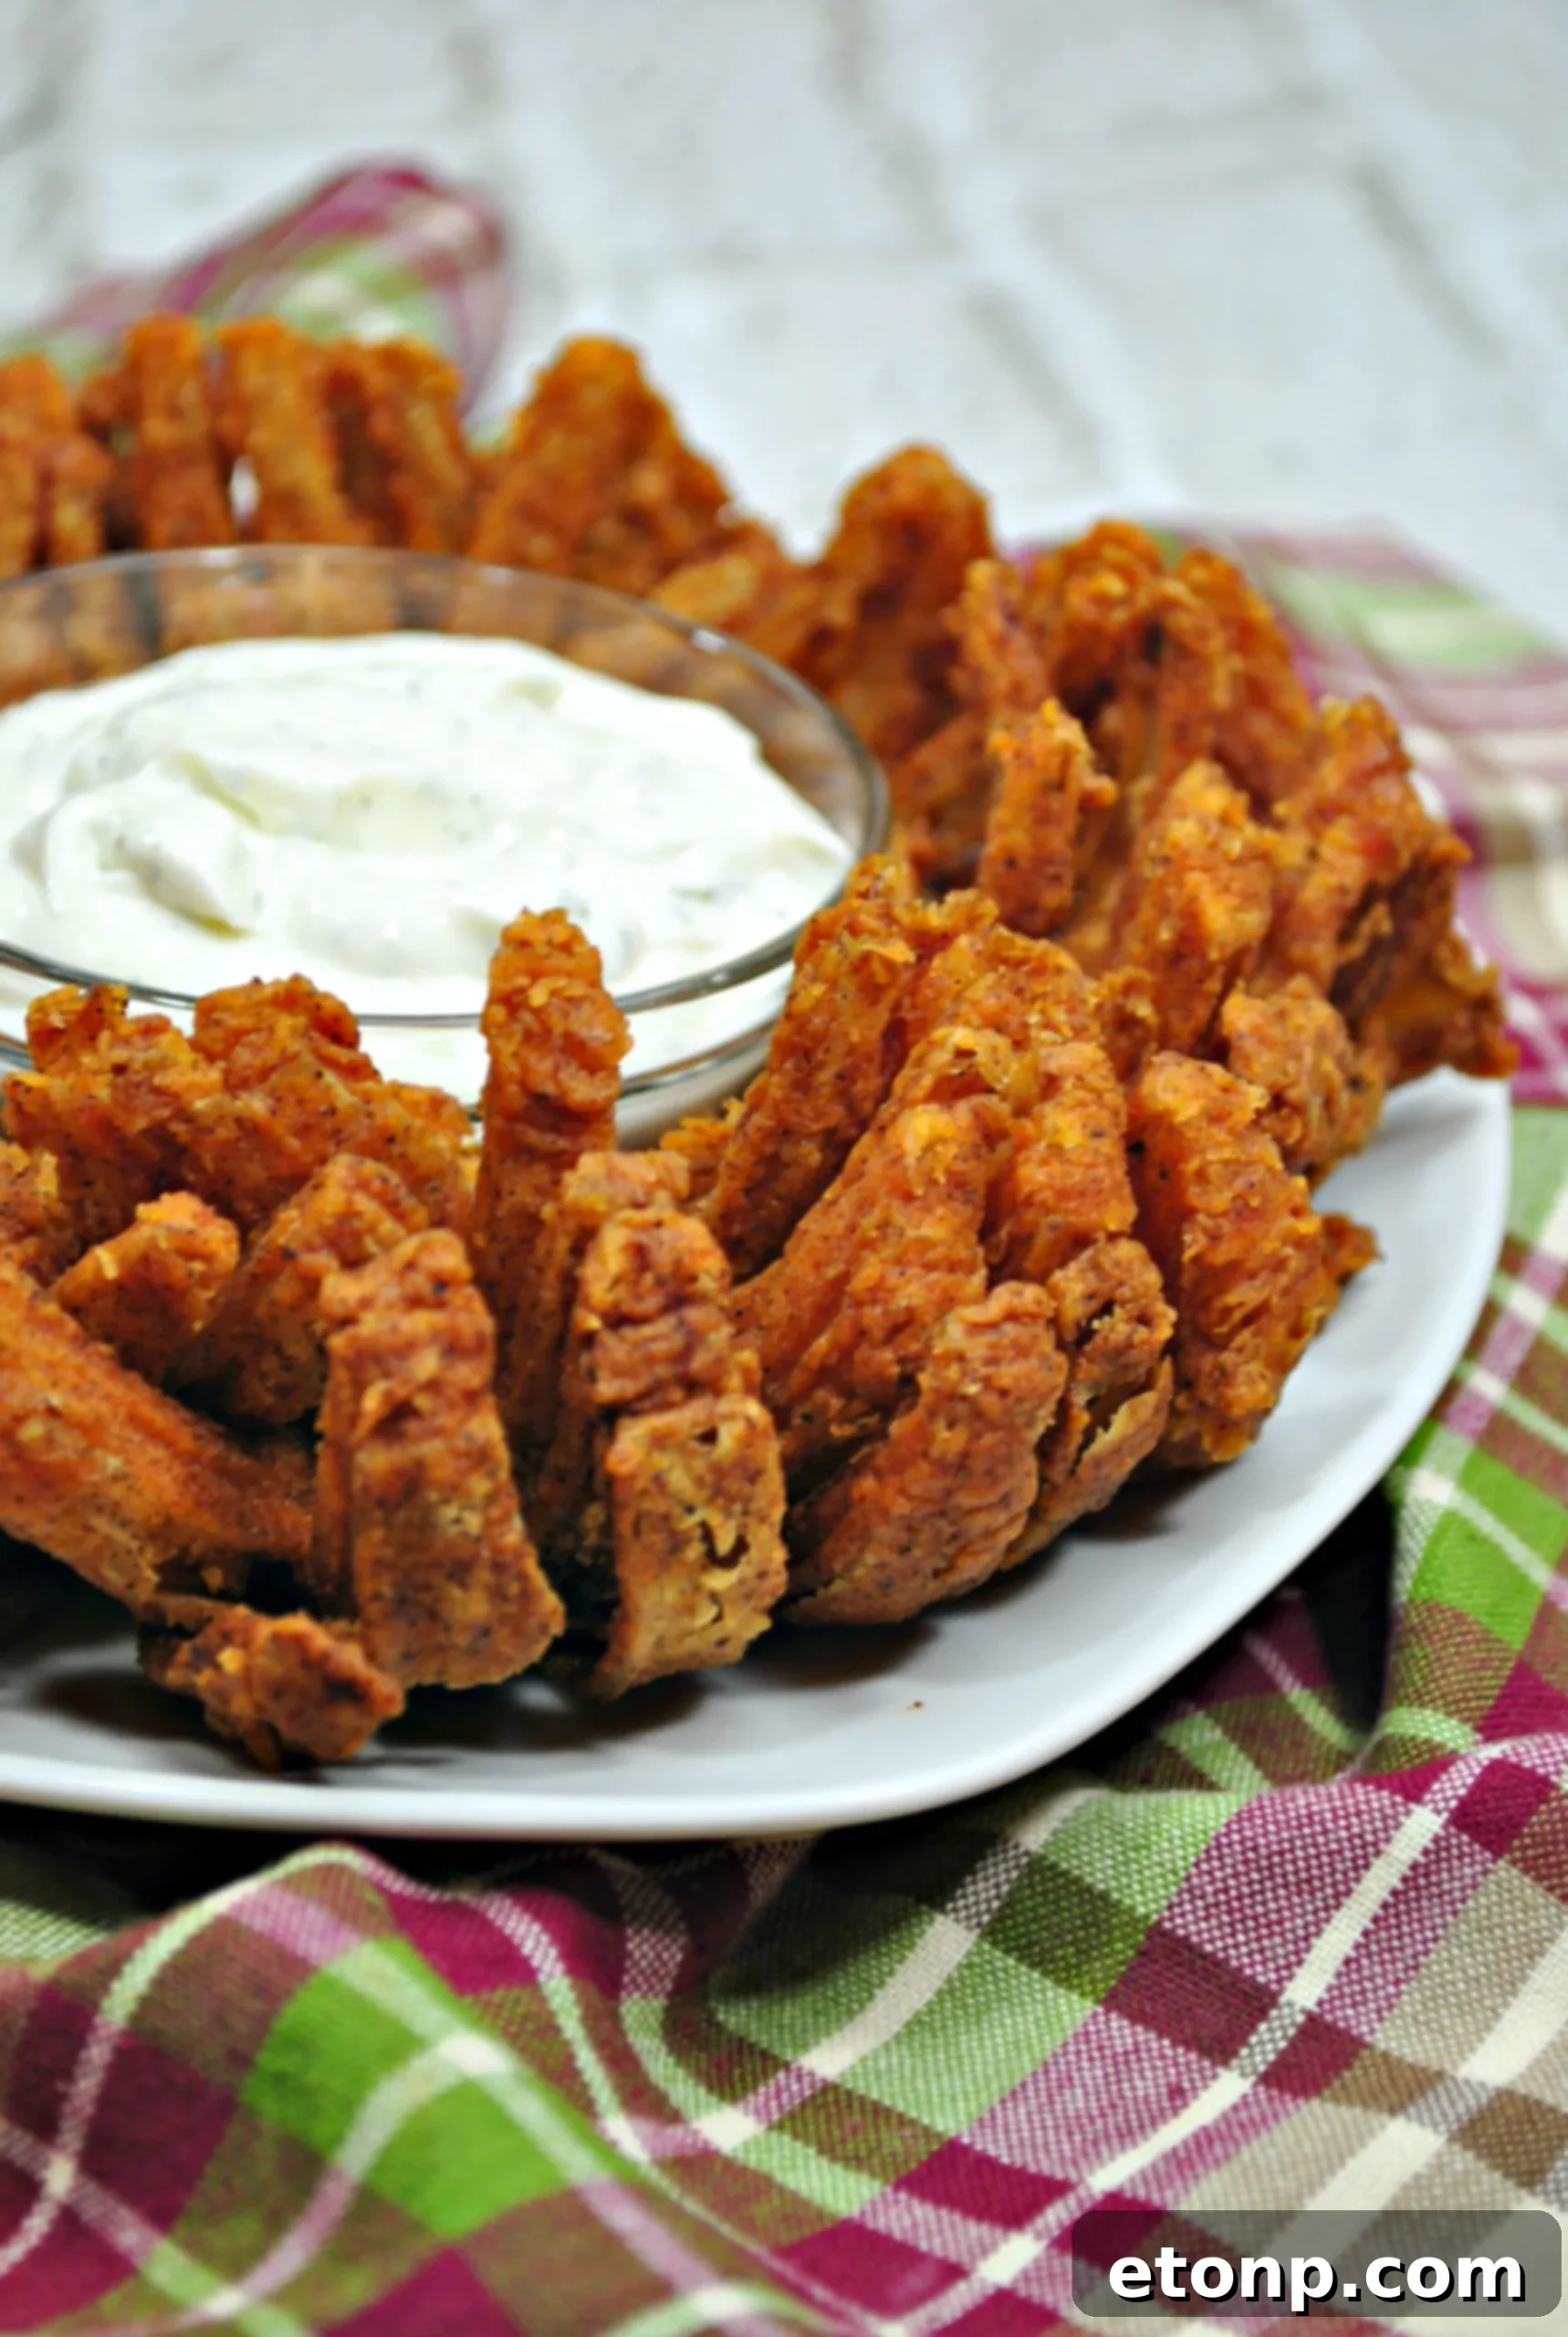
While traditional Bloomin’ Onions are often deep-fried to achieve their signature crispness, this recipe is specifically designed for the air fryer, offering a healthier alternative without sacrificing any of that satisfying crunch. The air fryer circulates superheated air around the onion, crisping the coating beautifully and cooking the onion until tender and sweet on the inside. This method reduces the amount of oil needed significantly, making it a guilt-free indulgence. If you prefer a deep-fried version, you can adapt the cooking method; simply deep fry in oil preheated to 350°F (175°C) for 5-7 minutes, or until golden brown and crispy, ensuring the internal temperature of the onion is cooked through and tender.
Air Fryer Method: Achieve Ultimate Crispness
Carefully place your fully coated Bloomin’ Onion into the fry basket of your air fryer. It’s important to ensure it fits without touching the sides too much, allowing for even air circulation, which is key to uniform crisping. If your air fryer is too small for an extra-large onion, you may need to cook it in batches if you cut it into smaller sections, though the “blooming” effect will be less pronounced. Set your air fryer to 360°F (180°C) and cook for an initial 16 minutes. Air fryer models can vary in power and heating, so it’s always a good idea to check on your onion as it cooks. Once the initial timer goes off, carefully open the air fryer and inspect the onion for its crispness and golden-brown color. If you desire an even crispier result, as many do, continue to cook for an additional 5-10 minutes, checking periodically until it reaches your preferred level of golden perfection. The beauty of homemade is that you get to choose exactly how crispy you like it – some prefer a tender-crisp, while others, like me, love it extra crunchy and deeply golden! Once cooked to your liking, carefully remove the Bloomin’ Onion from the air fryer. It will be incredibly hot, wonderfully fragrant, and ready for serving. Handle with care, as the petals will be delicate yet firm.
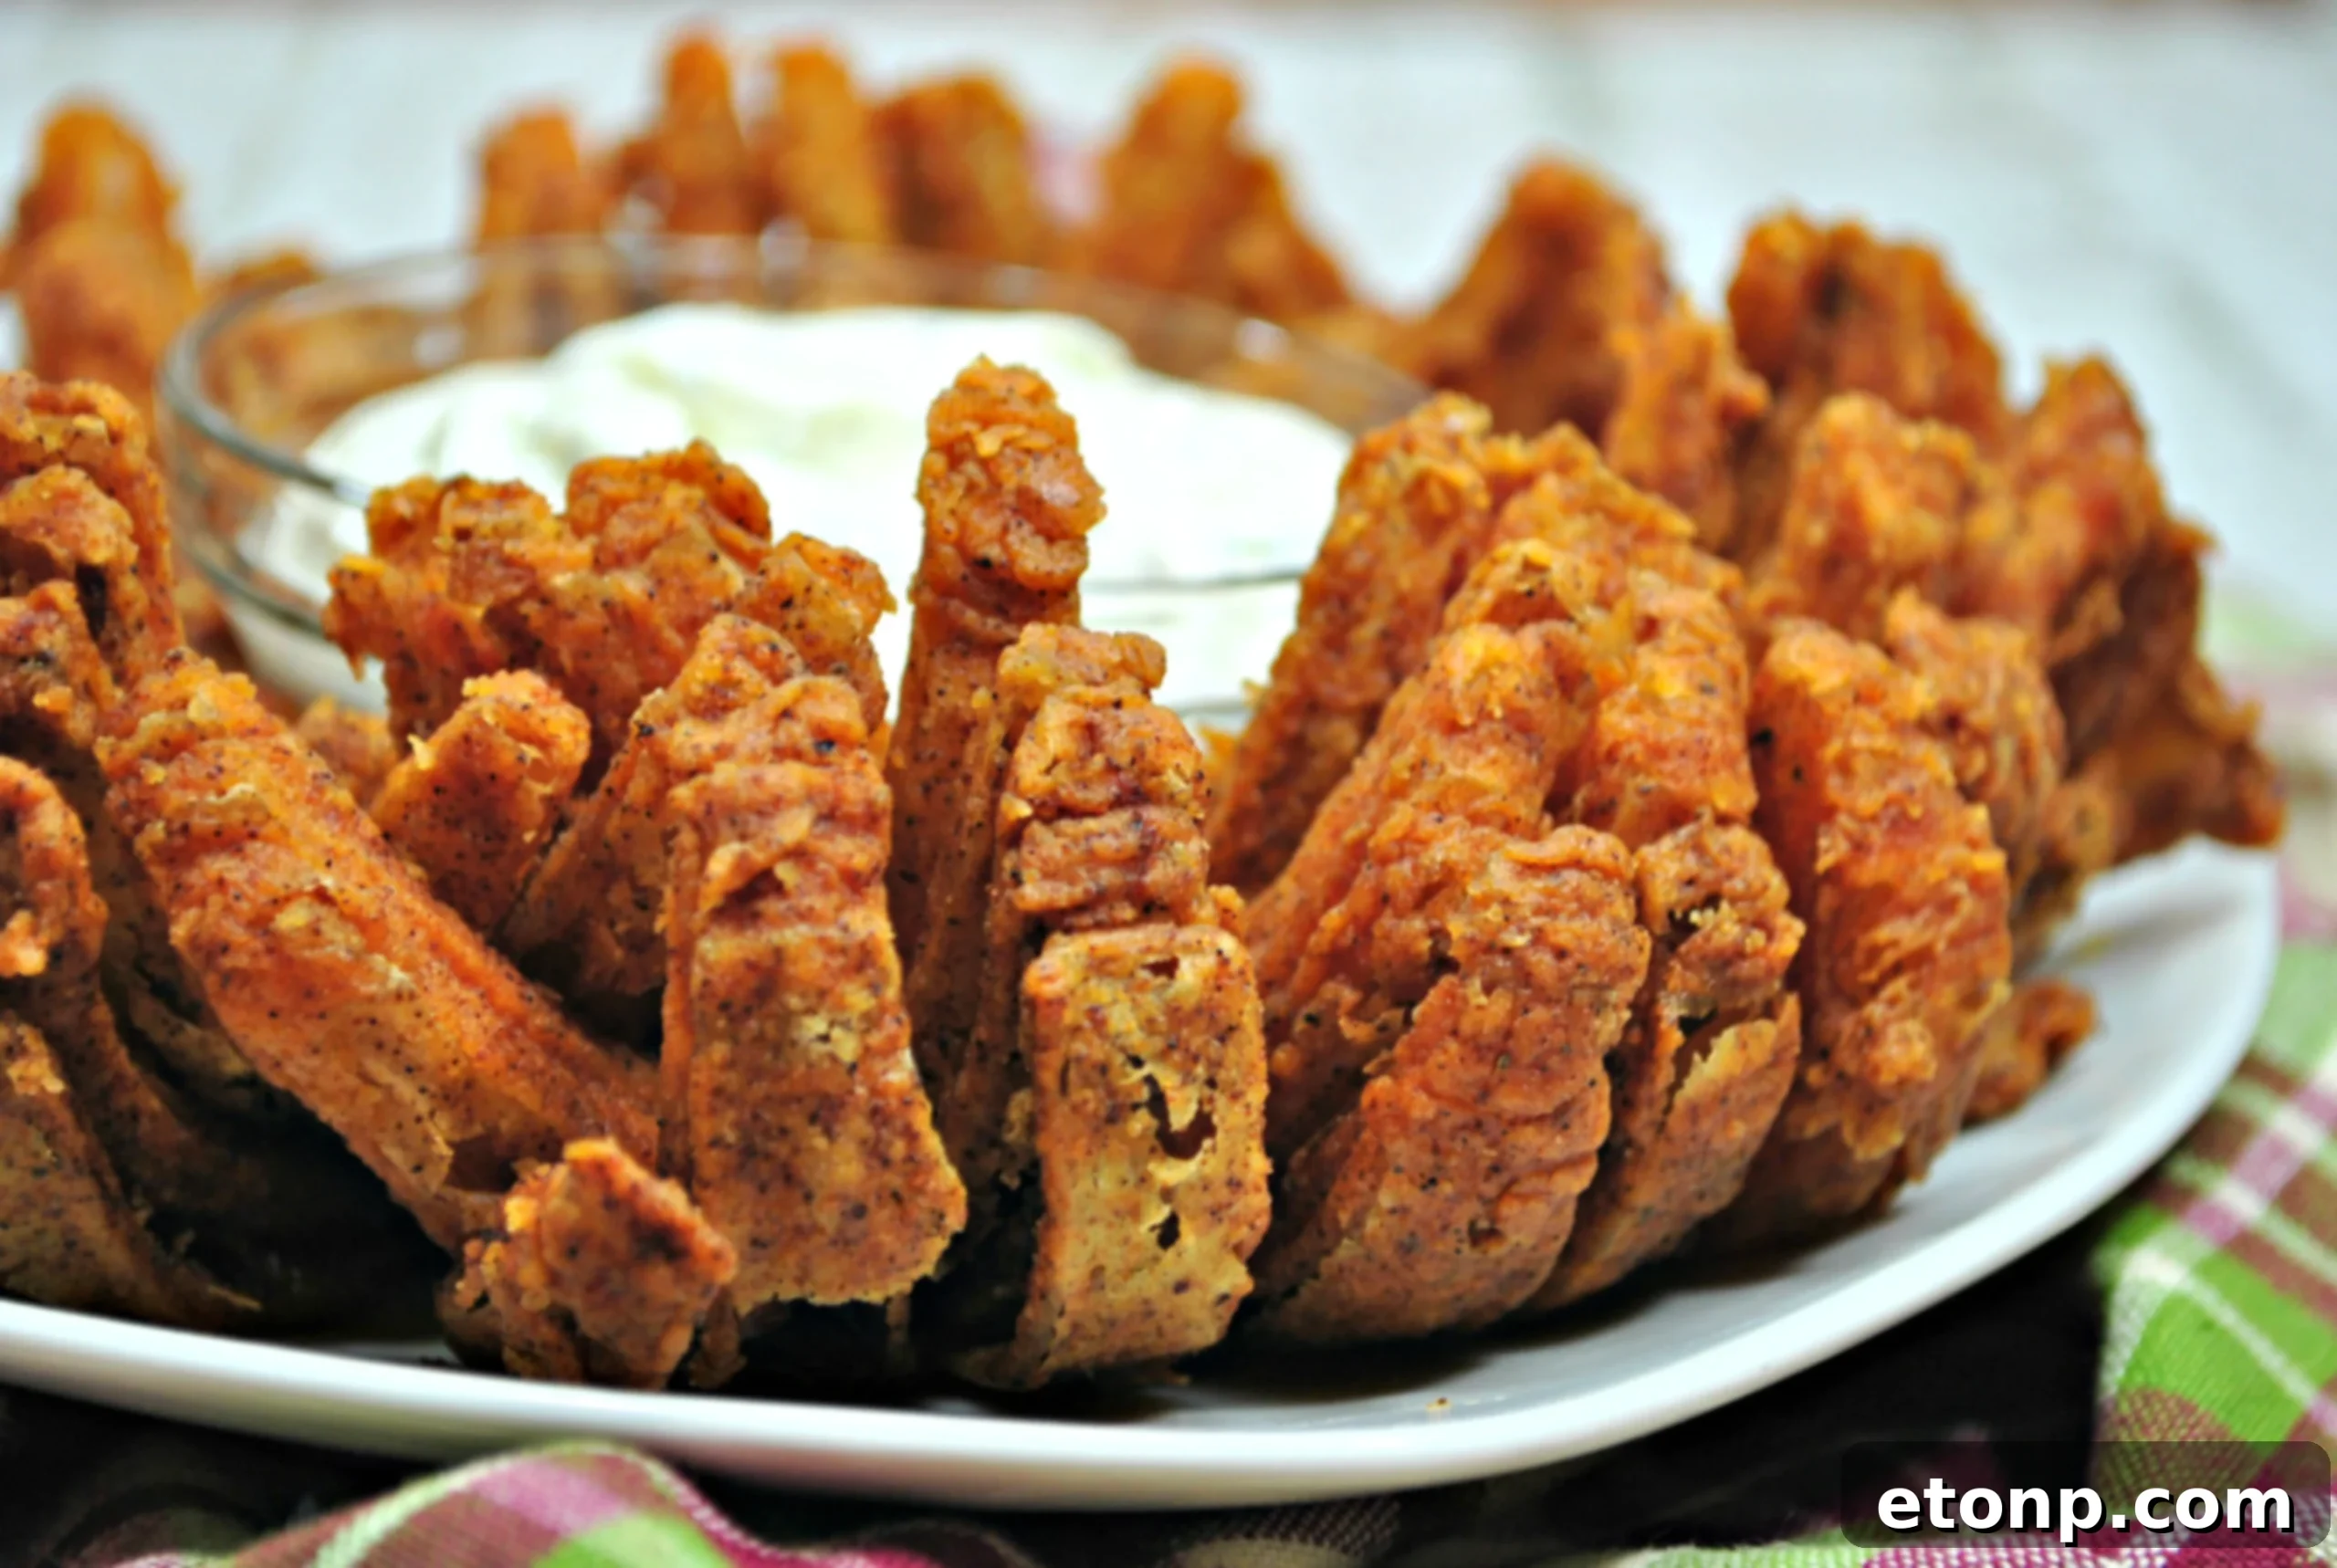
Once cooked to your liking, carefully remove the Bloomin’ Onion from the air fryer using tongs or a spatula. It will be incredibly hot and wonderfully fragrant. Serve immediately, as crispy appetizers are always best enjoyed fresh and hot. The warm, savory onion paired with the cool, creamy dip is an unparalleled sensory experience.
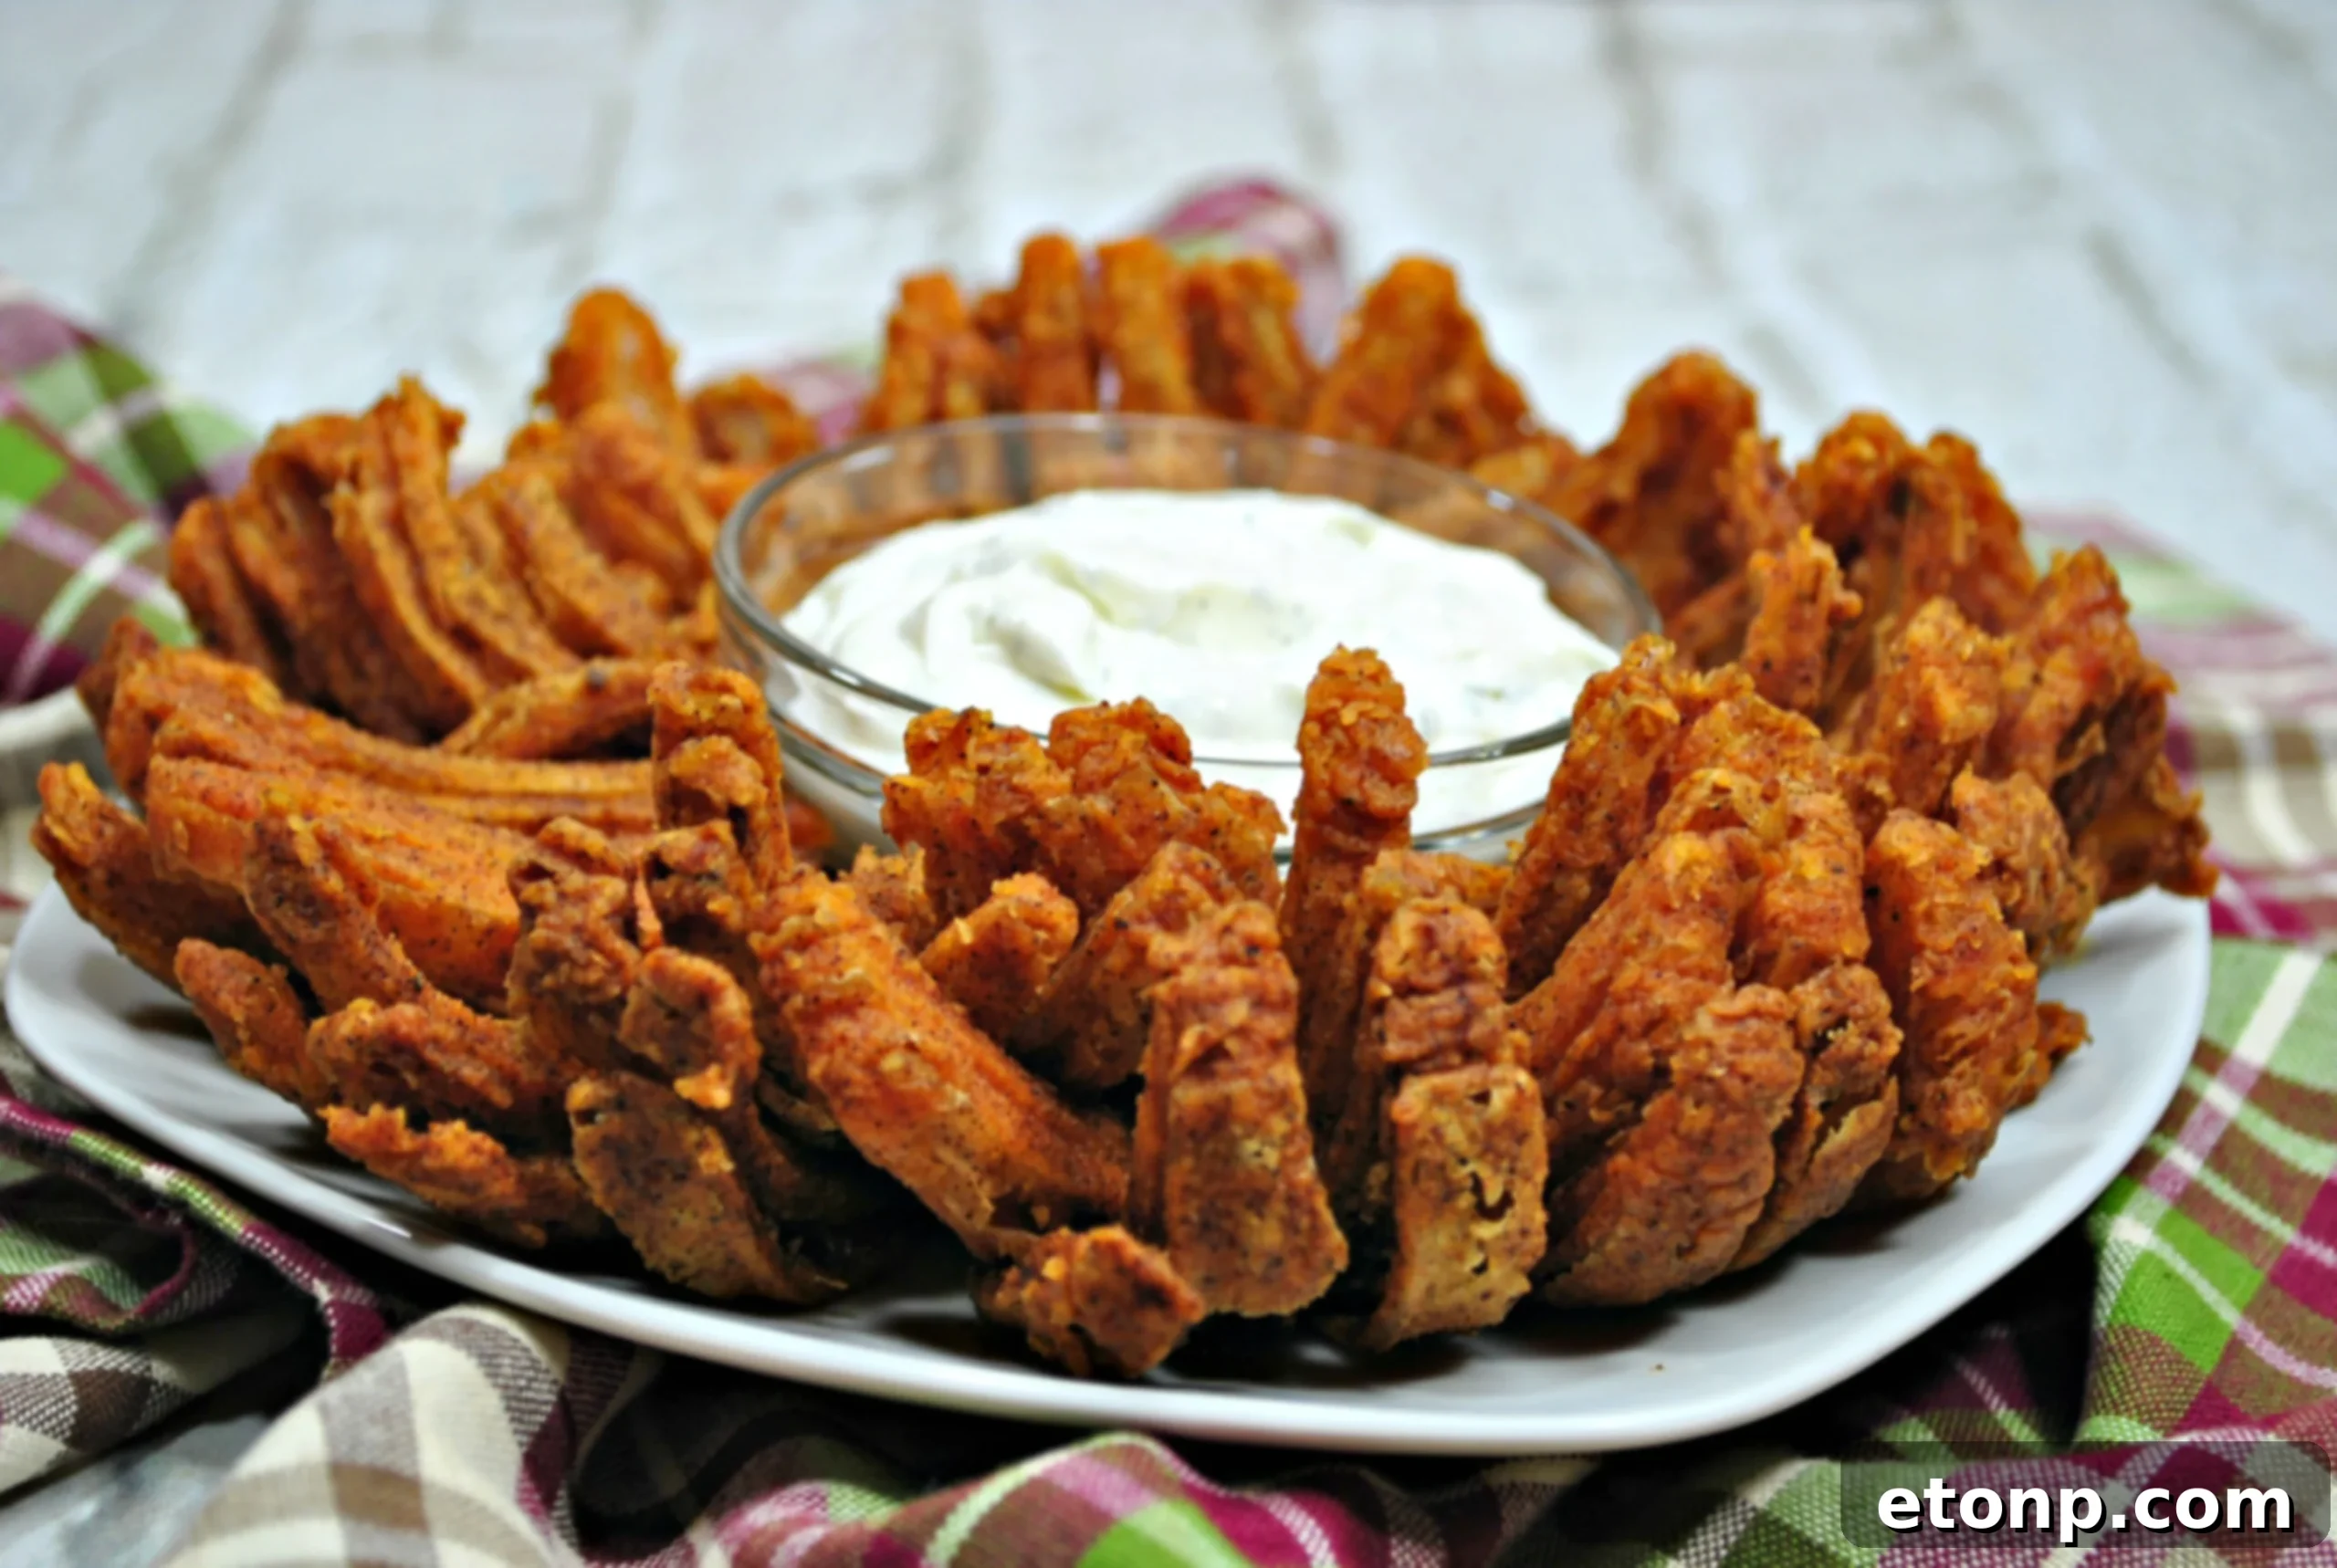
The Perfect Companion: Homemade Green Onion Ranch Dip
No Bloomin’ Onion experience is complete without the perfect dipping sauce. While many recipes opt for a generic ranch, our homemade Green Onion Ranch Dip elevates this appetizer to an entirely new level. It’s creamy, tangy, and bursting with fresh flavors that beautifully cut through the richness of the fried onion, creating a harmonious culinary balance that will have everyone asking for the recipe. This dip isn’t just good; it’s essential, transforming a great appetizer into an unforgettable one.
Crafting Your Zesty Dip
The dip comes together effortlessly, requiring minimal prep but delivering maximum flavor. In a medium bowl, combine softened cream cheese, rich sour cream, and creamy mayonnaise. Ensure your cream cheese is at room temperature for easy blending, preventing lumps and ensuring a smooth consistency. Whisk these ingredients until they are perfectly smooth and lump-free, creating a luxurious base for your dip. Then, sprinkle in a full package of dry ranch dressing mix – this is where much of the classic, herbaceous ranch flavor comes from. Next, fold in a generous amount of freshly chopped green onions, which add a delightful mild oniony bite, a vibrant freshness, and a pop of color. For those who enjoy a little heat and an extra layer of complexity, a finely minced and seeded jalapeno pepper is an optional but highly recommended addition, providing a subtle kick that enhances the overall flavor profile without overpowering it. Stir everything together until all ingredients are well combined and the green onions and jalapeno are evenly distributed throughout the creamy base. The true key to the best flavor development? Refrigerate the dip overnight before serving. This crucial step allows all the flavors to meld, deepen, and truly marry together, resulting in an incredibly rich, complex, and satisfying dip that you’ll want to put on everything! Serve this chilled, vibrant dip alongside your hot, crispy Bloomin’ Onion for the ultimate taste sensation.
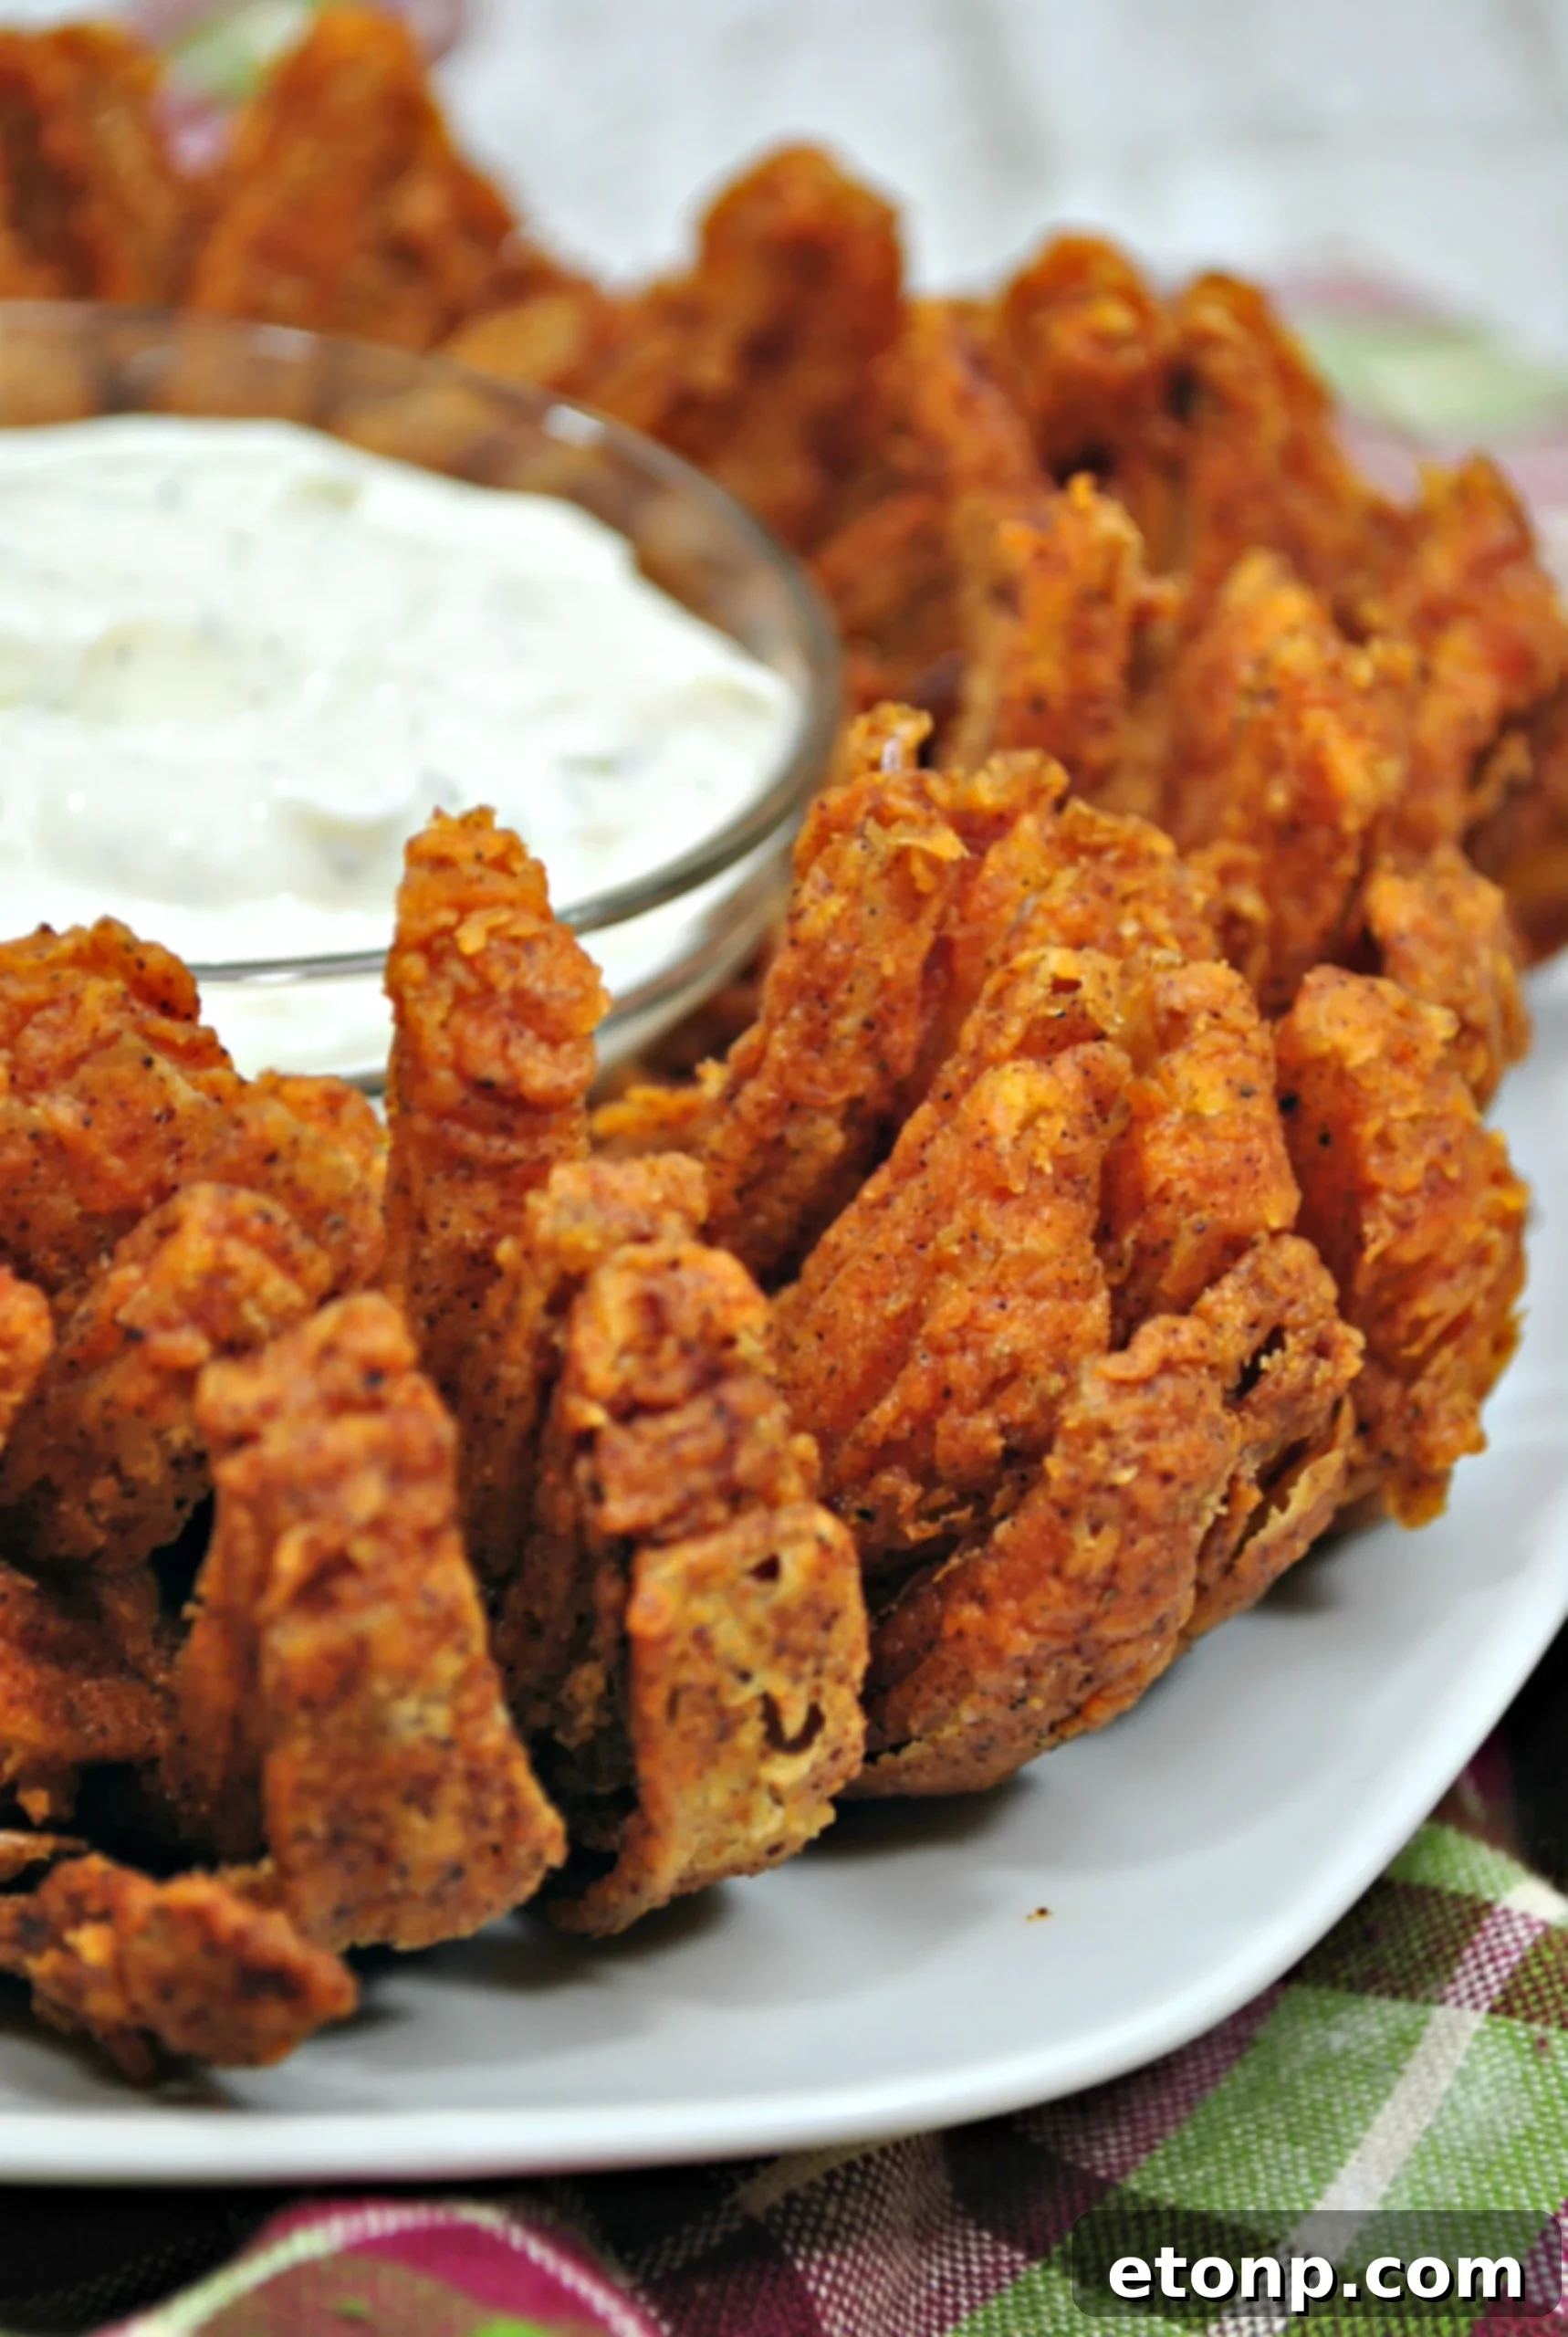
Cajun Bloomin’ Onion with Homemade Green Onion Ranch Dip Recipe!
Ingredients
For the Cajun Bloomin’ Onion:
- 1 extra-large Vidalia onion
- 1/4 C Buttermilk
- 2 large eggs (room temperature)
- 3/4 C Panko breadcrumbs
- 1 C all-purpose Flour (plus extra for dusting)
- 3 tbsp Cajun seasoning
- 1 tsp Cayenne pepper
- 1 tsp Cumin
- 1/2 tsp black pepper
- 1 tsp Sea Salt
- Oil for frying (if deep frying, optional)
For the Homemade Green Onion Ranch Dip:
- 8 oz cream cheese (room temperature)
- 8 oz container sour cream
- 1/2 C mayonnaise
- 1 package ranch dressing mix (dry mix)
- 18 green onions (chopped)
- 1 jalapeno pepper, seeded and minced (optional)
Instructions
Directions for Bloomin’ Onion:
- In a medium bowl, combine Panko breadcrumbs, 3 tbsp Cajun seasoning, cayenne, cumin, 1 tsp sea salt, and 1/2 tsp black pepper. Mix well to combine all spices evenly and set aside.
- Peel the extra-large Vidalia onion completely, removing all dry outer layers. Carefully cut off the very top, creating a stable, flat surface.
- Place the cut side of the onion down onto a sturdy cutting board.
- Starting approximately 1/2 inch from the root (the bottom center), make a downward cut with a sharp knife, all the way through to the cutting board.
- Repeat this process to make 4 evenly spaced cuts around the onion, dividing it into quarters.
- Continue slicing through each quarter section until you have made 8 to 16 cuts total, ensuring the root remains intact to hold the “petals” together.
- Gently open the onion to expose its “petals,” being careful not to detach them from the core.
- In a large bowl, add 1 cup of all-purpose flour. Dip the bloomed onion into this flour, ensuring an even dusting over all petals and crevices. Gently shake off any excess flour.
- In another large bowl, whisk together the buttermilk and 2 large room-temperature eggs until well combined.
- Submerge the floured onion into the buttermilk-egg mixture, making sure to thoroughly coat all surfaces and get the mixture between the petals. Use a ladle or your hands to ensure complete coverage.
- Carefully remove the onion from the wet mixture, allowing any excess batter to drip off.
- Now, transfer the wet-battered onion into the bowl with the seasoned Panko breadcrumb mixture. Generously coat the entire onion, pressing the breadcrumbs onto every petal and layer. Turn it upside down and all around to ensure complete coverage. Gently shake off any loose excess breadcrumbs.
- For Air Frying: Carefully place the fully coated Bloomin’ Onion into the fry basket of your air fryer.
- Cook in the air fryer at 360°F (180°C) for an initial 16 minutes.
- When the timer goes off, check the onion for crispness and golden color. If you desire a crispier result, continue to cook for an additional 5-10 minutes, checking frequently until it reaches your desired level of golden perfection.
- When done, carefully remove the Bloomin’ Onion from the air fryer using tongs or a spatula.
- (Optional: For Deep Frying) If deep frying, preheat cooking oil to 350°F (175°C) in a large pot or deep fryer. Carefully lower the coated onion into the hot oil. Fry for 5-7 minutes, or until golden brown and crispy, turning gently if needed to ensure even cooking. Remove and drain on paper towels.
Directions for Green Onion Ranch Dip:
- In a medium bowl, combine the softened cream cheese, sour cream, and mayonnaise.
- Whisk until the mixture is completely smooth and creamy, ensuring no lumps remain.
- Sprinkle in the package of ranch dressing mix, the freshly chopped green onions, and the optional minced jalapeno pepper.
- Stir until all ingredients are well combined and evenly distributed.
- For the absolute best flavor, cover and refrigerate the dip overnight before serving. This allows the flavors to fully develop and meld.
- Serve chilled alongside your hot, crispy Bloomin’ Onion. Enjoy every bite!
Makes 4-6 servings.
Your homemade Bloomin’ Onion with its zesty Green Onion Ranch Dip is now ready to steal the spotlight! This impressive appetizer is perfect for game nights, parties, or any occasion that calls for a truly unforgettable snack. The combination of the sweet, tender onion, the incredibly crispy Cajun-spiced coating, and the cool, creamy dip is simply irresistible. This dish is not just food; it’s a celebration of flavors and textures that will leave everyone craving more. So go ahead, treat yourself and your loved ones to this culinary masterpiece!
Looking for more amazing recipes and culinary inspiration? Make sure to follow us on social media for daily dose of deliciousness!
Share the Love and Stay Connected!
SHARE on Facebook PIN IT!
FOLLOW ME ON PINTEREST BY CLICKING HERE <——
Did you make this incredible recipe?
We’d love to see your culinary creations! Share your photos and tag us on social media. For more mouth-watering recipes and kitchen inspiration, be sure to follow us on Pinterest!
Pin Recipe
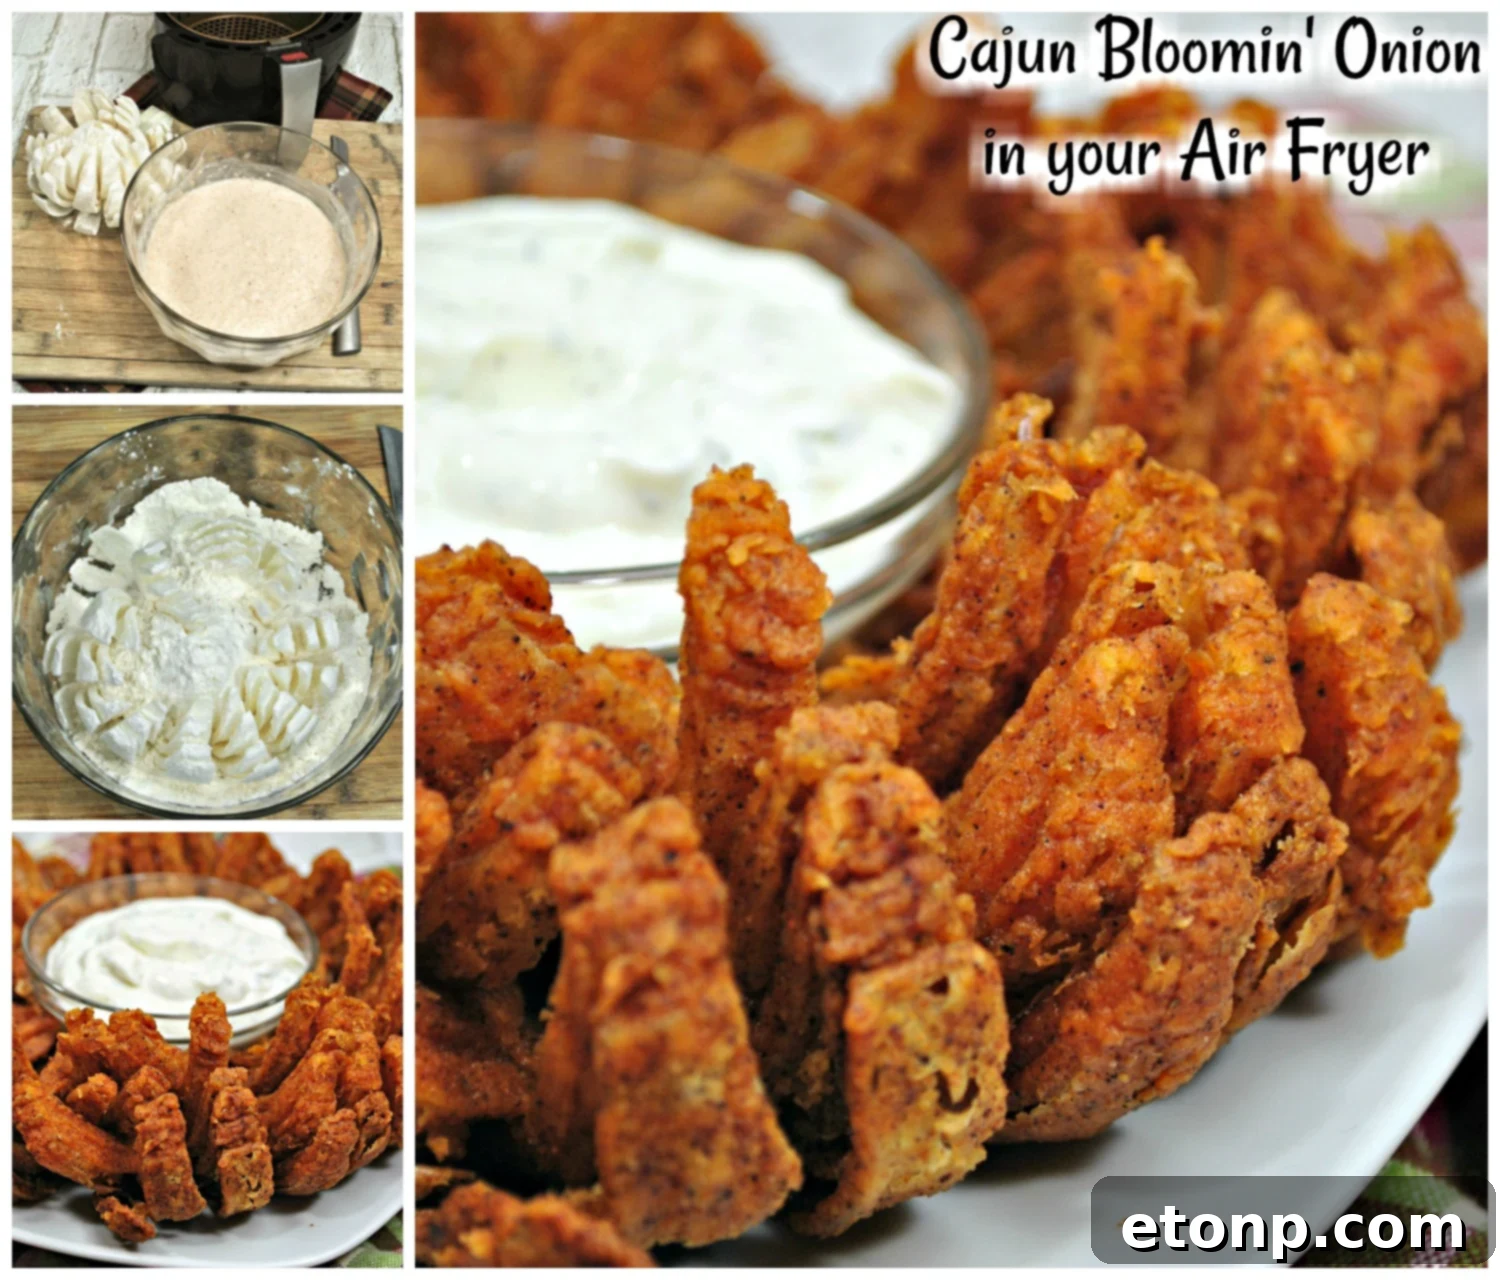
We hope you enjoy making and devouring this fantastic appetizer as much as we do. It’s truly a labor of love that pays off with every satisfying crunch. This homemade Bloomin’ Onion will surely become a staple for your gatherings, offering a memorable culinary experience for everyone. Happy cooking!