
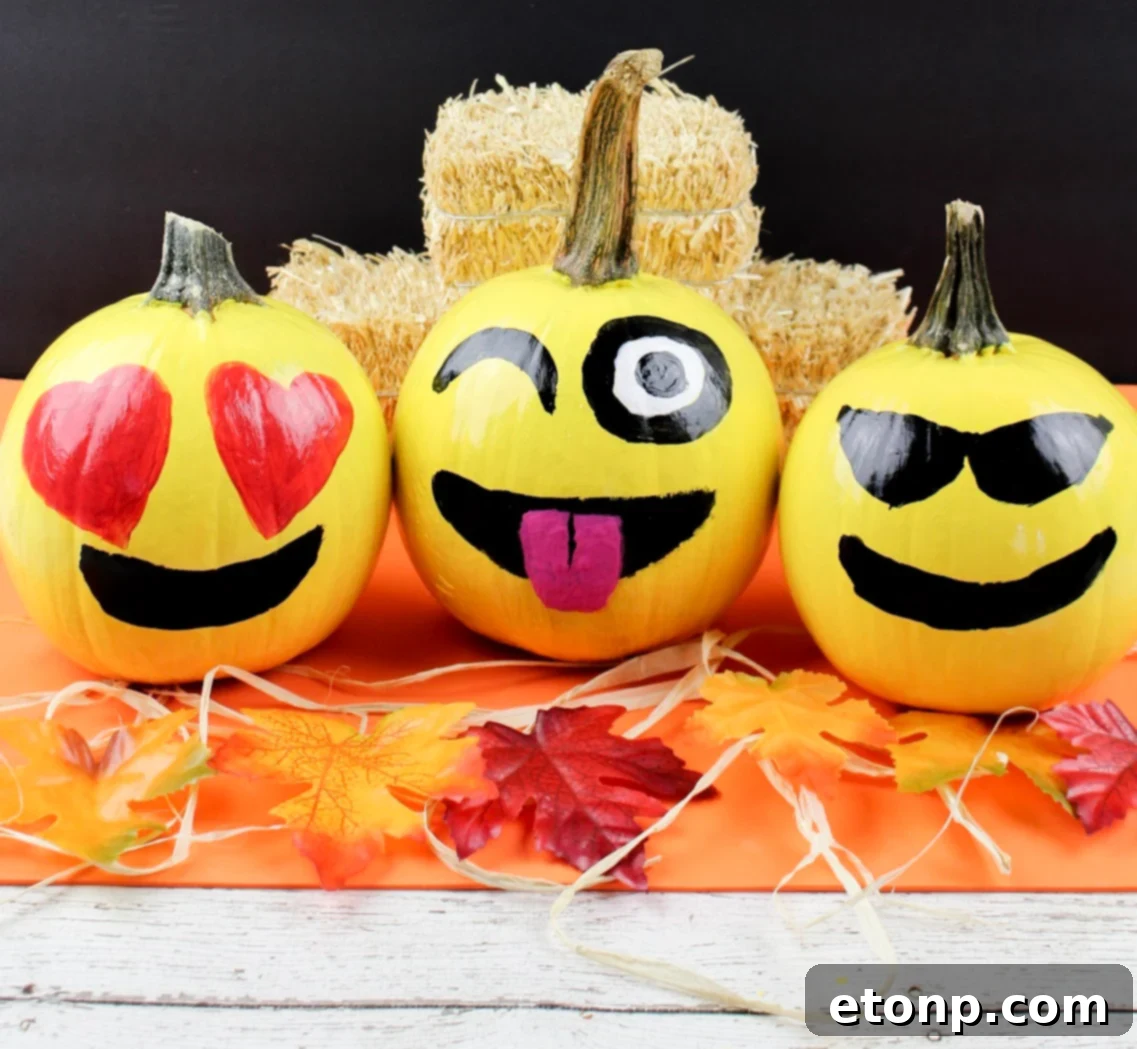
Embrace the Autumn Spirit: DIY Emoji Pumpkins for Fun Fall Decor!
As the leaves begin to turn vibrant shades of red, orange, and gold, and a crisp, inviting chill fills the air, the enchanting season of Fall beckons us to transform our homes into cozy, festive havens. For many, this means diving headfirst into autumnal decorating, and I’m no exception! My home currently boasts a delightful explosion of pumpkins, rustic hay bales, and all things harvest-inspired. Some might say Autumn has officially “thrown up” on my house, but honestly? I absolutely adore it! The vibrant colors, the natural textures, and the inviting warmth it brings make every corner feel alive with seasonal joy. If you’re looking to infuse your space with that same irresistible Fall charm, you’ve come to the right place. We’re about to explore a fantastically fun, creative, and family-friendly way to celebrate the season: painting adorable emoji pumpkins!
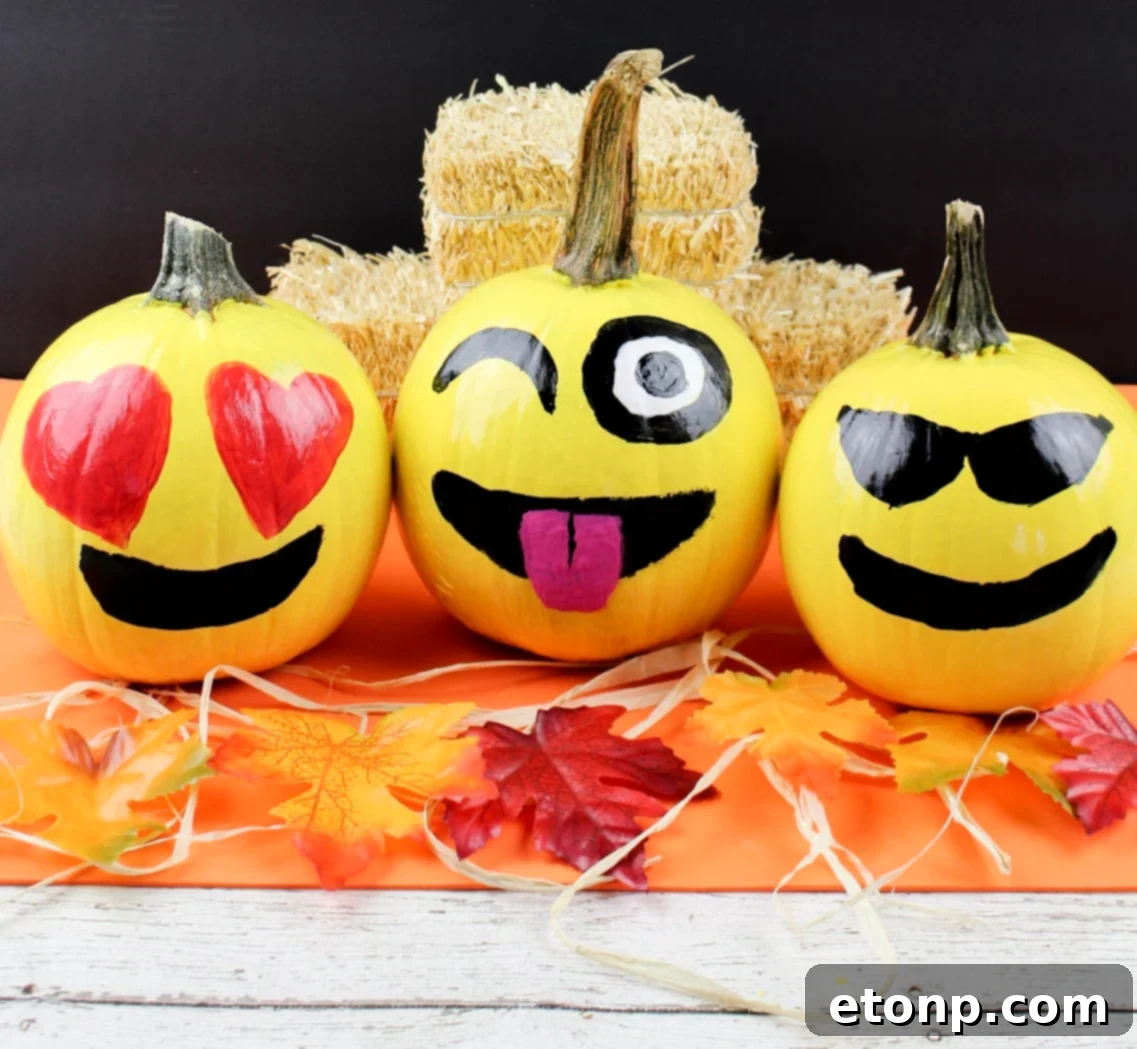
Pumpkins are undeniably the quintessential symbol of Fall. From delicious recipes that warm our bellies to traditional carving sessions that light up our doorsteps, these versatile gourds hold a special place in our hearts. However, if you’re seeking a creative twist that’s mess-free, knife-free, and perfect for all ages, then pumpkin painting is your answer! Forget the gooey insides and sharp tools; with a few simple paints, you can bring these Fall favorites to life with expressive emoji faces, just like I did here.
The beauty of painted pumpkins lies in their simplicity and safety. It’s an activity that sparks imagination and allows for endless creativity without the hazards of carving. This makes it an ideal project for families, especially those with little ones eager to contribute to the Fall decorating fun. Imagine the smiles and laughter as kids help transform ordinary pumpkins into charming, expressive characters!
A Super Fun and Creative Project That Doesn’t Involve a Knife!
One of the biggest advantages of painting pumpkins is that it’s completely knife-free, making it a wonderfully safe and inclusive activity for everyone. No more worrying about accidental nicks or difficult carving tools. Instead, all you need are some paints, brushes, and a dash of creativity to transform humble pumpkins into works of art. This approach not only broadens the appeal of pumpkin decorating but also allows for a wider range of designs and expressions.
The Kids Will Love to Help Paint These Babies!
Involving children in Fall decorations is a fantastic way to create lasting memories and foster their artistic talents. Painting emoji pumpkins is an accessible craft that even the youngest artists can enjoy. From choosing their favorite emoji expressions to carefully applying colorful paints, every step of the process is engaging and rewarding. They’ll take immense pride in seeing their hand-painted creations displayed prominently in your home or on your porch, making them truly feel like a part of the Fall festivities.
The possibilities with emoji pumpkins are truly endless. You can recreate classic smiley faces, winking faces, or even design your own custom expressions that reflect your personality. These vibrant, whimsical pumpkins add a touch of modern fun to traditional Fall decor, making them perfect for contemporary homes or anyone who enjoys a playful twist.
Who Doesn’t Love Emojis!?
In a world where emojis are a universal language, integrating them into our decor just makes sense! They instantly convey personality and a sense of joy, making these pumpkins incredibly charming and relatable. Each pumpkin becomes a tiny character, bringing a smile to anyone who sees them. They’re not just decorations; they’re conversation starters, guaranteed to elicit compliments and admiration from friends, family, and neighbors alike.
Everyone Will Be Commenting on How Freakin’ Adorable These Are!
Prepare for an outpouring of compliments! These emoji pumpkins are simply irresistible. Their cheerful faces and vibrant colors make them stand out, creating a truly unique and memorable Fall display. They’re a refreshing change from traditional decor, adding a touch of whimsy and modern appeal that everyone will find delightful. Your guests will be asking where you bought them, and you’ll love telling them it was a fun, homemade project!
Let’s take a closer look at some of the delightful emoji designs you can create.
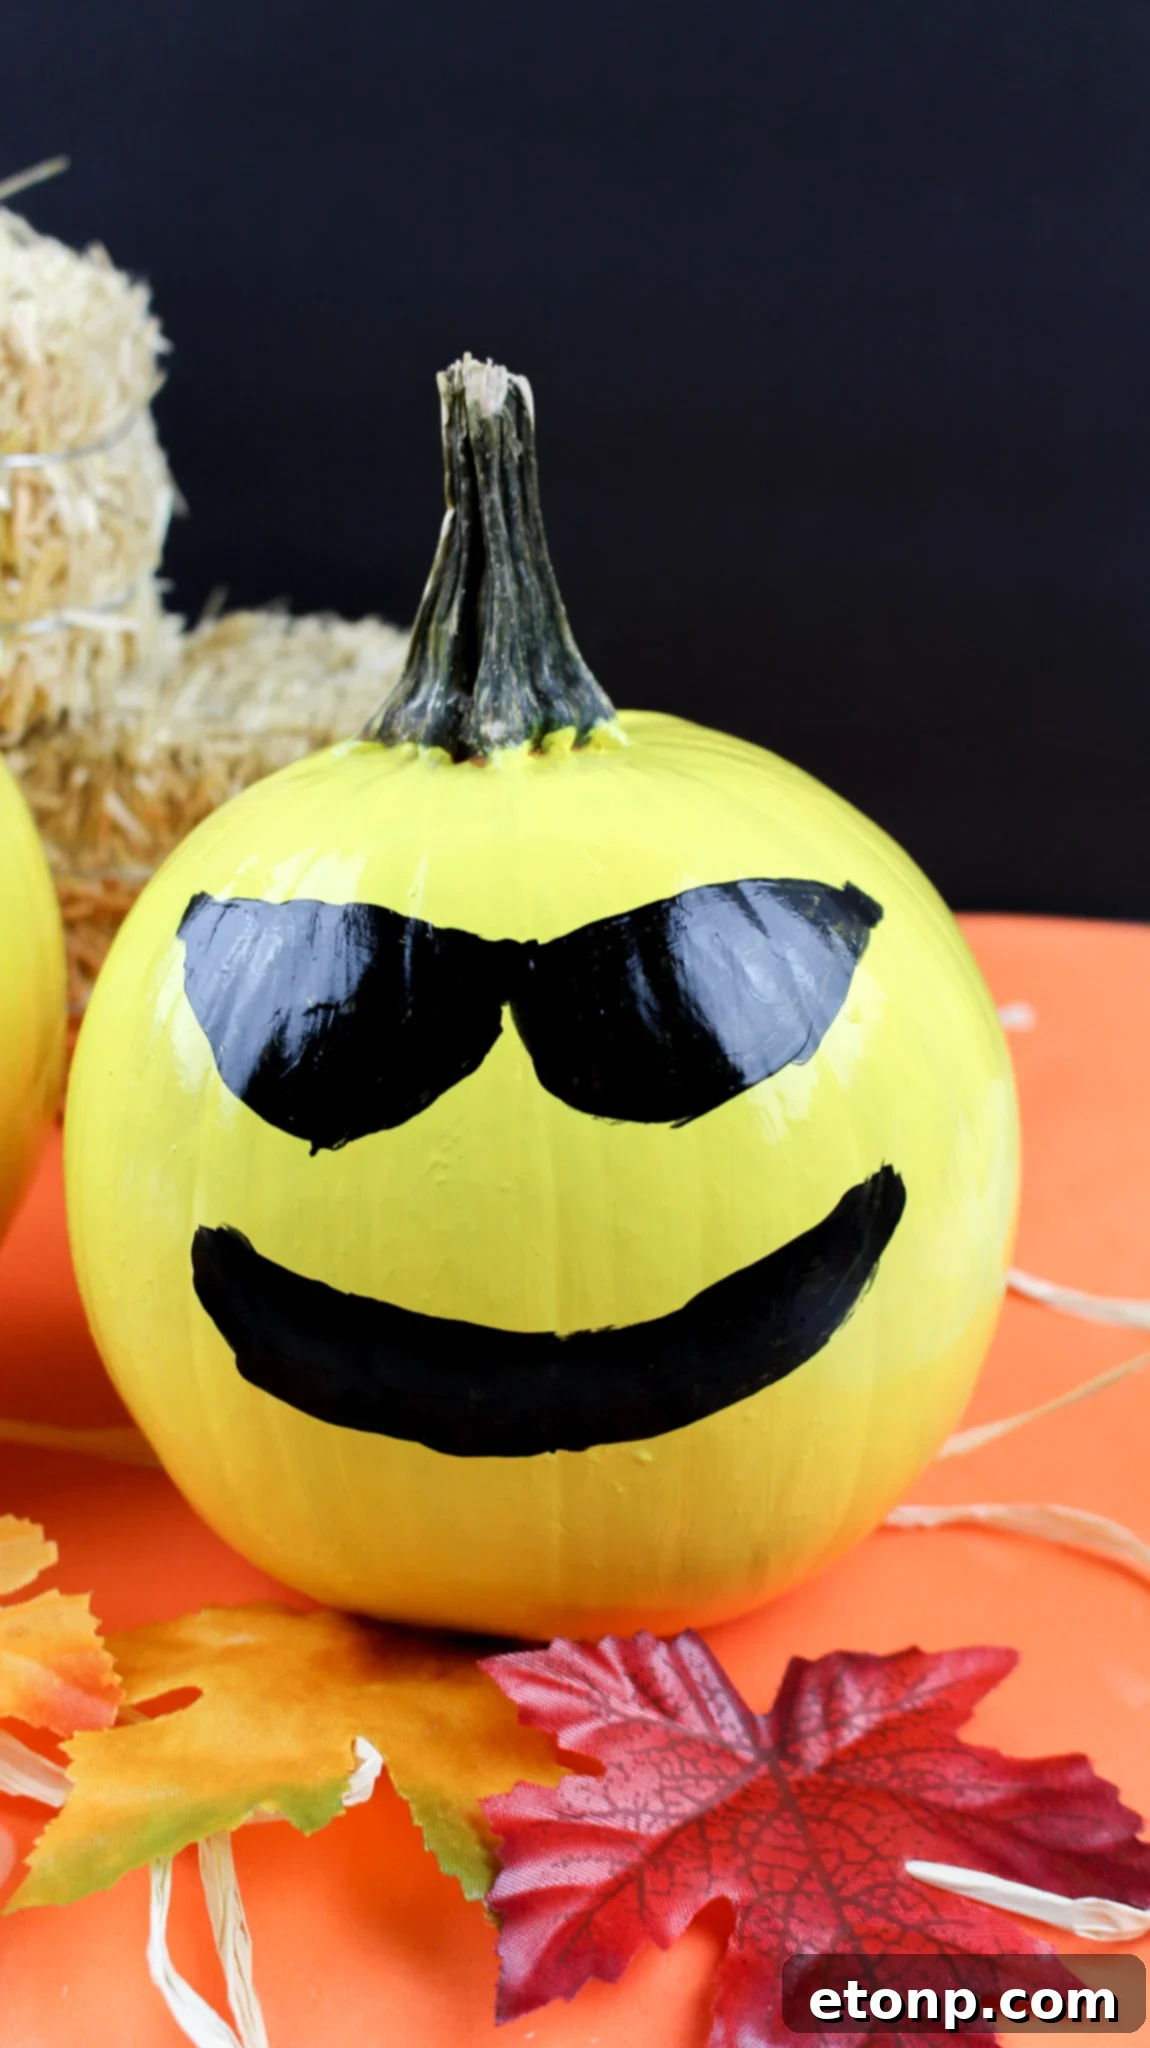
The Cool Pumpkin 😉
This pumpkin sports a pair of sleek sunglasses, instantly giving it an air of effortless cool. Perfect for adding a touch of laid-back charm to your Fall collection.
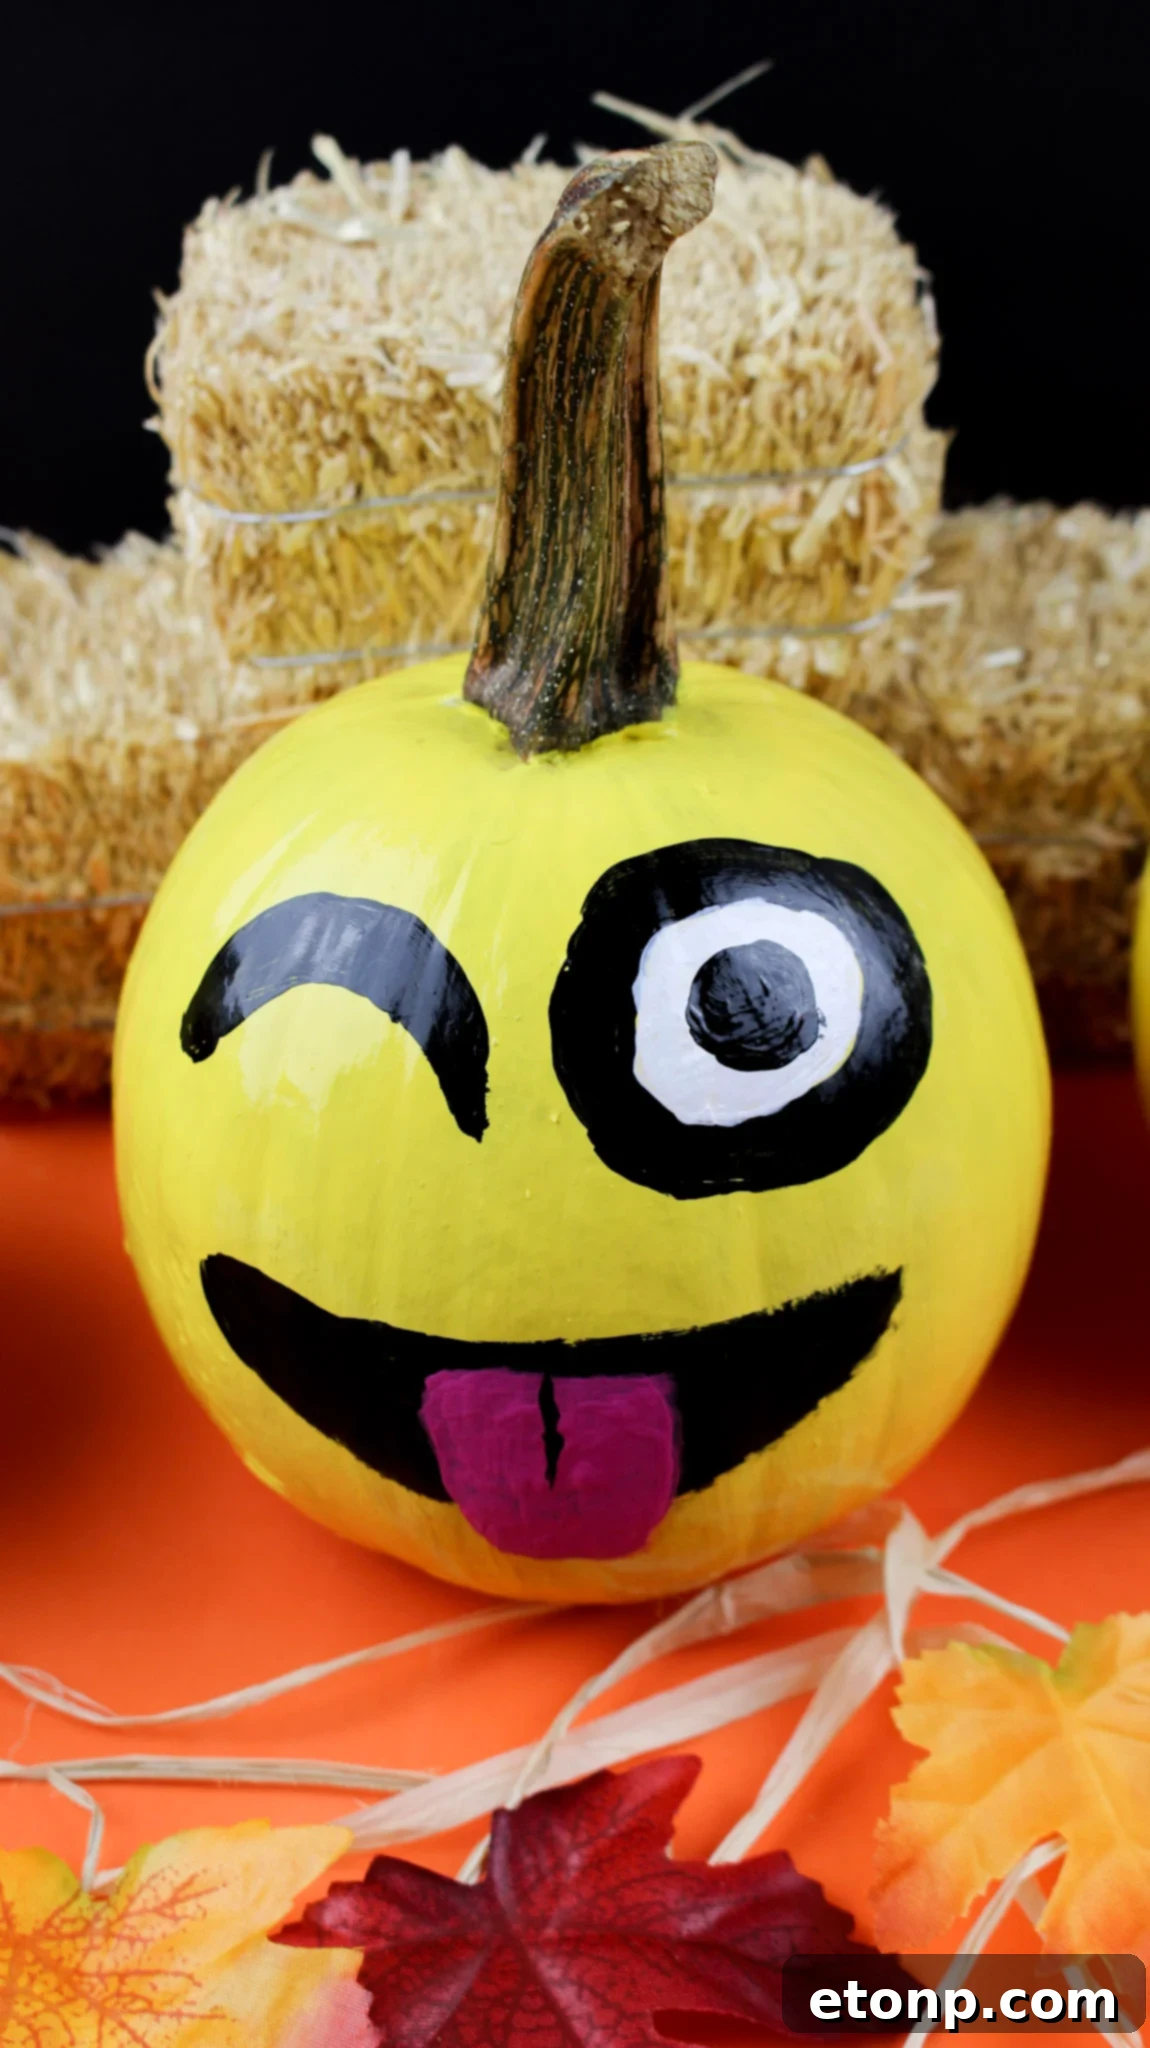
Mr. Silly Pumpkin 😛
With a playful wink and a tongue sticking out, this pumpkin is pure mischief and fun. It’s guaranteed to bring a giggle and lighten the mood wherever it’s displayed.
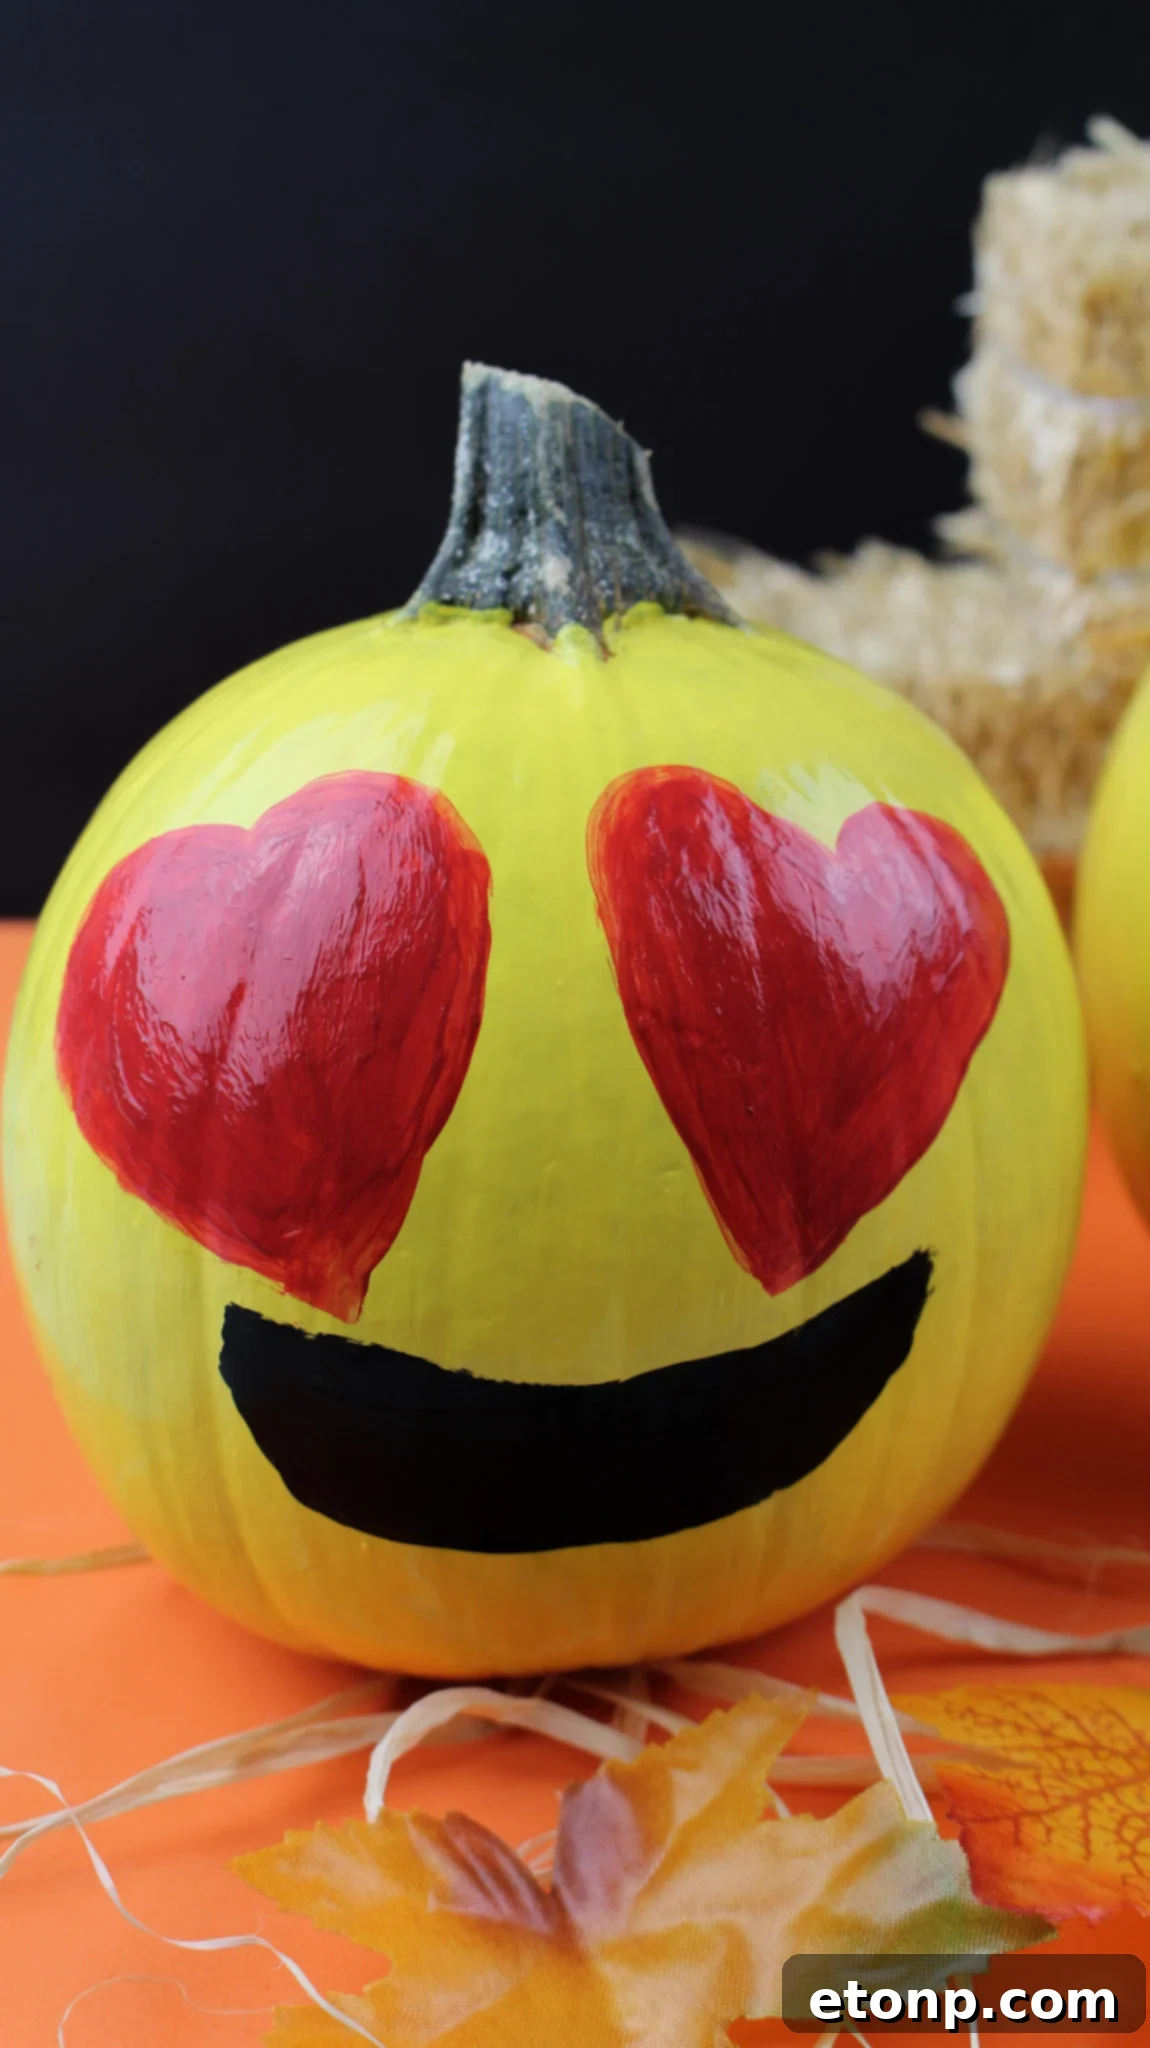
Lovey Hearts!
This sweet pumpkin radiates warmth and affection with its adorable heart eyes and gentle smile. It’s a lovely way to spread some love during the harvest season.
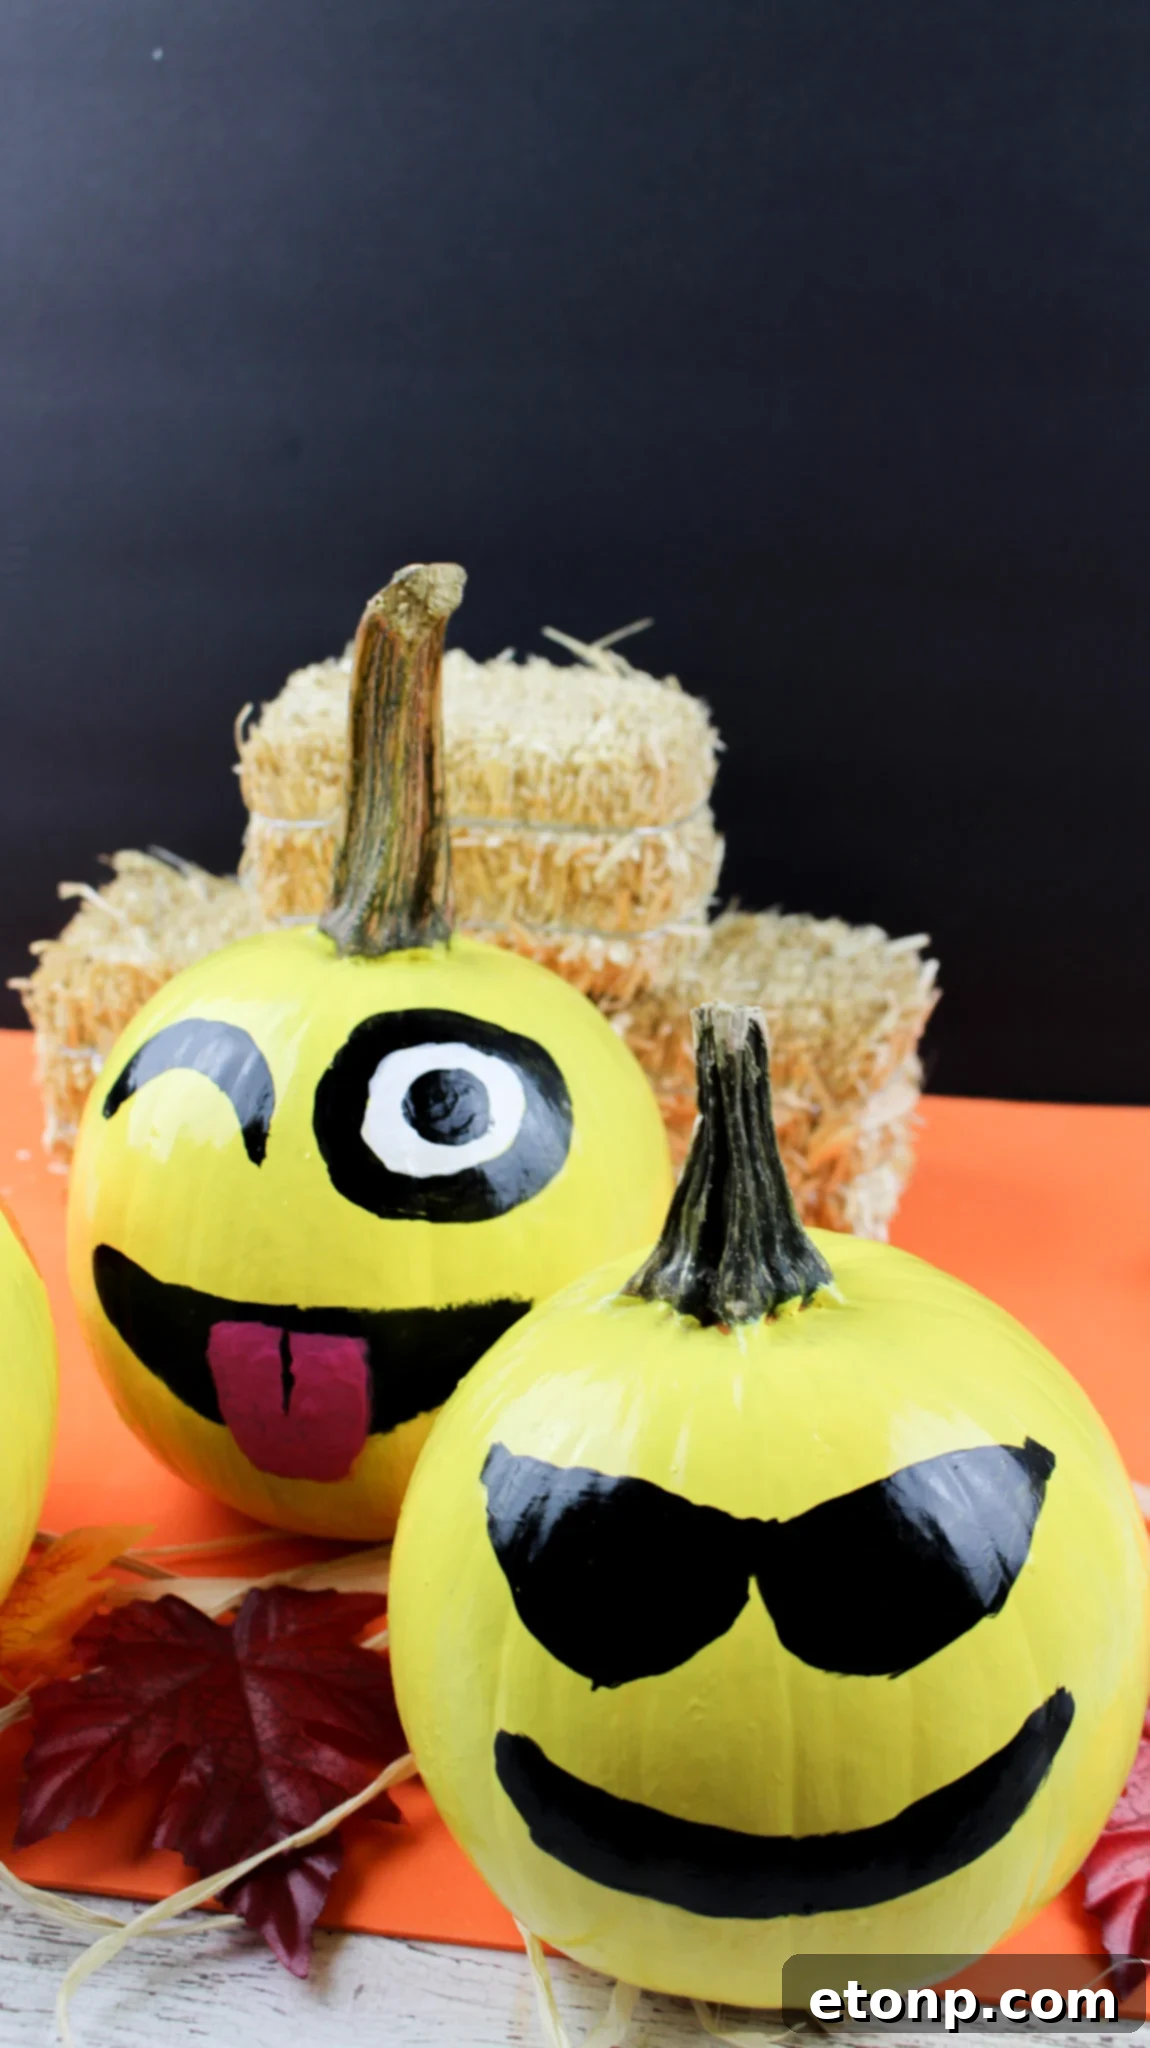
Trust Me, the Neighbors Will Be Trying to Copy – Mine Did, LOL!
Don’t be surprised if your neighbors start taking notes! These emoji pumpkins are so unique and charming that they’re practically irresistible. My neighbors certainly took inspiration, and yours might too! It’s a testament to how appealing and eye-catching these simple DIY decorations are. Get ready to set a new trend in your neighborhood this Fall!
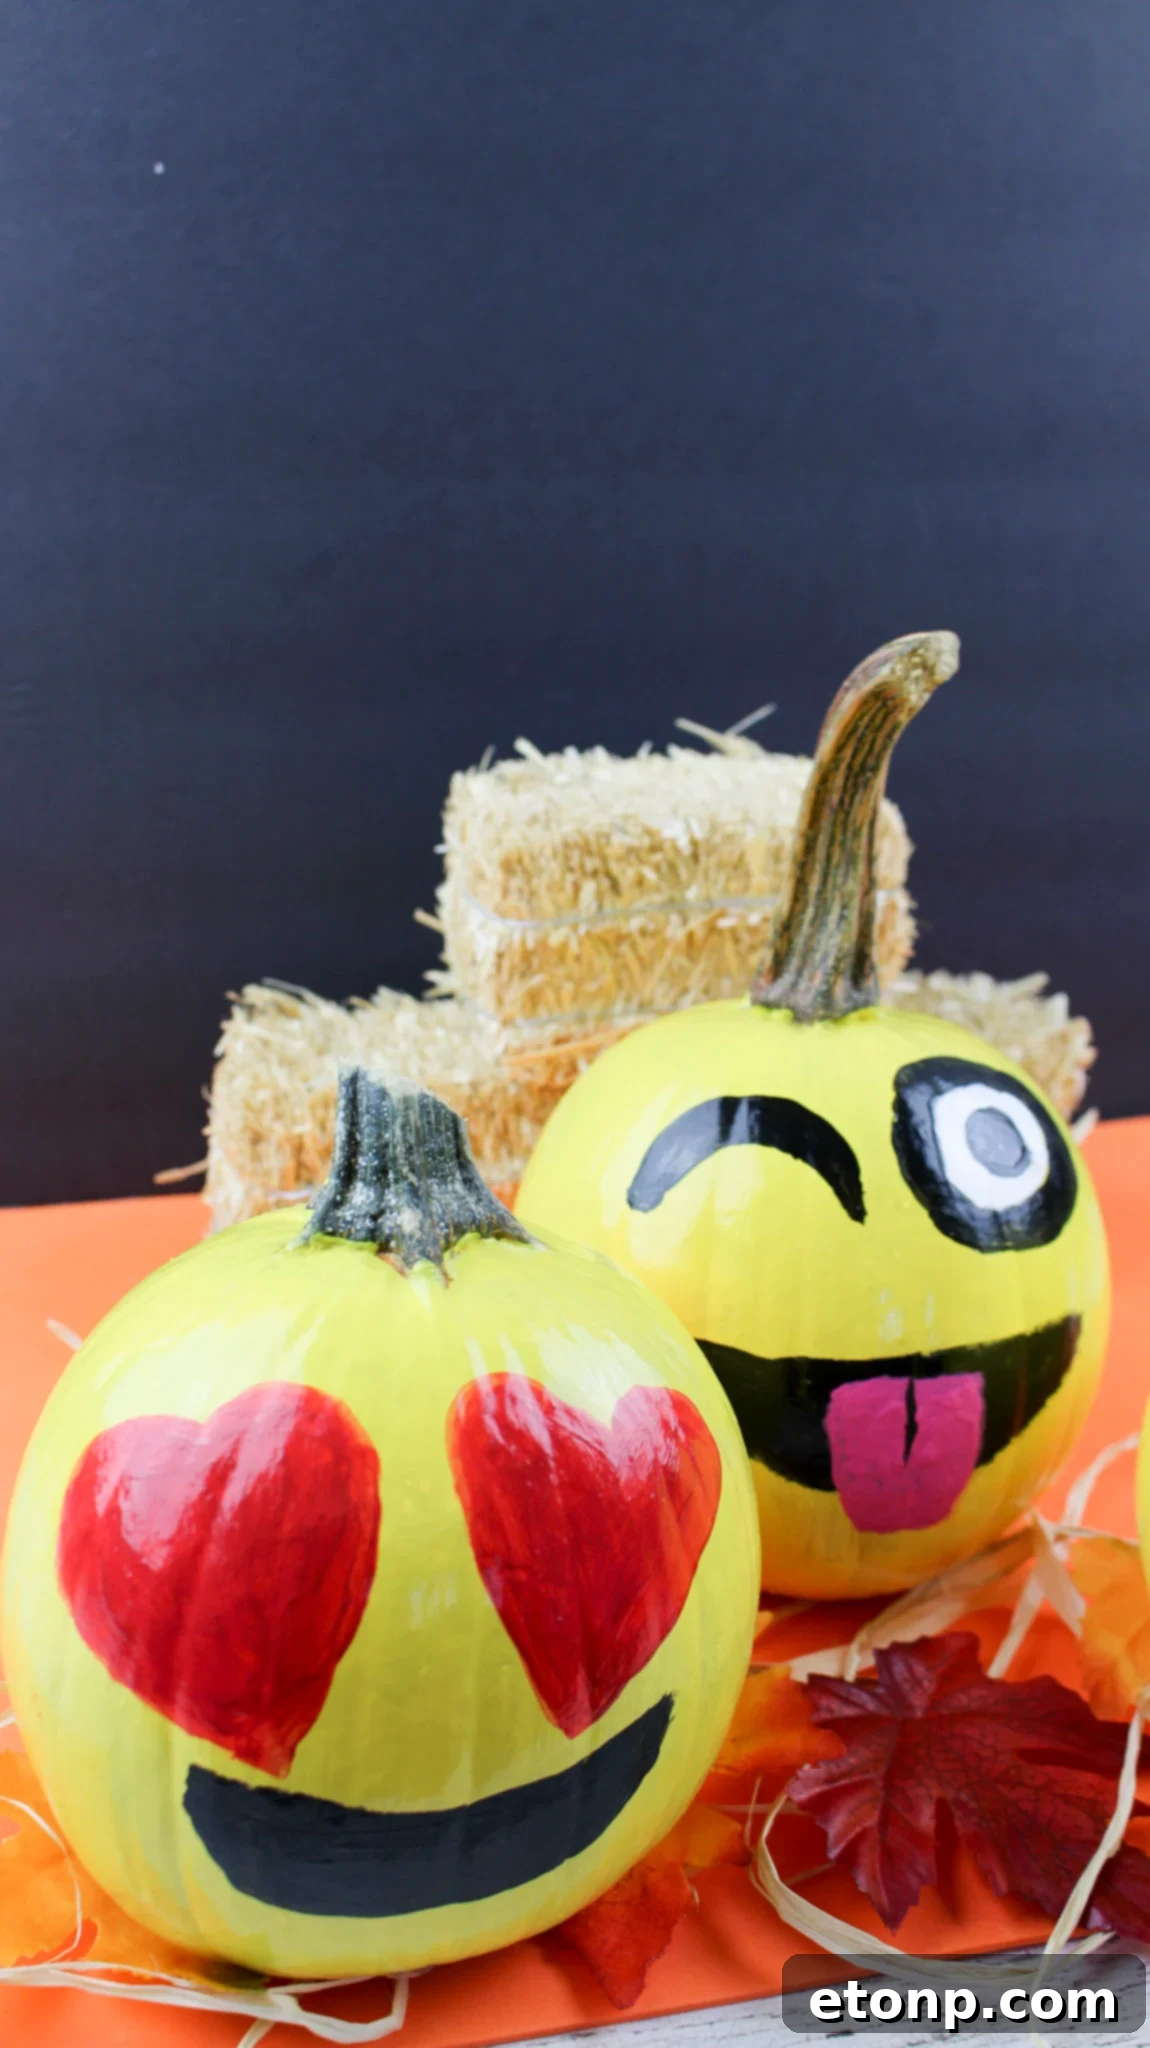
Beyond their adorable aesthetics, painted pumpkins offer several practical advantages over their carved counterparts. They last significantly longer, often for several weeks or even months, especially if kept in a cool, dry place. This means you can enjoy your festive decorations throughout the entire Fall season, from early September right through Halloween and Thanksgiving. Plus, the clean process means no messy cleanup of pumpkin guts, just easy artistic fun!
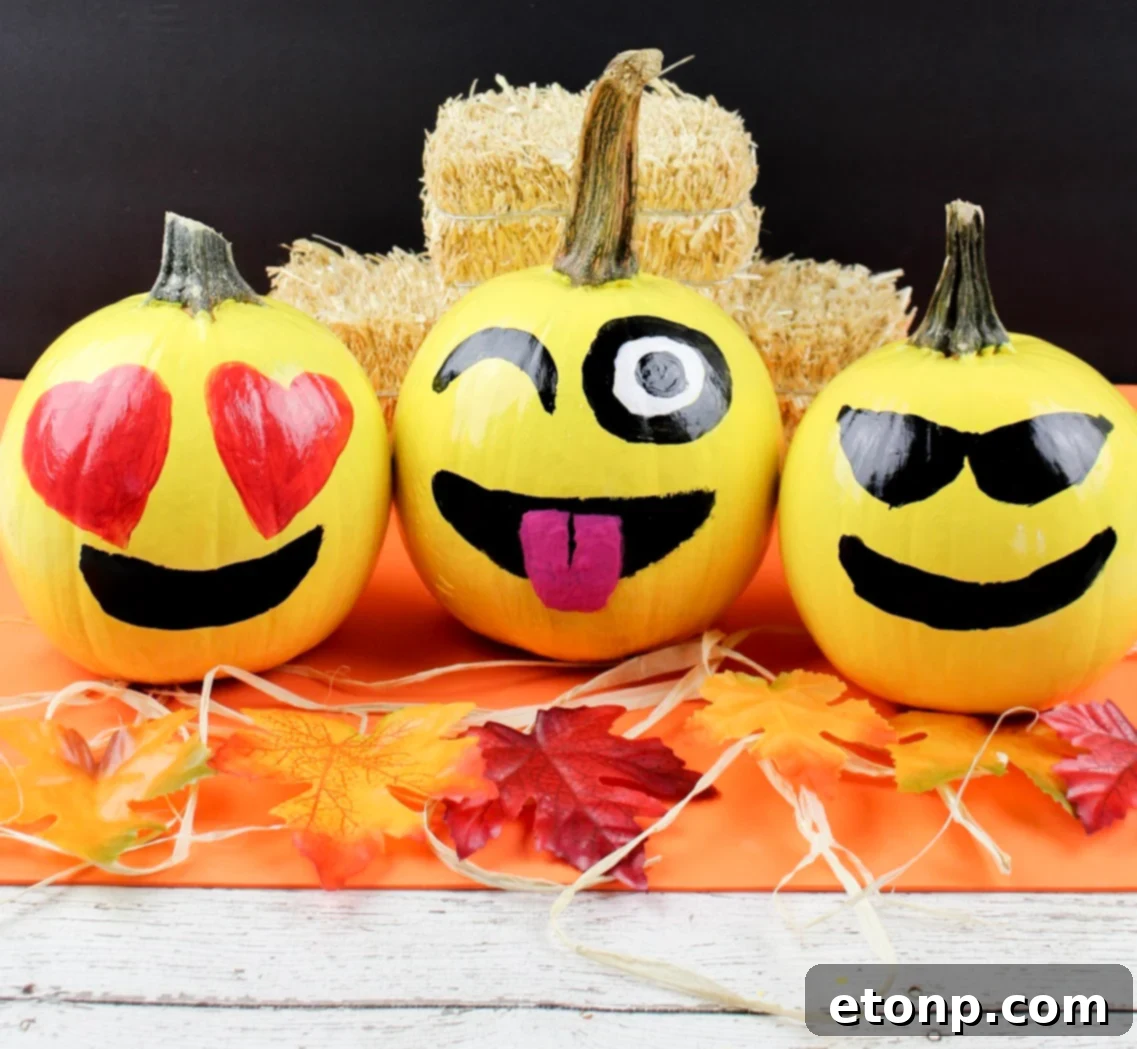
We hope you’re inspired to try out this fantastic Fall craft. Don’t forget to spread the joy by sharing your creations and this guide!
Please remember to SHARE on Facebook and PIN IT!
FOLLOW ME ON PINTEREST BY CLICKING HERE
Now, let’s get into the step-by-step details of how you can create your very own collection of charming emoji pumpkins. It’s easier than you think!
DIY Emoji Pumpkins: Your Step-by-Step Crafting Guide
Ready to bring some cheerful, personalized flair to your Fall decor? These DIY emoji pumpkins are incredibly simple to make, require no sharp tools, and are guaranteed to spark joy! Gather your supplies and let’s get painting!
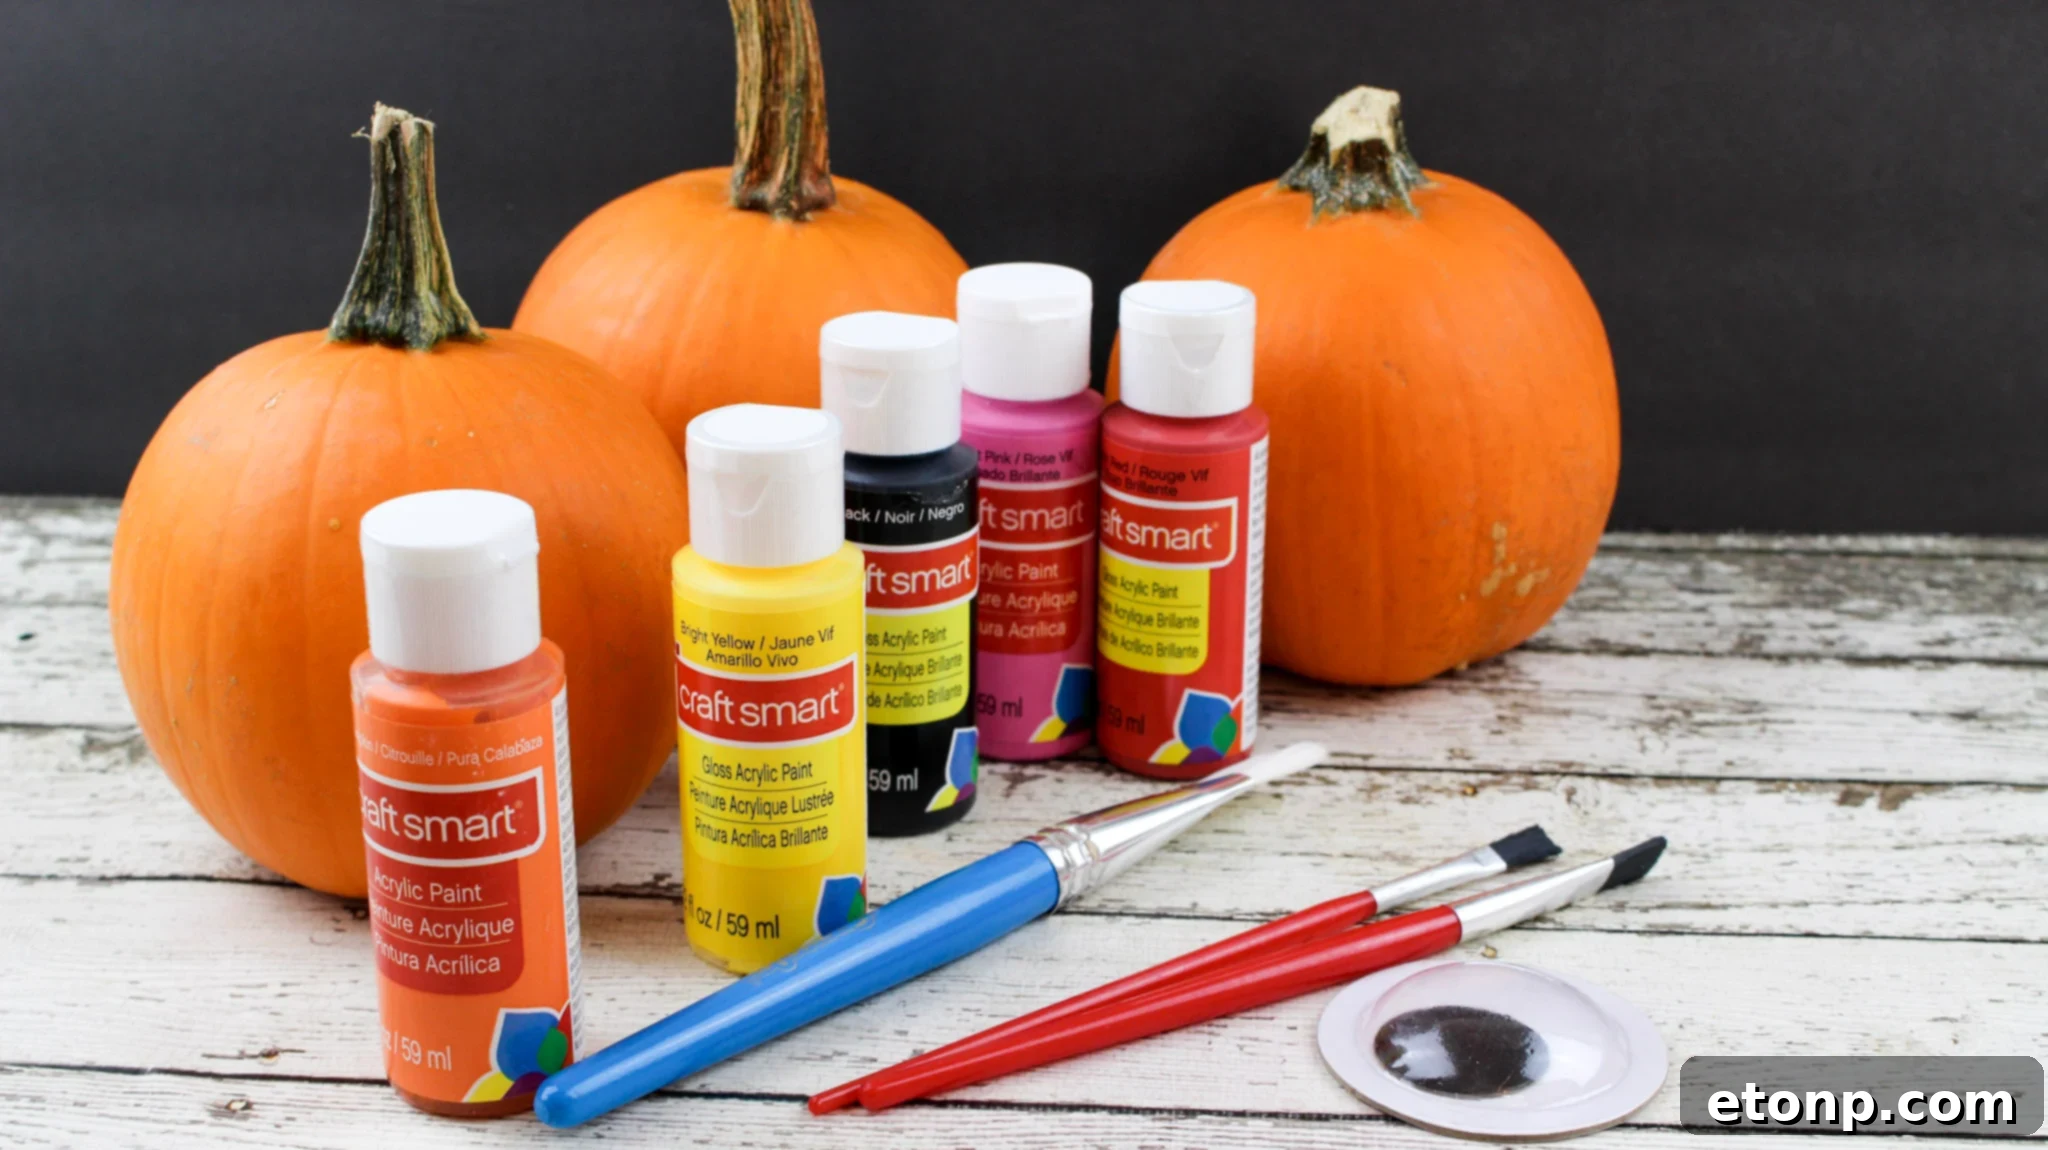
Materials You’ll Need:
- 3 small, clean pumpkins (or more, if you’re feeling ambitious!)
- Yellow glossy acrylic paint
- Black glossy acrylic paint
- Red glossy acrylic paint
- White glossy acrylic paint
- Pink glossy acrylic paint
- Large paper plate (for your paint palette)
- 3-4 paint brushes (various sizes, including fine-tipped for detail work)
- Old newspaper or a protective cloth (to cover your workspace)
Easy-to-Follow Instructions:
- Prepare Your Workspace: Begin by laying out old newspapers or a protective sheet over your crafting area. This will catch any drips or spills and make cleanup a breeze. Place your clean pumpkins on top, ready for their artistic transformation.
- Clean Your Pumpkins: Gently wipe down each pumpkin with a clean, damp cloth to remove any dirt, dust, or debris. A clean, dry surface ensures better paint adhesion and a smoother finish for your emoji faces.
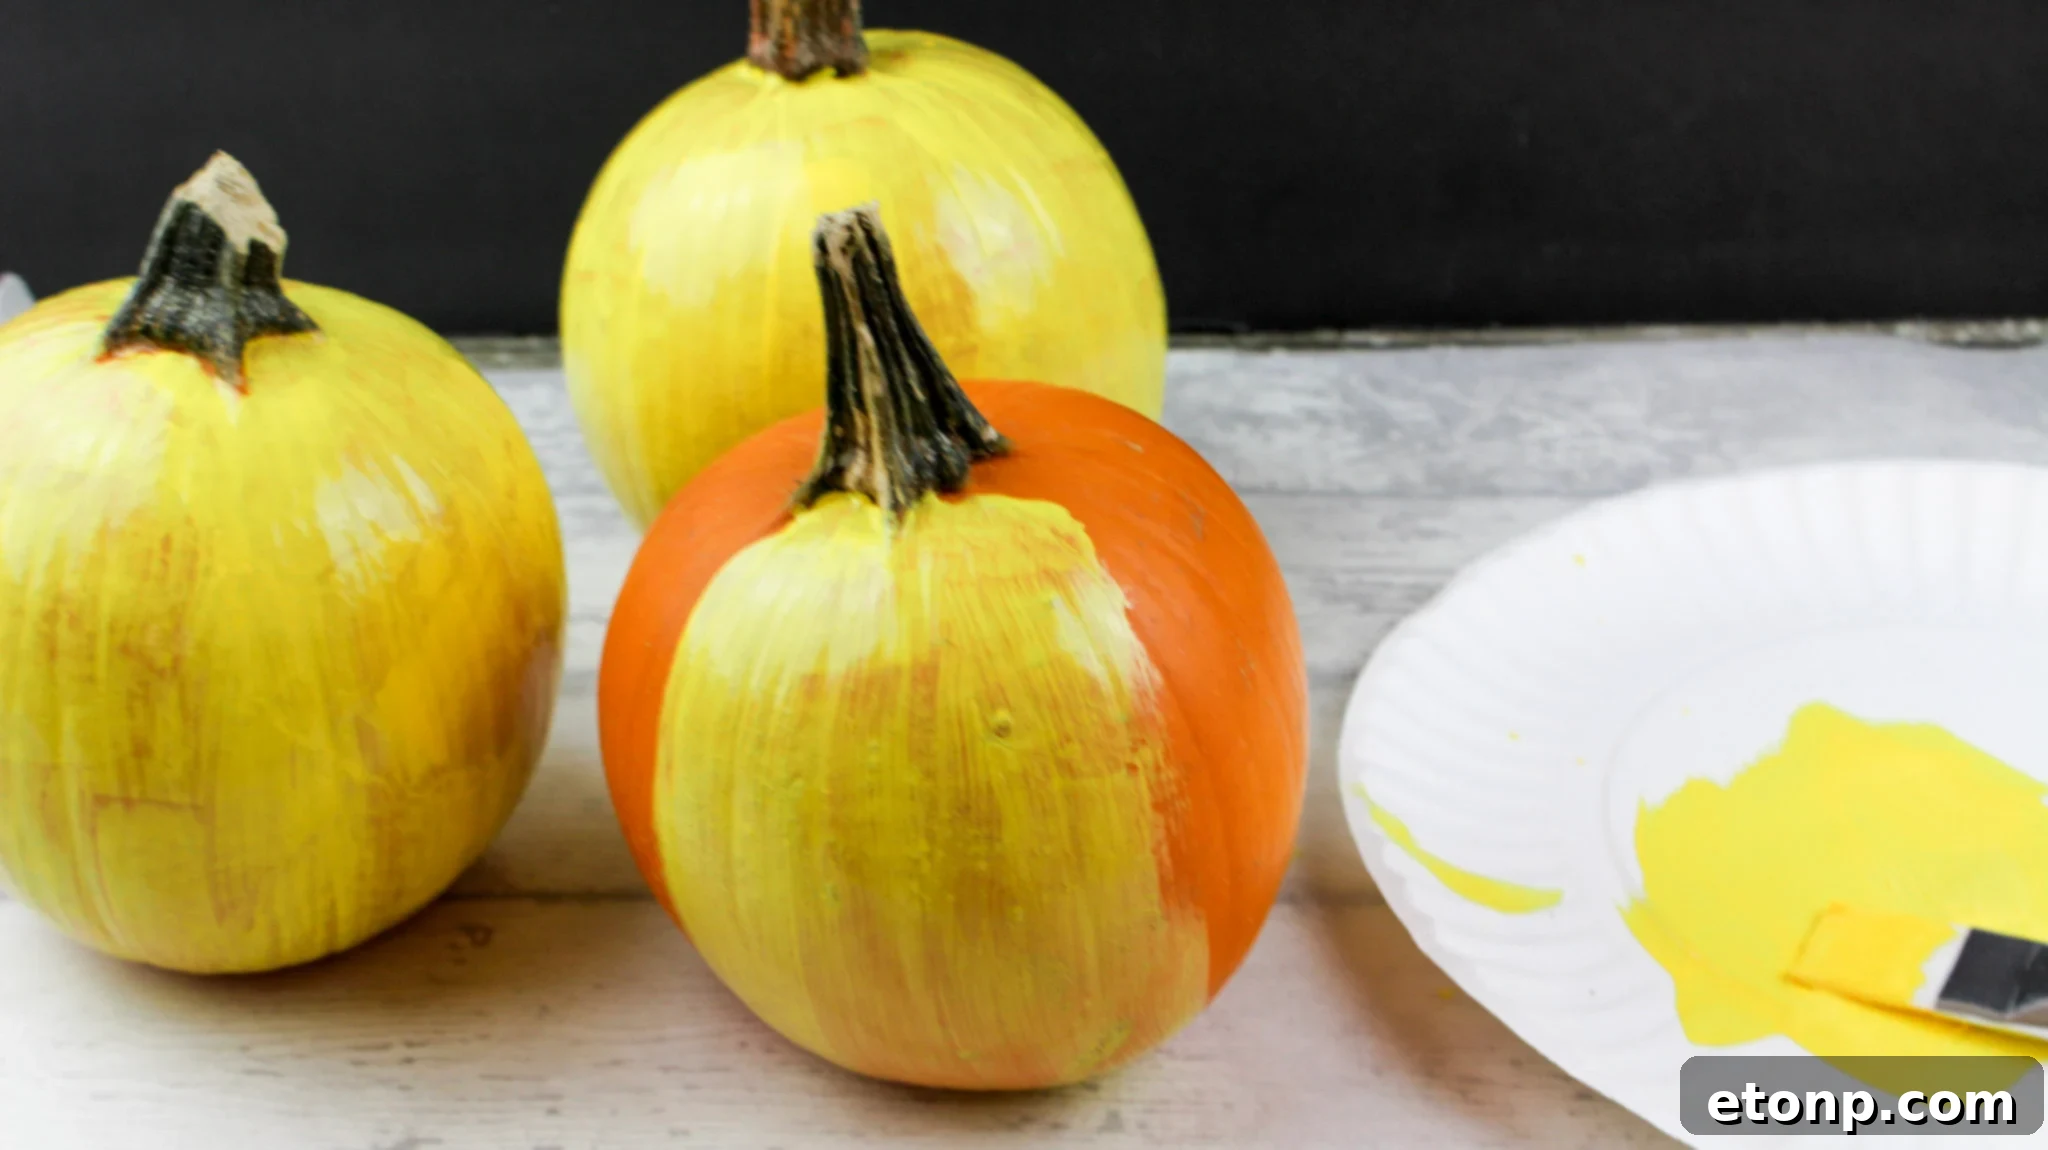
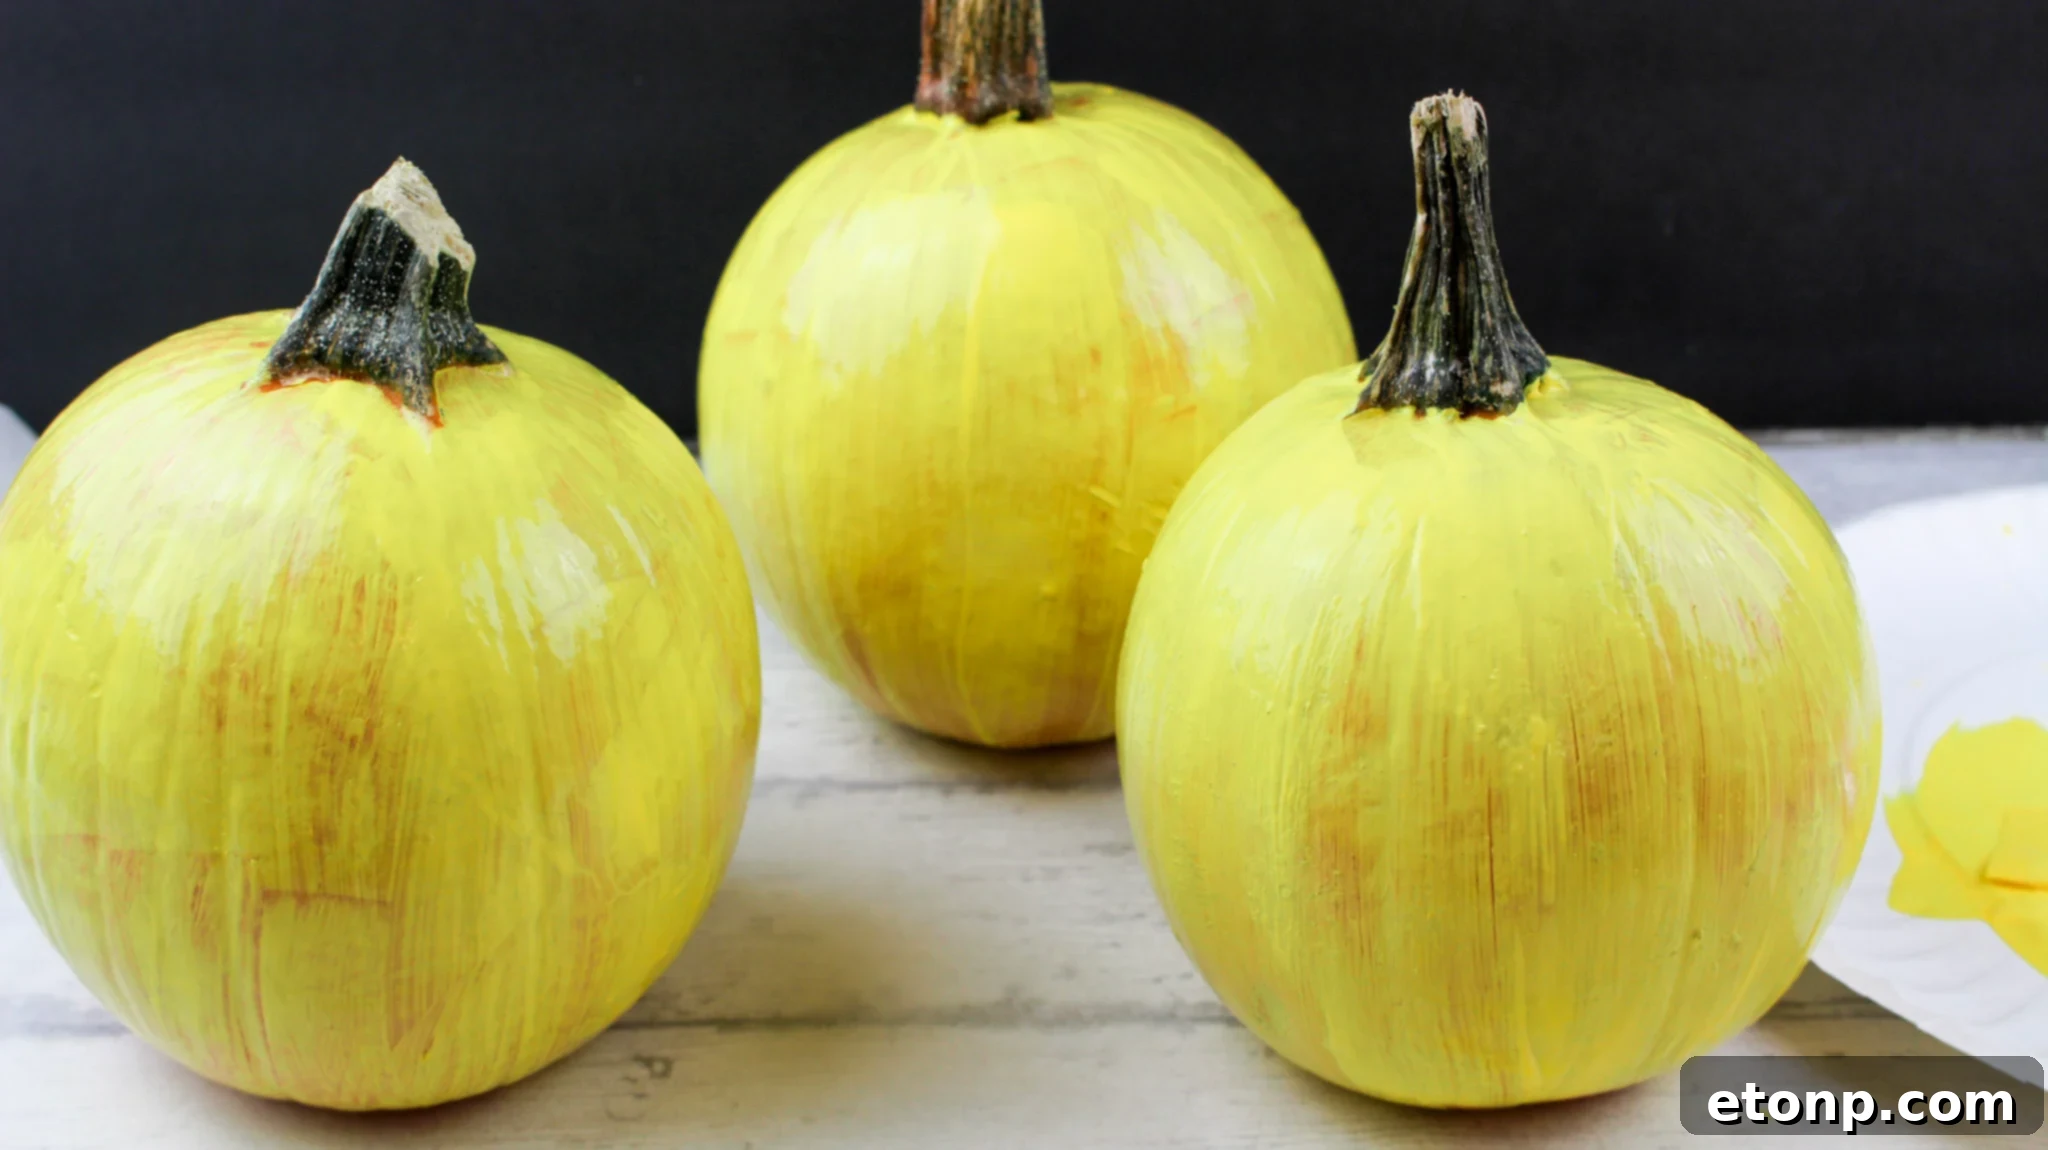
- Apply the Base Coat: Squeeze a generous amount of yellow acrylic paint onto your paper plate. Using a medium-sized paintbrush, apply an even coat of yellow paint to all surfaces of each pumpkin. Don’t worry if the first coat appears streaky or transparent; this is completely normal. You’ll need at least 2-3 coats for a vibrant, opaque, and perfectly yellow emoji base. Allow each coat to dry for a minimum of one hour before applying the next. Patience is key for achieving a smooth, professional-looking foundation!
- Crafting Pumpkin #1: The “Lovey Hearts” Emoji:
- Add red and black acrylic paint to separate sections of your paper plate palette.
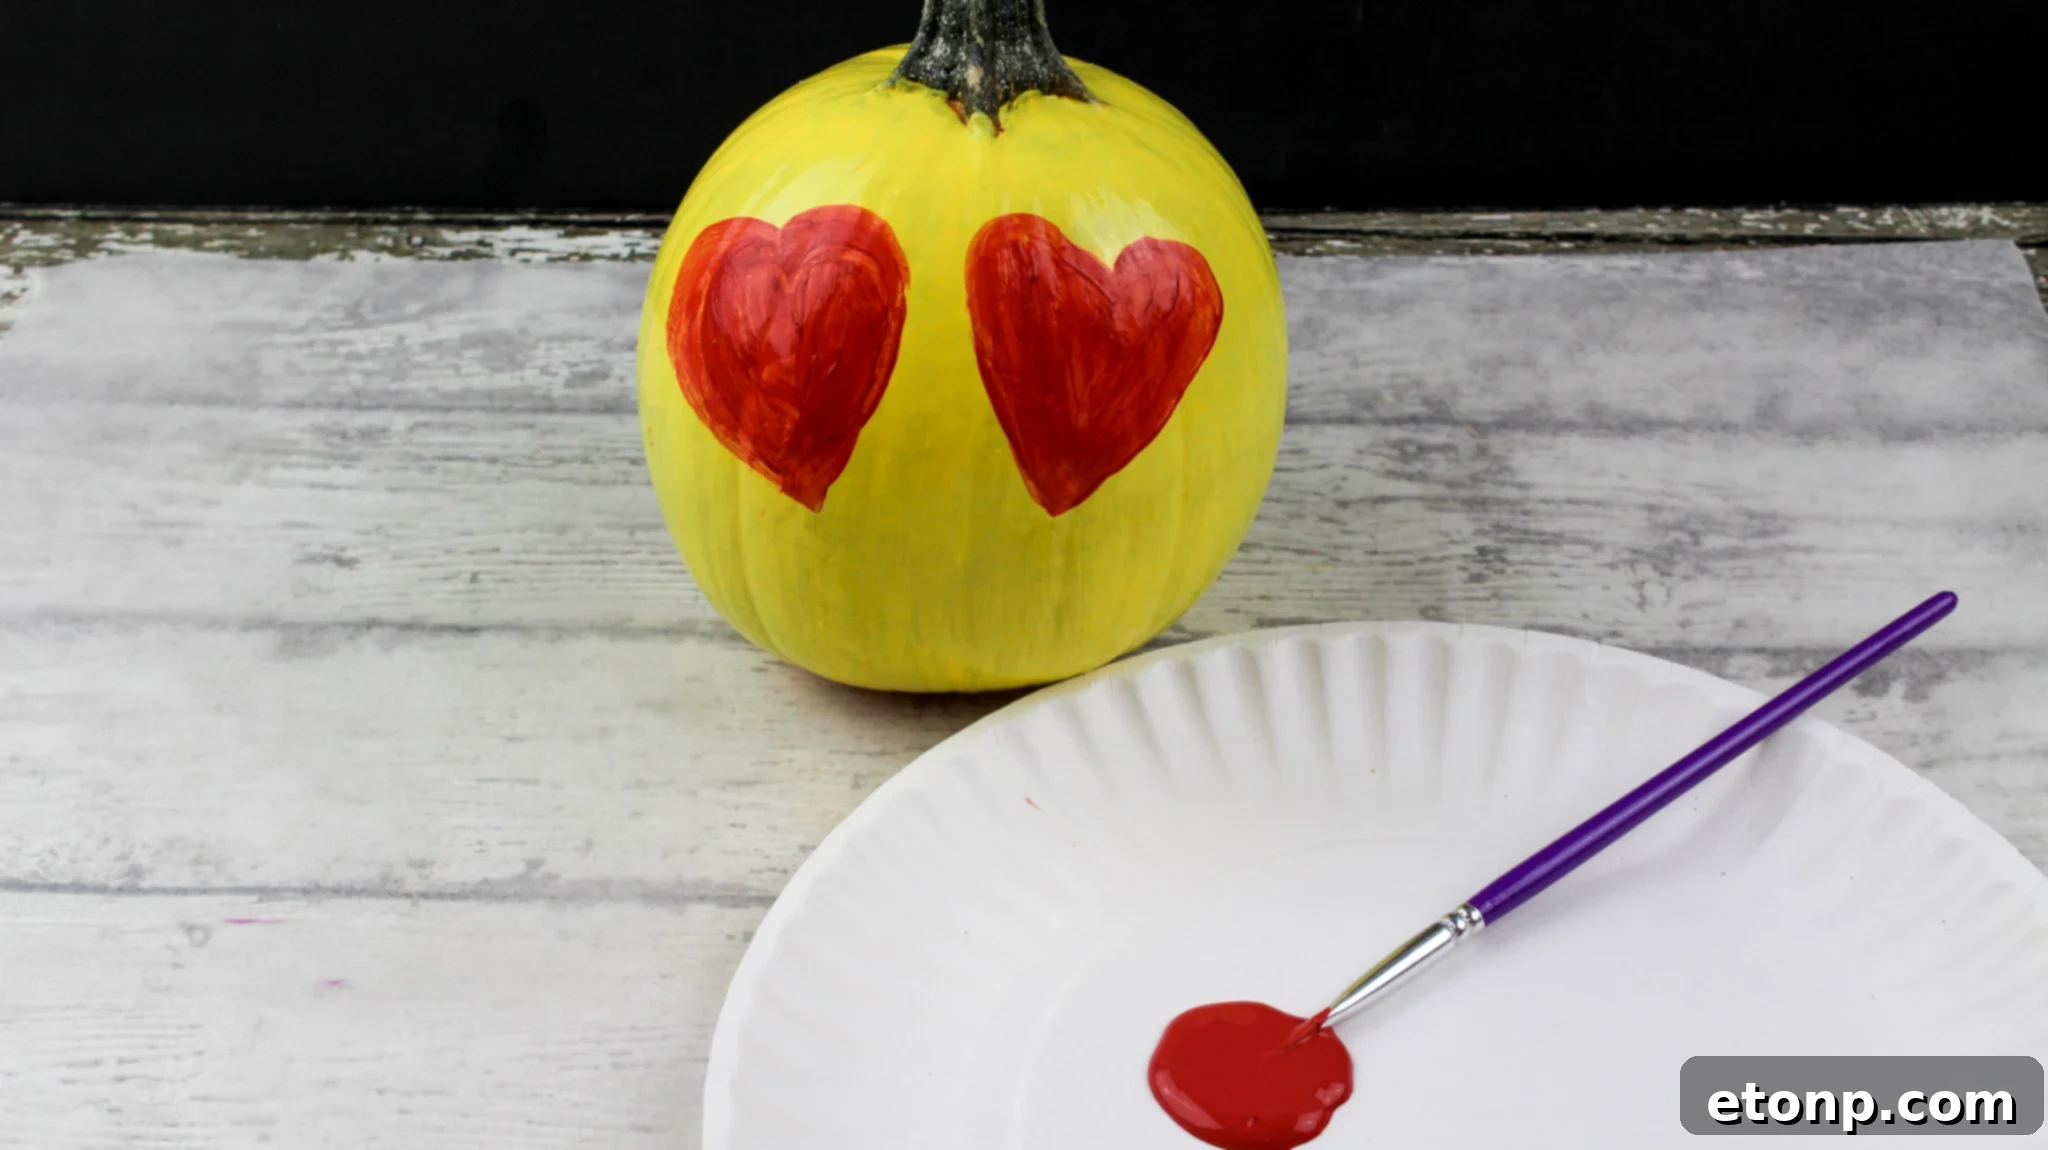
- For the eyes, you can either freehand two large, symmetrical hearts or lightly sketch them onto the dry yellow pumpkin with a pencil first. Position them where the eyes would naturally be on an emoji.
- Draw a wide, cheerful smile towards the bottom of the pumpkin with your pencil.
- Using a small paintbrush, carefully fill in the two heart shapes with red paint. Apply a second coat if needed for vibrant color, allowing an hour for drying between coats.
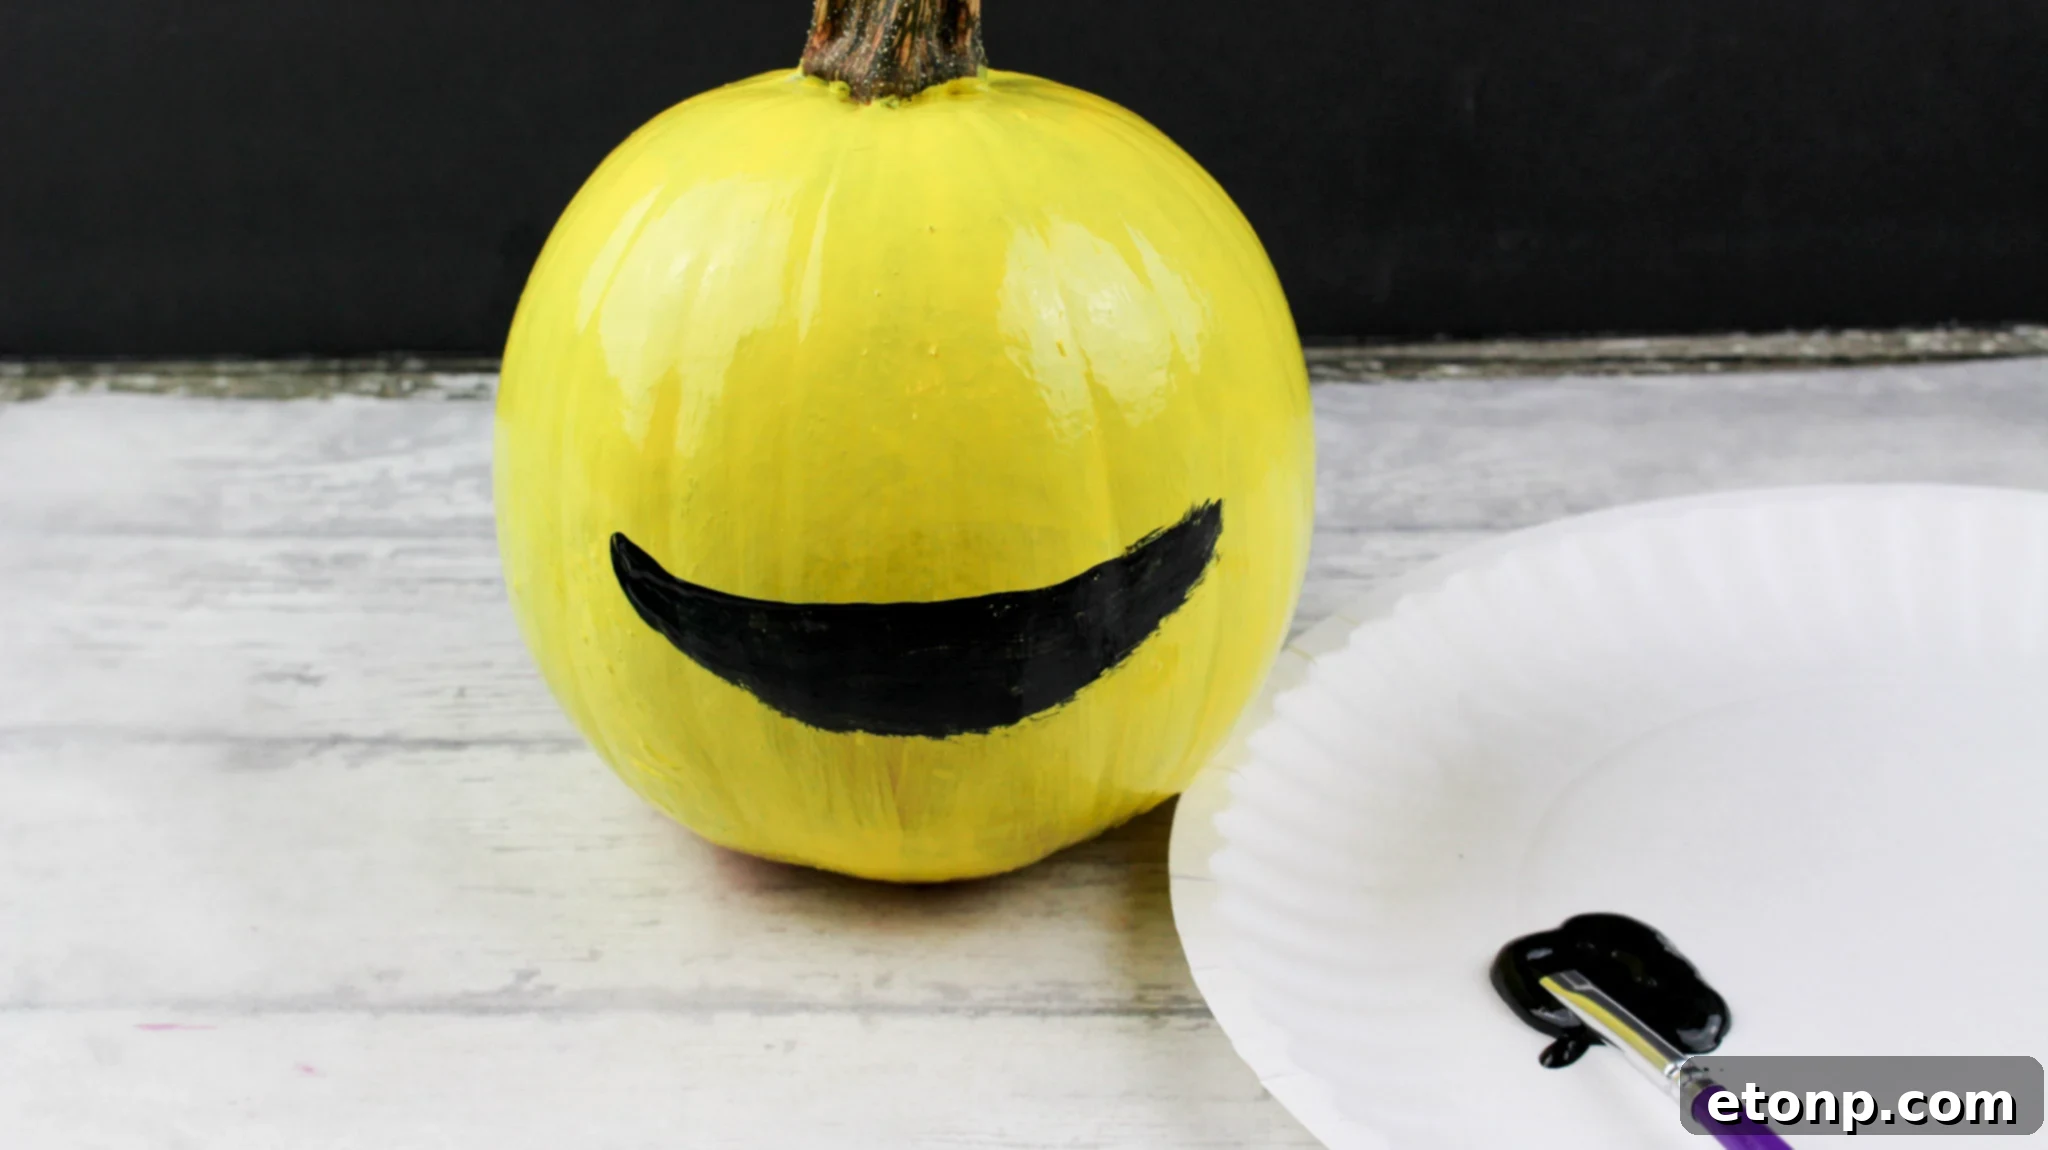
- Next, paint the large smile with black paint. Take your time to ensure clean, crisp lines for a polished look.
- Allow all paint to dry completely for at least one hour before handling or moving this pumpkin.
- Crafting Pumpkin #2: The “Cool Shades” Emoji:
- Using a pencil, carefully draw a pair of stylish sunglasses across the upper half of the pumpkin. Think of classic aviator or wayfarer shapes for that iconic cool look.
- Sketch a playful, confident smile underneath the sunglasses, towards the bottom of the pumpkin.
- With black acrylic paint and a fine-tipped brush, carefully fill in the areas for the sunglasses and the smile. Take your time to get crisp edges and an even coat. Apply a second coat if necessary, allowing it to dry for one hour between applications.
- Let this pumpkin dry completely before adding it to your display.
- Crafting Pumpkin #3: The “Silly Winky Face” Emoji:
- Add white and pink acrylic paint to your paper plate for this fun design.
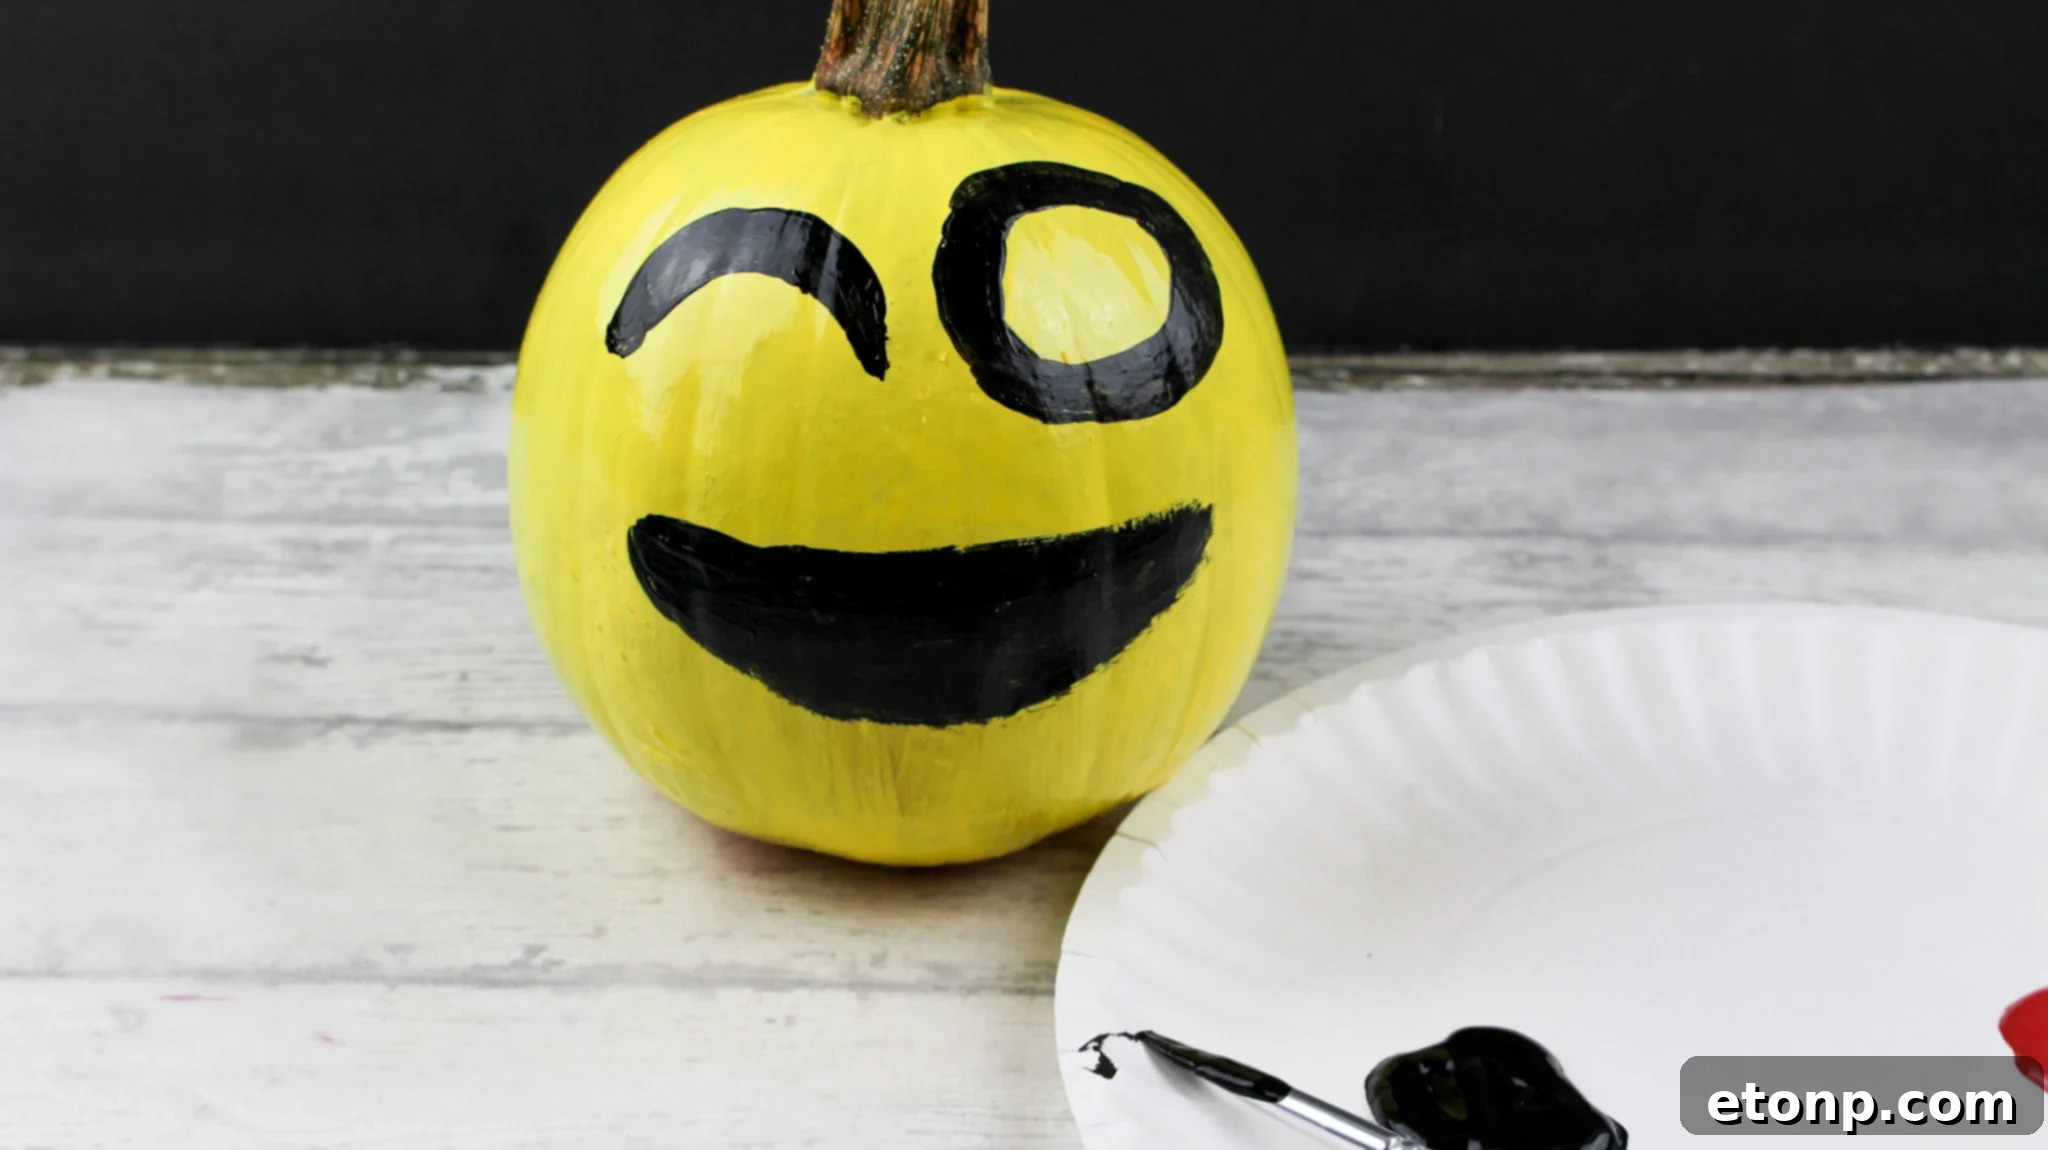
- For the right eye, use a pencil to draw a large, bold circle. This will be your open eye.
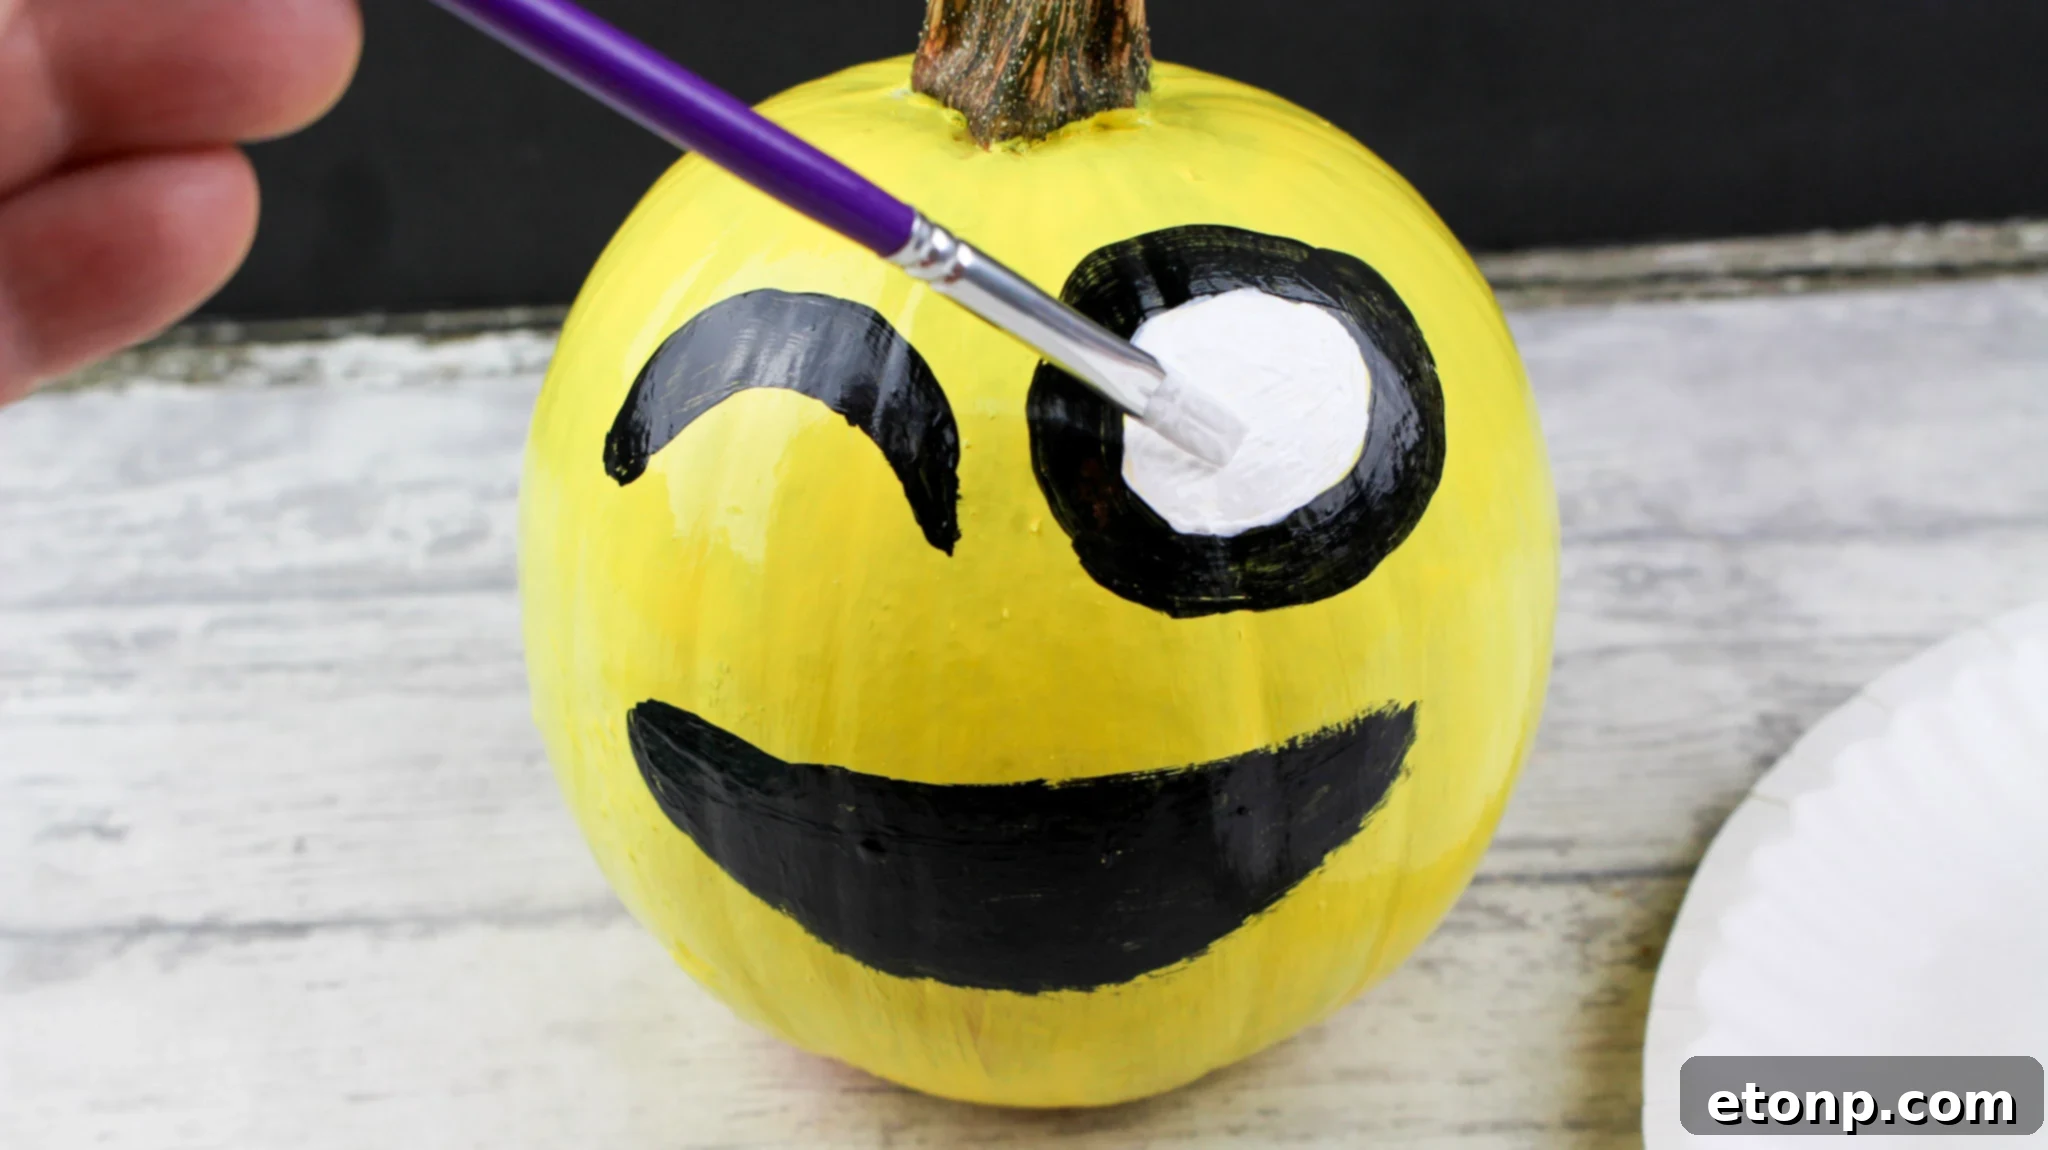
- With a fine-tipped paintbrush dipped in black paint, carefully outline the border of the large right eye. Let it dry for an hour. Then, for the left eye, draw a simple wink shape (like a curved line or a small, closed eye) and fill it in with black paint.
- Sketch a large, exaggerated smile at the bottom of the pumpkin with your pencil, ready for its cheeky tongue.
- Paint the smile black and allow it to dry thoroughly for one hour.
- Now, carefully fill in the large right eye with white paint, being extra cautious not to overlap the black border you created earlier. Let the white paint dry for about an hour.
- Using a very small paintbrush dabbed in black paint, paint a tiny, distinct pupil in the center of the white right eye.
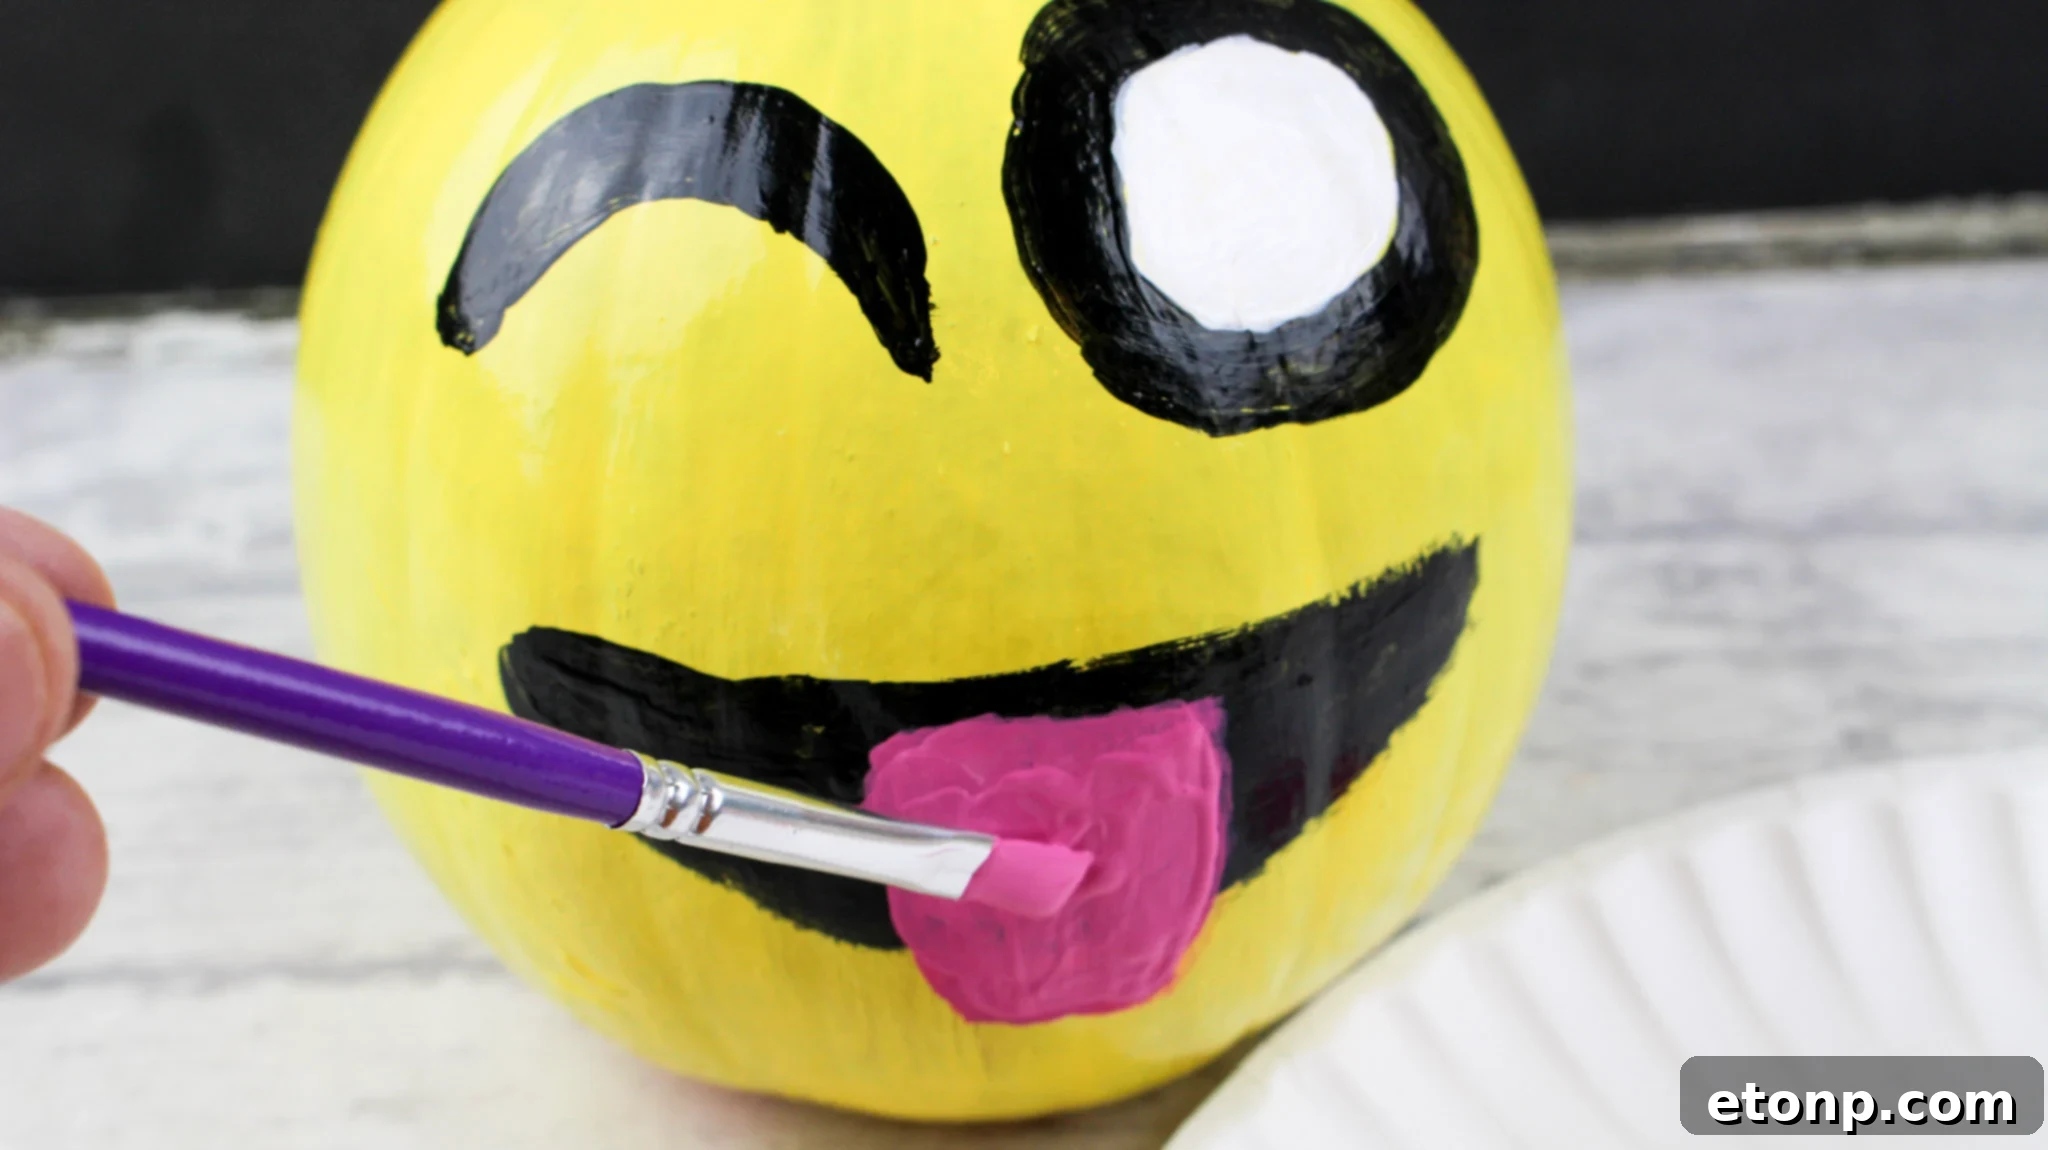
- Finally, with the pink paint, create a playful tongue extending from the bottom of the mouth, facing downwards. Once the pink paint is dry, use a fine black line down the middle of the tongue for added detail, giving it a more defined look.
- Display and Enjoy Your Creations! Once all your emoji pumpkins are completely dry (give them several hours or even overnight to cure fully and prevent smudging), they are ready to be proudly displayed! Arrange them on your porch, mantelpiece, dining table, bookshelf, or anywhere you want to add a vibrant touch of Fall cheer and personality. Mix and match their expressions for an even more dynamic arrangement. Get ready for an abundance of compliments on your unique and adorable Fall decor!
And there you have it – three incredibly charming emoji pumpkins that are sure to be a talking point this Fall! This project is not only satisfying and simple to create but also safe and engaging for all ages, making it a perfect family activity. Who knew pumpkins could be so expressive and fun to paint? Happy crafting, and enjoy your delightfully decorated home!
Did you make this recipe?
Make sure to follow on Pinterest for more recipes and DIY inspiration!
Share on Facebook