
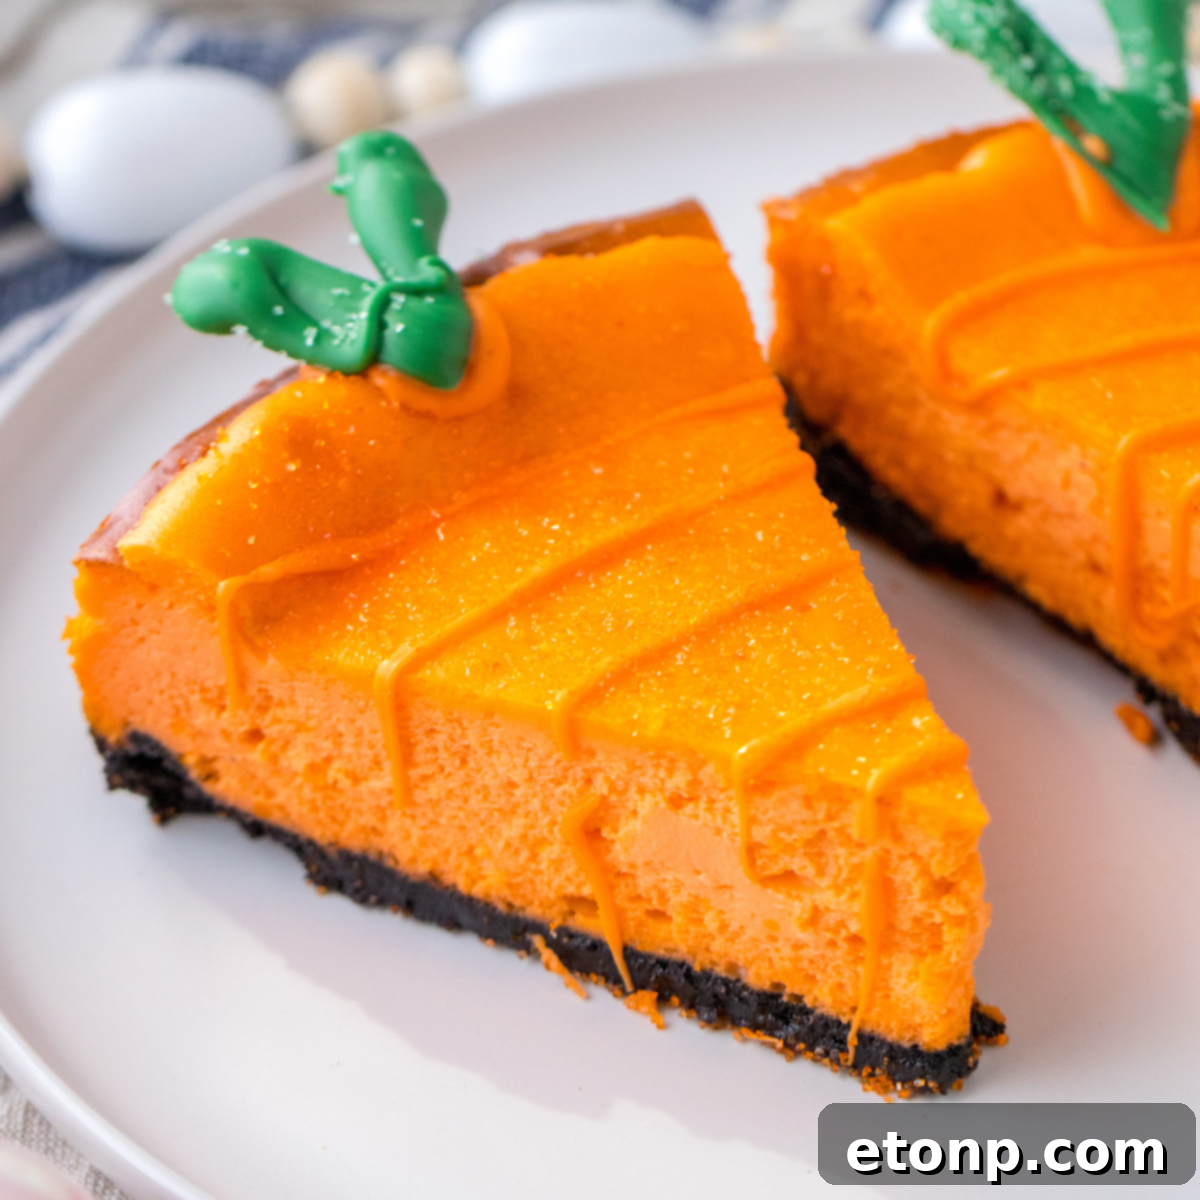
Delightful Cheesecake Carrots: The Perfect Festive Dessert for Easter and Spring Celebrations
As the vibrant colors of spring emerge and Easter approaches, our thoughts naturally turn to delightful gatherings and, of course, irresistible sweet treats. This year, why not surprise your family and friends with an extraordinary dessert that’s as charming as it is delicious? Introducing our incredible Cheesecake Carrots! These adorable, carrot-shaped cheesecakes are not just a playful nod to the season; they’re a decadent, creamy, and visually stunning addition to any Easter brunch, spring celebration, or festive dessert table. Forget the ordinary – these easy-to-make treats promise smiles and satisfied cravings, making them an instant favorite for all ages.
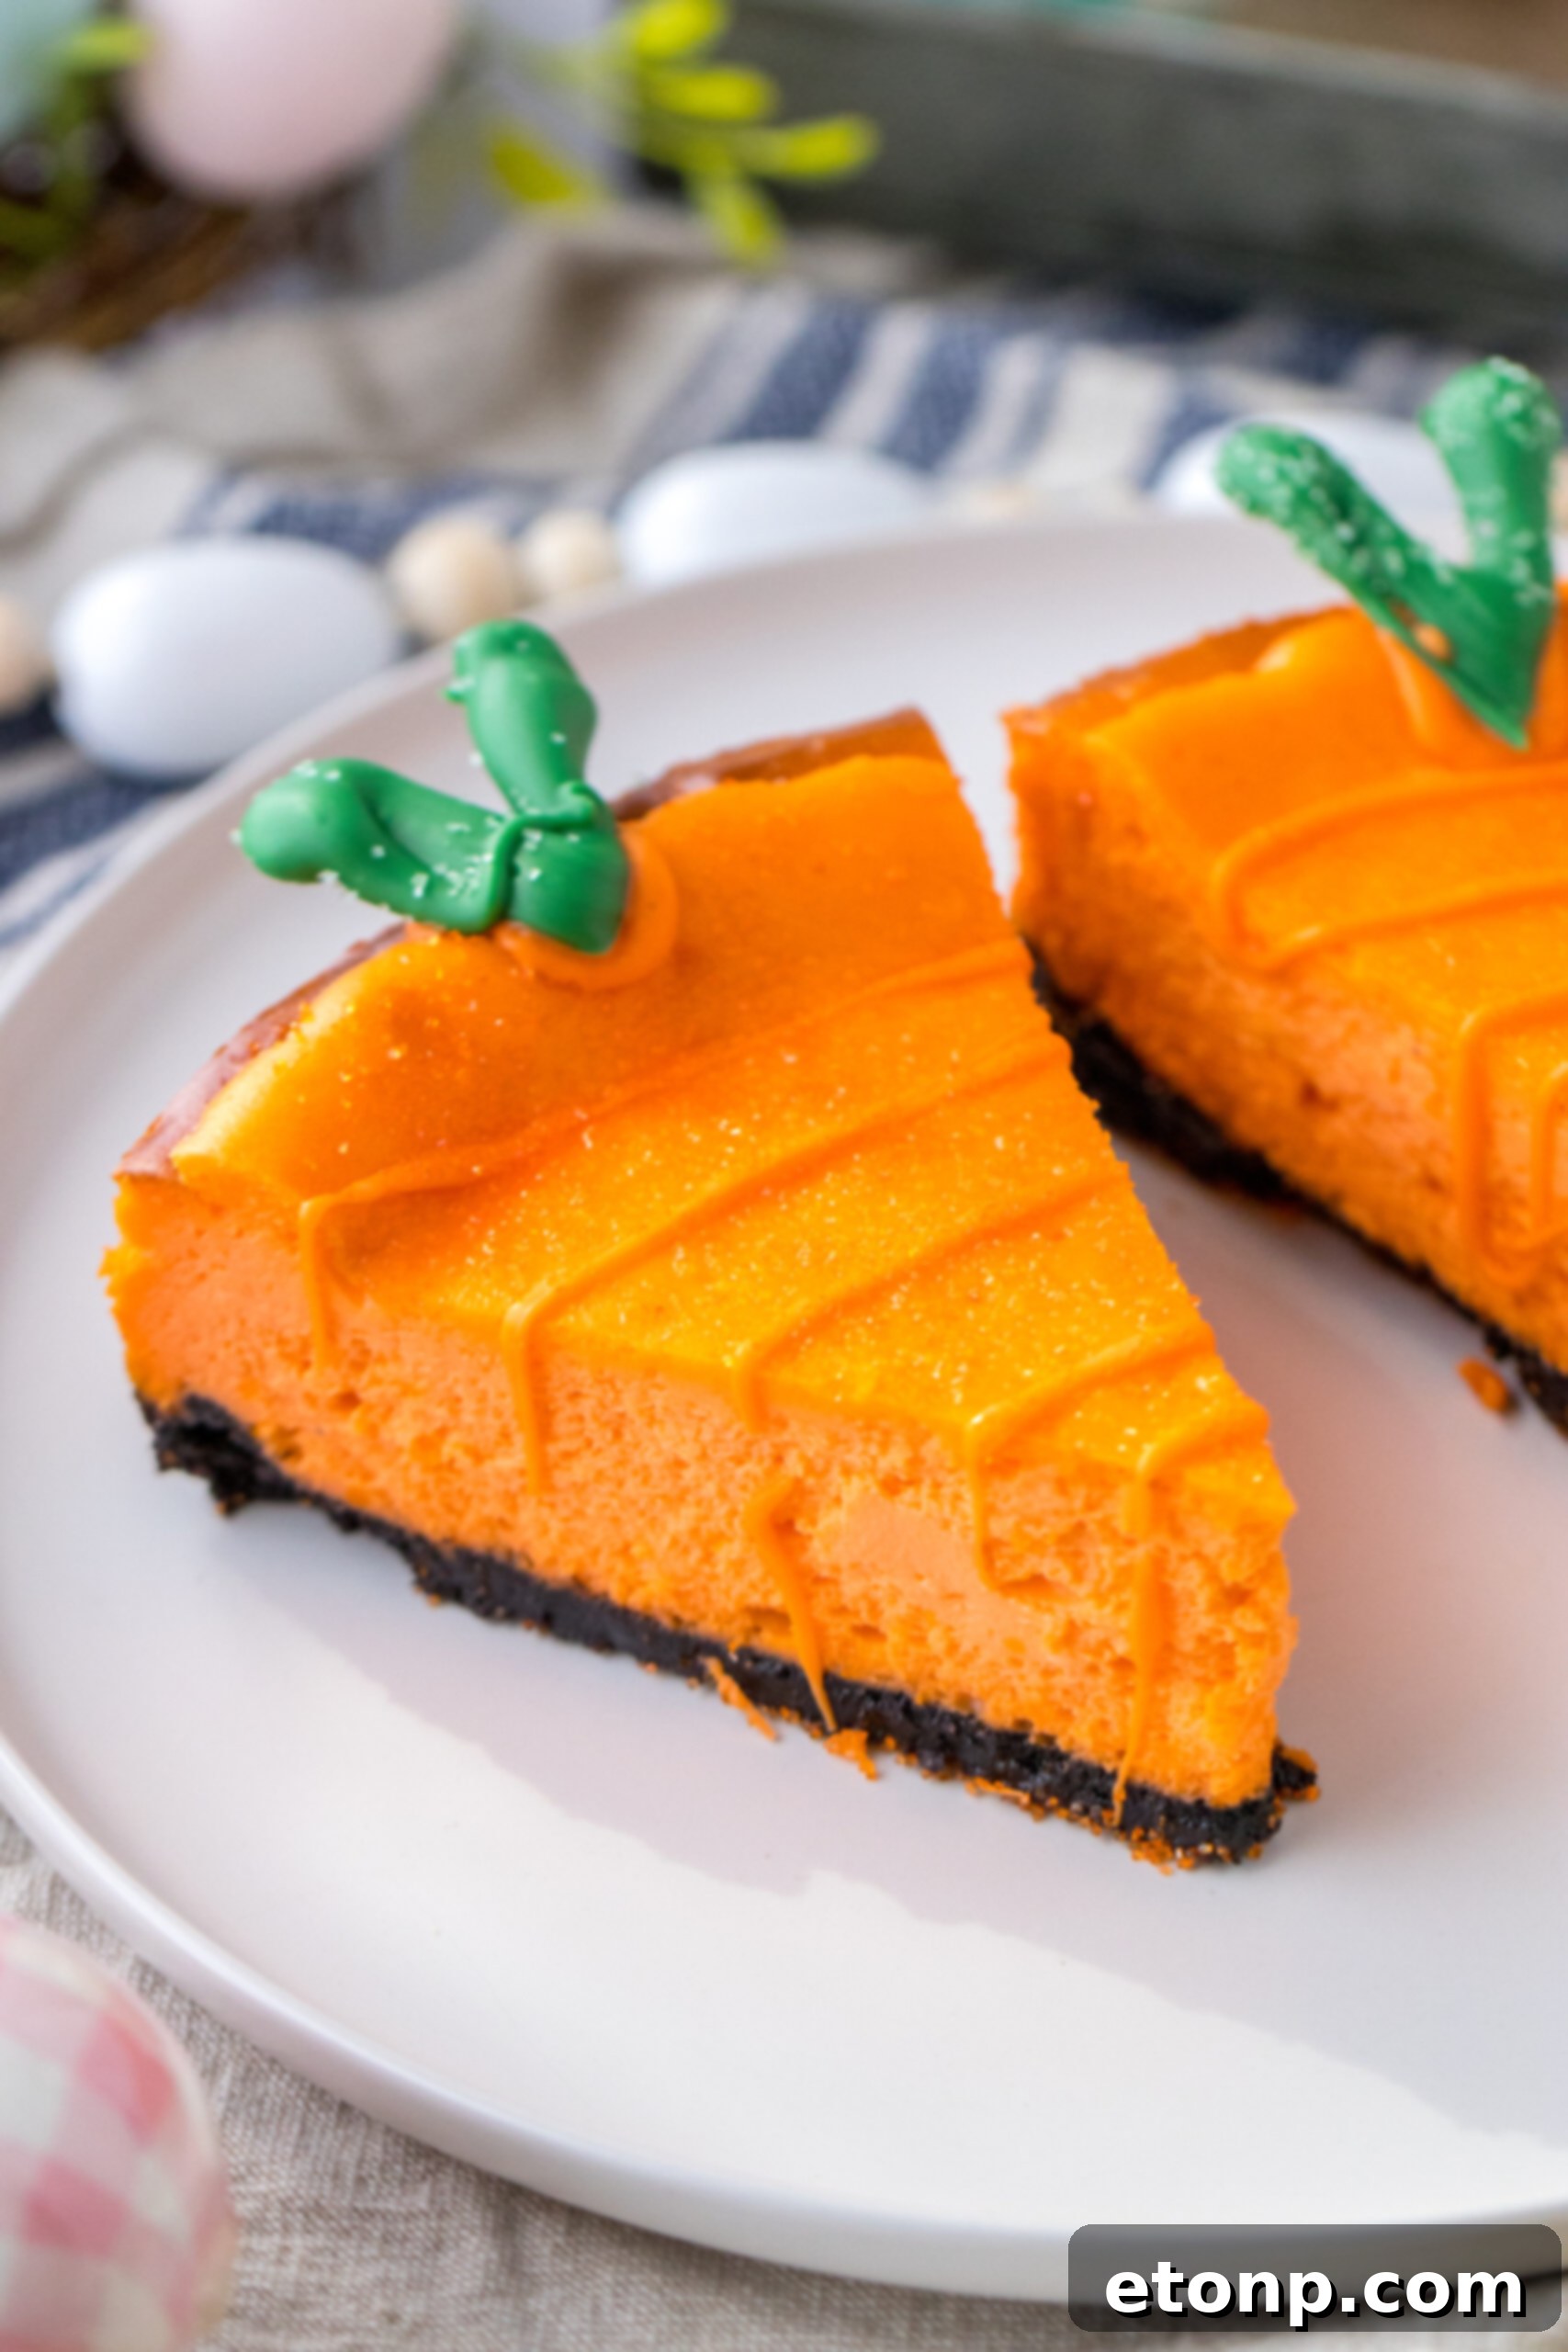
Crafted with a rich Oreo crumb crust, a velvety smooth cream cheese filling, and elegantly adorned with bright orange and green candy melts, these Cheesecake Carrots offer a sensational combination of textures and flavors. Each bite delivers the satisfying crunch of the cookie crust, followed by the lush, tangy sweetness of classic cheesecake, all brought together with a whimsical, carrot-inspired candy shell. It’s a symphony for the taste buds that transcends typical holiday desserts. Whether served as a delightful snack or the grand finale to a festive meal, these charming cheesecake carrots are guaranteed to captivate and delight both children and adults, creating memorable moments and leaving everyone craving more. Prepare to impress with this unique and enchanting dessert that perfectly embodies the joy and sweetness of spring.
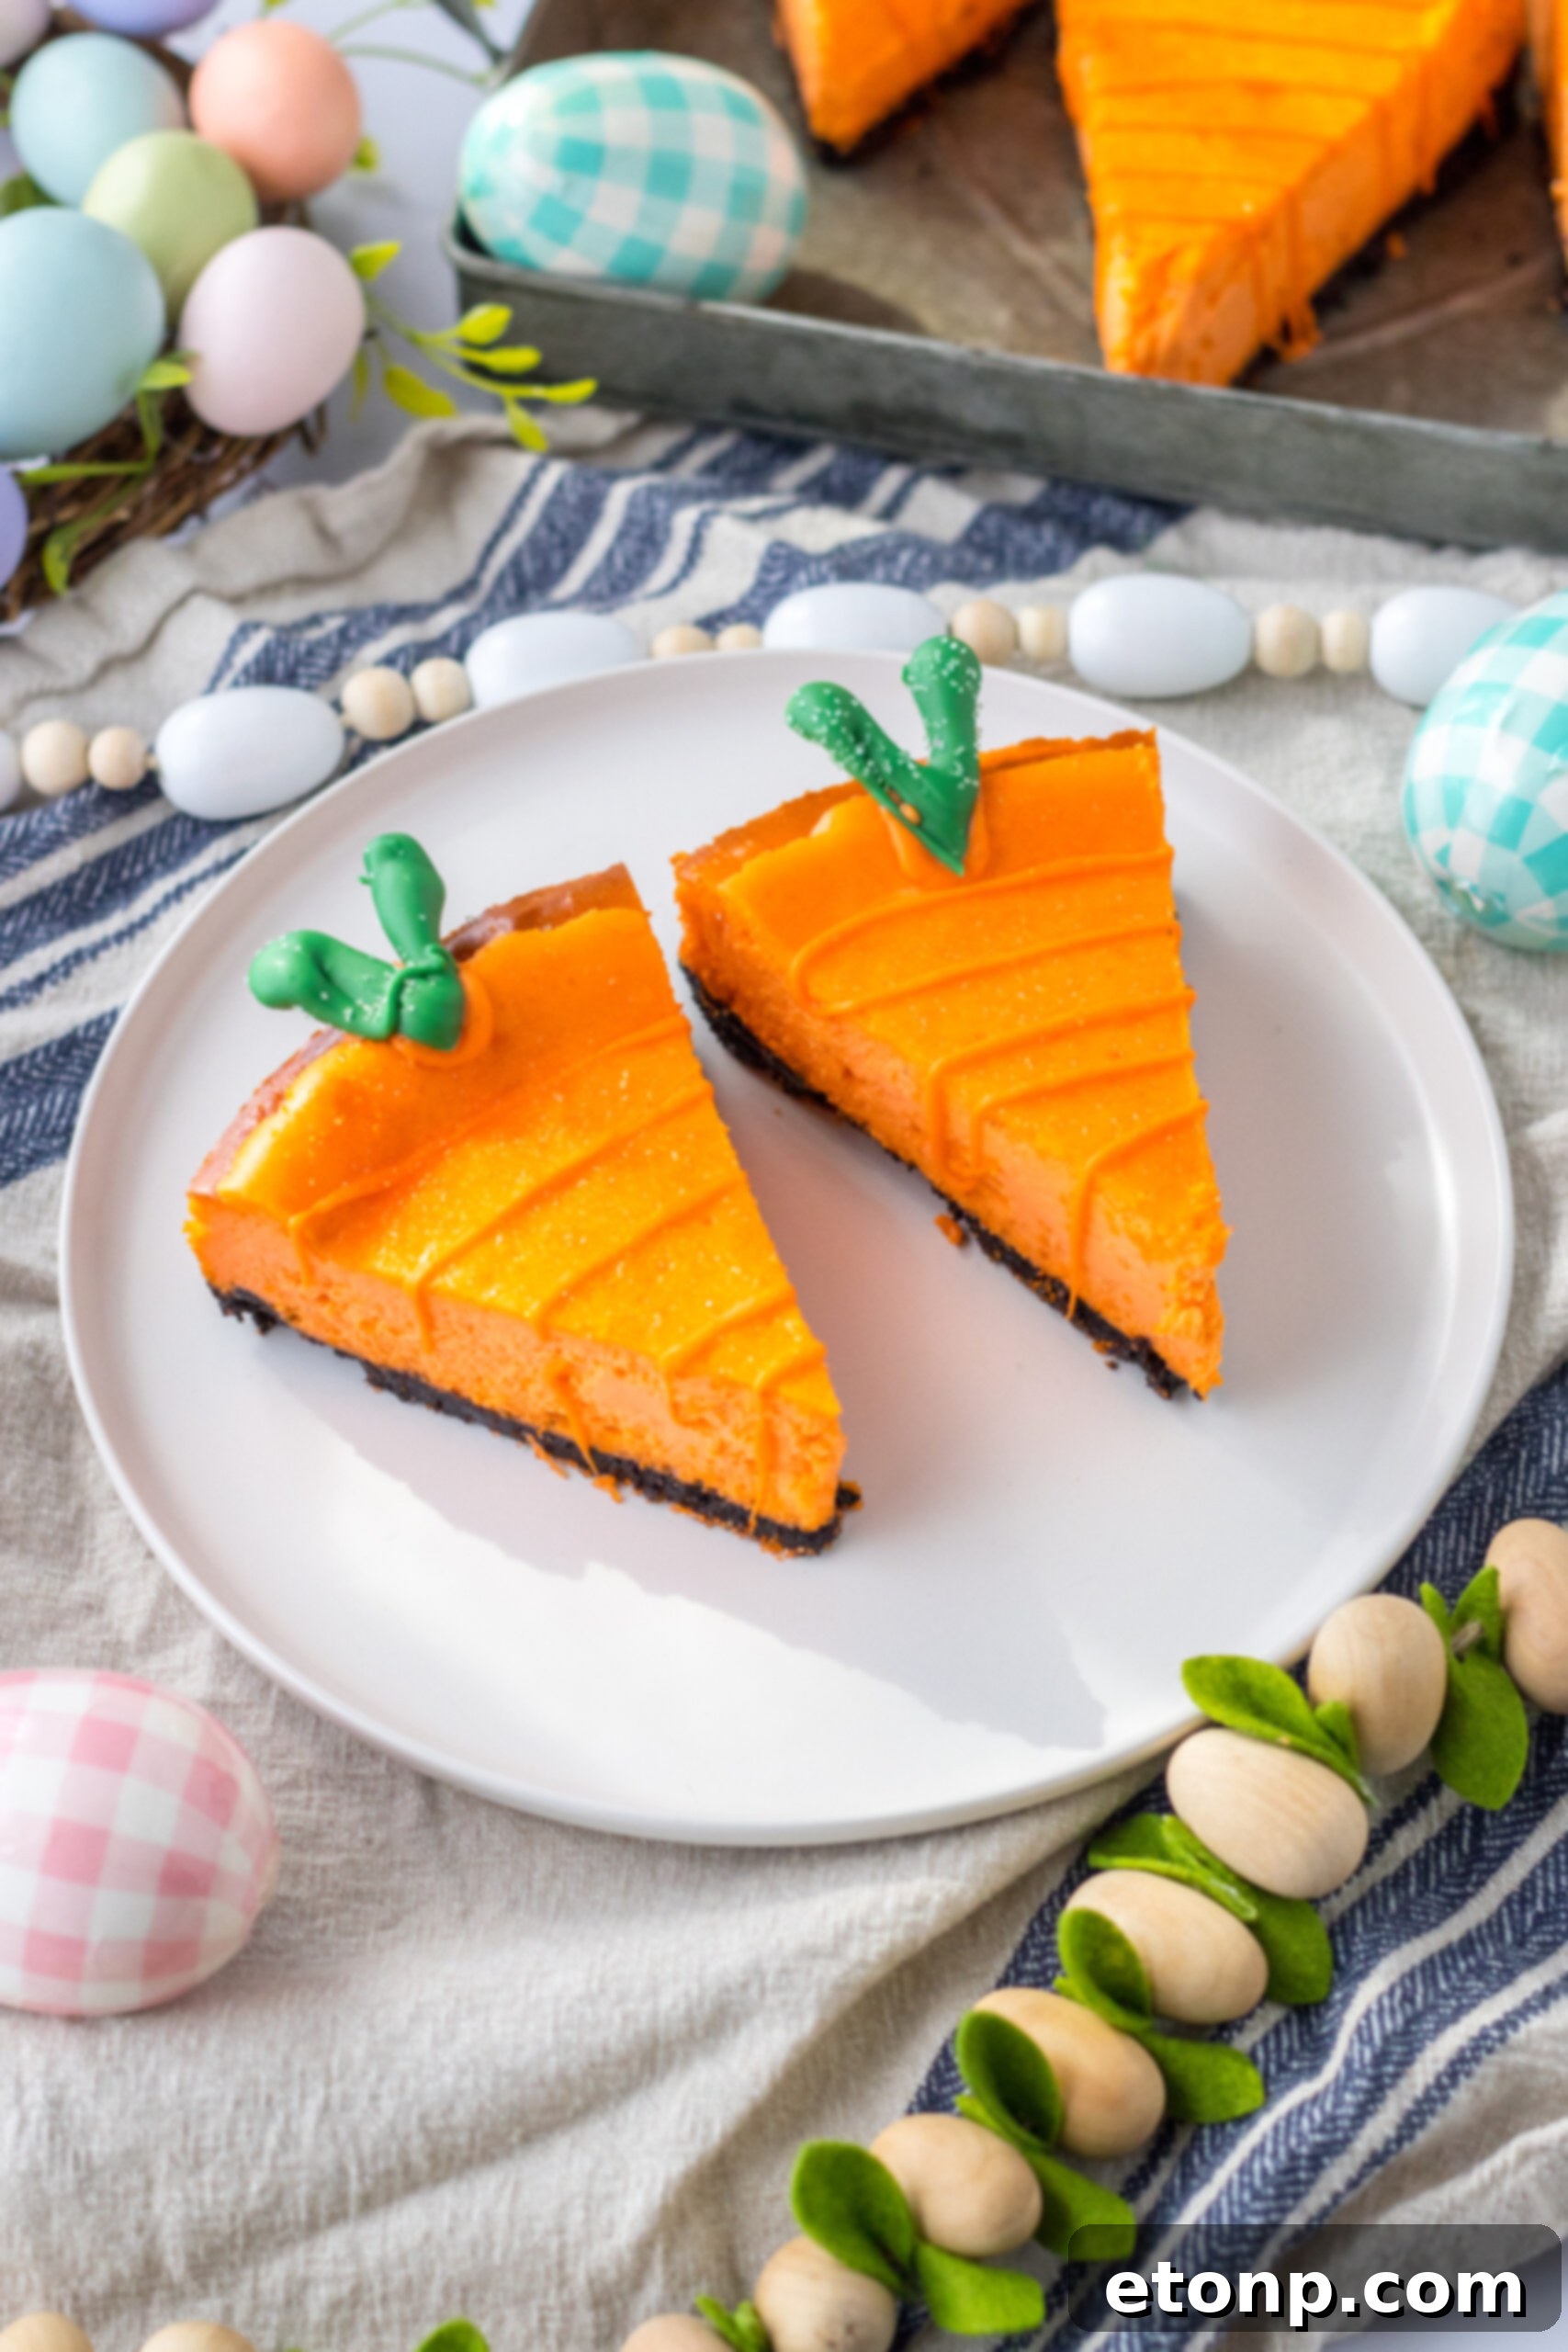
Why You’ll Fall in Love with Cheesecake Carrots
There are countless reasons why these Cheesecake Carrots are destined to become your go-to festive dessert, transcending traditional Easter treats and bringing a unique flair to your table. From their irresistible flavor profile to their adorable presentation, every aspect is designed to delight.
Deliciously Indulgent Flavor
At their core, these cheesecake carrots are a celebration of rich, creamy indulgence. The foundation is a buttery, crunchy Oreo crust, providing a delightful contrast to the silky-smooth, tangy-sweet cheesecake filling. This classic cheesecake base is enhanced with a hint of vanilla and, optionally, a touch of orange food coloring to complement its festive appearance. The outer layer of orange candy melts adds an extra dimension of sweetness and a satisfying snap, while the green candy melt “stems” provide a subtle textural difference. It’s a harmonious blend that makes each bite pure dessert bliss.
Visually Stunning and Utterly Charming
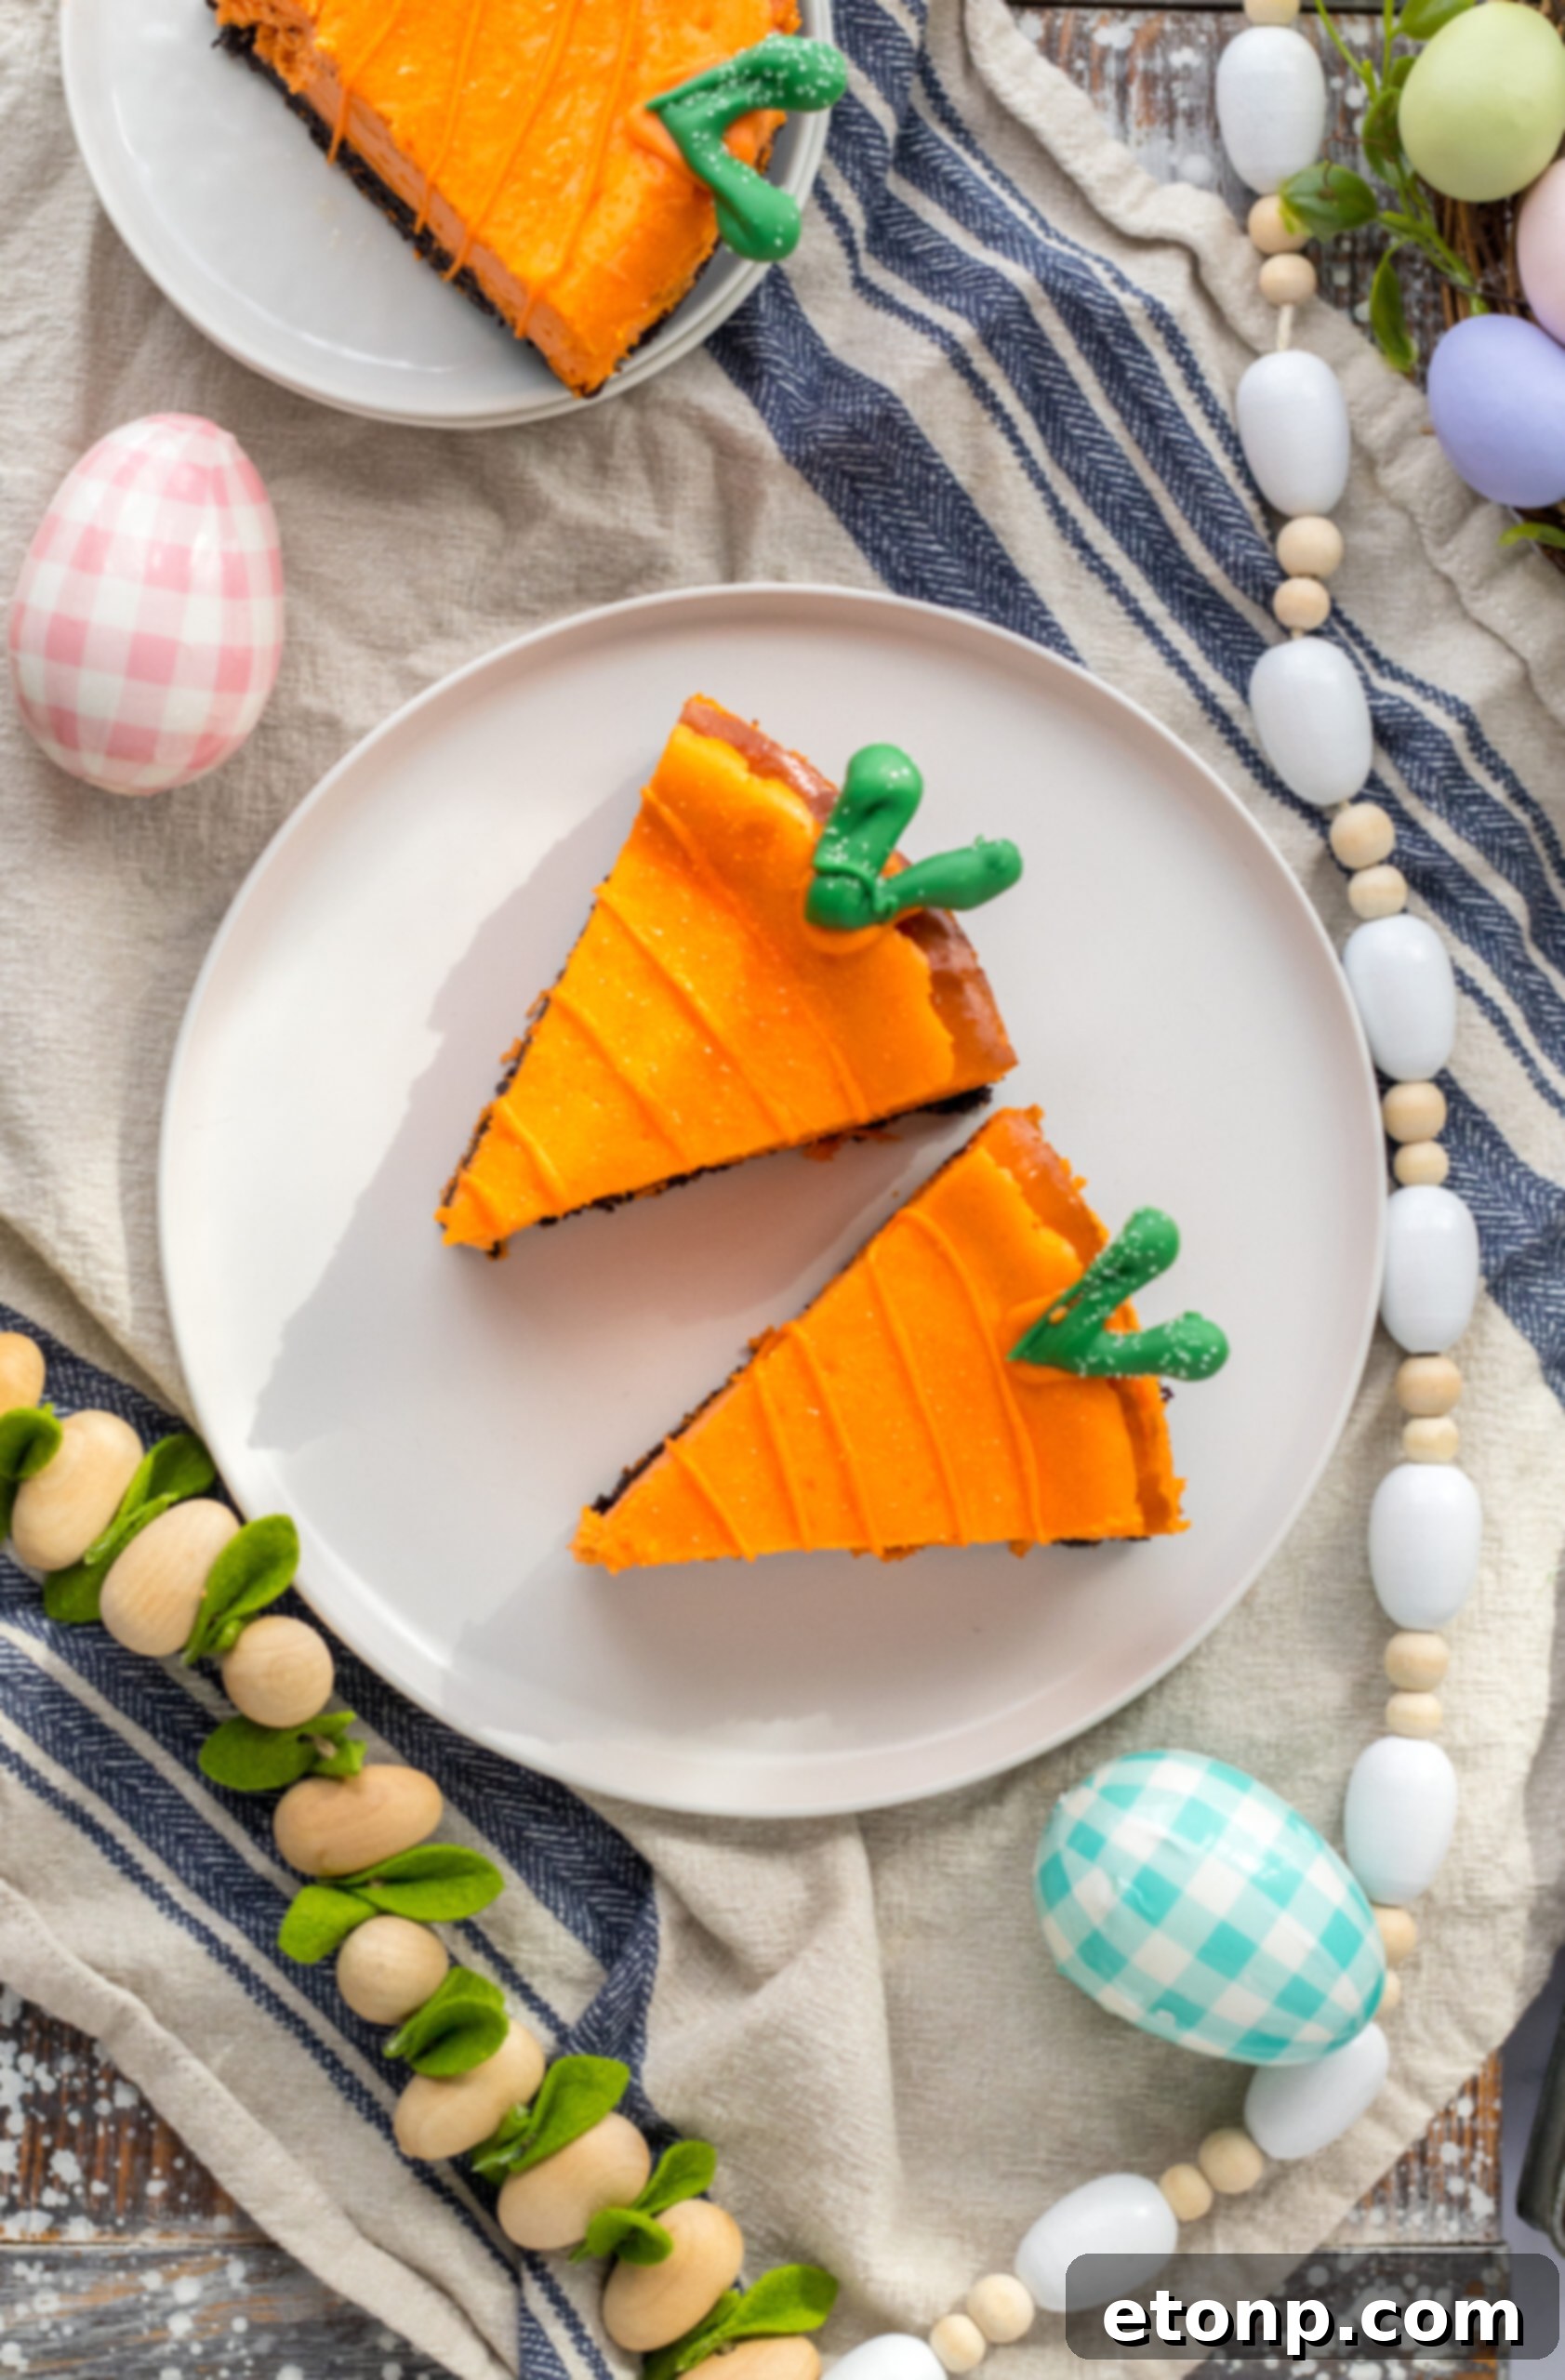
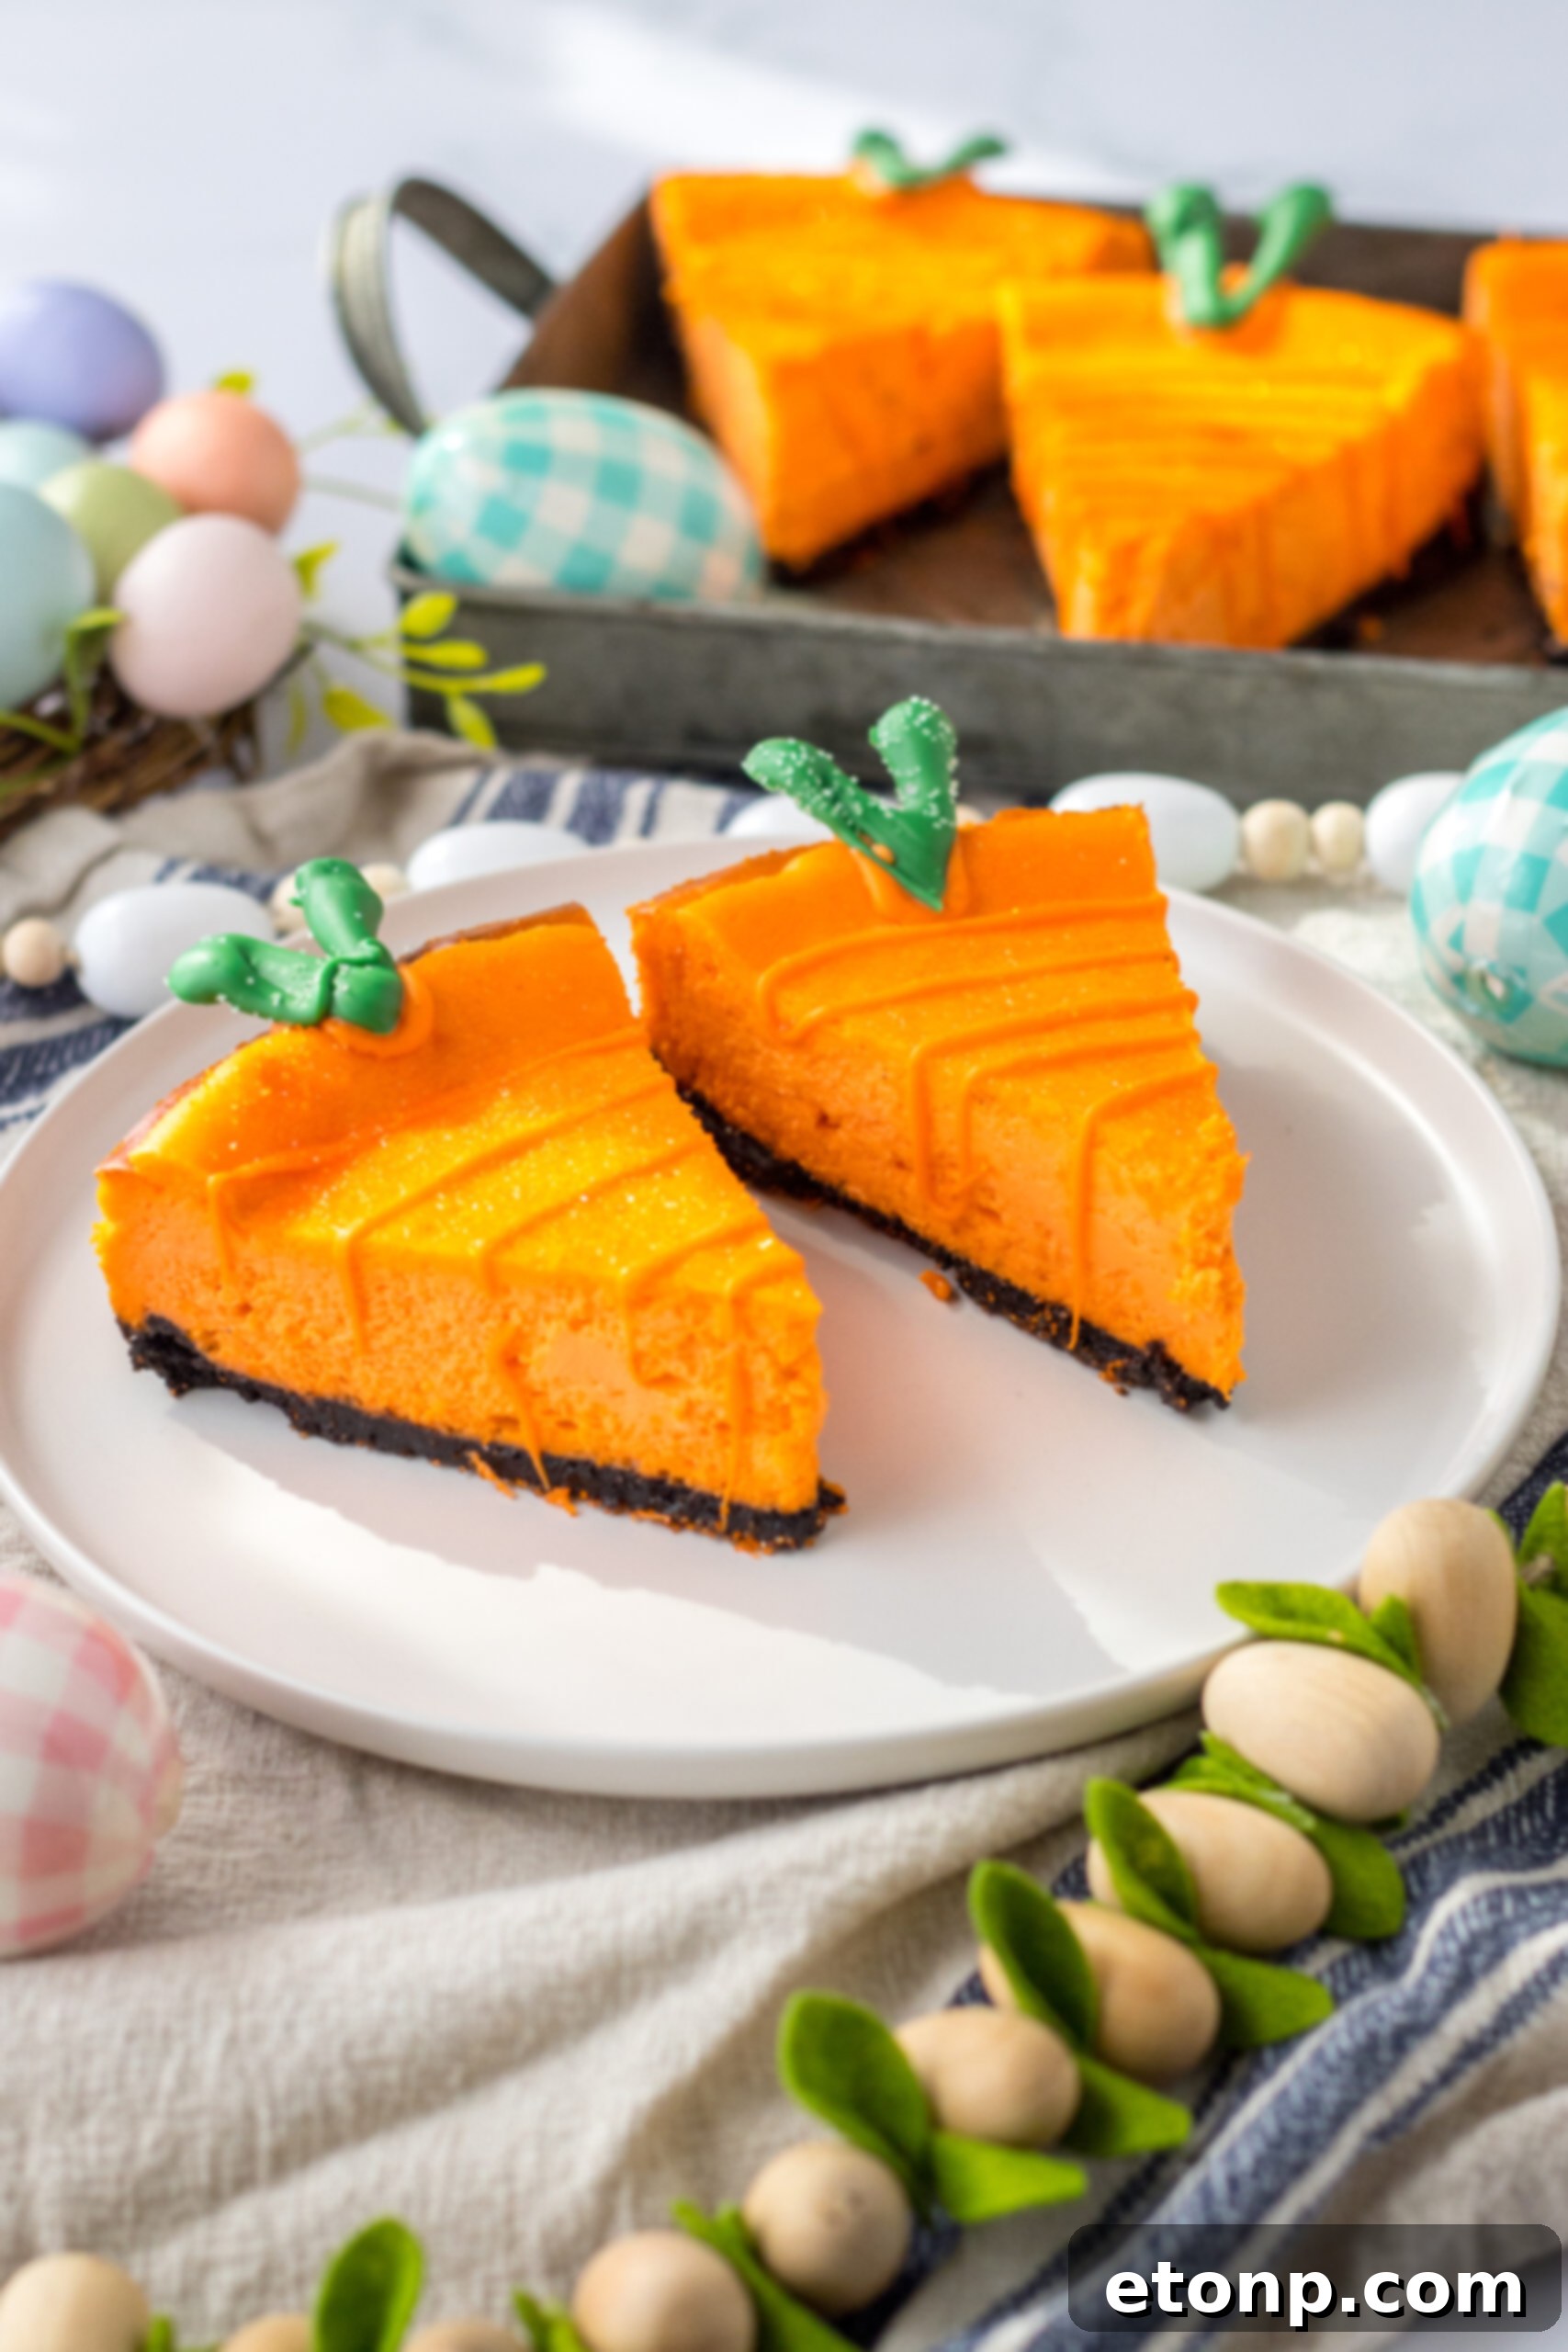
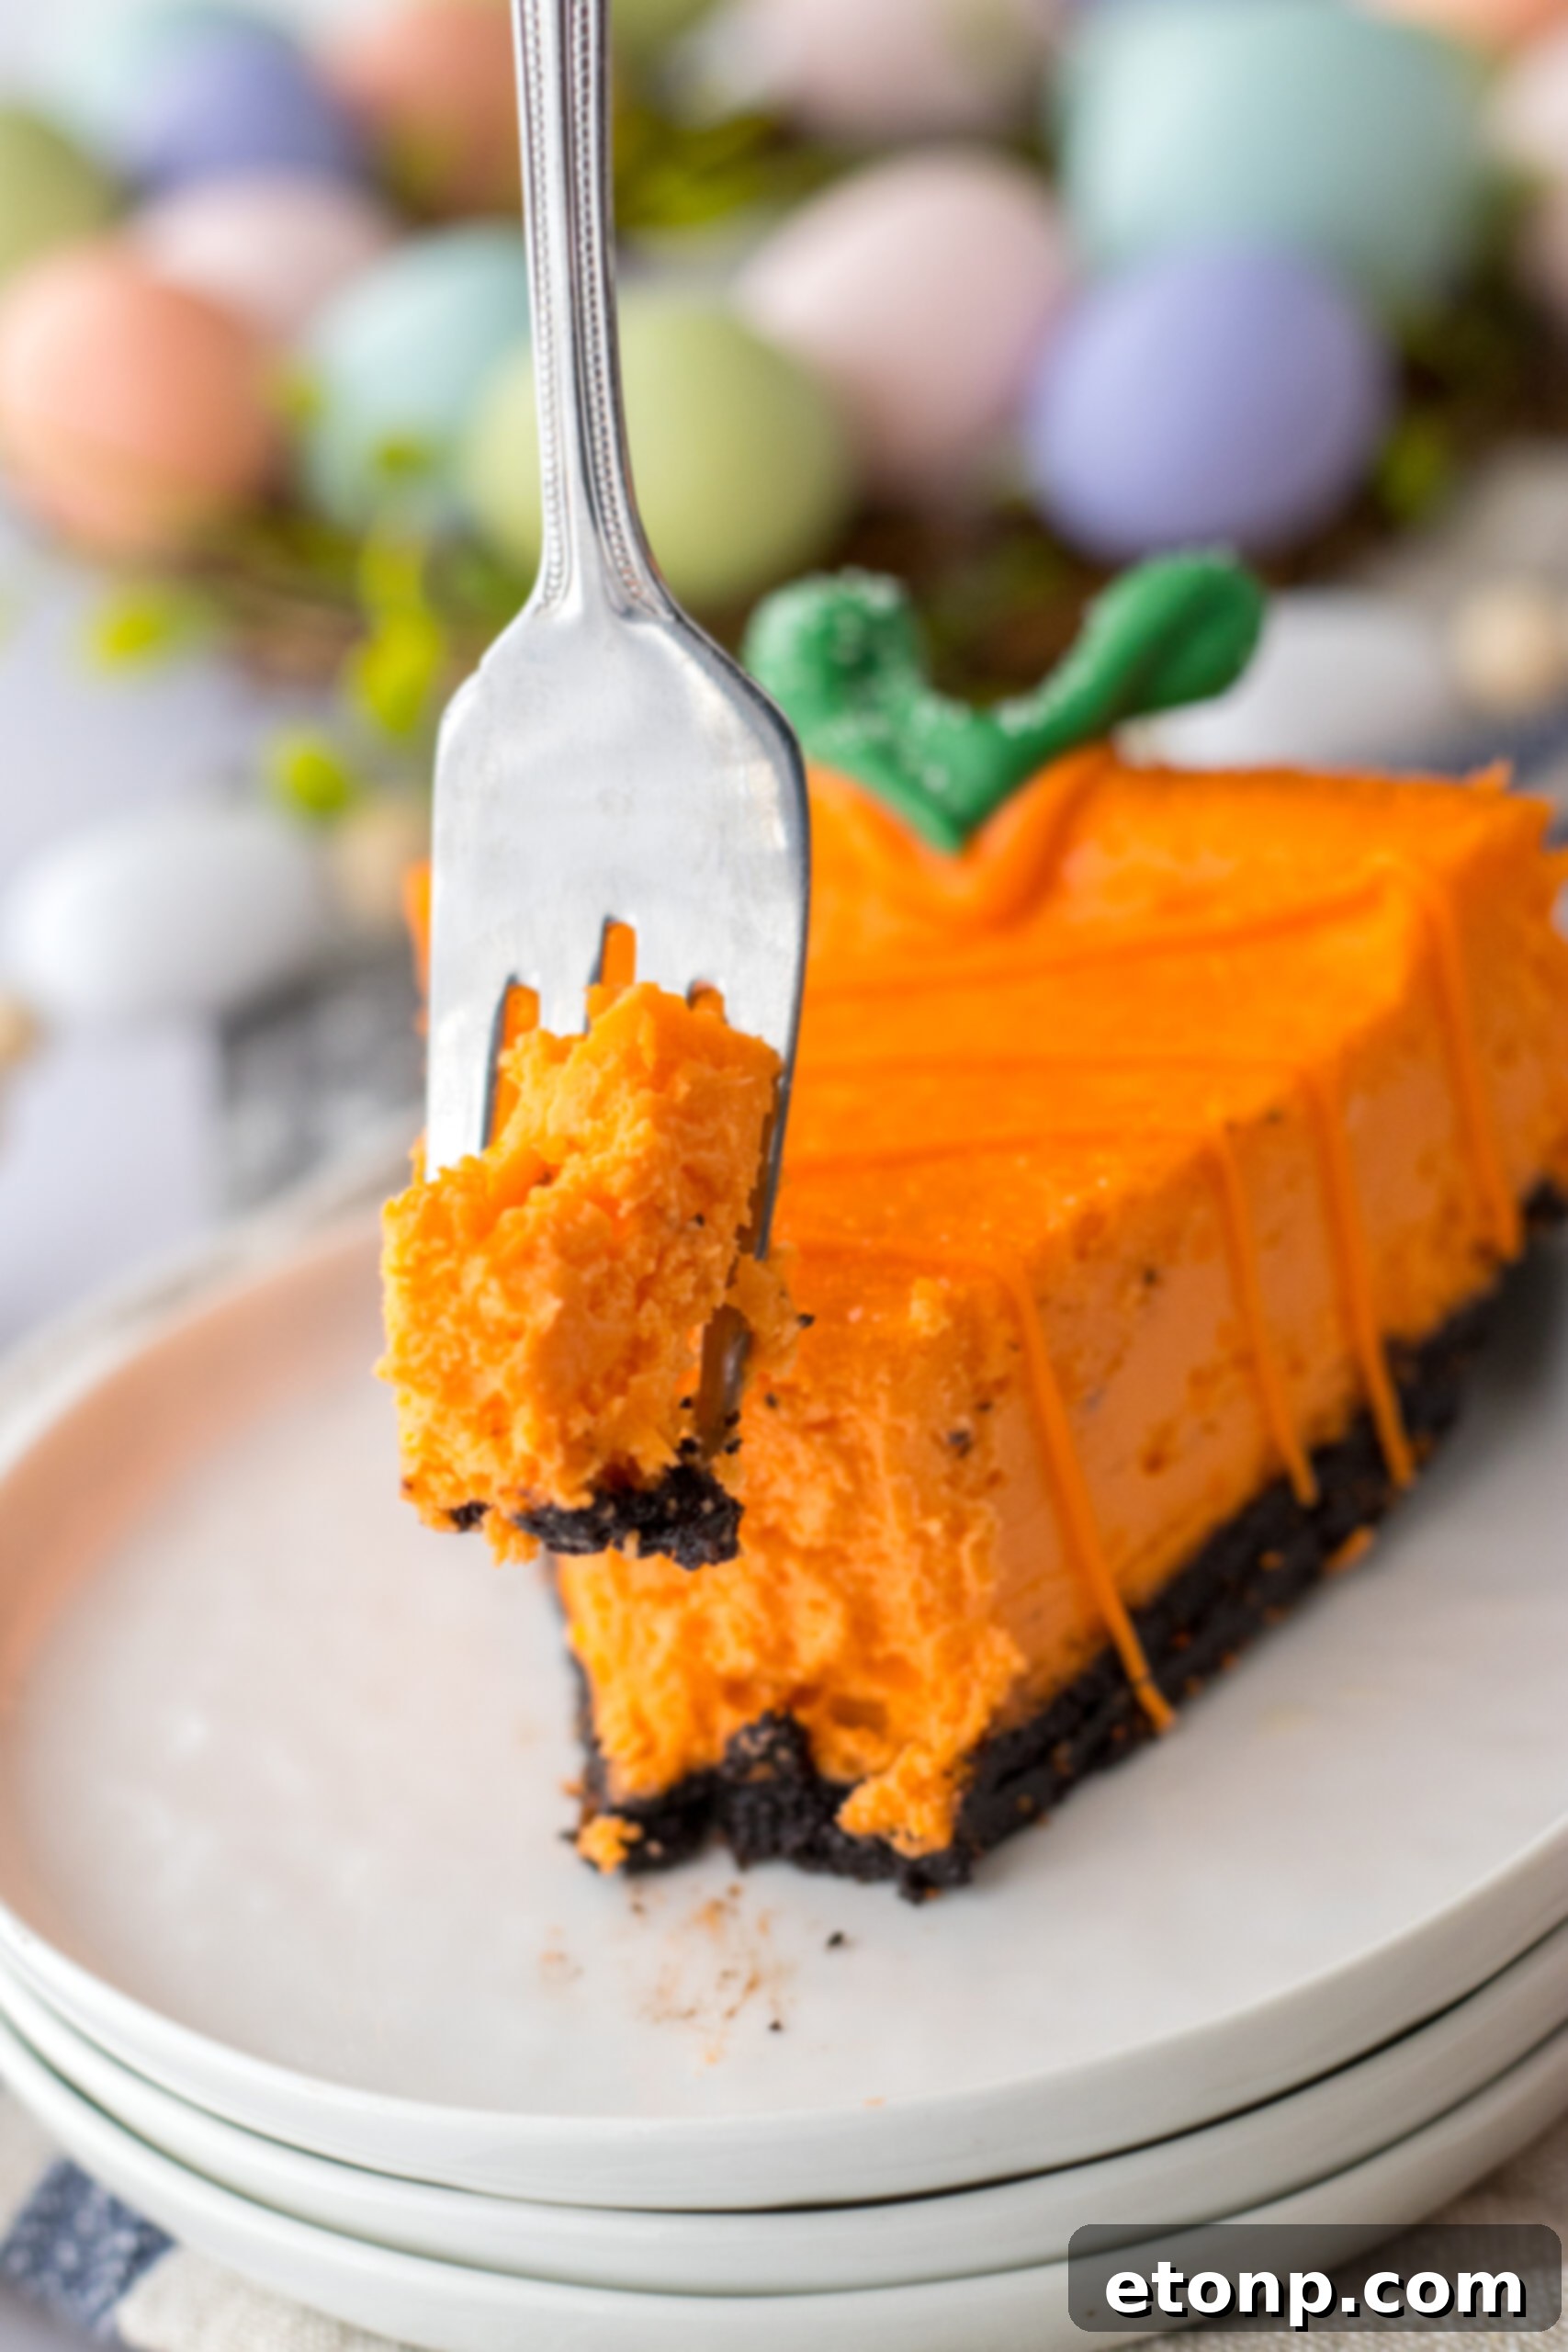
Beyond taste, the visual appeal of these Cheesecake Carrots is undeniable. They truly embody the spirit of Easter and spring with their playful, whimsical design. Shaped like miniature carrots, complete with vibrant orange exteriors and delicate green leafy tops, they transform a simple cheesecake into a centerpiece. They’re guaranteed to draw compliments and spark conversation, making them ideal for holiday brunches, themed parties, or any occasion where you want to add a touch of charming creativity to your dessert spread. Their unique look makes them stand out from standard cakes or pies.
Surprisingly Simple to Prepare
Despite their sophisticated appearance, Cheesecake Carrots are remarkably easy to make, even for novice bakers. The recipe utilizes readily available ingredients and straightforward steps. From crushing the Oreos for the crust to blending the creamy filling and simple melting and piping of the candy melts, each stage is manageable. The majority of the “prep” time is actually passive chilling, allowing you to focus on other holiday preparations. This ease of creation means you can whip up a batch without stress, leaving more time to enjoy the festivities.
Perfect for Any Spring Celebration
While undoubtedly perfect for Easter, these Cheesecake Carrots are versatile enough for any spring-themed event. Think garden parties, baby showers, birthdays, or just a delightful treat to welcome the warmer weather. Their bright colors and fresh, creamy flavor perfectly align with the season’s joyful atmosphere. They offer a refreshing alternative to heavier winter desserts and perfectly capture the essence of renewal and celebration that spring brings.
A Crowd-Pleasing Treat for All Ages
Cheesecake is a universally loved dessert, and these carrot-shaped variations only amplify its appeal. Children will be captivated by their fun appearance, while adults will appreciate the classic, indulgent flavors. They’re portioned perfectly for individual servings, making them easy to hand out and enjoy without the mess of slicing a traditional cake. Whether you’re serving a small family gathering or a larger crowd, these Cheesecake Carrots are a guaranteed hit that will satisfy sweet cravings across all generations.
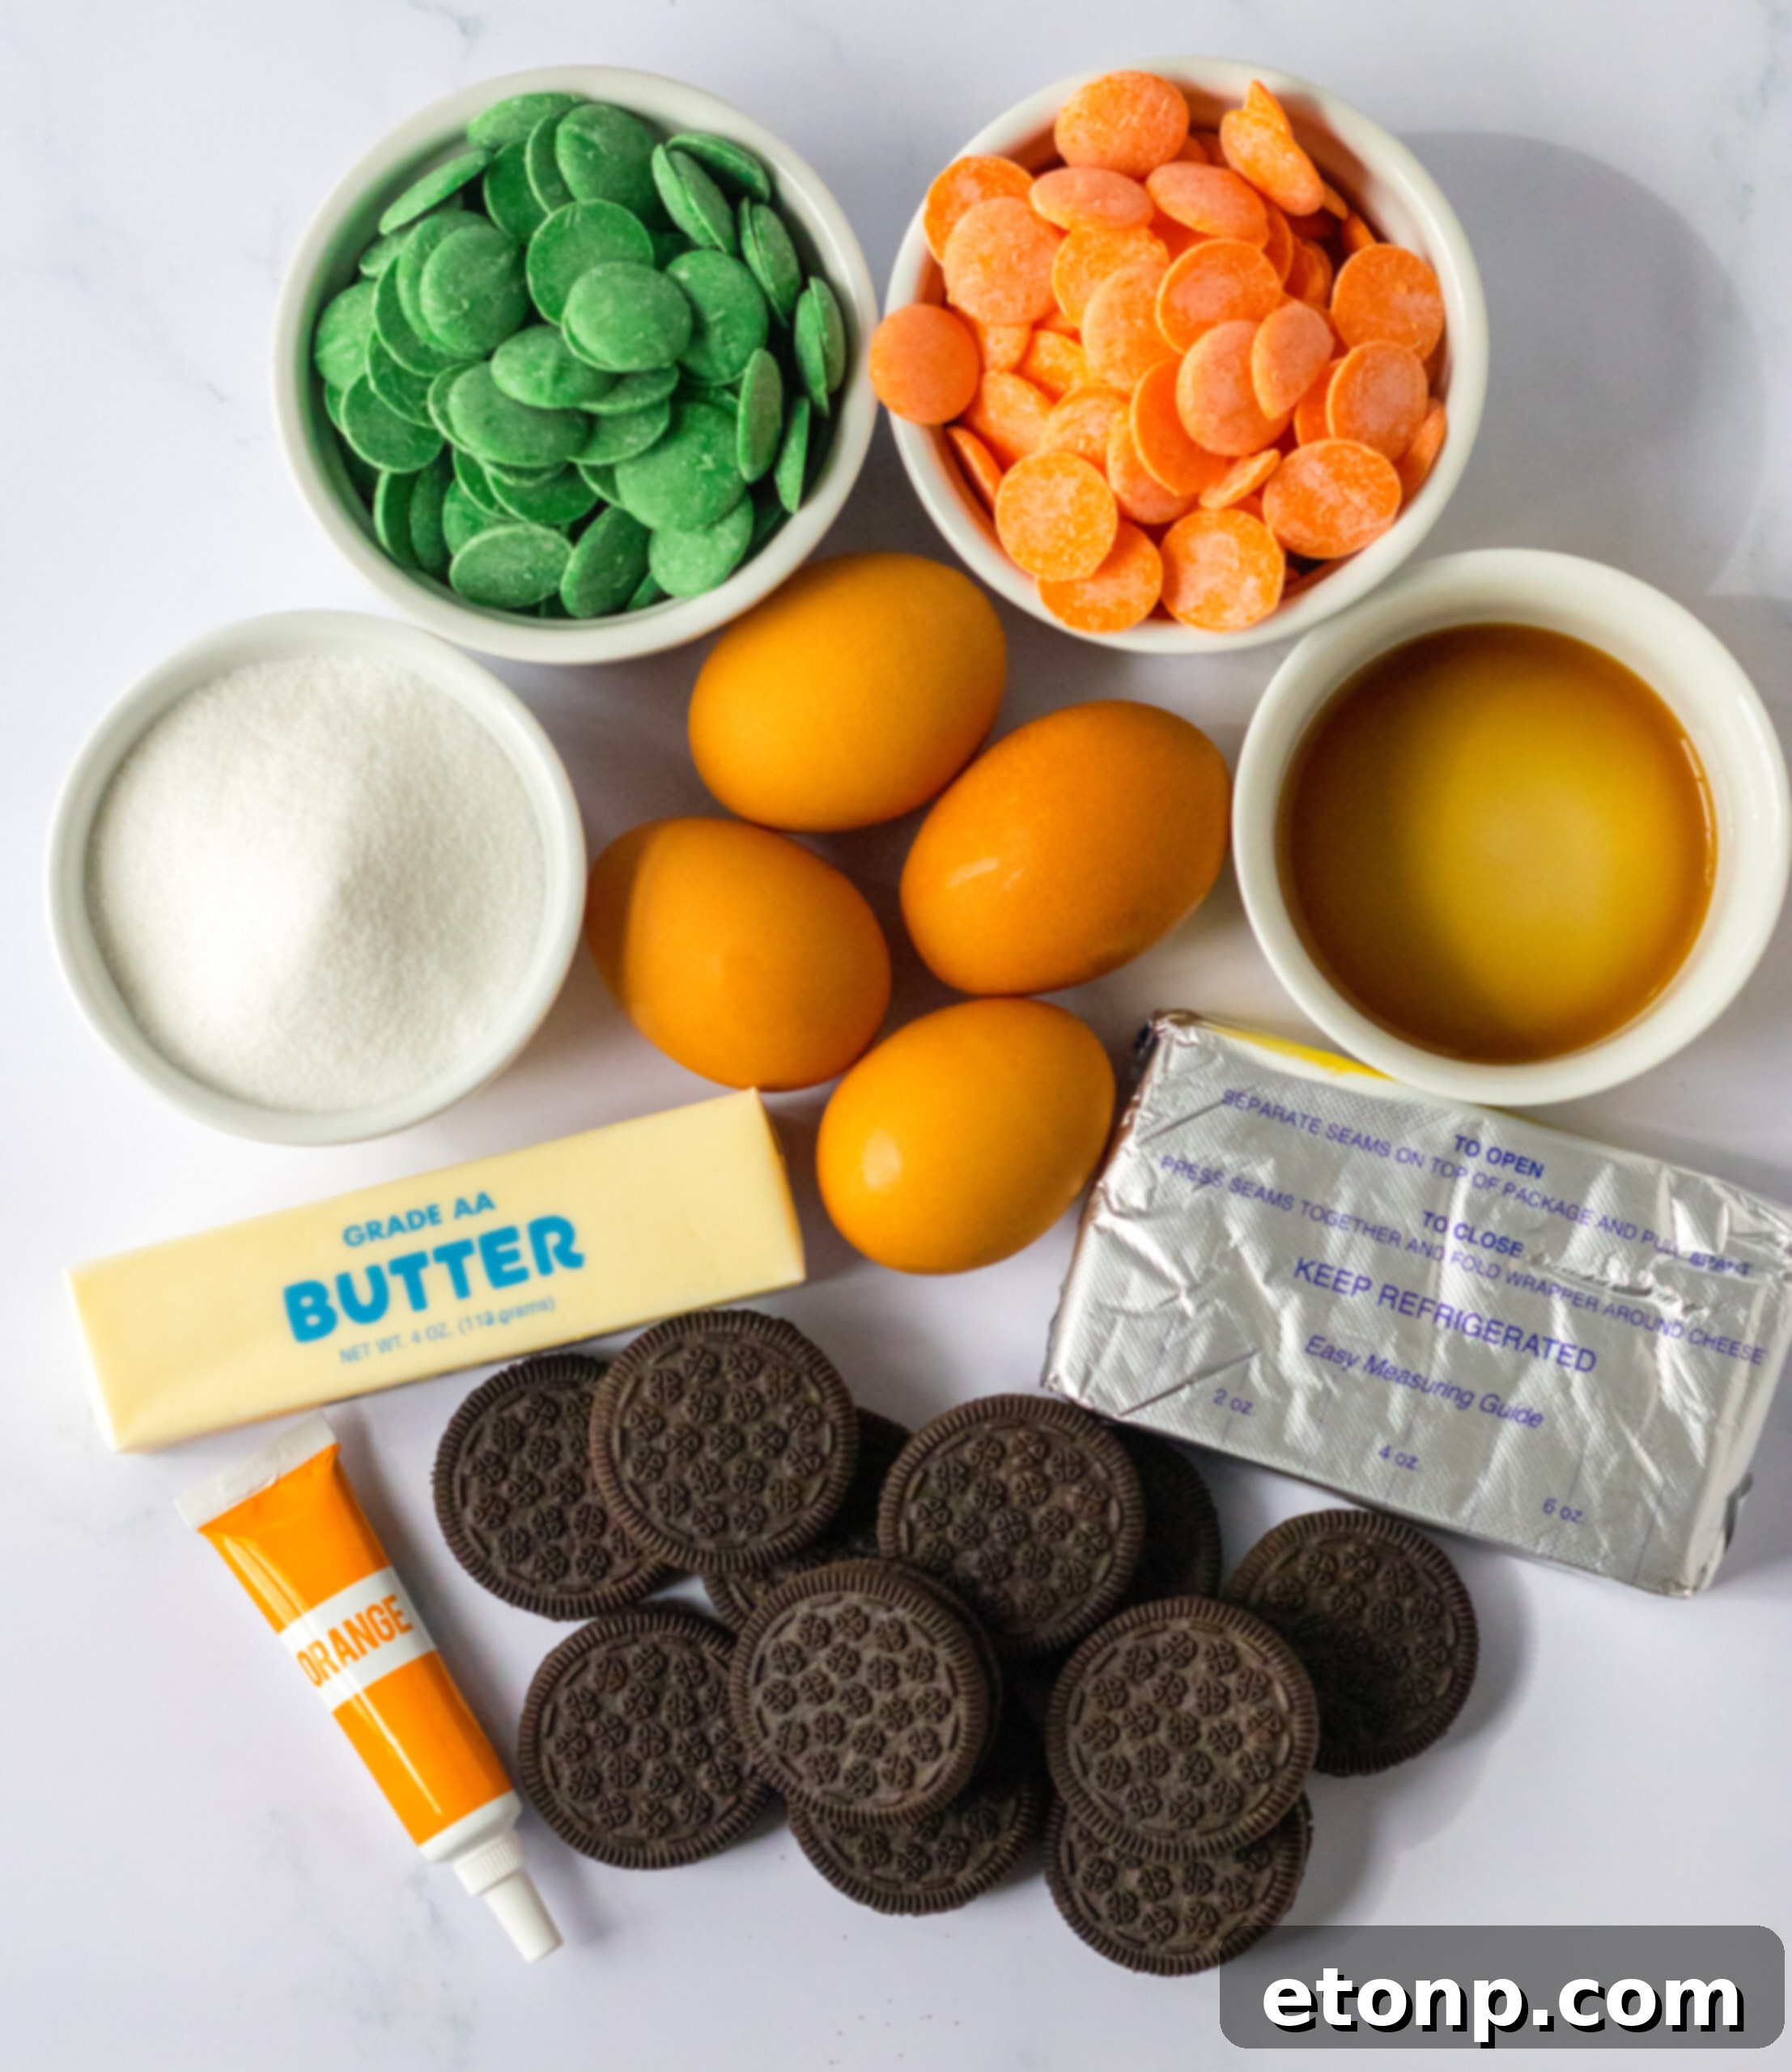
Key Ingredients You’ll Need for Cheesecake Carrots
Creating these delightful Cheesecake Carrots requires a handful of common baking staples, plus a few special decorative elements to bring the carrot illusion to life. Each ingredient plays a vital role in achieving the perfect balance of flavor, texture, and appearance. Here’s a detailed look at what you’ll need:
- Oreo Crumbs: The foundation of our delicious crust. You’ll need about 1½ cups of finely ground Oreo cookie crumbs. You can achieve this by pulsing whole Oreos (cream filling included) in a food processor until they resemble fine sand, or by placing them in a Ziploc bag and crushing them with a rolling pin. The natural sweetness and rich chocolate flavor of Oreos make an ideal complement to the creamy cheesecake.
- Unsalted Butter (Melted): Approximately ⅓ cup of melted unsalted butter acts as the binding agent for the Oreo crumbs, forming a firm and flavorful crust. Using unsalted butter allows you to control the overall saltiness of the dessert. Make sure it’s fully melted but not boiling hot when you combine it with the crumbs.
- Cream Cheese (Softened): This is the star of any cheesecake! You’ll need 32 ounces (four standard 8-ounce blocks) of full-fat cream cheese, softened to room temperature. This is crucial for achieving a smooth, lump-free cheesecake batter. Avoid low-fat or whipped varieties, as they can alter the texture and consistency of your cheesecake.
- Granulated Sugar: About 1 cup of white granulated sugar provides the essential sweetness for the cheesecake filling. It balances the tanginess of the cream cheese and contributes to the dessert’s overall indulgent character.
- Pure Vanilla Extract: A teaspoon of pure vanilla extract enhances the depth of flavor in the cheesecake filling, adding a warm and aromatic note that perfectly complements the other ingredients. Always opt for pure extract over artificial vanilla flavoring for the best results.
- Orange Food Coloring (Optional): To give your cheesecake filling a subtle orange hue that matches the carrot theme, a few drops of orange food coloring can be added. This is purely for aesthetic appeal; the flavor will remain unchanged. Gel food coloring typically provides more vibrant colors with less liquid, which is ideal for cheesecake batter.
- Eggs: Four large eggs are essential for the structure and richness of the cheesecake. They act as a binder, helping the cheesecake to set properly and providing its characteristic smooth, custard-like texture. Ensure your eggs are at room temperature for better incorporation into the batter.
- Orange Candy Melts: Approximately 1 cup of orange candy melts (also known as confectionery coating or melting wafers) will be used to create the vibrant orange exterior of your cheesecake carrots. These melt smoothly and set quickly, providing a professional-looking finish.
- Green Candy Melts: You’ll need about 1 cup of green candy melts to fashion the adorable leafy stems for your carrots. Like the orange melts, these are easy to work with and contribute to the festive presentation.
- Green and Orange Sugar Sprinkles (Optional): For an extra touch of sparkle and festive flair, consider using green and orange sugar sprinkles. These can be sprinkled onto the wet candy melts for added texture and visual interest, making your cheesecake carrots even more appealing.
How to Store Your Festive Cheesecake Carrots
Proper storage is essential to maintain the freshness, texture, and delicious flavor of your Cheesecake Carrots. These delightful treats, like most cheesecakes, thrive in a cool environment, ensuring they remain firm and creamy for days after preparation. Here’s a comprehensive guide to storing them effectively:
Refrigeration for Short-Term Storage
For immediate enjoyment within a few days, your Cheesecake Carrots should always be stored in an airtight container in the refrigerator. This prevents them from absorbing odors from other foods and keeps the cheesecake filling perfectly set. Placed in an airtight container, they will retain their optimal taste and texture for up to 4 days. If you’ve decorated them with delicate candy melt stems, it’s best to place them in a single layer or use parchment paper between layers to prevent sticking or damage to the decorations.
Freezing for Extended Freshness
If you’ve made a larger batch or want to enjoy these festive treats at a later date, Cheesecake Carrots freeze beautifully. Once fully chilled and set, you can freeze them for up to 6 months. To freeze, individually wrap each cheesecake carrot tightly in plastic wrap, then place them in an airtight freezer-safe container or a heavy-duty freezer bag. This double layer of protection helps prevent freezer burn and preserves their delicate flavors.
Thawing Your Frozen Cheesecake Carrots
When you’re ready to enjoy a frozen Cheesecake Carrot, the key is a slow and gradual thawing process to preserve its creamy texture. Transfer the individually wrapped cheesecake carrots from the freezer to the refrigerator overnight (for at least 8-12 hours). This allows them to thaw gently and evenly, preventing any drastic changes in consistency that can occur with rapid thawing. Avoid thawing at room temperature, as this can make the cheesecake too soft and compromise its structural integrity and food safety. Once thawed, they should be consumed within 2-3 days and kept refrigerated.
By following these storage guidelines, your Cheesecake Carrots will remain a delightful and refreshing dessert, ready to bring joy whenever you decide to serve them.
Common Questions About Cheesecake Carrots
These unique and festive Cheesecake Carrots often spark a few questions, especially for those new to making them. Here are answers to some of the most common inquiries to help you master this delightful dessert.
What is the ideal temperature to store cheesecake carrots?
For immediate enjoyment and to maintain their perfect consistency, Cheesecake Carrots should be stored in an airtight container in the refrigerator. This keeps the creamy filling firm and prevents spoilage. They will stay fresh and delicious for up to 4 days. For longer storage, they can be frozen. Wrap each cheesecake carrot individually in plastic wrap, then place them in a freezer-safe container or bag. They will keep well in the freezer for up to 6 months. Remember to thaw them slowly in the refrigerator overnight before serving to ensure the best texture.
How is the crust made for these Cheesecake Carrots?
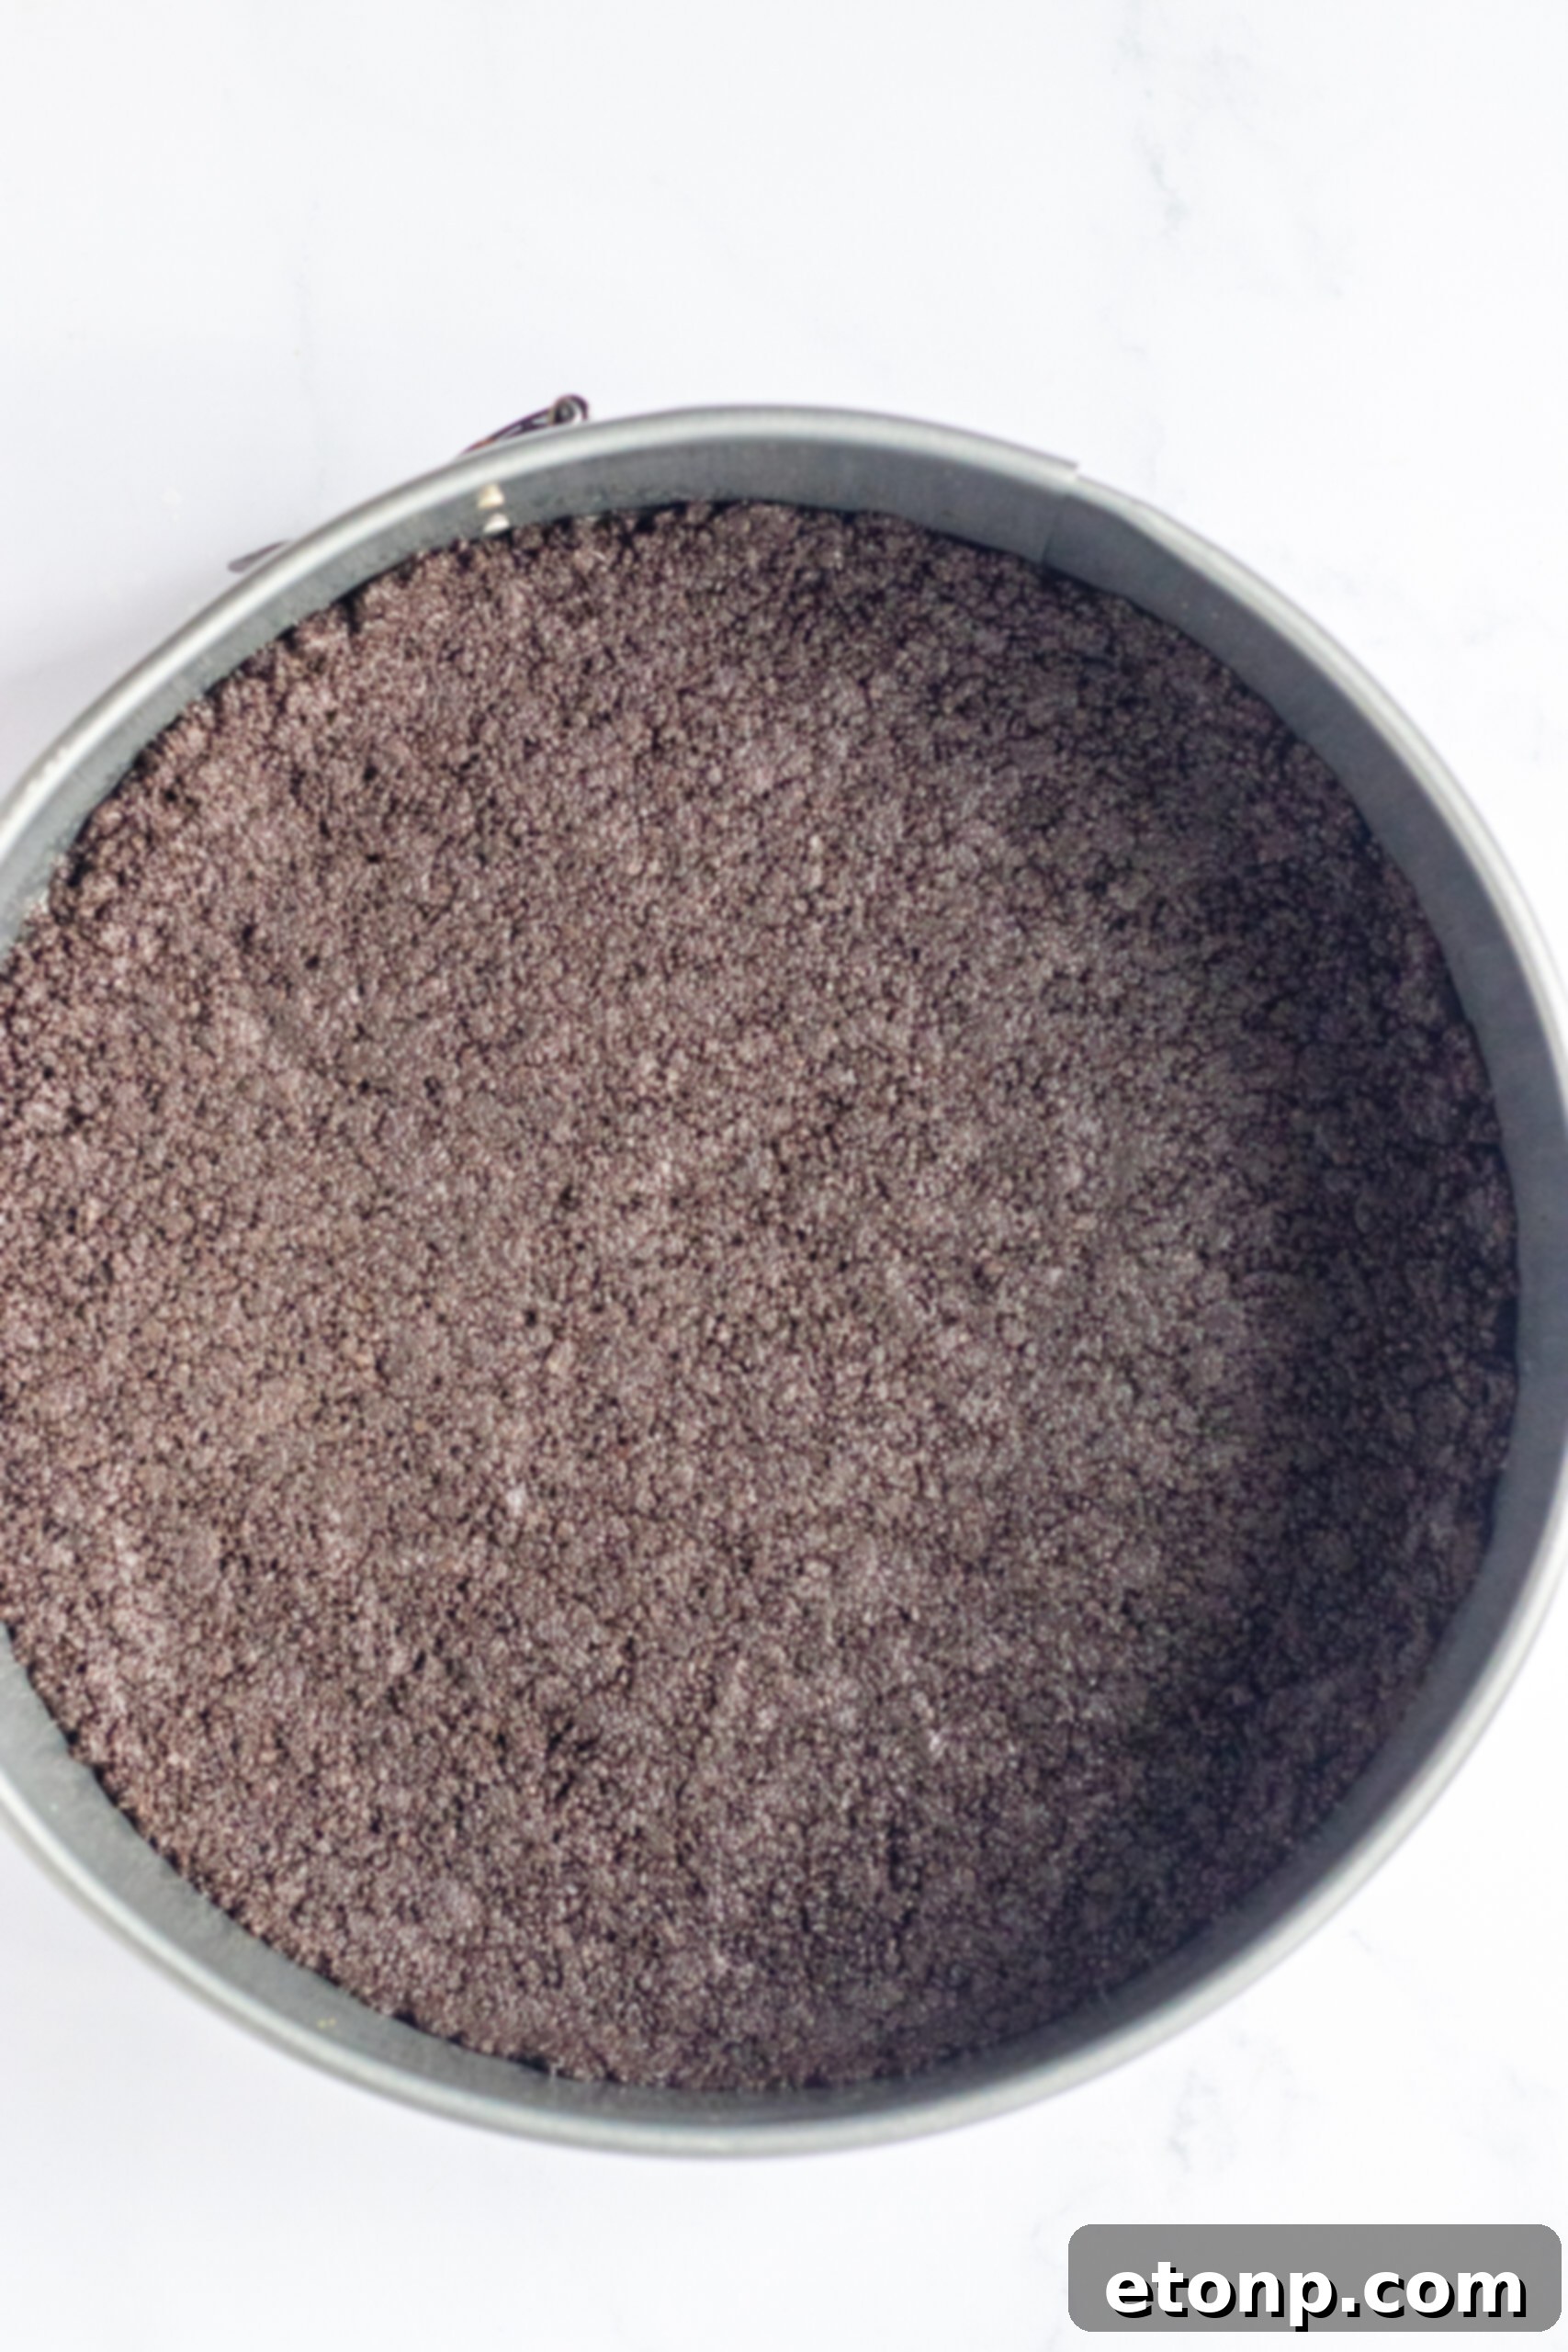
The delicious crust for these Cheesecake Carrots is made from a simple yet irresistible combination of finely crushed Oreo cookies and melted butter. To prepare, simply process whole Oreo cookies (including the cream filling) in a food processor until they form fine crumbs, or place them in a sturdy Ziploc bag and crush them thoroughly with a rolling pin. Once you have the desired amount of crumbs, mix them with melted unsalted butter until well combined. This mixture is then pressed evenly into the bottom of a springform pan, creating a sturdy, flavorful base that perfectly complements the creamy cheesecake filling. The rich chocolate and vanilla notes from the Oreos pair wonderfully with the tangy cream cheese.
How do I create the festive orange drizzle and green stems?
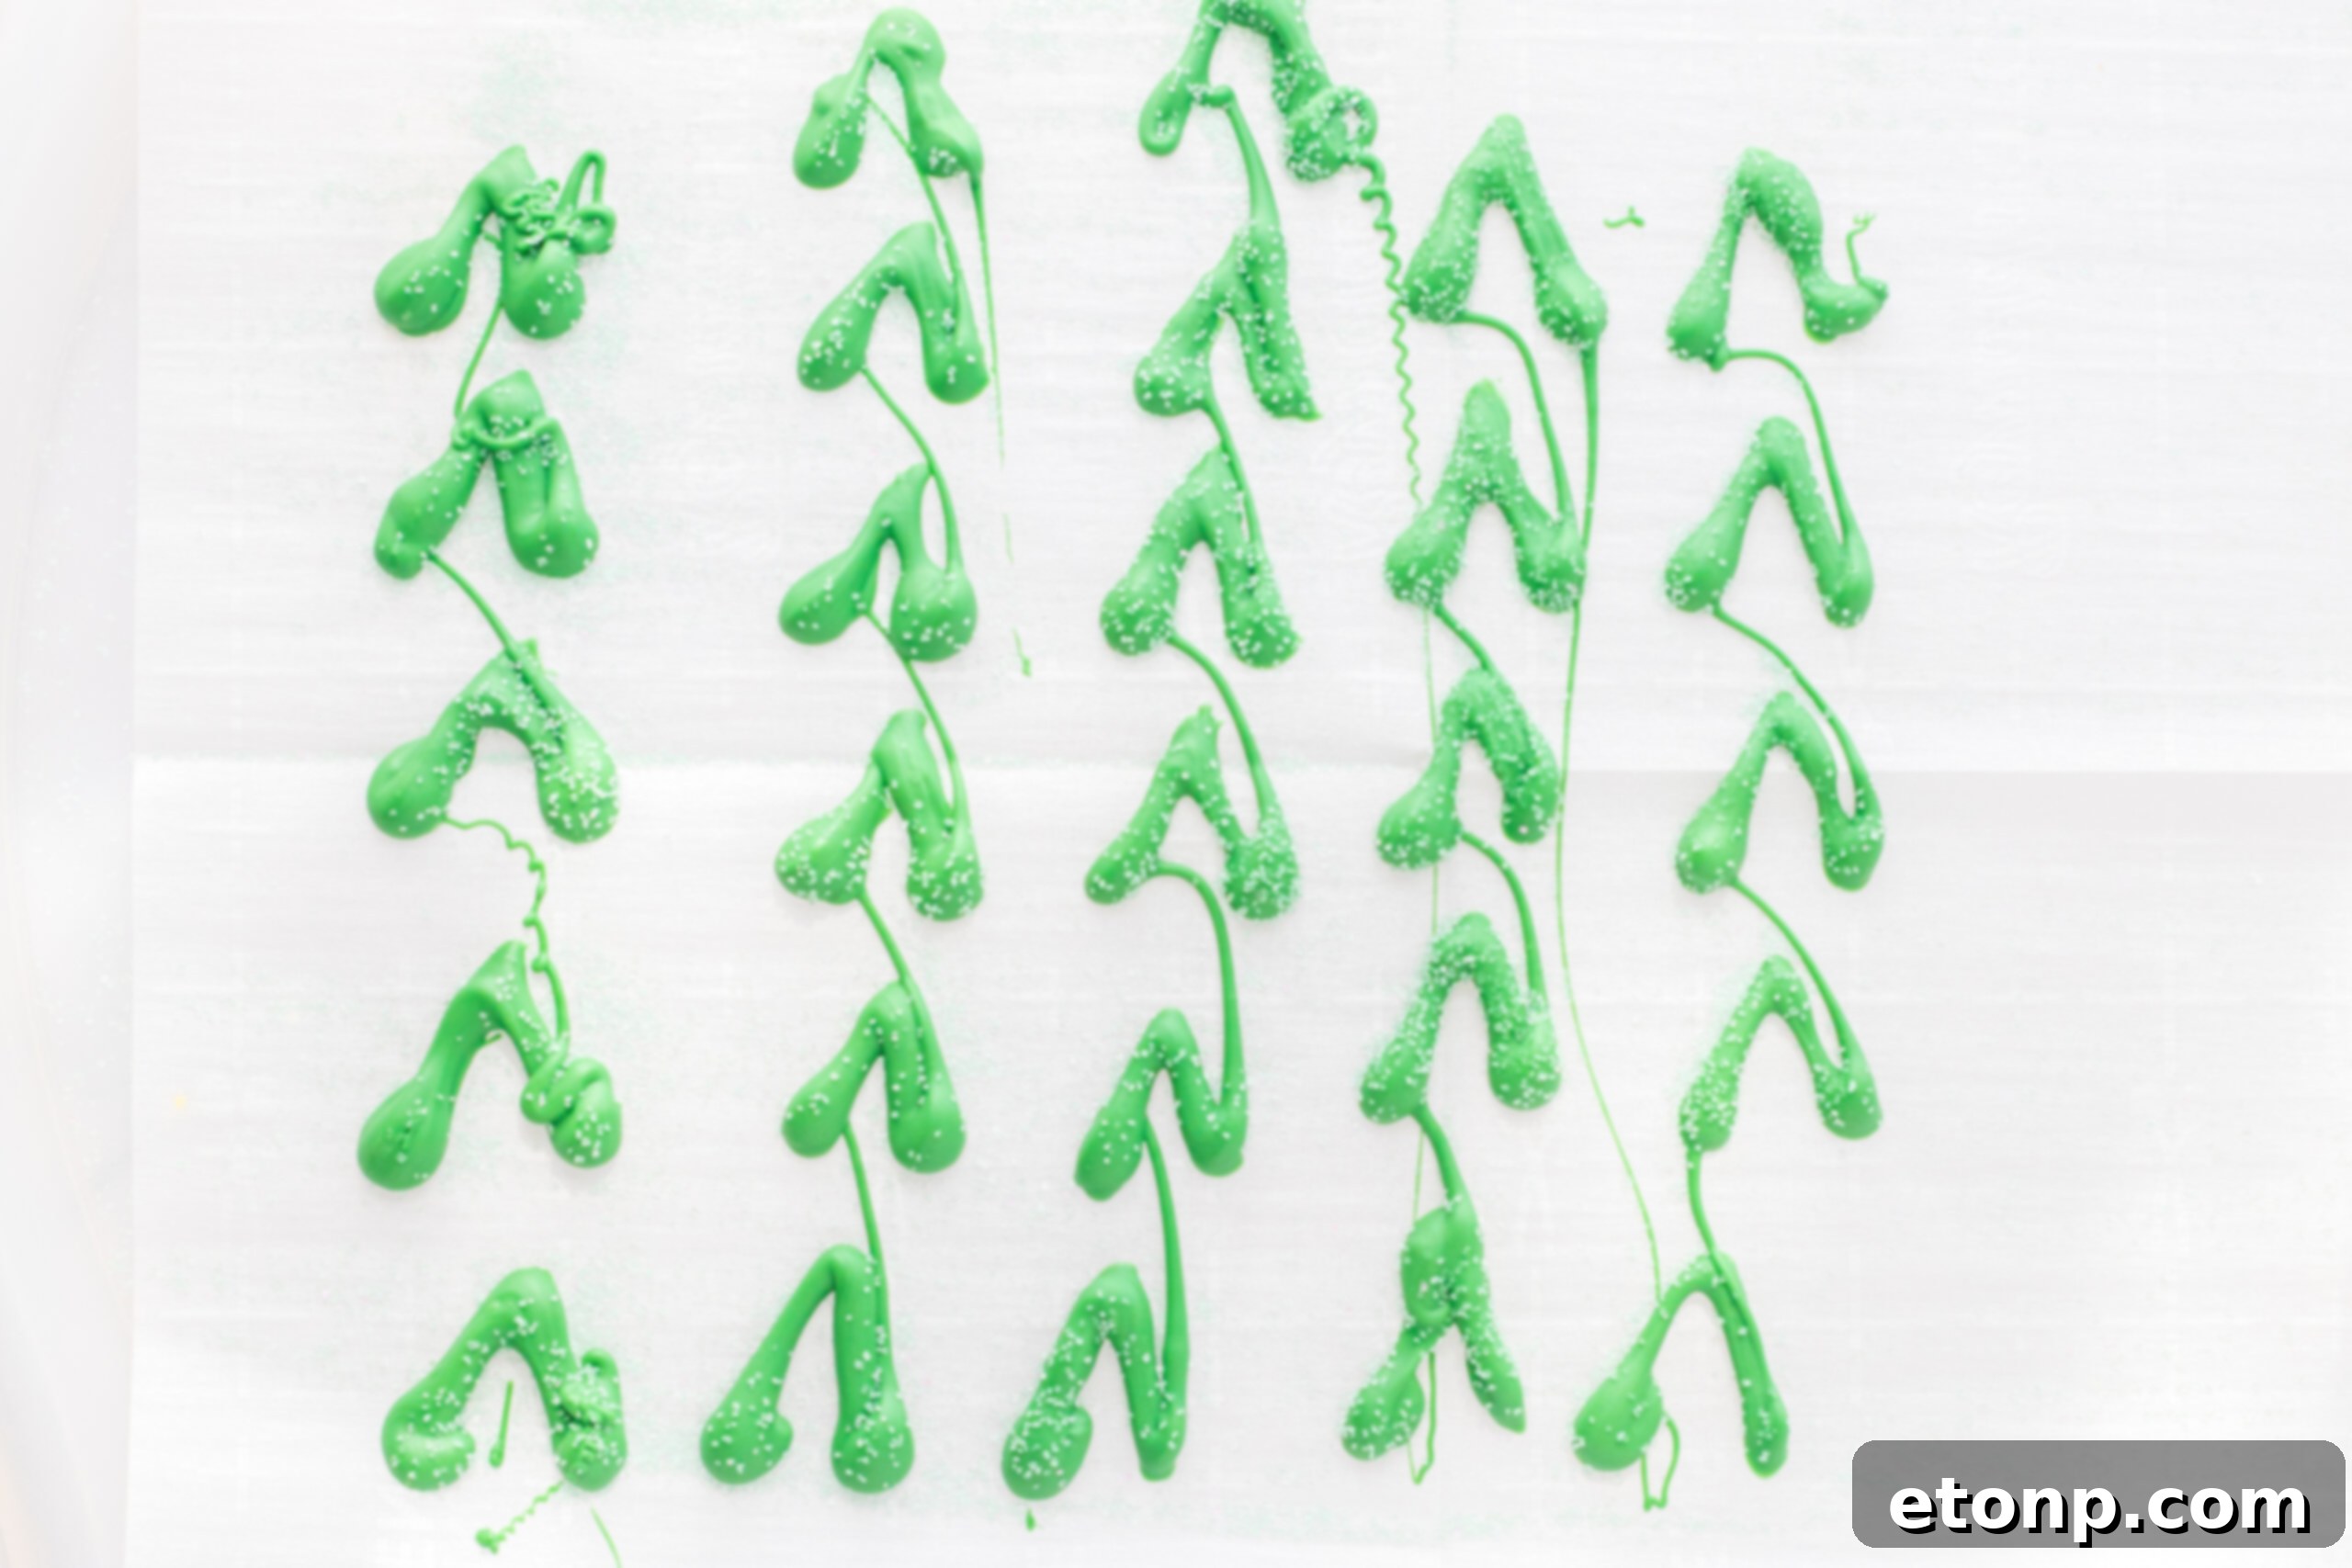
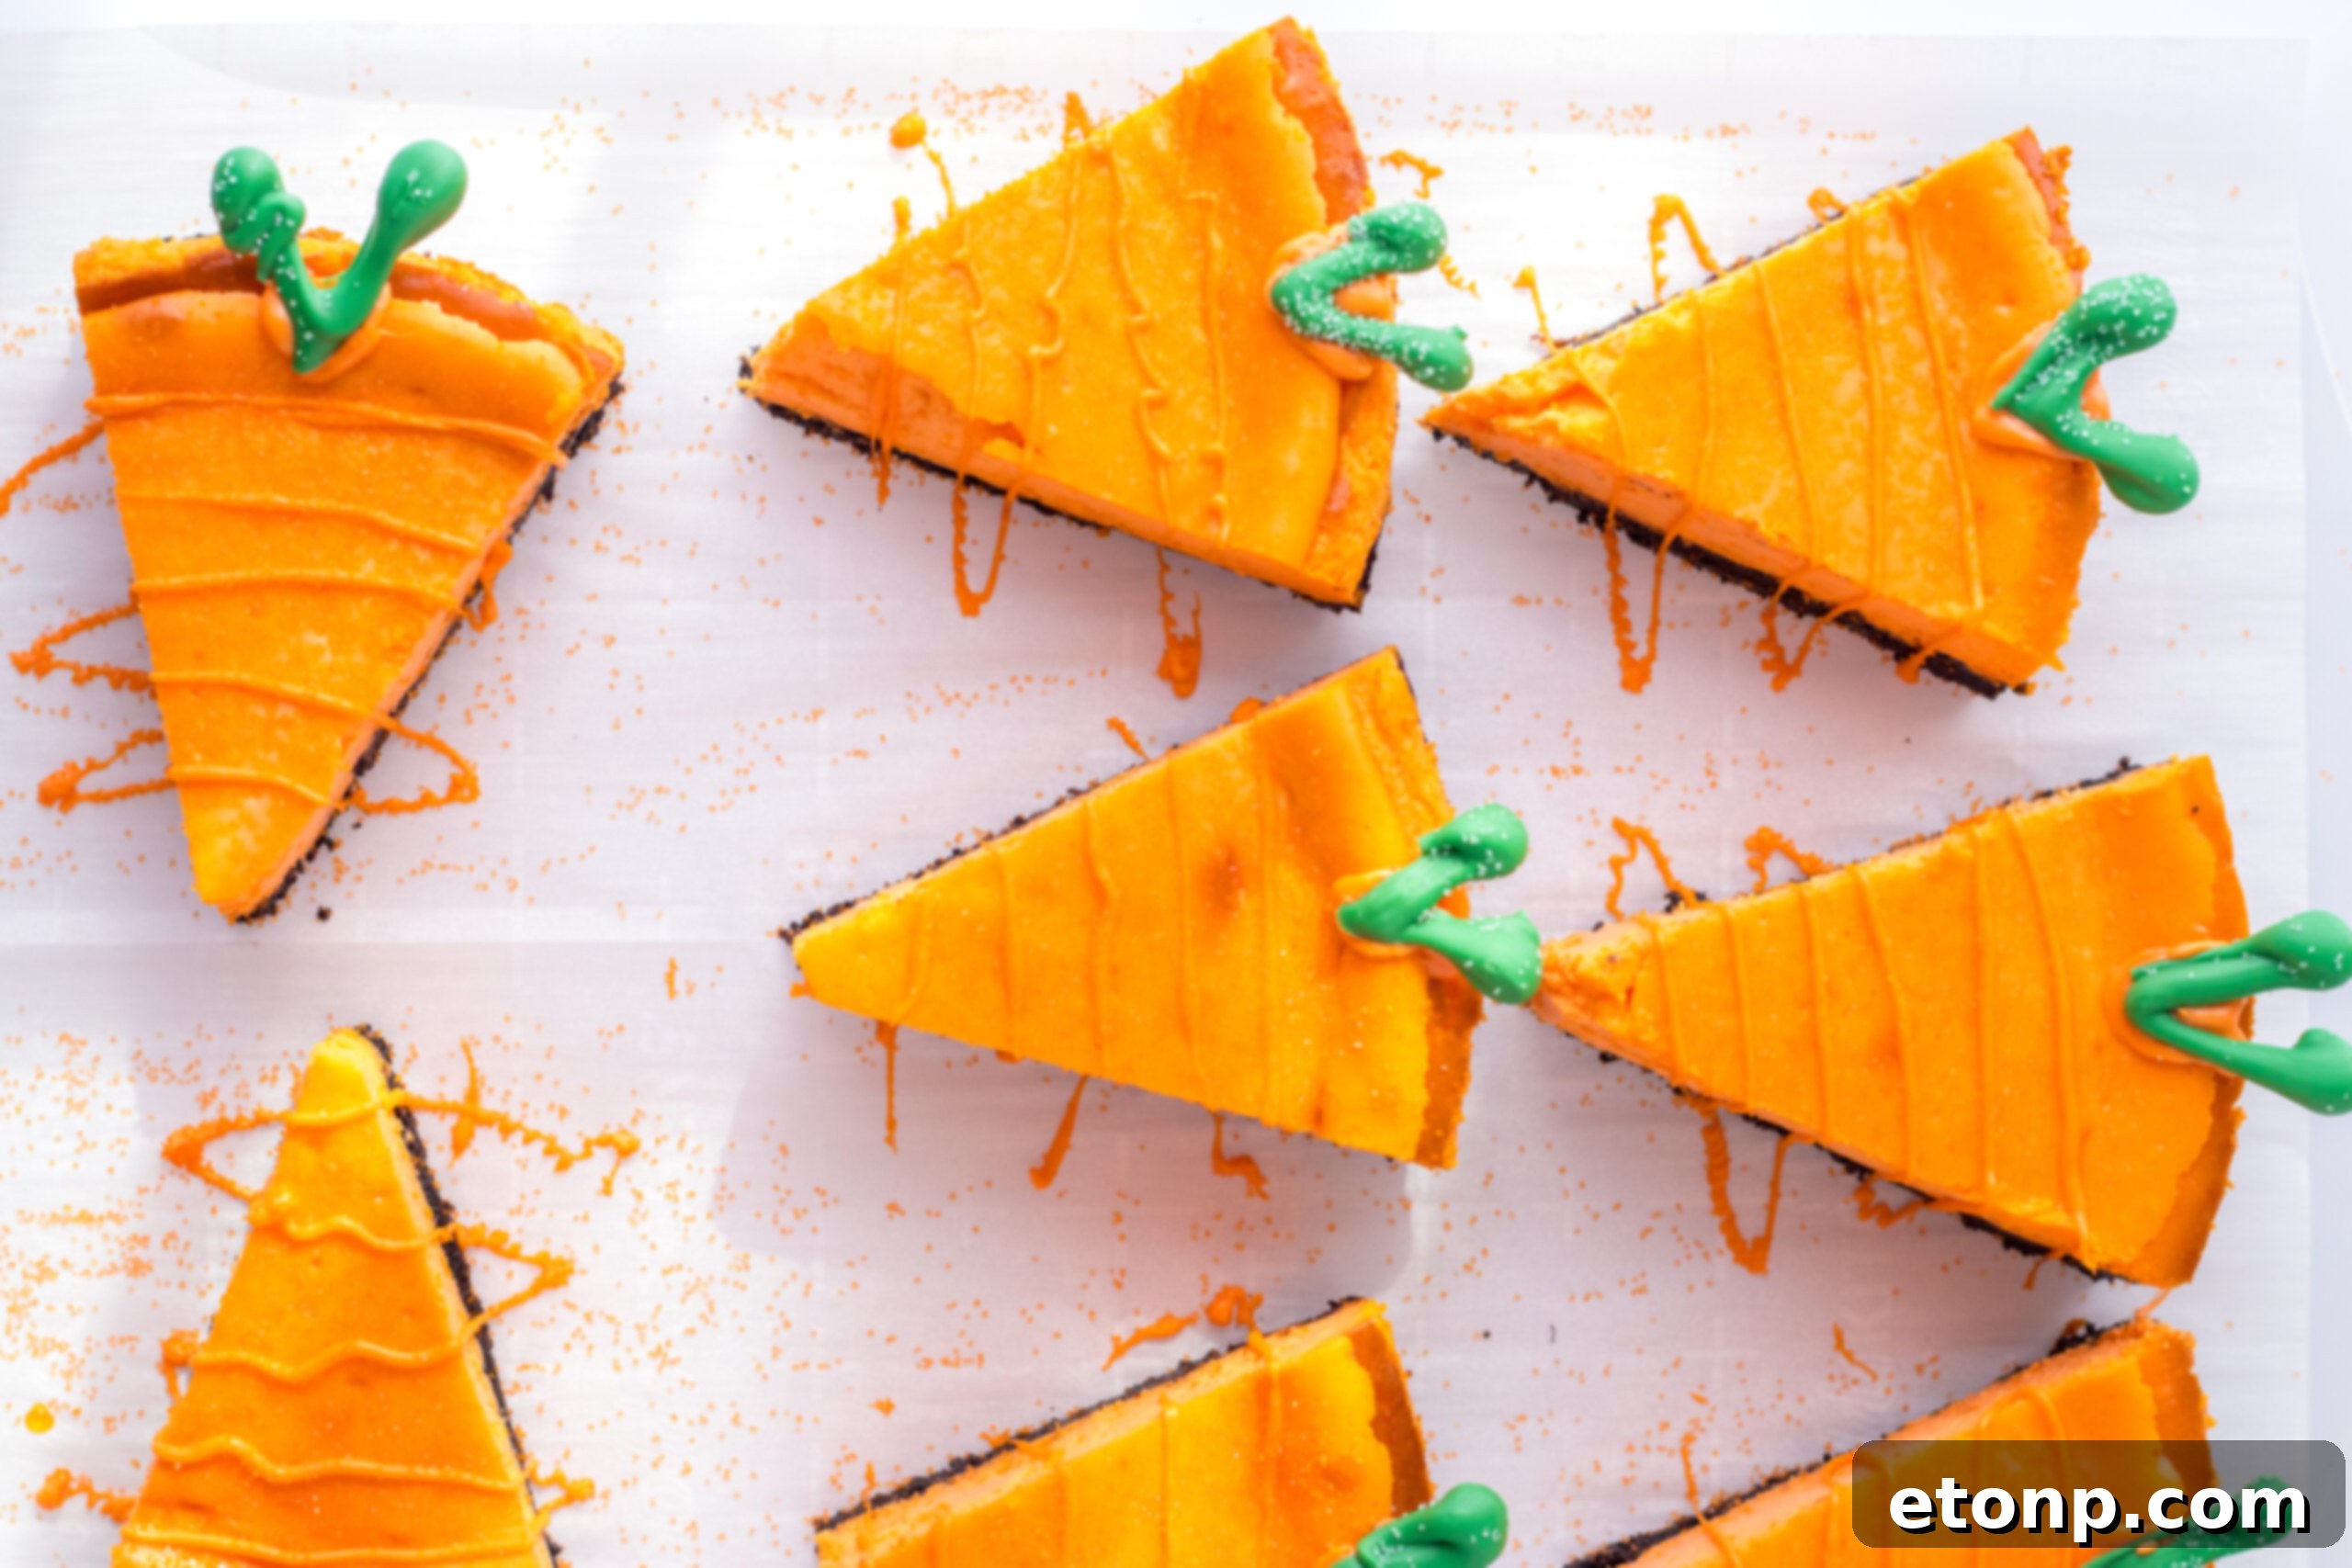
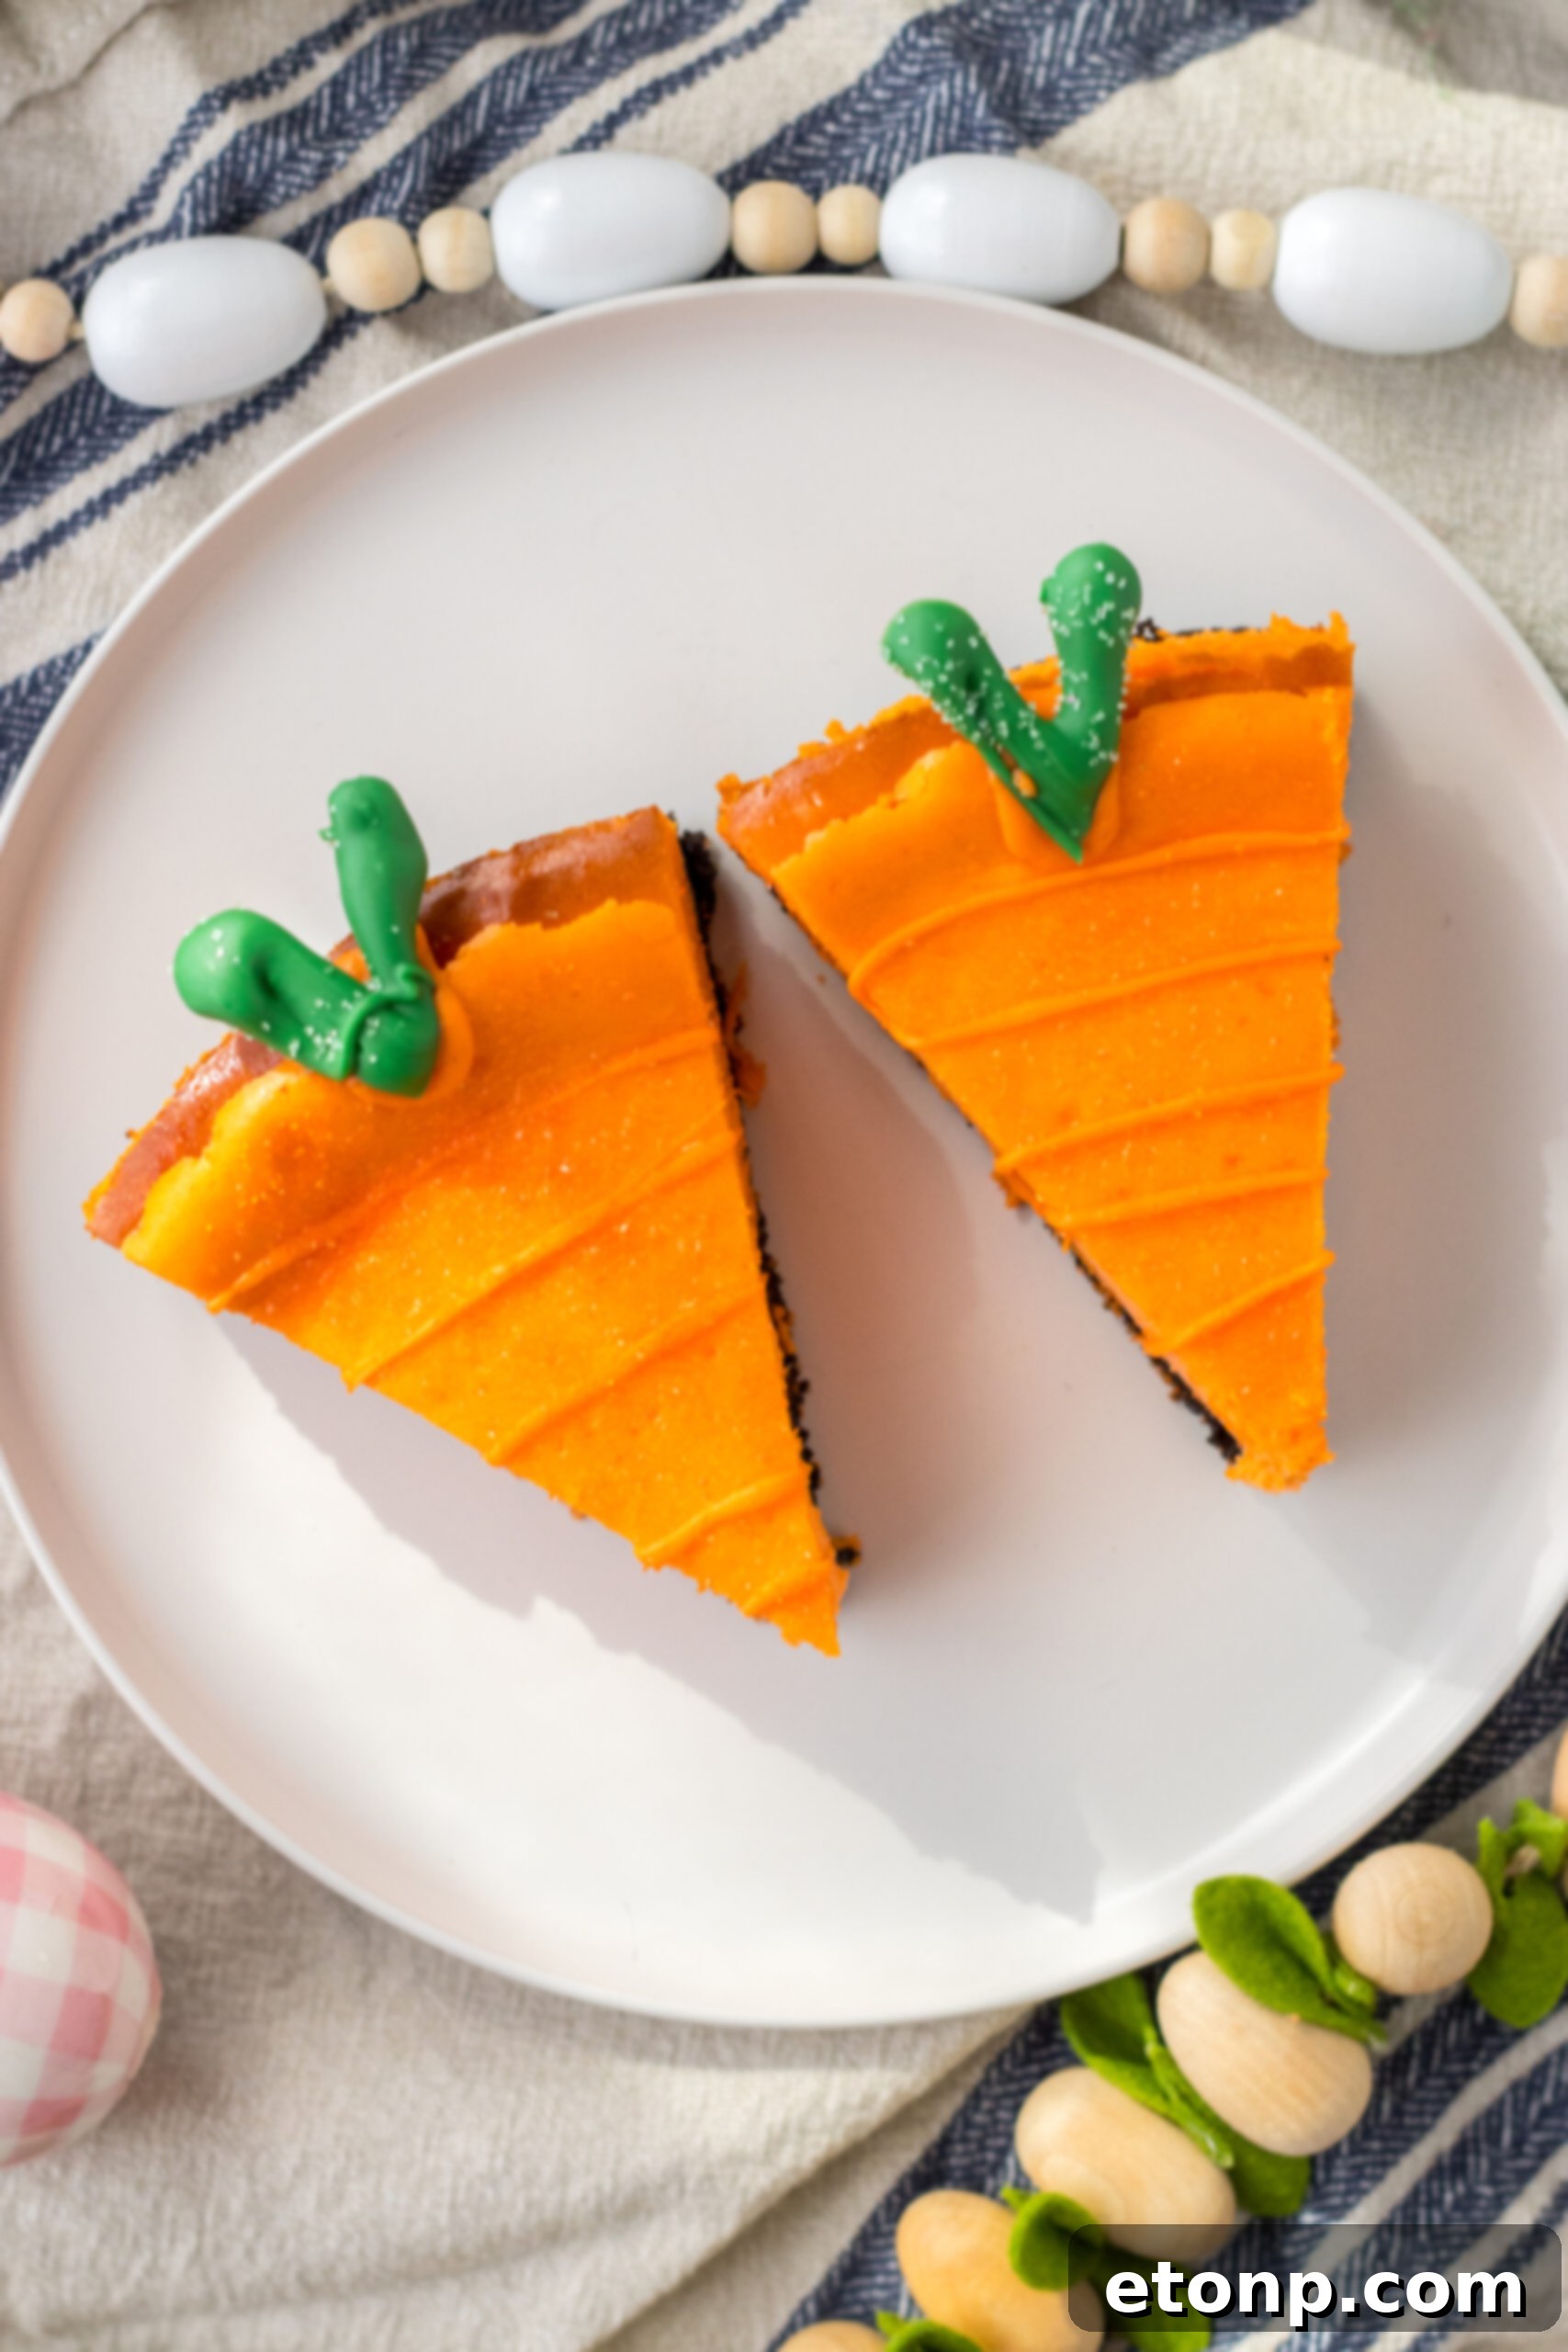
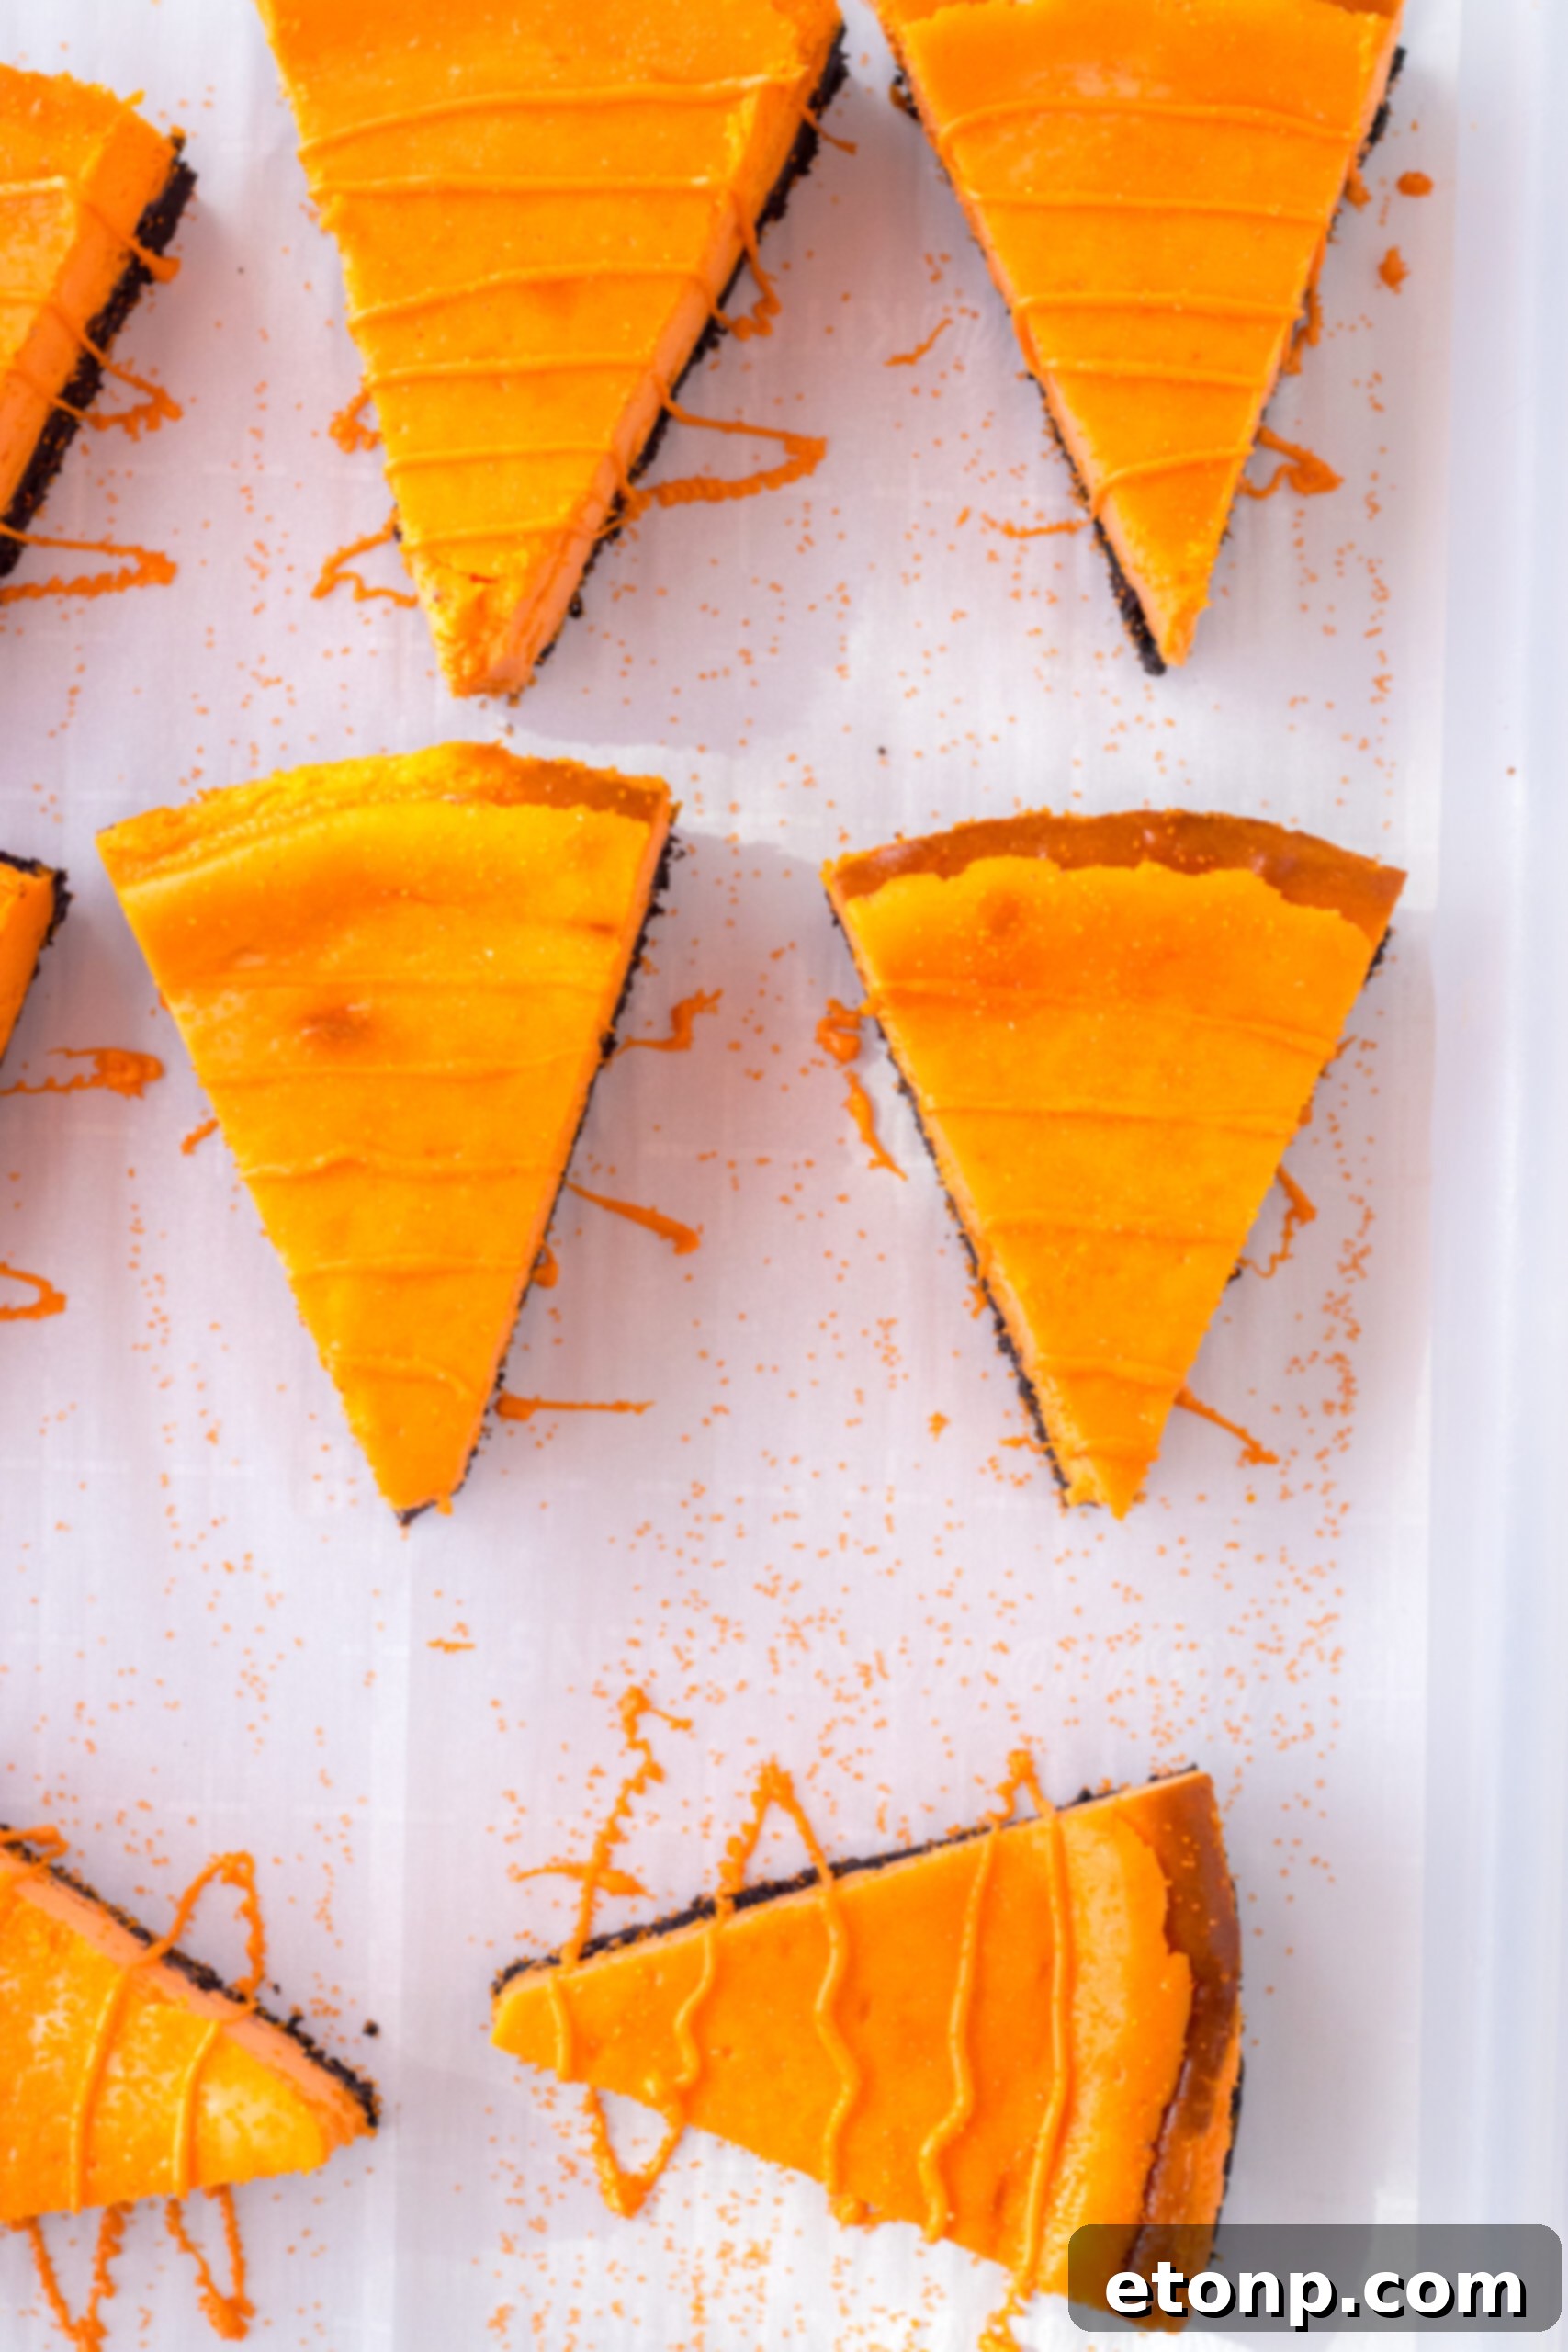
Creating the signature orange drizzle and green stems for your Cheesecake Carrots is a fun and creative step. You’ll use orange and green candy melts, which are designed to melt smoothly and set quickly. First, melt your green candy melts in a microwave-safe bowl in 30-second intervals, stirring in between, until completely smooth. Transfer the melted green candy to a small Ziploc bag and snip off a tiny corner. On parchment paper, pipe V-shaped designs to create the “stems,” making a few extras in case some break. Repeat the melting process with the orange candy melts. For the orange drizzle, make a slightly smaller hole in the bag. Place your cheesecake slices on parchment paper and drizzle the orange candy over them in a zig-zag motion, coating the top and sides to mimic a carrot. Finally, squeeze a small dot of orange melt onto the top center of each cheesecake slice and carefully attach a hardened green stem. This allows for plenty of artistic freedom!
Expert Tips & Tricks for Perfect Cheesecake Carrots
Achieving bakery-quality Cheesecake Carrots is easier than you think with these expert tips and tricks. Whether you’re a seasoned baker or trying cheesecake for the first time, these pointers will help ensure your festive desserts turn out perfectly every time.
- Room Temperature Ingredients are Key: Always ensure your cream cheese and eggs are at proper room temperature before mixing. This allows them to combine smoothly and prevents lumps in your cheesecake batter, resulting in a perfectly creamy texture.
- Don’t Overmix the Batter: Once you add the eggs to the cream cheese mixture, mix just until combined. Overmixing can incorporate too much air, leading to cracks in your cheesecake during baking or cooling.
- Achieve Vibrant Orange: While optional, orange food coloring gives the cheesecake filling a subtle hue. For an even brighter, more cheerful orange, add a tiny dash of red food coloring alongside the orange. A gel food coloring works best for intense color without altering consistency.
- Mastering Candy Melts: When melting candy melts, use a microwave-safe bowl and heat in short 30-second bursts, stirring thoroughly after each interval. Overheating can cause them to seize and become unusable. If they seem too thick, add a teaspoon of vegetable shortening or coconut oil to thin them out.
- Creative Drizzles and Stems: Feel free to experiment with your candy melt designs. For the green stems, you can pipe simple “V” shapes, small leaves, or even more intricate designs. For the orange drizzle, zig-zag patterns are classic, but you can also create swirls or other decorative touches.
- Sprinkle Immediately: If you plan to use sprinkles on your candy melt decorations (both green stems and orange drizzle), make sure to add them immediately after piping or drizzling, while the candy melts are still wet. This ensures they adhere properly before the candy hardens.
- Parchment Paper is Your Friend: Always line your baking sheets or trays with parchment paper when working with candy melts. This prevents sticking and makes it easy to peel off the hardened candy stems and coated cheesecake slices.
- Chill Thoroughly: Patience is paramount! Allowing your cheesecake to chill for the full 4 hours (or even overnight) is crucial. This firming time allows the cheesecake to set completely, making it easier to slice cleanly and ensuring the best possible texture before decoration.
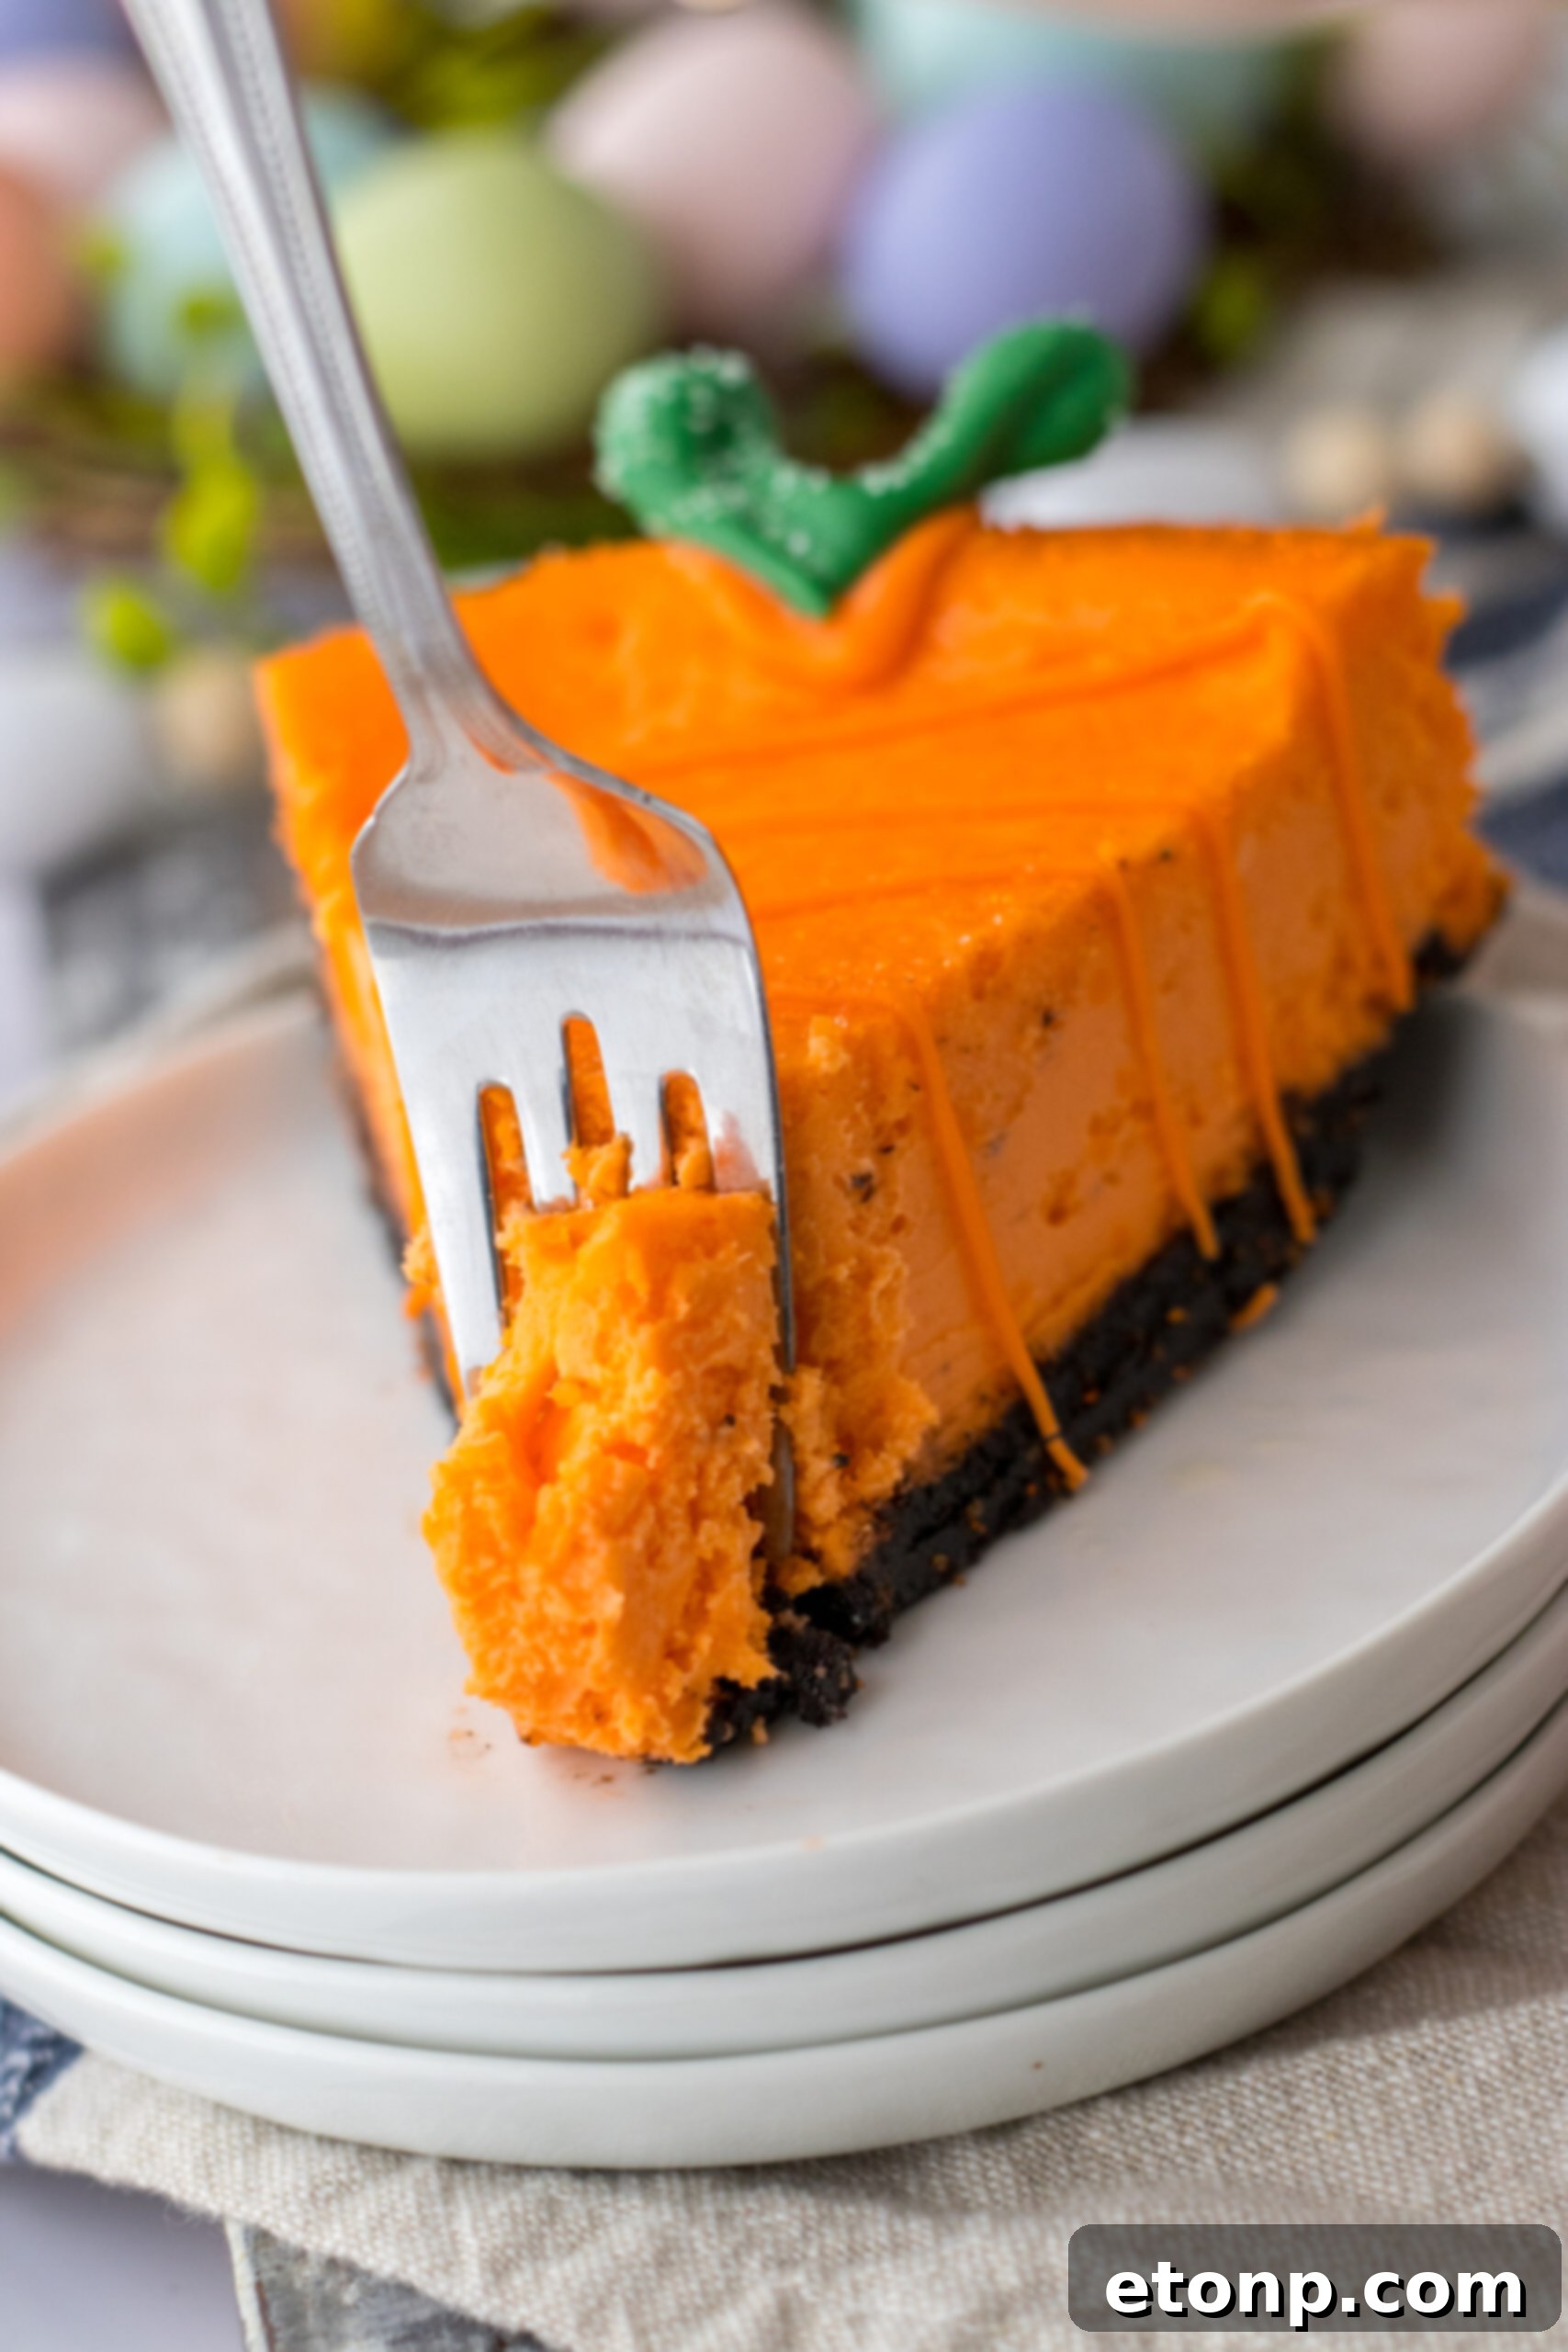
Making these Cheesecake Carrots is a simple, enjoyable process that yields an incredibly rewarding dessert. The inside boasts a lusciously creamy cheesecake filling, while the outside transforms into an adorable, vibrant carrot, making each slice a true work of edible art.
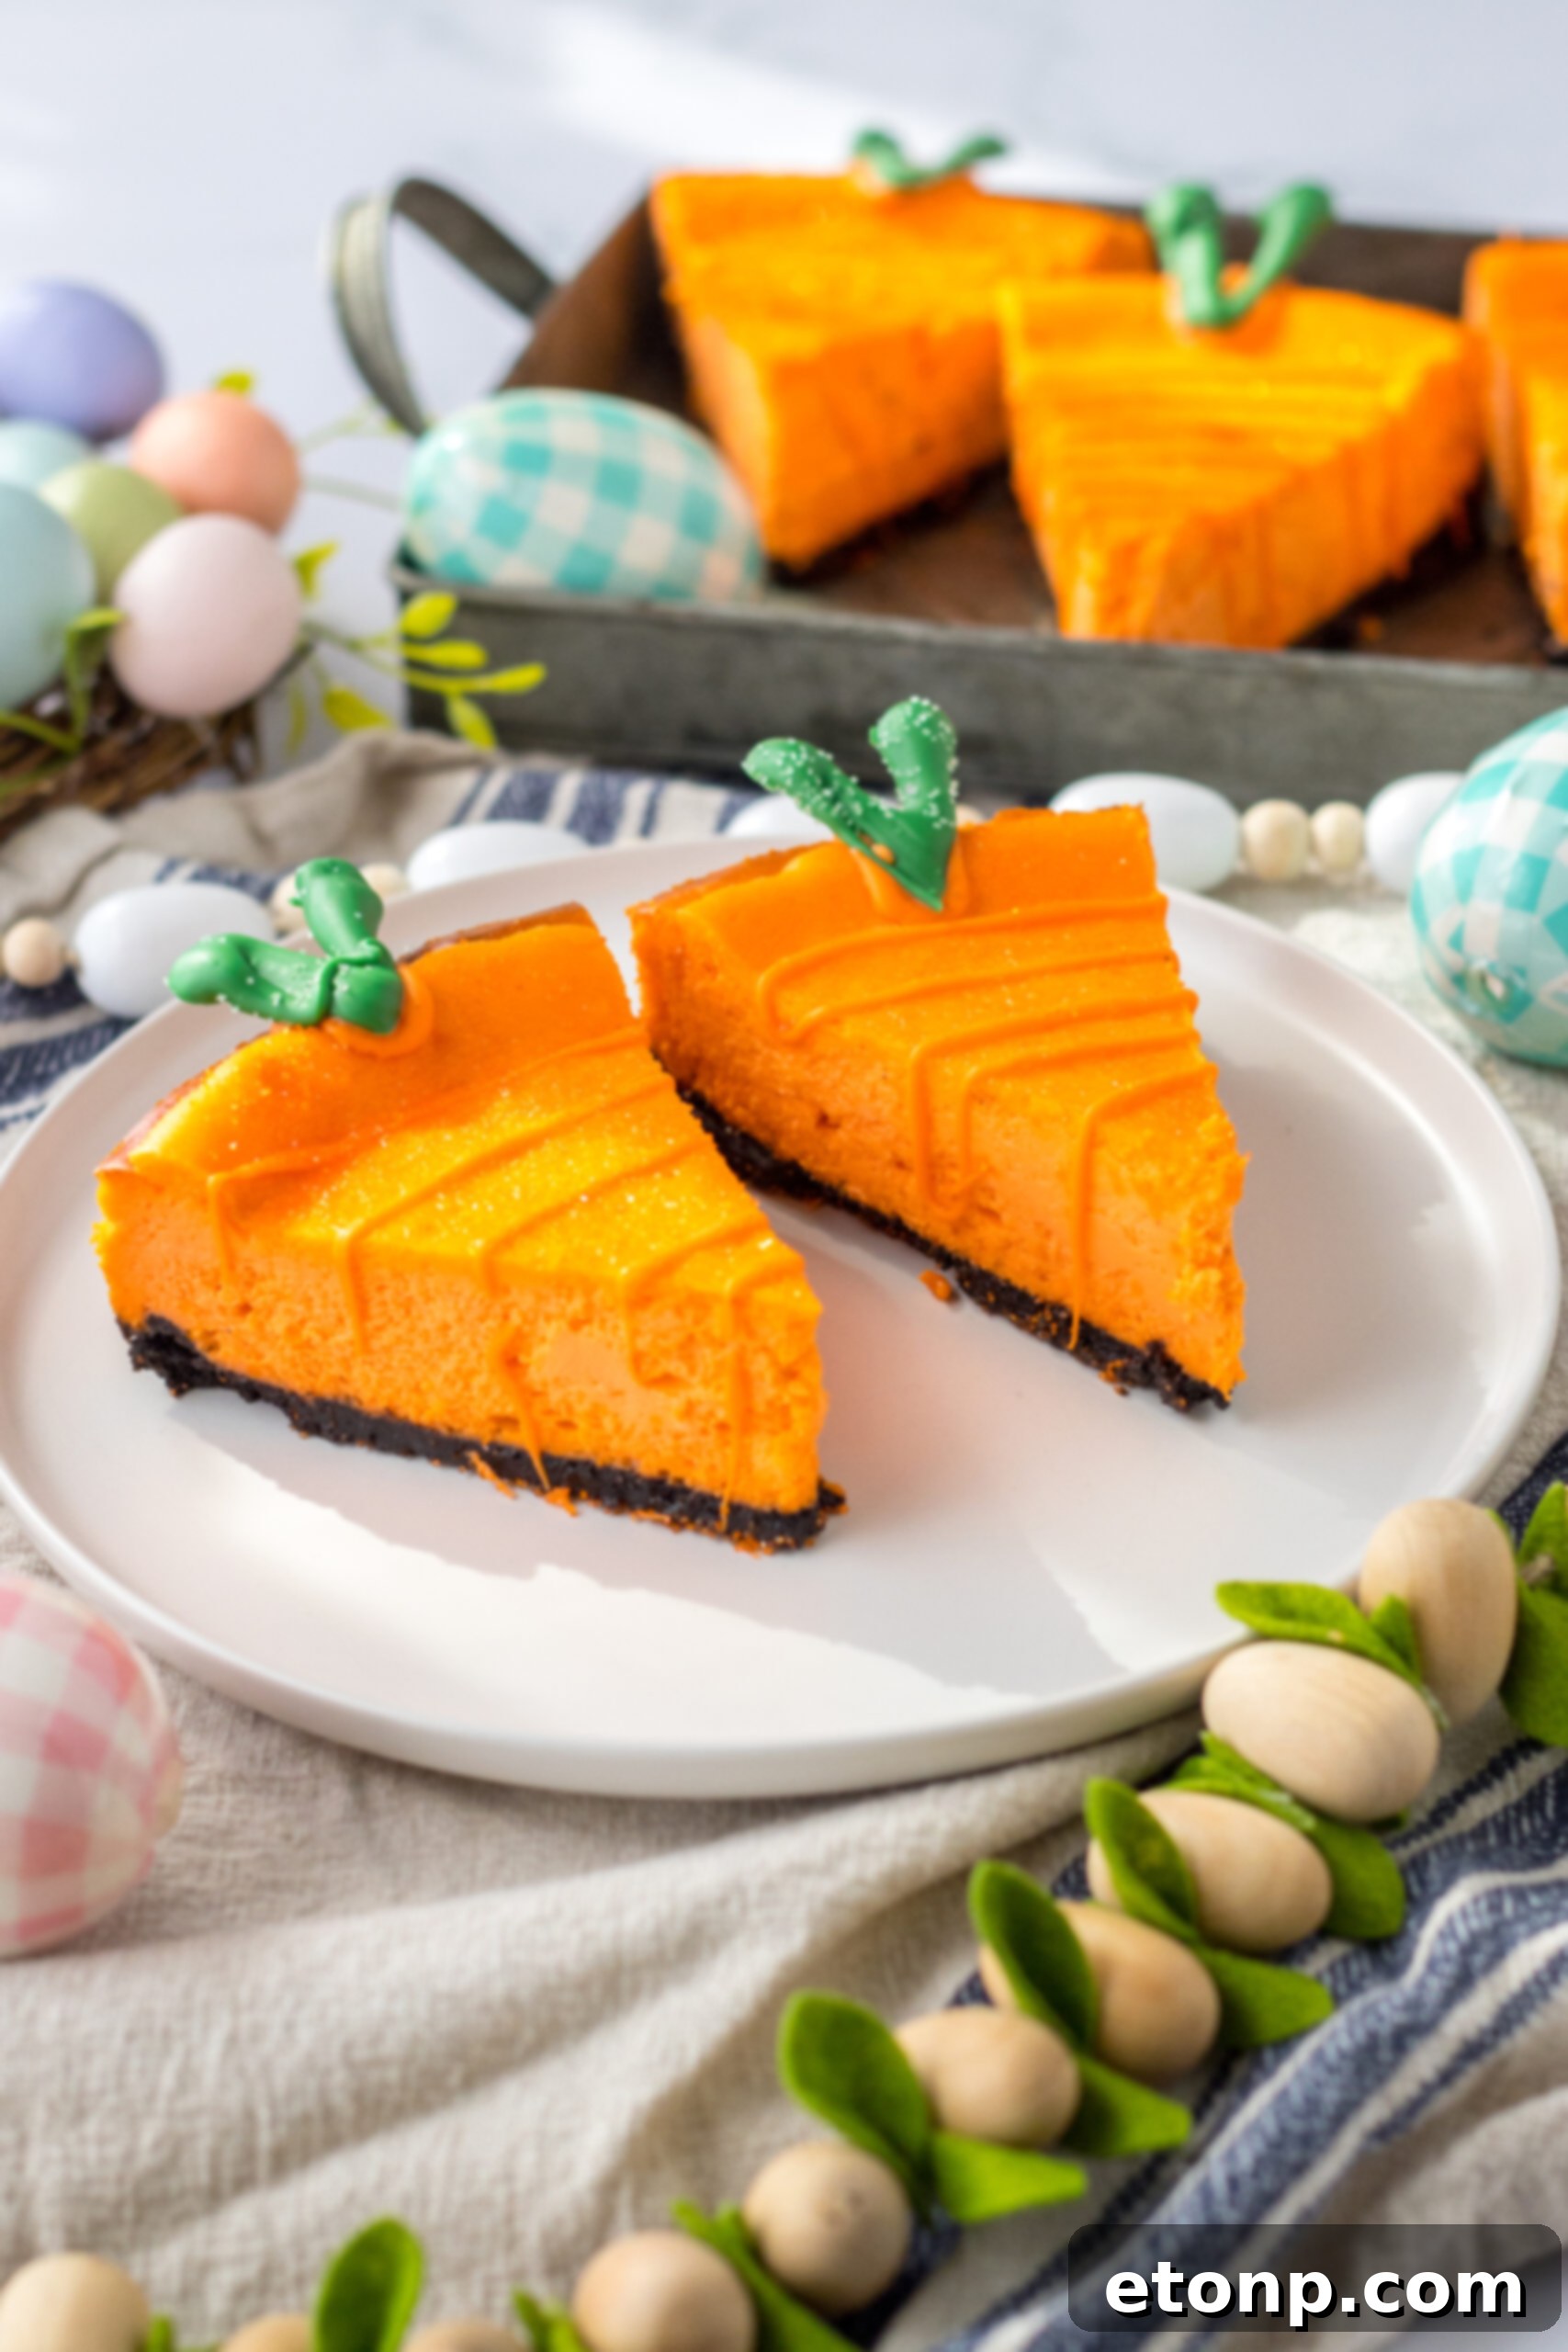
Ultimately, these fun and festive Cheesecake Carrots offer a wonderfully unique and incredibly delicious way to celebrate Easter, spring, or any special occasion with your loved ones. Their charming appearance combined with the irresistible taste of classic cheesecake makes them an unforgettable treat. We encourage you to try making a batch for your holiday celebration this year – prepare to delight in the sweet, creamy flavors and the playful spirit of this truly special dessert!
MORE RECIPES YOU WILL LOVE!
Easter Kool Aid Pie
Tie Dye Easter Eggs
Bunny Bum and Easter Egg Cupcakes
Cheesecake Carrots
These Cheesecake Carrots are incredibly easy to make and serve as the cutest little addition to any dessert table! Perfect for Easter and spring celebrations.
Course: Dessert
Active Prep Time: 45 minutes
Chilling Time: 4 hours
Cook Time: 55 minutes
Total Time: 5 hours 40 minutes
Servings: 8 Servings
Pin Recipe
Share Recipe
Ingredients
- 1 1/2 cups Oreo crumbs
- 1/3 cup butter, melted
- 32 oz. Cream cheese, softened (4 blocks)
- 1 cup granulated sugar
- 1 tsp pure vanilla extract
- Orange food coloring (optional, for desired shade)
- 4 large eggs, at room temperature
- 1 cup orange candy melts
- 1 cup green candy melts
- Green and orange sugar sprinkles (optional, for decoration)
Instructions
- Preheat your oven to 325°F (160°C).
- Prepare the Oreo crumbs: Crush approximately 1½ cups of Oreo cookies (with their cream filling) until they form fine crumbs. This can be done using a food processor or by placing them in a large Ziploc bag and crushing them with a rolling pin.
- In a large bowl, combine the finely crushed Oreo crumbs with the ⅓ cup of melted butter. Mix thoroughly until all the crumbs are moistened and fully combined.
- Spray an 8-inch or 9-inch springform pan with non-stick cooking spray. Press the buttered cookie crumbs evenly into the bottom of the prepared pan to form the crust.
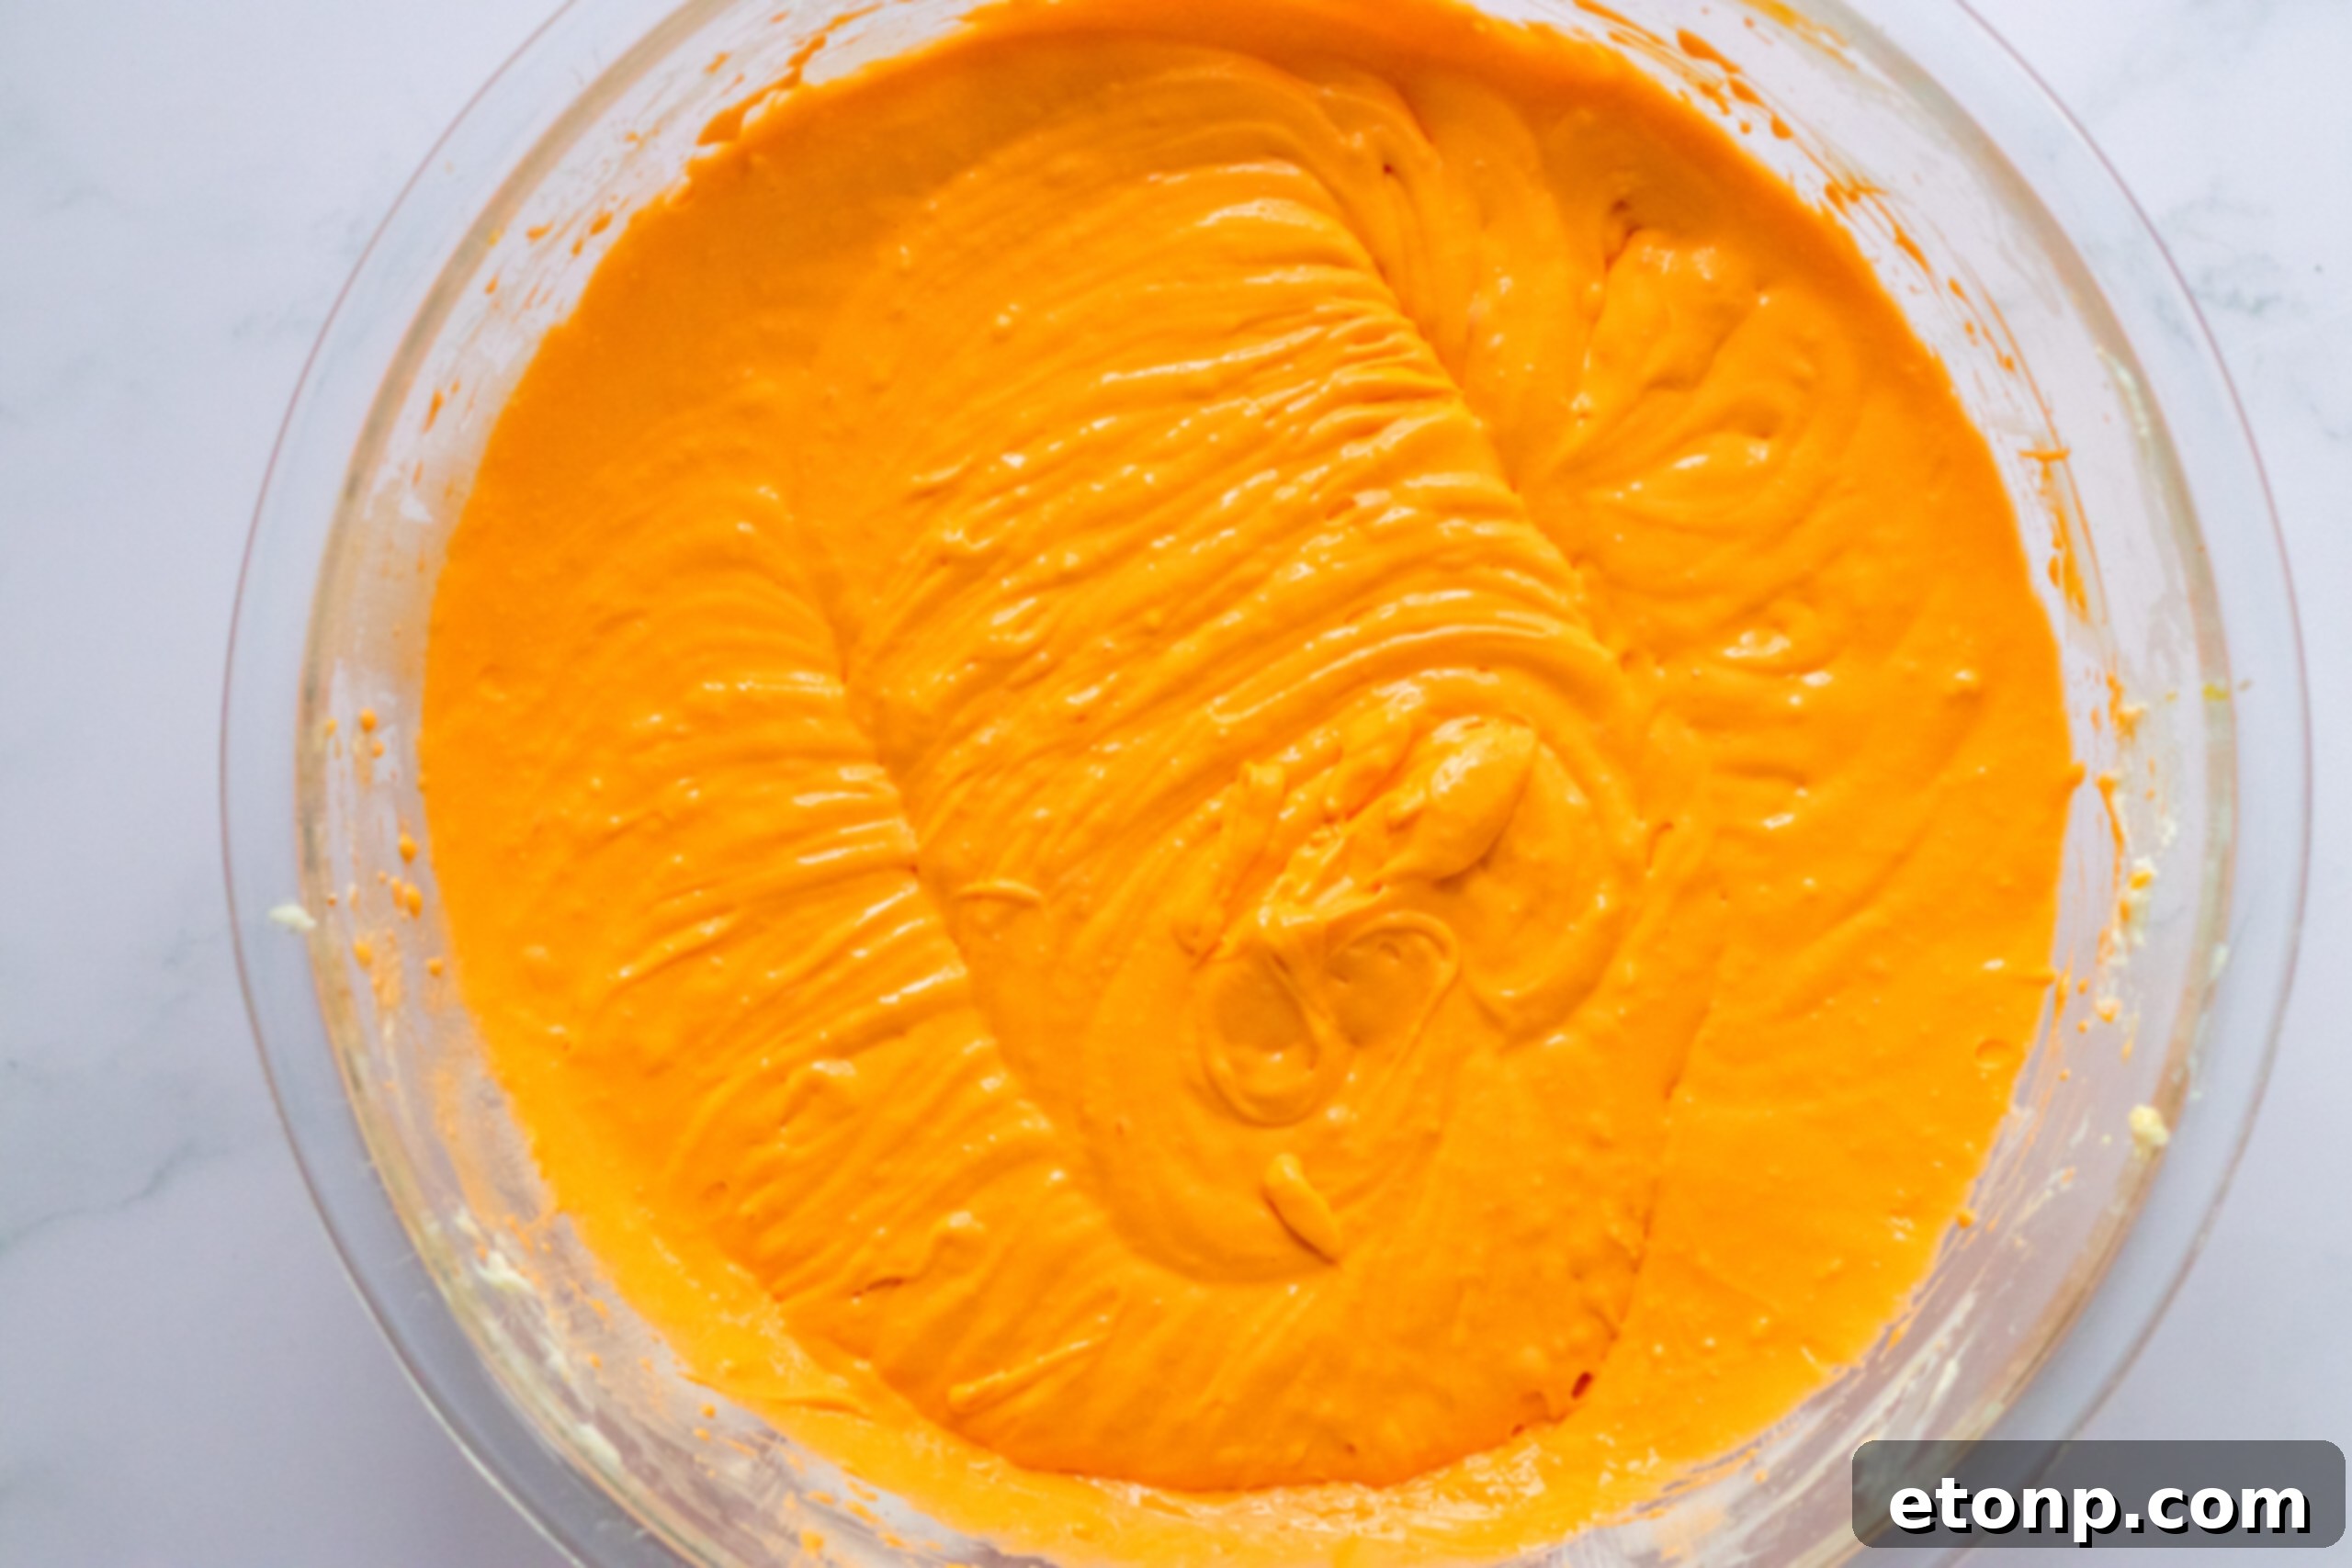
- In a separate large mixing bowl, combine the softened cream cheese, granulated sugar, and vanilla extract. Beat with a hand mixer on medium speed until the mixture is smooth and well combined, ensuring there are no lumps.
- Carefully add a few drops of orange food coloring to the cream cheese mixture, mixing gently until you reach your desired shade of orange. Then, add the 4 eggs, one at a time, mixing on low speed just until each egg is incorporated and the batter is uniform in color. Avoid overmixing.
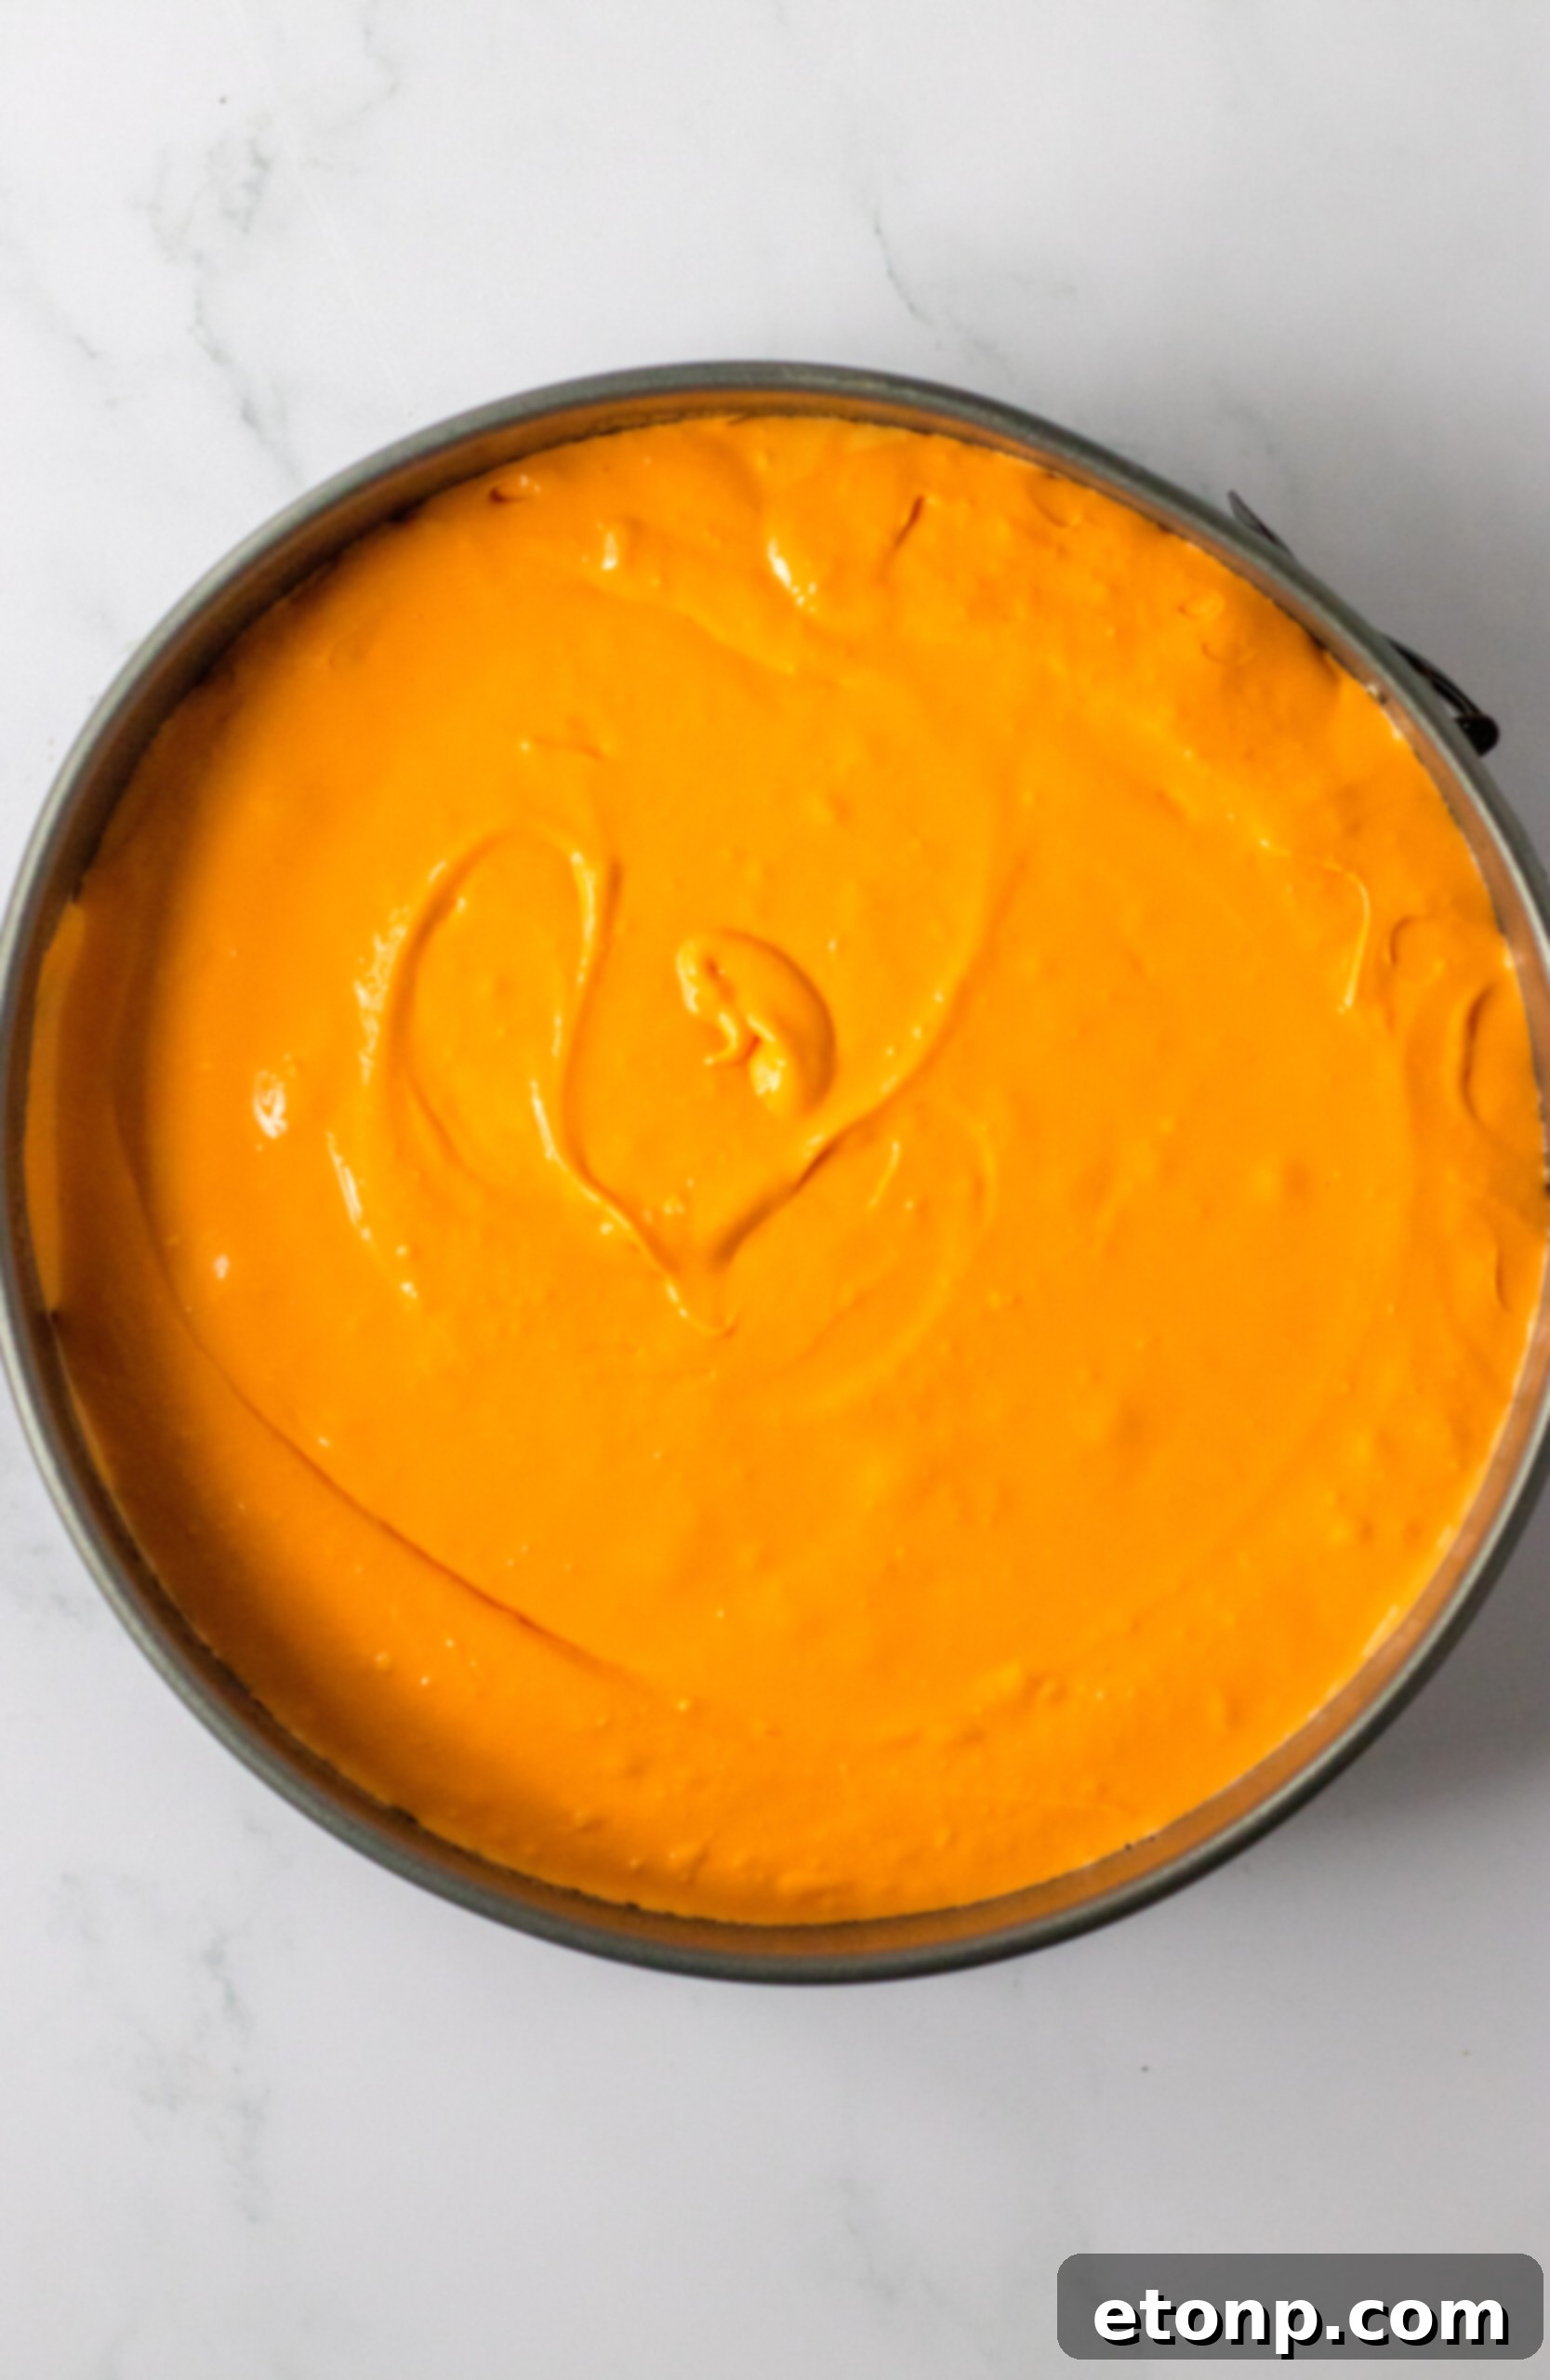
- Pour the prepared cream cheese mixture evenly over the Oreo crust in the springform pan. Gently tap the pan on the counter a few times to release any air bubbles.
- Bake in the preheated oven for 55 minutes, or until the edges of the cheesecake are set and the center still has a slight wobble when gently shaken.
- Once baked, run a thin knife around the rim of the pan to loosen the cheesecake. This helps prevent cracks as it cools.
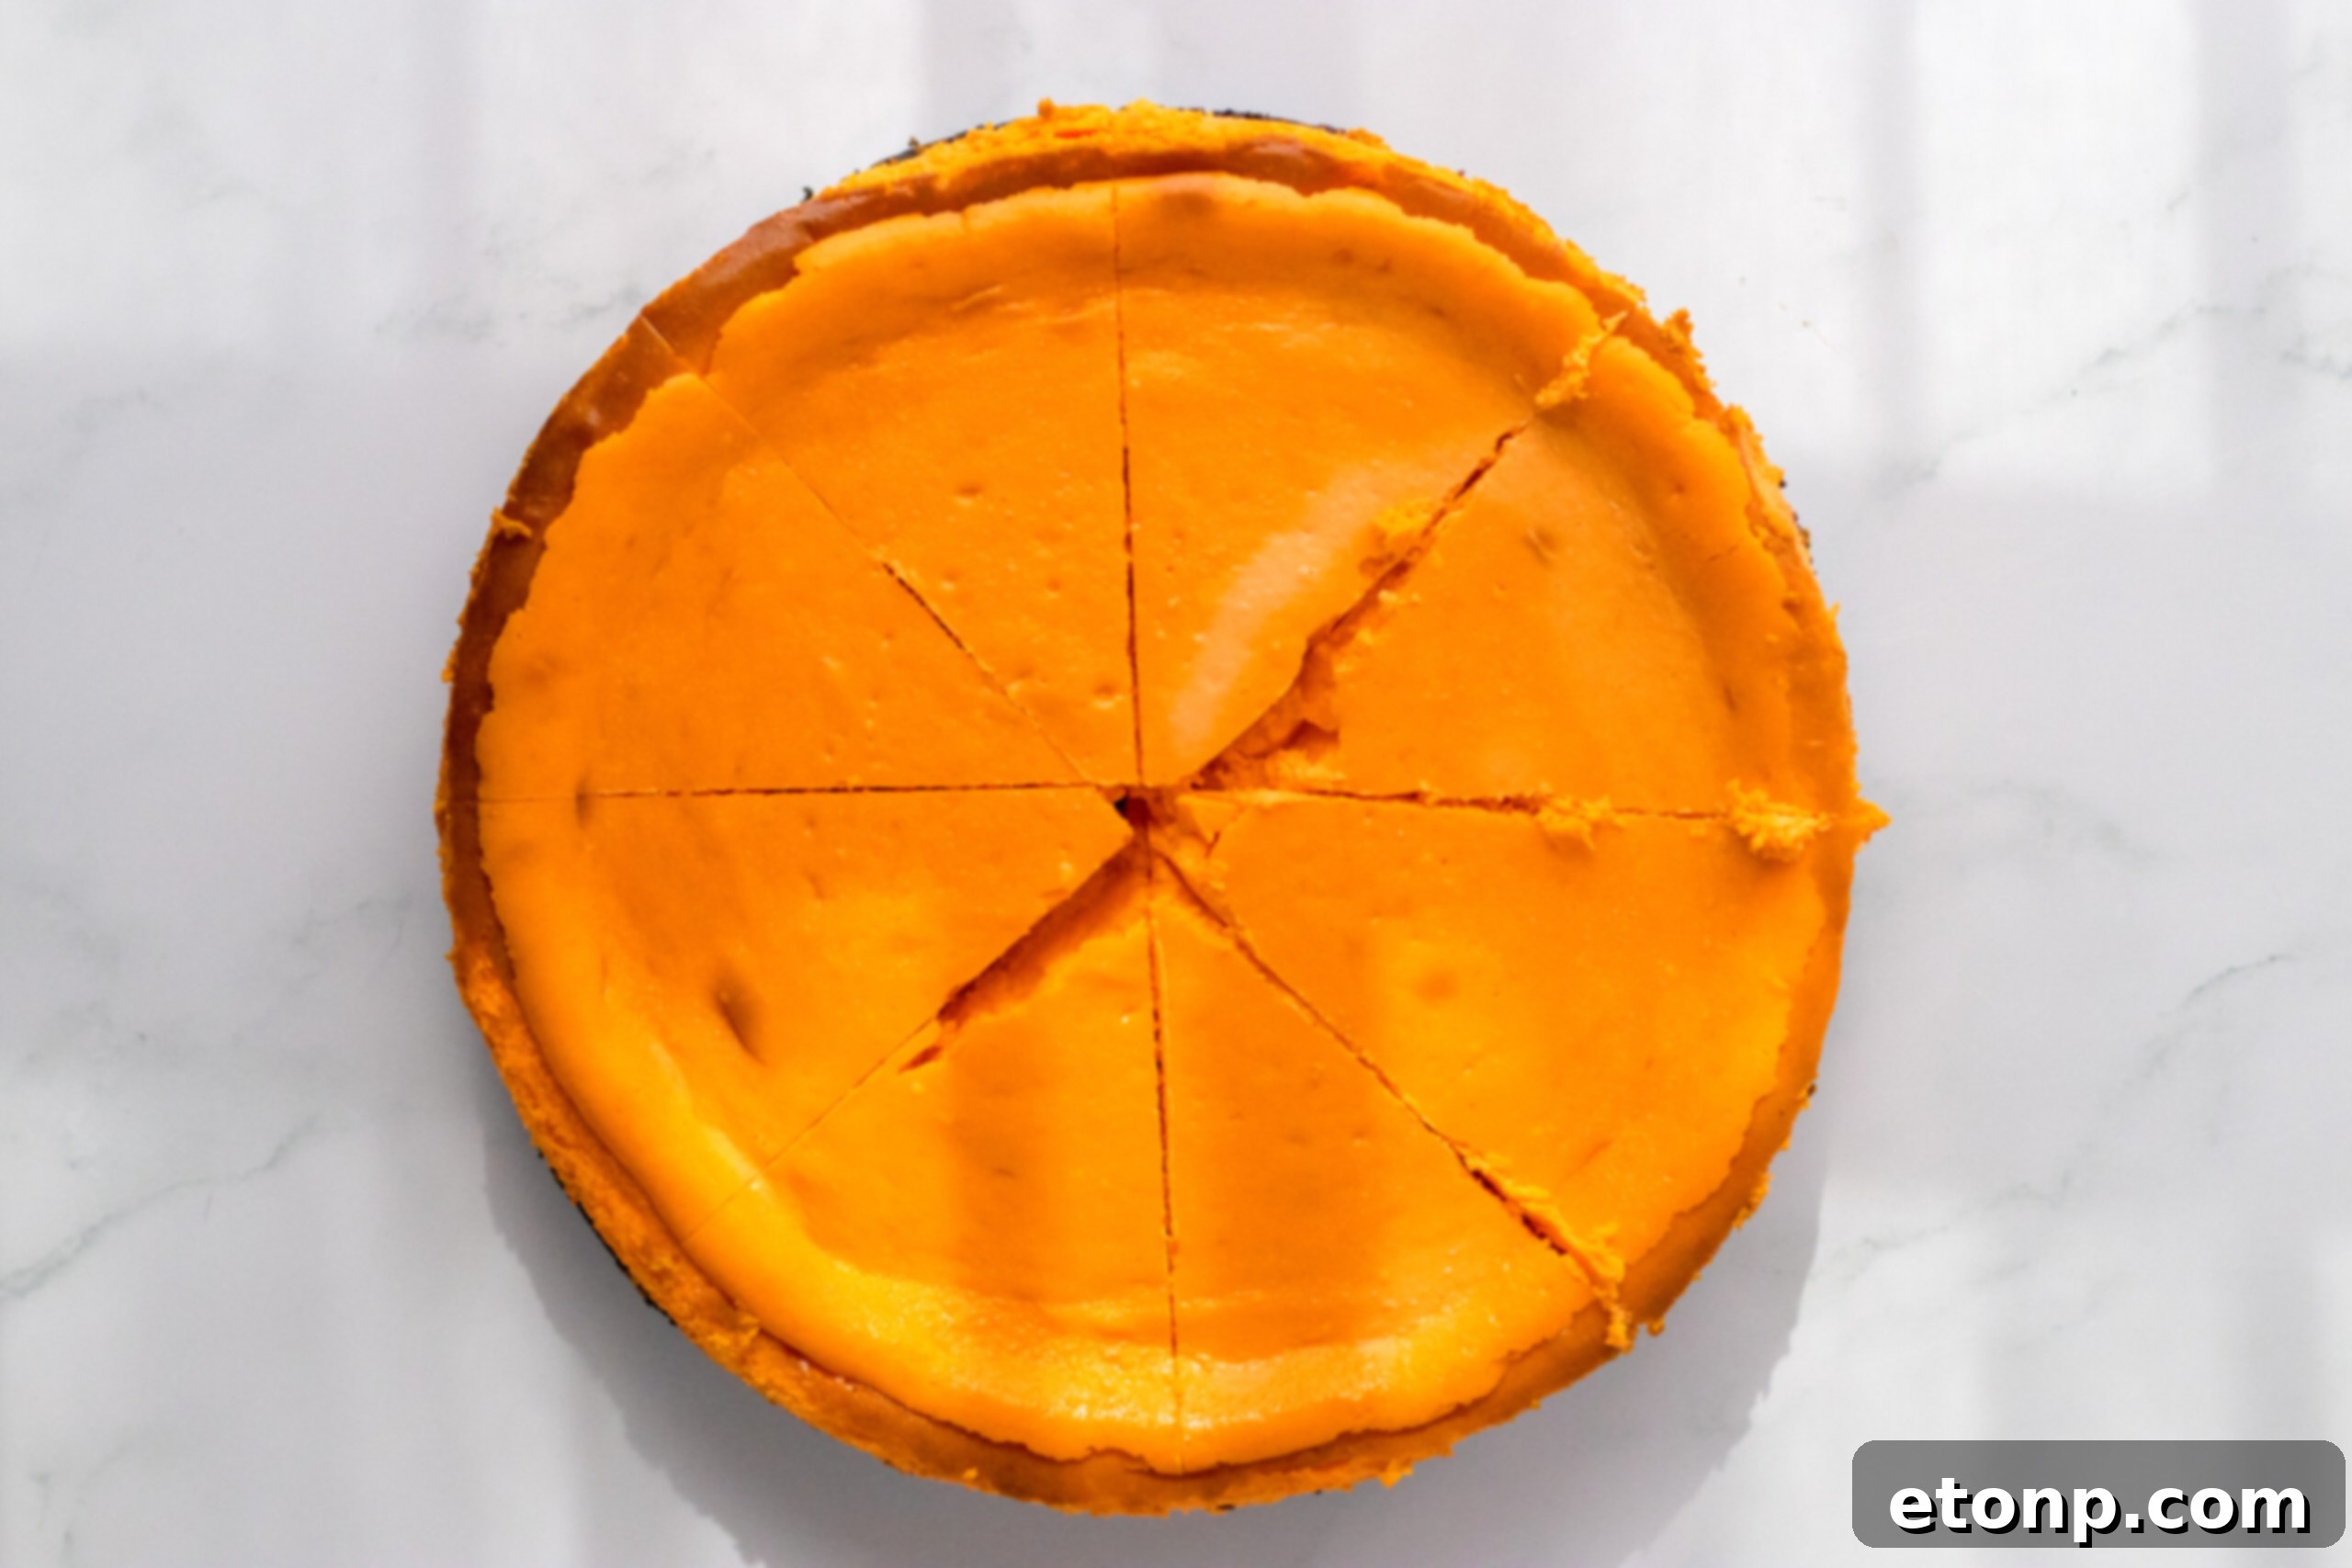
- Allow the cheesecake to cool completely at room temperature, then refrigerate for at least 4 hours, or preferably overnight, until thoroughly chilled and set.
- After chilling, carefully remove the springform pan. Cut the cheesecake into 8 equal slices, which will form the base of your carrot shapes.
- Prepare the green stems: In a microwave-safe bowl, melt the green candy melts in 30-second intervals, stirring well after each interval, until completely smooth.
- Transfer the melted green candy to a small Ziploc bag. Snip off a tiny corner of the bag to create a small opening. On a tray lined with parchment paper, pipe V-shaped stems, creating as many as you desire (make a few extra in case some break). If using green sprinkles, sprinkle them immediately onto the wet candy melts before they harden. Let the stems set completely.
- Prepare the orange drizzle: In another microwave-safe bowl, melt the orange candy melts using the same method as the green melts (30-second intervals, stirring in between).
- Transfer the melted orange candy to a small Ziploc bag and snip off an even smaller corner of the bag, creating a fine hole for drizzling.
- Place your cheesecake slices on a clean piece of parchment paper. Drizzle the orange candy melt over the top and down the sides of each cheesecake slice in a zig-zag motion, aiming to cover them like a carrot. If using orange sprinkles, apply them instantly onto the wet orange melts.
- To attach the stems: Squeeze a small dot of orange candy melt onto the top center of each cheesecake slice. Carefully pick up a hardened green stem (breaking off any excess candy drizzle) and place it onto the candy melt dot.
- Allow the decorated cheesecake carrots to sit until all the candy melt drizzles and stems are completely hard. Then, serve and enjoy your festive creations!