
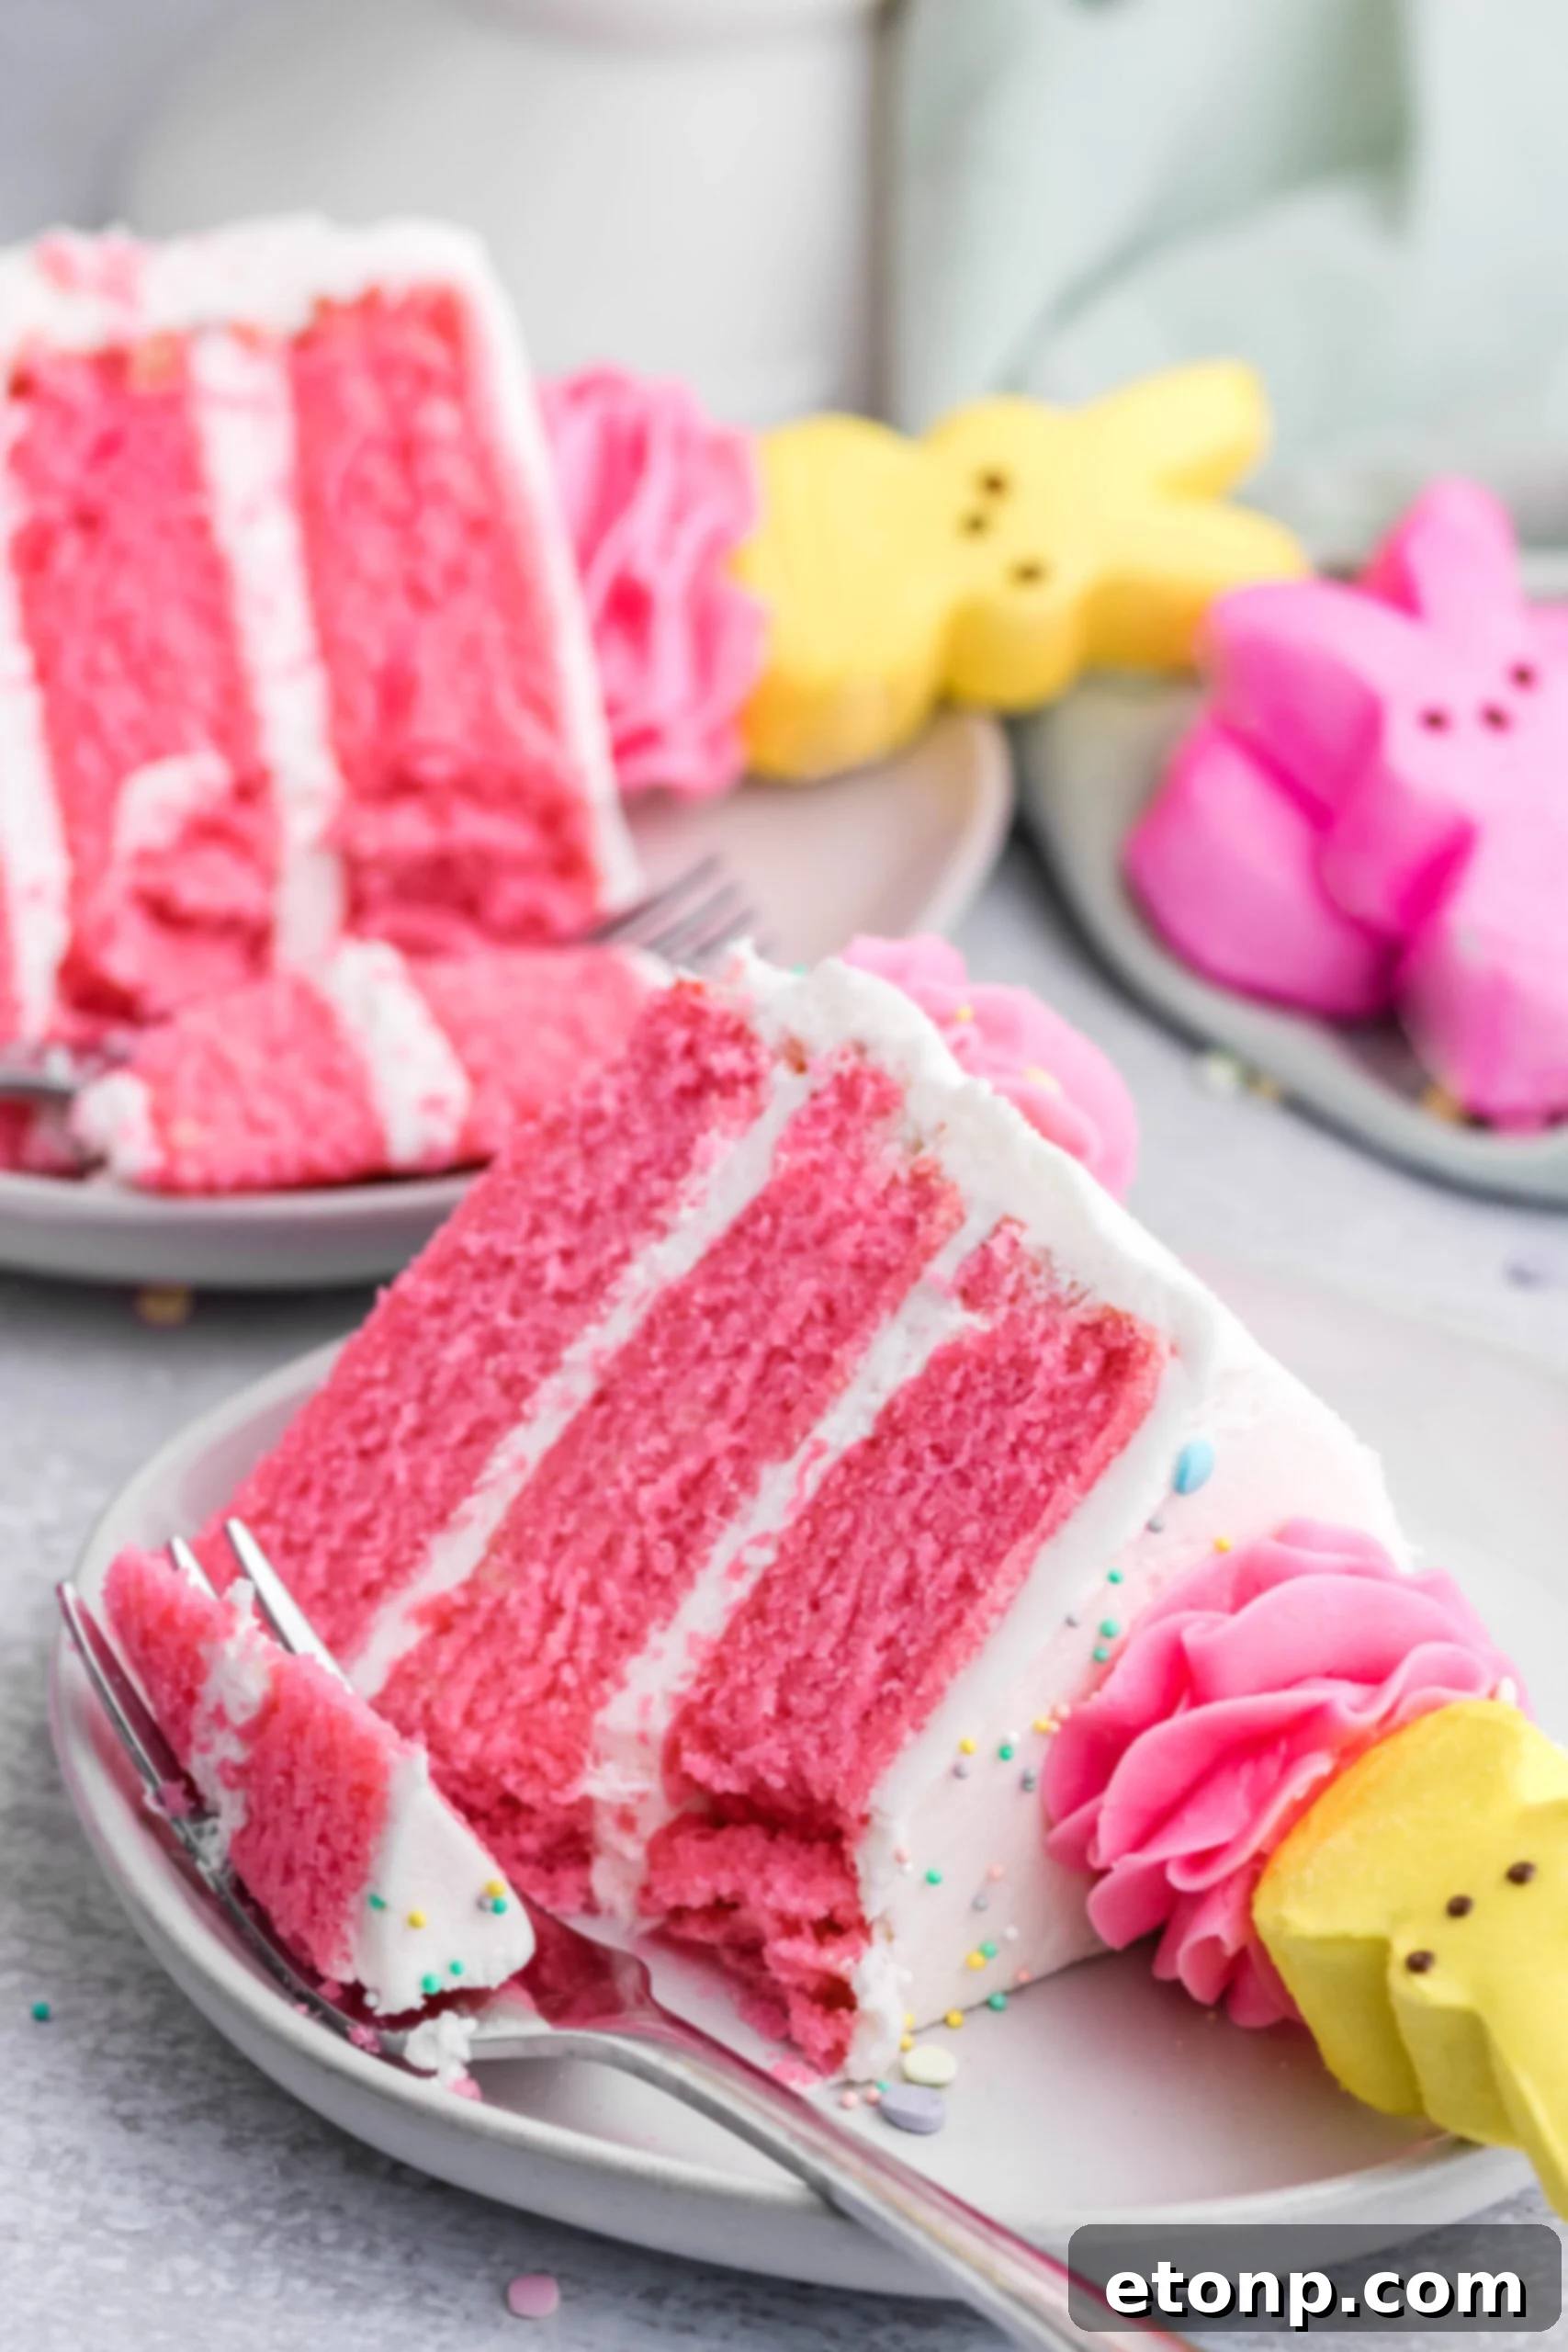
The Ultimate Easter Bunny Layer Cake: A Delightful & Easy Vanilla Celebration
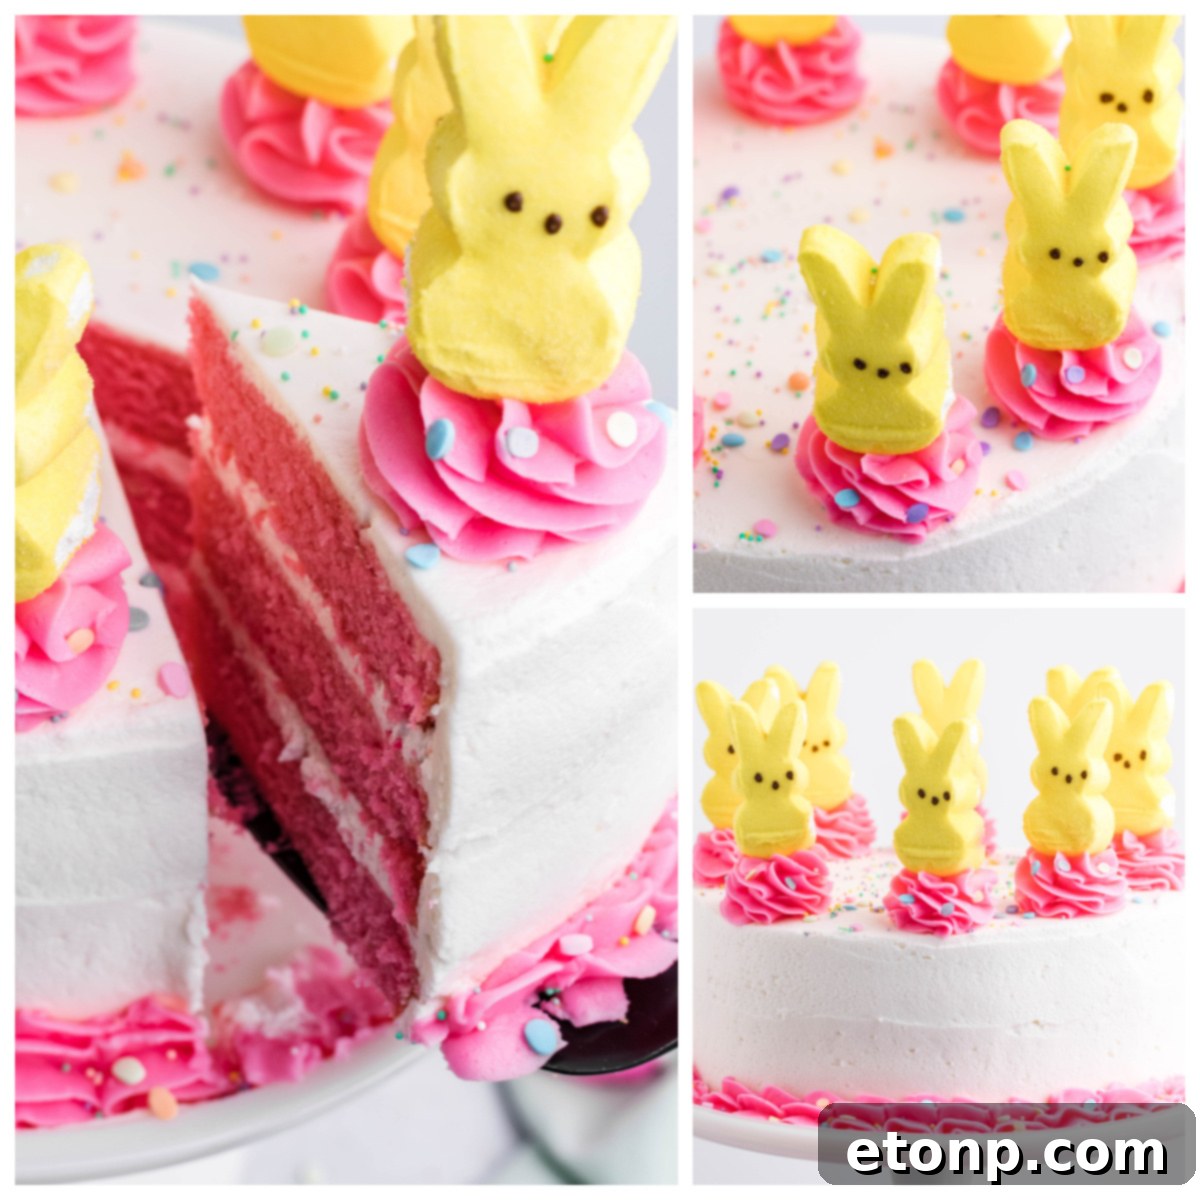
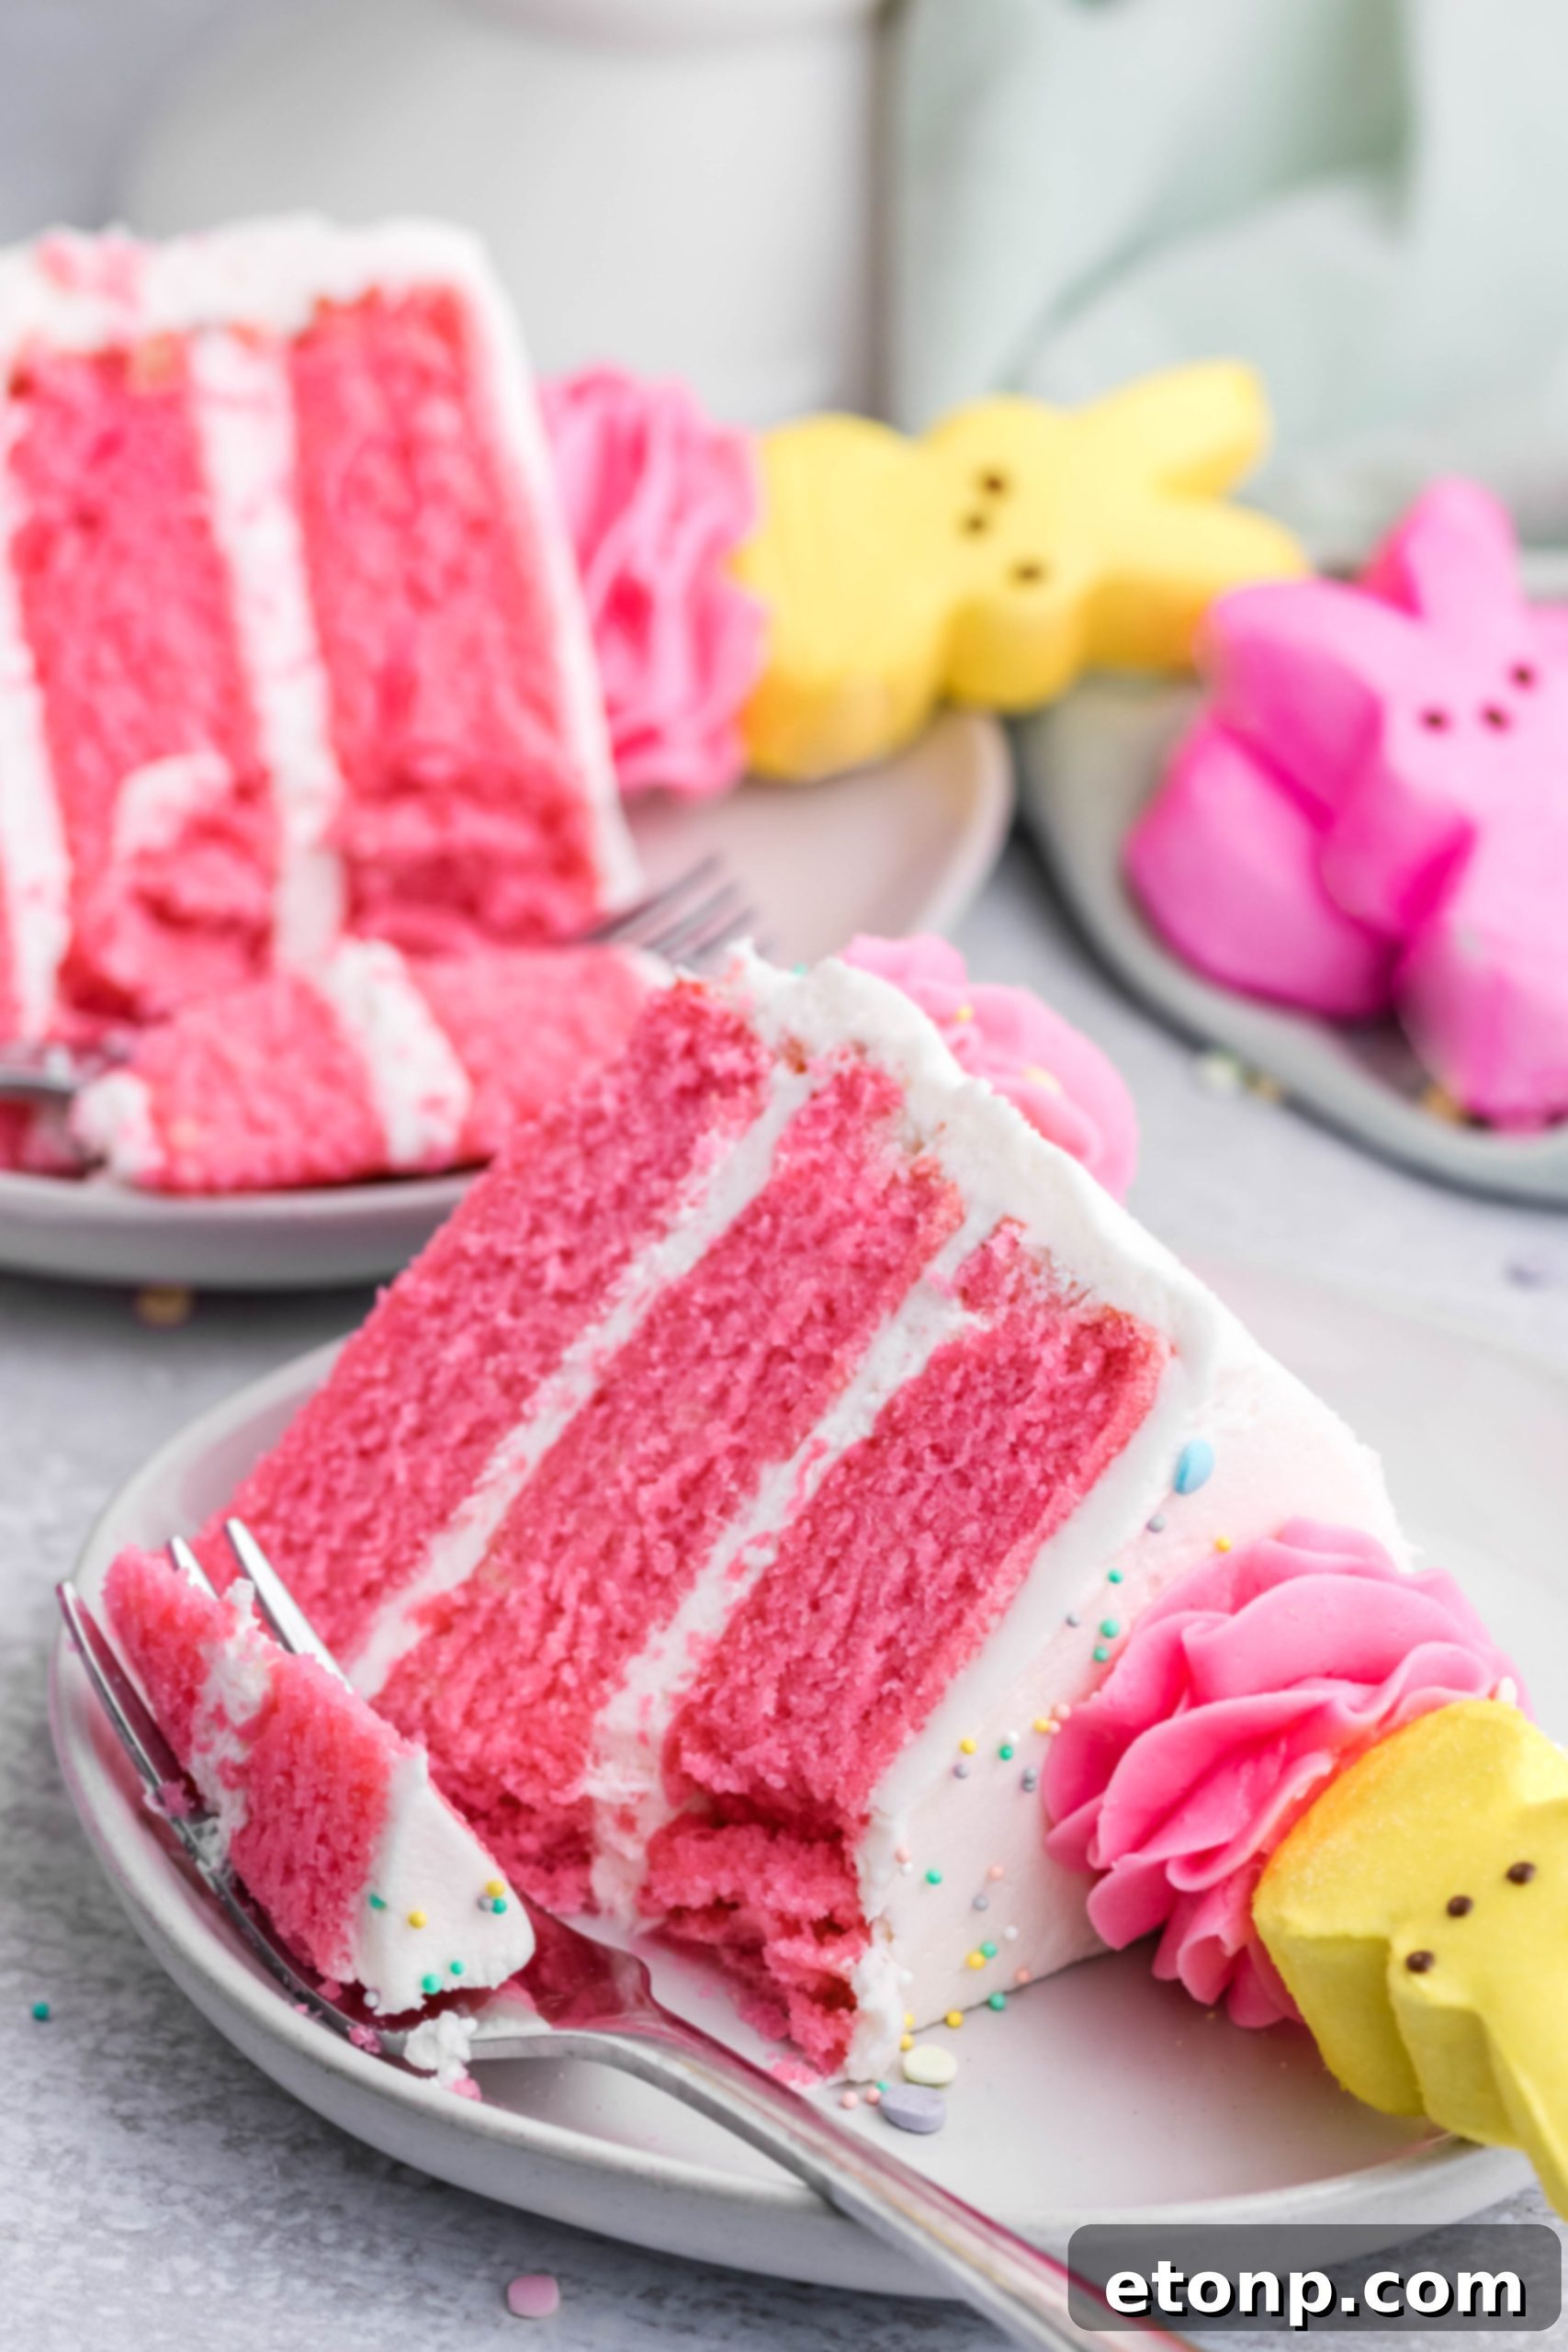
Welcome the vibrant spirit of Easter with a dessert that’s as charming as it is delicious! This Easter Bunny Layer Cake isn’t just a treat for the eyes with its adorable Peeps marshmallow topping; it’s a moist, flavorful vanilla cake, generously frosted with a rich buttercream that promises to be the star of your holiday table. Forget complicated recipes; this guide will walk you through creating a festive masterpiece from scratch, perfect for sharing joy with family and friends. Get ready to bake a cake that tastes even better than it looks!
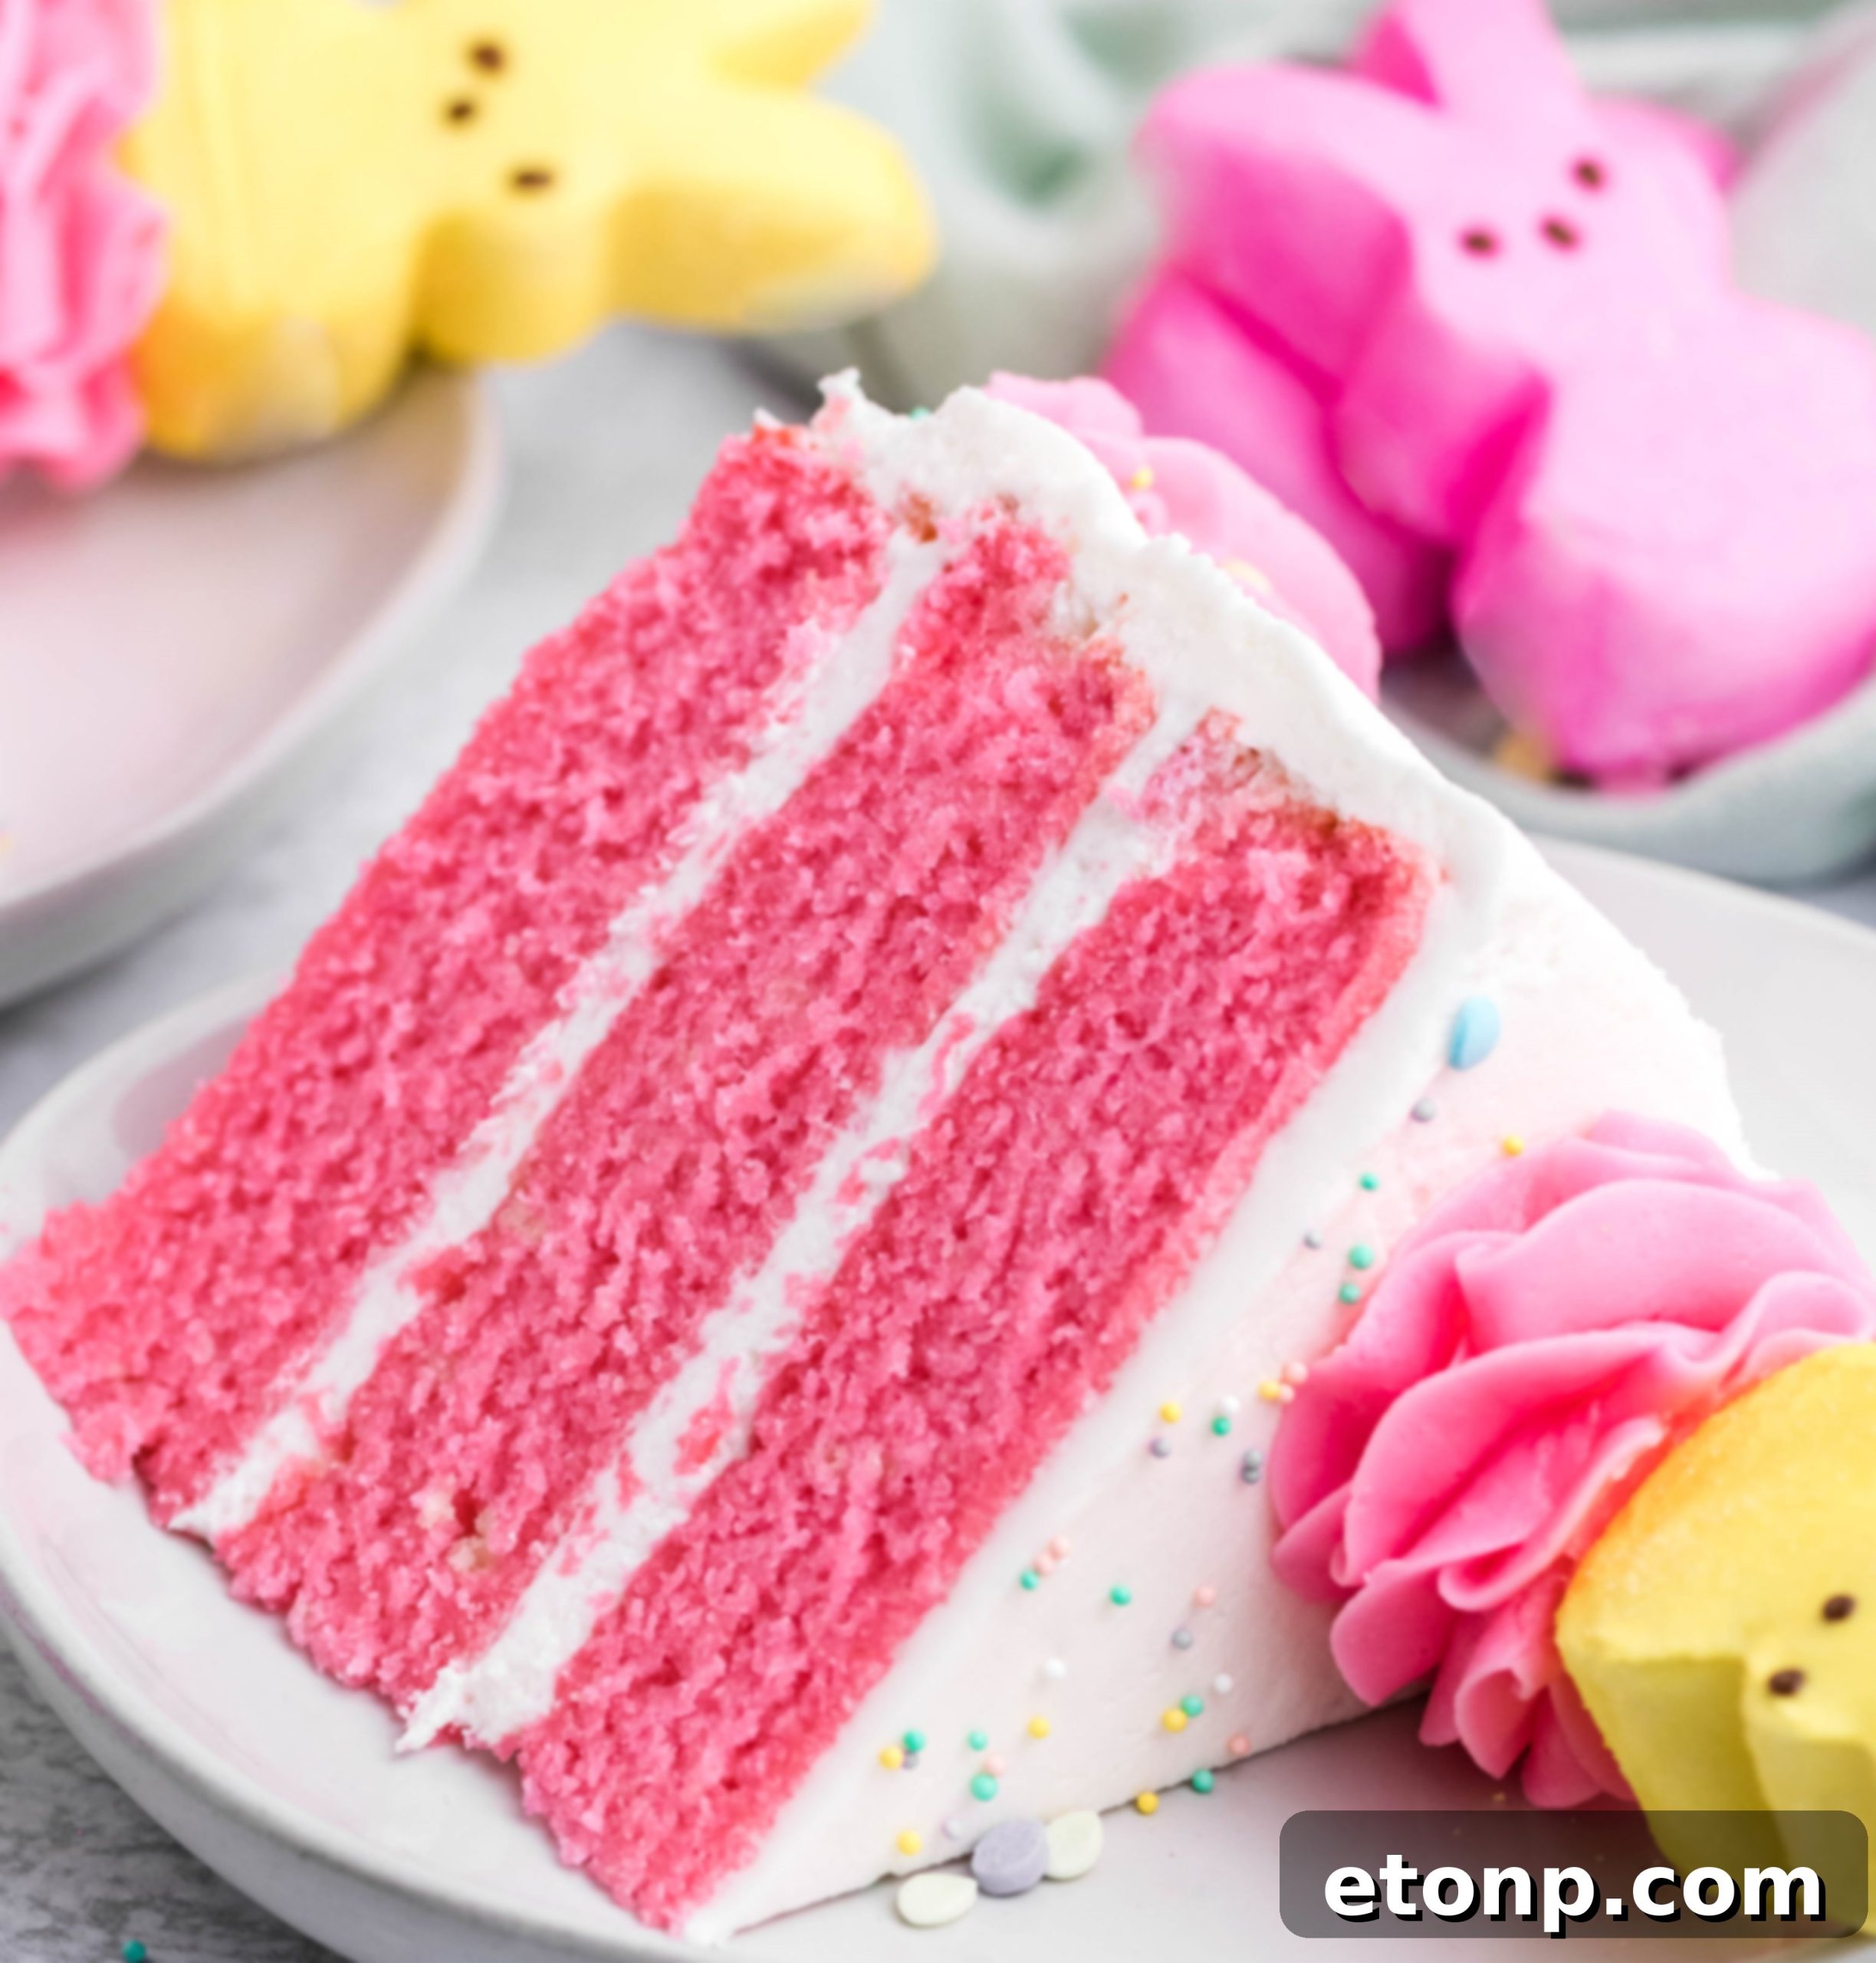
Elevate Your Easter Gathering with a Homemade Peeps Layer Cake
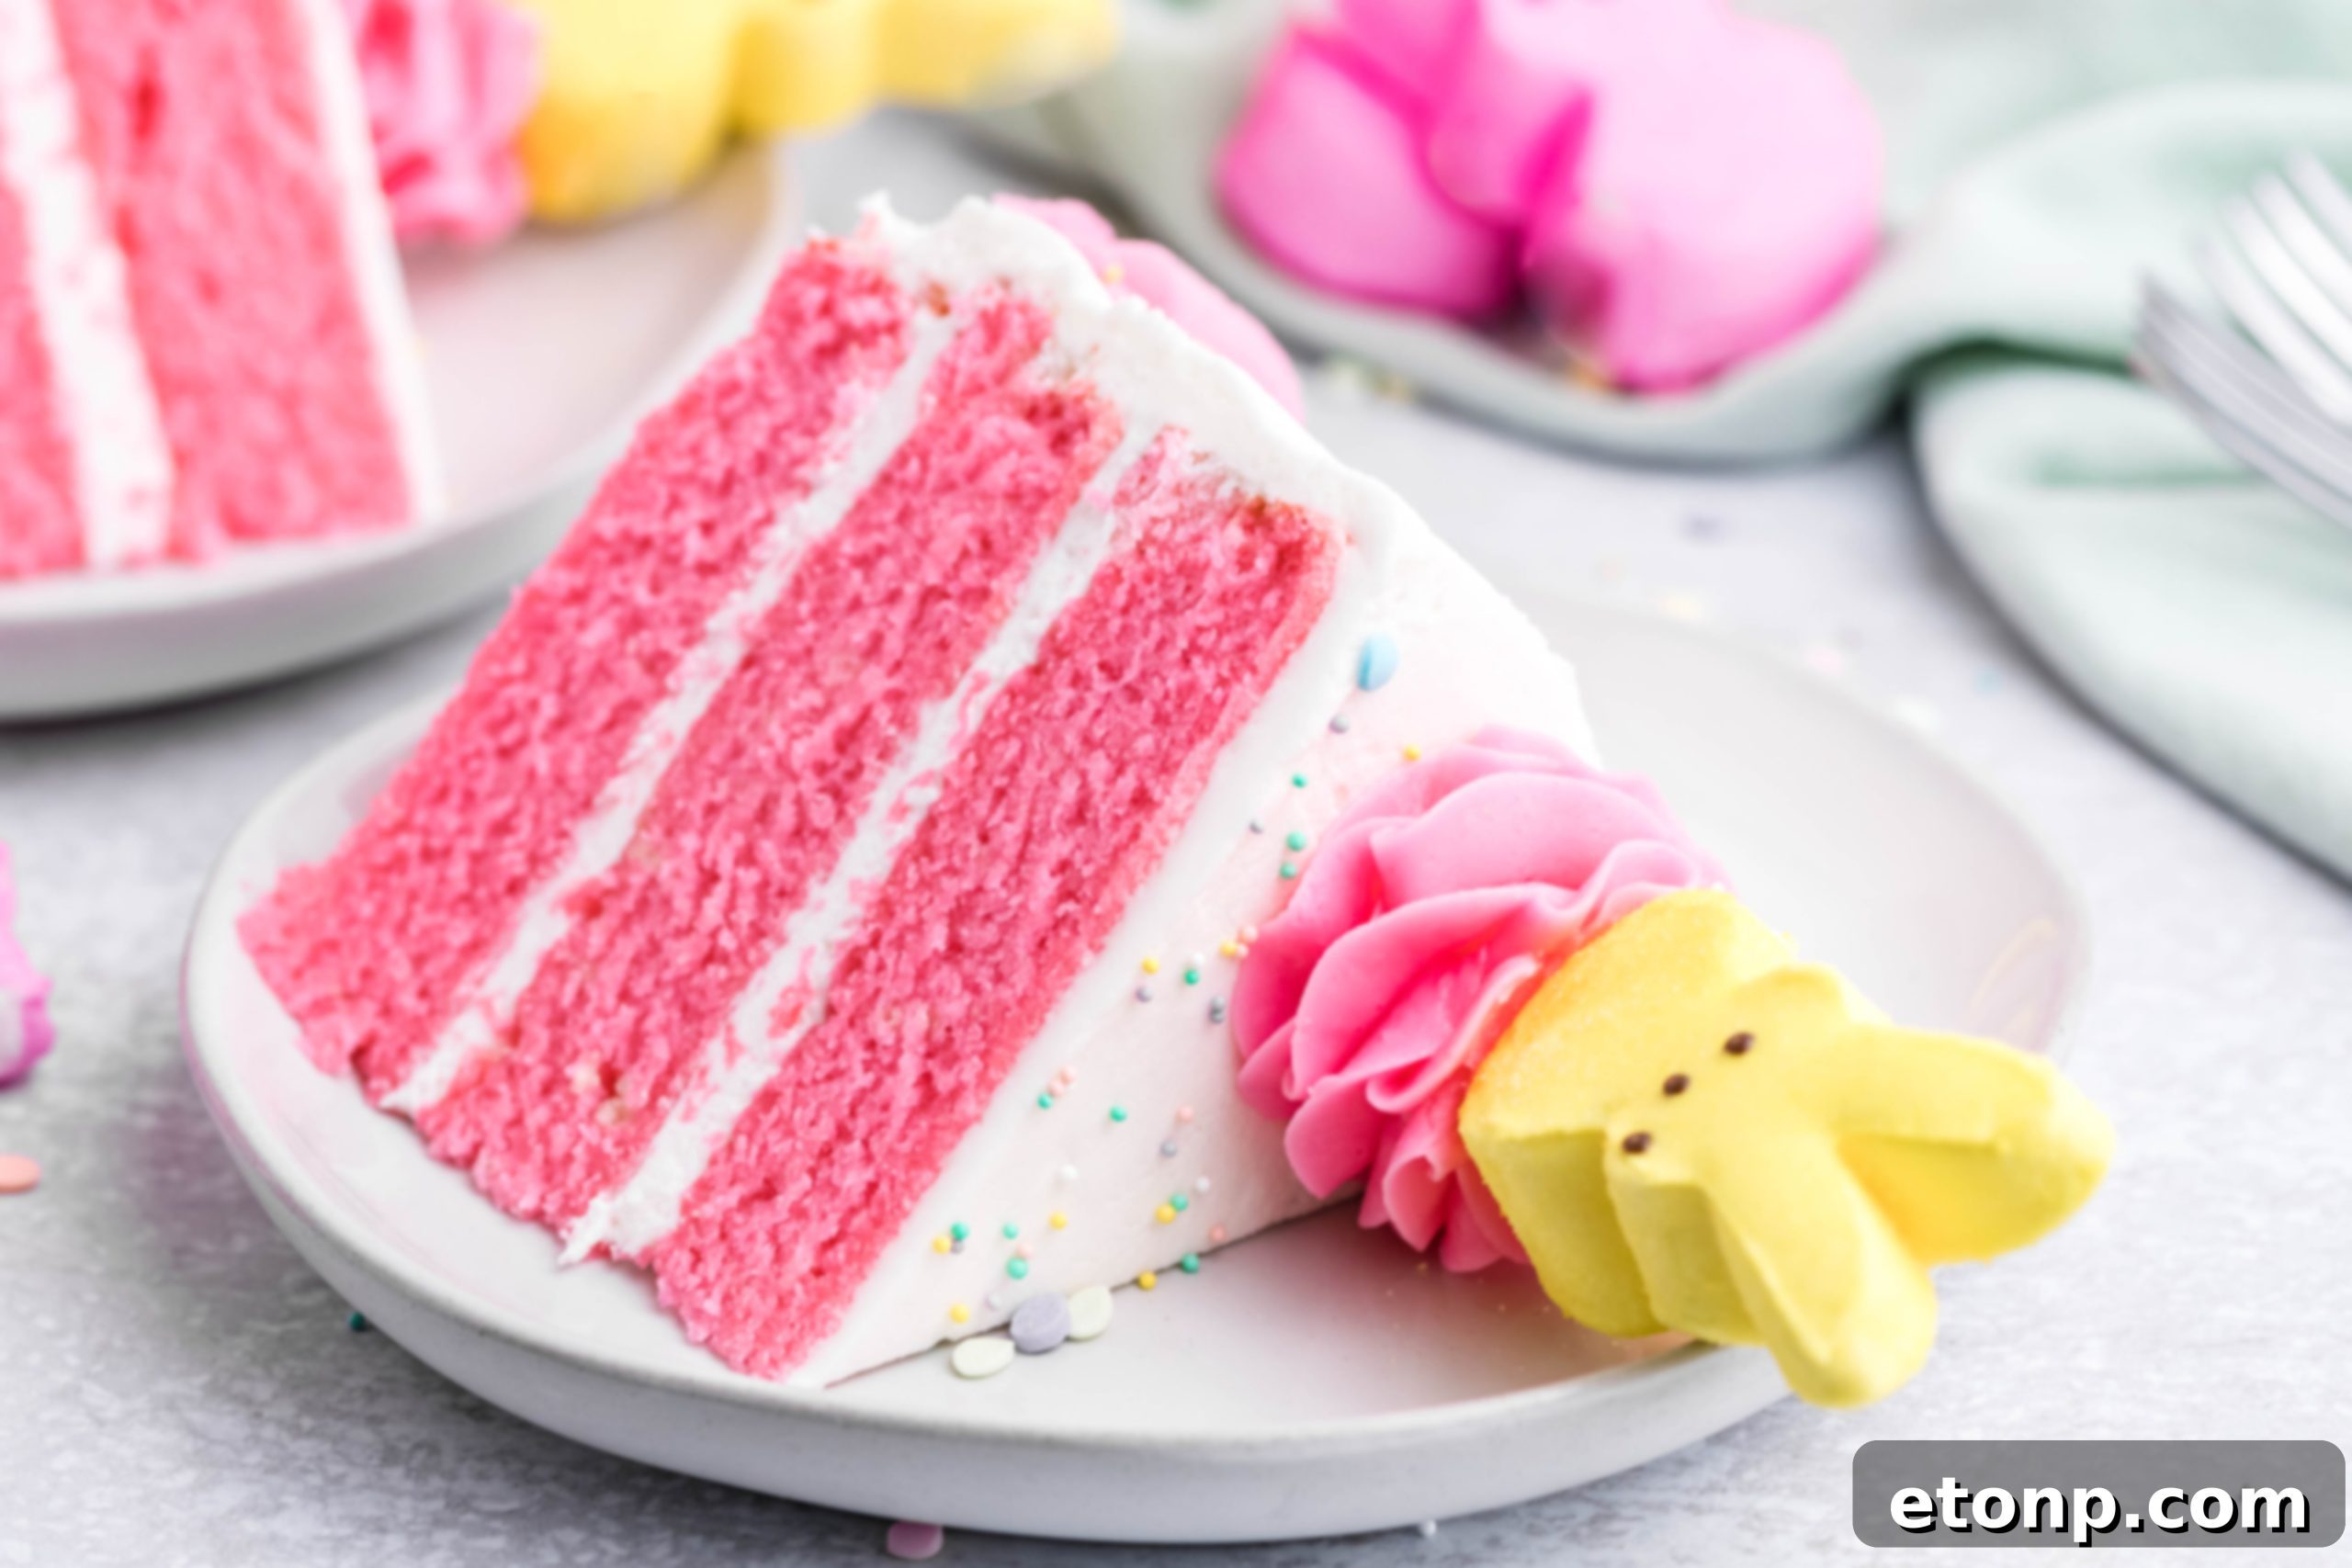
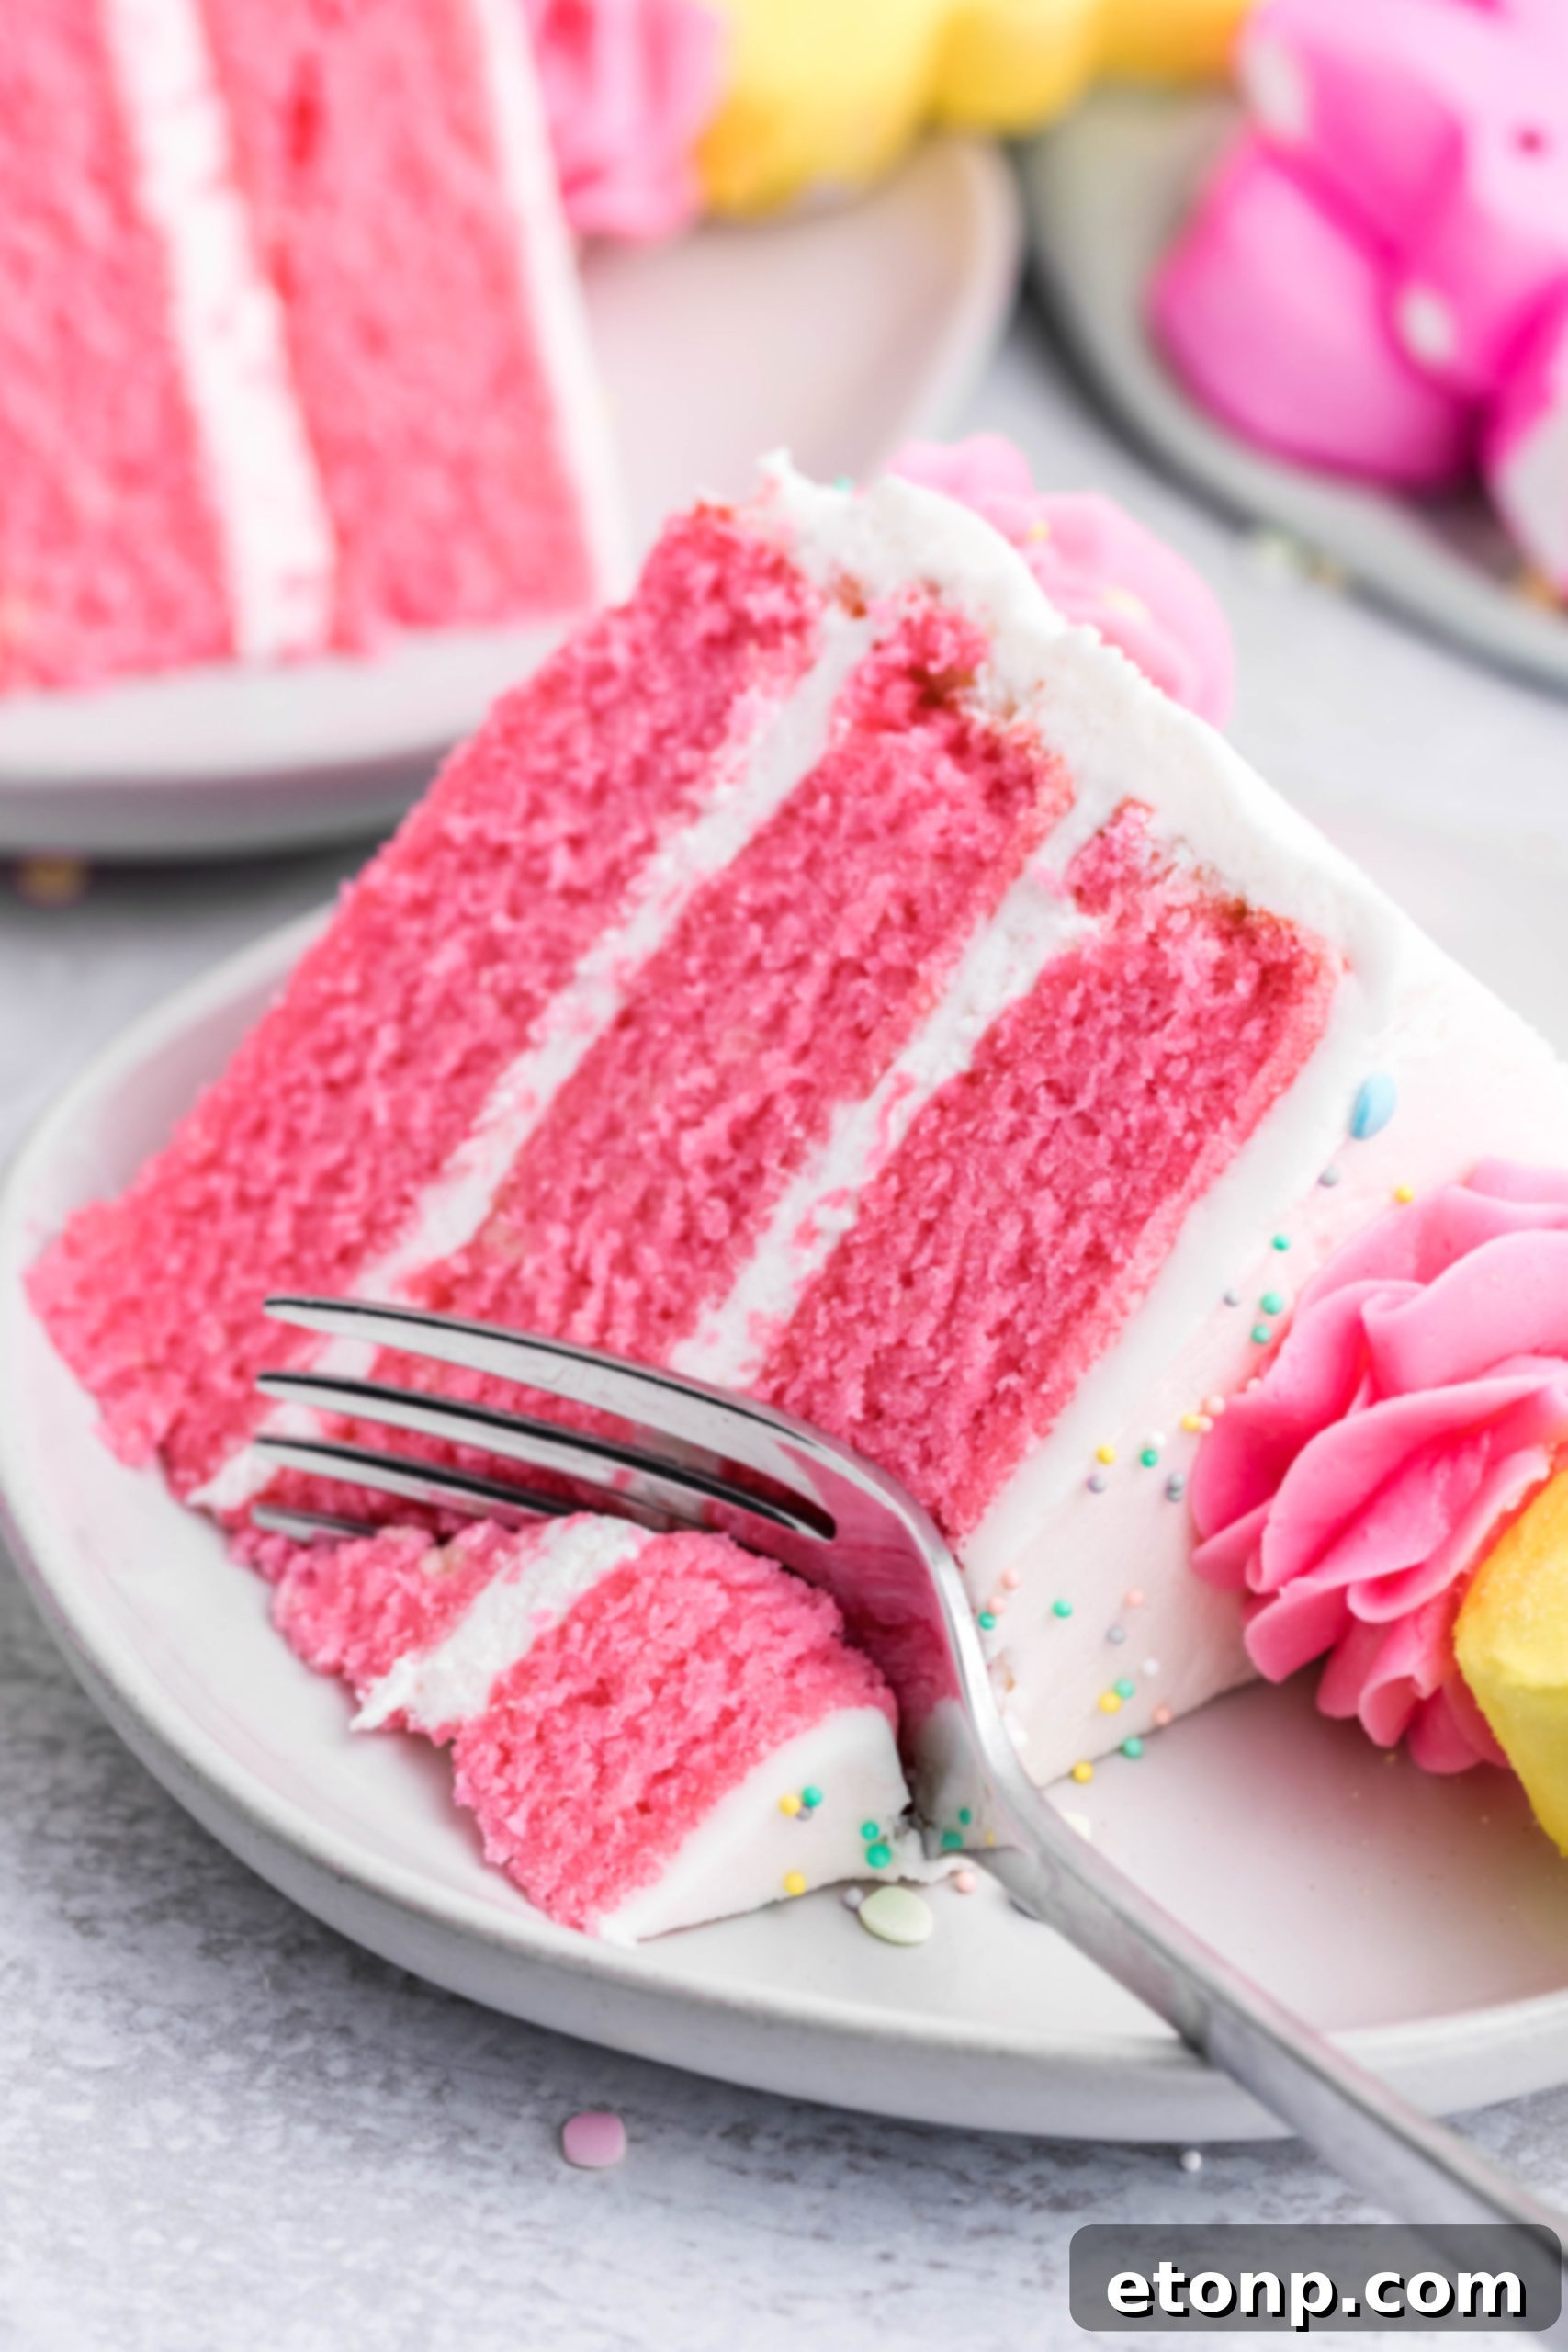
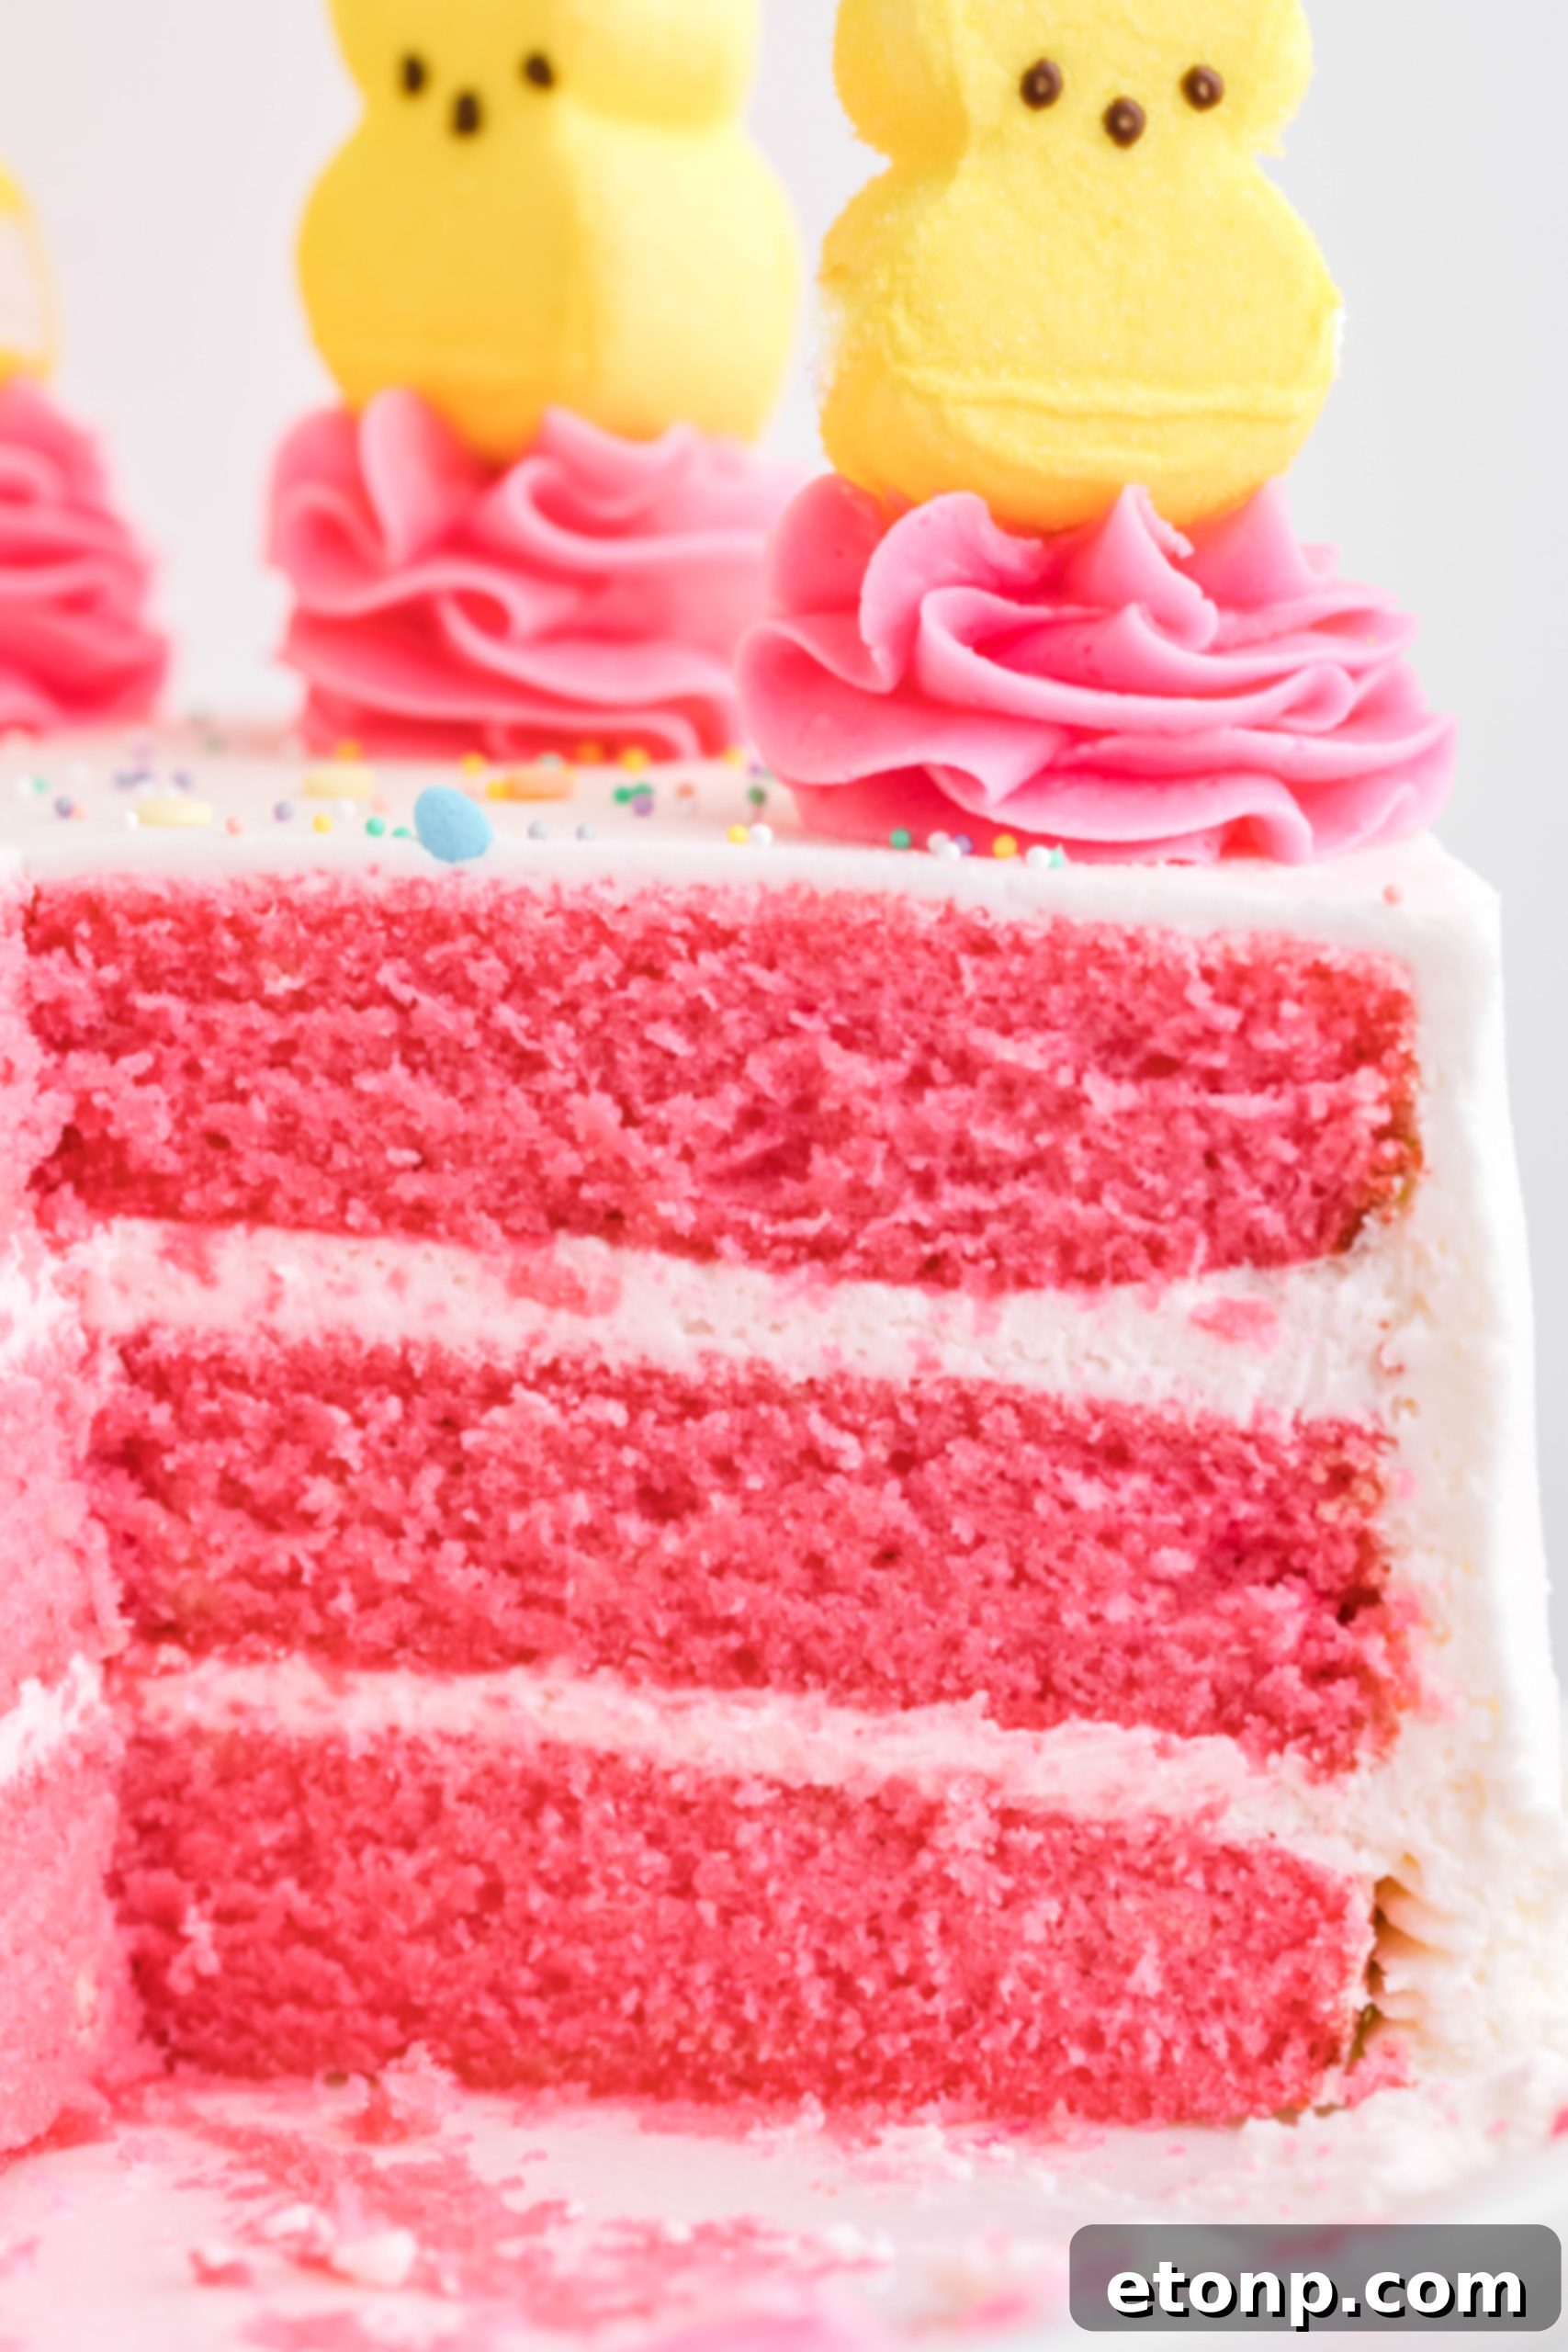
Beyond its enchanting appearance, this vanilla layer cake is a symphony of sweet flavors and tender textures. Each bite offers a harmonious blend of classic vanilla cake and creamy, dreamy buttercream, making it an irresistible choice for any occasion, especially Easter. While the iconic Peeps marshmallows lend a whimsical touch, the cake itself stands strong as a standalone dessert that will have everyone asking for a second slice. Prepare to impress your loved ones with this effortlessly elegant creation!
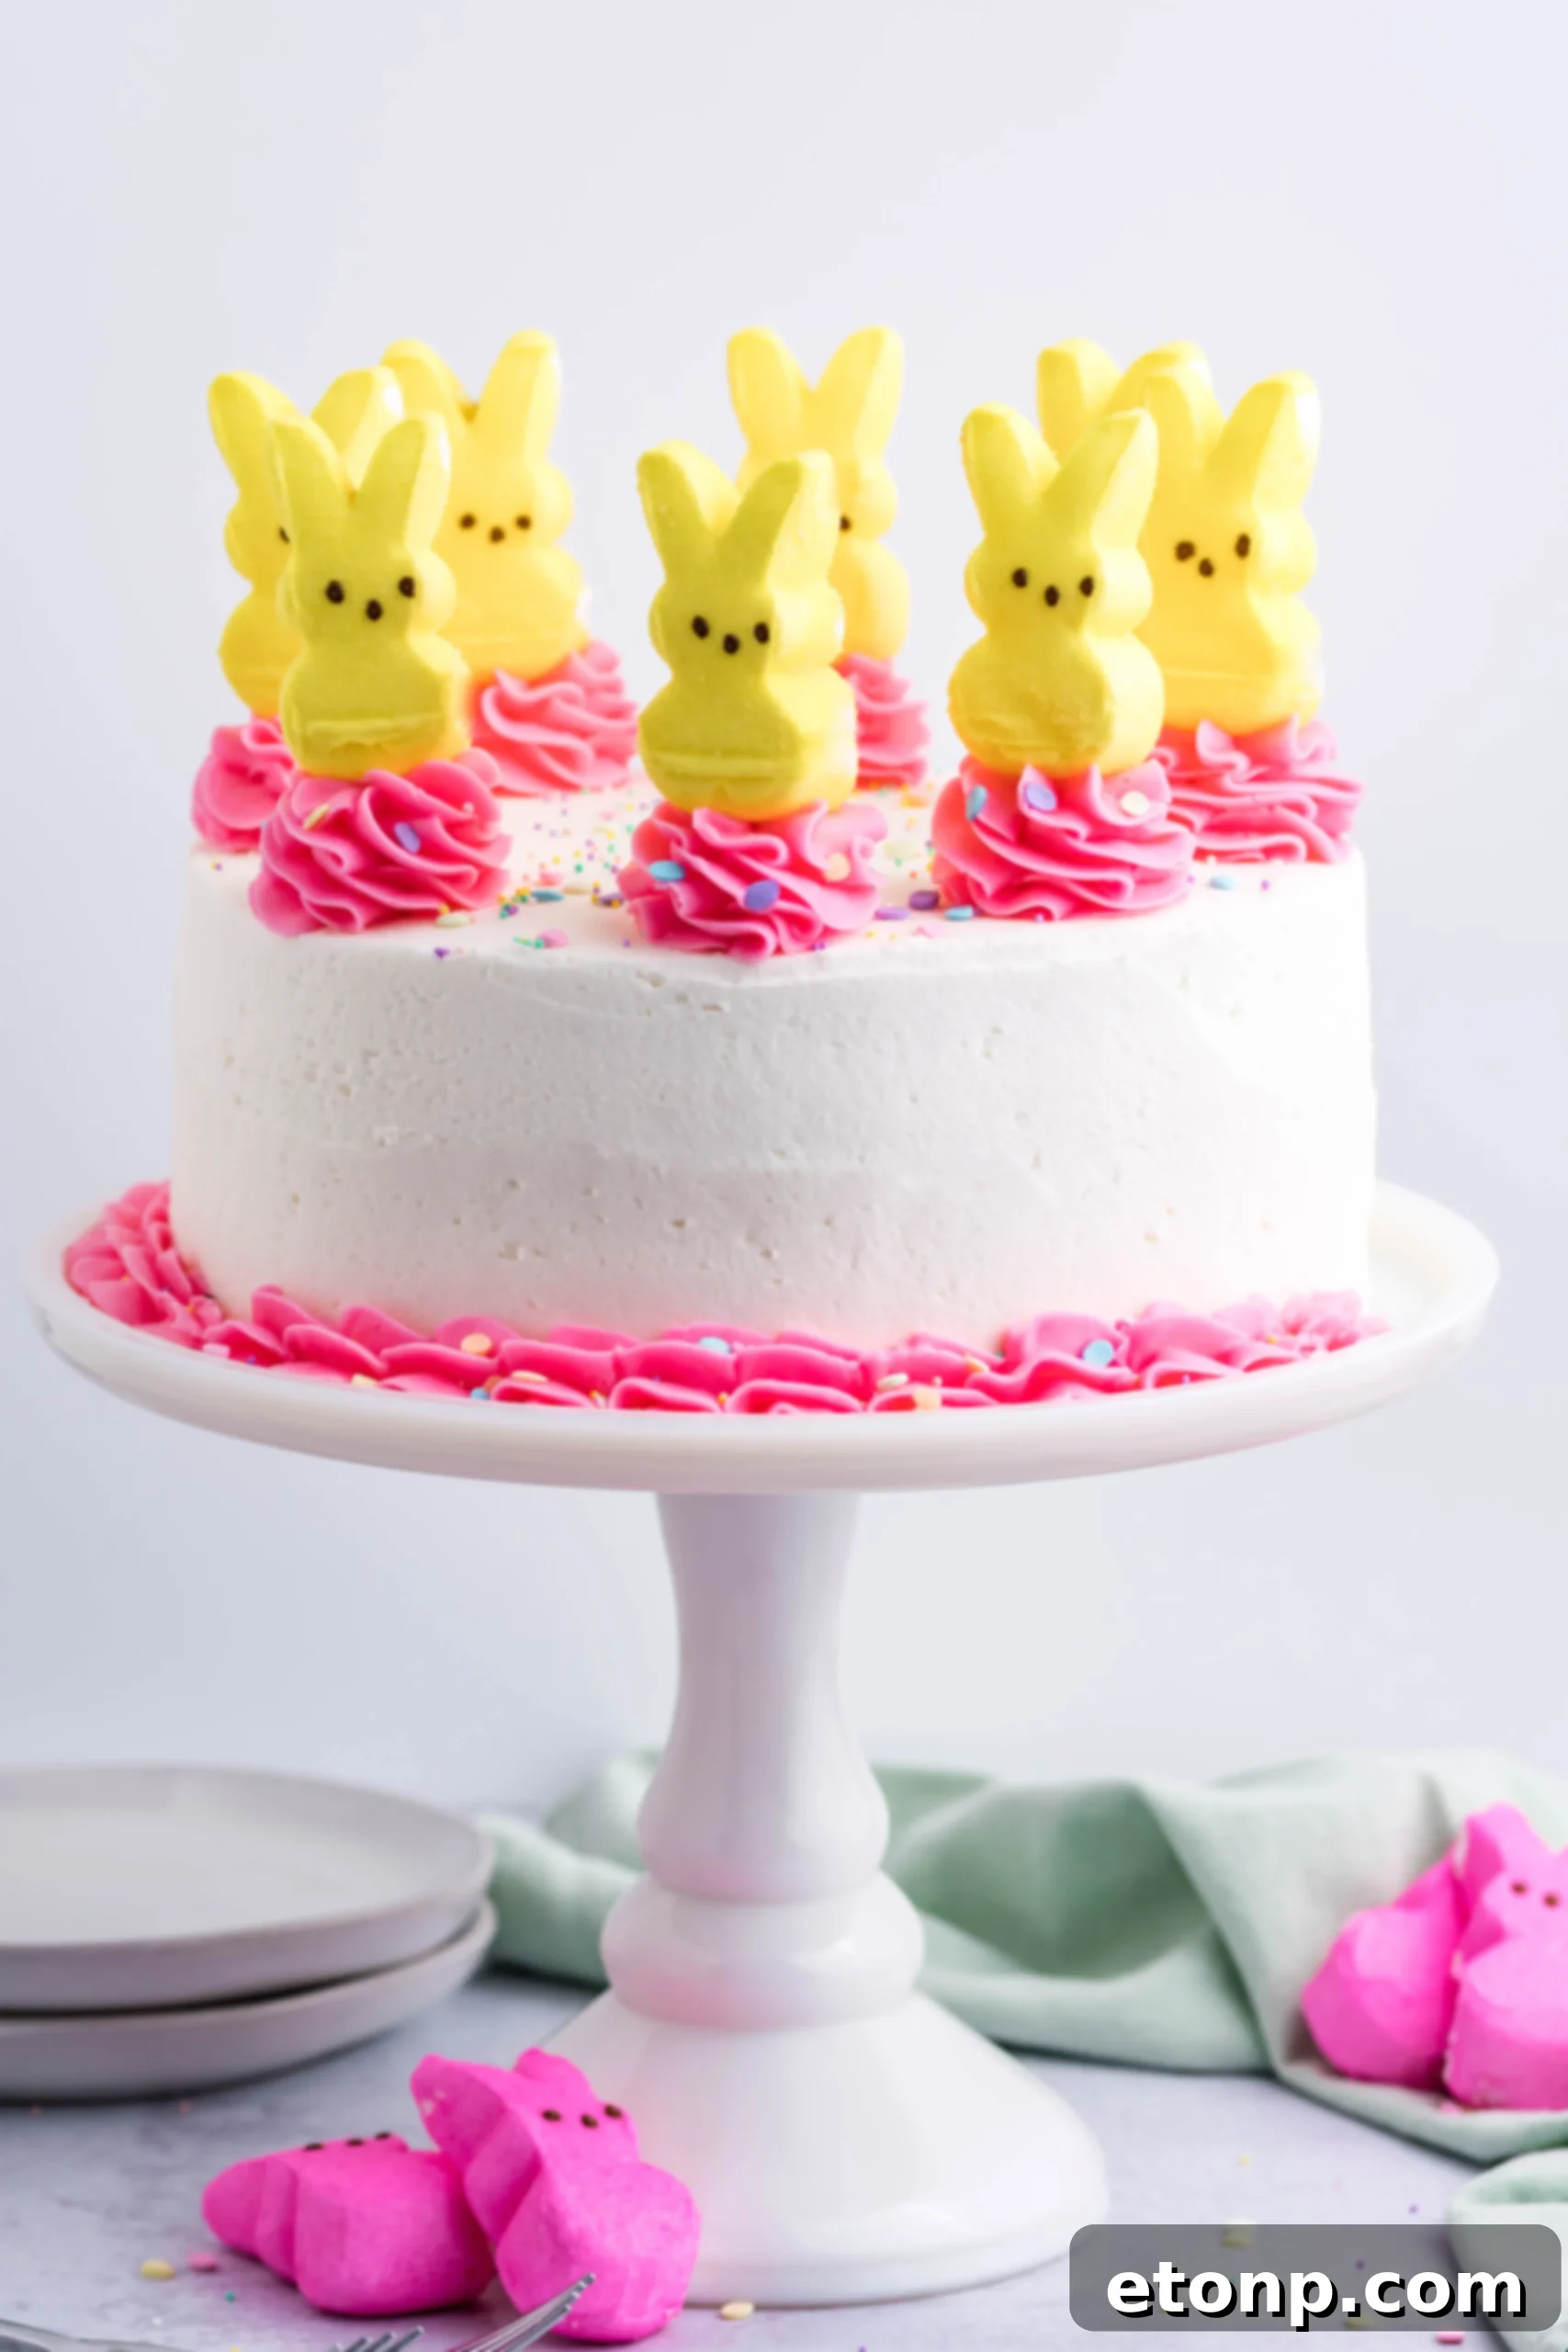
Why This Easter Bunny Cake Will Be Your New Holiday Tradition
Creating a memorable dessert doesn’t have to be daunting. Our Easter Bunny Cake recipe is designed for ease and enjoyment, delivering impressive results without the stress. Here are just a few reasons why this delightful treat is bound to become a staple in your annual Easter celebrations:
-
Effortlessly Homemade Perfection
Experience the unparalleled satisfaction of baking from scratch with fresh, high-quality ingredients. From the foundational cake layers to the luxurious frosting, every component of this Easter dessert is homemade. This ensures a superior flavor and texture that store-bought cakes simply can’t match. You’ll be amazed at how simple it is to achieve such a professional-looking and tasting cake, making it perfect for both seasoned bakers and enthusiastic beginners. The joy of presenting a cake crafted with your own hands is truly priceless.
-
A Canvas for Your Favorite Peeps
This cake celebrates the beloved Peeps marshmallow candies by incorporating them into its vibrant design. With an ever-growing array of Peeps varieties, from classic chicks and bunnies to innovative new flavors like coffee or cotton candy, you have the creative freedom to personalize your cake. Choose your favorite colors and shapes to match your Easter decor or simply pick what excites your palate most. Don’t worry if Peeps aren’t your preference; the cake is beautifully festive even without them, offering a versatile decorating option.
-
The Crowd-Pleasing Centerpiece of Your Easter Celebration
Designed to serve up to 12 people, this Easter Bunny Cake is perfectly proportioned for family gatherings and holiday feasts. Its generous size and captivating appearance make it an ideal centerpiece that will draw smiles and compliments from everyone. It’s more than just a dessert; it’s a shared experience, a conversation starter, and a sweet symbol of togetherness. Prepare to create lasting memories around this delicious and visually stunning cake.
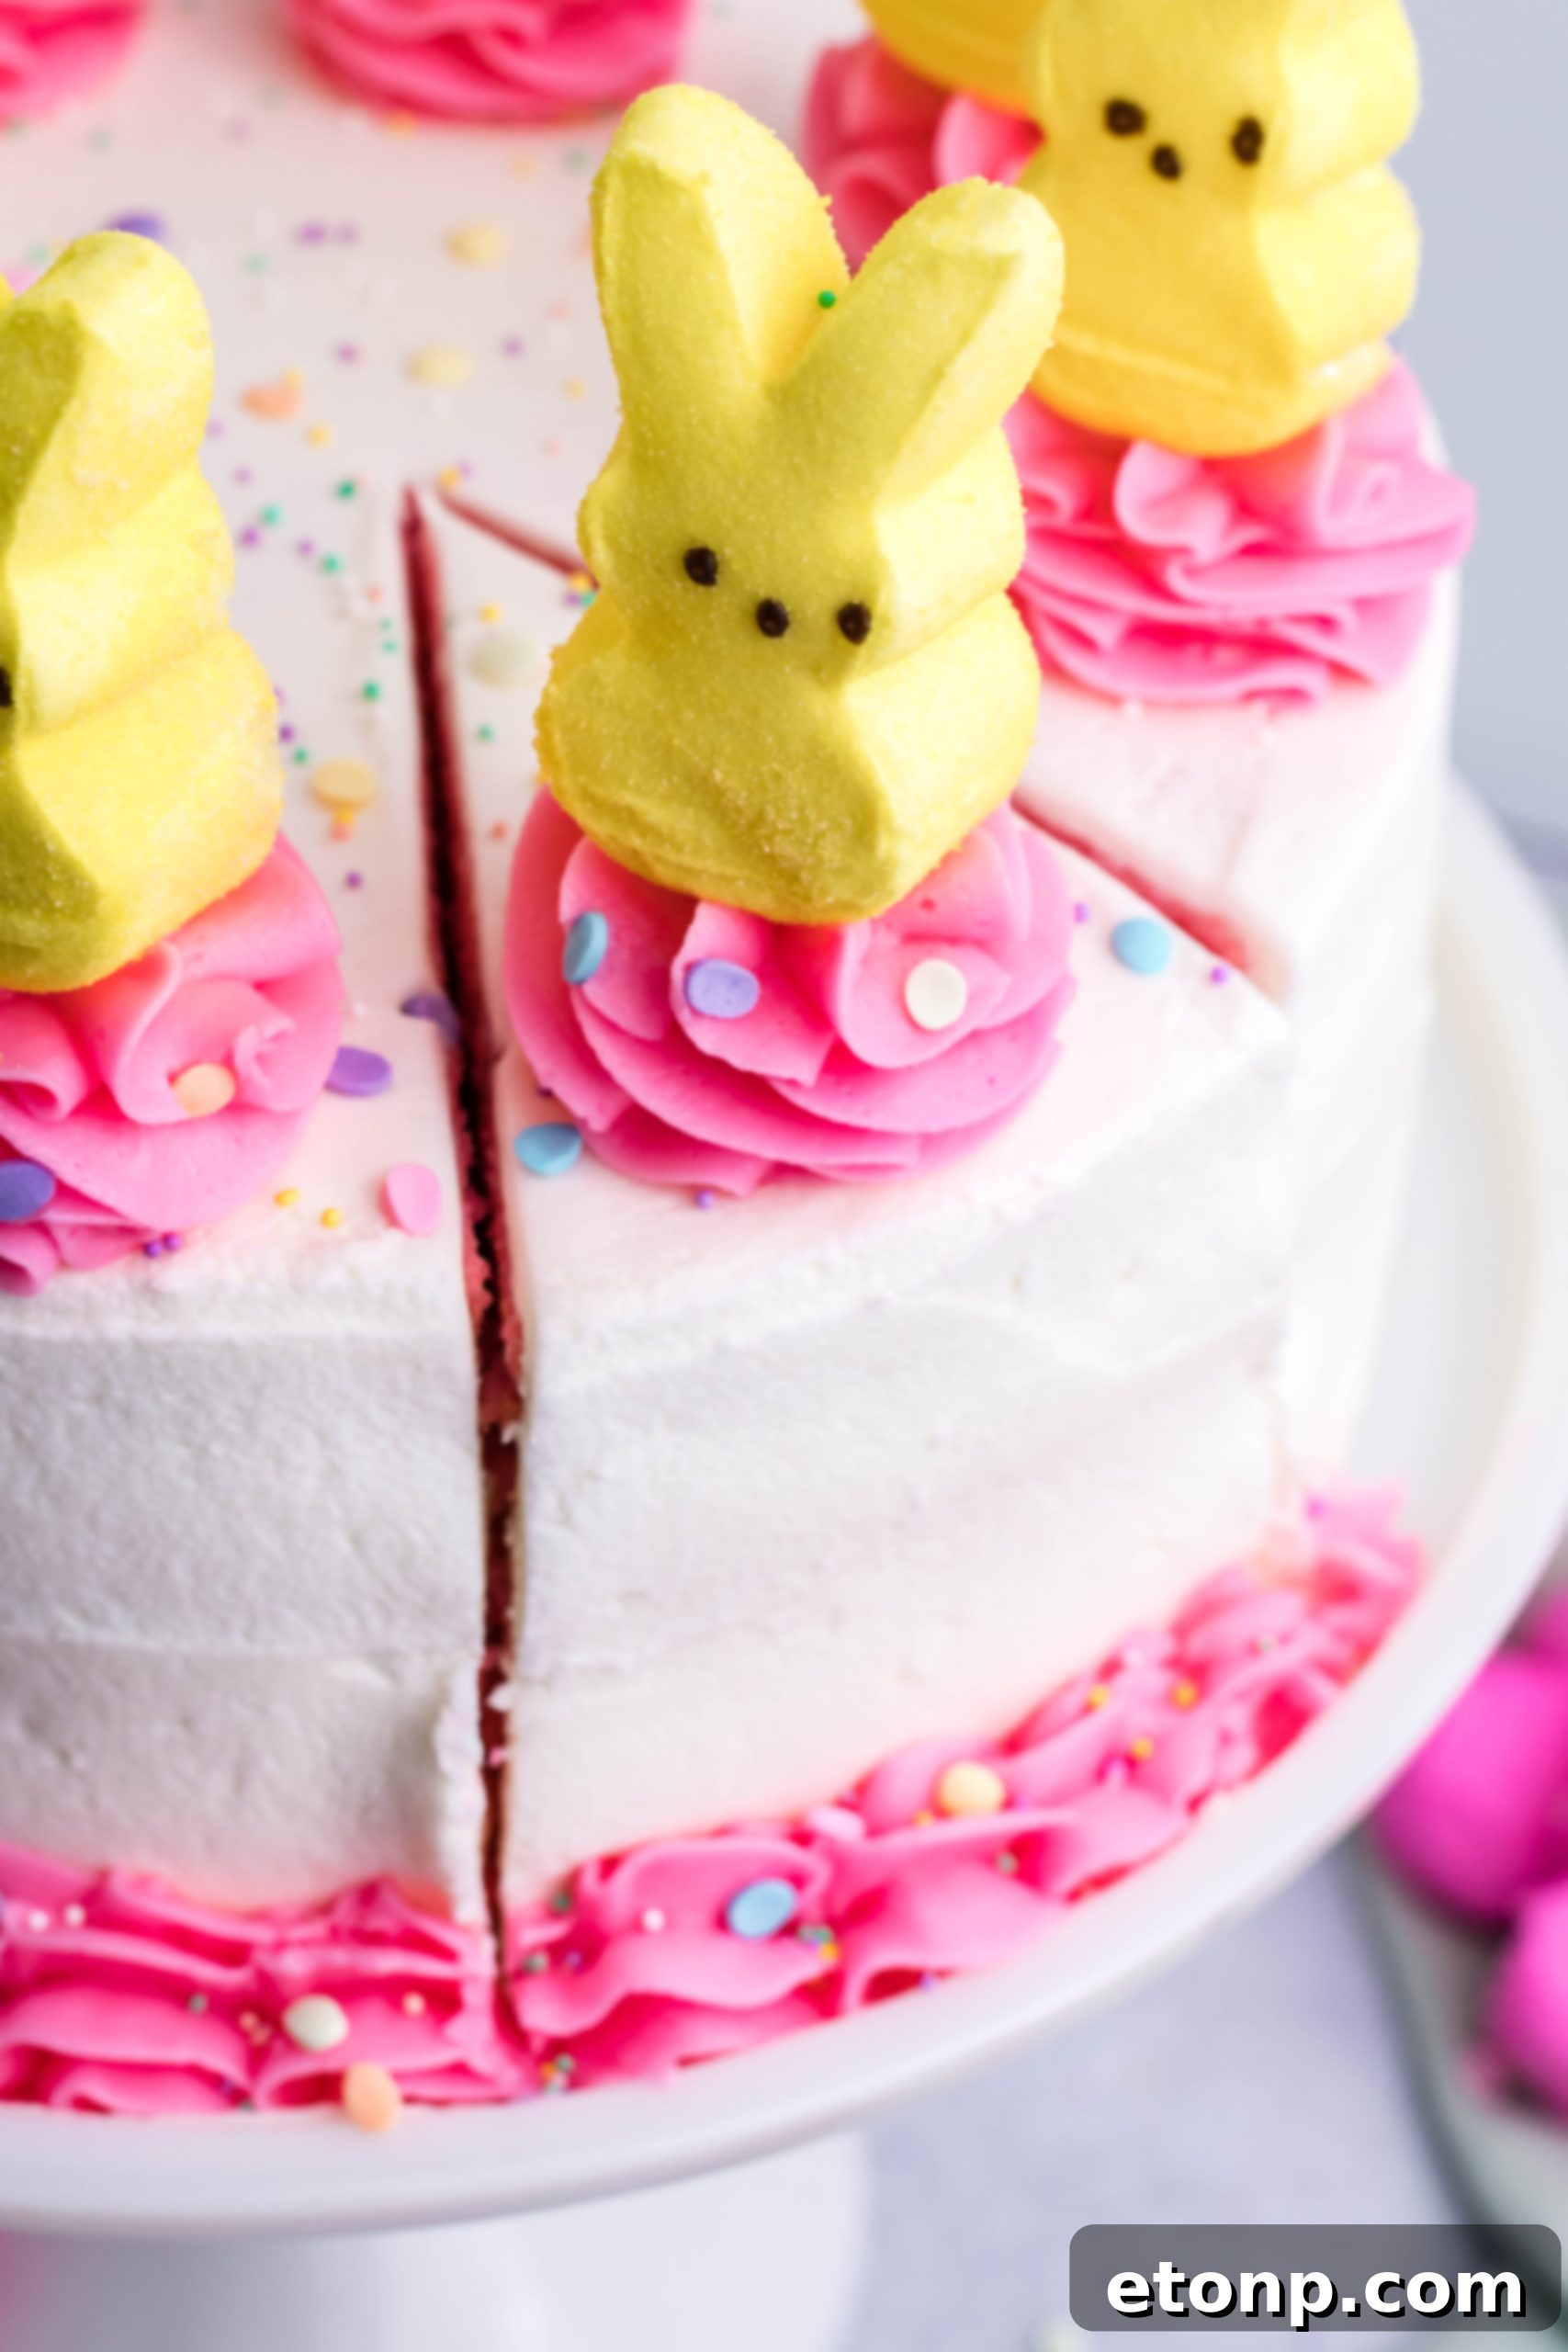
Essential Ingredients for Your Perfect Easter Cake
Crafting this delectable Easter Bunny Cake starts with a selection of common pantry staples. Each ingredient plays a crucial role in creating the cake’s signature moist texture and rich flavor. Here’s a detailed look at what you’ll need to bring this festive dessert to life:
For the Moist Vanilla Cake:
- All-Purpose Flour: The structural foundation of our cake, providing body and texture.
- Granulated Sugar: Sweetens the cake, contributing to its tender crumb and golden crust.
- Baking Powder: The leavening agent responsible for the cake’s beautiful rise and airy texture.
- Salt: Enhances all the other flavors, balancing the sweetness and adding depth.
- Milk: Adds moisture and richness to the batter, creating a tender cake.
- Large Eggs: Bind the ingredients, contribute to moisture, and help with the cake’s structure.
- Vegetable Oil: Ensures a super moist cake that stays fresh longer, adding a delicate texture.
- Vanilla Extract: The star flavor of this vanilla cake, providing a warm, aromatic sweetness.
- Room Temperature Butter: Crucial for a smooth, emulsified batter, leading to a fine crumb.
For the Dreamy Buttercream Frosting:
- Room Temperature Butter: The base of our rich and creamy frosting, ensuring a smooth consistency when whipped.
- Powdered Sugar: Provides sweetness and the essential fluffy texture to the buttercream.
- Vanilla Extract: Infuses the frosting with a classic, comforting flavor.
- Heavy Whipping Cream: Adds lightness and helps achieve that perfectly whipped, pipeable consistency.
And of course, don’t forget your chosen variety of **Peeps marshmallows** for that festive, iconic Easter topping! These sugary delights will transform your cake into an adorable centerpiece.
Frequently Asked Questions About Your Easter Delight
Baking a cake, especially for a special occasion like Easter, can sometimes raise a few questions. We’ve compiled answers to common queries to ensure your Easter Bunny Cake baking experience is as smooth and enjoyable as possible.
Is this a vanilla cake?
Yes, this recipe is designed to create a classic vanilla cake. The vanilla extract is a key flavor component, ensuring a fragrant and delicious vanilla base. However, if you’re a chocolate lover, this recipe is easily adaptable! Simply incorporate about 1/2 to 3/4 cup of unsweetened cocoa powder into your dry ingredients when making the cake batter. You might need to add an extra tablespoon or two of milk to maintain the right consistency.
Can I customize the cake batter with extra ingredients?
Absolutely! Customizing your cake batter is a fantastic way to personalize this dessert to your taste. Feel free to stir in a variety of extra ingredients with ease. Some popular choices include colorful sprinkles for added festivity, mini chocolate chip morsels for a delightful chocolatey burst, or even finely chopped nuts like pecans or walnuts for a textural contrast and nutty flavor. Just be mindful not to overmix the batter once these additions are incorporated.
What types of Peeps should I use on top of the cake?
The beauty of using Peeps as a topping is the sheer variety available! You can use any kind of Peeps that you like. Whether you’re a traditionalist who loves the classic yellow chick Peeps, or you prefer the adorable bunny shapes, the choice is yours. Don’t shy away from experimenting with some of the newer, exciting flavors that hit the shelves each year, such as coffee, cotton candy, or even fruity varieties. If Peeps aren’t your thing, or if you simply prefer a different aesthetic, feel free to leave them off! This is a beautifully festive cake that stands proudly on its own, with or without its marshmallow friends.
What can I do if I don’t have a piping bag?
No piping bag? No problem! You can easily achieve a neat frosting application without one. A simple Ziploc bag makes an excellent substitute. Spoon your prepared buttercream frosting into a large Ziploc bag, pushing it down to one corner. Twist the top of the bag to seal it and push out any excess air. Snip a small corner off the bottom to create an opening. You can even insert a piping tip into the corner before snipping for a more decorative finish. Alternatively, for an even simpler approach, just use an offset spatula or the back of a spoon to spread the frosting evenly over your cake for a rustic, charming look.
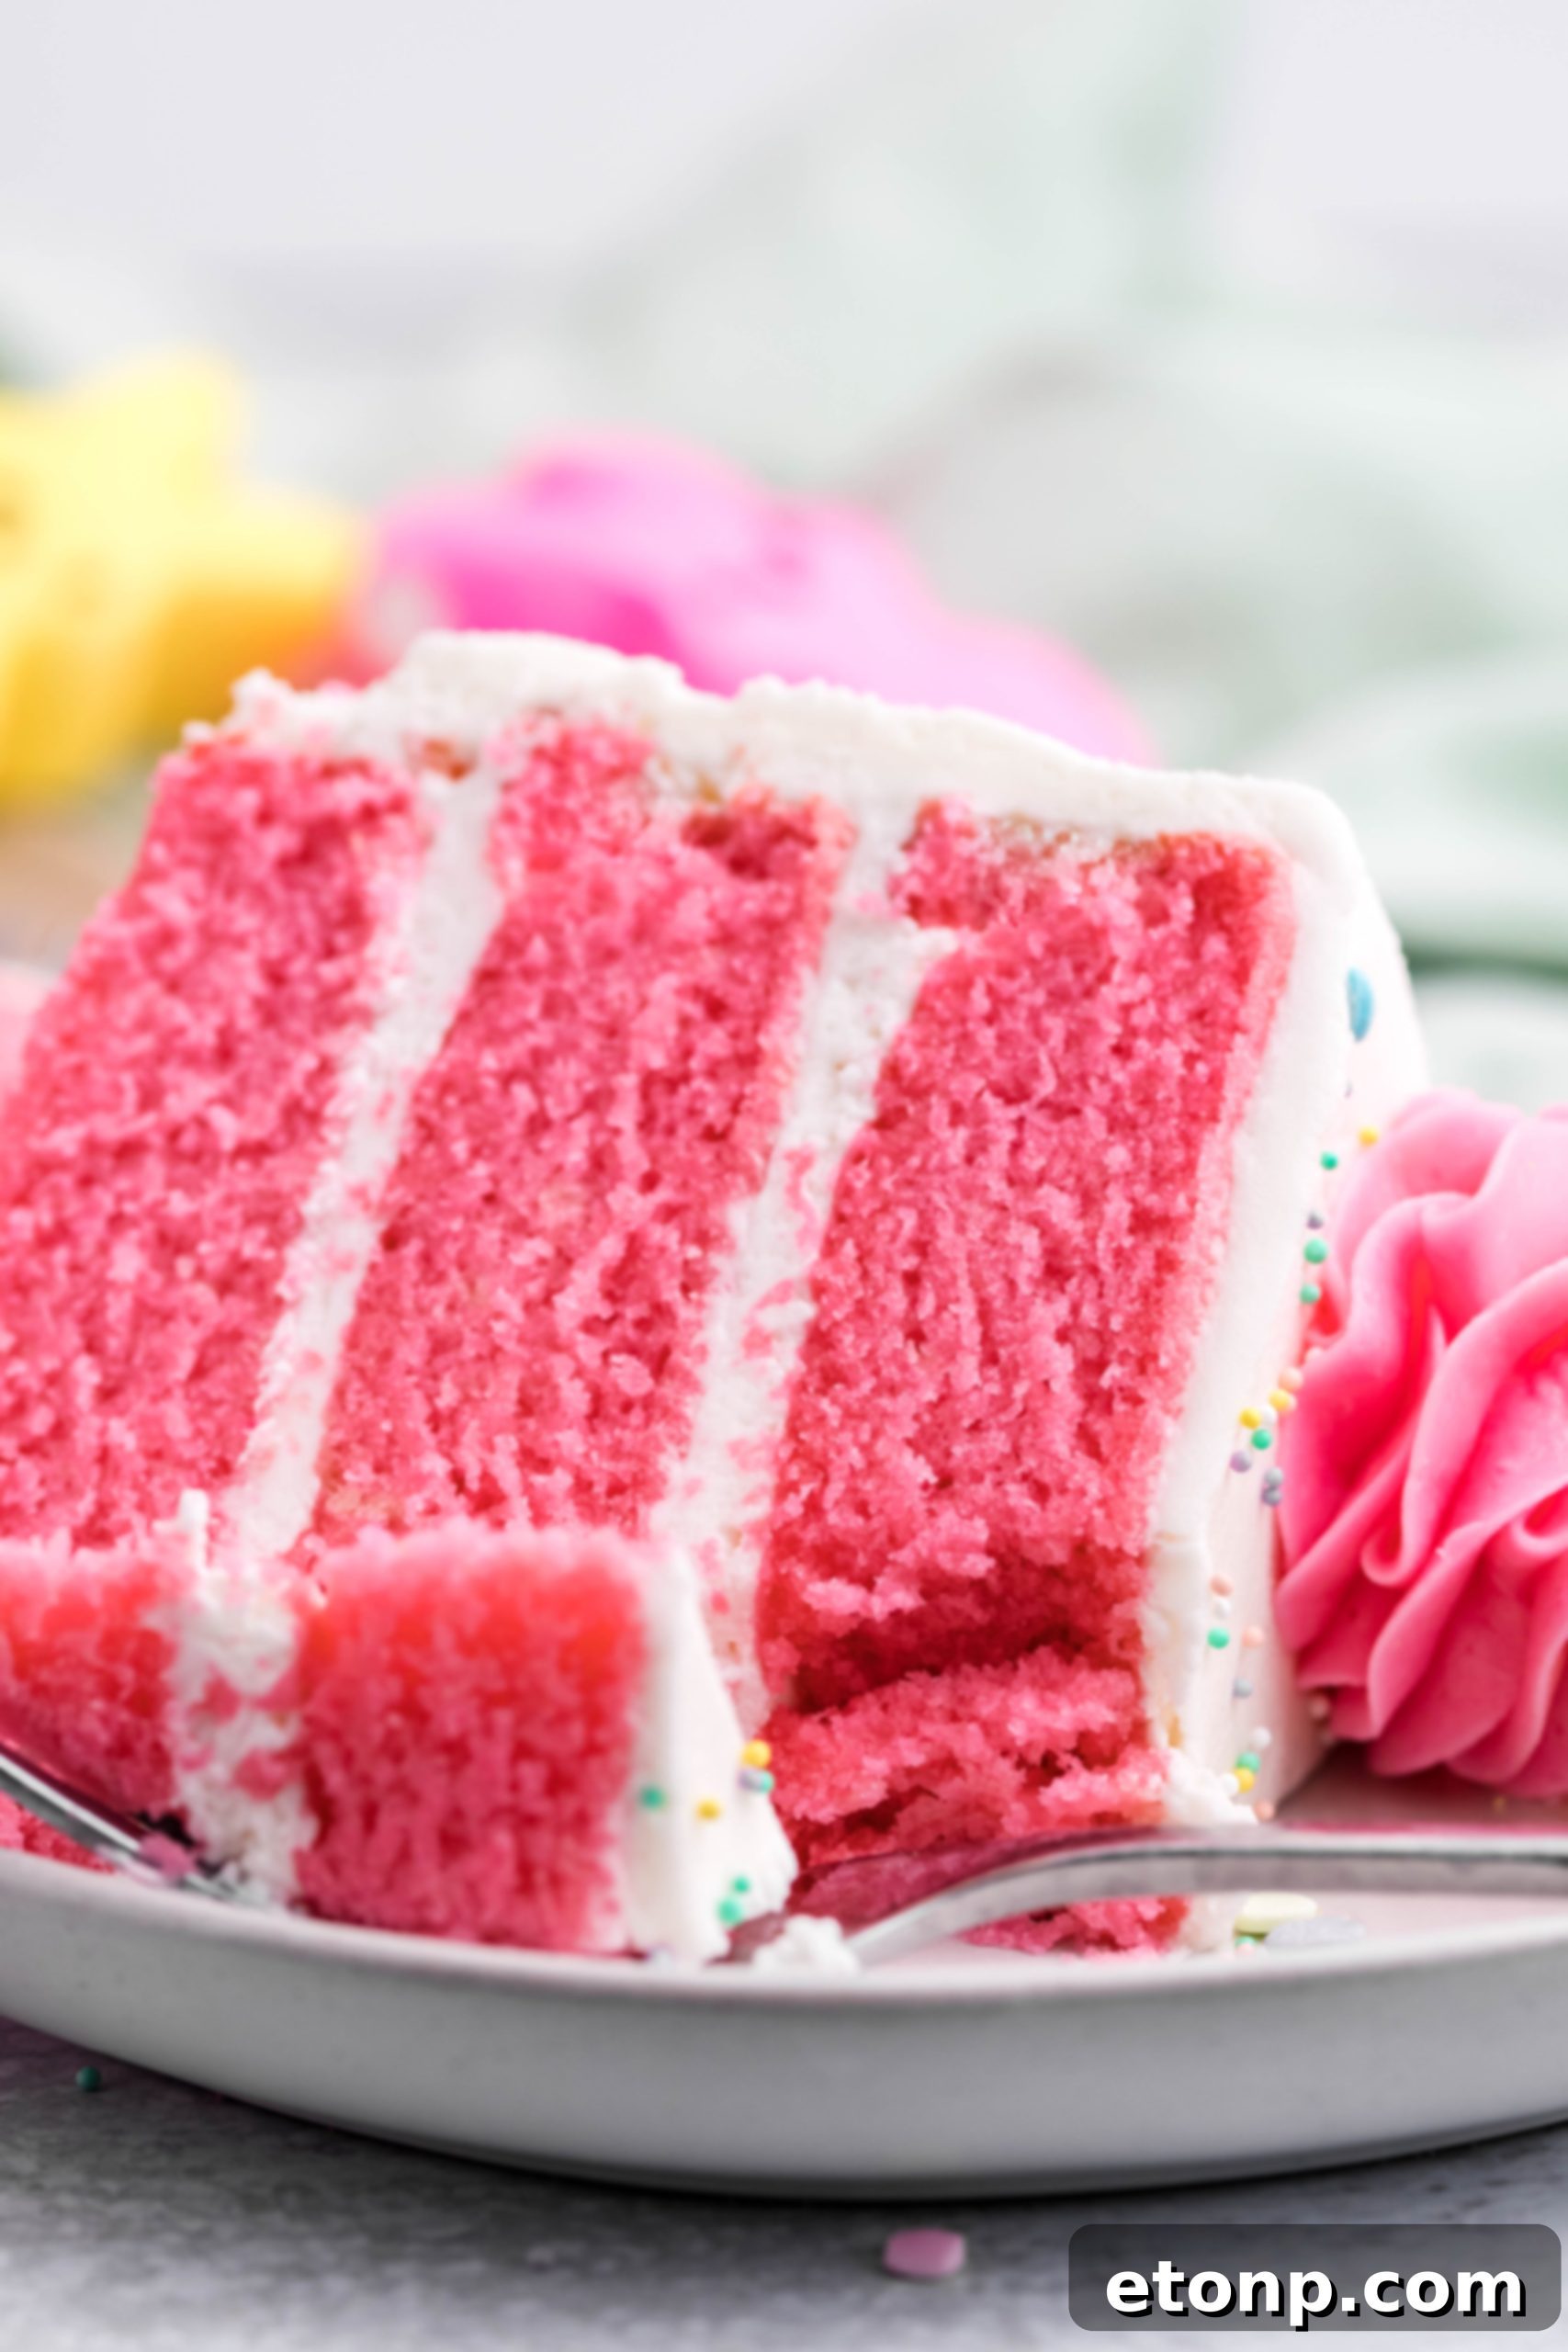
Expert Tips for a Flawless Easter Bunny Cake
Achieving bakery-quality results at home is easier than you think with these helpful tips:
-
The Toothpick Test for Perfect Doneness
Ensuring your cake is baked through is crucial for its texture and flavor. Always check your cake by inserting a clean toothpick into the center of each layer. If the toothpick comes out clean or with just a few moist crumbs attached, your cake is perfectly baked. If it comes out wet with batter, return the cakes to the oven for a few more minutes and retest. Over-baking can lead to a dry cake, so keep a close eye on it!
-
Mastering Frosting Application
Whether you’re using a piping bag (or our Ziploc bag trick) or opting for a more straightforward approach, consistency is key. If you prefer not to pipe, use an offset spatula to spread the frosting. Start with a thin “crumb coat” layer to trap any loose crumbs, then chill the cake for 10-15 minutes. This creates a smooth canvas for your final, thicker layer of frosting, ensuring a beautiful, crumb-free finish.
-
Creative Garnishes Beyond Peeps
While Peeps are the iconic topping for this Easter cake, don’t limit your creativity! For an extra festive touch, consider adding a sprinkle of edible glitter, a shower of colorful sprinkles (Easter-themed ones are perfect!), or even a light dusting of finely shredded coconut to mimic a “bunny tail” texture. These additions can elevate the visual appeal and add another layer of fun to your delightful dessert.
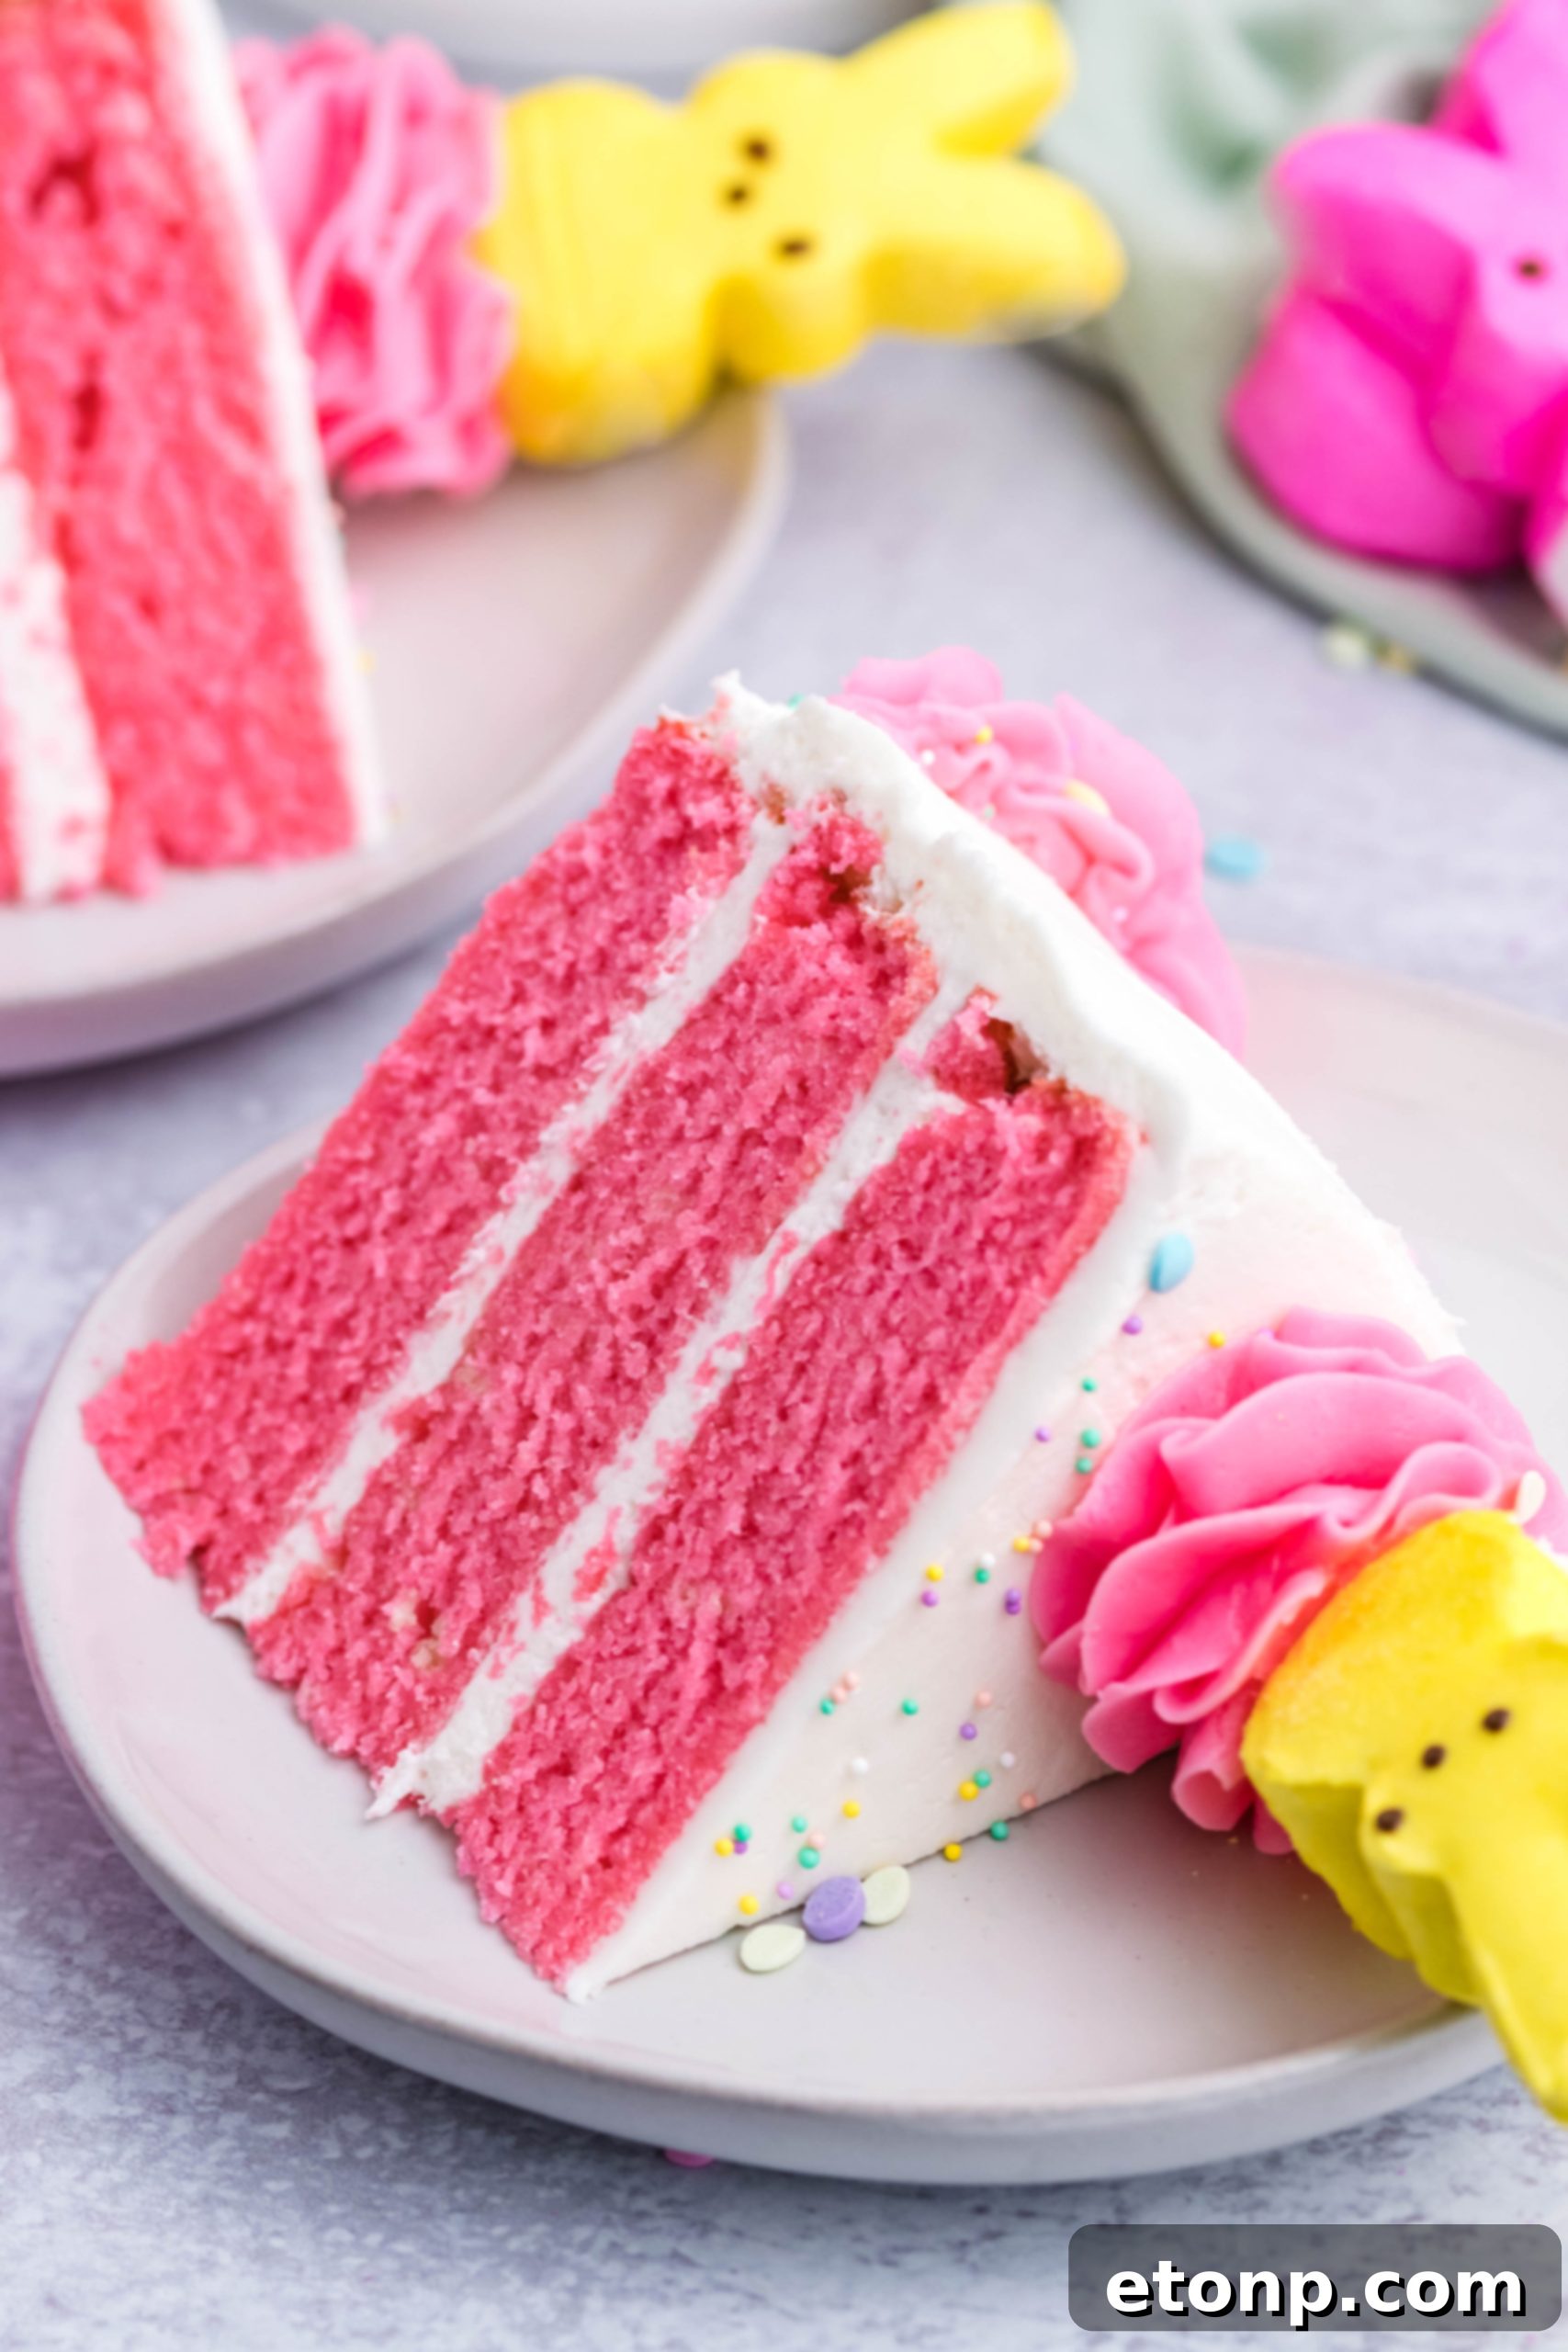
Storing Your Beautiful Easter Creation
Proper storage is essential to keep your Easter Bunny Cake fresh and delicious for as long as possible. Once frosted, place your cake in an airtight container to protect it from drying out and absorbing other odors.
At **room temperature**, your cake will stay fresh and moist for up to two days. If you need to prepare it further in advance or wish to extend its shelf life, refrigerate the cake in an airtight container. In the fridge, it will remain fresh for up to three days.
**Important Tip:** If storing in the refrigerator, always remember to remove the cake at least an hour before you plan to serve it. Allowing it to sit at room temperature will ensure the cake and frosting soften to their ideal texture, providing the best possible flavor and eating experience.
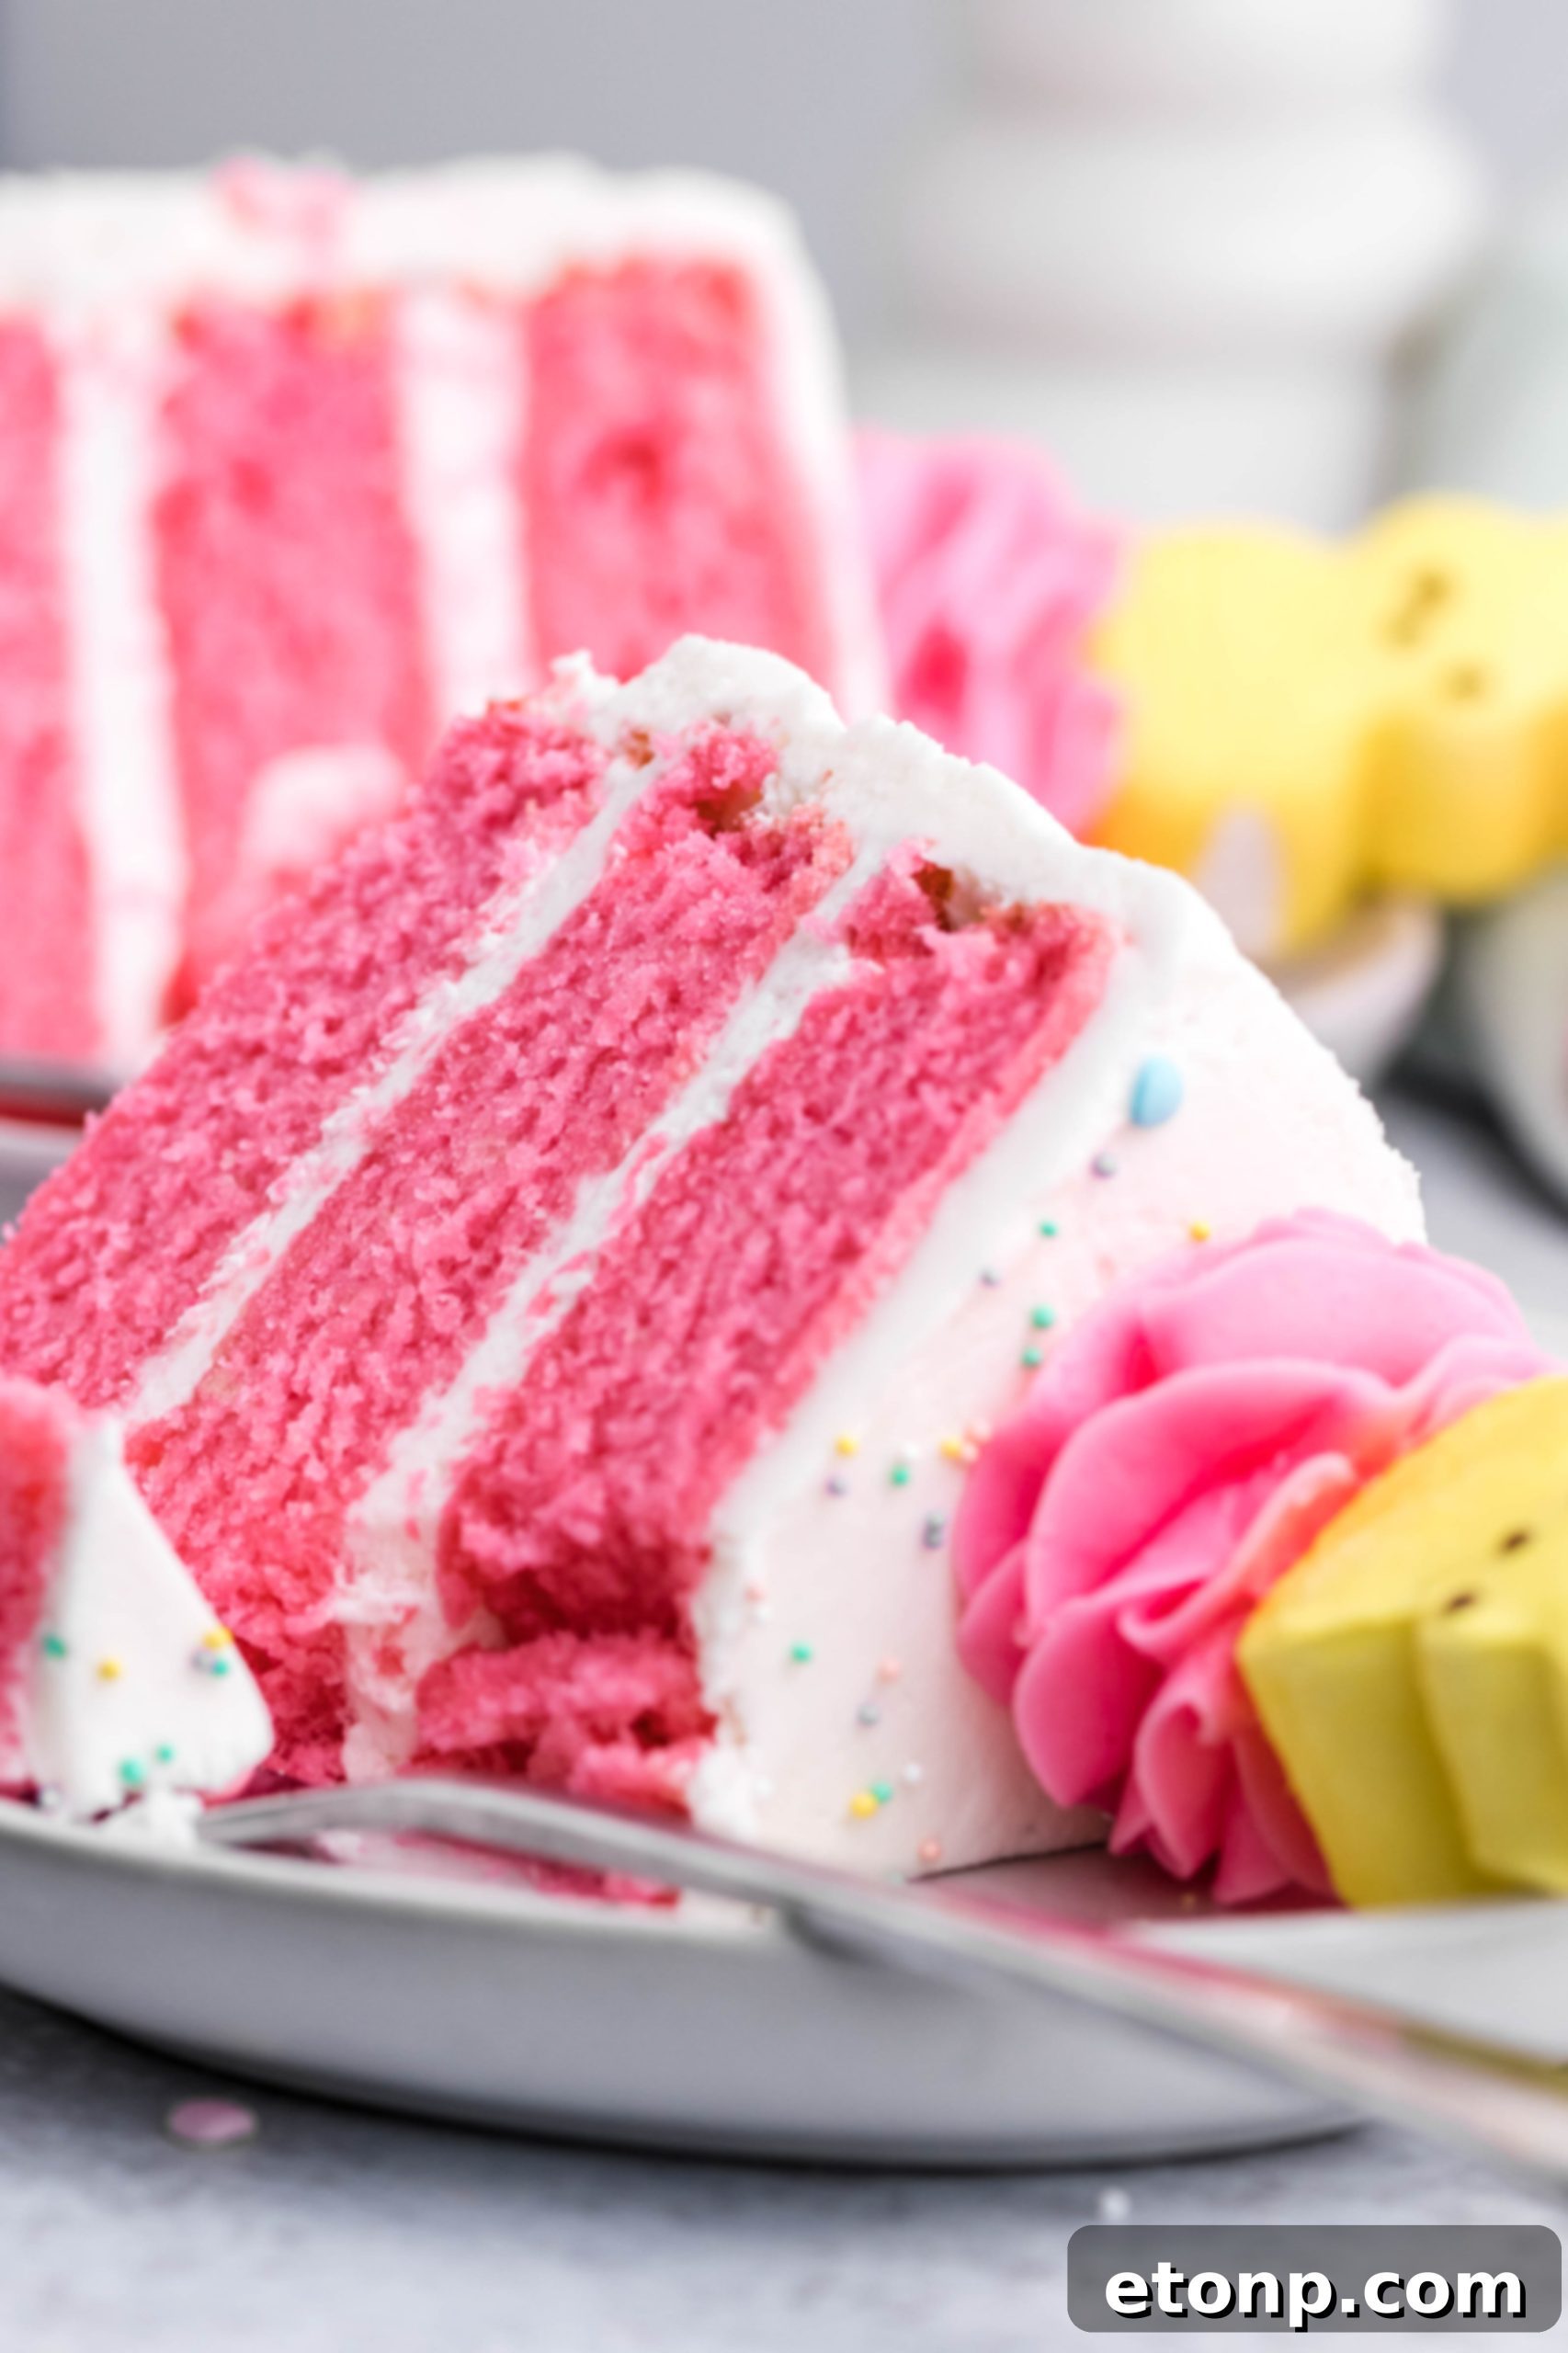
The Complete Easter Bunny Cake Recipe
Get ready to bake a show-stopping Easter dessert! This recipe outlines all the steps to create a wonderfully moist vanilla cake with a luscious buttercream frosting, crowned with festive Peeps.
Easter Bunny Cake
Servings: 12
Prep Time: 15 minutes
Bake Time: 25 minutes
Ingredients
For the Cakes:
- 1 1/4 cup milk
- 4 large eggs
- 1/4 cup vegetable oil
- 1 tablespoon vanilla extract
- 2 1/2 cups all-purpose flour
- 1 1/2 cups granulated sugar
- 2 1/2 teaspoons baking powder
- 1/2 teaspoon salt
- 3/4 cup butter, room temperature
For the Frosting:
- 3 cups butter, room temperature
- 12 cups powdered sugar
- 1 tablespoon vanilla extract
- 1/2 cup heavy whipping cream
- Peeps for topping (optional)
Instructions
Cakes:
- Preheat your oven to 350 degrees F (175°C). Prepare three 8-inch round cake pans by generously spraying them with non-stick spray and lining the bottom of each with a circle of parchment paper. Set aside.
- In the bowl of a stand mixer fitted with a paddle attachment, combine the flour, granulated sugar, baking powder, and salt. With the mixer on low speed, add the room temperature butter one tablespoon at a time. Continue mixing until the mixture resembles coarse sand.
- In a separate small bowl or large liquid measuring cup, whisk together the milk, large eggs, vegetable oil, and vanilla extract until well combined.
- With the mixer on low speed, slowly pour the liquid ingredients into the dry mixture. Mix just until there are no dry spots remaining. Be careful not to overmix, as this can lead to a tough cake.
- Divide the cake batter evenly among the three prepared cake pans. Bake for 22-25 minutes, or until a toothpick inserted into the center of each cake comes out clean.
- Remove the cakes from the oven and allow them to cool in their pans for 10 minutes. Then, invert them onto a wire rack to cool completely.
- Once fully cooled, you can wrap the cake layers in plastic wrap and refrigerate them for at least an hour (or up to a day) to make them easier to handle and assemble. This step is recommended but not strictly required.
Frosting:
- When you’re ready to assemble the cake, prepare the buttercream. In a stand mixer with a paddle attachment, cream the room temperature butter on high speed for 4-5 minutes until it is smooth and lump-free.
- Add half of the powdered sugar to the creamed butter and mix on low speed until fully combined. Scrape down the sides and bottom of the bowl to ensure everything is incorporated.
- Slowly pour in the heavy whipping cream and vanilla extract. Mix on low speed until just combined.
- Add the remaining powdered sugar and continue mixing on low speed until combined and smooth.
- Once all the powdered sugar is incorporated, turn the mixer to medium-high speed and beat for 3-4 minutes. This will whip the frosting into a light, airy, and fluffy consistency.
Assembly:
- If your cake layers have domes, use a large, serrated knife to carefully level them, creating flat tops for easier stacking.
- Place one cooled cake layer face down on your desired cake serving tray or stand. Top with about 1 to 1 1/2 cups of frosting and spread evenly to the edges. Repeat this process with the remaining cake layers.
- Apply a thin layer of frosting over the entire outside of the cake. This is called a “crumb coat” and helps to seal in any loose crumbs, creating a smooth surface.
- Refrigerate the cake for 10-15 minutes to allow the crumb coat to set.
- Remove the chilled cake and apply a second, thicker layer of frosting over the entire cake. Smooth it out with an offset spatula or bench scraper for a polished finish.
- Use any leftover frosting to pipe a decorative border around the top edge of the cake using a large star piping tip. Arrange Peeps marshmallows on top as desired for that quintessential Easter Bunny Cake look.
- Store the finished cake in an airtight container at room temperature for up to two days, or refrigerated for up to three days.
- Allow the cake to come to room temperature for about an hour before slicing and serving for the best flavor and texture. Enjoy your beautiful Easter creation!
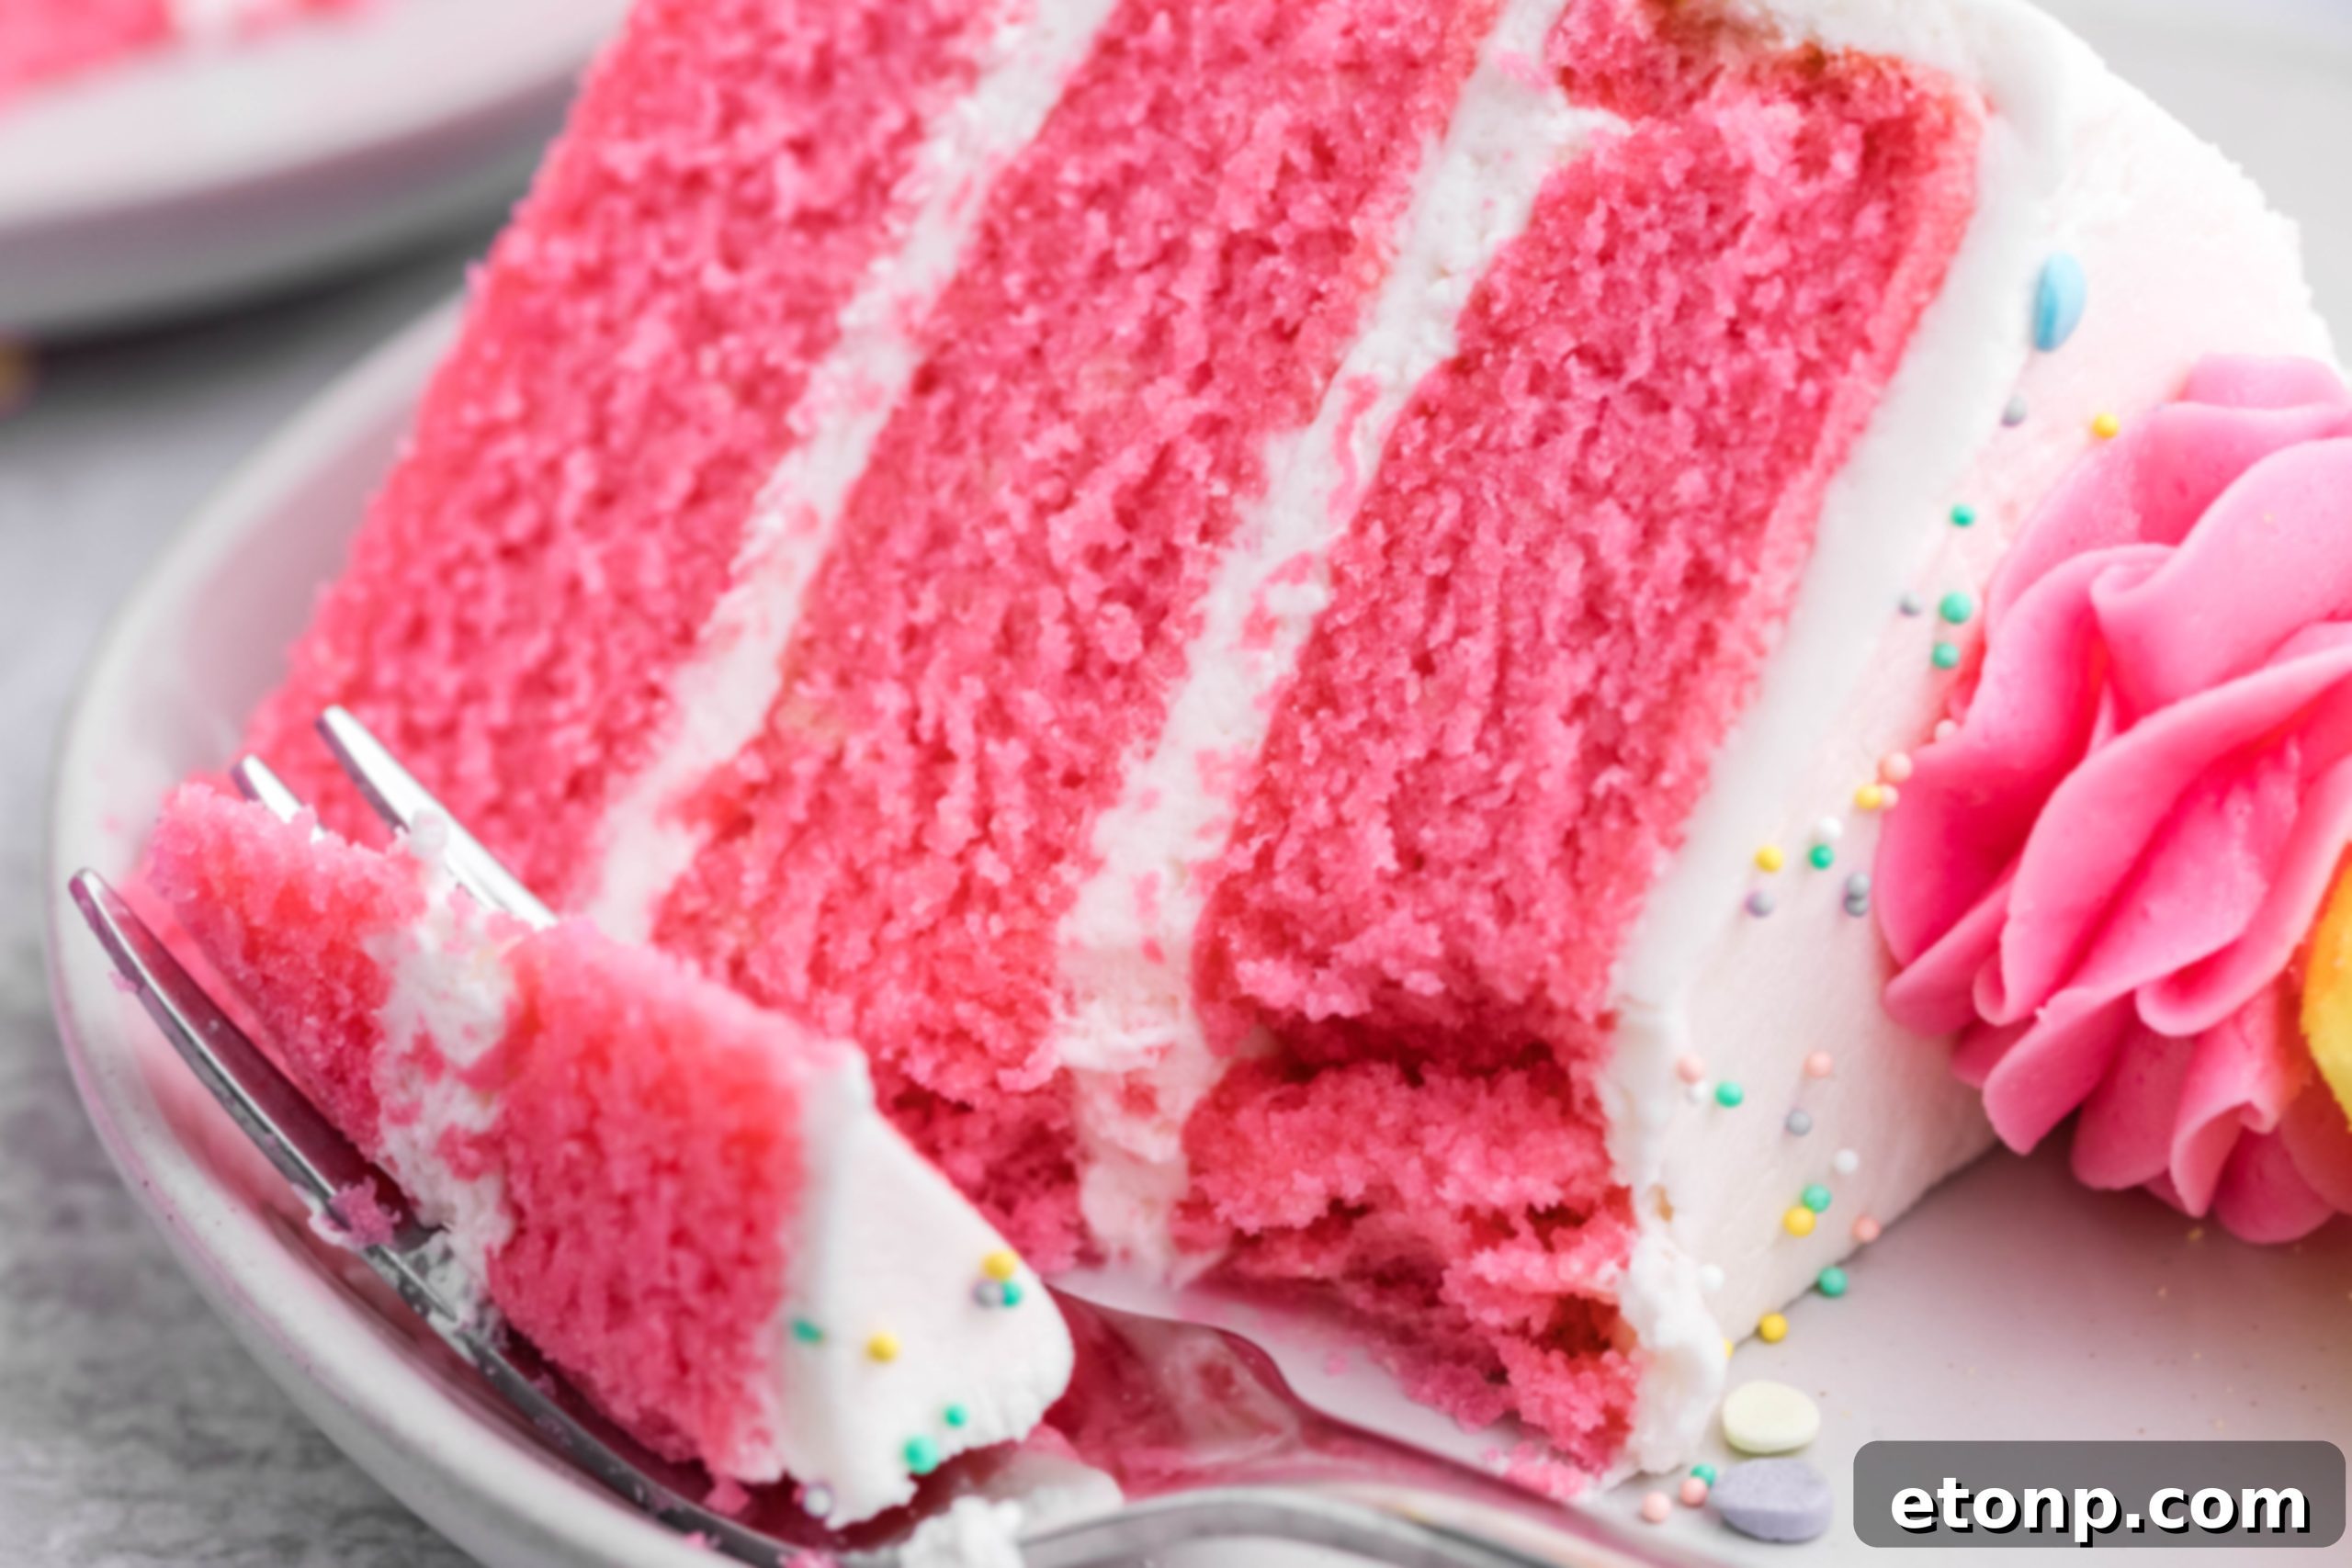
This Easter Bunny Layer Cake is truly the perfect treat to crown your holiday feast. Its moist vanilla layers, rich buttercream, and playful Peeps topping create a dessert that is as joyful to look at as it is to eat. Gather your ingredients, follow these simple steps, and prepare for a wave of smiles and compliments as you present this stunning centerpiece. Happy baking and Happy Easter!
Don’t Forget to Share the Sweetness!
If you loved making and sharing this delightful Easter Bunny Cake, we encourage you to spread the joy!
Please remember to SHARE on Facebook and PIN IT on Pinterest!