
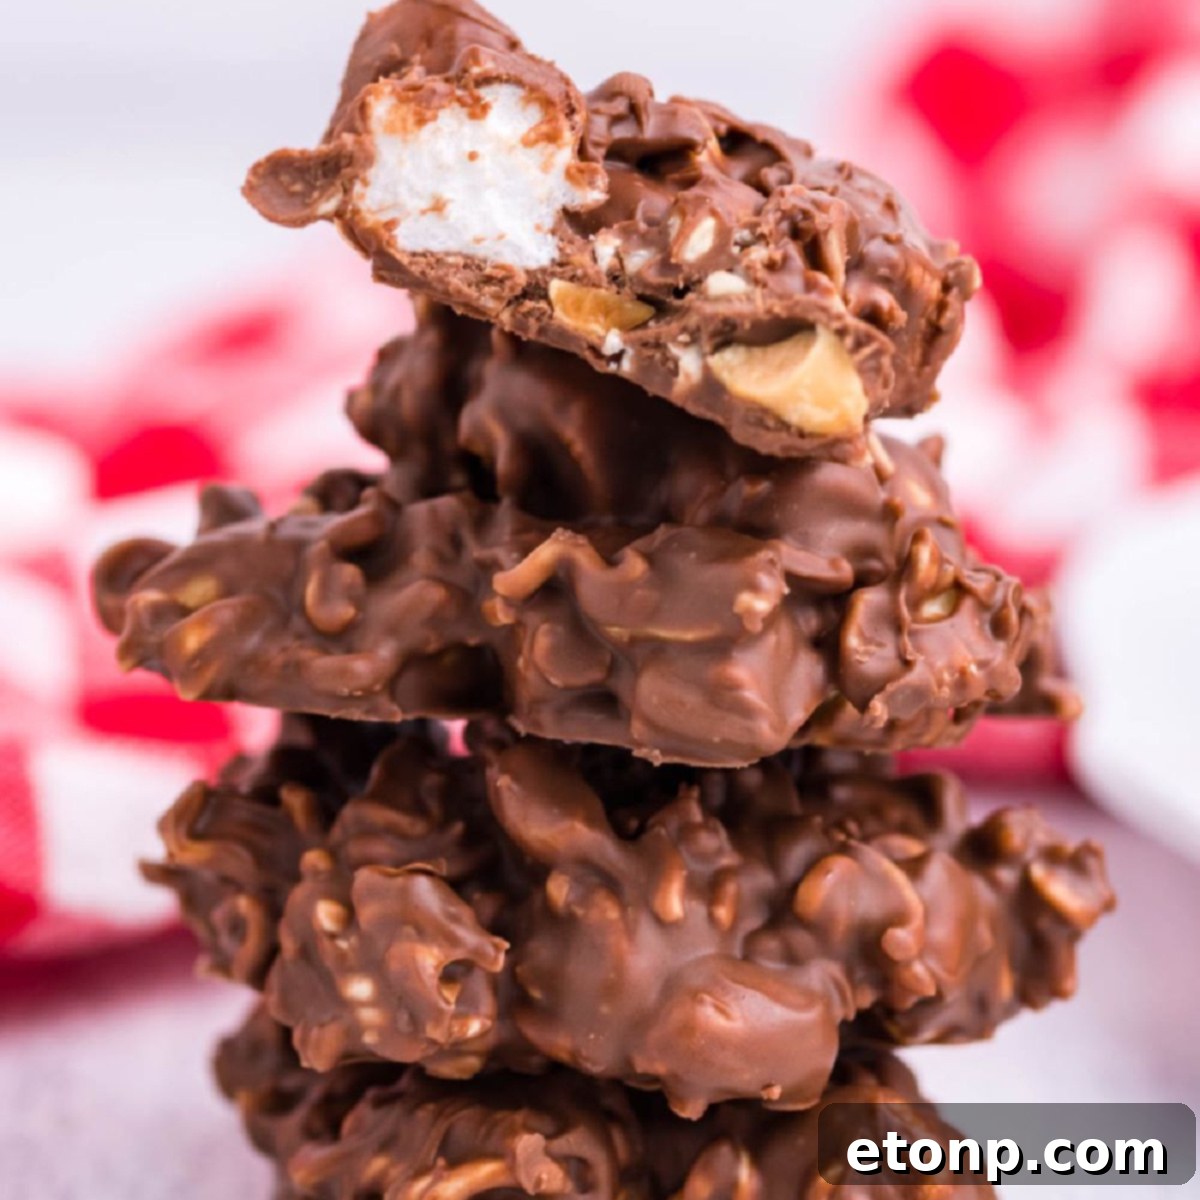
Prepare your tastebuds for an extraordinary treat with this timeless Rocky Road Candy recipe! This classic no-bake candy is a delightful blend of crunchy, salty, and sweet, guaranteed to bring joy to any occasion. Requiring just five simple ingredients, it’s an incredibly easy dessert that delivers maximum flavor with minimal effort. Imagine rich chocolate, creamy peanut butter, savory peanuts, crispy chow mein noodles, and soft mini marshmallows all coming together in one irresistible bite. This vintage candy recipe isn’t just a dessert; it’s a nostalgic experience, reminiscent of cherished homemade treats from generations past.

This homemade Rocky Road Candy is truly a versatile confection. It’s the perfect sweet indulgence for a casual weeknight snack, but also elegant enough to be a show-stopping addition to any holiday dessert table. Share the love by gifting these delicious treats to friends and family during festive seasons. The combination of textures – the snap of the noodles, the chewiness of marshmallows, and the smooth melt of chocolate and peanut butter – makes every piece a journey of flavor. Whether you’re a seasoned candy maker or a beginner looking for an effortless dessert, this recipe is designed for success.
Craving more delightful candy creations? I’m thrilled to share a few more of my favorite easy candy recipes that are sure to impress. You absolutely must try this festive Peppermint Fudge, classic No-Bake Christmas Peppermint Patties, or these whimsical Little Debbie Christmas Tree Cake Truffles! Each offers a unique flavor profile and the same ease of preparation as our beloved Rocky Road Candy.

Top Reasons to Make This Easy Rocky Road Candy Recipe
This no-bake Rocky Road Candy stands out as a must-try for countless reasons. It’s more than just a sweet treat; it’s a convenient, crowd-pleasing, and customizable dessert perfect for any occasion. Here’s why this recipe will quickly become a favorite in your household:
- A Timeless Classic: This tried-and-true candy recipe has graced countless kitchens for generations. It evokes a sense of nostalgia, much like the comforting treats your grandma used to lovingly prepare, bringing a touch of home-style charm to your dessert table.
- Incredibly Simple Ingredients: All it takes is a mere 5 ingredients to create this crunchy, sweet, and satisfying candy. This minimal ingredient list makes grocery shopping a breeze and helps keep your pantry stocked with staples you likely already have.
- Effortless No-Bake Method: Skip the oven and the stress! This recipe is entirely no-bake, making it perfect for busy schedules, hot weather, or when you just want a quick and easy dessert without all the fuss.
- Perfect for Any Gathering: Whether you’re hosting a small family dinner, contributing to a large potluck, or preparing treats for a festive holiday party, this candy is easy to scale up and serves a crowd beautifully. Its appealing nature ensures it’s always a hit.
- Budget-Friendly Delight: Made with common and affordable ingredients, this homemade candy won’t break the bank. You can whip up a generous batch for a fraction of the cost of store-bought gourmet chocolates, making it an economical choice for delicious gifting.
- Ideal for Gifting: This candy is a fantastic addition to homemade gift boxes during Christmas, birthdays, or any special occasion. Its festive appearance and delightful taste make it a thoughtful and much-appreciated present for friends, neighbors, and teachers.
- Highly Customizable: While the classic recipe is perfect, it also serves as an excellent base for experimentation. Easily adapt the nuts, chocolate type, or add-ins to suit individual preferences or dietary needs, making it endlessly versatile.
- Quick Preparation: From start to finish, the active preparation time for this Rocky Road Candy is minimal, allowing you to create a delightful dessert in under 20 minutes before it sets in the refrigerator.
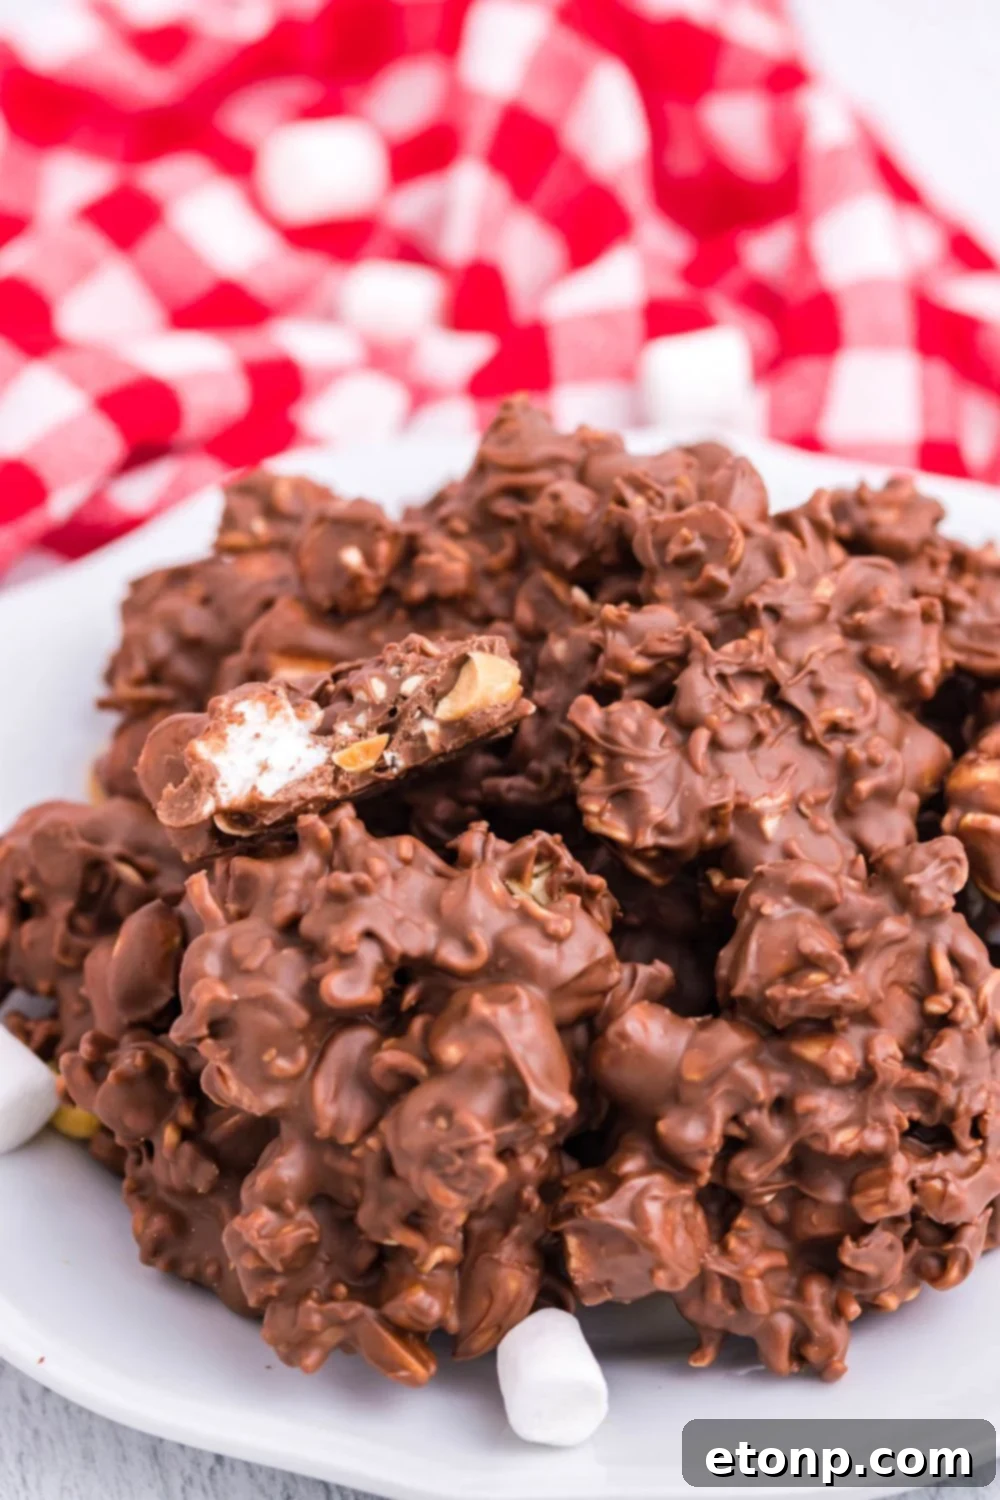
Essential Ingredients for Your Perfect Rocky Road Candy
Creating truly delicious Rocky Road Candy starts with understanding the role each ingredient plays. Here’s a closer look at the five stars of this recipe, along with tips for making the best choices:
- Chocolate: The foundation of this indulgent dessert is chocolate. While I personally favor semi-sweet chocolate chips for their balanced sweetness that complements the other ingredients, feel free to experiment. You could opt for milk chocolate for a sweeter profile, dark chocolate for a richer, more intense flavor, or even chopped chocolate bars for a luxurious touch. The key is to use quality chocolate that melts smoothly, as this forms the binding base of your candy.
- Peanut Butter: For that ultra-creamy texture and distinctive nutty flavor, smooth peanut butter is indispensable. It adds a wonderful richness and helps bind the mixture together. I highly recommend using a good quality, creamy peanut butter, as its flavor truly stands out in the final product. Avoid natural peanut butters that separate too much, as they can sometimes alter the candy’s texture.
- Peanuts: These provide a fantastic crunch and a savory contrast to the sweet elements. Lightly salted peanuts are crucial here. If you use fully salted peanuts, the candy might become overwhelmingly salty. The subtle saltiness enhances the overall flavor without overpowering it. You can use roasted or unroasted, but roasted often adds a deeper flavor.
- Chow Mein Noodles: This might seem like an unusual addition, but crispy chow mein noodles are the secret ingredient that gives this candy its unique, irresistible crunch. They’re light, airy, and hold their texture beautifully within the chocolate mixture, offering a satisfying textural contrast that distinguishes this Rocky Road. Ensure you use the dry, crunchy variety, not the soft, cooked ones.
- Marshmallows: Mini marshmallows are mixed into the candy to provide a delightful soft and chewy texture. Their small size ensures they are evenly distributed throughout the mixture and don’t clump together. When added correctly (after the chocolate has slightly cooled), they retain their shape, creating pockets of soft sweetness within the crunchy, chocolatey base.
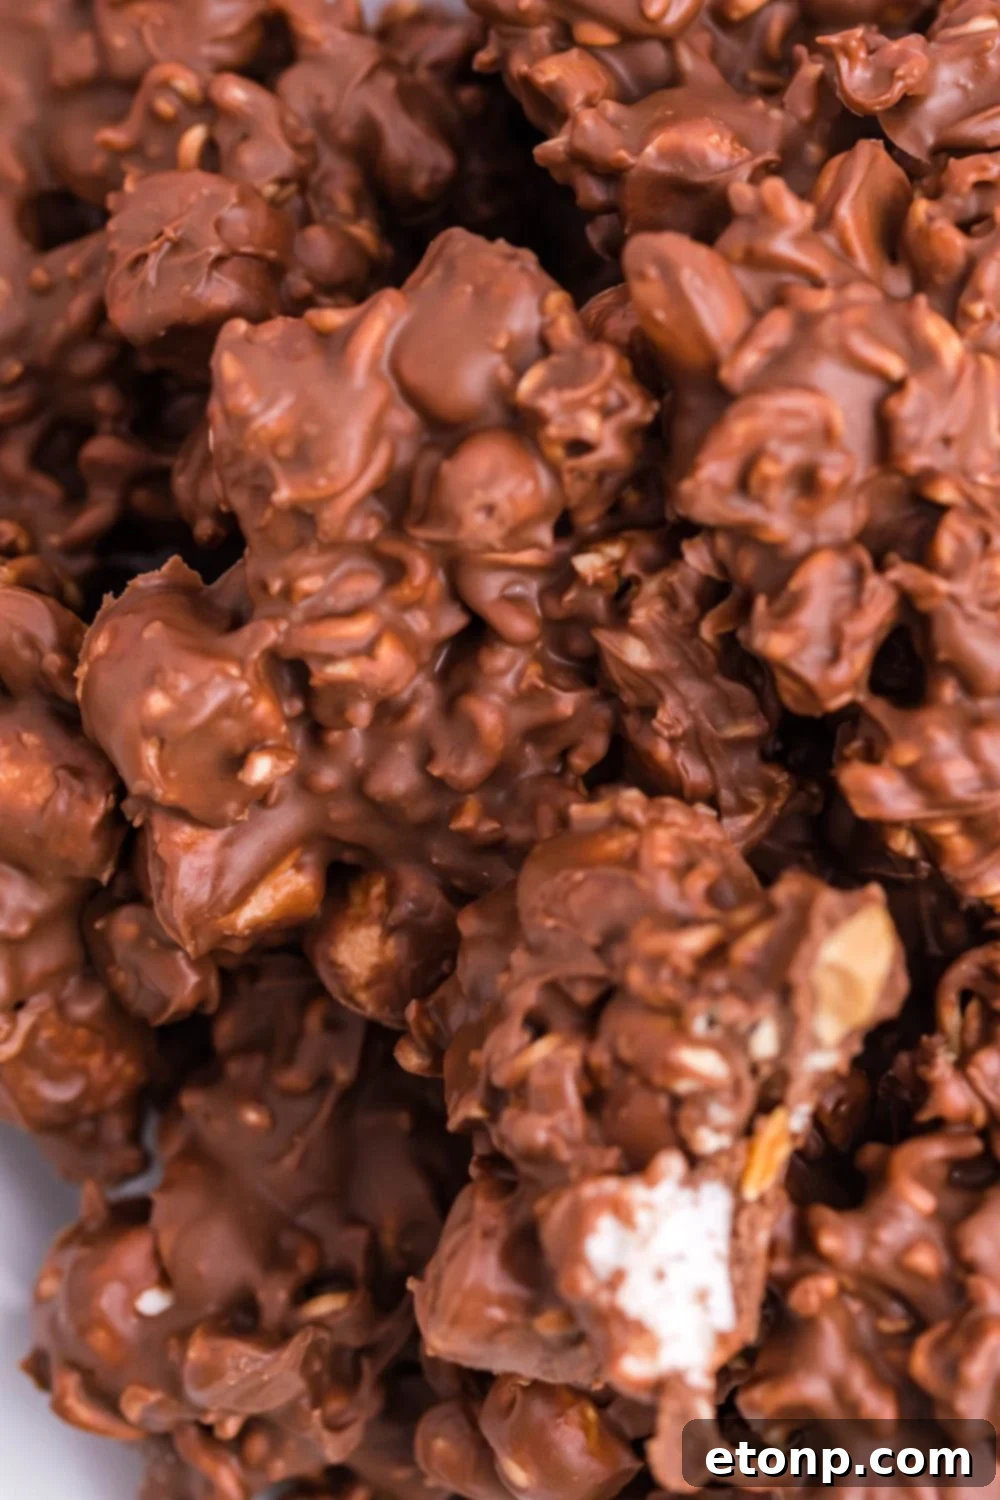
Creative Variations and Customizations for Your Rocky Road Candy
One of the best aspects of this no-bake candy recipe is its adaptability. While the classic version is utterly delicious, there are numerous ways to customize your Rocky Road to suit different tastes or dietary preferences. Get creative and make this treat uniquely yours!
- Chocolate Choices: Don’t feel limited to semi-sweet. Explore other chocolate varieties to change the flavor profile entirely.
- White Chocolate: For a sweeter, creamier, and visually distinct rocky road.
- Milk Chocolate: Offers a classic, milder chocolate flavor that’s widely loved.
- Dark Chocolate: For a more sophisticated, less sweet candy with deeper cocoa notes.
- Chopped Chocolate Bars: Using high-quality chocolate bars, chopped into smaller pieces, can elevate the taste and texture.
- Flavored Chips: Consider mint chocolate chips, espresso chips, or even a mix for a more complex flavor.
- Add a Boost of Butterscotch or Other Chips: Incorporate ½ cup of butterscotch chips into your melted chocolate mixture for an extra layer of sweet, buttery flavor. This works wonderfully to enhance the overall richness. Other options include:
- Caramel Bits: For a chewy, sweet, and slightly salty kick.
- Toffee Bits: Adds a rich, buttery, and crunchy element.
- Peanut Butter Chips (if not using peanut butter): Can provide a more intense peanut butter flavor and a different texture.
- Alternative Nut Butters: If you’re not a fan of peanut butter or have allergies, you can easily substitute it with other nut butters. Just be aware that different nut butters will alter the flavor and texture slightly.
- Almond Butter: Offers a milder, slightly sweeter nutty flavor.
- Cashew Butter: Provides a rich, very creamy texture and subtle sweetness.
- Sunflower Seed Butter (SunButter): A great nut-free alternative. You might need to adjust the amount of chocolate slightly to maintain the right consistency, as some alternative butters can be thicker or thinner.
- Vary the Crunch Factor (Beyond Chow Mein Noodles): While chow mein noodles are fantastic, you have other options for that essential crunchy texture.
- Rice Krispies Cereal: A classic for a reason, providing a light, airy crunch.
- Pretzels: Crushed pretzels add a wonderful salty-sweet dynamic and a hearty crunch.
- Graham Cracker Pieces: Offer a sweet, slightly spiced crunch, perfect for a s’mores-inspired twist.
- Crushed Cornflakes: Another excellent cereal option for a mild, crispy texture.
- Potato Chips: For the adventurous, crushed potato chips can add an unexpected salty crispness.
- Extra Add-ins: Elevate your Rocky Road with additional ingredients for flavor and texture.
- Dried Fruits: Raisins, cranberries, chopped apricots, or even candied orange peel can add chewiness and a fruity burst.
- Coconut Flakes: Toasted or untoasted coconut adds a tropical flavor and unique texture.
- Sprinkles: Festive sprinkles can make your candy pop, especially for holiday gifting.
- Mini Candies: M&Ms, chopped candy bars, or other mini chocolate candies can add bursts of color and flavor.
- Pecans or Walnuts: Instead of or in addition to peanuts, these nuts bring different flavor profiles.
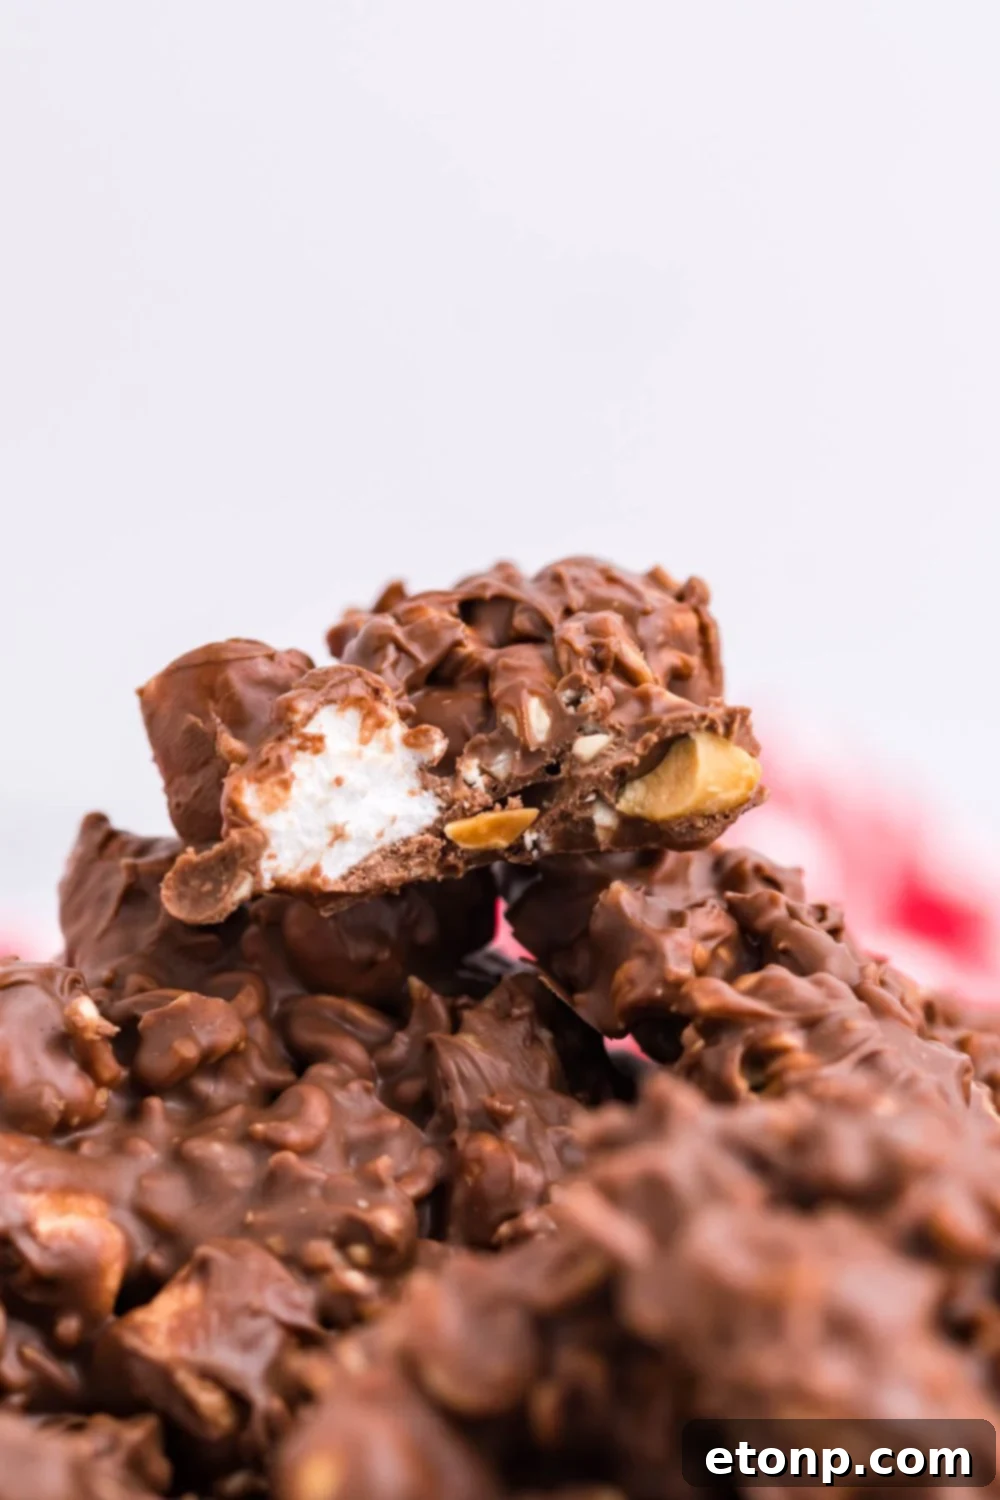
Delightful Serving Suggestions for Your Rocky Road Candy
This homemade Rocky Road Candy is a showstopper on its own, but its versatility means it can be served in a myriad of ways. Whether you’re planning a grand holiday feast or a simple cozy evening, these delightful treats will fit right in.
- As a Standalone Dessert: The simplest way to enjoy it! Arrange pieces on a festive plate for an easy and impressive dessert. Its rich flavors and satisfying textures make it a complete treat.
- Part of a Dessert Platter: Elevate your dessert table by pairing these bars with other sweets. The varied textures and chocolatey goodness of Rocky Road will complement cookies, brownies, and other confections beautifully.
- Sweet and Savory Pairing: For an exciting contrast, pair this sweet candy with something savory. I adore pairing these rich bars with a tangy and savory option like this Antipasto Cheeseball Christmas Tree recipe. The interplay between sweet chocolate and salty cheese creates an unforgettable flavor experience that will tantalize your palate.
- Alongside Warm Beverages: There’s nothing quite like a rich chocolate treat with a comforting drink.
- Whip up this festive Mistletoe Punch for sipping on as you nibble on your sweet chocolate. It’s a perfect duo for holiday gatherings.
- For the little ones (or the young at heart!), a mug of warm Grinch Hot Chocolate makes an enchanting pairing, adding a whimsical touch to dessert time.
- It also pairs wonderfully with a freshly brewed cup of coffee or a robust tea, making it an ideal after-dinner treat.
- Gifting with Style: Package individual pieces in small cellophane bags tied with festive ribbons, or arrange them in decorative candy boxes. These make fantastic hostess gifts, teacher appreciation presents, or thoughtful additions to holiday care packages.
- Ice Cream Topping: Roughly chop leftover Rocky Road Candy and use it as a decadent topping for vanilla ice cream. The bits of chocolate, marshmallow, and crunch will transform a simple scoop into an extraordinary sundae.
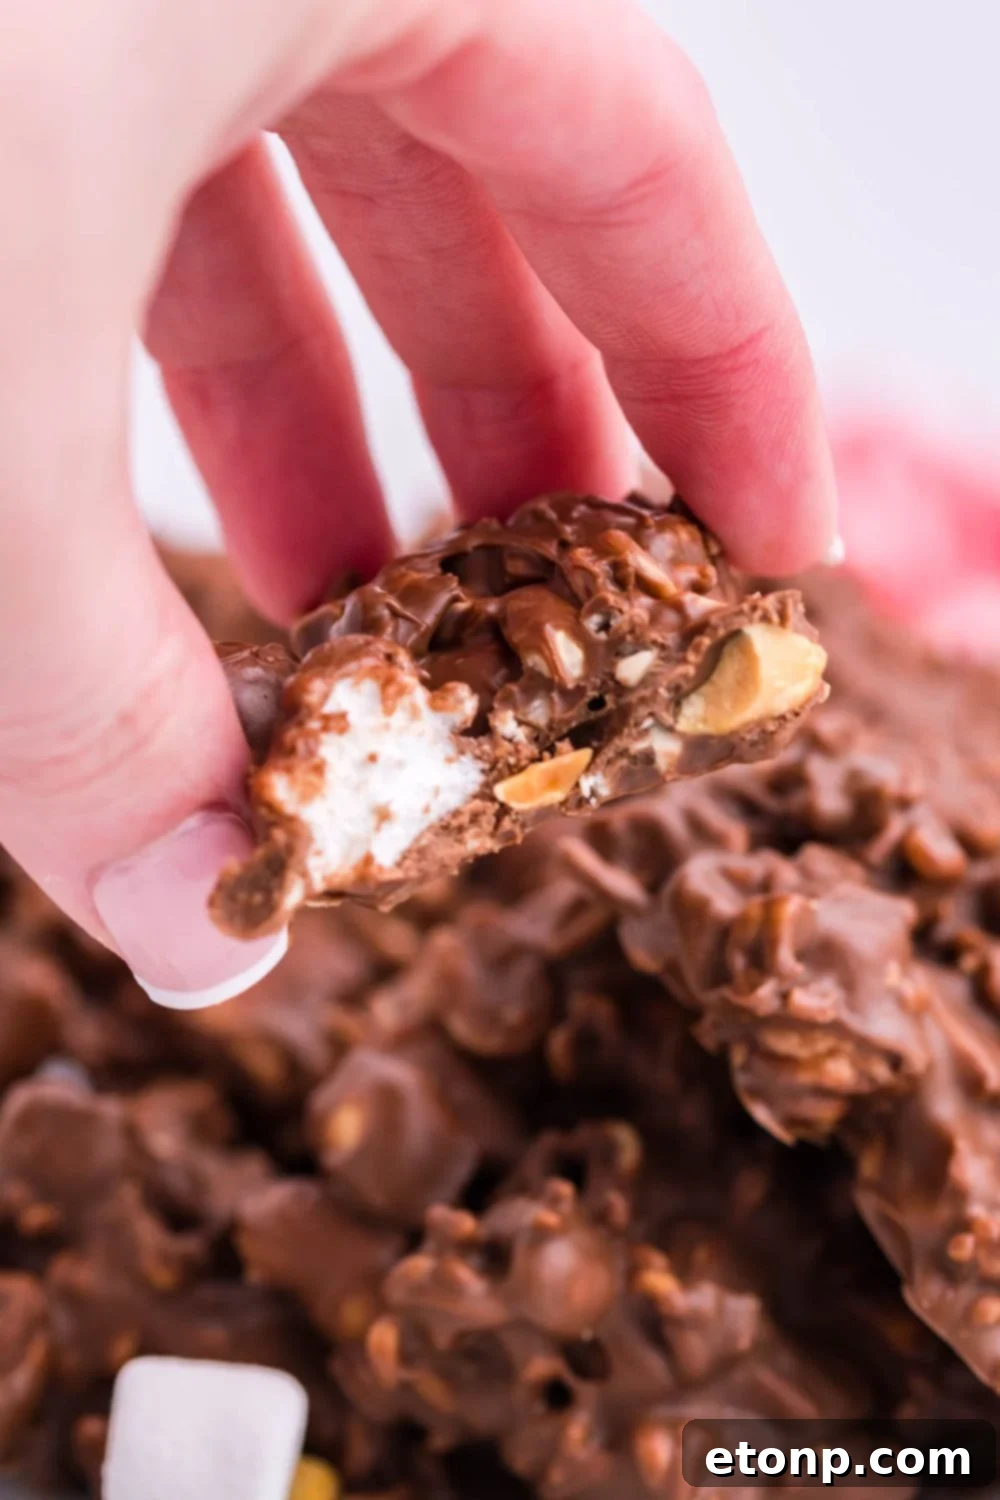
Expert Tips for Rocky Road Candy Success
Achieving the perfect batch of no-bake Rocky Road Candy is simple when you follow a few key tips. These pointers will help ensure your candy is perfectly textured, delicious, and easy to manage from start to finish.
Mastering Chocolate Melting: Microwave Method
If you’re melting your chocolate and peanut butter in the microwave, precision is key to avoid burning. Place the chocolate chips and peanut butter in a medium microwave-safe bowl. Heat them in short bursts, typically 30-second intervals. After each interval, remove the bowl and stir the mixture thoroughly, even if it doesn’t look fully melted. The residual heat will continue to melt the chocolate. This staggered approach, with frequent stirring, is essential as it prevents the chocolate from overheating and becoming grainy or scorched, ensuring a silky-smooth base for your candy.
Mastering Chocolate Melting: Stovetop Method
For those who prefer the stovetop, a gentle heat is paramount. Add your chocolate chips and peanut butter to a saucepan. Heat on the lowest possible setting, stirring frequently and continuously. Alternatively, use a double boiler setup to ensure even, indirect heat, which is ideal for melting chocolate without burning. Once the mixture is completely smooth and melted, remove it from the heat immediately and proceed to the next step.
Cooling the Mixture Before Adding Marshmallows
This is a critical step for perfect Rocky Road Candy. After your chocolate and peanut butter mixture is beautifully warmed and melted, let it sit for a few minutes – typically 3 to 5 minutes – to cool down slightly. This short cooling period is crucial because it prevents the mini marshmallows from completely melting into the chocolate when you mix them in. Adding marshmallows to a mixture that is too hot will result in them dissolving, leaving you with a sticky, gooey mess rather than distinct pockets of chewiness. Once cooled, add all the other ingredients and gently fold until everything is well coated.
Preparing Your Baking Sheet for Easy Release
To ensure your Rocky Road Candy doesn’t stick and is easy to remove once set, I highly recommend lining your baking sheet with wax paper or parchment paper. This creates a non-stick surface, making the setting and cleanup process incredibly simple. Attempting to remove the candy directly from an unlined or even greased pan can lead to breakage and a sticky mess. For best results, allow the paper to overhang the edges of the pan slightly, creating handles for easy lifting.
Refrigerate for Optimal Setting
Patience is a virtue, especially when making no-bake candy! Once you’ve scooped your Rocky Road mixture onto the prepared baking sheet, it needs time to properly set. Place the tray in the refrigerator for at least one hour. This chilling period allows the chocolate to firm up completely, ensuring that your candy holds its shape beautifully and achieves that satisfying snap when bitten into. Don’t rush this step; a fully set candy is far superior in texture and presentation.
Gentle Mixing for Intact Ingredients
When folding in your peanuts, chow mein noodles, and especially the marshmallows, use a gentle hand. Over-mixing or aggressive stirring can crush the delicate chow mein noodles and cause the marshmallows to tear or clump together. A light folding motion ensures all ingredients are evenly coated in the chocolate mixture while maintaining their individual textures and shapes, contributing to the perfect Rocky Road experience.
Quality Ingredients Make a Difference
While this recipe is simple, the quality of your ingredients can significantly impact the final taste. Using good quality chocolate and fresh, flavorful peanut butter will elevate your Rocky Road Candy from good to exceptional. Fresh peanuts and crispy noodles also contribute significantly to the overall texture and enjoyment.
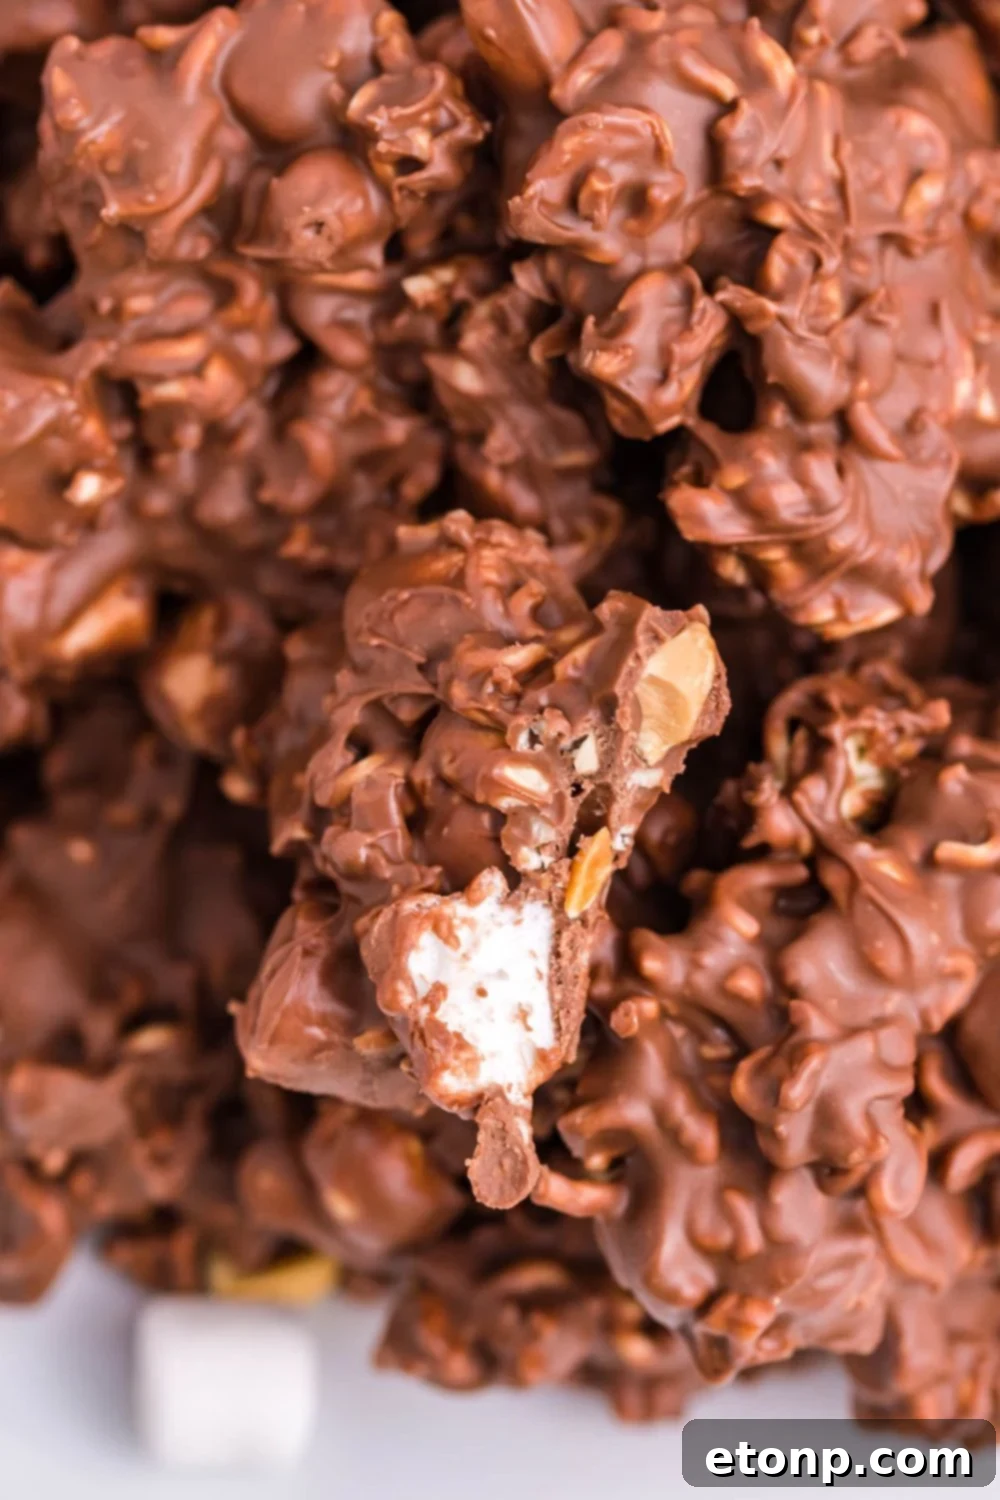
Storing Your Delicious Rocky Road Creations
Once your Rocky Road Candy has fully set, proper storage is key to maintaining its freshness and deliciousness. Fortunately, this sturdy candy is quite forgiving and can be stored in a few different ways, extending its shelf life so you can enjoy it longer.
- Room Temperature Storage: For immediate enjoyment or short-term storage, you can keep your Rocky Road Candy at room temperature. Ensure it’s stored in an airtight container to prevent it from drying out or absorbing unwanted odors. Placed in a cool, dry place away from direct sunlight, the candy will remain fresh and delicious for about 3-5 days. This method is ideal if your home isn’t overly warm and you plan to consume the candy within a few days.
- Refrigerated Storage: Storing the candy in the refrigerator offers a firmer texture and extends its shelf life significantly. Once fully set, transfer the Rocky Road pieces to an airtight container. Layer them with parchment paper between layers to prevent sticking. In the fridge, your Rocky Road Candy will stay fresh and firm for up to a week or even a bit longer. Many people prefer the chilled, crisp texture that refrigeration provides.
- Freezer Storage for Extended Freshness: If you’ve made a large batch or want to prepare this easy dessert well in advance, freezing is an excellent option.
- Preparation: To freeze, first place the set candy pieces in a single layer on a parchment-lined baking sheet and freeze for about 30 minutes to an hour until firm. This prevents them from sticking together.
- Packaging: Once individually frozen, transfer the pieces to a freezer-safe airtight container or heavy-duty freezer bag. Again, using parchment paper between layers is a good practice to prevent any potential sticking.
- Shelf Life: Stored correctly in the freezer, your Rocky Road Candy can last for 3 to 4 months.
- Enjoying from Frozen: You can enjoy the candy straight from the freezer for a super chewy, almost ice cream-like texture. Alternatively, let it thaw at room temperature for about 15-30 minutes, or in the refrigerator for an hour, before indulging.
Always ensure your storage container is truly airtight to protect the candy from moisture, air, and freezer burn, which can degrade its quality and taste.

Frequently Asked Questions About Rocky Road Candy
Got questions about making this irresistible Rocky Road Candy? Here are answers to some of the most common inquiries to ensure your candy-making experience is smooth and successful.
Can I make Rocky Road candy without nuts?
Absolutely! If you prefer your candy nut-free or have allergies, it’s very easy to adapt this recipe. Simply omit the peanuts from the ingredients. The resulting candy will have a creamier texture without the crunch of nuts, but it will still be incredibly delicious. If you also need to avoid peanut butter, you can swap it out for an equal amount of melted white chocolate chips, butterscotch chips, or even a combination. Alternatively, sunflower seed butter (SunButter) can be a great nut-free substitute for peanut butter, though it might alter the flavor slightly and you may need to adjust the amount of chocolate to achieve the desired consistency.
How do I prevent the marshmallows from melting completely?
Preventing your marshmallows from melting into a sticky mess is one of the most important tips for perfect Rocky Road Candy. The key is to allow the melted chocolate and peanut butter mixture to cool down slightly before adding the marshmallows. After melting, let the chocolate mixture sit in the bowl at room temperature for about 3 to 5 minutes. This brief cooling period reduces the temperature enough so that when you fold in the mini marshmallows, they retain their shape and provide that delightful soft, chewy texture. Once the chocolate has cooled sufficiently, add in your nuts, crushed noodles, and marshmallows, then stir lightly and quickly to combine without overworking the mixture.
Where did Rocky Road candy originate?
The delicious Rocky Road Candy has a fascinating history, tracing its origins back to the difficult times of the Great Depression era in America. While the exact origins of this sweet confection and its original creator remain somewhat shrouded in mystery, it’s widely believed to have been invented as a way to use up leftover candy and other ingredients in an economical fashion. The name “Rocky Road” is often thought to symbolize the rough and unpredictable times of the depression. Despite its humble beginnings, this delightful treat quickly gained popularity and has been devoured and cherished by people all around the globe for many years, solidifying its place as a beloved classic.
Why is my Rocky Road too sticky/hard/crumbly?
Texture issues often stem from ingredient ratios or melting techniques. If it’s too sticky, you might have too much peanut butter relative to chocolate, or the chocolate wasn’t fully set. If it’s too hard, too much chocolate (especially dark chocolate) or not enough peanut butter can be the culprit. A crumbly texture can occur if the chocolate mixture wasn’t warm enough to properly coat all ingredients, or if there wasn’t enough fat (like peanut butter) to bind everything together. Always ensure even melting and proper cooling.
Can I make Rocky Road Candy ahead of time?
Absolutely! This no-bake Rocky Road Candy is an excellent make-ahead dessert, perfect for busy holiday seasons or party planning. Once prepared and fully set in the refrigerator, it can be stored in an airtight container at room temperature for several days, or in the refrigerator for up to a week. For longer storage, it freezes beautifully for up to 3-4 months. Making it ahead of time actually allows the flavors to meld together even more beautifully.

More Easy Treats You’ll Love
If you enjoyed making and eating this delicious Rocky Road Candy, you’re in for a treat! Here are a few more incredibly simple and satisfying recipes to add to your collection. These delightful confections are perfect for any occasion, from casual snacking to festive gatherings.
- Spiced Gumdrops
- Christmas Peanut Butter Cups
- Crockpot Christmas Candy

Rocky Road Candy
Course
Dessert
Prep Time
20 minutes
Total Time
1 hour
20 minutes
Servings
12
servings
Ingredients
- 1 cup semi-sweet chocolate chips
- ½ cup smooth peanut butter
- ½ cup lightly salted peanuts
- 1 package chow mein noodles broken up into pieces
- 1 cup mini marshmallows
Instructions
-
Line a large baking sheet with waxed paper or parchment paper and set aside. This will prevent sticking and make cleanup easy.
-
In a medium microwave-safe bowl, combine the chocolate chips and smooth peanut butter. Heat in 30-second increments, stirring well after each interval, until the mixture is completely melted and smooth. Be careful not to overheat the chocolate.
-
Allow the melted chocolate mixture to cool slightly for about 3-5 minutes. Then, gently fold in the lightly salted peanuts, broken chow mein noodle pieces, and mini marshmallows until all ingredients are thoroughly coated in the chocolate mixture.
-
Using a large cookie scoop or two spoons, scoop out individual portions of the Rocky Road Candy mixture and place them about 2 inches apart on the prepared baking sheet.
-
Refrigerate the baking sheet for at least 1 hour, or until the candy is completely set and firm. Once set, transfer to an airtight container for storage.
Did you make this recipe?
Make sure to follow on Pinterest for more recipes!
Pin Recipe
Share on Facebook