
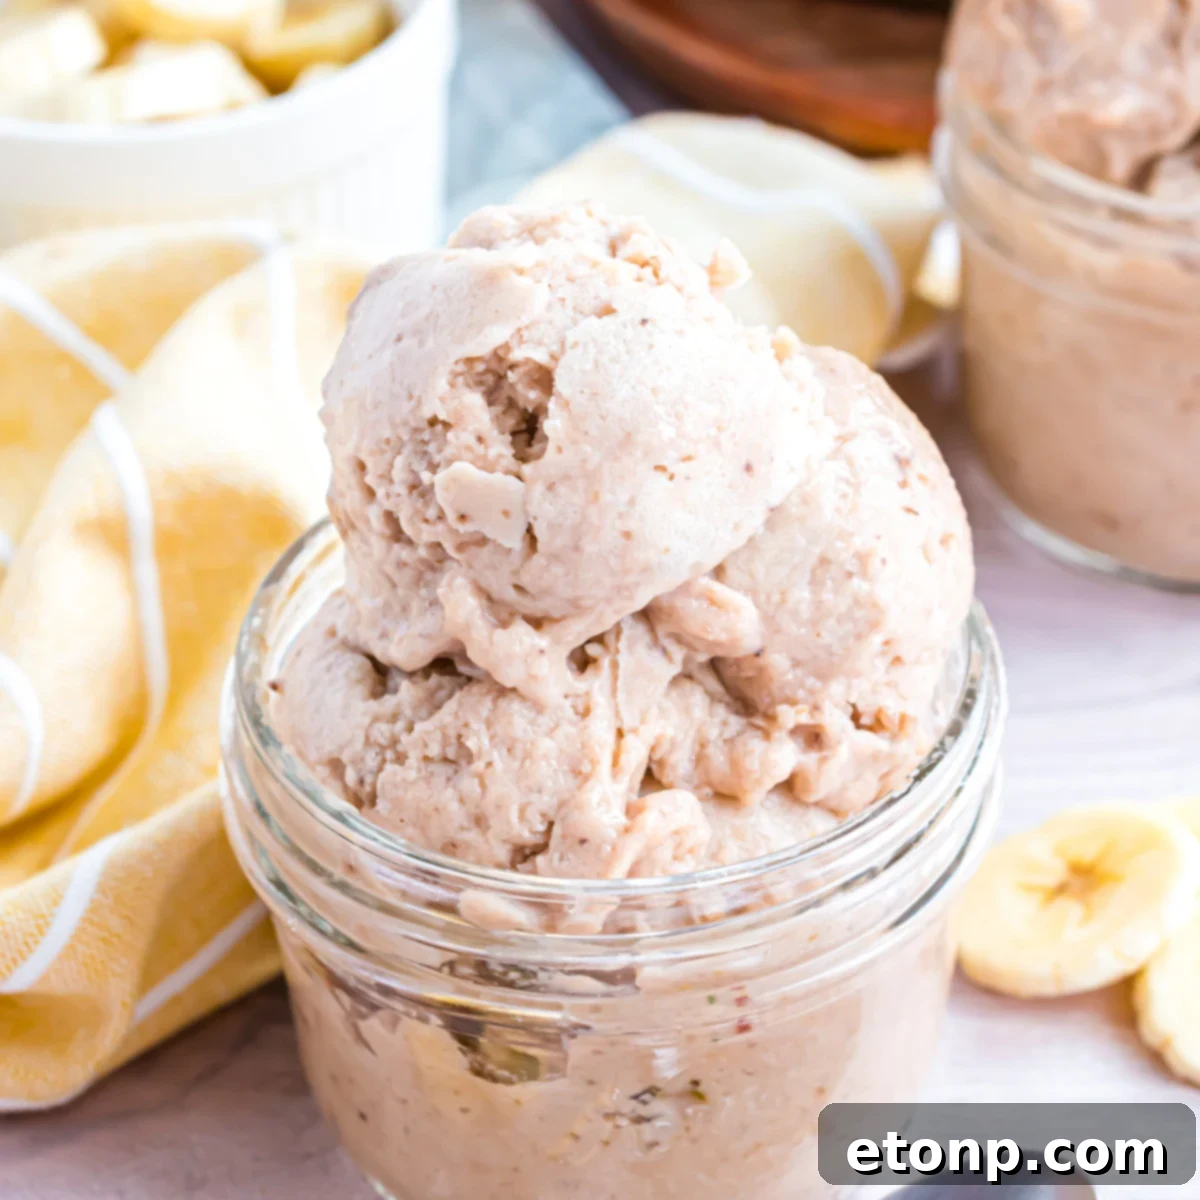
If you’re seeking a genuinely healthy frozen dessert that’s both effortlessly simple to make and incredibly satisfying, look no further. This Easy Banana Ice Cream, often affectionately called “nice cream,” is a game-changer. It’s naturally sweet, astonishingly creamy, completely dairy-free, and demands only one core ingredient: ripe bananas. Forget about added sugars, artificial flavors, or complicated processes. With just a freezer and a food processor or high-powered blender, you can transform humble bananas into a luxurious soft-serve experience that will delight your taste buds and nourish your body. It’s truly a little bit of magic right in your kitchen.
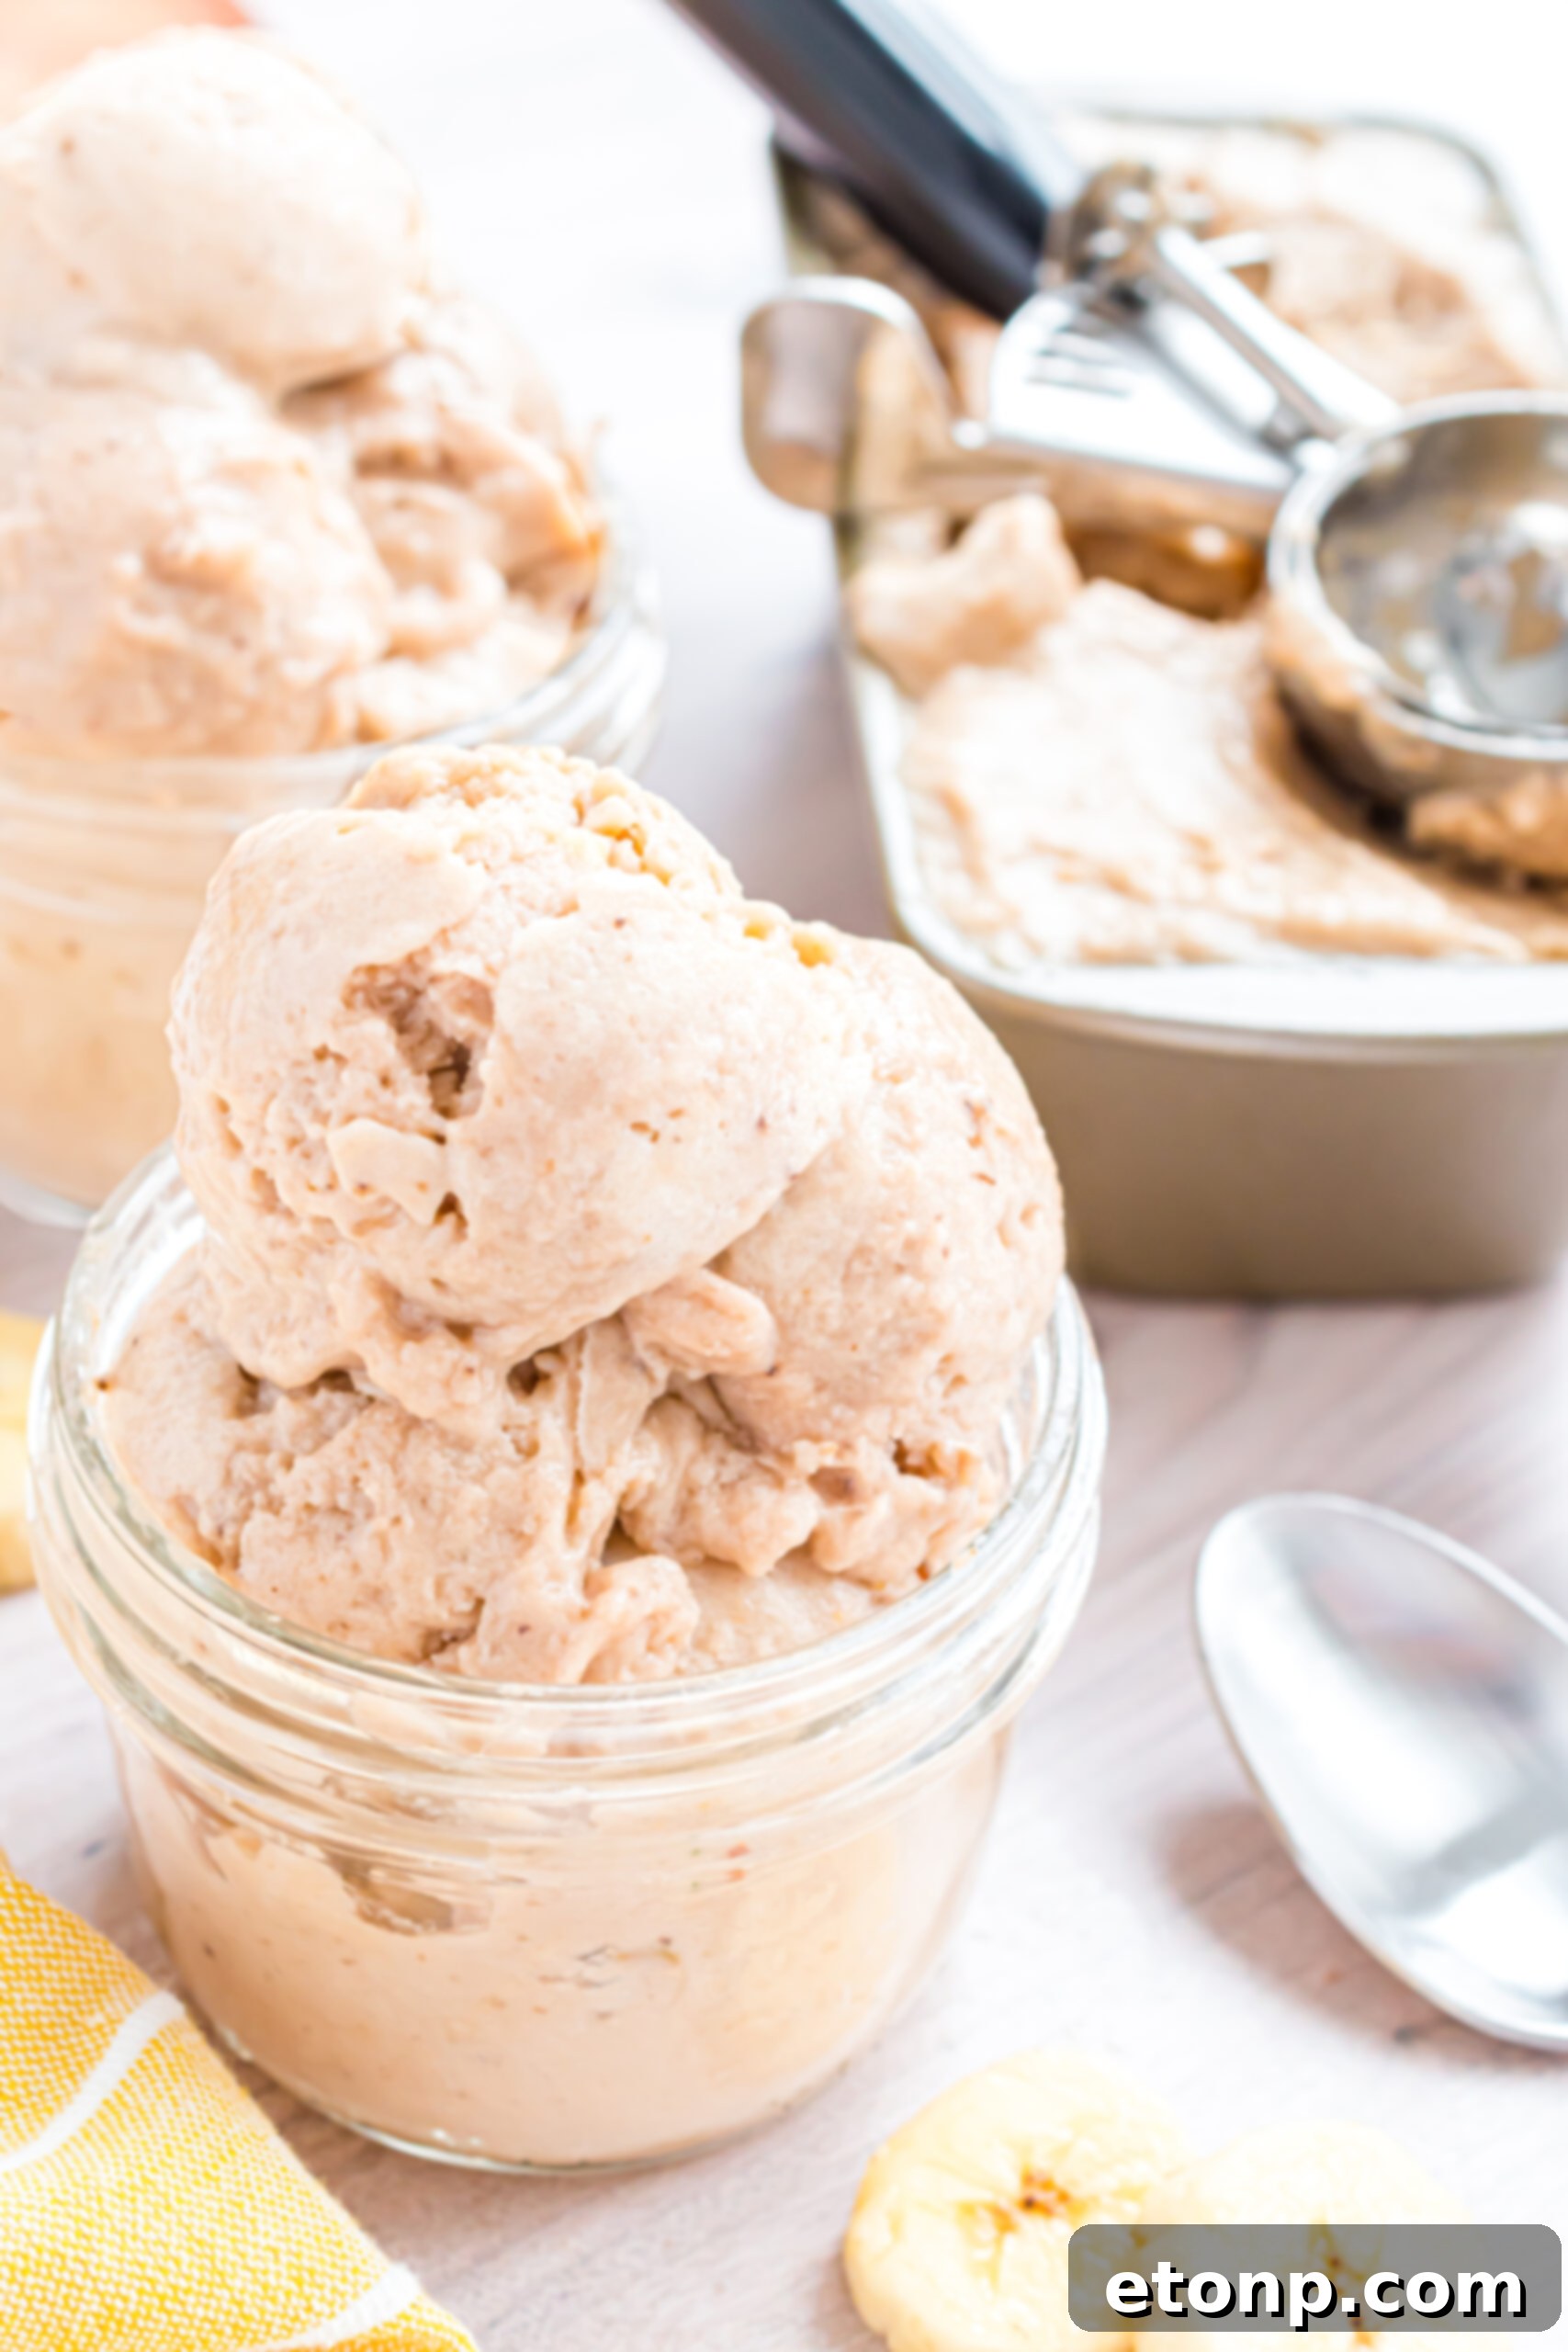
This delightful recipe has become a cherished staple in our home, especially during the warmer months. My daughter can’t get enough of its smooth, sweet flavor, and even my husband, who typically eyes anything labeled “healthy” with suspicion, was genuinely surprised that it contained nothing but bananas. It’s a fantastic way to minimize food waste by giving overripe bananas a delicious second life, making it a win-win for both your palate and your pantry. Simple, wholesome, and utterly delicious, this banana ice cream proves that the best treats often require the fewest ingredients.
What Exactly Is One-Ingredient Banana Ice Cream?
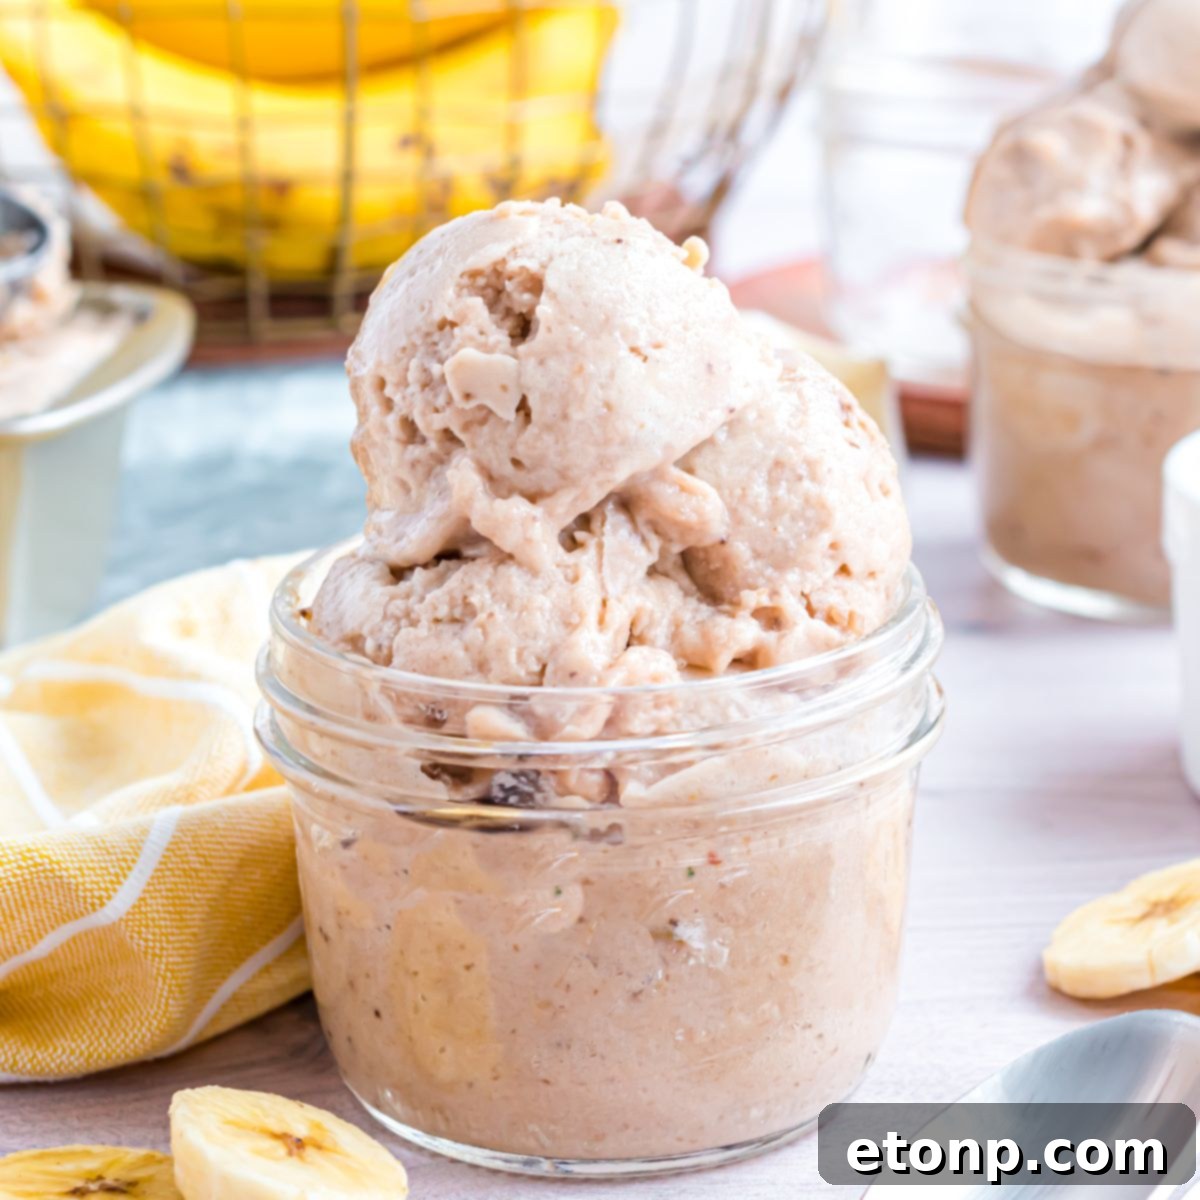
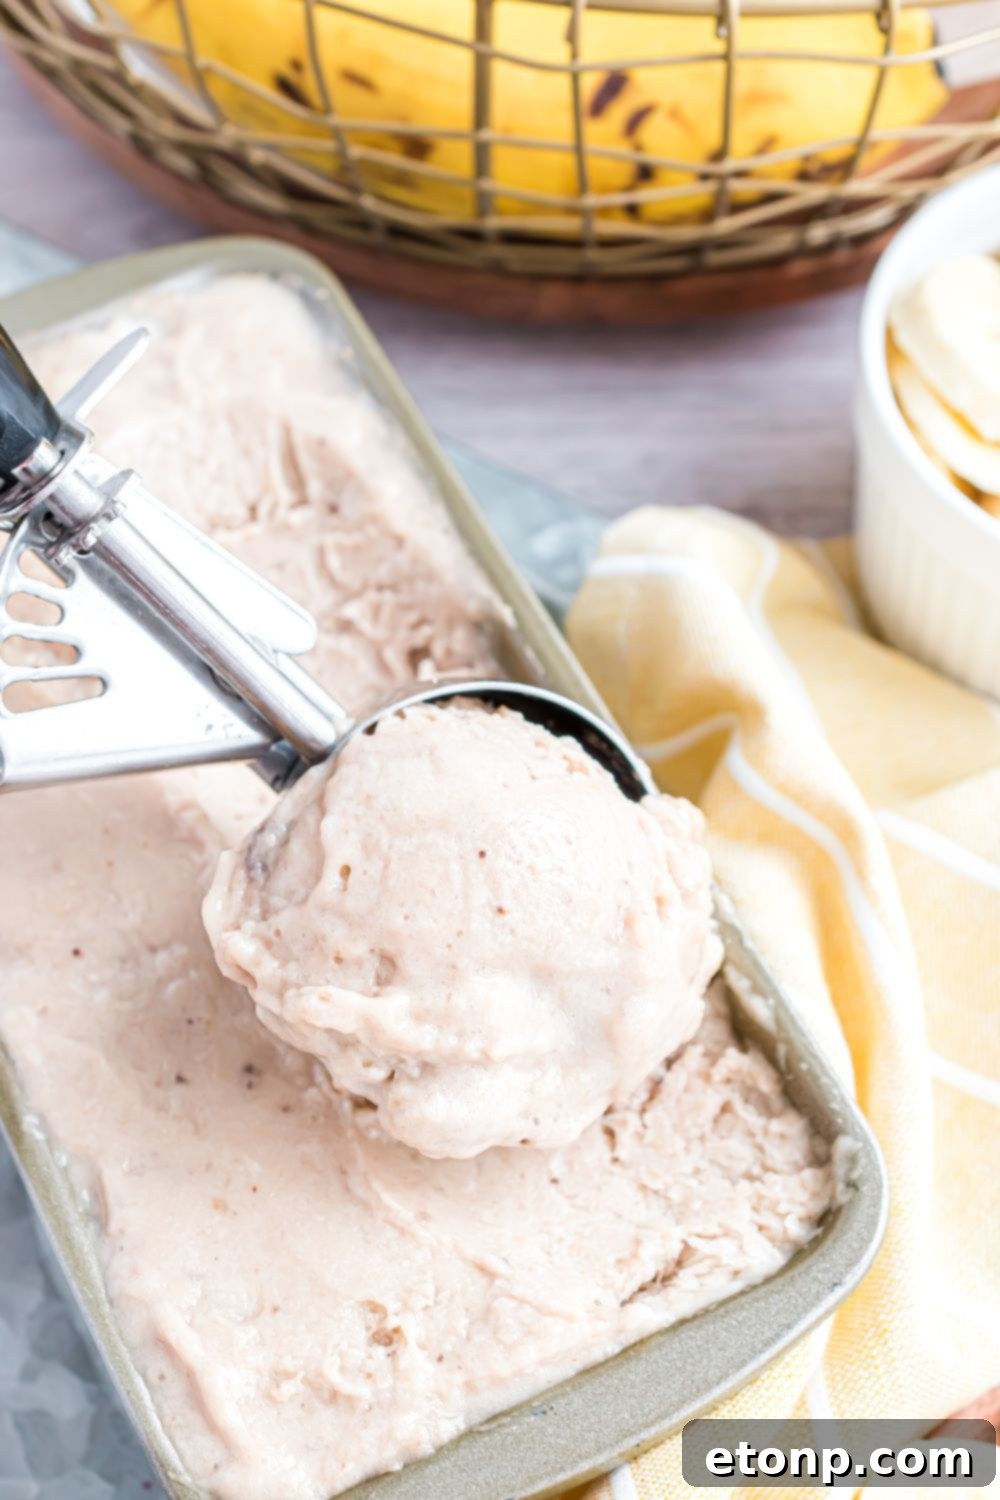
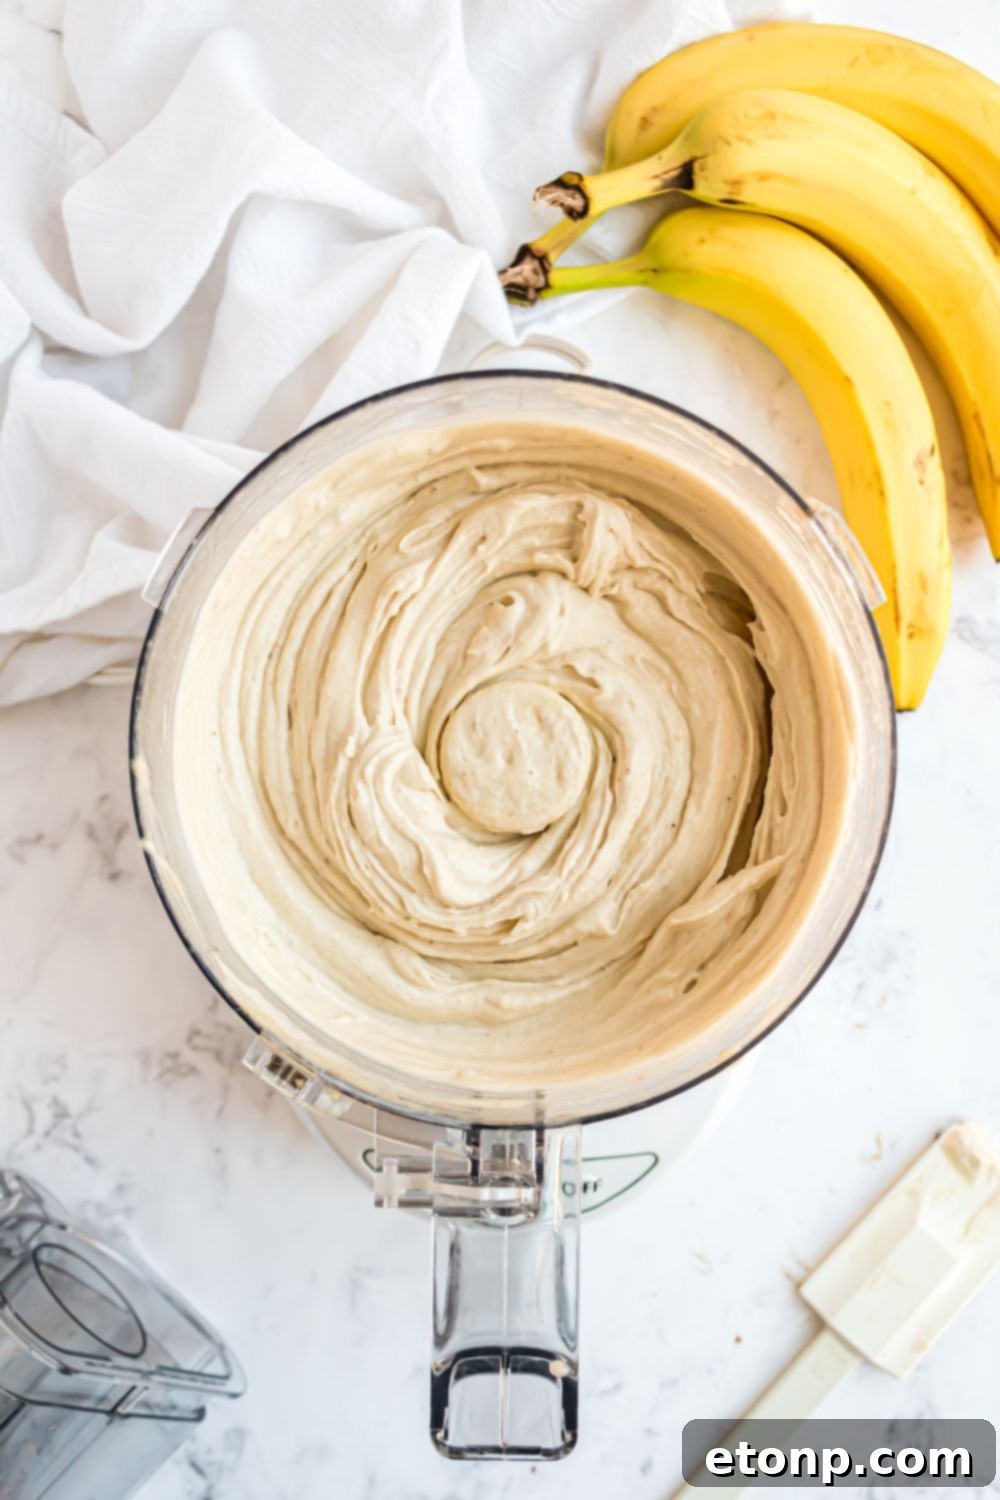
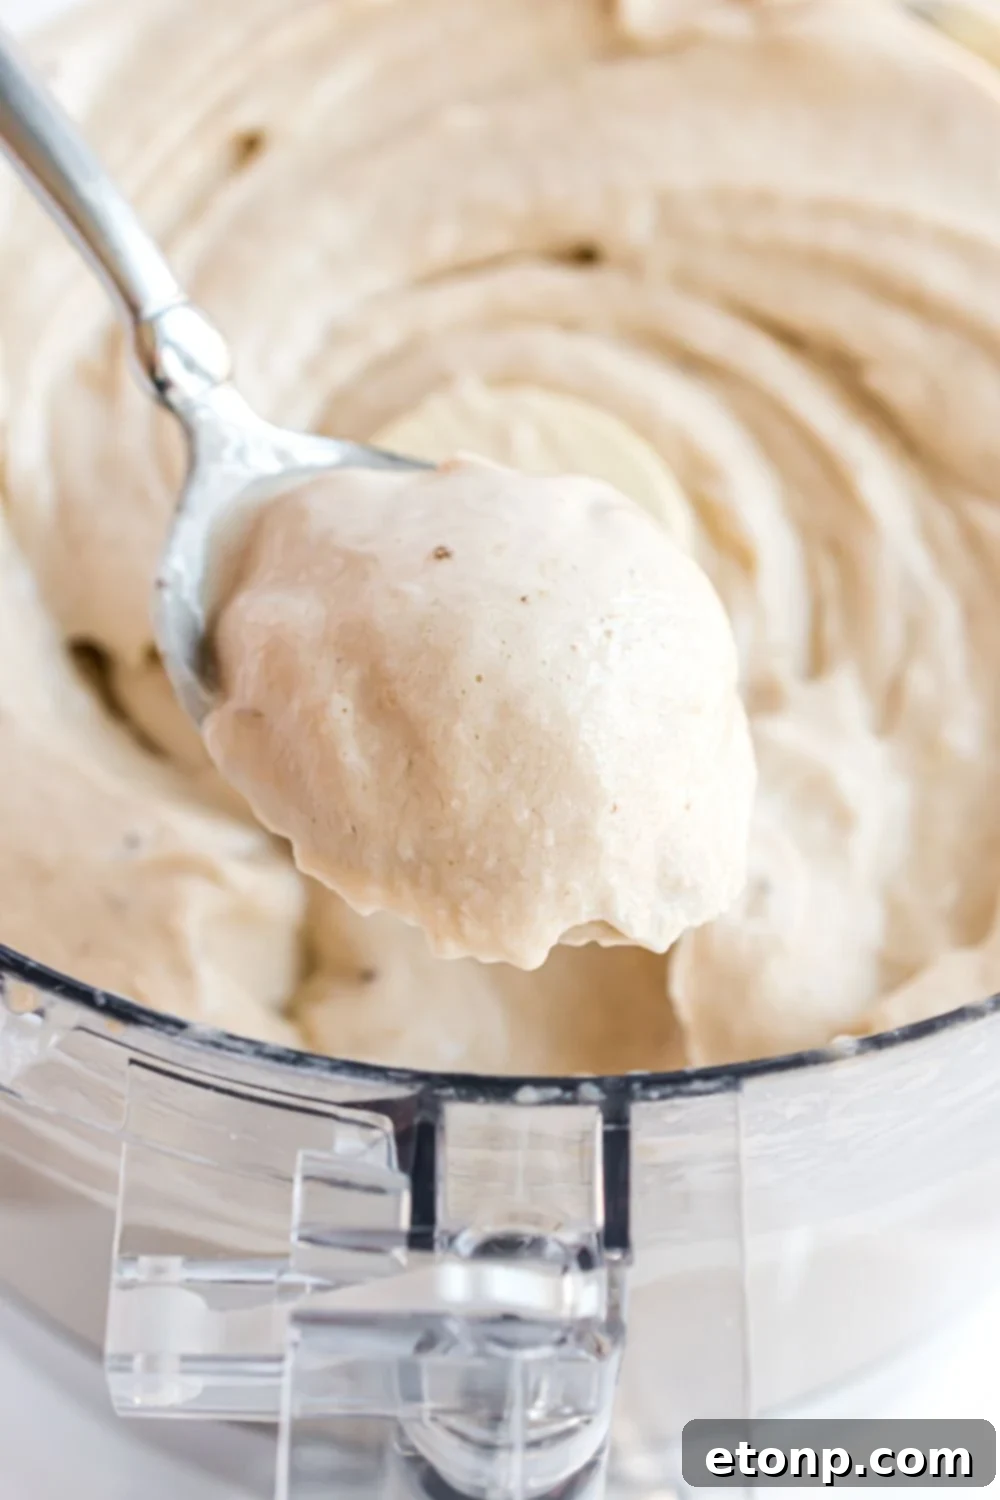
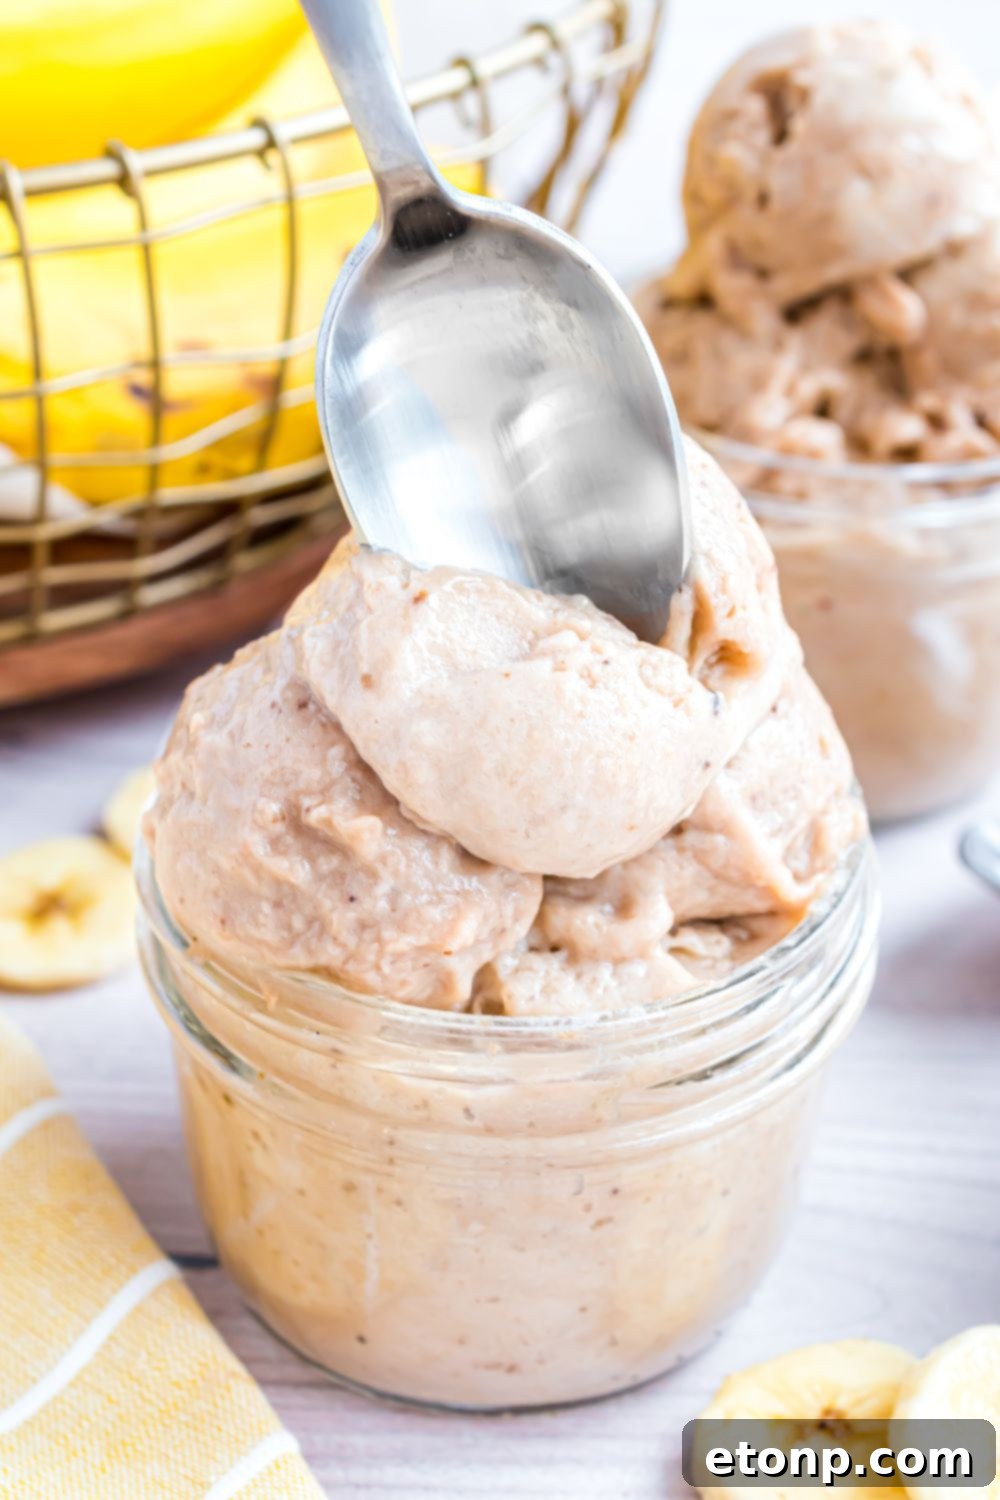
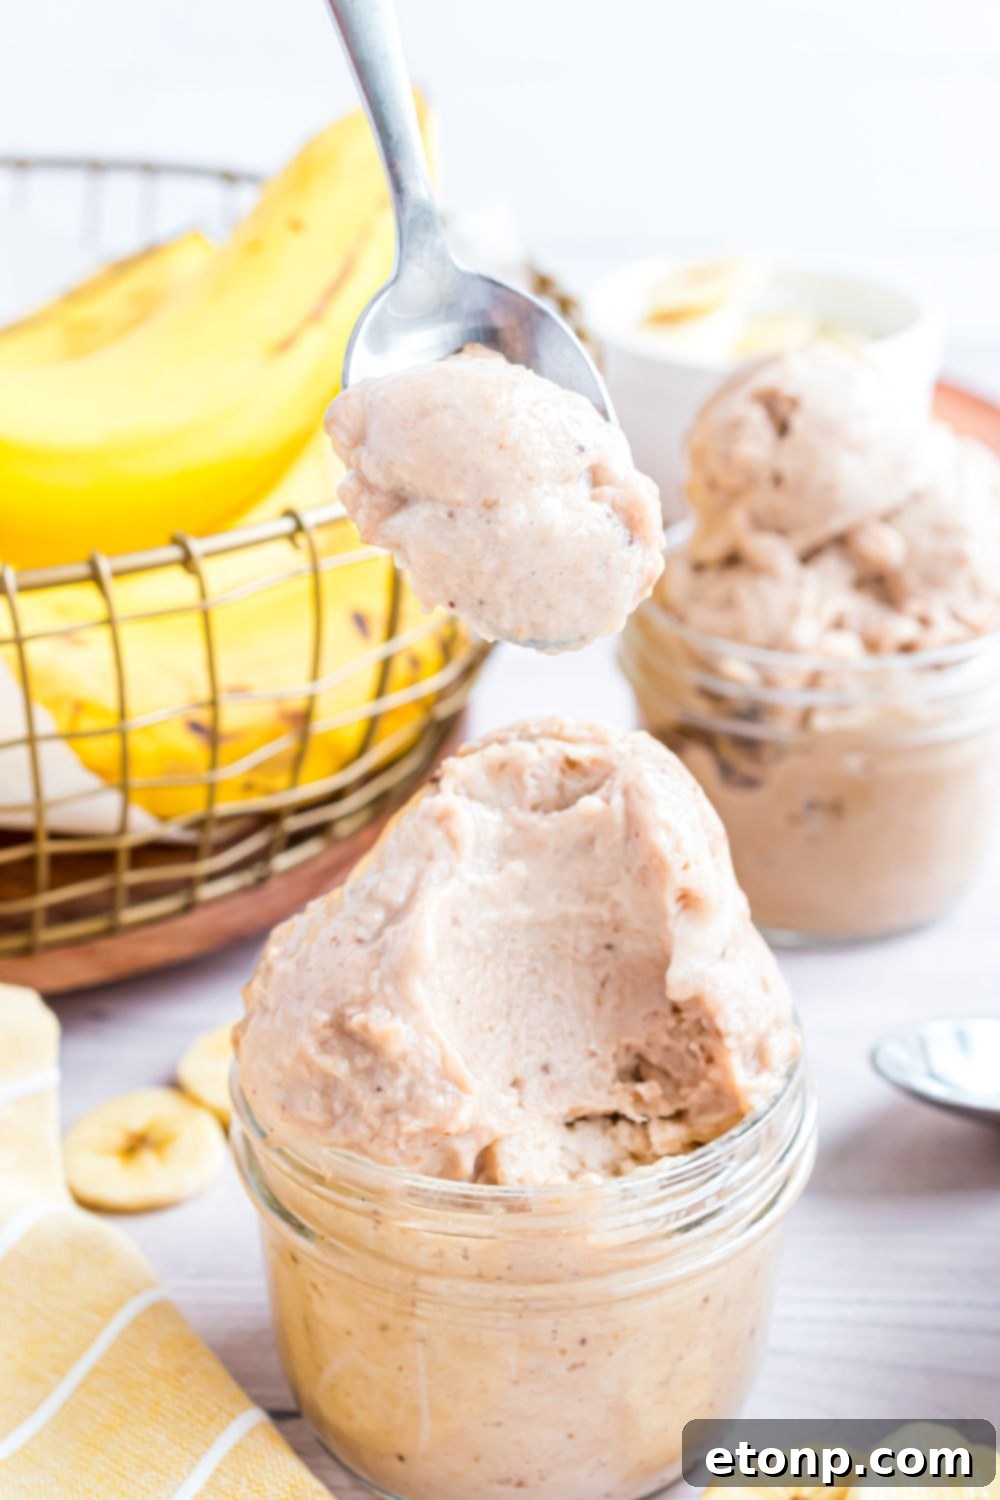
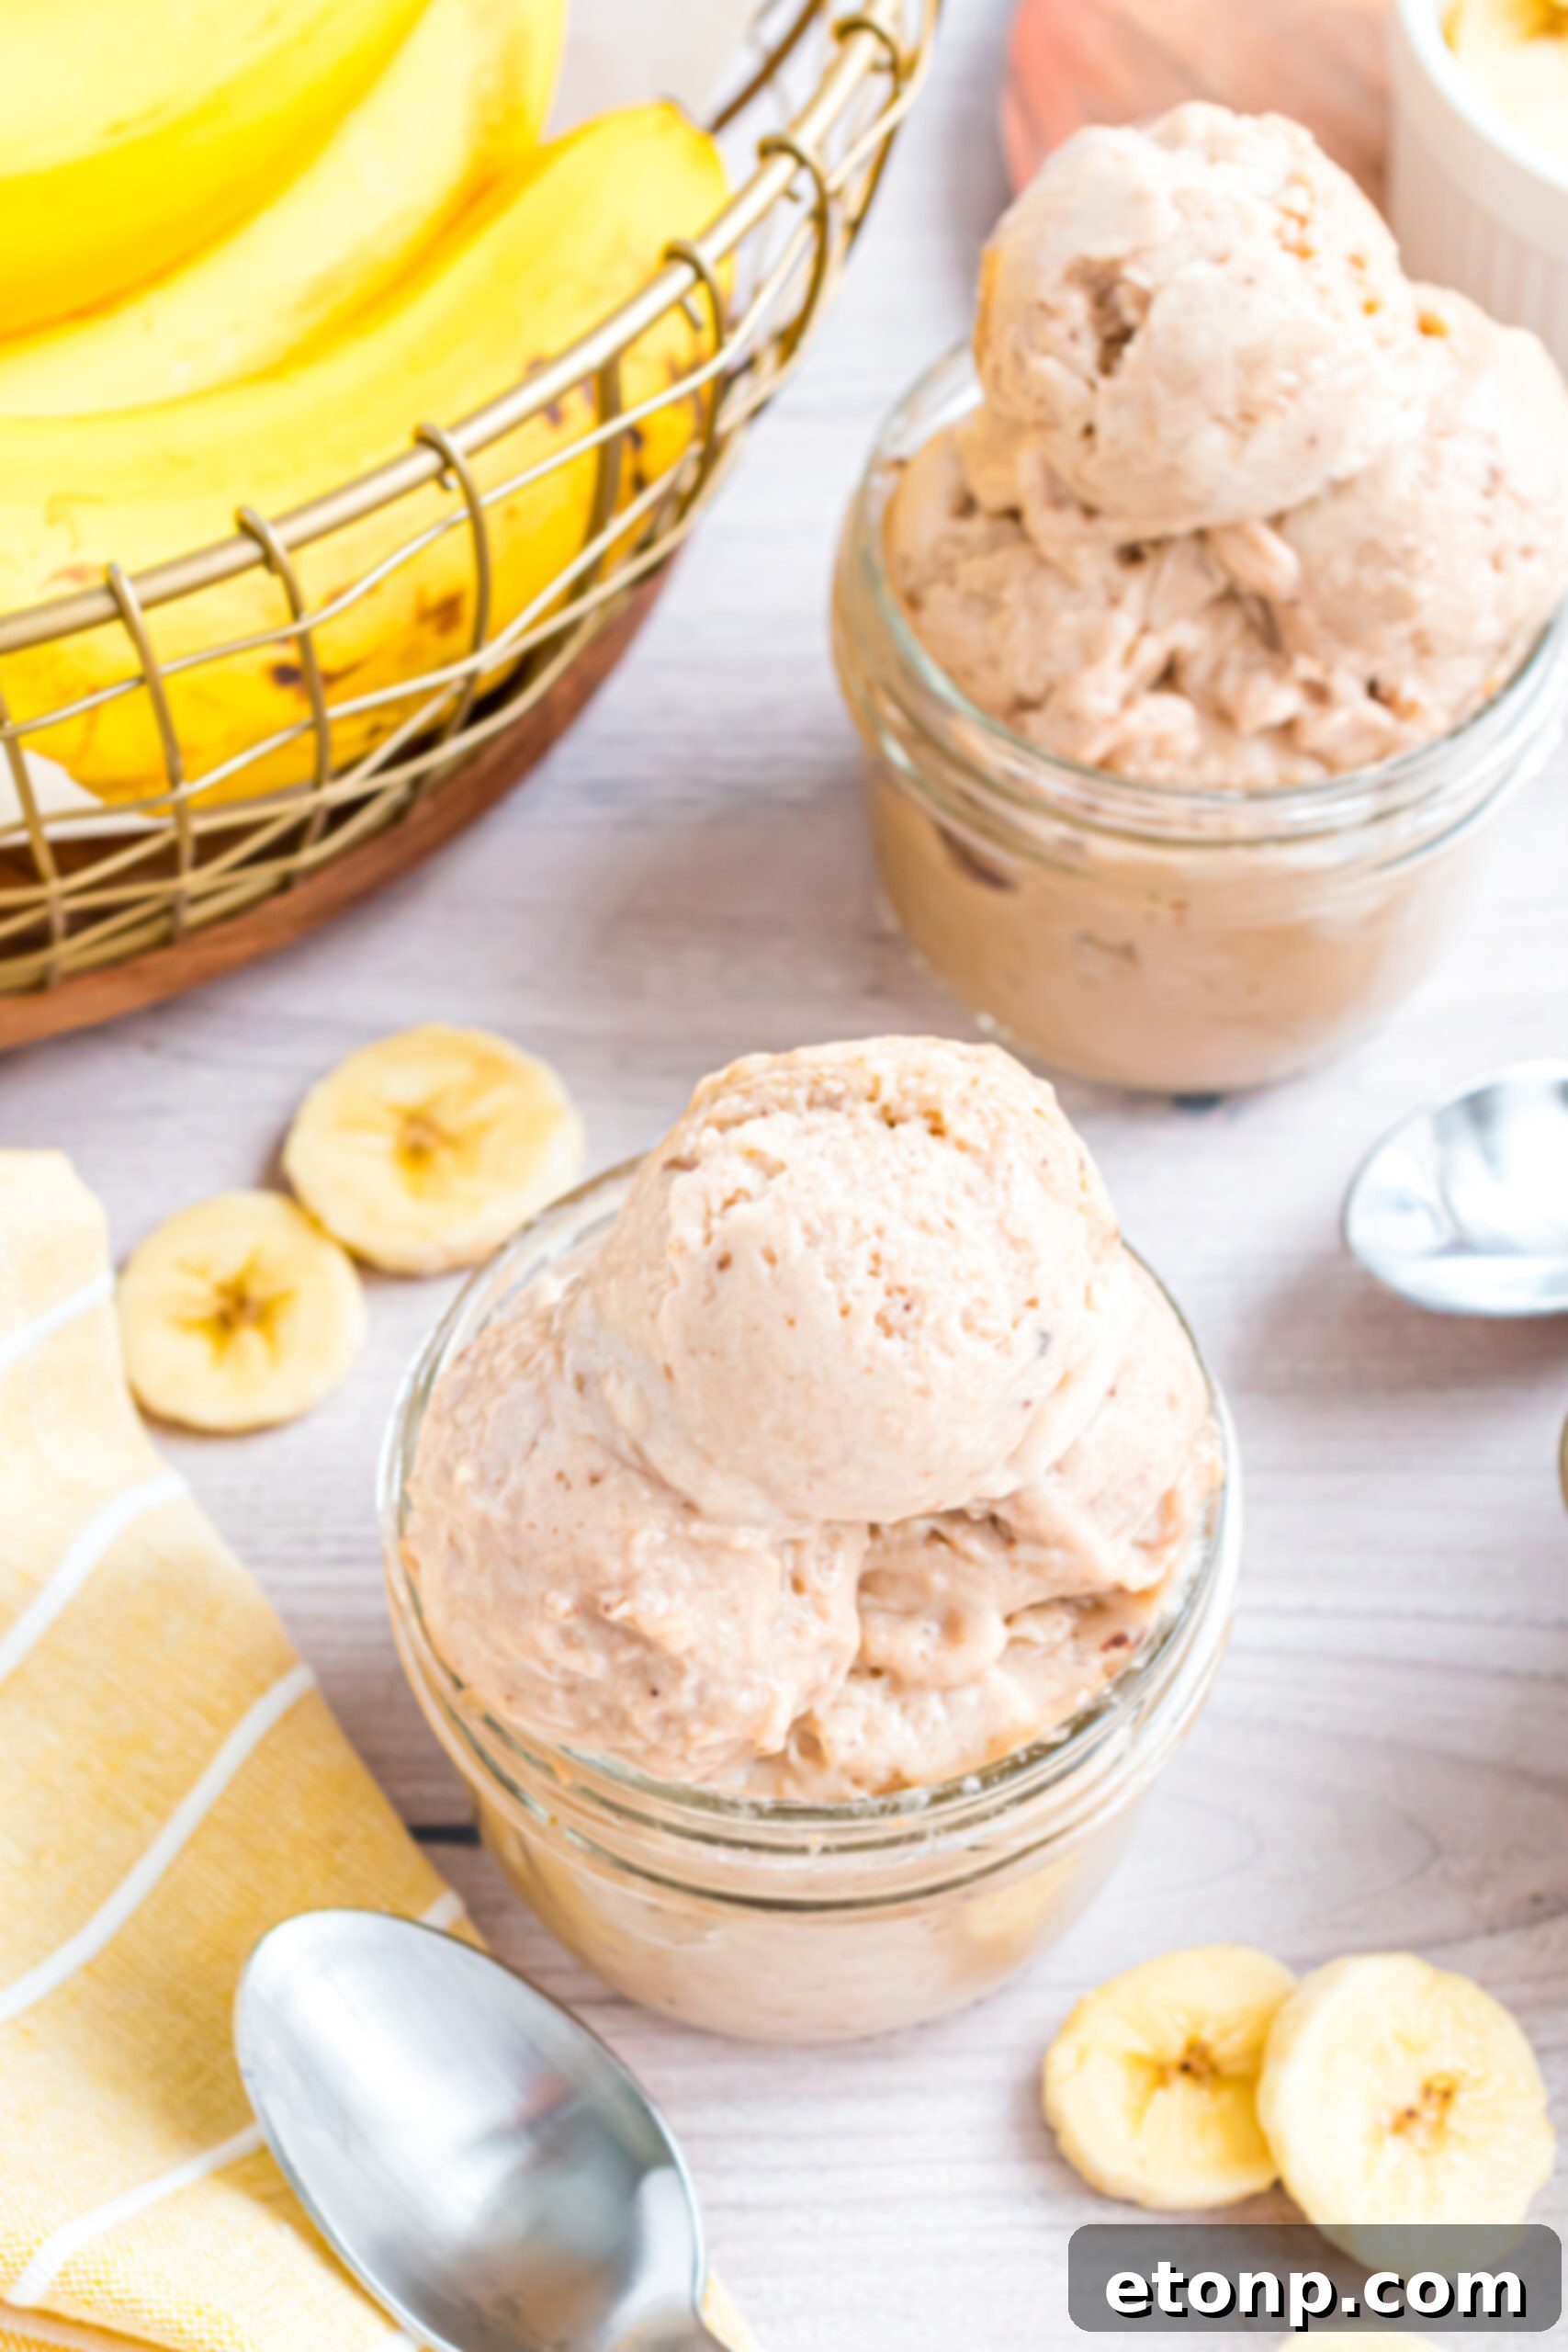
Known widely as “nice cream,” this innovative recipe is an ingenious creation made exclusively from frozen bananas. These bananas are blended until they achieve a wonderfully smooth, creamy, and soft-serve-like texture. What makes it so remarkable is its surprisingly luxurious mouthfeel, which genuinely rivals traditional ice cream, yet it contains absolutely no dairy, eggs, refined sugar, or any artificial additives. It’s a pure, unadulterated dessert that relies solely on the natural sweetness and creamy consistency of ripe bananas. This versatility means you can enjoy it immediately as a soft serve, or freeze it for a short period to achieve a firmer, more scoopable consistency for later enjoyment. It’s truly a miracle in the world of healthy desserts.
When to Indulge in This Delightful Banana Ice Cream
This versatile banana ice cream is a perfect treat for countless occasions, making it a staple you’ll want to keep on hand. It’s especially ideal when you find yourself with an abundance of ripe bananas that need to be used before they go to waste, transforming them into a delightful dessert instead of discarding them. If you’re adhering to specific dietary requirements, such as a dairy-free, gluten-free, or vegan lifestyle, this recipe fits seamlessly into your plans without compromise. During those sweltering summer months, it serves as an incredibly refreshing and cooling dessert that won’t leave you feeling heavy or sluggish. Parents will love it as a kid-friendly and nourishing option, as it contains no added sugars, making it a guilt-free choice for little ones. And for anyone craving something cold, creamy, and satisfying without the usual guilt associated with indulgent desserts, this banana ice cream hits all the right notes. It’s also an excellent post-workout snack, a light evening treat, or a smart way to satisfy sweet cravings without derailing your health goals.
Why You Will Absolutely Adore This Recipe
- Just One Ingredient, Zero Guilt: It truly doesn’t get simpler or healthier than this. This recipe contains absolutely no added sugar, dairy products, or artificial preservatives, making it a pure and wholesome indulgence you can feel great about.
- Naturally Sweet Perfection: The secret to its incredible sweetness lies in the bananas themselves. The riper your bananas are, the more natural sugars they contain, resulting in an even sweeter and more intensely flavored ice cream that needs no extra help.
- Universally Diet-Friendly: This isn’t just a dessert; it’s a versatile treat that caters to a wide array of dietary needs. It’s inherently vegan, plant-based, dairy-free, gluten-free, and paleo-friendly, making it suitable for almost everyone.
- Infinitely Customizable: While delicious on its own, this banana ice cream serves as the perfect blank canvas. You can effortlessly elevate its flavor profile by incorporating your favorite mix-ins, extracts, or delightful toppings to create a personalized treat every time.
- No Specialized Equipment Required: You don’t need an expensive ice cream maker to achieve this creamy consistency. A standard food processor or any high-speed blender you already own will do the trick beautifully, making it accessible to all home cooks.
- A Smart Way to Reduce Food Waste: Transform those spotted, overripe bananas sitting on your counter into a fantastic dessert instead of tossing them. It’s an eco-friendly and delicious solution to minimize kitchen waste.
- Budget-Friendly Indulgence: Compared to store-bought dairy-free ice creams, this homemade version is incredibly economical, costing mere pennies per serving. Enjoy gourmet taste without the gourmet price tag.
Ingredient Breakdown: The Humble Banana
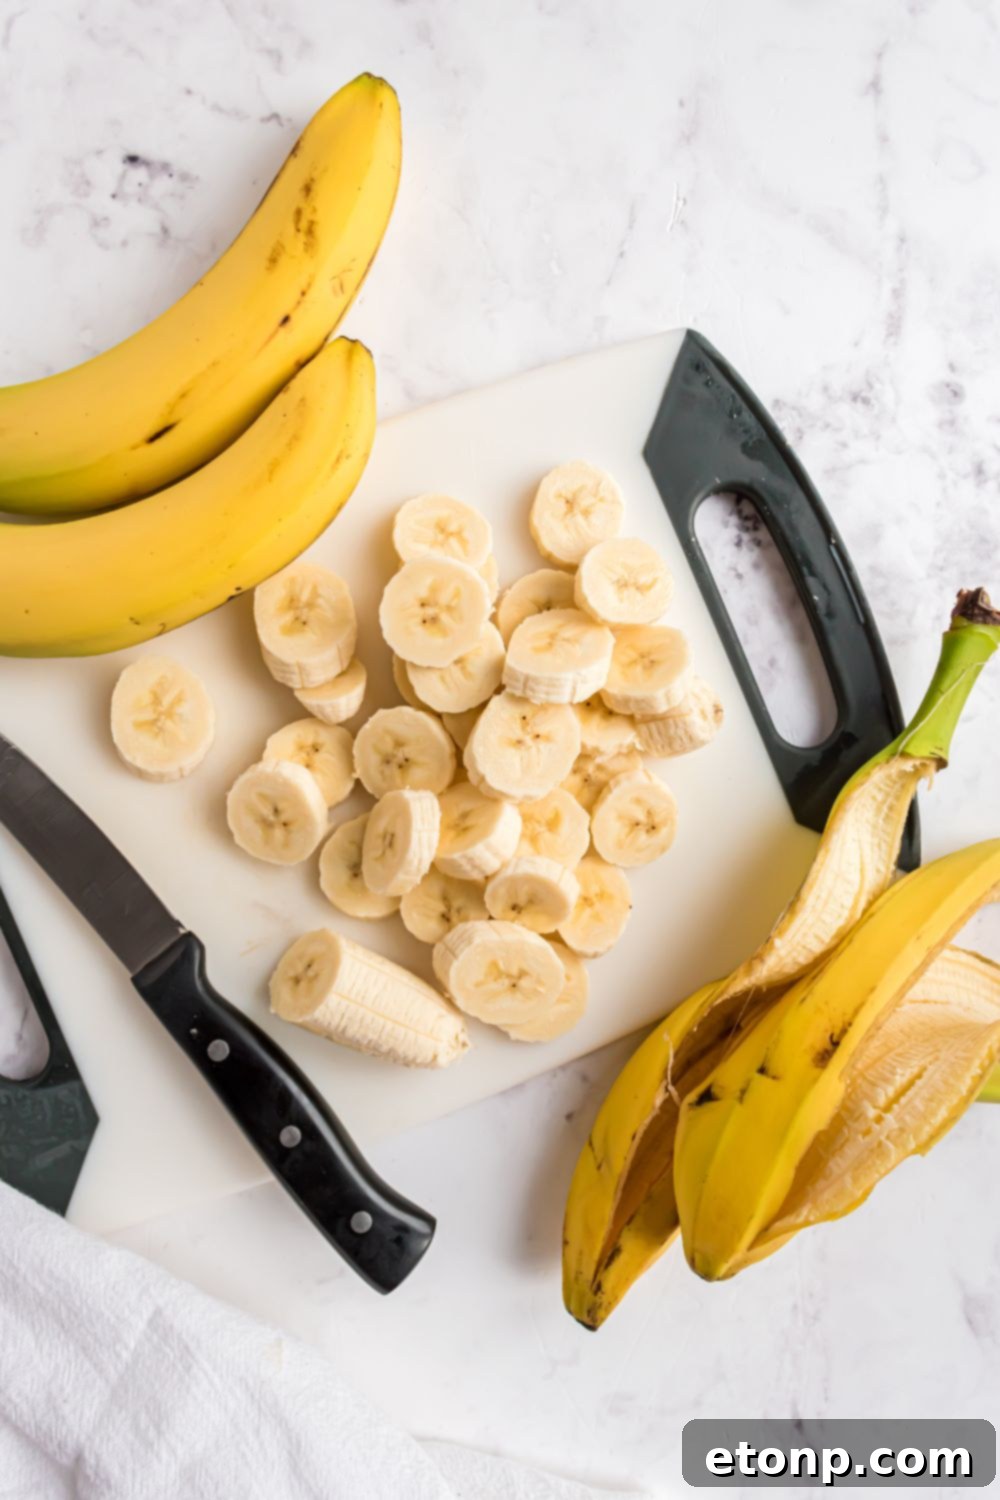
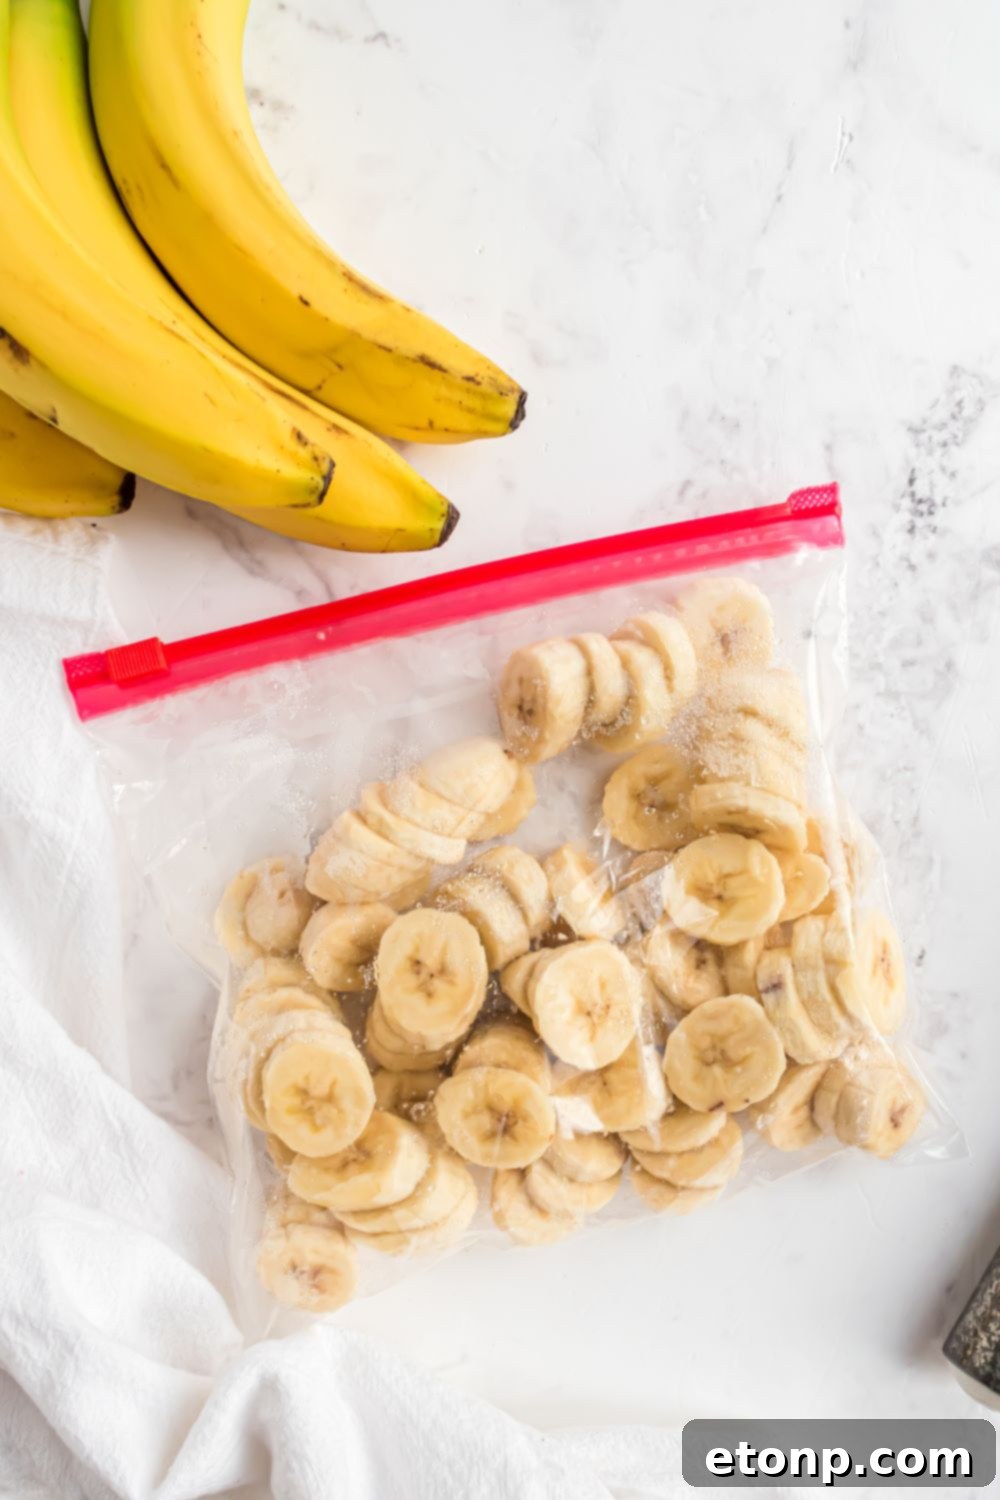
- Bananas (4 large): The quality of your bananas is paramount for this recipe. It’s crucial to select ripe bananas – those with visible brown spots on the peel, which indicate they are at their peak sweetness and softness. The browner the spots, the more the starches have converted to natural sugars, ensuring your ice cream will be inherently sweet, intensely flavorful, and wonderfully creamy without any added sweeteners. Green or under-ripe bananas will result in a bland, icy, and less creamy texture, so patience is key. For best results, peel and slice your ripe bananas into roughly 1-inch thick pieces before freezing them in a single layer on a parchment-lined tray or in a freezer-safe bag. This ensures they freeze quickly and are easier to blend later.
Creative Add-Ins to Customize Your Banana Ice Cream
While the pure, unadulterated banana ice cream is a delicious experience in itself, it also serves as an exceptional base for endless flavor experimentation. These delightful additions allow you to elevate your healthy frozen treat to an entirely new level of gourmet indulgence. For optimal texture and even distribution, simply toss these ingredients into your food processor or blender during the final stages of blending.
- Creamy Nut Butters: Swirl in 1–2 tablespoons of peanut butter, almond butter, or cashew butter for an extra layer of creamy, nutty richness. This creates a satisfying depth of flavor and makes the ice cream even more decadent.
- Rich Unsweetened Cocoa Powder: Transform your nice cream into a luscious chocolate banana version. Add 1–2 teaspoons of unsweetened cocoa powder during blending for a healthy chocolate fix.
- Pure Vanilla Extract: A simple addition of ½ teaspoon of pure vanilla extract can dramatically enhance the overall flavor depth, adding a warm, aromatic note that complements the banana beautifully.
- Mini Chocolate Chips or Chunks: For a delightful textural contrast and bursts of chocolatey goodness, stir in a handful of mini chocolate chips or finely chopped chocolate chunks right at the very end of blending.
- Vibrant Frozen Berries: Introduce a fruity twist by blending in a handful of frozen strawberries, raspberries, or blueberries. This creates beautiful color variations and adds a tangy sweetness that pairs wonderfully with banana.
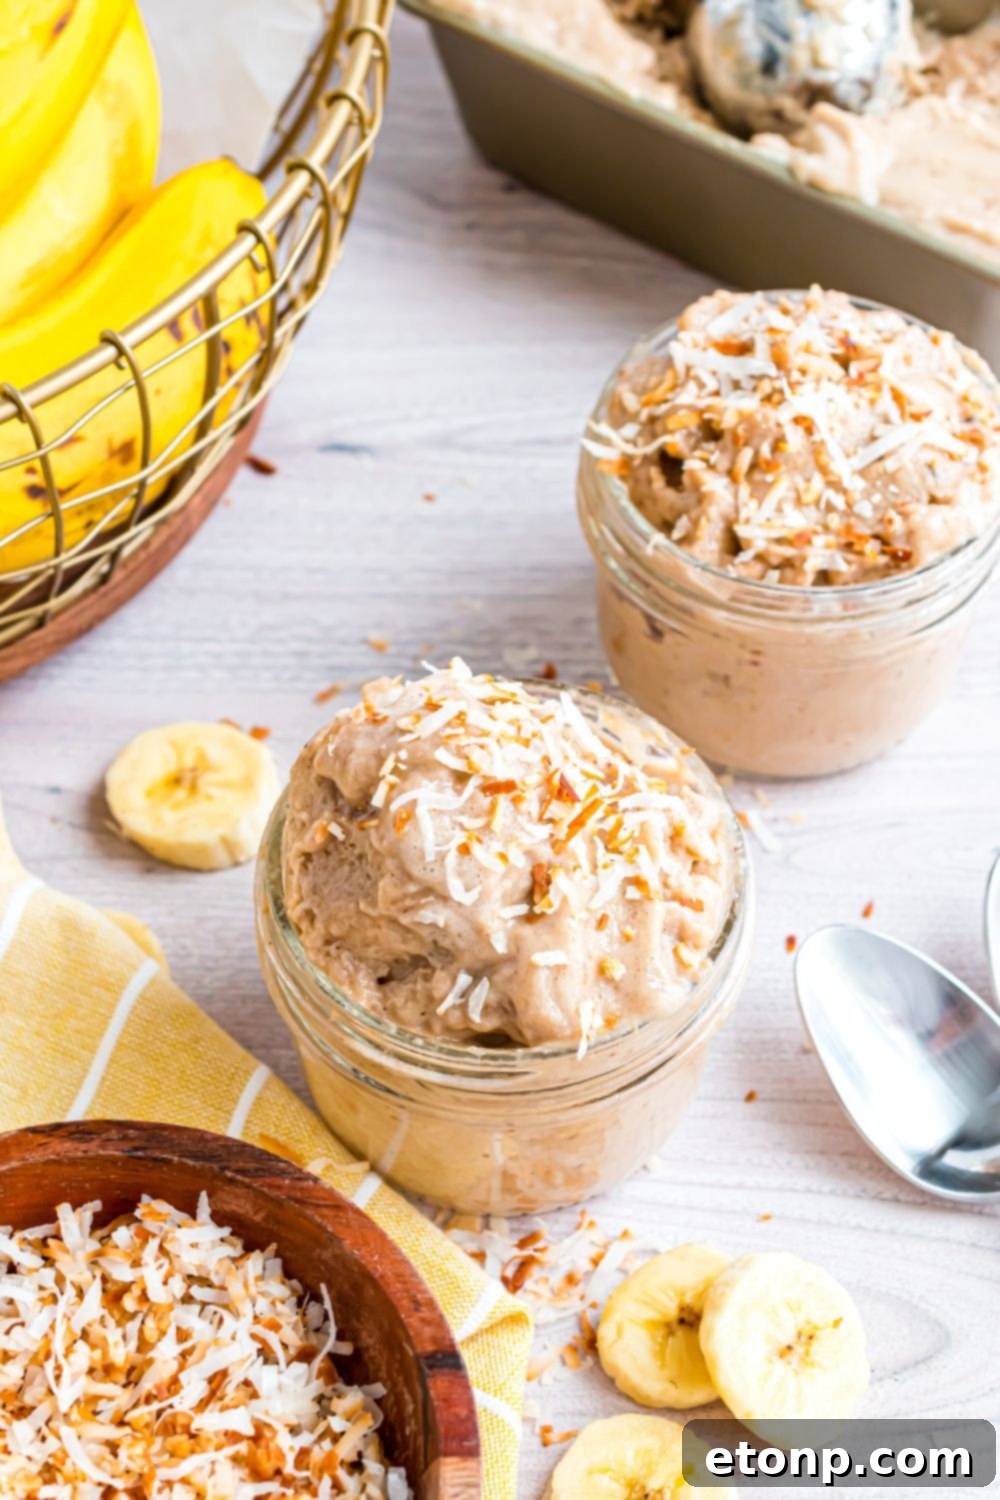
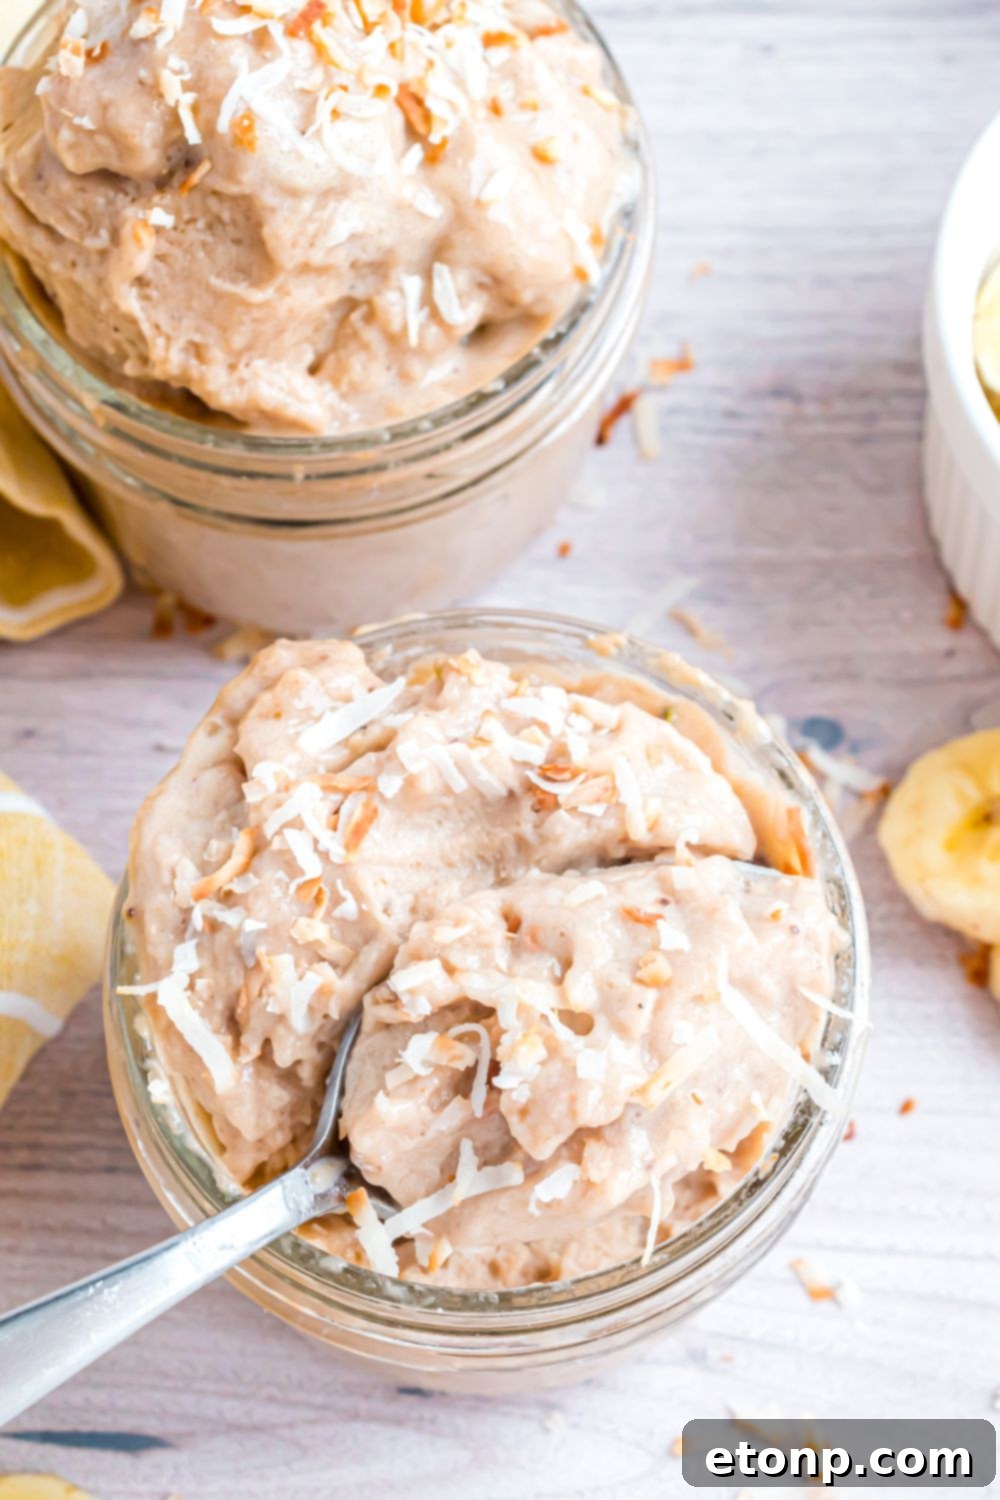
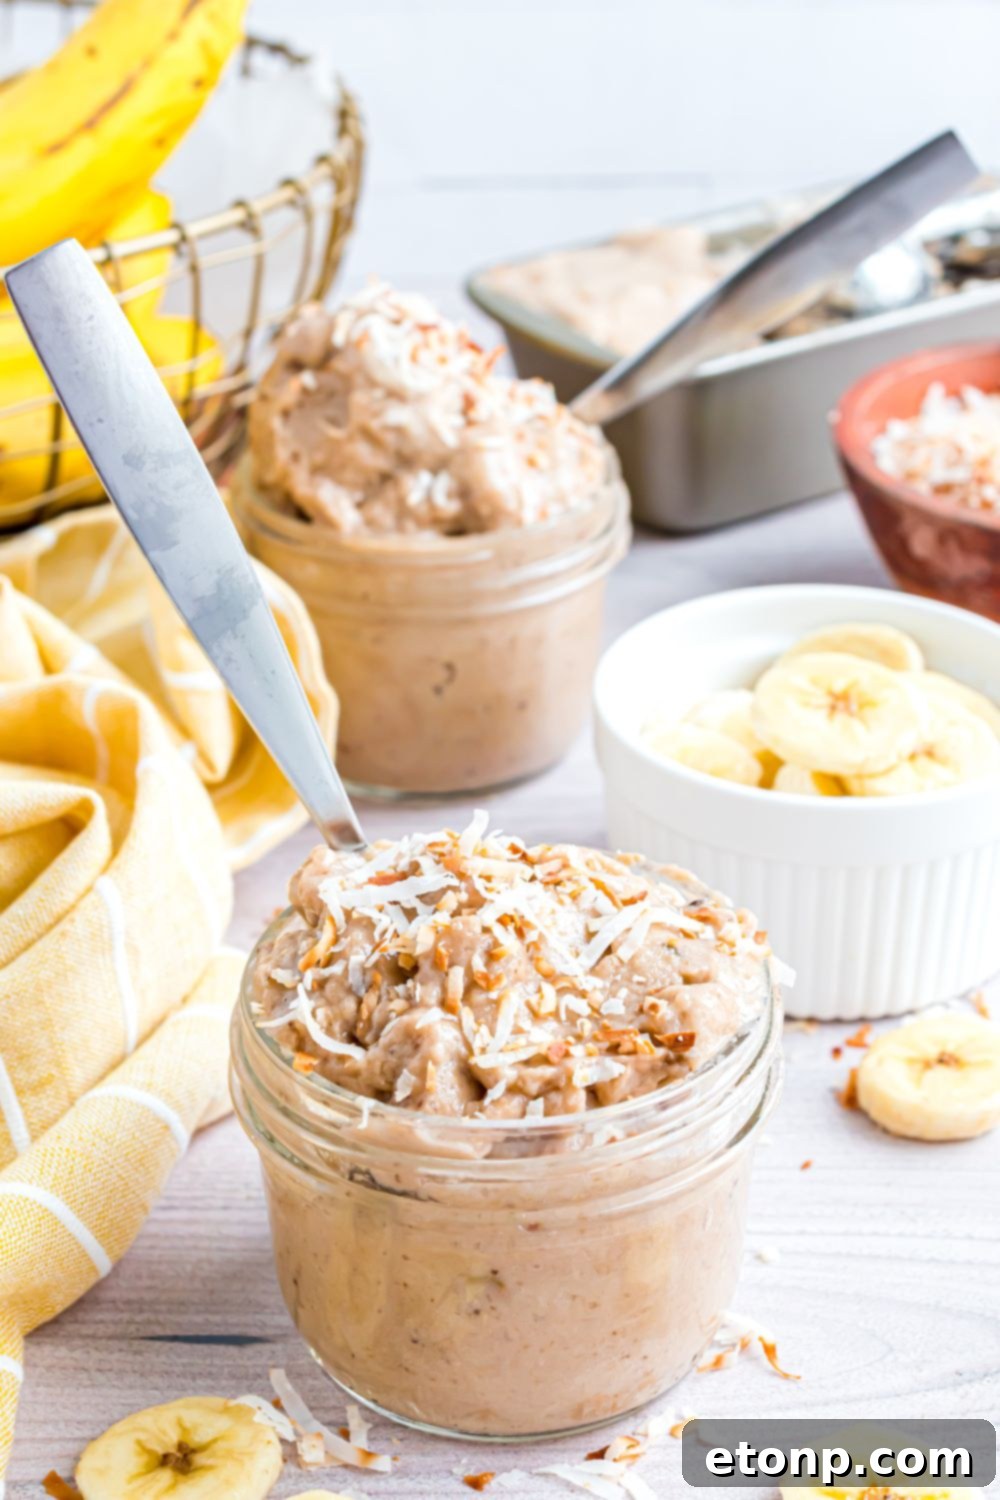
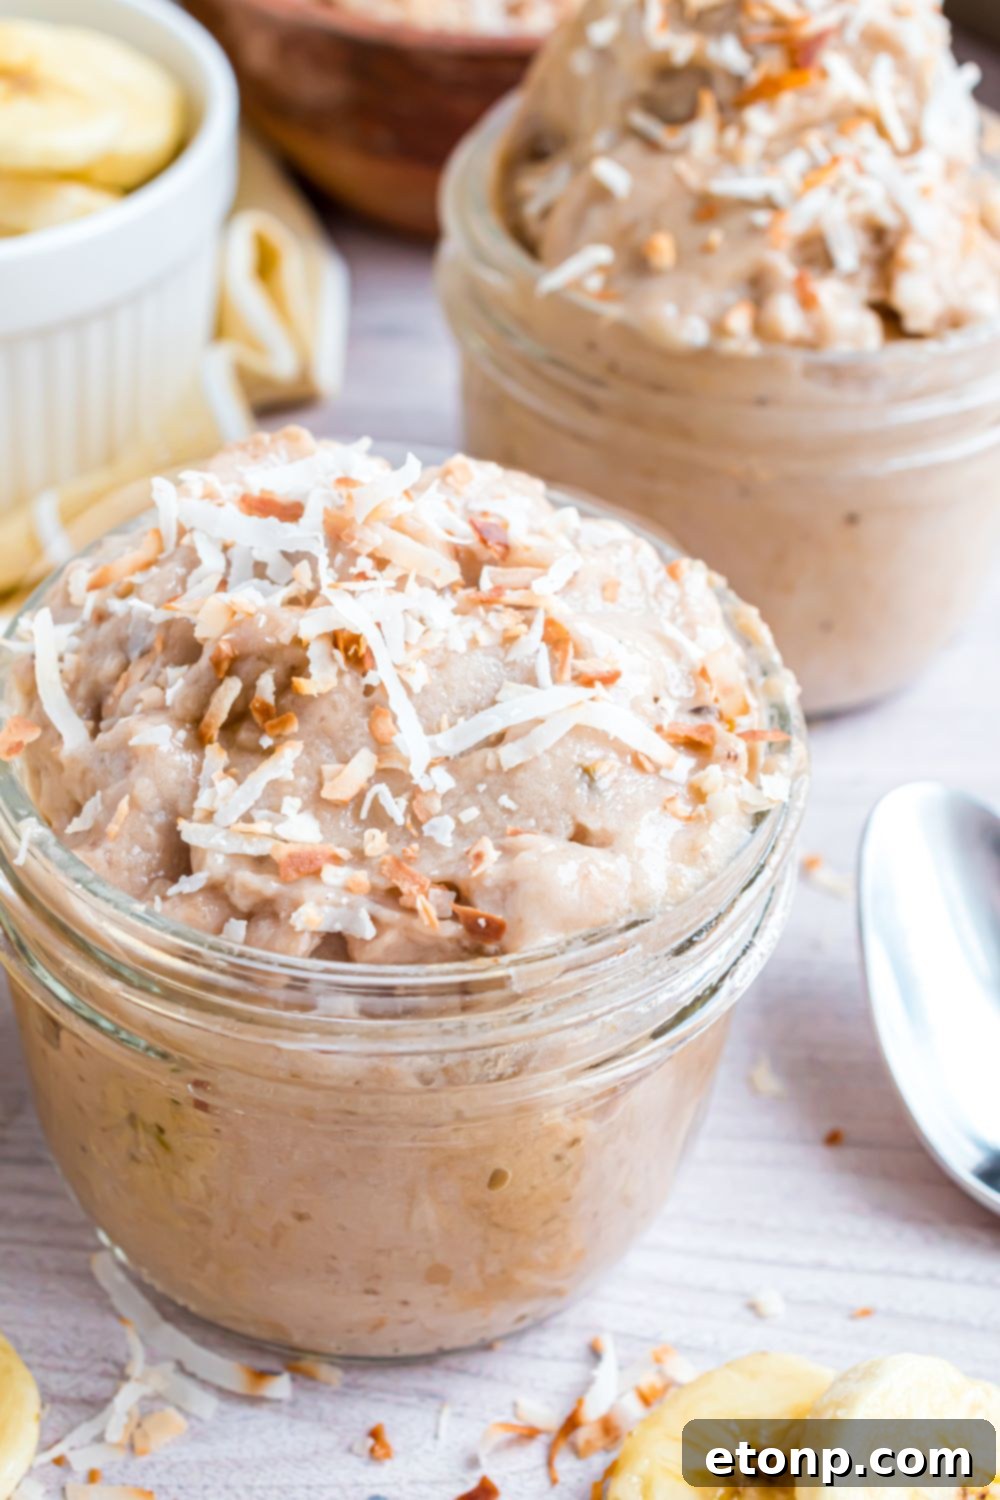
- Toasted Coconut Flakes: For a delightful tropical flair and a pleasant chewiness, incorporate some toasted coconut flakes into the mixture. It brings a taste of paradise to your bowl.
- Warm Spices: Embrace seasonal flavors by adding a pinch of ground cinnamon or a dash of pumpkin spice. These spices offer a cozy warmth, perfect for fall or whenever you crave a comforting treat.
- Crunchy Chopped Nuts: For an irresistible crunch and added healthy fats, mix in some chopped almonds, walnuts, or pecans. They provide a delightful contrast to the smooth ice cream.
- Bold Espresso Powder: For coffee lovers, a teaspoon of instant espresso powder can create a sophisticated banana mocha experience, adding a subtle bitterness that balances the sweetness.
These small, thoughtful adjustments allow you to create a completely new dessert every time, keeping the healthy foundation intact while exploring a spectrum of incredible flavors!
Lightened-Up Version Breakdown (It’s Already Ultra-Light!)
Given that this recipe is made with just one ingredient – bananas – it’s already about as “light” and wholesome as a frozen dessert can get! It’s naturally dairy-free, sugar-free (from added sugars), and packed with the fiber and nutrients found in bananas. However, if you’re looking for subtle ways to make it feel even lighter or to manage portion sizes, here are a few suggestions:
- Mindful Portion Control: While this ice cream is healthy, bananas do contain natural sugars and calories. Using slightly smaller bananas or measuring out single servings (e.g., 1 cup per person) can help manage overall intake.
- Introduce Other Frozen Fruits: For added variety and to potentially lower the overall natural sugar content per serving, blend in other frozen fruits like mango chunks, pineapple, or a mix of berries. These fruits offer diverse flavors and a wealth of different nutrients.
- Transform into a Smoothie Bowl: Instead of eating it straight as ice cream, serve it as a base for a vibrant smoothie bowl. Top it with high-fiber ingredients like chia seeds, flax seeds, granola, fresh berries, or a sprinkle of unsweetened coconut. This approach increases satiety, provides additional nutrients, and turns it into a more substantial, satisfying meal or snack.
Ultimately, the beauty of this banana ice cream lies in its inherent simplicity and health benefits. Enjoying it as-is is a perfectly light and satisfying choice!
Budget Breakdown: Indulgence Without the Expense
One of the most appealing aspects of this one-ingredient banana ice cream is its incredible affordability. This recipe proves that you don’t need expensive specialty ingredients or fancy equipment to create a genuinely delicious and healthy dessert. Here’s a quick look at how budget-friendly it truly is:
- Bananas (4 large): Typically, four large ripe bananas can be purchased for approximately $0.80 to $1.00, especially if you buy them in a larger bunch or when they’re on sale.
- Cost Per Serving: If this recipe yields around four generous servings, that translates to an astonishingly low cost of about $0.20 to $0.25 per serving. You simply can’t beat that value for a wholesome dessert.
- No Hidden Costs: Unlike many dessert recipes, there are no additional expenses for cream, eggs, sugar, stabilizers, or other various ingredients. It’s pure, unadulterated banana goodness, directly from your freezer to your bowl.
- Superior to Store-Bought Alternatives: This homemade banana ice cream is not only significantly cheaper than any store-bought pint of dairy-free ice cream, but it’s also healthier, completely free of preservatives, and tastes incredibly fresh.
Embracing this recipe is a smart financial choice that allows you to enjoy a guilt-free, delicious treat without stretching your grocery budget.
Troubleshooting Tips for Perfect Banana Ice Cream
While this recipe is incredibly straightforward, occasionally you might encounter minor hurdles. Don’t worry, these simple troubleshooting tips will help you achieve the perfectly creamy consistency every time:
- Problem: Ice cream is crumbly and not blending well.
* Solution: This often happens if the bananas are too frozen solid or if your machine is struggling. Try adding a very small splash (1-2 tablespoons) of unsweetened almond milk or water to help lubricate the mixture. Alternatively, let the frozen banana chunks sit at room temperature for 5-10 minutes to soften slightly before blending. - Problem: Texture is not creamy; it’s still icy or chunky.
* Solution: Patience is truly a virtue here. It takes a significant amount of blending, typically 8–10 minutes in a food processor, for the frozen banana pieces to break down and transform into that smooth, creamy soft-serve texture. Keep pulsing, stopping frequently to scrape down the sides of the bowl with a rubber spatula, ensuring all pieces come into contact with the blade. Continue until it’s completely smooth and no chunks remain. - Problem: The ice cream is too soft to scoop.
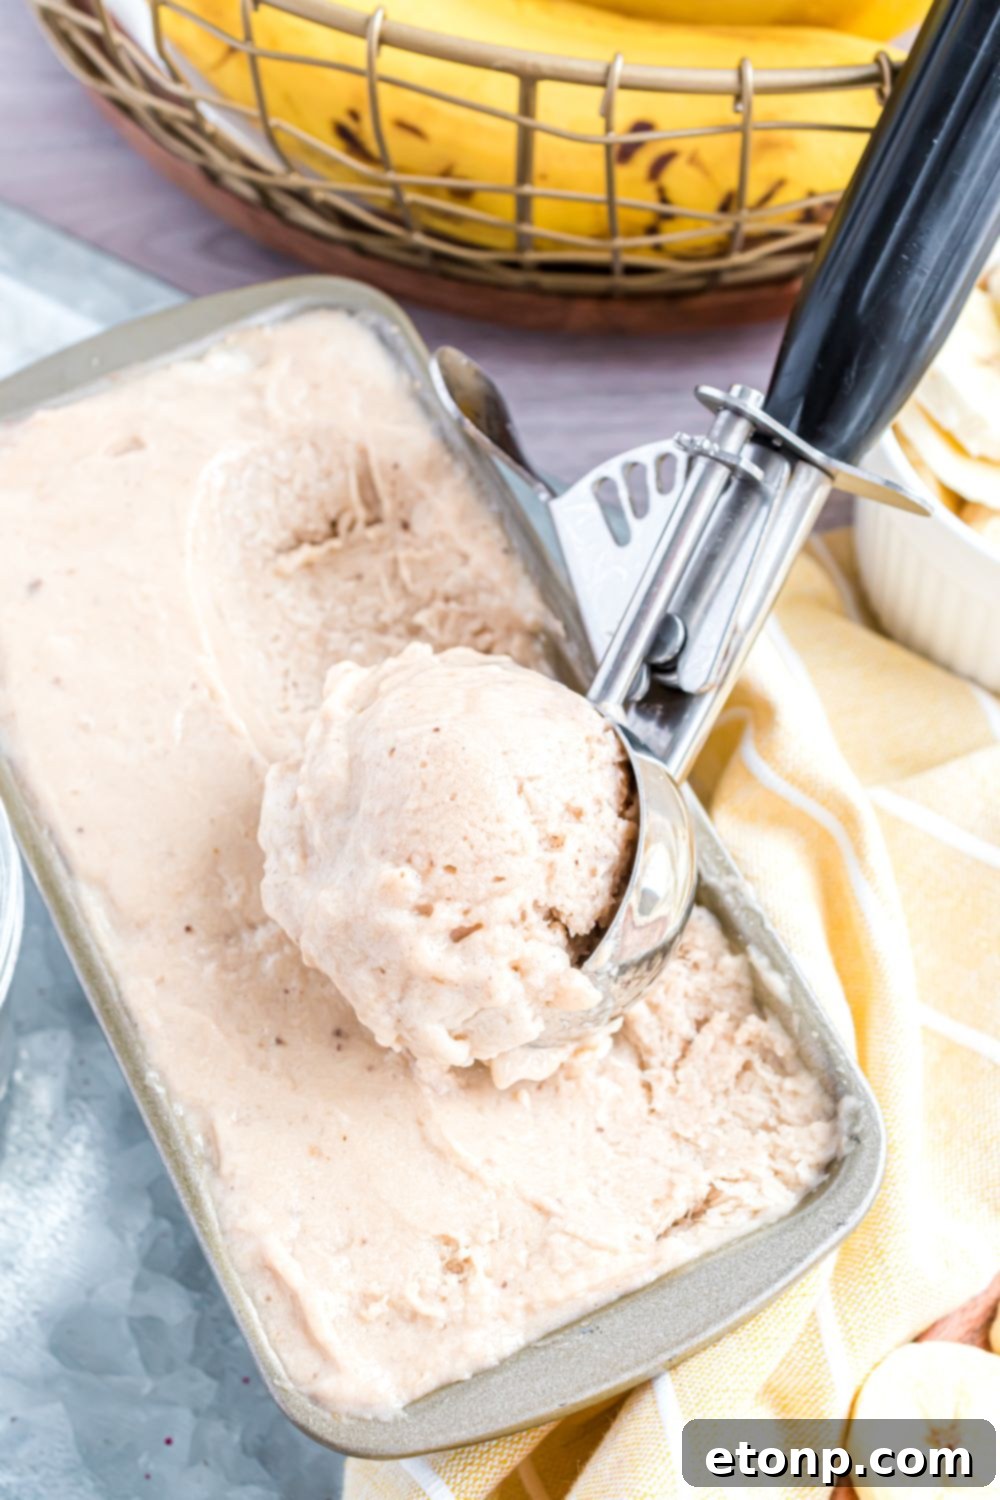
* Solution: If you prefer a firmer, more traditional scoopable ice cream, simply transfer the freshly blended mixture into a freezer-safe, airtight container (like a loaf pan) and freeze it for an additional 1–2 hours. This chilling period will firm it up perfectly for scooping. - Problem: The ice cream turned brown and gooey.
* Solution: This specific issue typically occurs if you mashed your bananas *before* freezing them. When mashed bananas freeze, their texture changes dramatically, leading to an unpleasant sticky, gummy, or even slightly brown consistency when re-blended. Always freeze whole or sliced banana chunks, never mashed bananas, to preserve the ideal texture. - Problem: The ice cream is grainy.
* Solution: This could be due to under-ripe bananas or insufficient blending. Ensure you use very ripe, spotty bananas for natural creaminess, and blend for the full recommended time, scraping the sides often, until completely smooth.
With these tips, you’ll be a banana ice cream master in no time, enjoying perfectly creamy results every single batch!
Make-Ahead & Storage Tips for Banana Ice Cream
Preparing this delightful banana ice cream in advance is simple, and storing it properly ensures you always have a healthy, refreshing treat readily available. Here’s how to maximize your banana ice cream experience:
- For Instant Gratification (Soft Serve): For the absolute creamiest, most luxurious soft-serve texture, it’s best to enjoy your banana ice cream immediately after blending. The moment it transforms into that smooth, swirlable consistency is when it’s at its peak for soft serve lovers.
- Creating Fun Popsicle Molds: For a delightful handheld version, especially perfect for kids or a quick grab-and-go snack, pour the freshly blended nice cream into popsicle molds. Freeze them for several hours until solid. This is a fantastic way to portion control and enjoy a chilled treat without a spoon.
Optimal Banana Ice Cream Storage Hacks
You’ve whipped up a perfect batch of nice cream; now, how do you store it to maintain its wonderful texture and flavor?
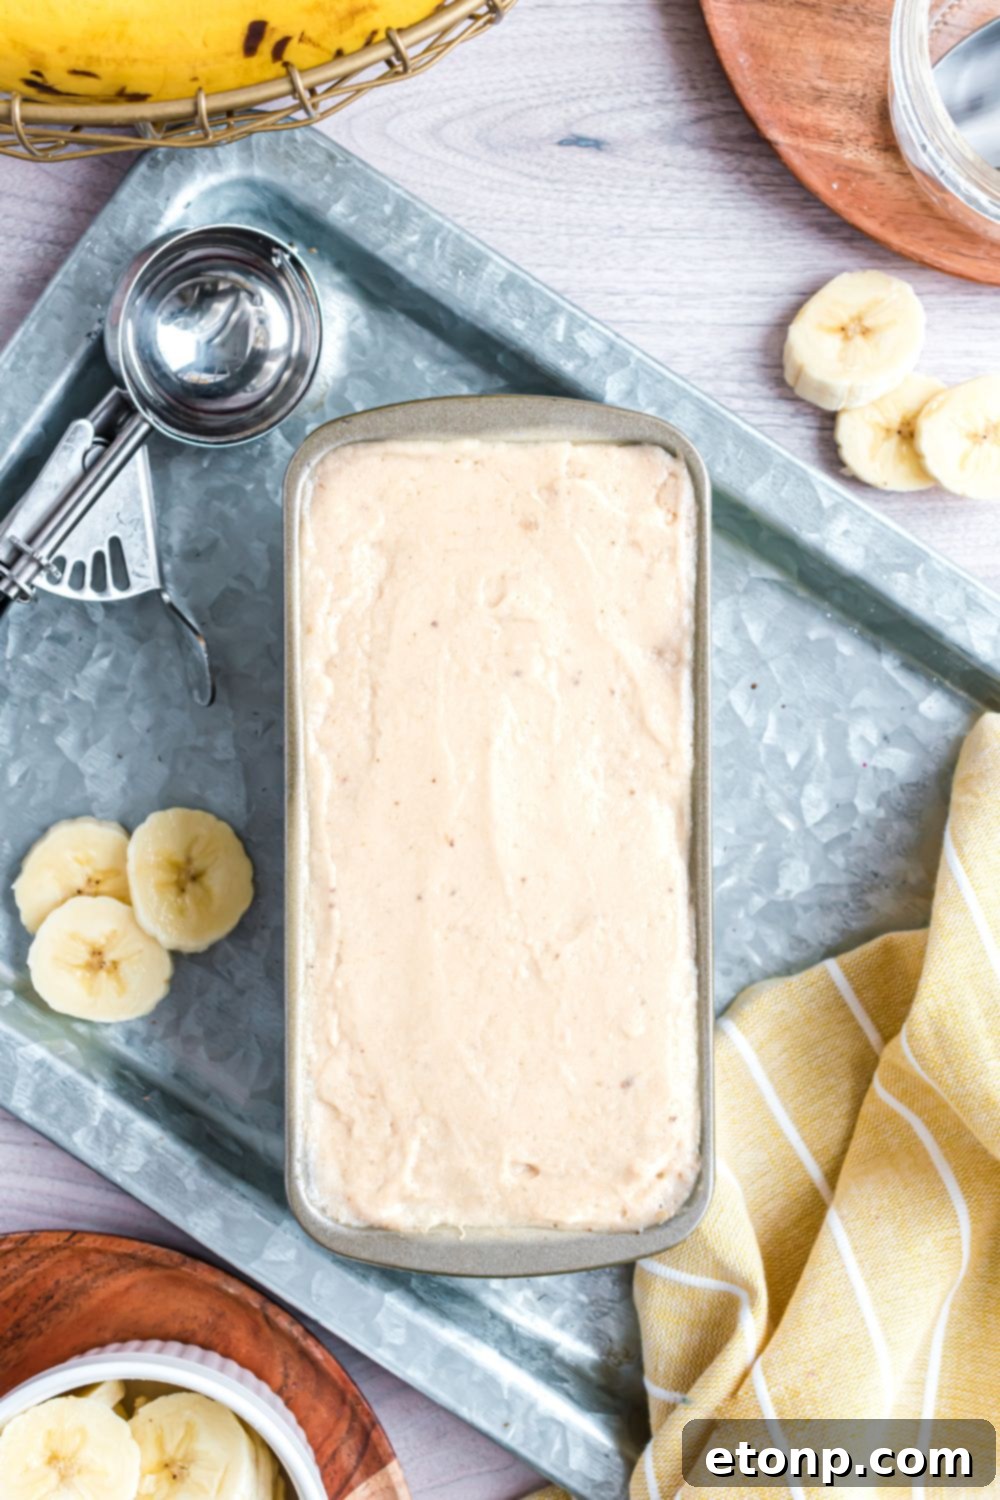
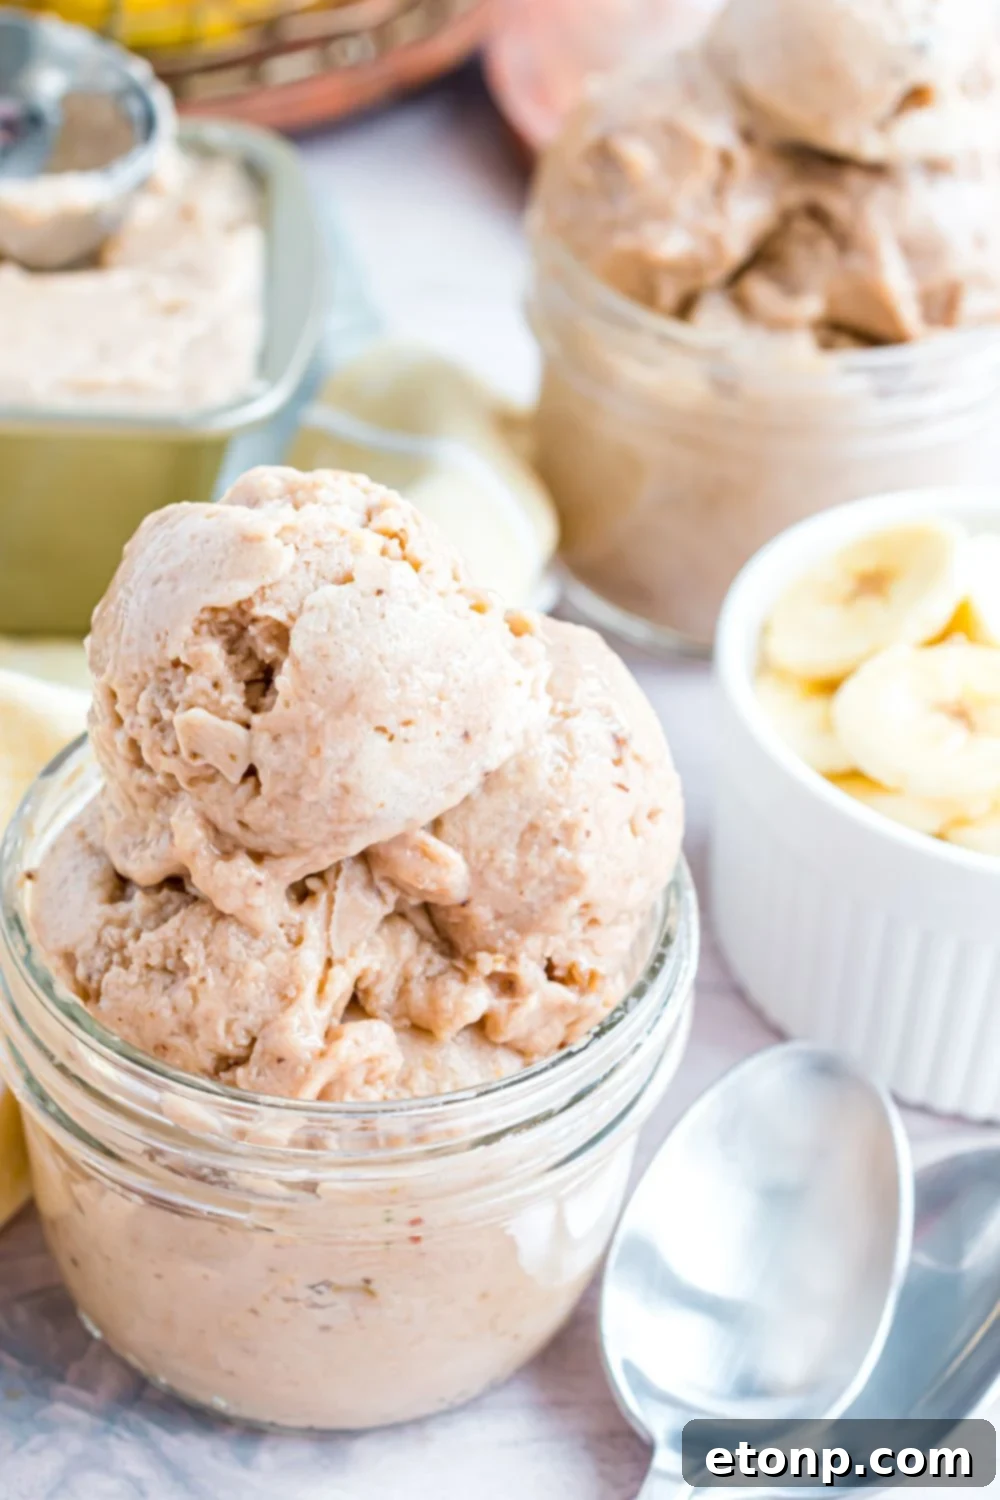
- Freeze in a Loaf Pan for Easy Scooping: For that classic, scoopable ice cream experience, line a standard loaf pan with parchment paper before transferring your blended banana ice cream. The parchment paper acts as a sling, making it incredibly easy to lift the entire block out and slice or scoop firm portions.
- Utilize Silicone Molds for Individual Portions: Silicone molds (like muffin molds or individual dessert molds) are excellent for creating pre-portioned, kid-friendly servings or fun shapes. Pop them out as needed for a quick treat.
- Portion into Small Jars or Containers: For convenient grab-and-go desserts or perfectly measured single servings, spoon the nice cream into small, freezer-safe jars or containers. This prevents overeating and makes healthy snacking effortless.
- Always Use Airtight Containers: Regardless of your chosen storage method, always ensure your banana ice cream is stored in an airtight container. This is crucial for preventing freezer burn, which can compromise the smooth, creamy texture and lead to unpleasant ice crystals.
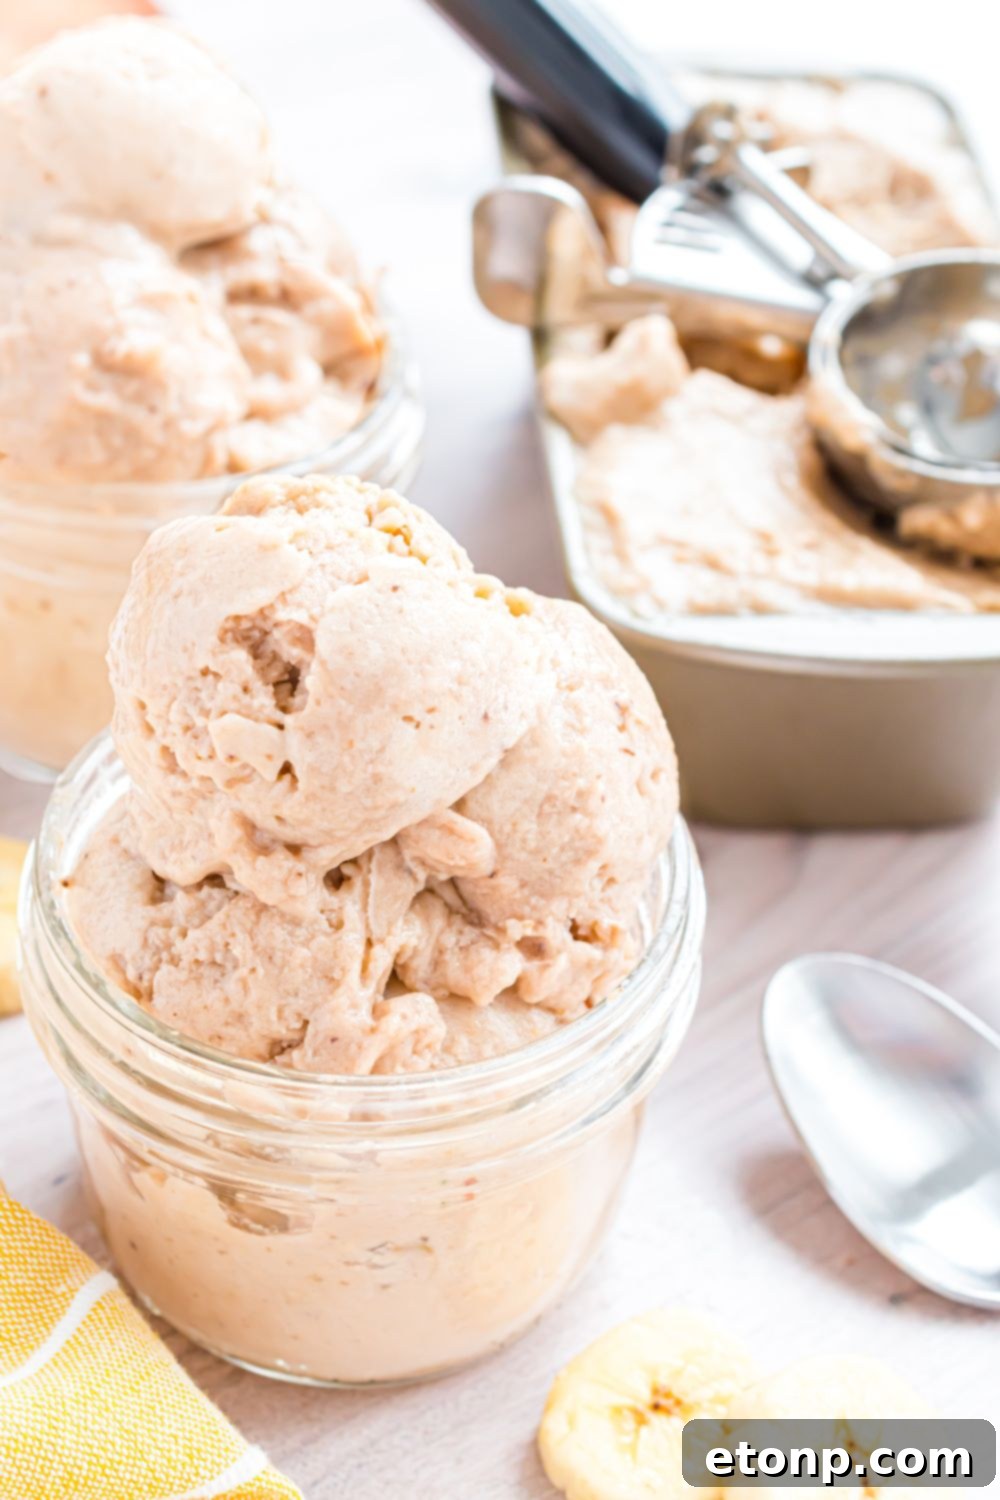
While fresh is always best, banana ice cream can be stored in the freezer for up to 3 months. When ready to enjoy a firm, scoopable portion, remember to let it sit out at room temperature for 10–15 minutes (or slightly longer for larger blocks) before attempting to scoop. This brief softening period will bring it back to a delightful consistency.
Exciting Flavor Variations to Explore
Once you’ve mastered the foundational one-ingredient banana ice cream, you’ll discover that it’s a remarkably versatile base, eagerly awaiting your creative flair. This healthy “nice cream” is the perfect canvas for an endless array of delicious flavor combinations. Here are some of our absolute favorite variations, designed to transform your simple banana base into a gourmet frozen dessert with minimal effort:
- Peanut Butter Banana Ice Cream: For a classic and incredibly satisfying combination, add 1–2 tablespoons of your favorite creamy peanut butter (or almond butter for an alternative) while blending. The result is a rich, nutty, and deeply comforting treat that feels wonderfully indulgent.
- Chocolate Banana Ice Cream: Satisfy your chocolate cravings in a healthy way by blending in 1 tablespoon of unsweetened cocoa powder. This instantly creates a decadent, dairy-free chocolate delight that’s surprisingly guilt-free.
- Strawberry Banana Ice Cream: For a burst of vibrant, fruity flavor, toss in a handful of frozen strawberries alongside your bananas. This creates a beautiful pink hue and a naturally sweet, tangy blend that is particularly adored by children and adults alike.
- Vanilla Bean Banana Ice Cream: Elevate the classic banana flavor with a touch of sophistication. Add ½ teaspoon of pure vanilla extract or, for an extra luxurious touch, a small amount of real vanilla bean paste for an elegant, aromatic, and creamy finish.
- Cinnamon Banana Ice Cream: Introduce a cozy warmth with a pinch of ground cinnamon. This simple spice adds a comforting, aromatic note that is especially delicious when topped with chopped nuts or a drizzle of maple syrup.
- Mint Chocolate Chip Nice Cream: For a refreshing twist, add a few fresh mint leaves and a handful of mini chocolate chips during the final blending stage. It’s a surprisingly invigorating and delightful flavor combination.
- Tropical Mango Swirl: Blend in half a cup of frozen mango chunks for a taste of the tropics. The sweet, juicy mango pairs perfectly with the banana base for a bright, sunny dessert.
These simple additions prove that you can create a diverse range of personalized, wholesome frozen treats without compromising on flavor or health benefits!
Is This a Sugar-Free Version? Absolutely!
Here’s the wonderful news: this banana ice cream recipe is inherently naturally sugar-free. There is absolutely no added sugar required or included in the base recipe. The delightful sweetness comes entirely from the natural sugars present in the ripe bananas themselves. This is why the ripeness of your bananas is so crucial; the more brown speckles they have on their skins, the more mature and naturally sweet they are, resulting in a more flavorful and satisfying ice cream. This makes it an ideal dessert for those monitoring sugar intake or simply seeking a wholesome, unprocessed sweet treat.
Understanding Why It’s Called ‘Nice Cream’
If you’ve come across the trending term “nice cream” in your online culinary explorations, this banana ice cream is the quintessential example! “Nice cream” is a widely recognized name for a plant-based, dairy-free ice cream alternative that is crafted almost exclusively from frozen fruit, with bananas being the most common and ideal base. Crucially, it stands apart from traditional ice cream by omitting added sugars and conventional dairy cream.
So, what exactly makes it “nice”?
- No Dairy: It offers a creamy texture without any animal milk products, making it perfect for those with lactose intolerance or dairy allergies.
- No Added Sugar: Its sweetness is derived purely from fruit, allowing you to enjoy a sweet treat without the refined sugar spike.
- No Mysterious Ingredients: You’ll find no long list of unpronounceable chemicals or artificial additives here – just wholesome fruit.
- No Guilt: As a genuinely healthy and natural dessert, you can indulge in “nice cream” without any of the guilt often associated with traditional desserts.
This makes “nice cream” a fantastic and satisfying option for individuals embracing a vegan, gluten-free, or refined sugar-free lifestyle. The inherent sweet flavor and wonderfully creamy consistency of perfectly ripe bananas masterfully mimic the richness of ice cream, creating a dessert that feels incredibly indulgent and deeply satisfying, all while remaining surprisingly light and healthy.
Frequently Asked Questions (FAQ) About Banana Ice Cream
Can I use a blender instead of a food processor?
Yes, absolutely! However, for optimal results and to prevent strain on your appliance, it’s highly recommended to use a high-powered blender. Additionally, ensure you cut your bananas into smaller chunks or slices before freezing them; this will significantly aid in easier and smoother processing, yielding a creamier texture.
How many bananas do I need per serving?
Generally, one large banana will yield approximately 1 cup of delicious banana ice cream. So, if you’re planning on serving four people, you’ll need about four large, ripe bananas to create a satisfying portion for everyone.
Can I add other fruits to this recipe?
Yes, you certainly can and it’s highly encouraged for delicious variations! Blueberries, strawberries, mango, and even pineapple are excellent additions that blend wonderfully with bananas. For the best consistency and to ensure they blend smoothly, add these additional frozen fruits during the final stages of blending.
Why is my banana ice cream too runny or liquidy?
If your banana ice cream is too runny, it’s usually because the bananas weren’t frozen for a sufficient amount of time, or the heat generated by your kitchen appliance (especially a less powerful one) warmed it up too much during the blending process. To remedy this, transfer the mixture to a freezer-safe container and freeze for an additional 1–2 hours before serving, until it reaches your desired firm consistency.
Can I use bananas that were mashed before freezing?
No, it’s highly advised against using bananas that were mashed prior to freezing. This method results in an unpleasant, sticky, and gooey texture when re-blended, which is far from the desired creamy “nice cream” consistency. Always freeze your bananas in slices or small chunks for the best results.
Can I refreeze banana ice cream after serving?
Yes, you can refreeze banana ice cream after it has softened or been partially eaten. However, be aware that it will harden significantly upon refreezing, making it very solid. To enjoy it again, simply let it sit at room temperature for 10–15 minutes before attempting to scoop, allowing it to soften slightly.
Is it possible to make this recipe in bulk?
Absolutely! This recipe scales up beautifully. Simply adjust the quantity of bananas to fit the capacity of your food processor or high-powered blender. Store any extra batches in loaf pans or other freezer-safe, airtight containers for convenient future enjoyment.
Is this banana ice cream suitable for children?
Yes, this is an incredibly kid-friendly treat! Because it contains no added sugars, dairy, or artificial ingredients, it’s a wonderfully healthy and allergy-conscious dessert that’s perfect for toddlers and older children alike. It’s a fantastic way to offer them a sweet treat that’s also nutritious.
Choosing the Best Bananas for ‘Nice Cream’
The success and unparalleled creaminess of your banana ice cream largely depend on the bananas you select. For the absolute best texture and richest flavor, always prioritize using very ripe bananas – the kind you might typically save for baking banana bread. Here’s what to look for:
- Deep Yellow with Abundant Brown Spots: The presence of numerous brown spots, or even some larger brown patches, indicates that the banana’s starches have fully converted into natural sugars. This is crucial for both sweetness and a smooth, less icy texture.
- Very Soft to the Touch: When gently squeezed, the banana should feel notably soft, not firm. This softness translates directly into a creamier, more luxurious final product.
- Extra Sweet and Fragrant Aroma: Ripe bananas will have a distinctively sweet and rich aroma. This natural fragrance is a good indicator of the concentrated flavor you’ll get in your nice cream.
Using under-ripe bananas (those that are mostly yellow or still have green tips) will result in an ice cream that is far too firm, less sweet, and often bland in flavor. Conversely, while very mushy, completely brown bananas can still work, ensure they haven’t started to ferment or develop off-flavors. The sweet spot is truly those speckled beauties.
Essential Tip: Before freezing, peel your ripe bananas and slice them into roughly 1-inch thick pieces. This small preparatory step will dramatically speed up the blending process and reduce any strain on your food processor or blender, making it easier to achieve that coveted soft-serve consistency.
What Equipment Works Best for Banana Ice Cream?
Even though this recipe boasts a single ingredient, the kitchen equipment you use plays a significant role in achieving that perfectly creamy and luscious banana ice cream texture. Choosing the right tool can make all the difference between a chunky, icy mixture and a smooth, delightful soft serve.
Best Options for Optimal Creaminess:
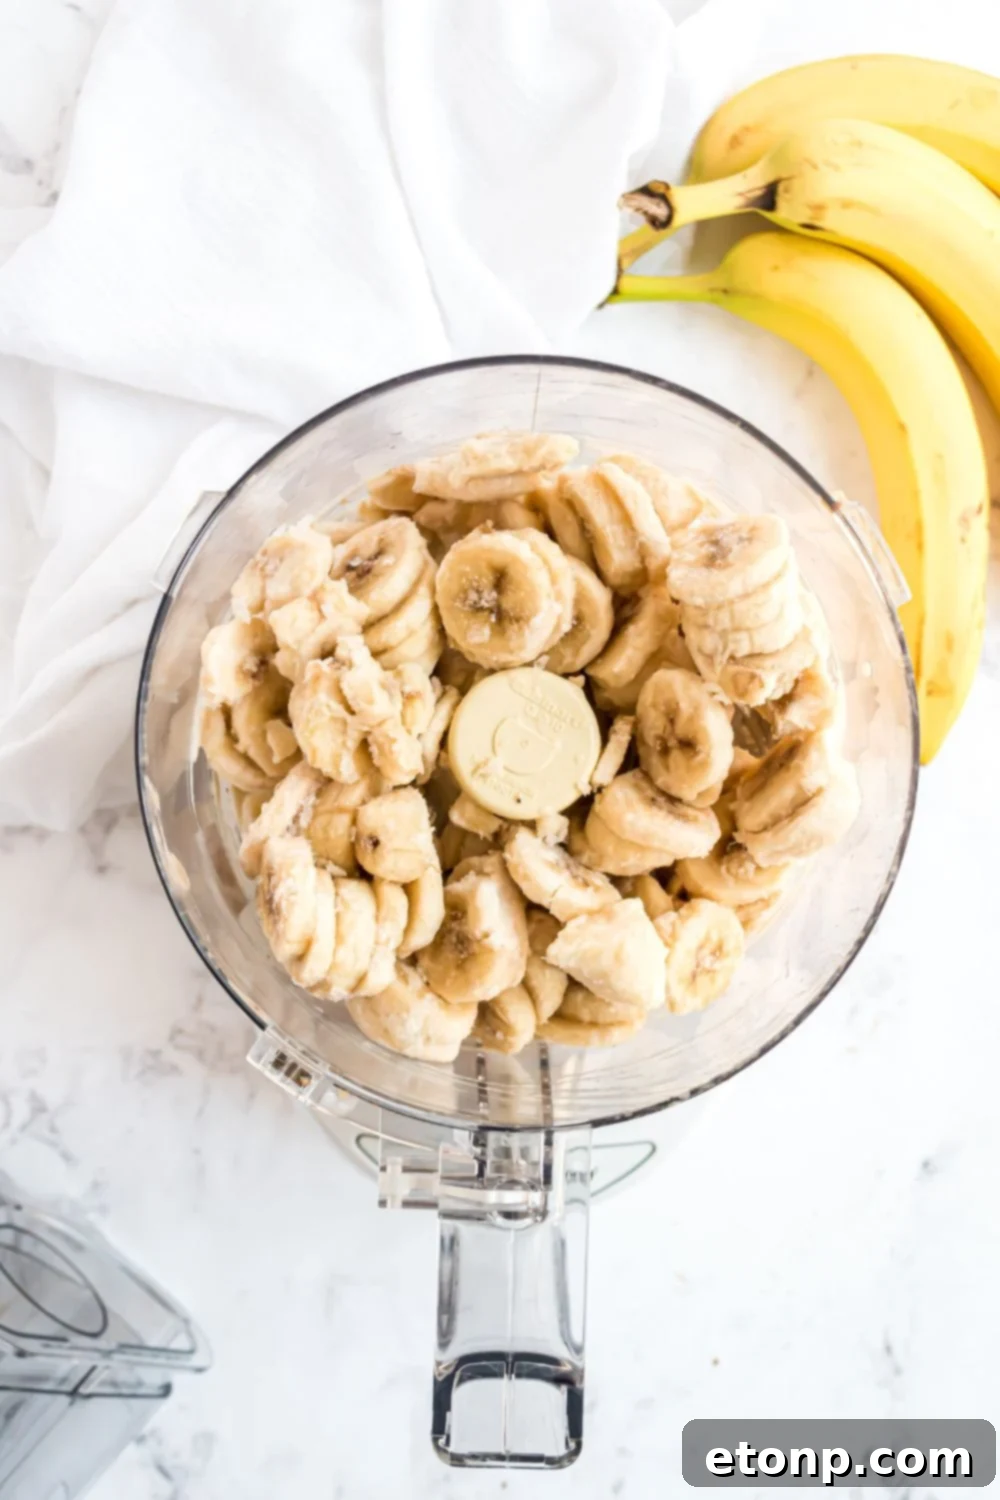
- Food Processor (Highly Recommended): A robust food processor is often considered the ideal tool for making banana ice cream. Its wide base and strong blades are perfectly designed to efficiently break down hard-frozen banana chunks. It powers through the solid pieces, creating that signature soft-serve texture with remarkable ease and requiring less liquid if any.
- High-Powered Blender (e.g., Vitamix or Blendtec): A high-powered blender, such as a Vitamix A3500 (my personal favorite!), is also an excellent choice. These blenders are engineered to handle dense, frozen ingredients without overheating or struggling. When using a high-powered blender, ensure your bananas are cut into small pieces before freezing. The powerful motor and specialized tamper (often included with these blenders) will help push the frozen chunks into the blades, resulting in a velvety smooth consistency. If you’re looking to invest in a serious kitchen workhorse that excels at everything from smoothies to frozen desserts, a high-powered blender is an invaluable asset.
💡 Quick Tip: If your machine seems to be struggling or the mixture is too thick to blend, add a tiny splash (about 1-2 tablespoons) of unsweetened almond milk or water. Add sparingly, just enough to get the blades moving, to avoid a runny consistency.
Equipment to Generally Avoid (or Use with Caution):
- Standard Low-Power Blenders: Most conventional blenders lack the necessary strength and motor power to effectively process rock-solid frozen bananas. Attempting to do so can lead to an overheated motor, a perpetually chunky mixture, or even damage to the appliance. If you must use a standard blender, ensure your banana pieces are very small, and be prepared to add a greater amount of liquid (such as almond milk) to help it blend, which will result in a consistency closer to a thick smoothie rather than firm ice cream.
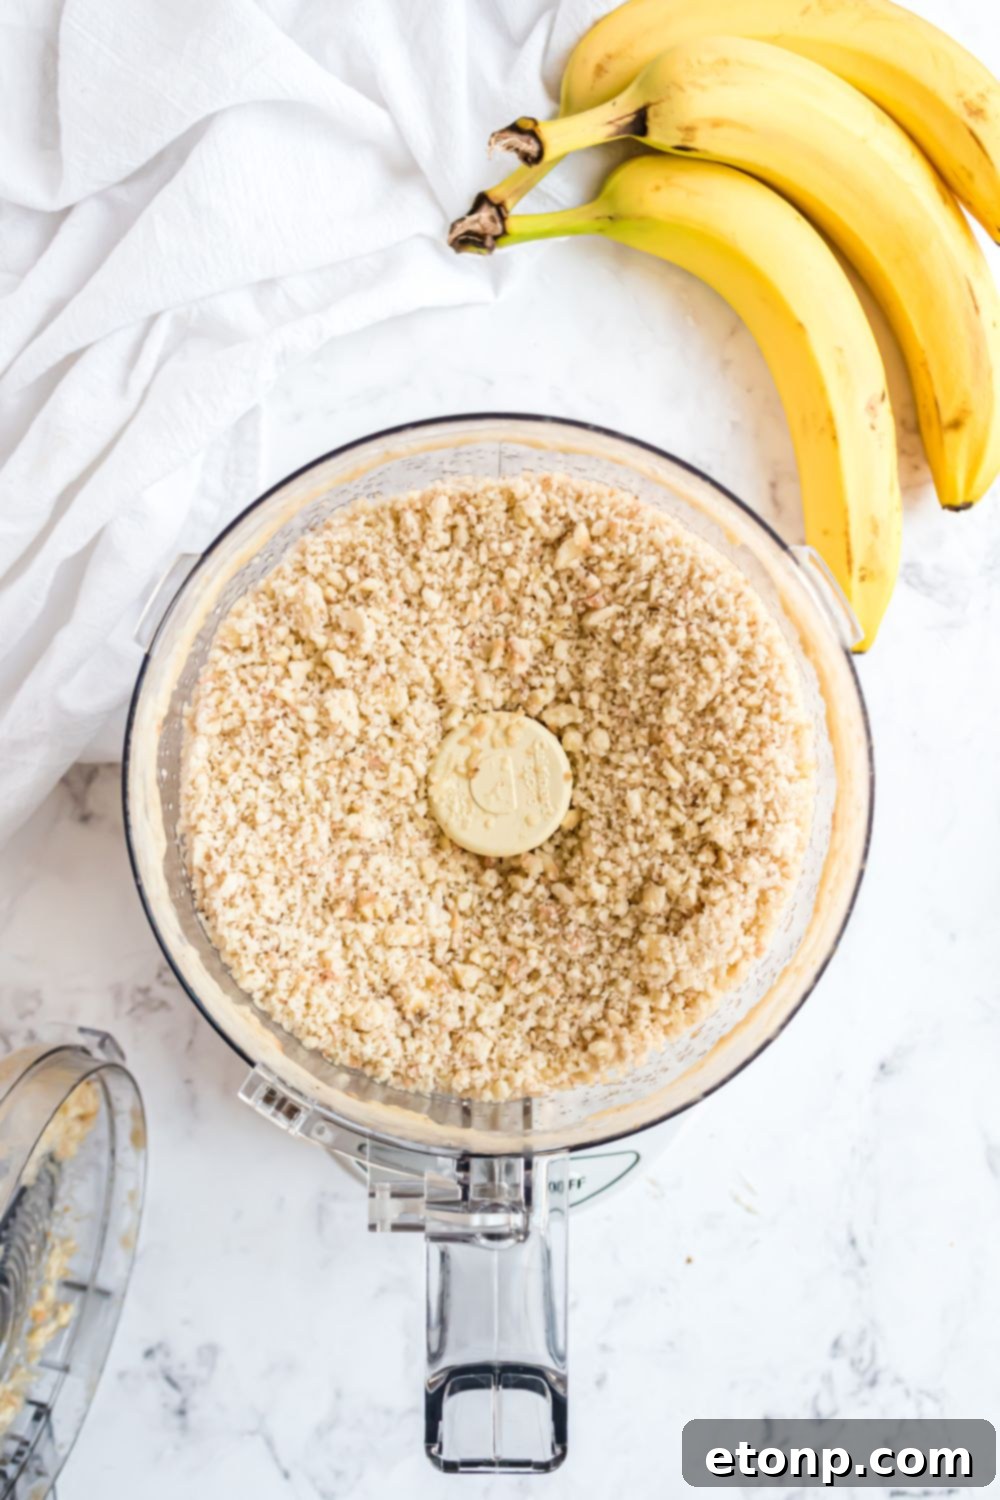
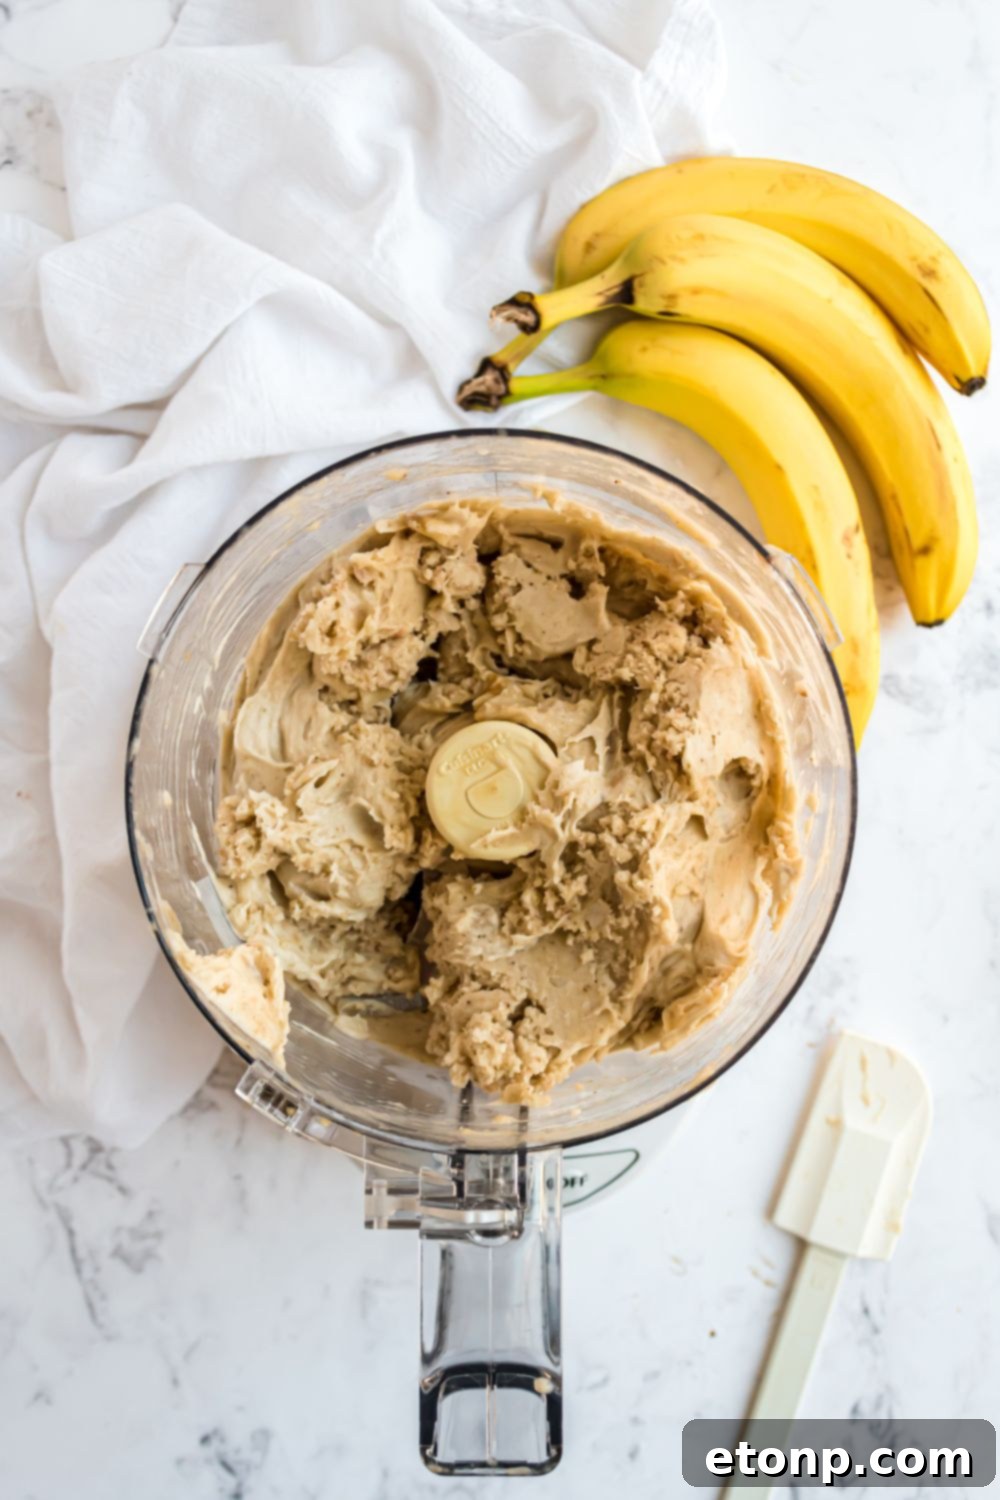
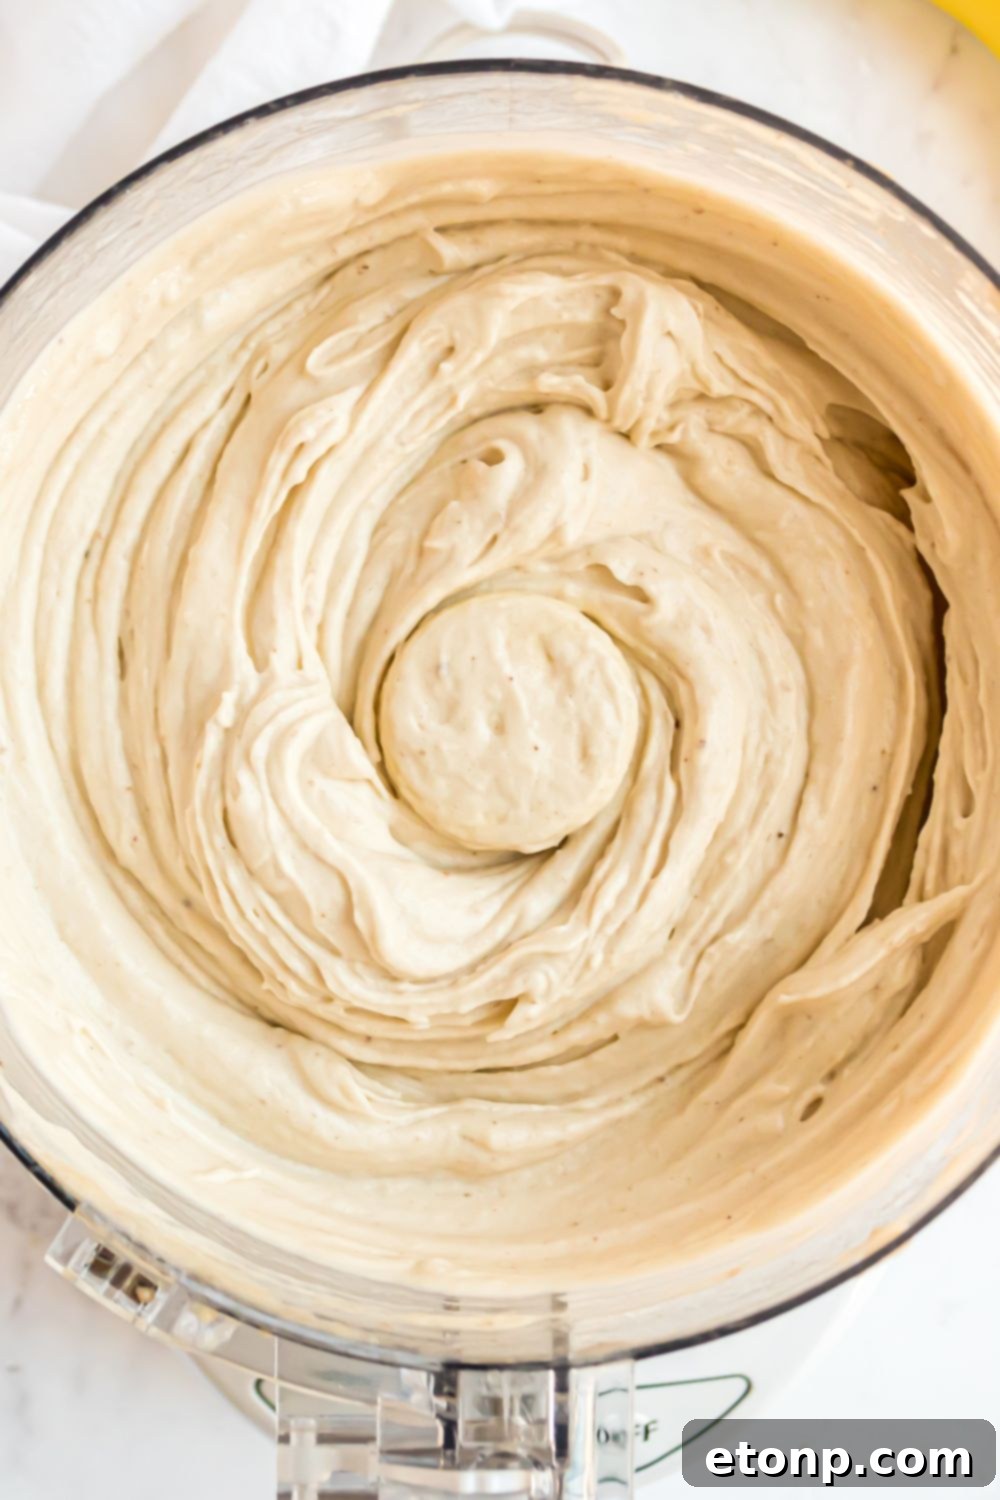
Masterful Blending Technique: Regardless of the equipment you choose, the blending technique is crucial. Start with short pulses to break down the frozen chunks. This is important to prevent jamming. Stop frequently to scrape down the sides of the bowl or container, ensuring all the frozen banana pieces are pushed towards the blades. Once the mixture starts to look like coarse crumbs, continue blending, gradually moving towards a smooth, thick paste. Keep blending and scraping until the mixture transforms into a wonderfully creamy, soft-serve-like consistency. It can take around 5-10 minutes in total, but the patience is well worth the dreamy results.
Final Thoughts on This Incredible Frozen Treat
The One-Ingredient Banana Ice Cream is a true culinary revelation – the ultimate minimalist dessert that masterfully ticks every single box. It’s a triumph of simplicity, delivering a dessert that is inherently healthy, remarkably affordable, enthusiastically kid-approved, and perfectly suited for various dietary needs, including vegan, gluten-free, and dairy-free lifestyles. Beyond its impressive credentials, it is, quite simply, downright delicious. Whether you prefer its soft, spoonable texture straight from the blender or opt for a firmer, scoopable consistency after a brief chill in the freezer, this is one of those “too good to be true” recipes that consistently delivers outstanding results. It has earned its place as a permanent staple in our freezer, and I am genuinely excited for you to experience the sheer joy and effortless delight of making and savoring your very own homemade banana nice cream!
My Go-To Blender for Perfect Banana Ice Cream
When it comes to achieving that sublime, velvety texture for frozen banana ice cream, the right blender can make an astonishing difference. My absolute favorite and highly recommended kitchen companion for this recipe is my Vitamix A3500. Honestly, my affection for it couldn’t be stronger! It consistently transforms frozen bananas into a perfectly smooth, scoopable “ice cream” texture without the need for any additional liquid. This is precisely what you want to achieve that authentic soft-serve consistency and richness.
What sets the Vitamix apart for me is its sheer power. It effortlessly processes rock-solid banana chunks without a hint of overheating or getting bogged down. I simply toss my pre-sliced frozen bananas into the container, select the convenient “Frozen Desserts” preset, and let the machine work its magic. The result is consistently creamy, silken, dairy-free banana ice cream, often ready in under two minutes. If you are serious about crafting the best smoothies, preparing homemade frozen desserts, or streamlining your daily meal prep, this is undoubtedly one kitchen tool that will prove its worth time and time again. I’ve personally relied on mine almost every day for several years, and its performance remains unmatched. It’s an investment that truly pays off, and you will undoubtedly taste the difference in the quality of your blends.
👉You can find the exact Vitamix A3500 I use here on Amazon.
It is worth every penny, and yes, you’ll absolutely taste and feel the difference in your delicious creations.
More Delicious Dessert Ideas
- No Bake M&M Energy Balls
- Weight Watchers Strawberry Muffins
- Banana Cream Cheesecake
- Strawberry Cheesecake Ice Cream
Banana Ice Cream
Course: Dessert
Prep Time: 15 mins
Total Time: 6 hrs 15 mins
Servings: 8 servings
Serve up this guilt-free dessert soon. It is a one-ingredient banana ice cream recipe that requires frozen bananas and a food processor! Tons of mix-in ingredients to add more flavor to this ultra-creamy and delicious dessert.
Share this recipe:
Print Recipe | Pin Recipe | Share on Facebook
Ingredients
- 4 large bananas, sliced or cut into small pieces
Instructions
- Place sliced bananas into a freezer bag and freeze for at least 4 hours until solid, preferably overnight.
- Place frozen bananas into a food processor or heavy-duty blender and begin pulsing. The bananas will resemble crumbs at first, similar to oatmeal.
- Continue processing and, as the mixture begins to get smoother, scrape down the food bowl with a rubber spatula.
- As the consistency begins to smooth out, switch to blending and stop frequently to scrape the mixture down so that it continues to be processed by the blade.
- After about 10 minutes, the mixture will turn into a creamy consistency resembling a soft serve ice cream. Blend for about 30 seconds longer to incorporate air into the ice cream.
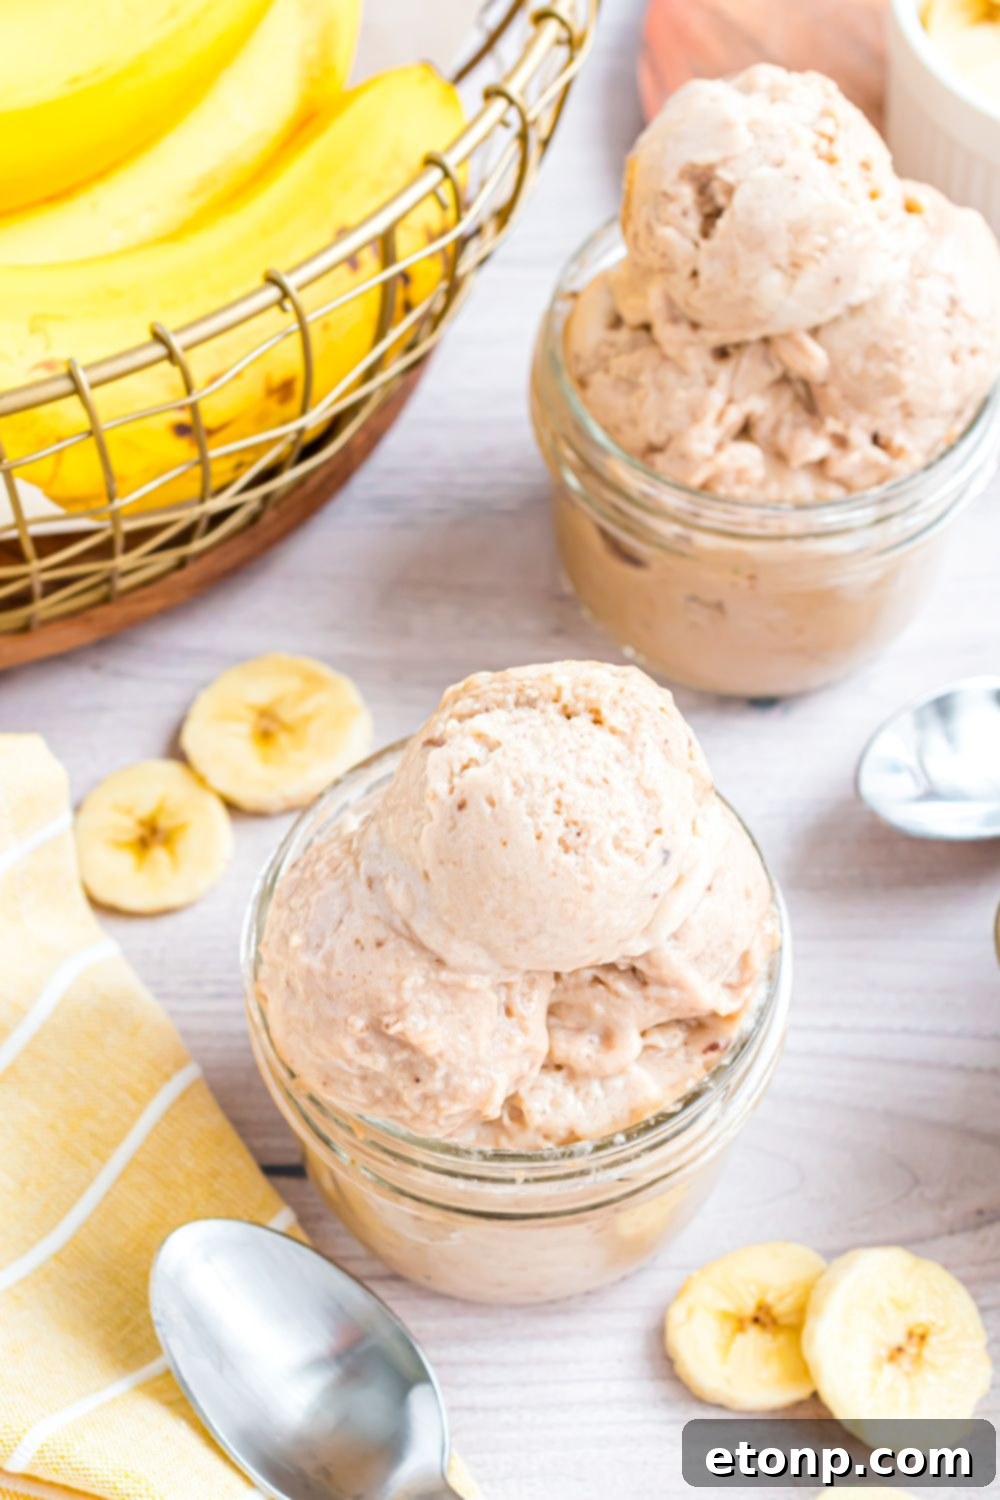
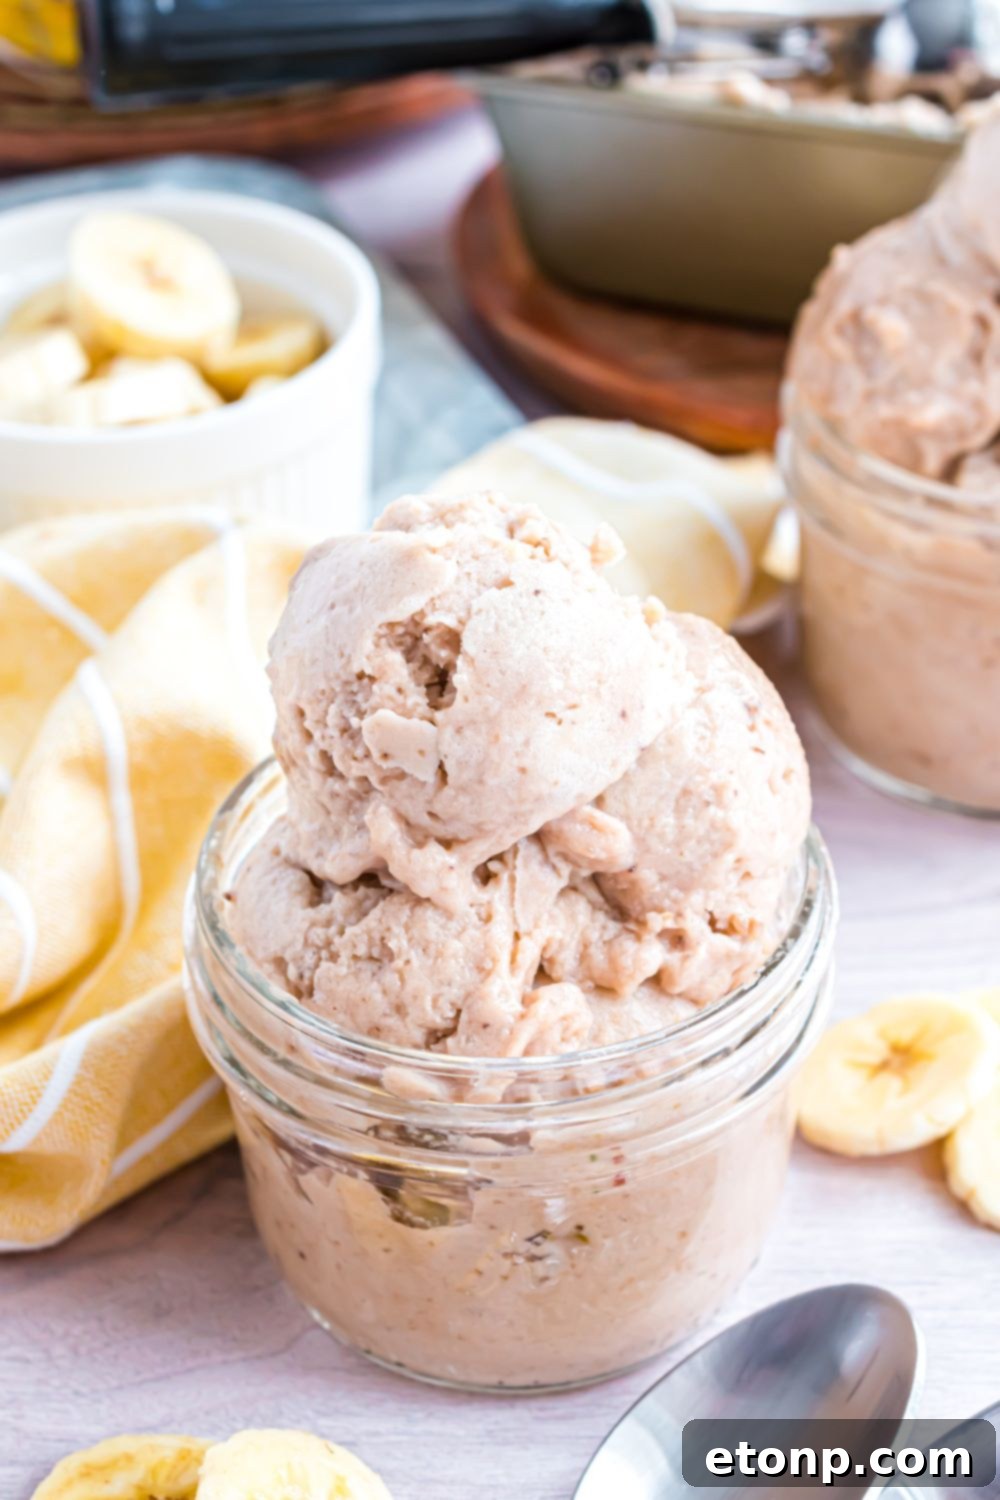
- Serve immediately for soft serve ice cream. For a more firm, scoopable ice cream, transfer the mixture to a freezer-safe, airtight container, and freeze for about 2 hours, or until it reaches the desired texture.
Did you make this recipe?
Make sure to follow on Pinterest for more recipes!
Pin Recipe |
Share on Facebook