
Indulge in Bliss: The Easiest 2-Ingredient Strawberry No-Bake Fudge Recipe
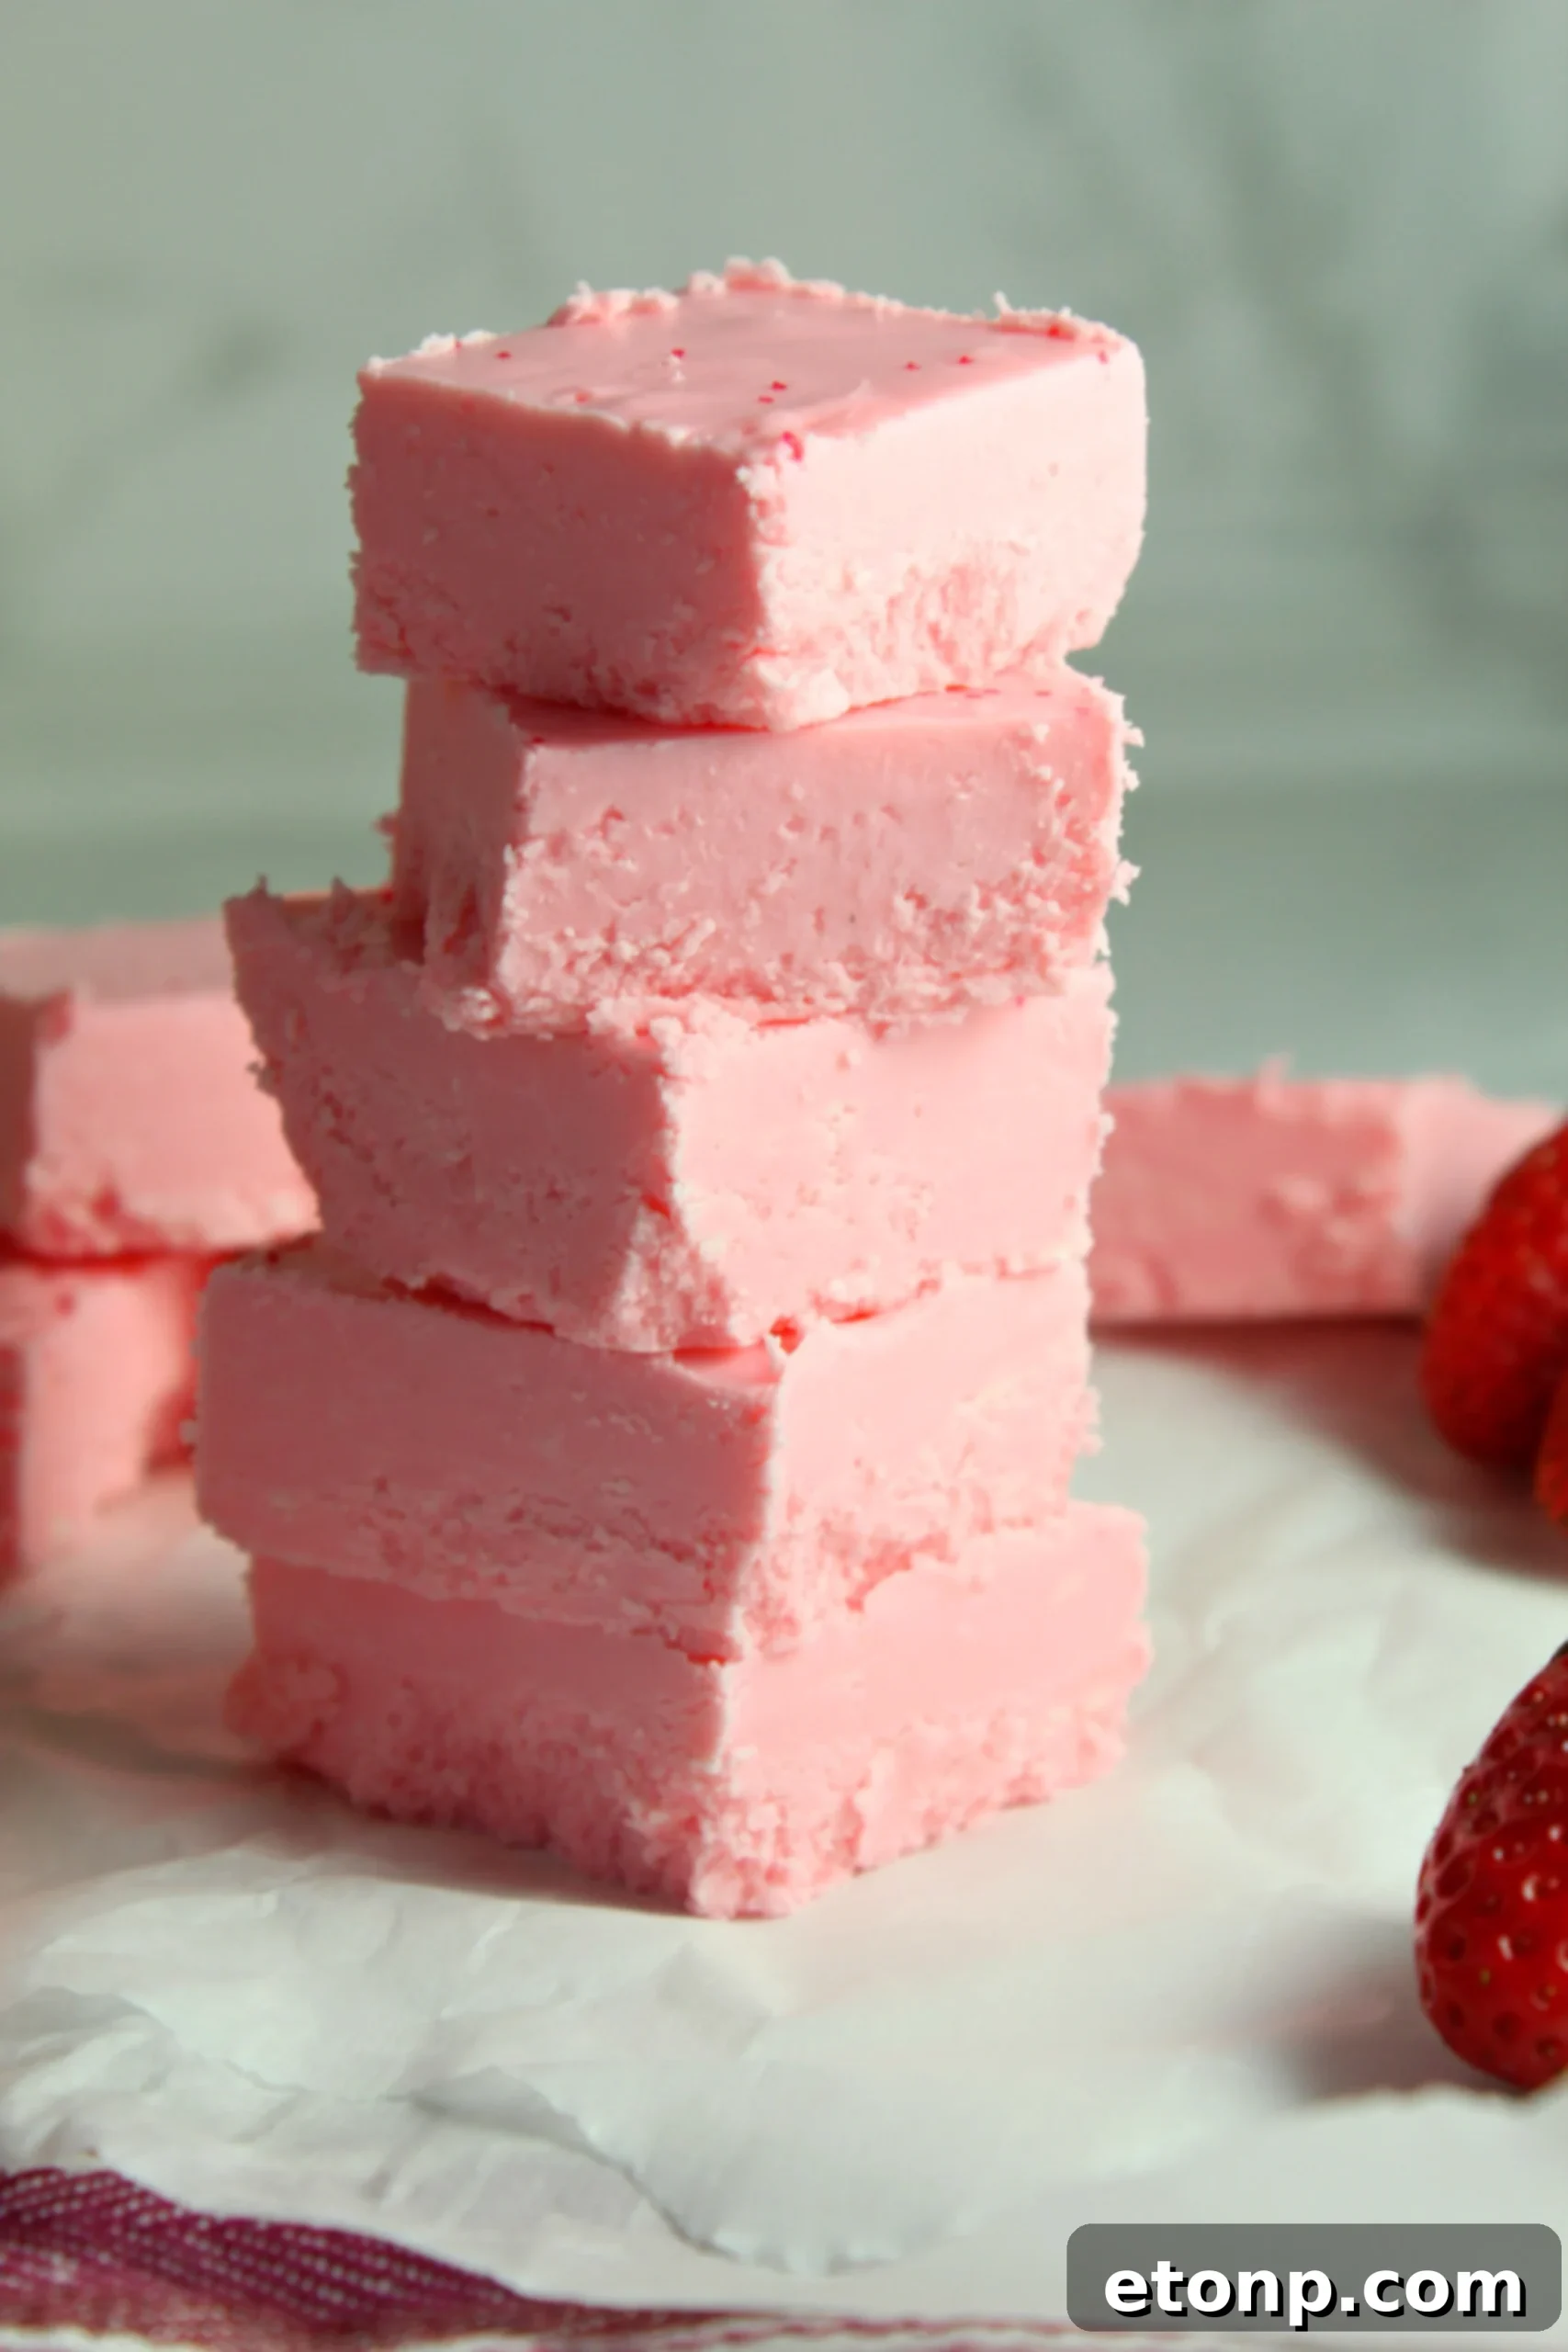
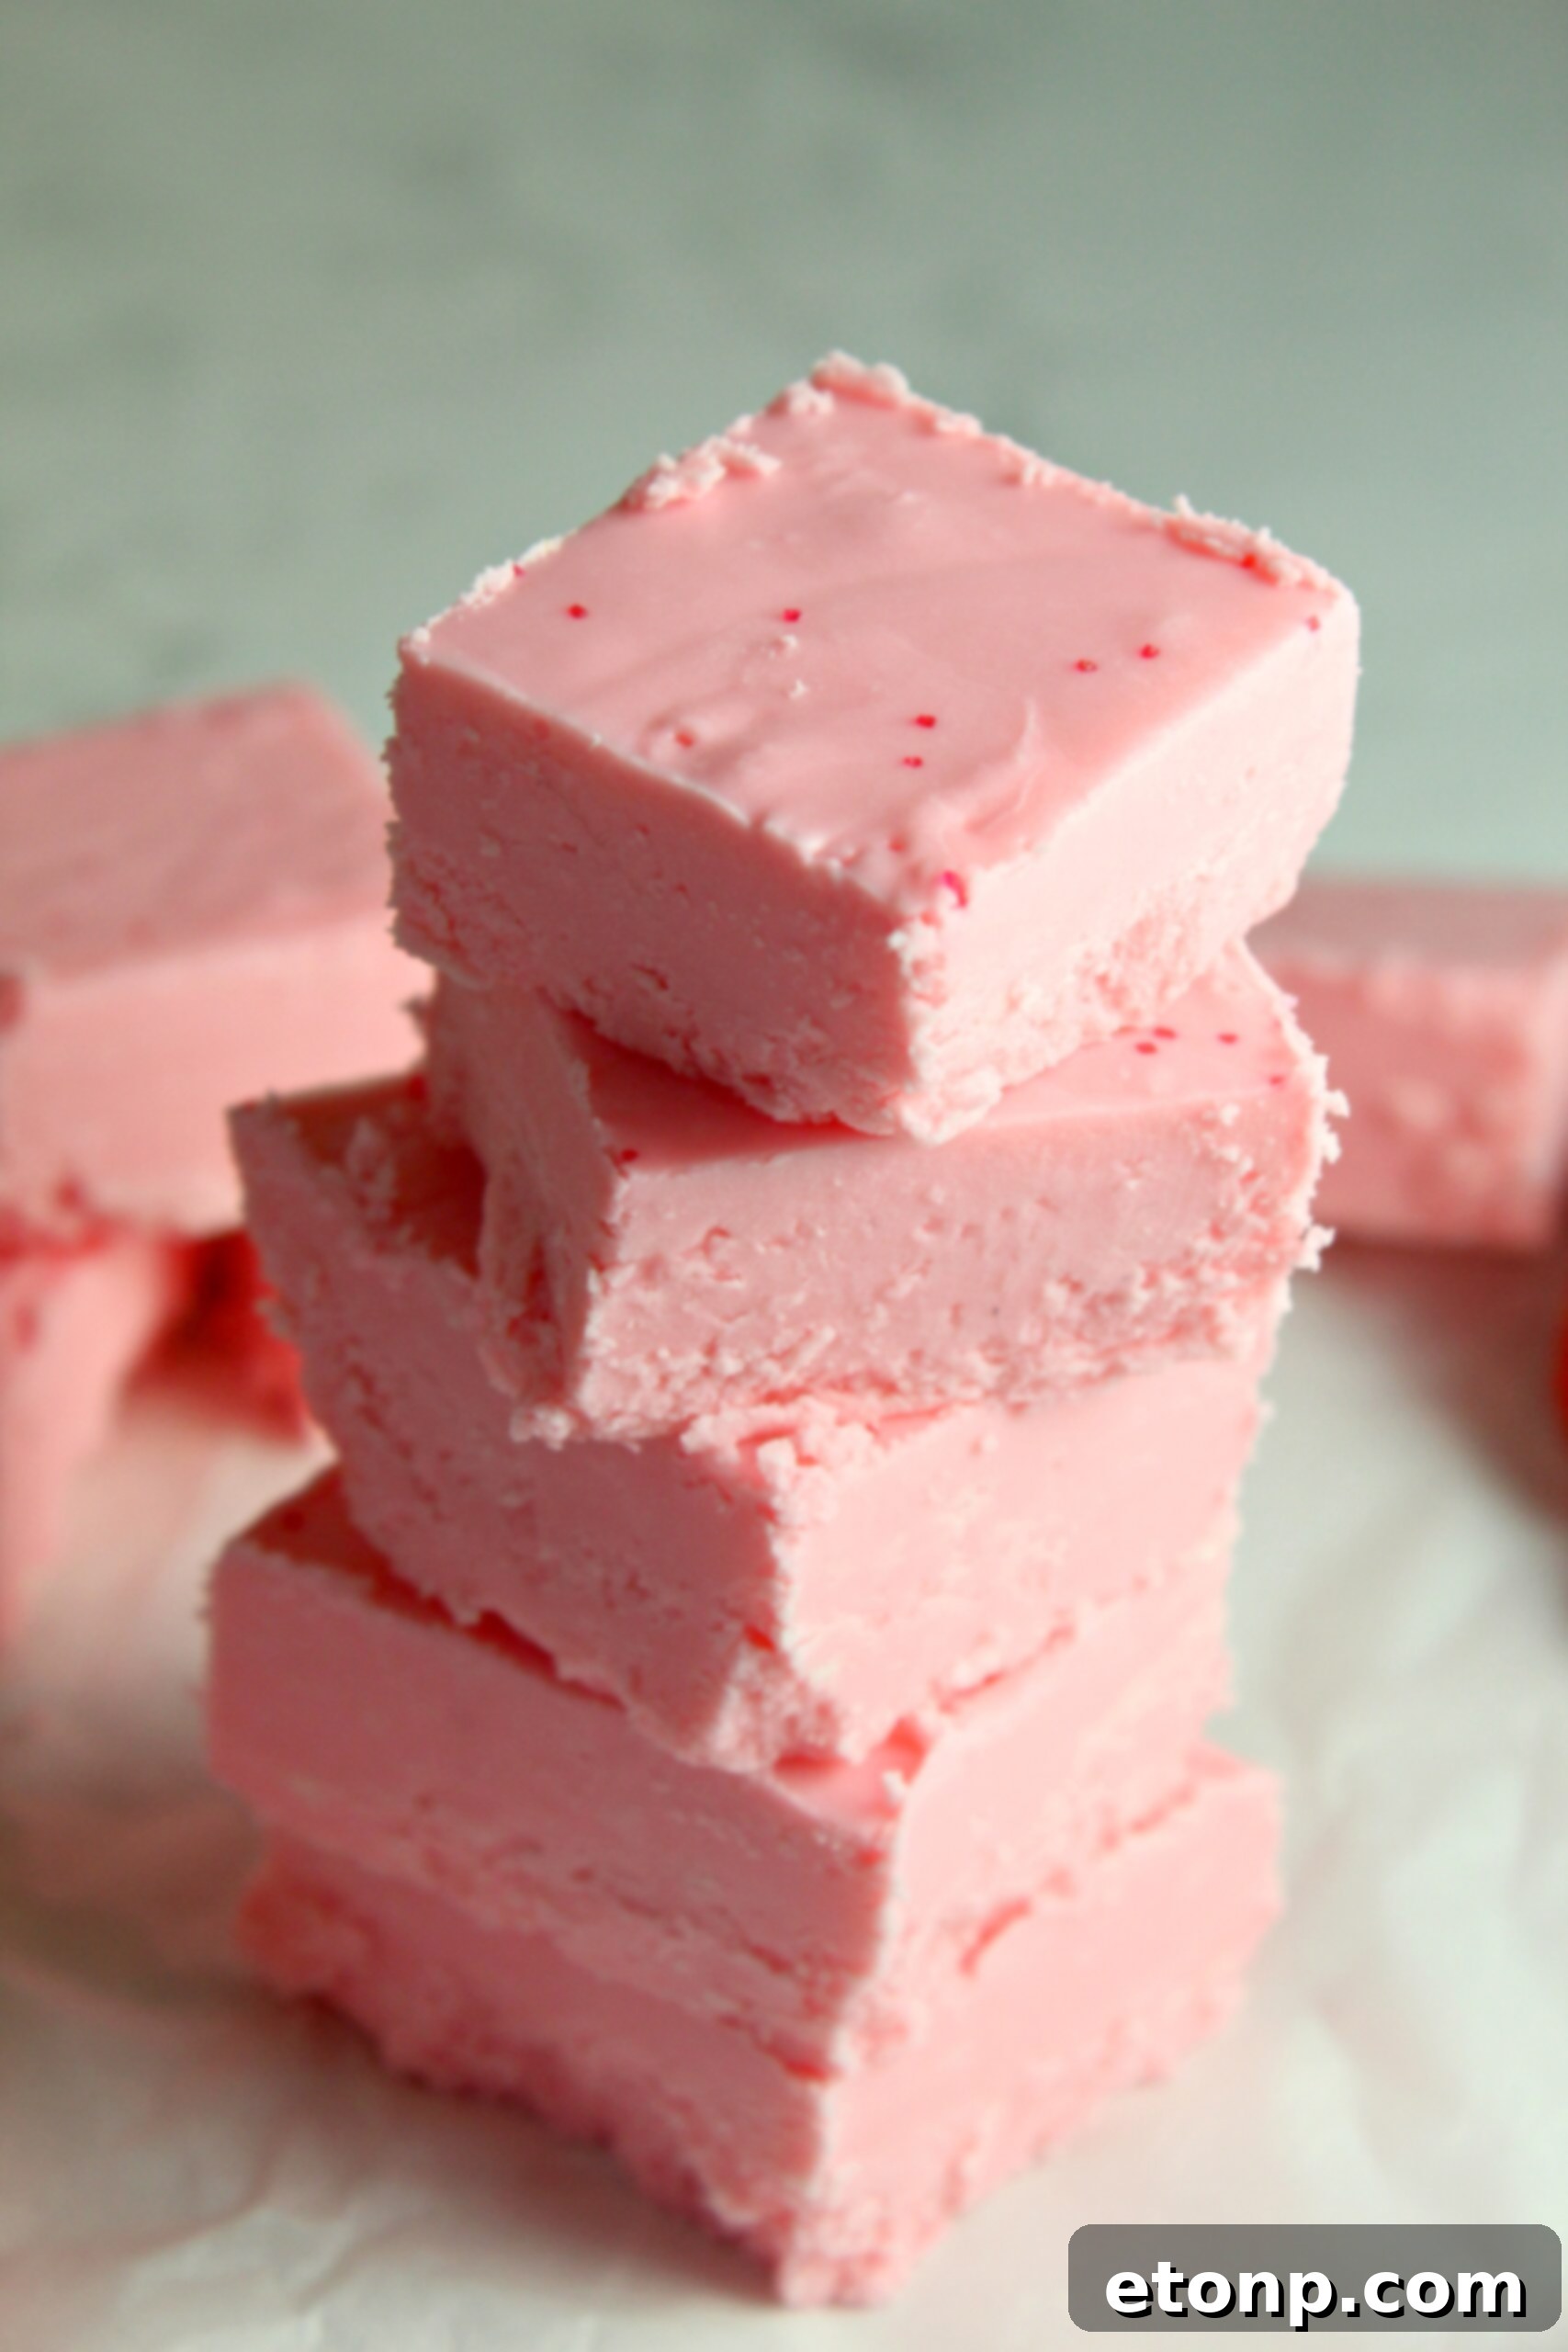
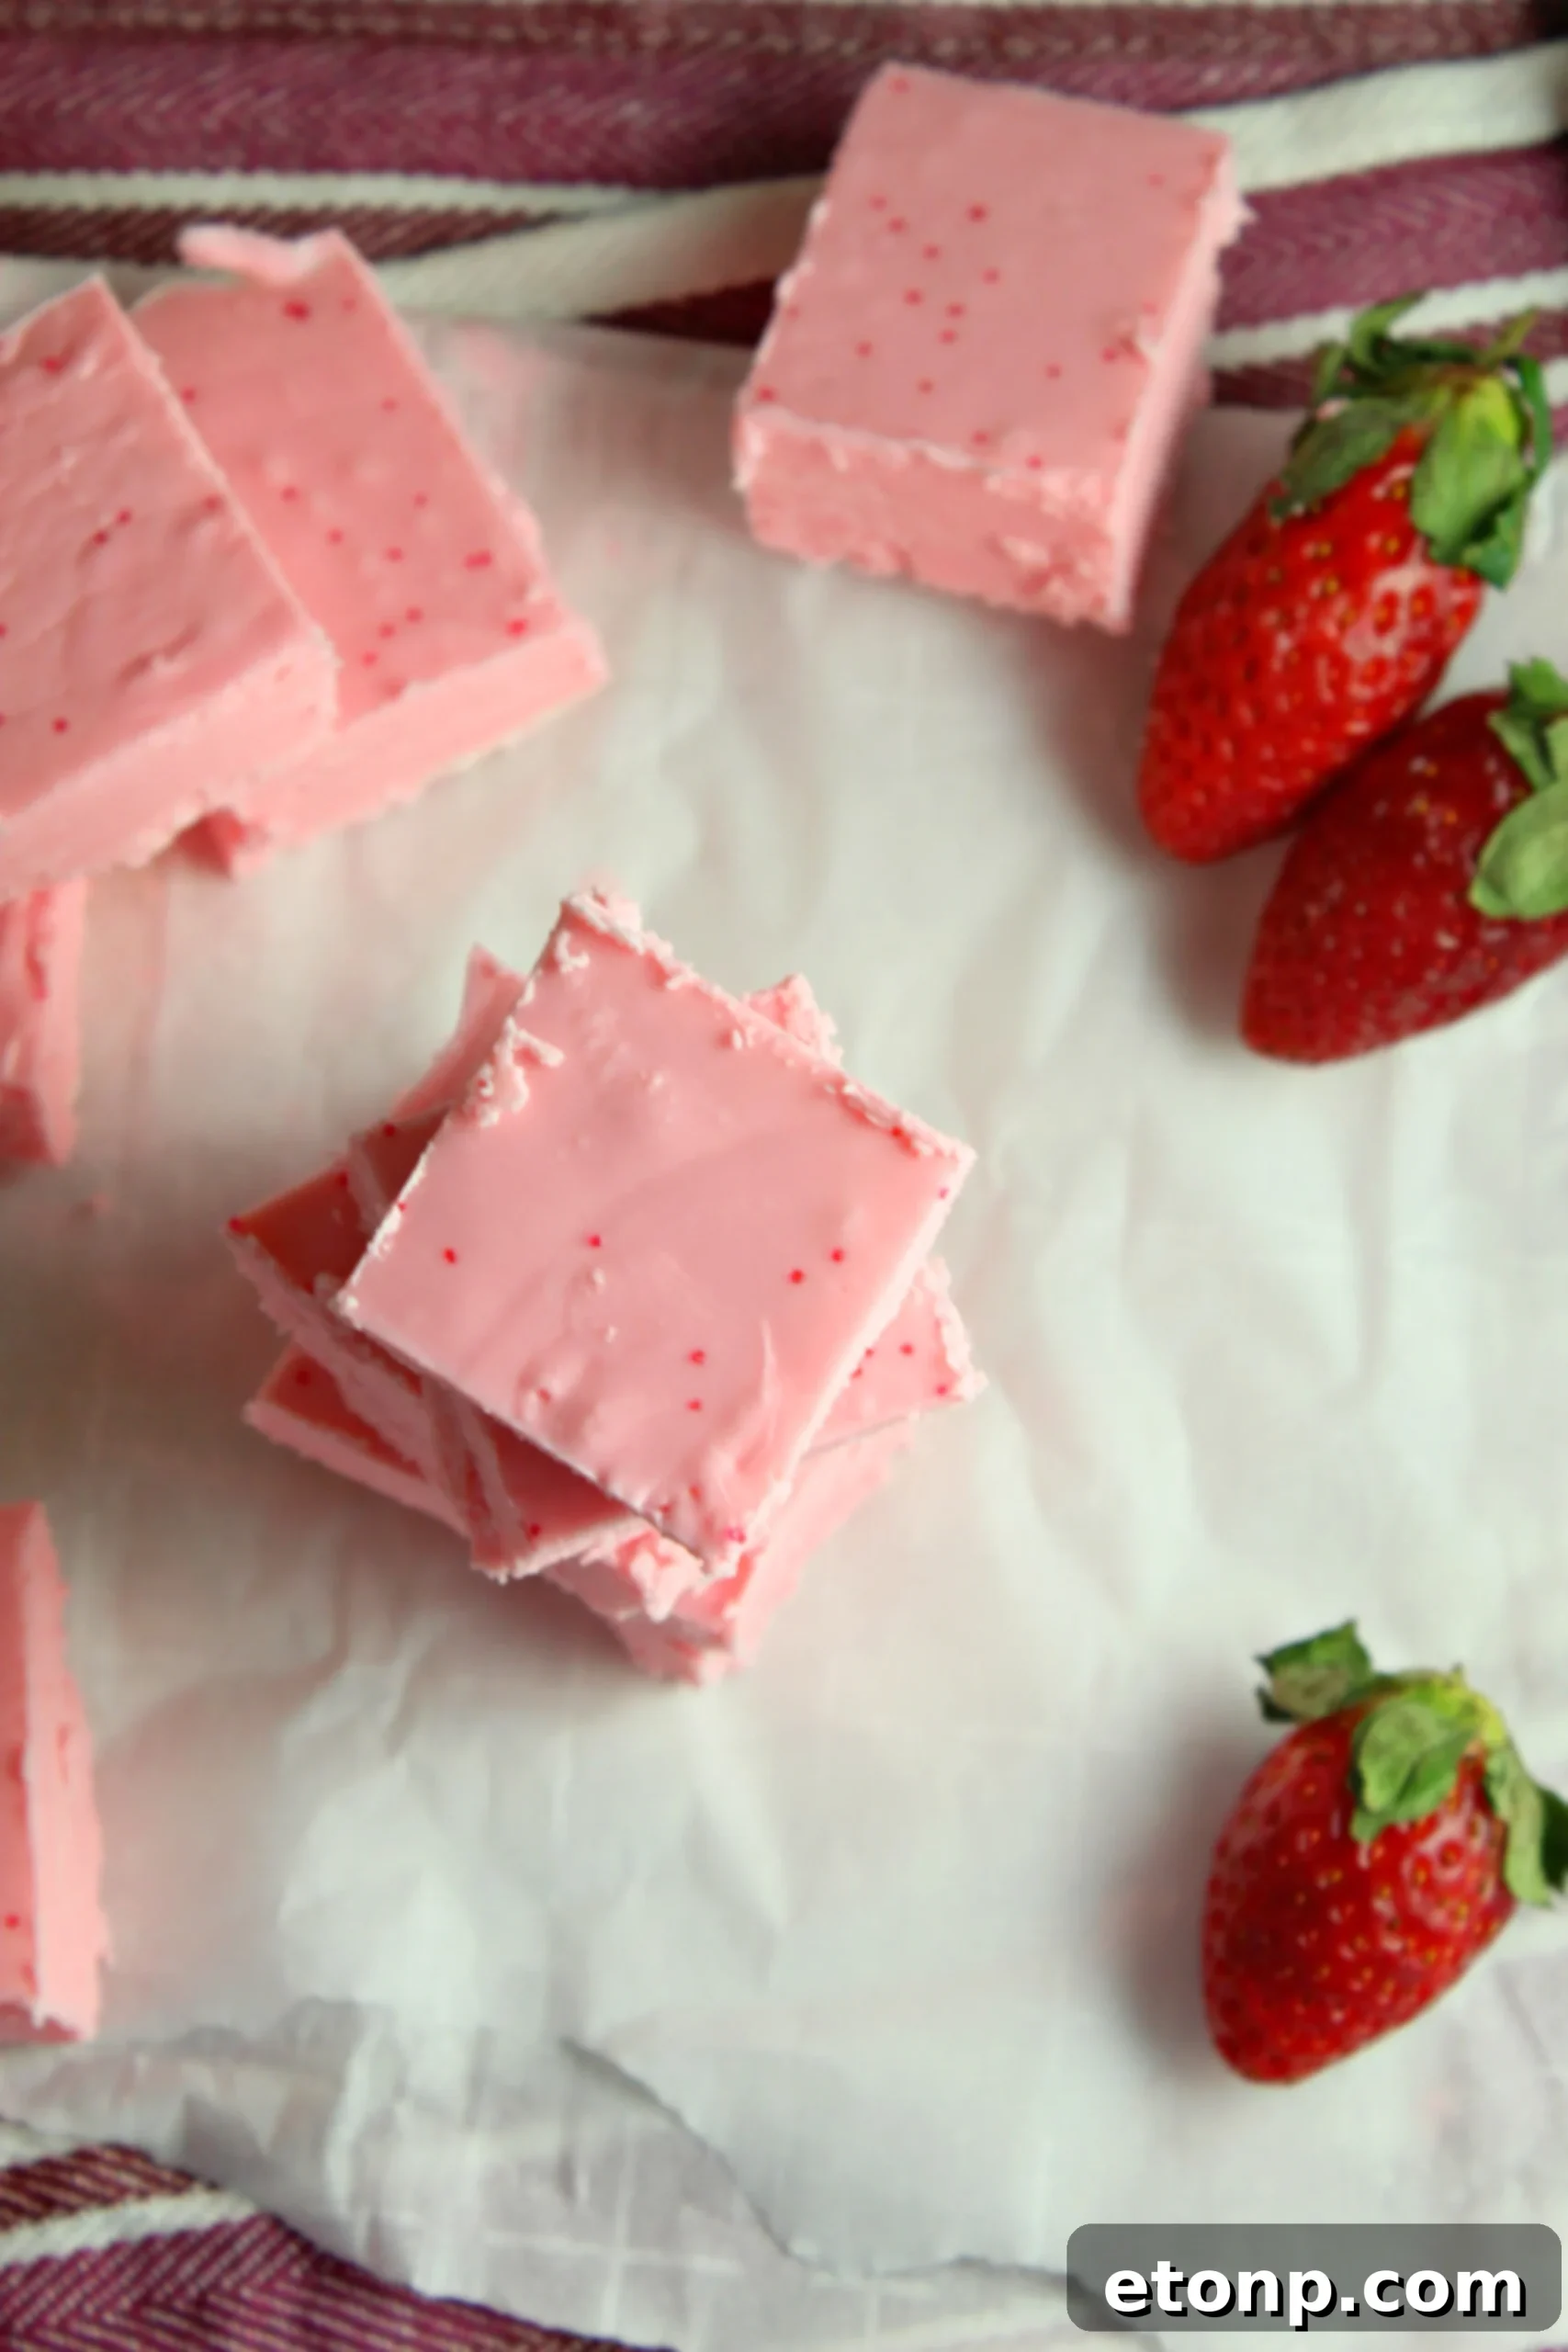
Prepare to be amazed by the sheer simplicity and incredible flavor of our 2-Ingredient Strawberry No-Bake Fudge. This isn’t just a recipe; it’s a revelation for anyone who loves quick, delicious desserts without the hassle of traditional baking. With just two core ingredients, you can whip up a batch of creamy, decadent fudge that tastes like it came straight from a gourmet confectionery. Perfect for busy weeknights, last-minute gatherings, or whenever a sweet craving strikes, this recipe promises delightful results with minimal effort. Its vibrant pink hue and irresistible strawberry flavor make it a showstopper, and the melt-in-your-mouth texture is simply divine, ensuring every bite is a moment of pure bliss.
Why This Strawberry No-Bake Fudge Will Become Your Go-To Dessert
Forget complicated candy thermometers and lengthy cooking times. This no-bake fudge recipe redefines dessert making. Its inherent beauty lies in its adaptability and incredible ease. You’re not just limited to strawberry; the foundation of this recipe allows for endless flavor possibilities simply by swapping out the frosting flavor. Imagine rich chocolate fudge, zesty lemon, or even a festive mint, all from the same basic two-ingredient concept. It’s a testament to how simple ingredients can create something truly extraordinary, making it a versatile addition to your culinary repertoire.
The process couldn’t be simpler: melt, stir, chill, and enjoy. This foolproof method ensures that your fudge sets up perfectly every time, delivering a consistently smooth and firm texture that holds its shape beautifully. There’s no guessing game involved, making it an ideal recipe for beginners and seasoned dessert makers alike. The quick preparation time means you can have a batch ready to chill in under 10 minutes, leaving you more time to savor the anticipation (and the delicious results!). This recipe truly embodies the joy of effortless indulgence.
The Perfect Treat for Special Occasions and Everyday Indulgence
With its lovely pink hue and sweet strawberry essence, this fudge is an absolutely gorgeous dessert to prepare for upcoming celebrations. It’s particularly fitting for Valentine’s Day, serving as a heartfelt homemade gift or a delightful addition to a romantic dinner. Imagine presenting these beautifully cut squares of fudge to your loved ones – a truly sweet gesture that speaks volumes without requiring hours in the kitchen. Its elegant appearance belies its simple preparation, making you look like a culinary genius!
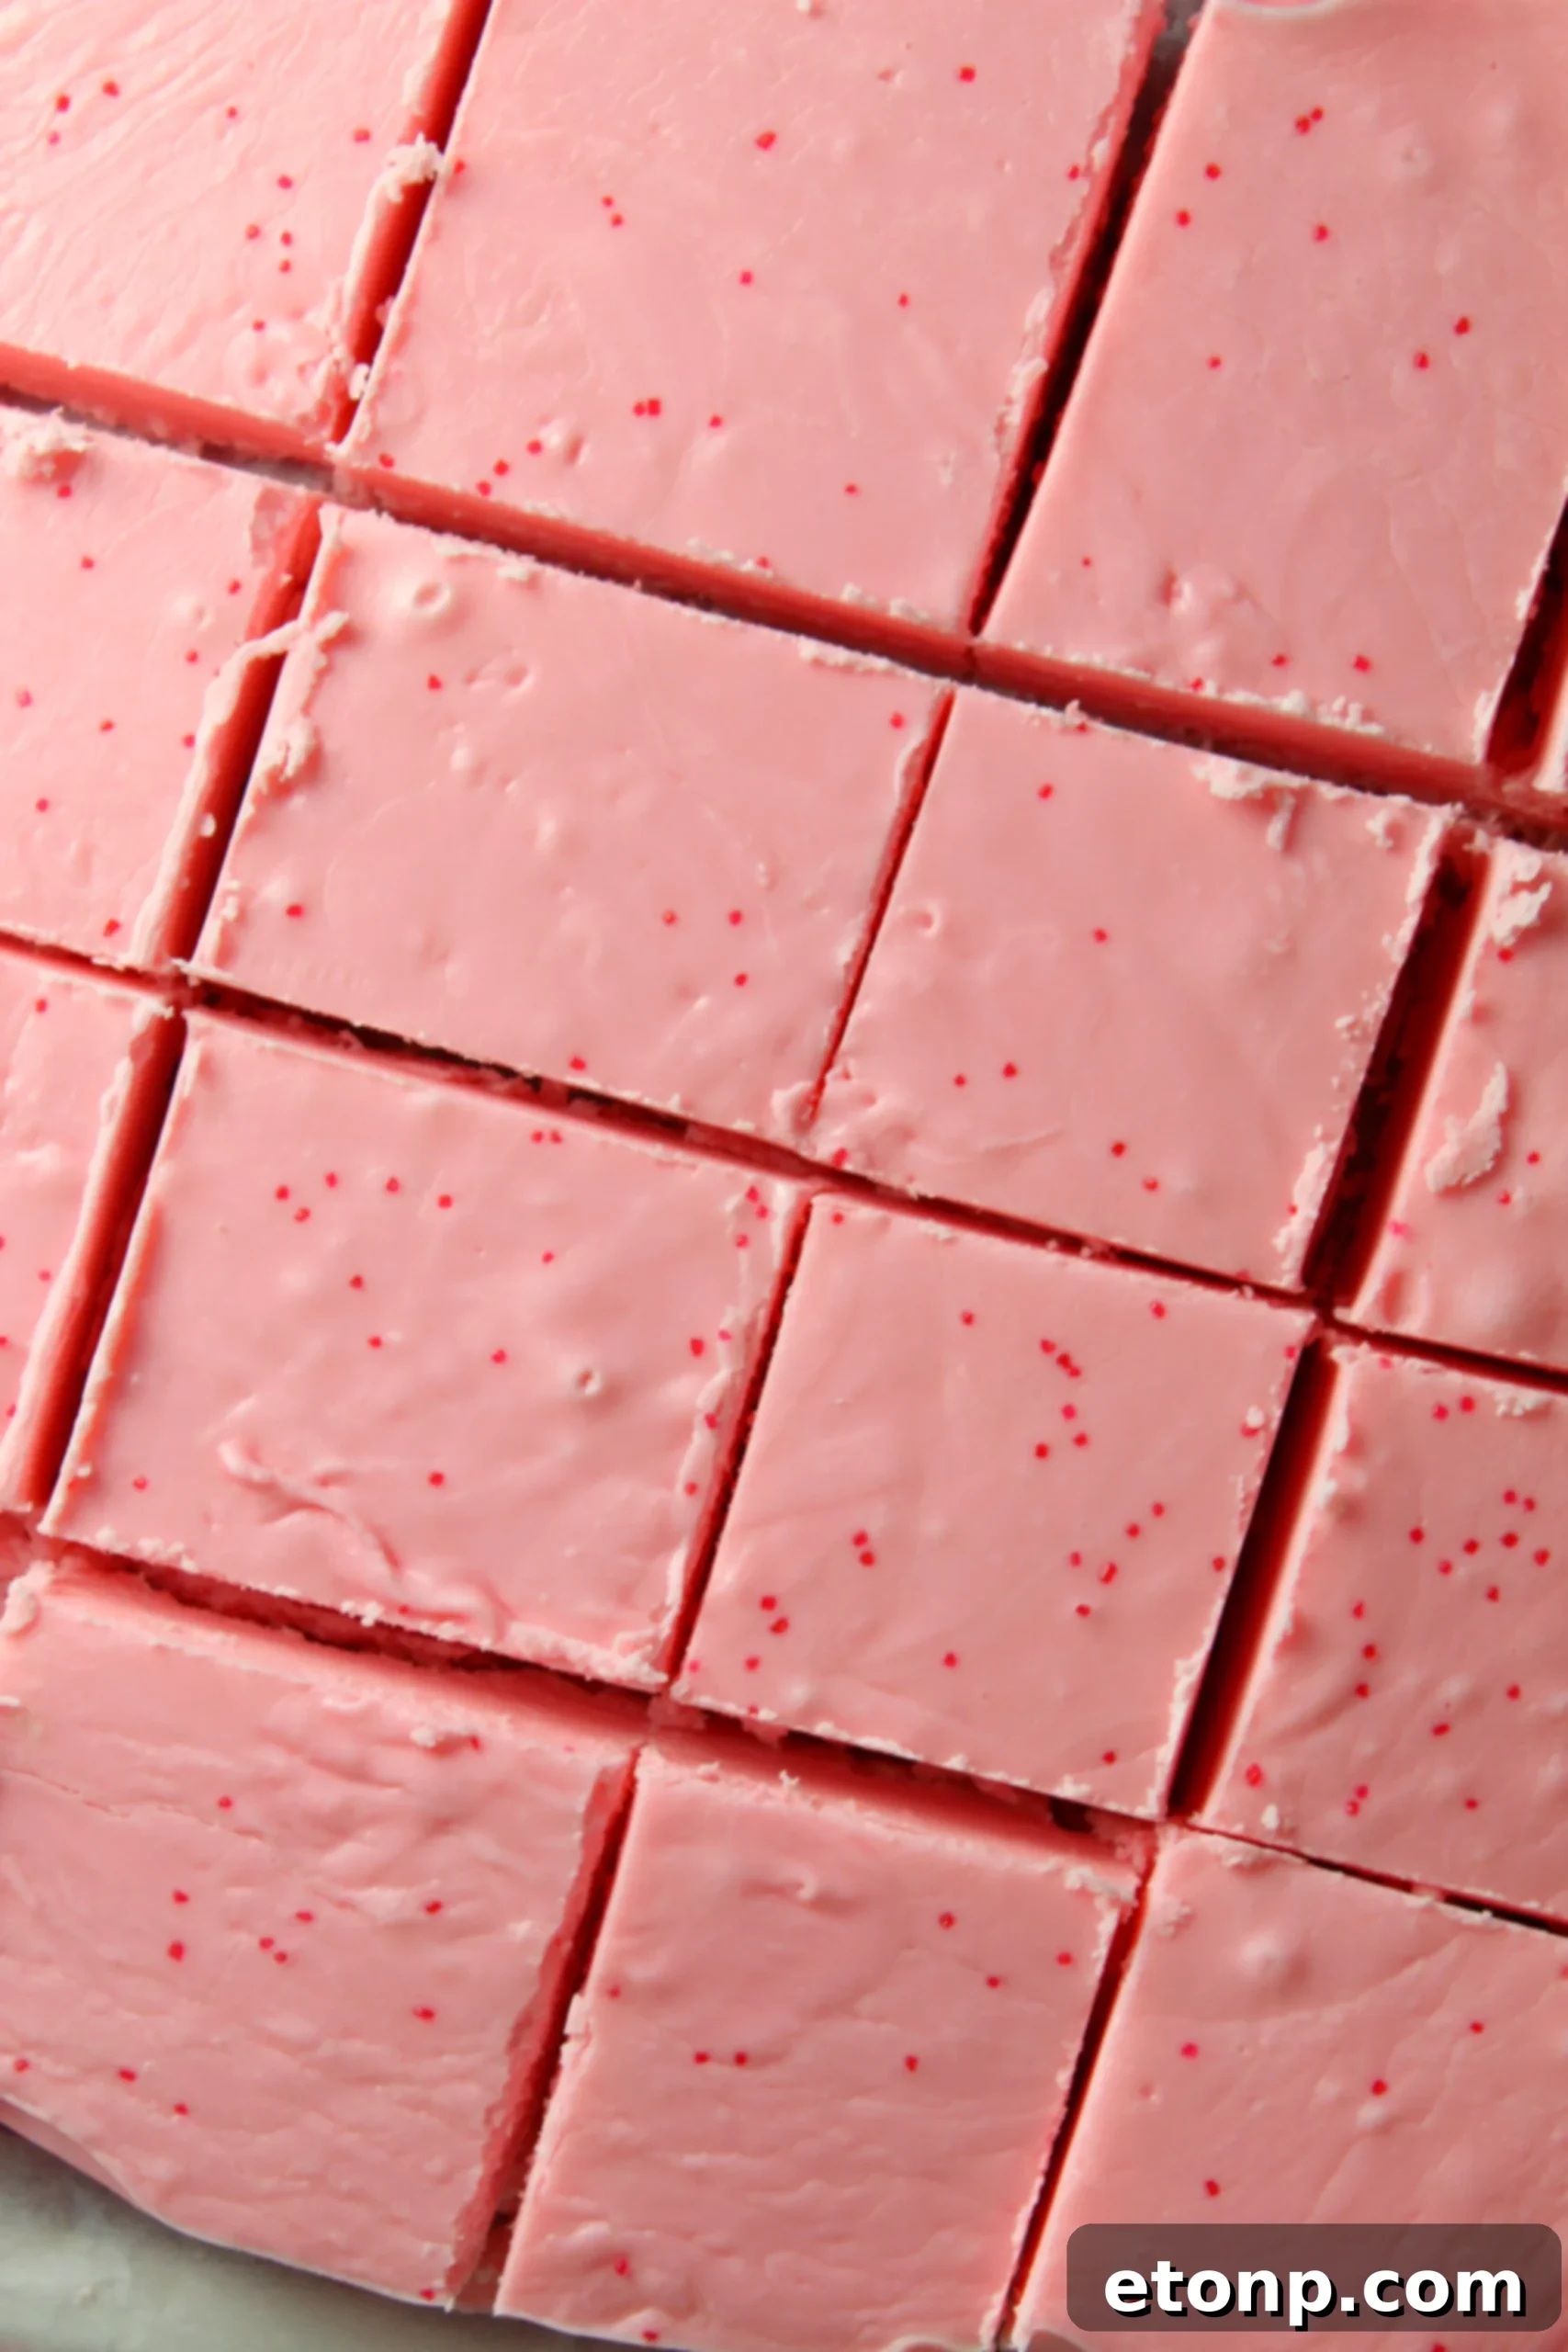
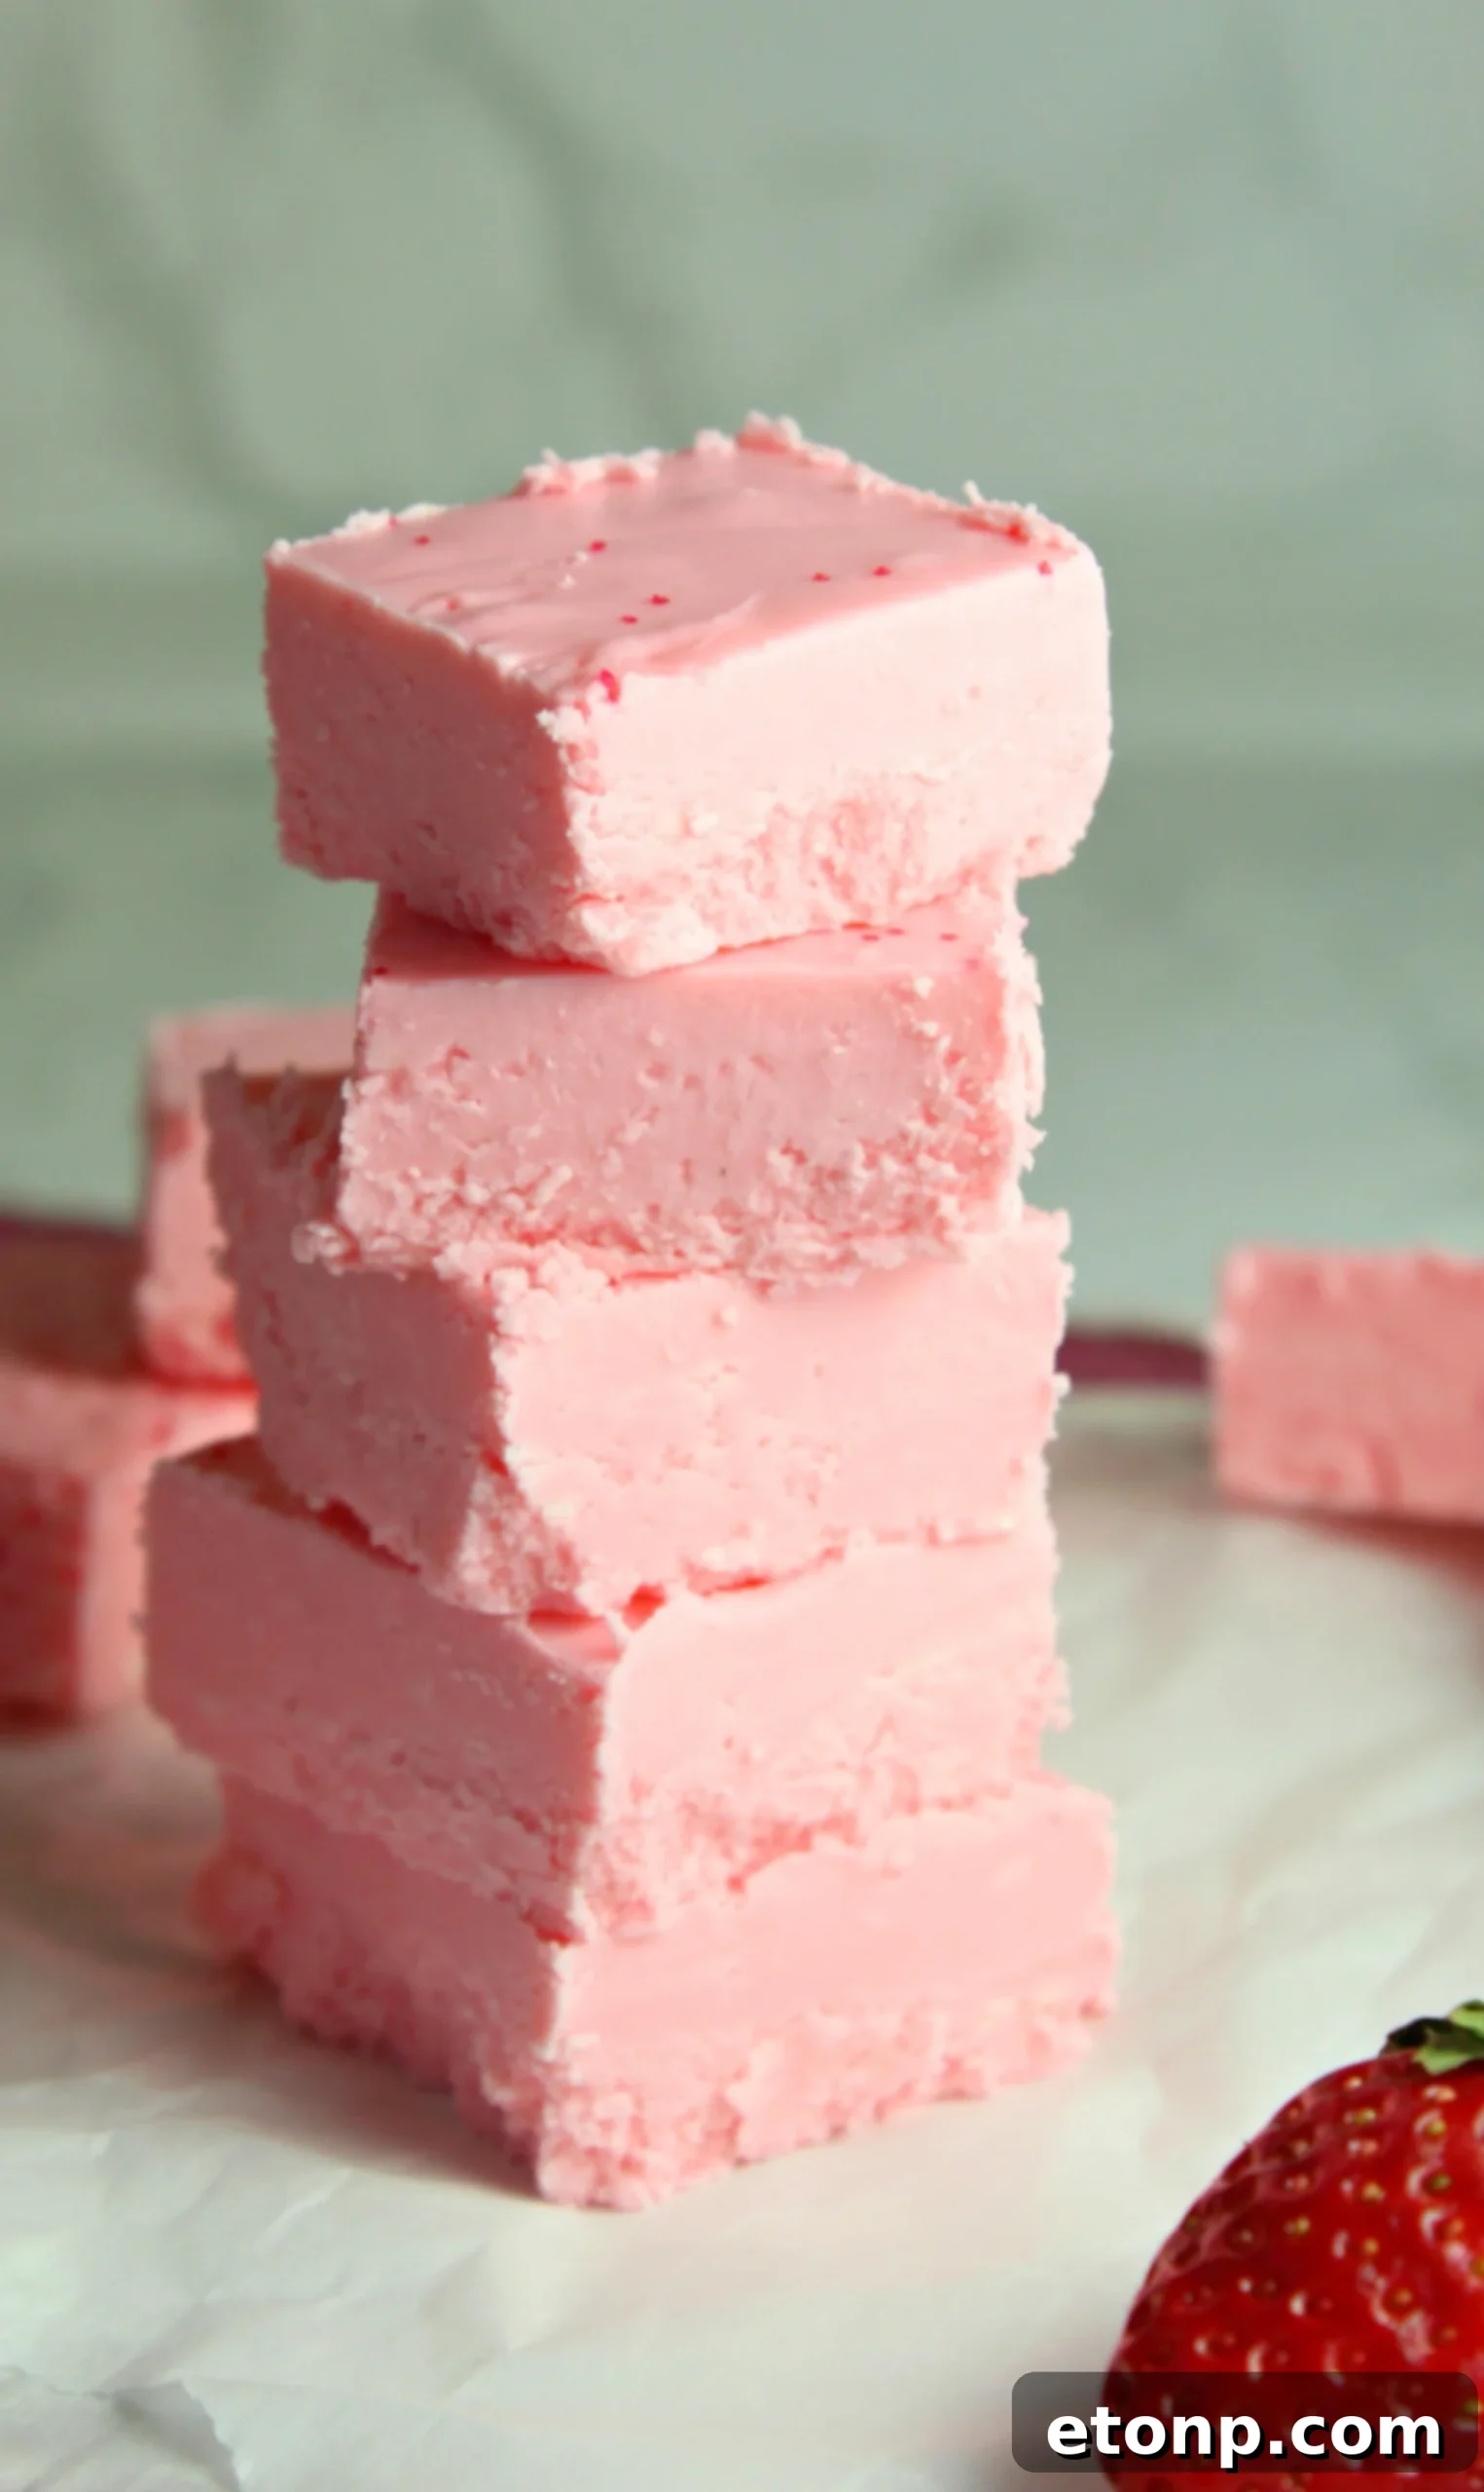
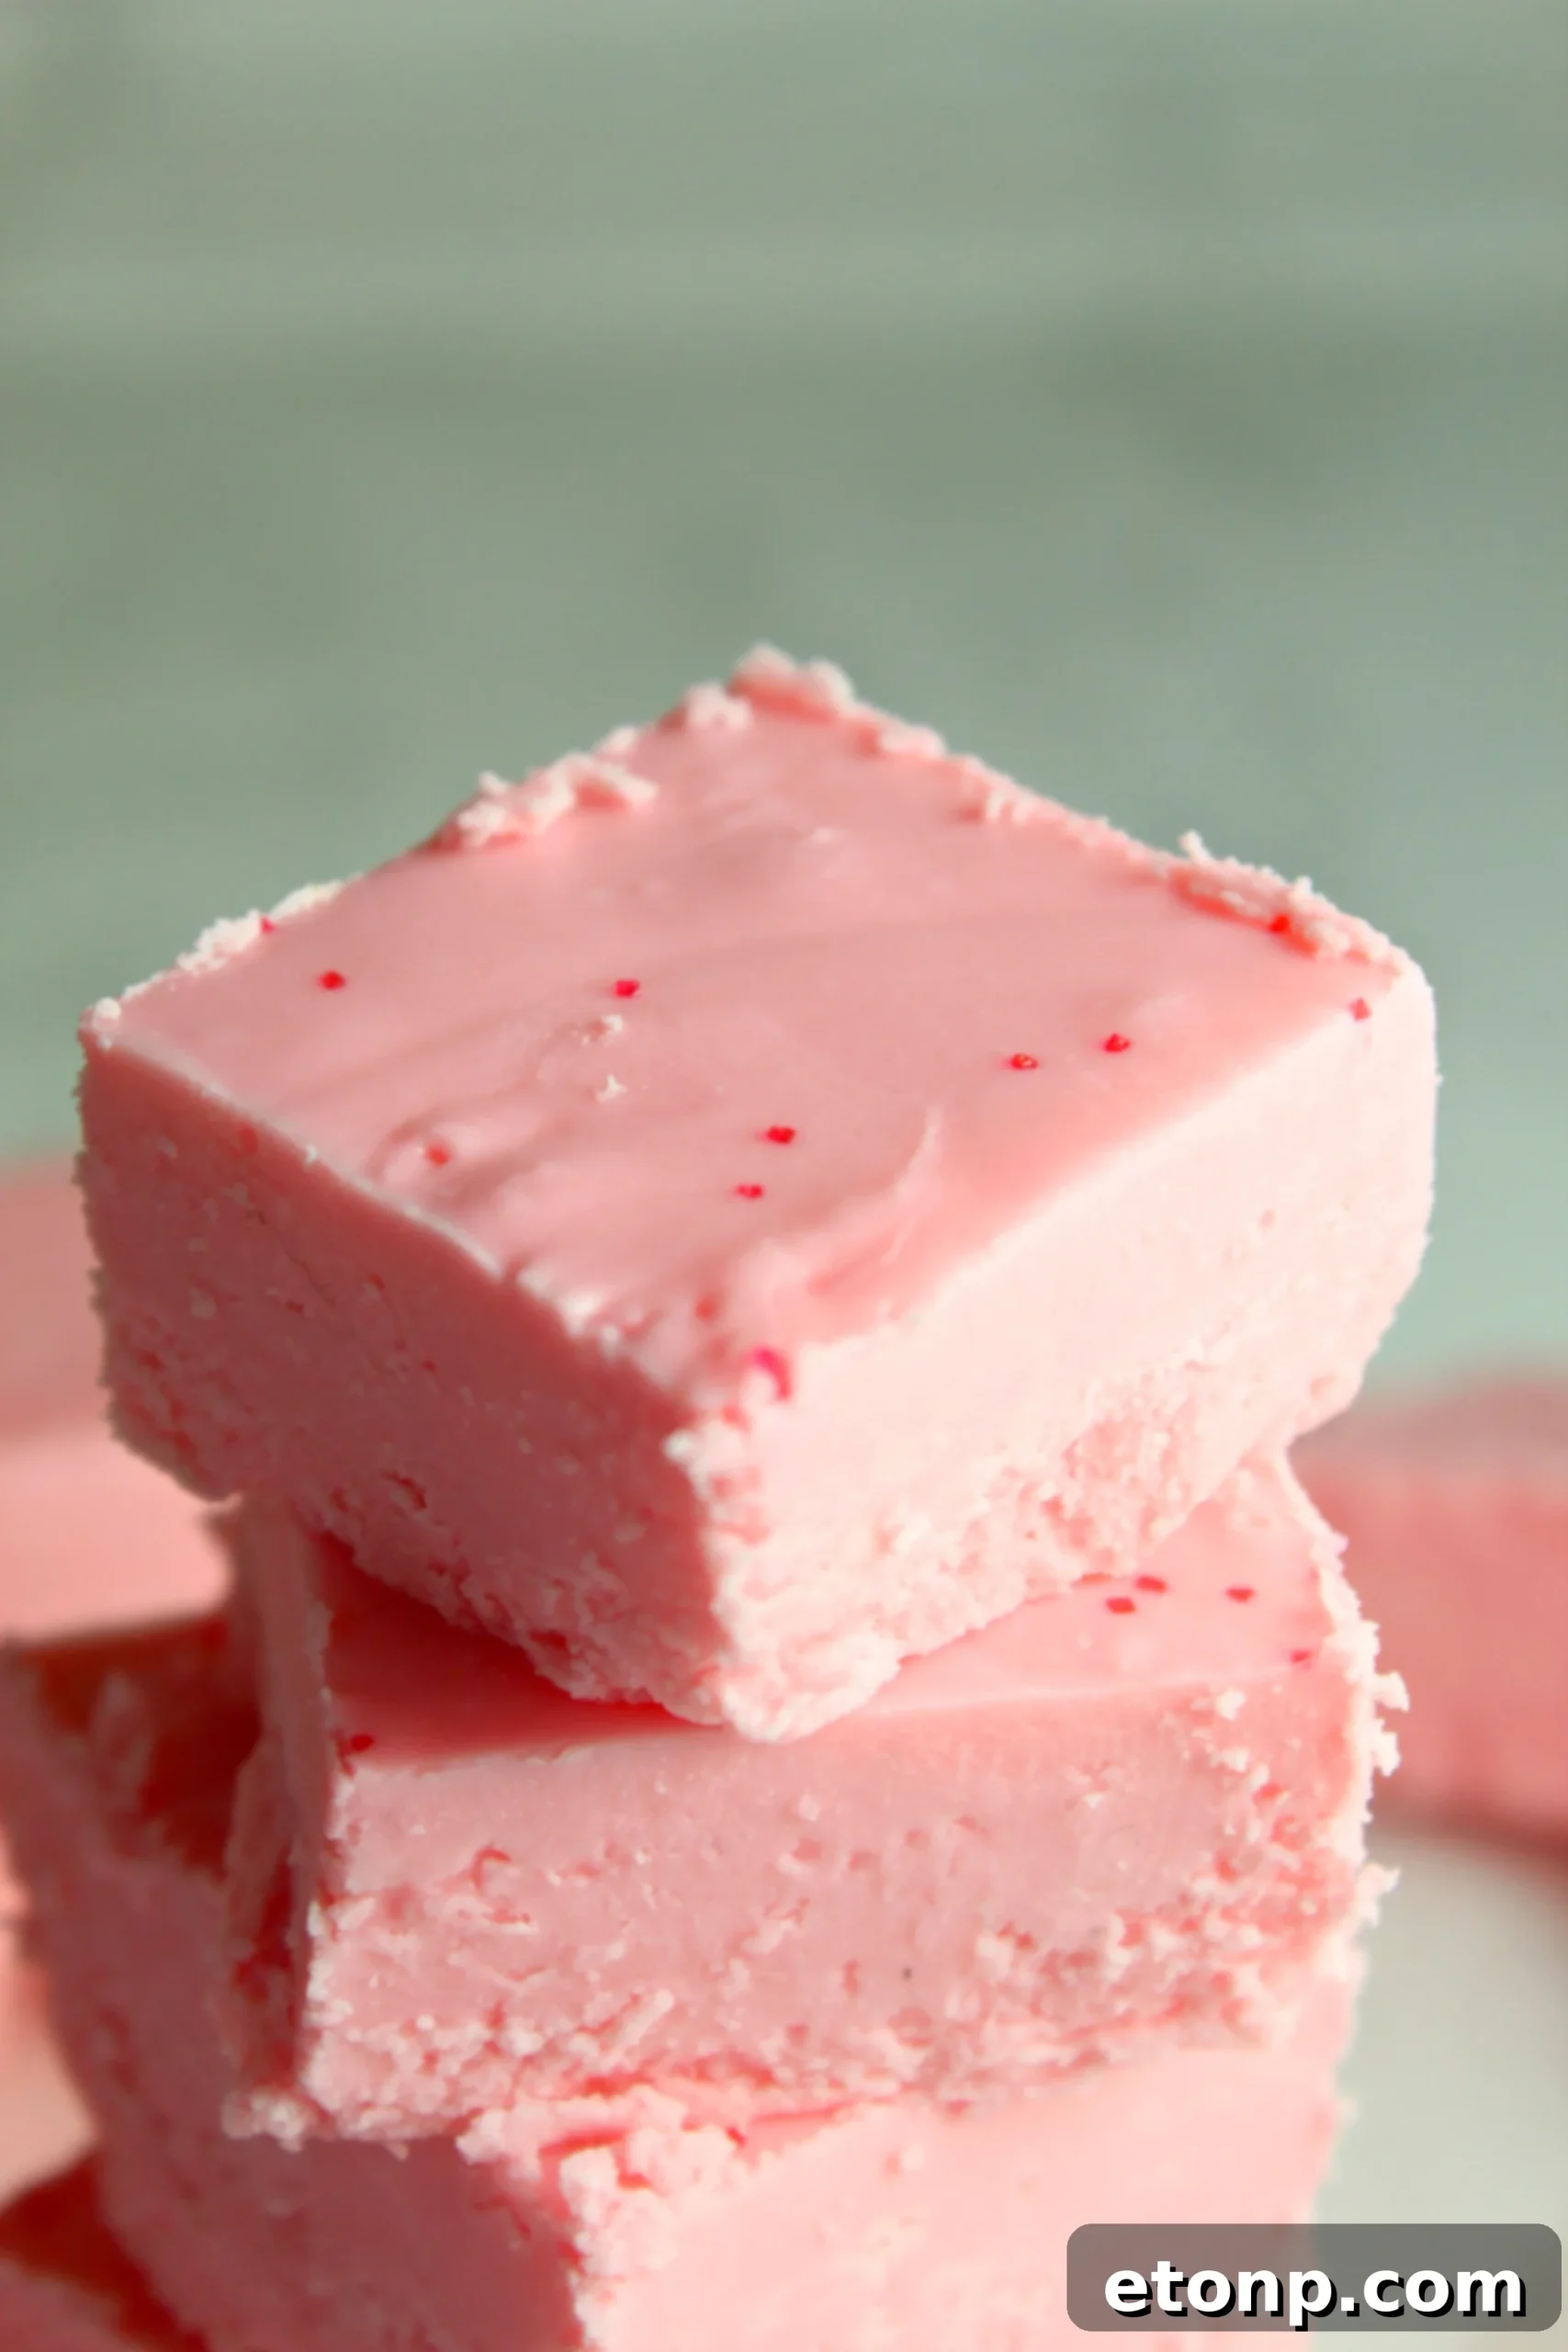
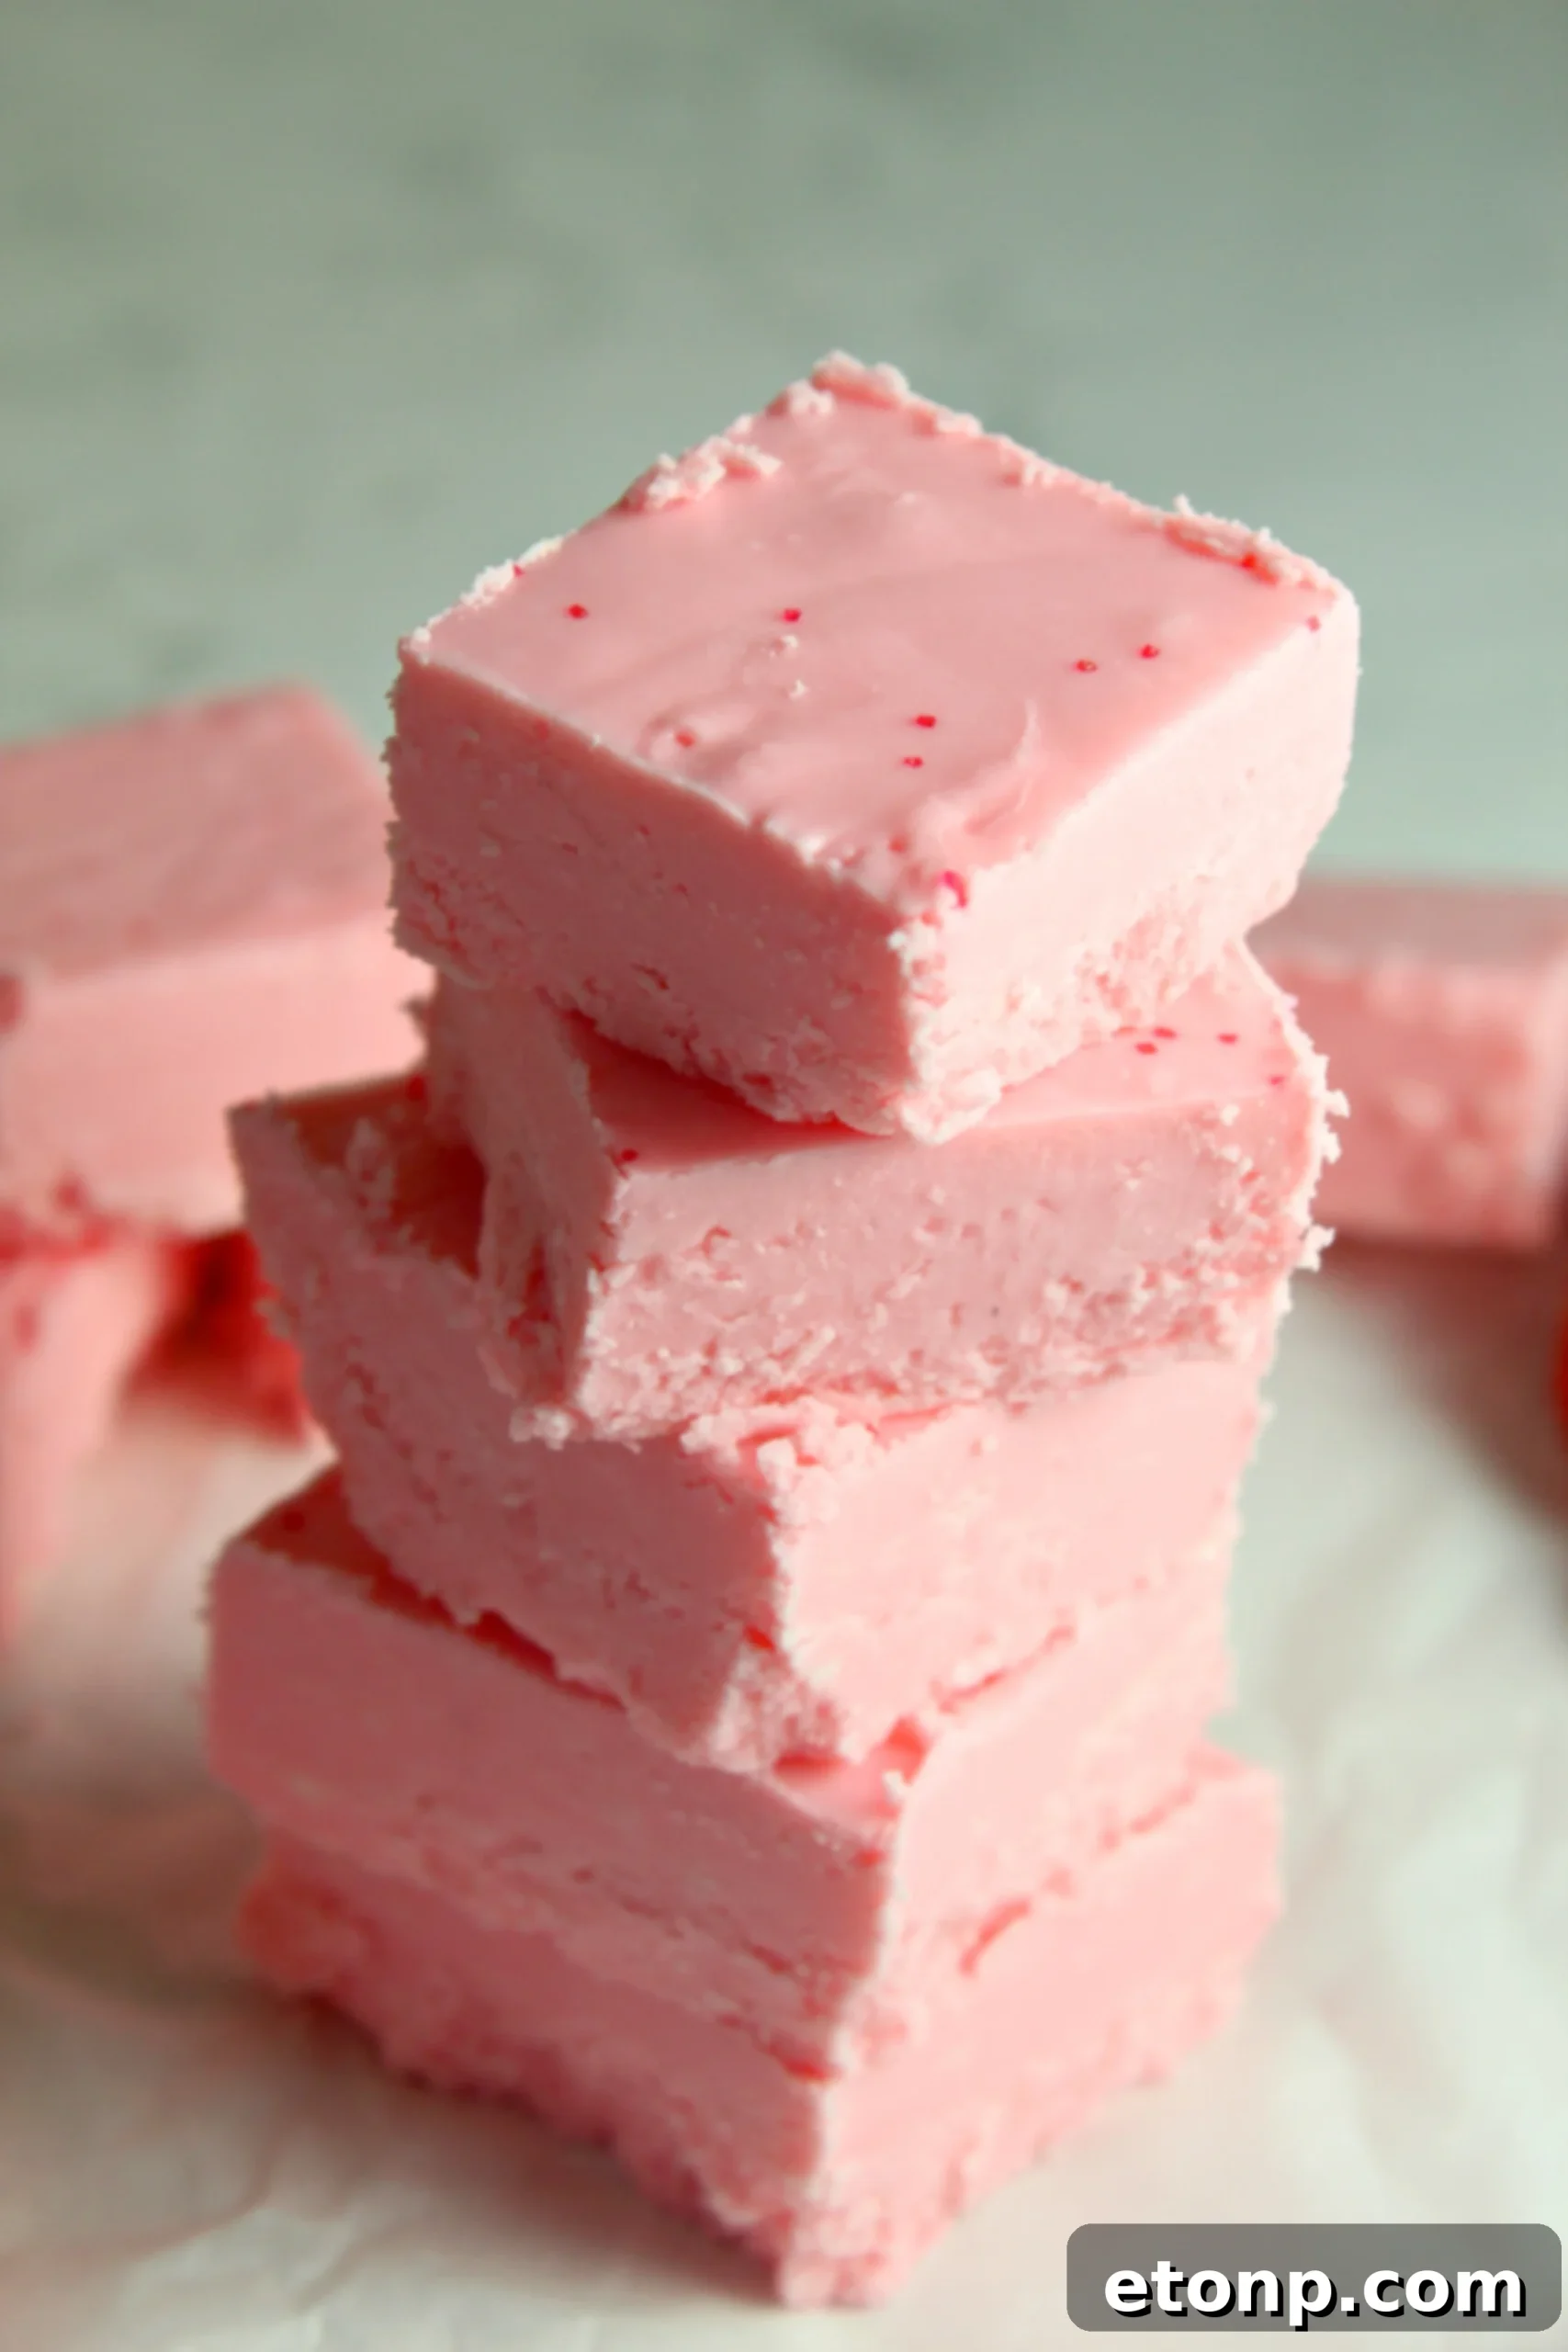
Beyond holidays, this rich and decadent fudge is perfect for any moment you desire a luxurious treat. Its exceptionally smooth texture ensures that it literally melts right in your mouth, leaving a lingering, delightful strawberry flavor. Each bite is a creamy, sweet escape, making it incredibly difficult to stop at just one piece. It’s a truly satisfying indulgence that feels much more complex than its humble two-ingredient list suggests, transforming ordinary frosting and candy melts into a gourmet experience.
Unveiling the Simple Magic: Just Two Ingredients!
It truly is astonishing that something so profoundly delicious can be made with such minimal effort and so few items. The beauty of this recipe lies in its elegant simplicity: you only need two ingredients, and absolutely no baking is required! This means less time in the kitchen and more time enjoying your incredible creation. This groundbreaking approach to fudge-making is what makes it so revolutionary for dessert enthusiasts everywhere. Let’s dive into what you’ll need to create this amazing treat and understand how these basic components transform into something so special.
The Essential Ingredients:
- 16 oz Container Strawberry Frosting: This is the cornerstone of our fudge, providing not only its delightful strawberry flavor but also a significant portion of its sweetness and creamy consistency. A good quality, denser buttercream-style frosting typically yields a richer, more robust fudge, though whipped varieties can also work for a lighter texture. The high sugar and fat content in frosting are key to its role in this no-bake marvel.
- 12 oz White Melting Candy: The unsung hero, white melting candy (often found as candy melts, confectionery coating, or almond bark) is crucial for the fudge’s structure. It melts smoothly and sets firmly at room temperature, providing the necessary stability for slicing and holding shape. While white chocolate chips can sometimes be substituted, candy melts are specifically formulated for easier melting and a more consistent, foolproof set, making them highly recommended for optimal results.
- Optional Red Sprinkles: For an added touch of whimsy and festive charm, especially when preparing for occasions like Valentine’s Day, red sprinkles are a wonderful addition. They offer a delightful visual contrast and a subtle textural crunch, elevating the presentation of your homemade fudge.
Crafting Your Perfect Batch: Simple Steps to Deliciousness
In just about 5 minutes of active prep time, you’ll be well on your way to an incredible fudge adventure. This process is so straightforward, even novice cooks will feel like seasoned confectioners. Follow these clear, step-by-step instructions to create your delightful strawberry no-bake fudge with confidence and ease:
2 Ingredient Strawberry No Bake Fudge
Ingredients
- 1 16 oz container strawberry frosting
- 12 oz white melting candy
- red sprinkles optional
Instructions
-
Step 1: Prepare Your Pan. Line an 8×8-inch baking dish with parchment paper, allowing an overhang on the sides to easily lift the fudge out later. This crucial step prevents sticking and makes removal effortless, ensuring your beautiful fudge squares stay intact. Set the prepared dish aside on your counter.
-
Step 2: Combine Ingredients. In a large, microwave-safe bowl, combine the entire 16 oz container of strawberry frosting with the 12 oz of white melting candy. Ensure the bowl is generously sized to allow for easy and thorough stirring without spills as the mixture melts.
-
Step 3: Melt and Stir. Microwave the combined mixture in 30-second increments. After each interval, stir the mixture thoroughly with a sturdy spatula or spoon. Continue this process until the white melting candy is completely melted and the entire mixture is smooth, glossy, and perfectly well combined with absolutely no lumps remaining. Be vigilant not to overheat, as this can affect the texture.
-
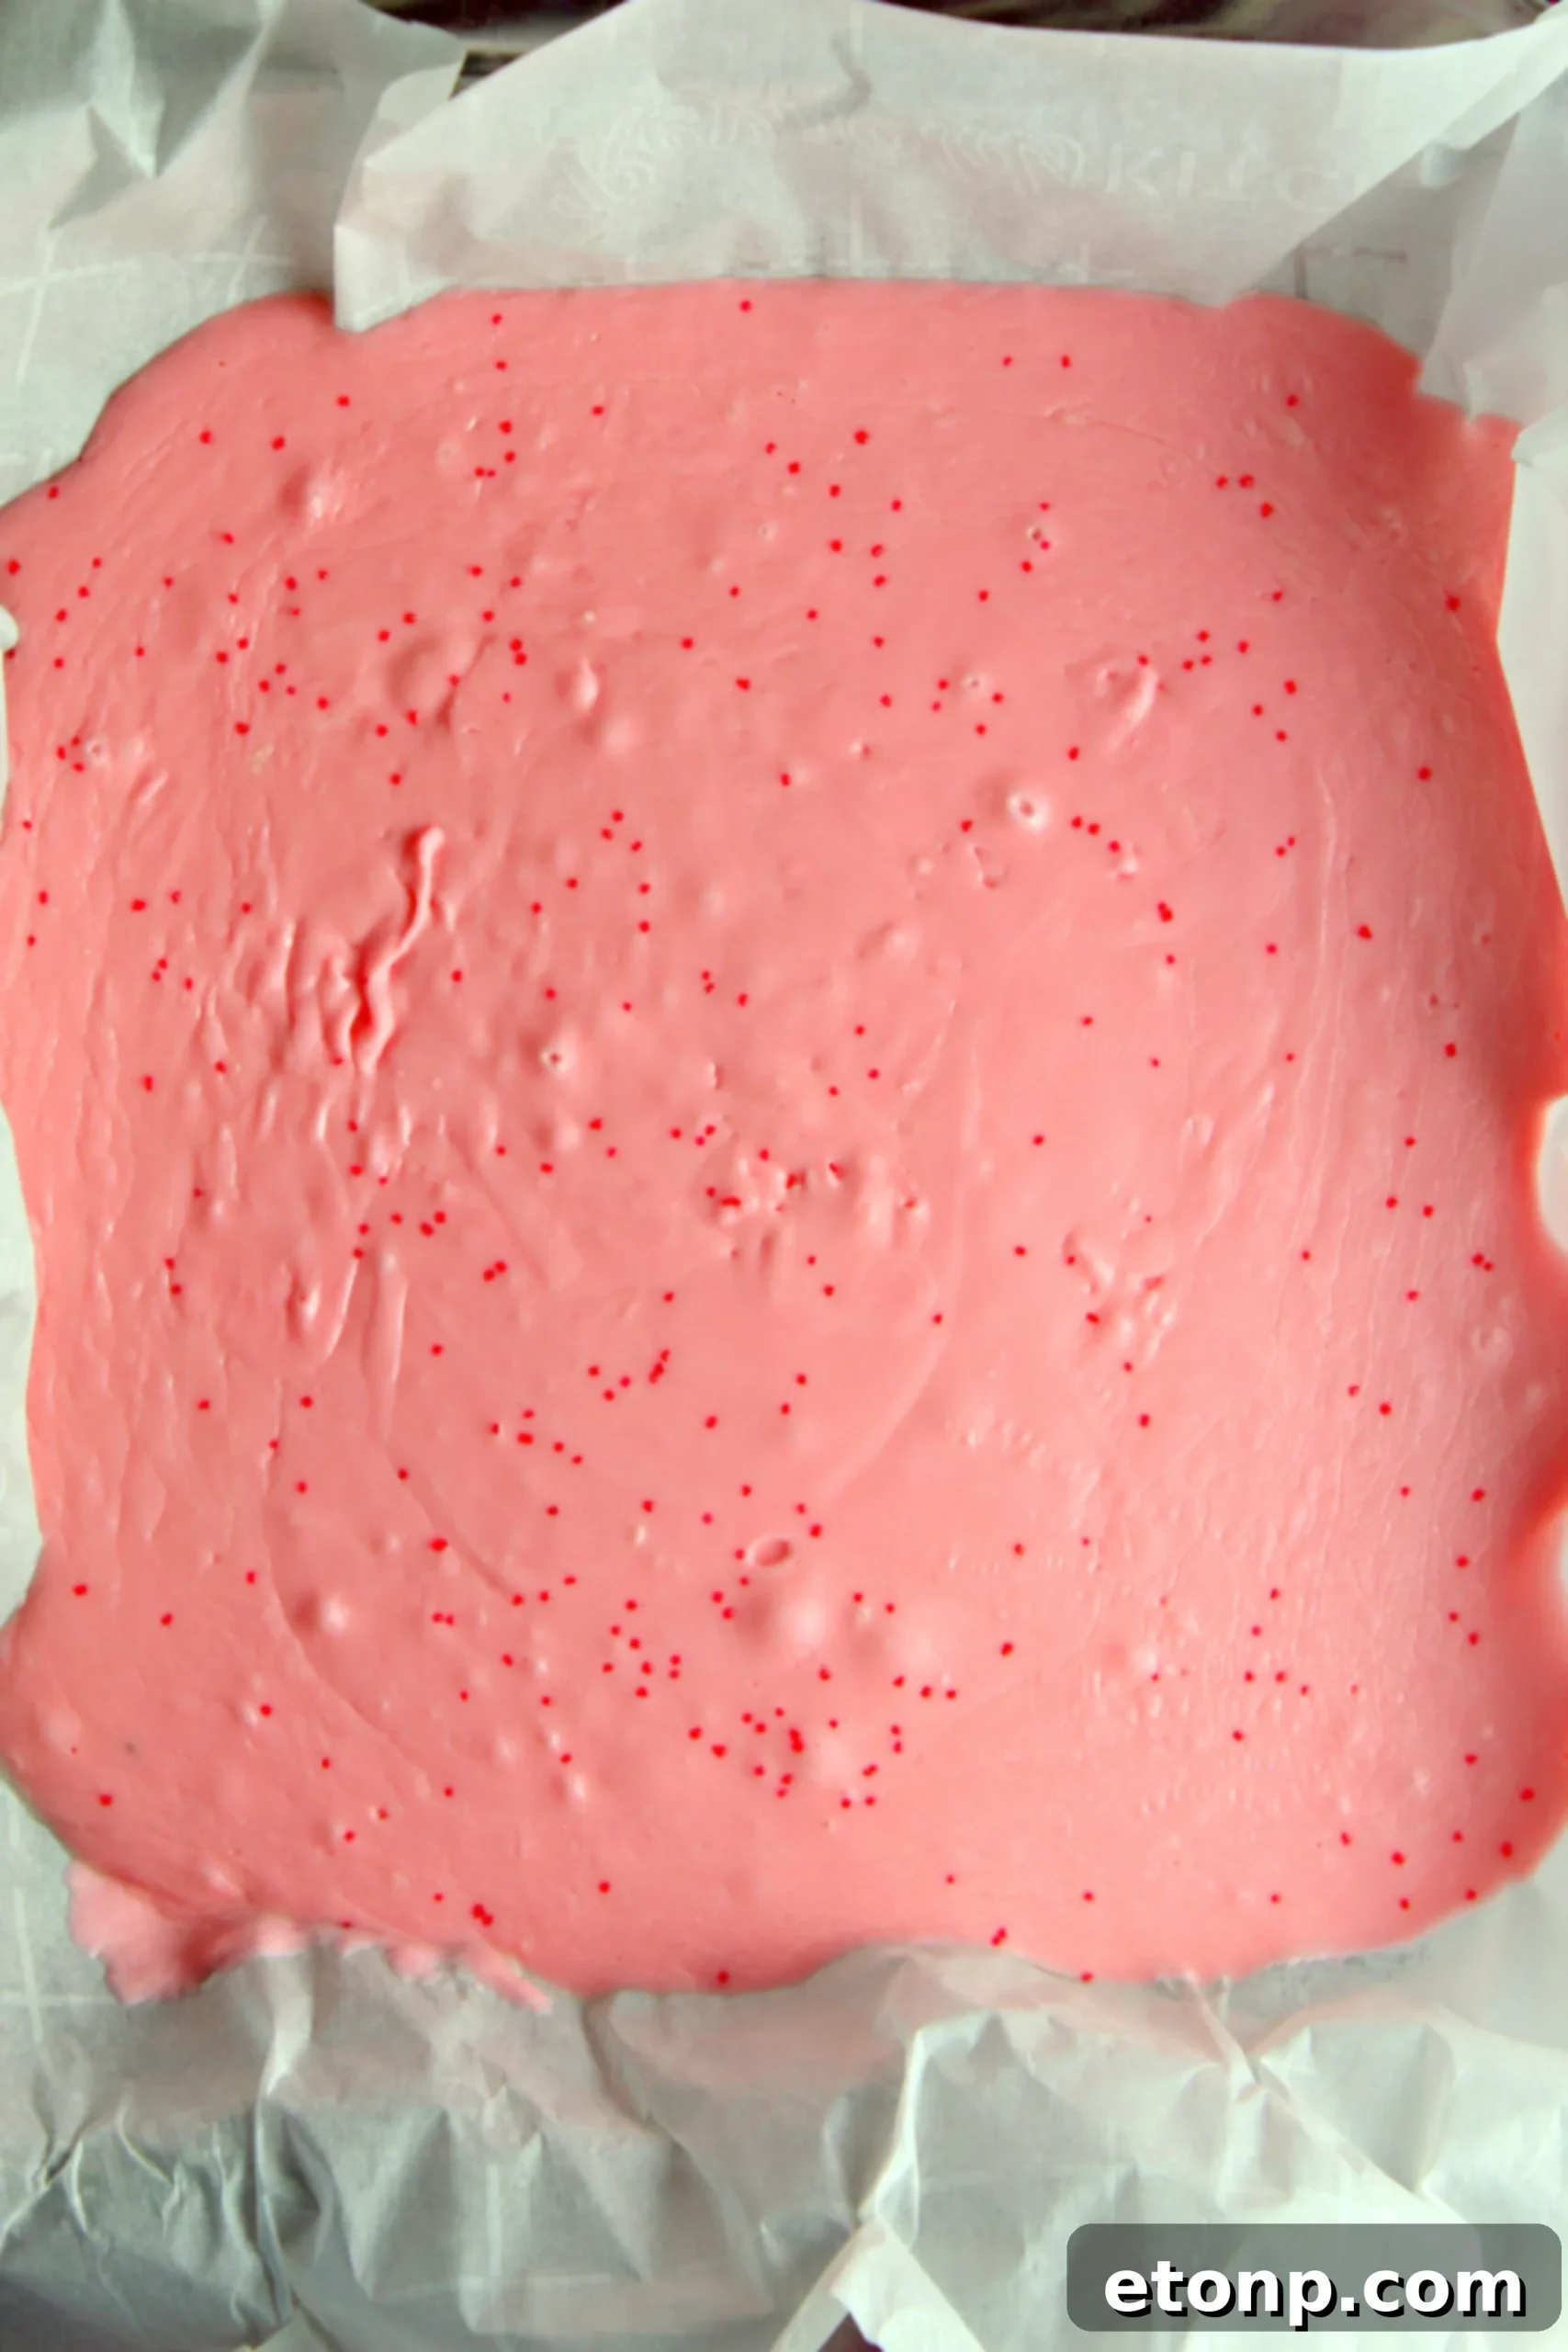
Step 4: Pour and Garnish. Immediately pour the hot, smooth fudge mixture into your prepared 8×8-inch baking dish. Use your spatula to quickly and evenly spread it into all corners, ensuring a uniform thickness. If you’re using red sprinkles, scatter them generously over the top while the fudge is still warm and pliable, gently pressing them in if needed for better adhesion.
-
Step 5: Chill to Set. Carefully place the baking dish containing your fudge mixture in the refrigerator for approximately 45 minutes to 1 hour, or until the fudge is completely firm and fully set. The chilling time may vary slightly depending on your refrigerator’s efficiency and the initial temperature of your mixture. A proper chill is key for easy slicing.
-
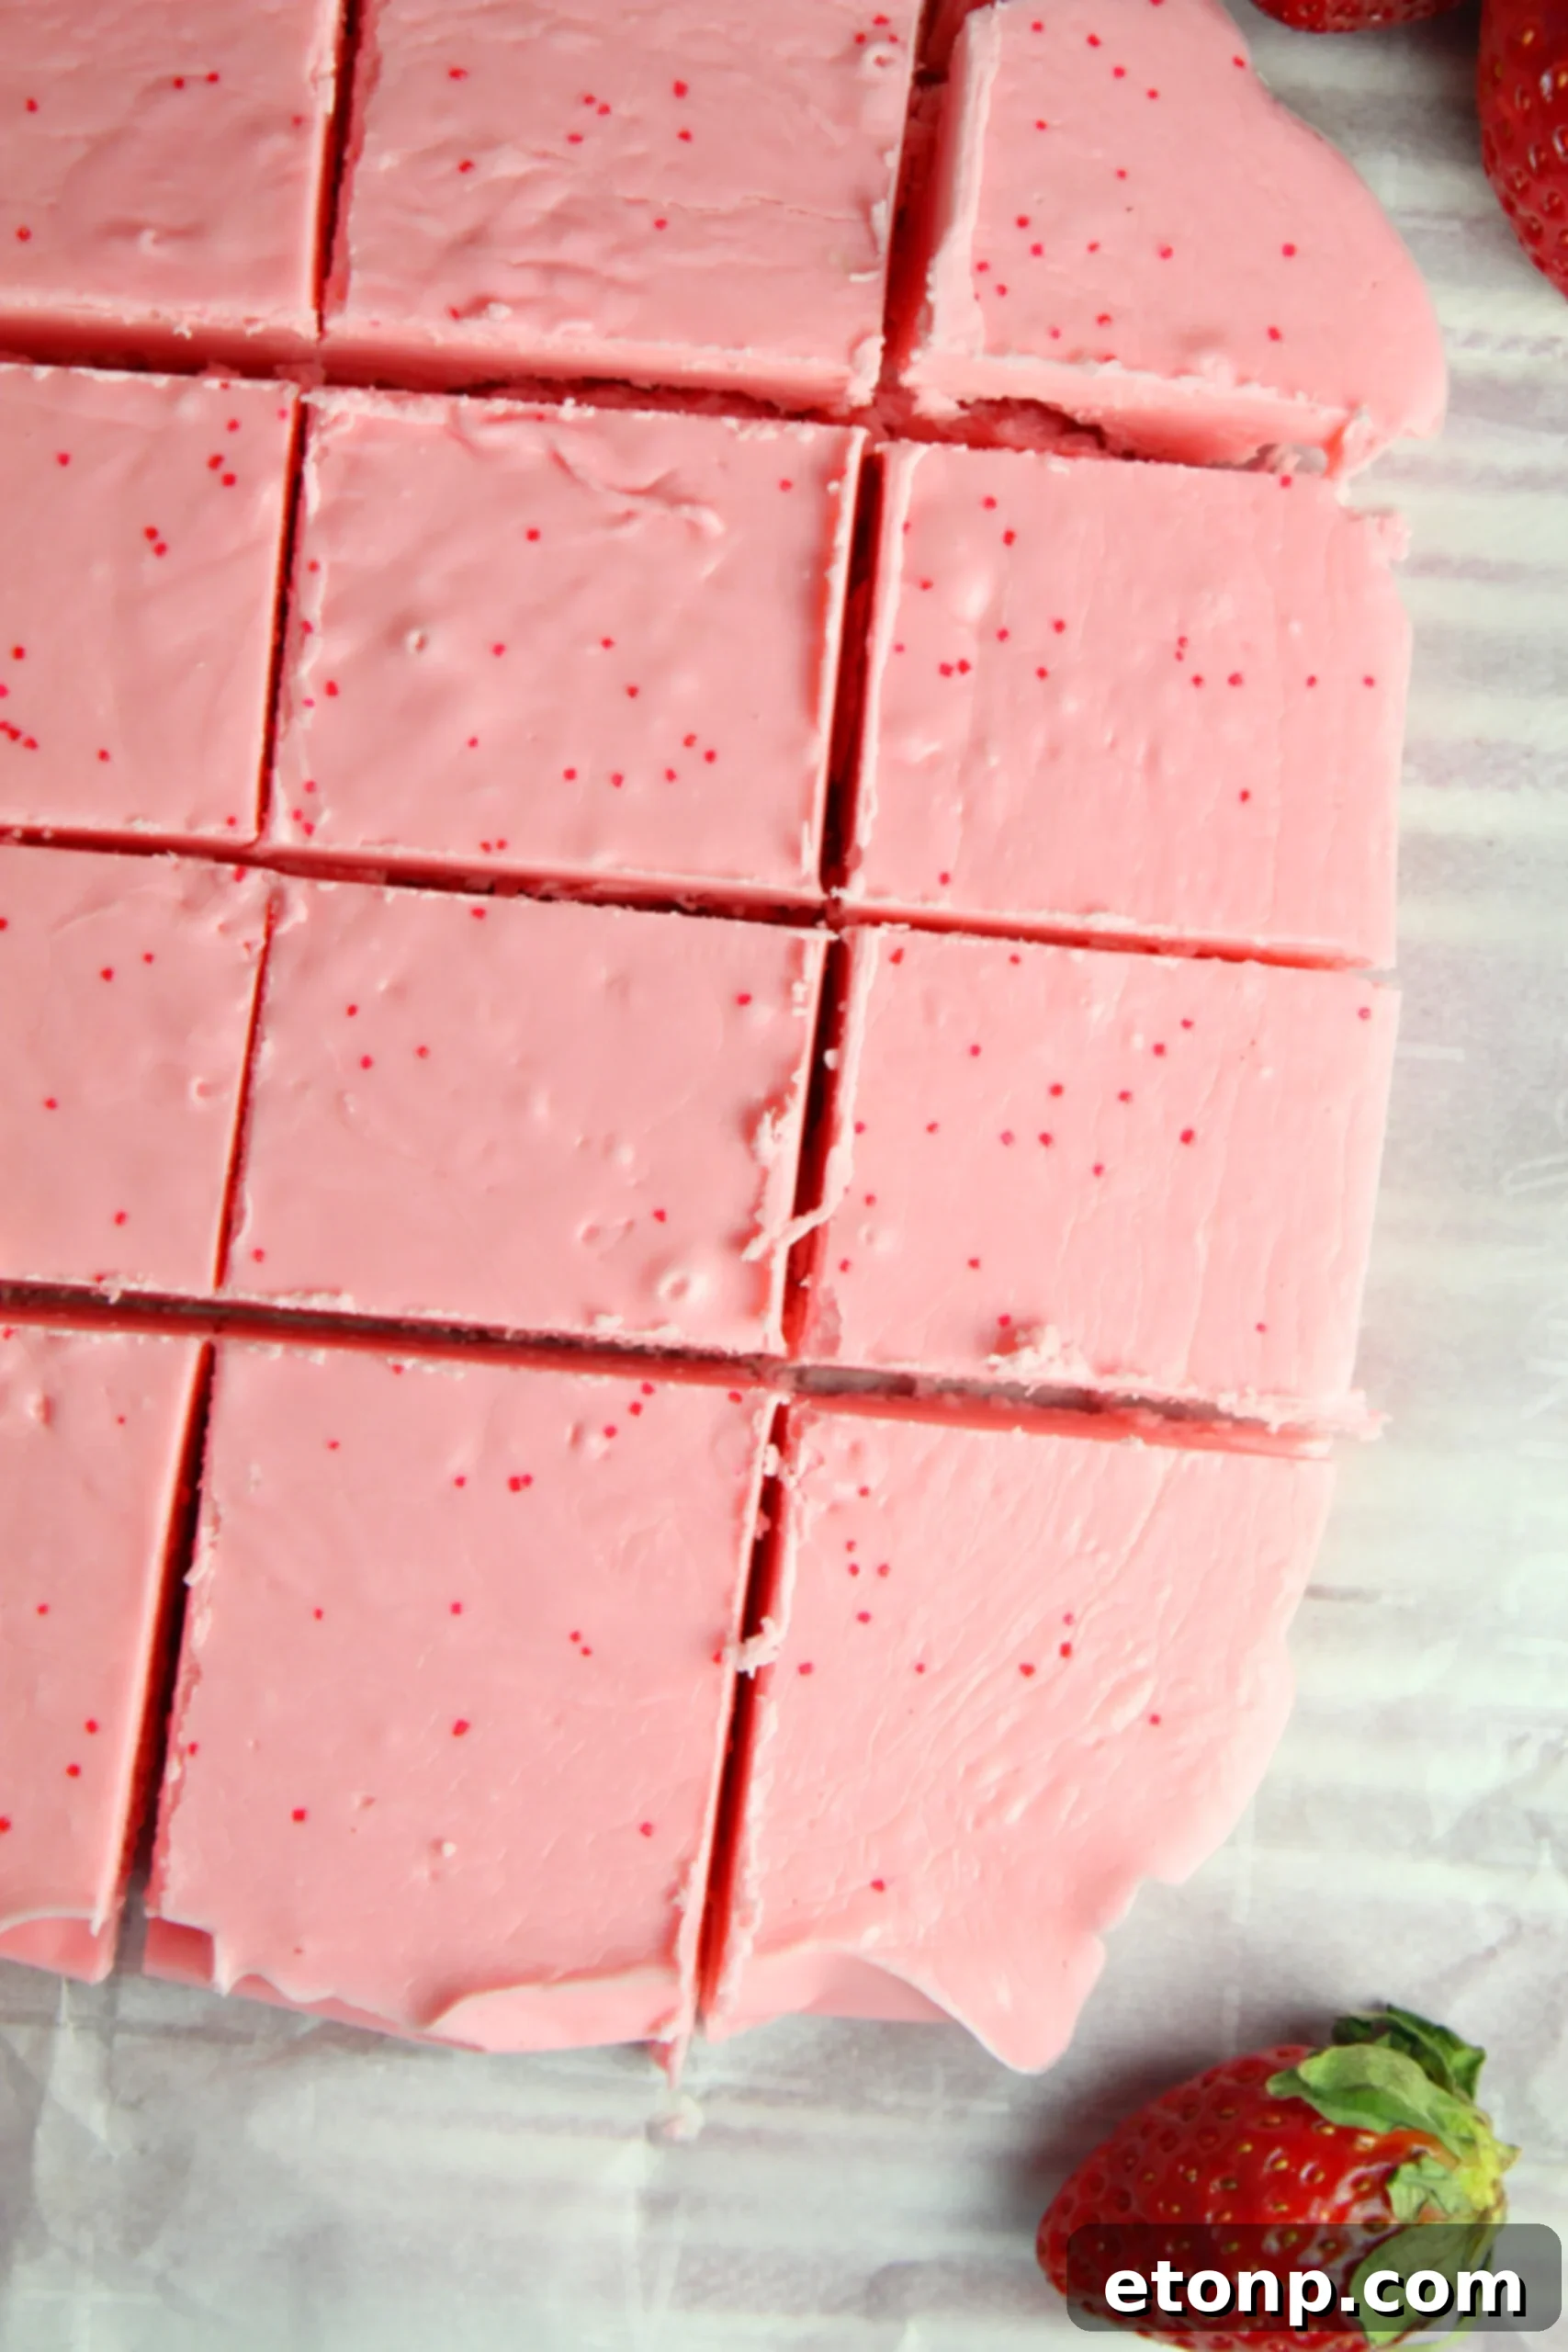
Step 6: Slice and Serve. Once thoroughly chilled and firm, lift the fudge out of the pan using the parchment paper overhang. Place it on a clean cutting board and cut it into your desired squares or elegant rectangles. For the cleanest cuts, you can warm your knife under hot water and wipe it clean between each cut, preventing sticking and ensuring a professional finish.
-
Step 7: Enjoy Your Homemade Fudge! Serve immediately and delight in the creamy, sweet perfection of your homemade, two-ingredient strawberry fudge. It’s ready to be devoured!
Did you make this recipe?
Make sure to follow on Pinterest for more recipes!
Share on Facebook
Pro Tips for the Best No-Bake Fudge
Achieving Perfect Smoothness:
While microwaving is the quickest method, ensuring perfect smoothness requires diligence. Stir the mixture thoroughly after *every* 30-second interval. This prevents the white melting candy from seizing or burning and helps to seamlessly integrate the frosting, resulting in a velvety smooth consistency. If you prefer a more controlled approach, a double boiler can be used for a gentler melting process, offering greater oversight over the heat and significantly reducing the risk of scorching or uneven melting.
Don’t Overheat:
One of the most critical aspects of this recipe is to be mindful of overheating. Once the mixture is completely smooth and thoroughly combined, remove it from the heat source immediately. Overheating can cause the mixture to become grainy, excessively thick, or even seize, making it difficult to spread evenly and potentially compromising the desired smooth, creamy texture of your final fudge product.
Even Spreading is Key:
When pouring the warm fudge mixture into your prepared dish, work quickly and efficiently to spread it evenly into all corners. A uniform thickness across the pan is crucial for consistent setting. This consistency ensures that every piece of fudge has the same delightful texture and allows for perfectly square, aesthetically pleasing cuts later on. For easier spreading, you can lightly grease your spatula with a tiny bit of non-stick cooking spray if the mixture seems overly sticky.
The Perfect Chill:
Patience is a virtue, especially when it comes to chilling your fudge. Resist the temptation to cut into the fudge before it’s fully set. Chilling for the recommended 45 minutes to an hour (or sometimes longer, depending on your refrigerator’s temperature and the batch size) is absolutely crucial for achieving a firm, sliceable fudge that holds its shape. If your fudge still feels a bit soft, simply return it to the fridge for additional chilling time. For a faster set in a pinch, you can place it in the freezer for 15-20 minutes, but be cautious not to freeze it solid.
Clean Cuts Every Time:
For impeccably clean, professional-looking squares, employ this simple trick: heat a sharp knife under hot running water for a few seconds, then wipe it completely dry. Use this warm, dry knife to make your cuts. Reheat and wipe the knife after every few cuts. This technique prevents the fudge from sticking to the blade and dragging, resulting in beautifully defined, neat pieces that are a joy to serve and eat.
Unleash Your Creativity: Endless Fudge Flavor Variations
The true genius of this two-ingredient fudge lies in its incredible versatility. The core concept is wonderfully simple: by merely swapping out the frosting flavor, you can unlock an entirely new and exciting fudge experience! This makes it a fantastic foundational recipe to experiment with, allowing you to customize and adapt it for different tastes, seasons, and occasions. Let your imagination lead the way to a world of delicious fudge possibilities.
Classic Chocolate Fudge:
Transform this recipe into a rich, timeless treat by replacing the strawberry frosting with a decadent chocolate frosting. Pair it with either white or milk chocolate melting candy for varying levels of sweetness and intensity. For an extra layer of flavor, consider adding a splash of vanilla extract or a pinch of sea salt to balance the sweetness.
Tangy Lemon Fudge:
For a bright and zesty dessert, opt for lemon-flavored frosting. This creates a refreshing and slightly tangy treat that’s perfect for spring and summer. A few drops of yellow food coloring can enhance its visual appeal, and a delicate sprinkle of fresh lemon zest on top before chilling would provide an exquisite aromatic finish.
Creamy Peanut Butter Fudge:
Peanut butter enthusiasts rejoice! Combine your favorite peanut butter frosting with white melting candy for a nutty, satisfying fudge. For an iconic flavor duo, you could even swirl in some melted milk or dark chocolate just before pouring it into the pan, creating a classic chocolate-peanut butter marbled effect.
Festive Mint Chocolate Fudge:
Ideal for the holiday season or any time you crave a cool, refreshing treat, use mint-flavored frosting. Enhance its festive look with a touch of green food coloring and combine it with either white melting candy or dark chocolate melting candy for a deeper flavor profile. Crushed peppermint candies sprinkled on top make a perfect, crunchy finish.
Nostalgic Orange Creamsicle Fudge:
Just like the beloved frozen treat, using orange-flavored frosting creates a wonderfully nostalgic, creamy “creamsicle” fudge. The bright citrus notes combined with the sweet, smooth texture are an absolute delight. You can find this and many other unique and exciting fudge flavors right here on our blog, inspiring your next no-bake adventure!
Seasonal Delights:
Don’t limit yourself to these suggestions; think beyond the basics! During the autumn months, try pumpkin spice frosting for a taste of fall. For winter festivities, gingerbread or peppermint frosting can add a magical touch. The possibilities are truly endless, making this adaptable recipe a year-round favorite for any occasion or craving.
Storage and Serving Suggestions
Once your 2-ingredient strawberry no-bake fudge is perfectly set and neatly cut into squares, proper storage will ensure its freshness and deliciousness. This fudge can be stored in an airtight container at room temperature for up to 3-4 days, making it convenient for short-term enjoyment. For extended freshness, especially in warmer climates or if you simply prefer a firmer texture, it’s best to store it in the refrigerator for up to 2 weeks. For long-term preservation, you can also freeze individual pieces for up to 2-3 months. When freezing, make sure to separate layers of fudge with parchment paper to prevent them from sticking together. Thaw frozen fudge in the refrigerator before serving to maintain its optimal texture.
This versatile fudge is delightful on its own, offering a satisfying burst of sweet, creamy flavor. However, it also makes a wonderful accompaniment to your favorite hot beverages like coffee or tea. You can elegantly arrange it on a dessert platter with other sweet treats for parties, or get creative by crumbling it over vanilla ice cream for an extra special indulgence. It’s also a fantastic, thoughtful addition to homemade gift baskets, perfect for sharing with friends, family, and neighbors during holidays or as a special thank you.
Frequently Asked Questions About No-Bake Fudge
Q: Can I use regular white chocolate chips instead of white melting candy?
A: While regular white chocolate chips can sometimes be used, they contain less stabilizers than white melting candies (like candy melts or confectionery coating), which are specifically engineered to melt smoothly and set firmly. Using regular chocolate chips might result in a slightly softer fudge that takes longer to set or doesn’t hold its shape as well, leading to a less consistent texture. For the best results and a foolproof, perfectly set fudge, we highly recommend sticking with white melting candy or confectionery coating.
Q: My fudge mixture is too thick to spread. What happened?
A: This issue usually arises if the mixture was overheated during the melting process or if the melting candy “seized,” meaning it became stiff and crumbly. If your mixture is only slightly too thick, you can attempt to rescue it by adding a tiny amount (about 1/2 teaspoon) of vegetable shortening or coconut oil and stirring vigorously until it loosens up. If it’s become very stiff and crumbly, it might be beyond saving for a smooth fudge, but you could try forming it into small balls and coating them in sprinkles for a different kind of no-bake treat!
Q: Can I double this recipe to make a larger batch?
A: Absolutely! This recipe scales up beautifully. To double the recipe, simply use two 16 oz containers of strawberry frosting and 24 oz of white melting candy. When doubling, you’ll want to use a larger pan, such as a 9×13-inch baking dish, to accommodate the increased volume. Additionally, be prepared to extend the chilling time as needed, ensuring the larger batch fully sets before slicing. Ensure you use a microwave-safe bowl large enough to comfortably hold and stir the doubled ingredients.
Q: Is this recipe gluten-free?
A: This recipe can often be gluten-free, but it’s imperative that you carefully check the ingredient labels of both your chosen strawberry frosting and white melting candy. Many brands of frosting and candy melts are naturally free from gluten-containing ingredients, but formulations can vary by manufacturer. Always confirm the allergen statements on packaging to be certain, especially if you are preparing this fudge for individuals with strict dietary requirements or celiac disease.
Q: How long does this fudge last, and how should I store it?
A: When stored properly in an airtight container, this delightful fudge will remain fresh for about a week at room temperature. If you prefer a longer shelf life or a firmer texture, storing it in the refrigerator will keep it fresh for up to two weeks. For even longer preservation, this fudge freezes wonderfully for up to 2-3 months. Just make sure to separate layers with parchment paper before freezing to prevent sticking, and thaw it in the refrigerator before serving.
Explore Our Collection of Irresistible Fudge Recipes
If you’ve loved the incredible simplicity and deliciousness of this 2-ingredient strawberry no-bake fudge, we warmly invite you to explore the myriad of other amazing fudge recipes available right here on our blog. Our extensive collection features everything from cherished classic flavors to innovative and exciting combinations, including our highly popular and wonderfully nostalgic Orange Creamsicle Fudge. There’s truly a fudge recipe for every palate, every season, and every conceivable occasion. Each recipe is meticulously crafted with ease in mind, ensuring you can continue your delightful fudge-making journey without any stress or complicated techniques. Discover your next favorite sweet treat today!
Don’t forget to SHARE this incredibly easy and delicious recipe on Facebook and PIN IT for later inspiration, so others can discover this simple joy!
FOLLOW ME ONPINTERESTBY CLICKING HERE <——