
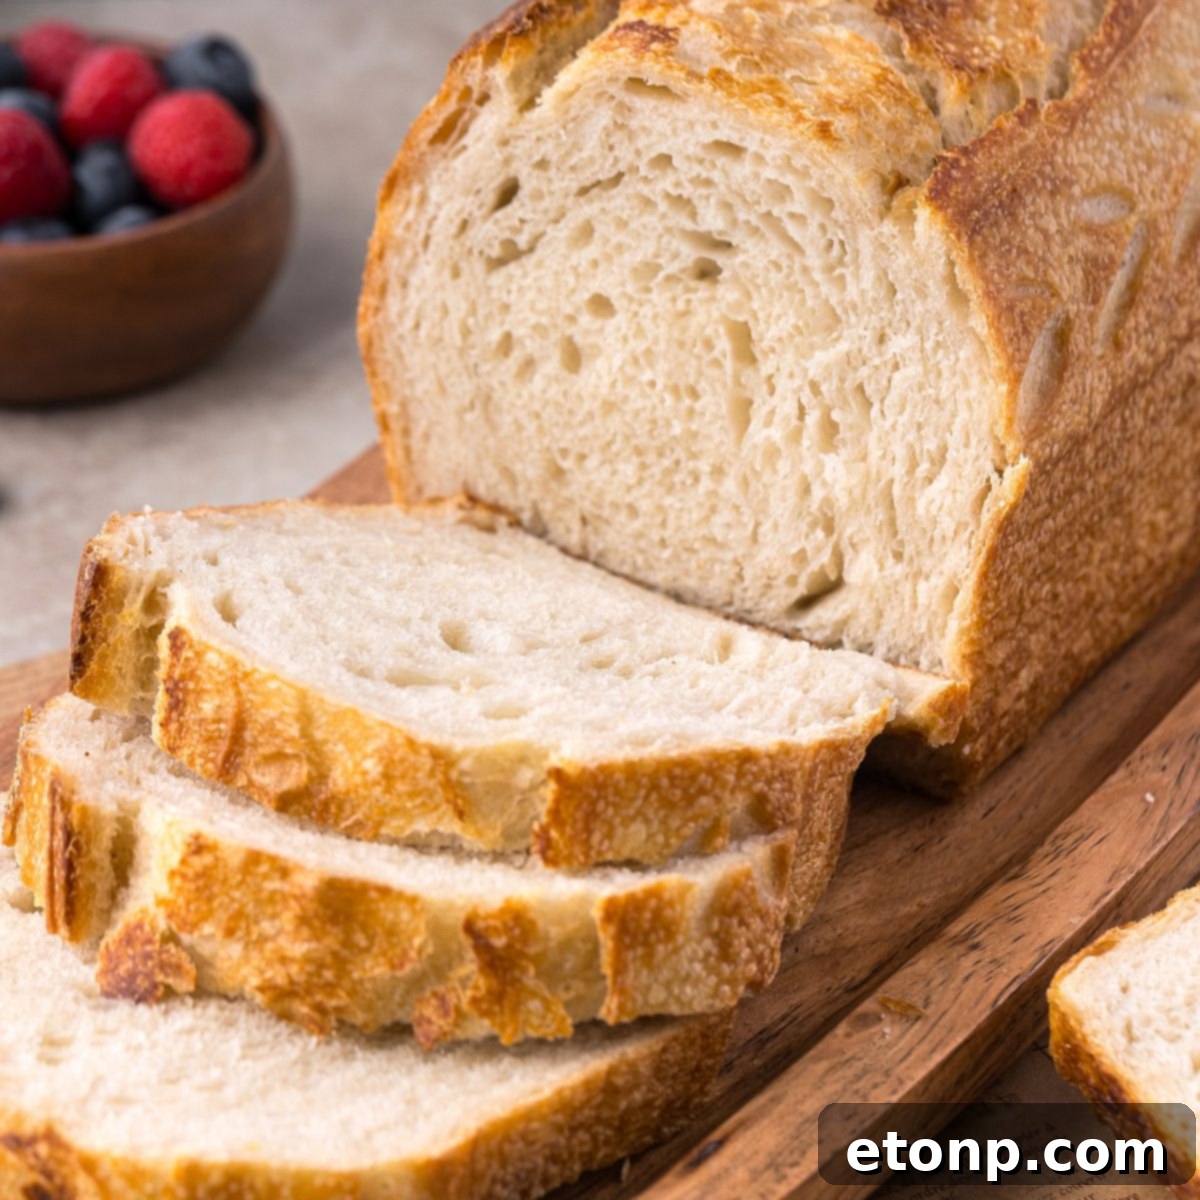
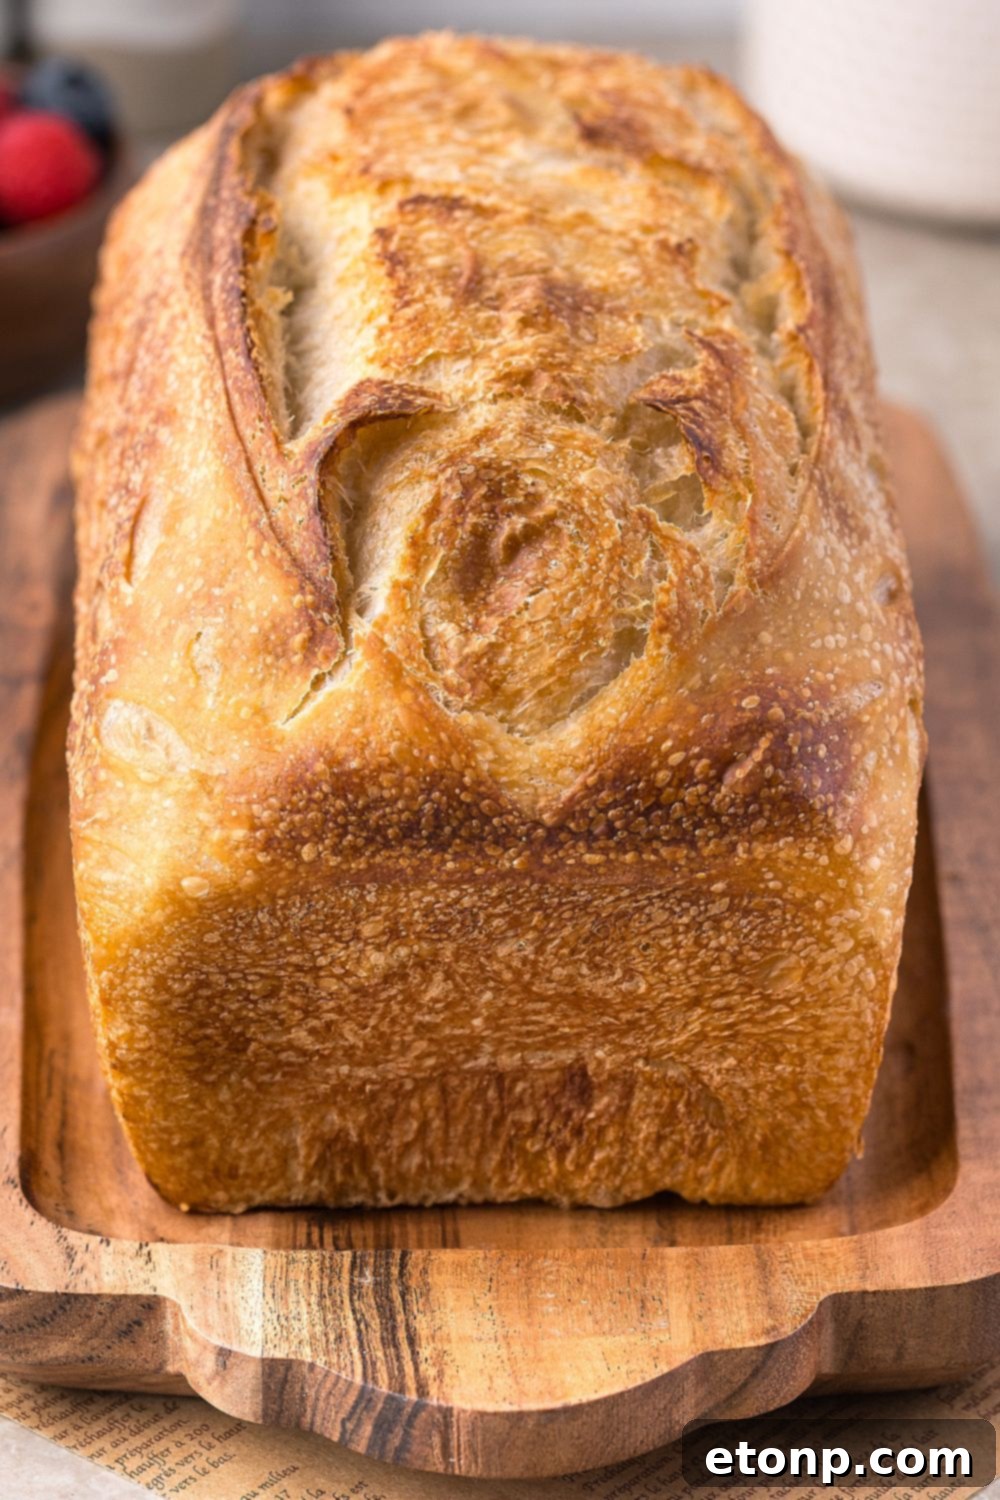
There’s an undeniable magic that happens when you pull a freshly baked, golden loaf of Homemade Sourdough Bread from your oven. That distinctive crackling crust, the tender and wonderfully chewy interior, and the intoxicating aroma that fills your home – it’s a sensory experience unlike any other. If you’re anything like me, you’ll find yourself, and perhaps your entire family, eagerly hovering by the oven door, repeatedly asking, “Is it ready yet?” This anticipation is all part of the joy of baking with sourdough.
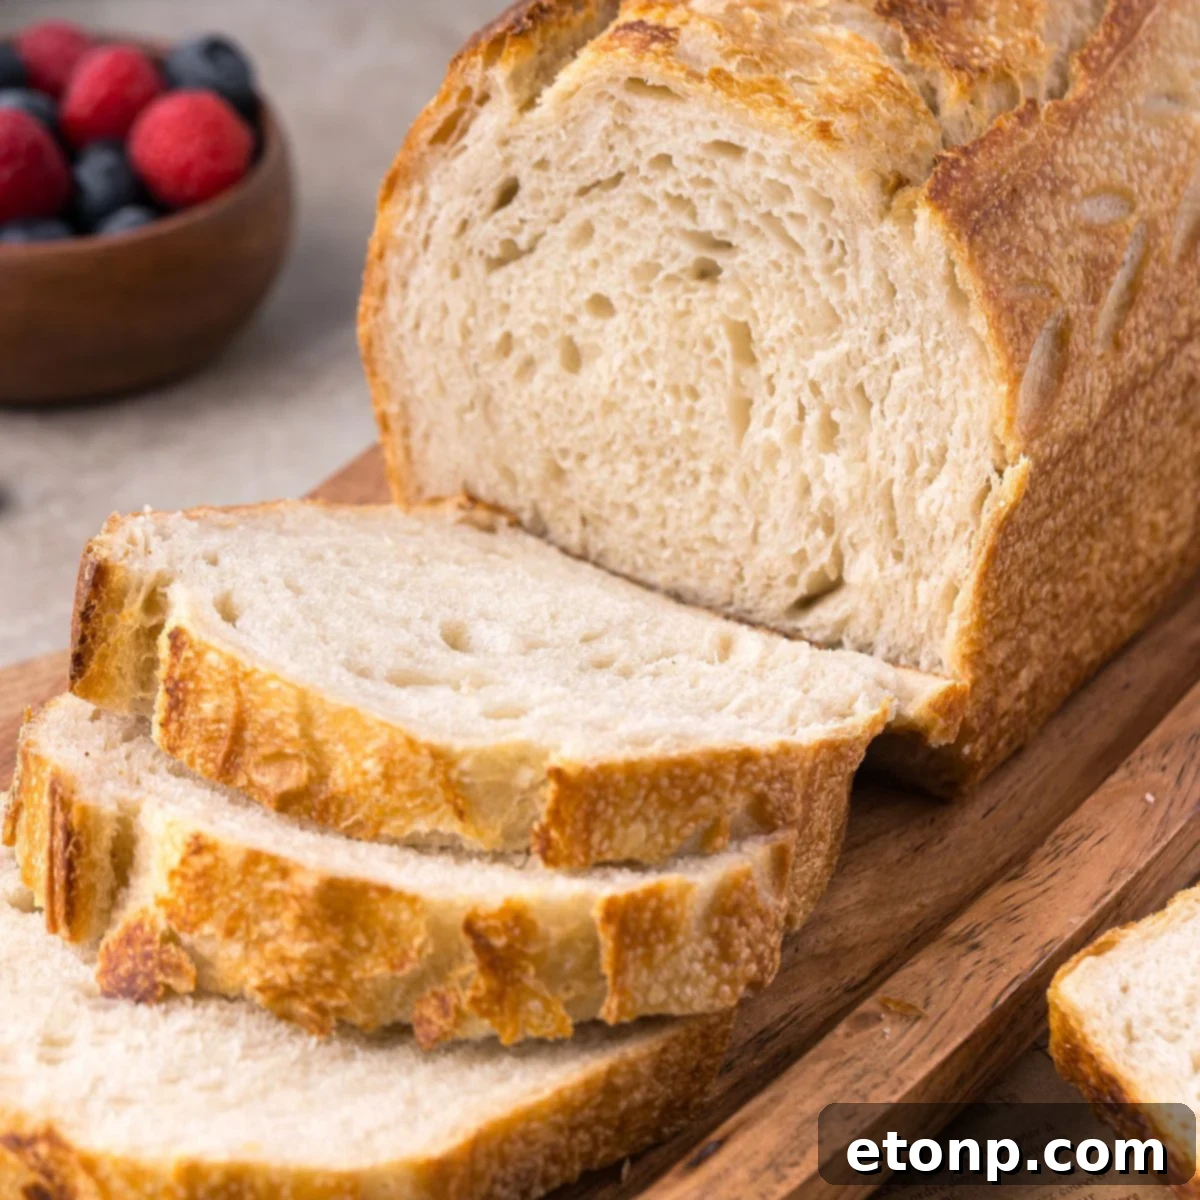
This particular recipe for homemade sourdough bread is my personal go-to, the one I consistently return to for its reliability and delicious results. It’s been carefully designed to be incredibly beginner-friendly, offering flexibility in timing and requiring no specialized skills beyond patience and a good sourdough starter. Once baked, this versatile loaf shines in countless ways: it’s magnificent toasted with a generous spread of butter, forms the perfect foundation for a gourmet grilled cheese sandwich, or serves as a rustic accompaniment to hearty soups. In our family, everyone has their favorite way to enjoy it. My husband loves a thick slice alongside a warm bowl of soup, while my daughter insists on hers slathered in peanut butter. Even our youngest, one-year-old Cameron, delights in tearing off chunks and happily gumming them into a delightful mess – a true testament to its universal appeal. If the world of sourdough baking has ever felt intimidating, consider this the recipe that will demystify the process and turn you into a confident home baker.
Unlocking the Magic of Homemade Sourdough Bread
At its heart, sourdough bread is a testament to natural leavening, a time-honored baking technique that harnesses the power of a fermented sourdough starter rather than relying on commercial yeast packets. This means that with just a few fundamental ingredients—flour, water, and time—you can create bread that boasts unparalleled depth of flavor and an artisanal quality. The result is consistently a loaf with a wonderfully crusty exterior, a distinctively tangy flavor profile, a satisfyingly chewy crumb, and those beautiful, large air bubbles that are the hallmark of a well-made sourdough. The entire process, from mixing to baking, is immensely satisfying, giving you the proud feeling of having crafted something truly special right in your own kitchen.
Our specific homemade sourdough bread recipe simplifies this ancient art, making it accessible to even the most novice bakers. It employs a straightforward blend of high-quality bread flour, filtered water, a touch of fine sea salt for seasoning and structure, a hint of honey for nuanced sweetness and browning, and a small amount of neutral oil for added tenderness. The true star, of course, is an active, bubbly sourdough starter, which acts as the natural leavening agent. This combination of ingredients and techniques ensures that while the process is approachable enough for those just starting their sourdough journey, the resulting bread rivals the quality and taste of loaves found in your favorite artisan bakeries.
The Foundation of Success: Understanding Sourdough Starter Strength
One of the most crucial elements in successful sourdough baking is the health and vigor of your sourdough starter. If you’ve ever experienced a sourdough loaf that didn’t rise adequately or resulted in a dense, heavy crumb, the very first place to investigate is the strength and activity of your starter. A weak or sluggish starter simply won’t have the power to properly leaven your dough, leading to disappointing results.
A truly healthy and active sourdough starter exhibits several key characteristics:
- Significant Growth: It should visibly double, or even triple, in size within 4 to 6 hours after being fed. This dramatic rise indicates robust yeast and bacteria activity.
- Bubbly and Airy Texture: The surface of your starter should be covered in tiny to large bubbles, and the texture throughout should feel light and airy, not dense.
- Pleasant Aroma: A strong starter has a slightly sweet, tangy, and yeasty smell. It should never smell overpoweringly sour, vinegary, or like acetone, which can be signs of an imbalanced or hungry starter.
- The “Float Test” Conformation: This simple test is a reliable indicator of readiness. Take a small spoonful of your starter and gently drop it into a glass of water. If it floats, your starter is full of gas bubbles and active enough to leaven your bread. If it sinks, it may need another feeding or more time to activate.
If your starter isn’t quite meeting these benchmarks, don’t despair! Reviving it is usually a straightforward process. Consistency is key: feed it regularly at the same time each day (ideally every 12-24 hours) with equal weights of flour and water. Before each feeding, remember to discard about half of the starter to maintain an optimal flour-to-water-to-microorganism balance. Within just a few days of consistent care, your starter should regain its strength and be perfectly capable of leavening a beautiful loaf of bread.
Bonus Tip: To easily track your starter’s growth, place a rubber band around your jar at the level of the starter immediately after feeding. This allows you to effortlessly see when it has doubled in volume!

When to Indulge: Versatile Serving Opportunities for Sourdough Bread
Homemade sourdough bread transcends mere sustenance; it’s an experience that enhances almost any meal or occasion. Its robust flavor and satisfying texture make it incredibly versatile, fitting seamlessly into countless culinary scenarios:
- Weekend Baking Projects: Dedicate a leisurely weekend to the rewarding process of baking, enjoying the calming rhythm of dough development and the ultimate reward of a fresh loaf.
- Elevated Family Dinner Sides: Transform an ordinary dinner into something special by serving warm slices of sourdough alongside your main course. Its tangy notes complement a wide range of dishes.
- Flavorful Weekday Sandwiches: Upgrade your lunch game! Sourdough provides a sturdier, more flavorful base for both classic and creative sandwich fillings compared to standard white bread.
- Breakfast Toast Perfection: Whether it’s adorned with creamy avocado and a perfectly fried egg, a dollop of homemade jam, or a rich nut butter, sourdough toast is a breakfast staple.
- Impressive Bread Baskets: For holiday gatherings, potlucks, or dinner parties, a basket brimming with freshly sliced sourdough is always a welcome and elegant addition.
- Thoughtful Gift Loaves: Share the joy of homemade goodness! A beautifully wrapped loaf of sourdough makes a deeply personal and appreciated gift for friends, neighbors, or anyone deserving of a special treat.
I particularly cherish the tradition of baking a fresh loaf whenever family visits. There’s something profoundly heartwarming about slicing into a still-warm, fragrant loaf and passing it around the table, knowing that this simple act brings everyone together.
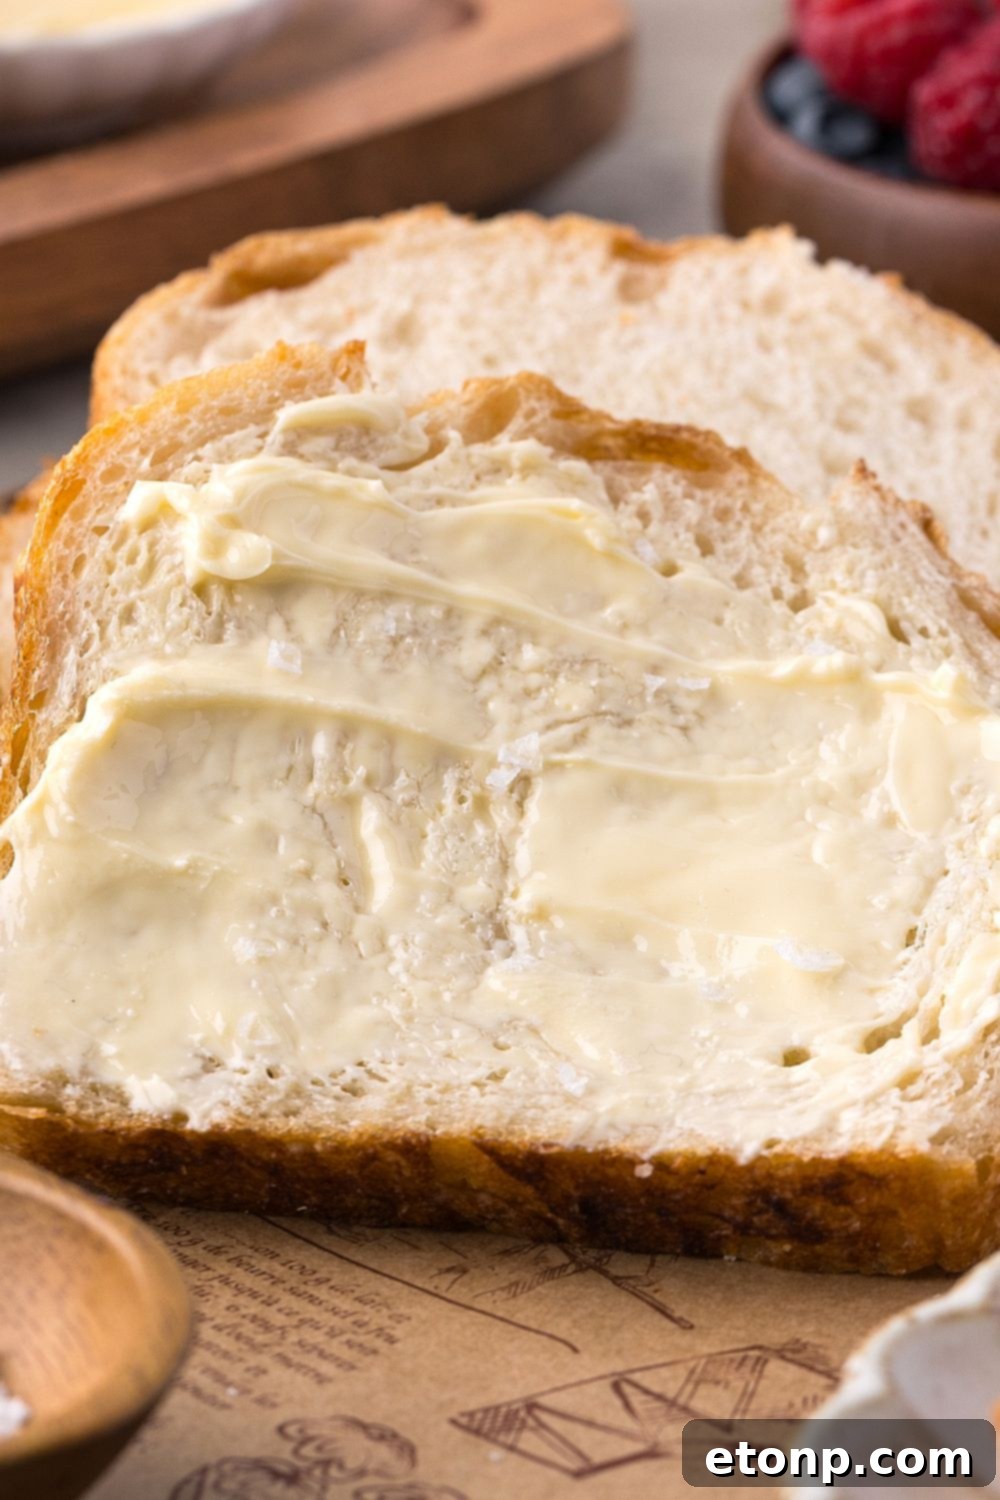
Why This Sourdough Recipe Will Become Your Favorite
This particular homemade sourdough bread recipe stands out for many reasons, promising a truly enjoyable and rewarding baking experience:
- Perfect Contrast of Textures: You’ll achieve that coveted combination of an irresistibly crusty exterior that crackles with every bite, giving way to a wonderfully soft and delightfully chewy interior.
- Ideal for Beginners: Forget the intimidating rumors about sourdough! This recipe is streamlined, focusing on accessible techniques and requiring no fancy, specialized tools to get started. Your hands and a mixing bowl are mostly what you need.
- Customizable to Your Preference: Whether you dream of a dramatically crusty, open-crumb artisan loaf or a softer, more uniformly structured sandwich bread, this recipe offers clear variations to achieve your desired outcome.
- Simple, Accessible Ingredients: You’ll likely find most of what you need already in your pantry: active sourdough starter, flour, water, salt, a touch of honey, and oil. No obscure ingredients required.
- Remarkably Flexible Timing: Life happens, and sourdough adapts! The dough can be refrigerated at various stages, allowing you to fit baking into your schedule, not the other way around. This flexibility can even enhance the flavor.
- Impressive Results, Low Stress Process: The final loaf looks like it came from a high-end bakery, yet the method is surprisingly forgiving and straightforward, making it a secretly low-stress baking project that yields stunning results.
Trust me when I say, once you’ve experienced the immense satisfaction of baking this loaf, the taste, and the aroma, you’ll be eager to make it again and again. There truly is nothing quite like the flavor and texture of homemade sourdough bread.
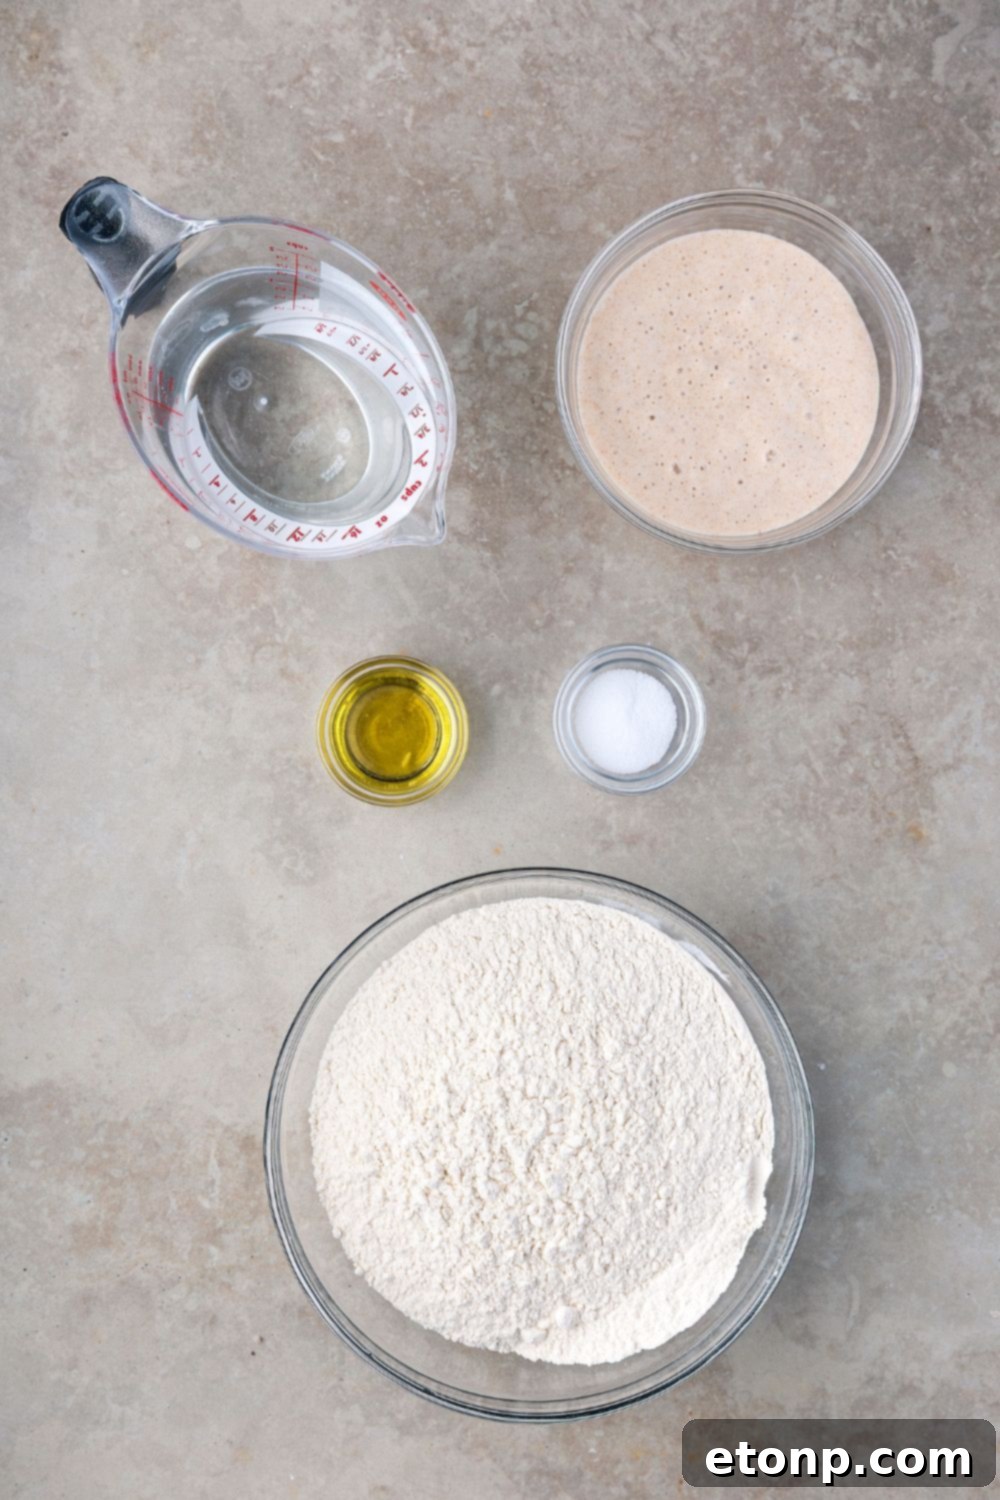
Essential Ingredients for Your Sourdough Loaf
Understanding the role of each ingredient is key to successful sourdough baking. Here’s a breakdown of what makes this particular loaf shine:
- Active Sourdough Starter: This is the heart of your sourdough, your natural leavening agent. It’s crucial that your starter is recently fed, bubbly, and active, demonstrating its full leavening power. Refer to the “Float Test” to confirm its readiness.
- Warm Water: Aim for water around 90°F (32-35°C). This warmth is optimal for activating the wild yeasts and bacteria in your starter, helping them to work efficiently and consistently throughout the dough.
- Neutral Oil: A small amount of neutral-flavored oil, such as avocado, light olive, or canola oil, adds a lovely tenderness to the crumb and helps extend the freshness of the bread. It also contributes to a softer crust, especially when baking in a loaf pan.
- Honey: Just a touch of honey provides a subtle sweetness that balances the tang of the sourdough. It also aids in browning the crust, giving your loaf a beautiful golden hue and adds an extra layer of flavor complexity.
- Fine Sea Salt: Salt is indispensable in bread making. Beyond enhancing flavor, it plays a critical role in strengthening the gluten structure, controlling fermentation speed, and adding to the overall balance of the bread.
- Bread Flour: This is your primary flour, chosen specifically for its higher protein content. This higher protein level is essential for developing strong gluten, which traps the gases produced by the starter, giving sourdough its characteristic chewy texture and open crumb structure. While you can experiment with small amounts of other flours, bread flour provides the most reliable results for beginners.
Your Beginner’s Guide to Sourdough: A Step-by-Step Timeline
Baking sourdough doesn’t have to be a mystery. This visual guide outlines the essential steps and estimated times, allowing you to plan your baking day effectively. Remember, these times are estimates; always observe your dough for readiness rather than strictly adhering to the clock.
| Step | Time Estimate | Notes |
|---|---|---|
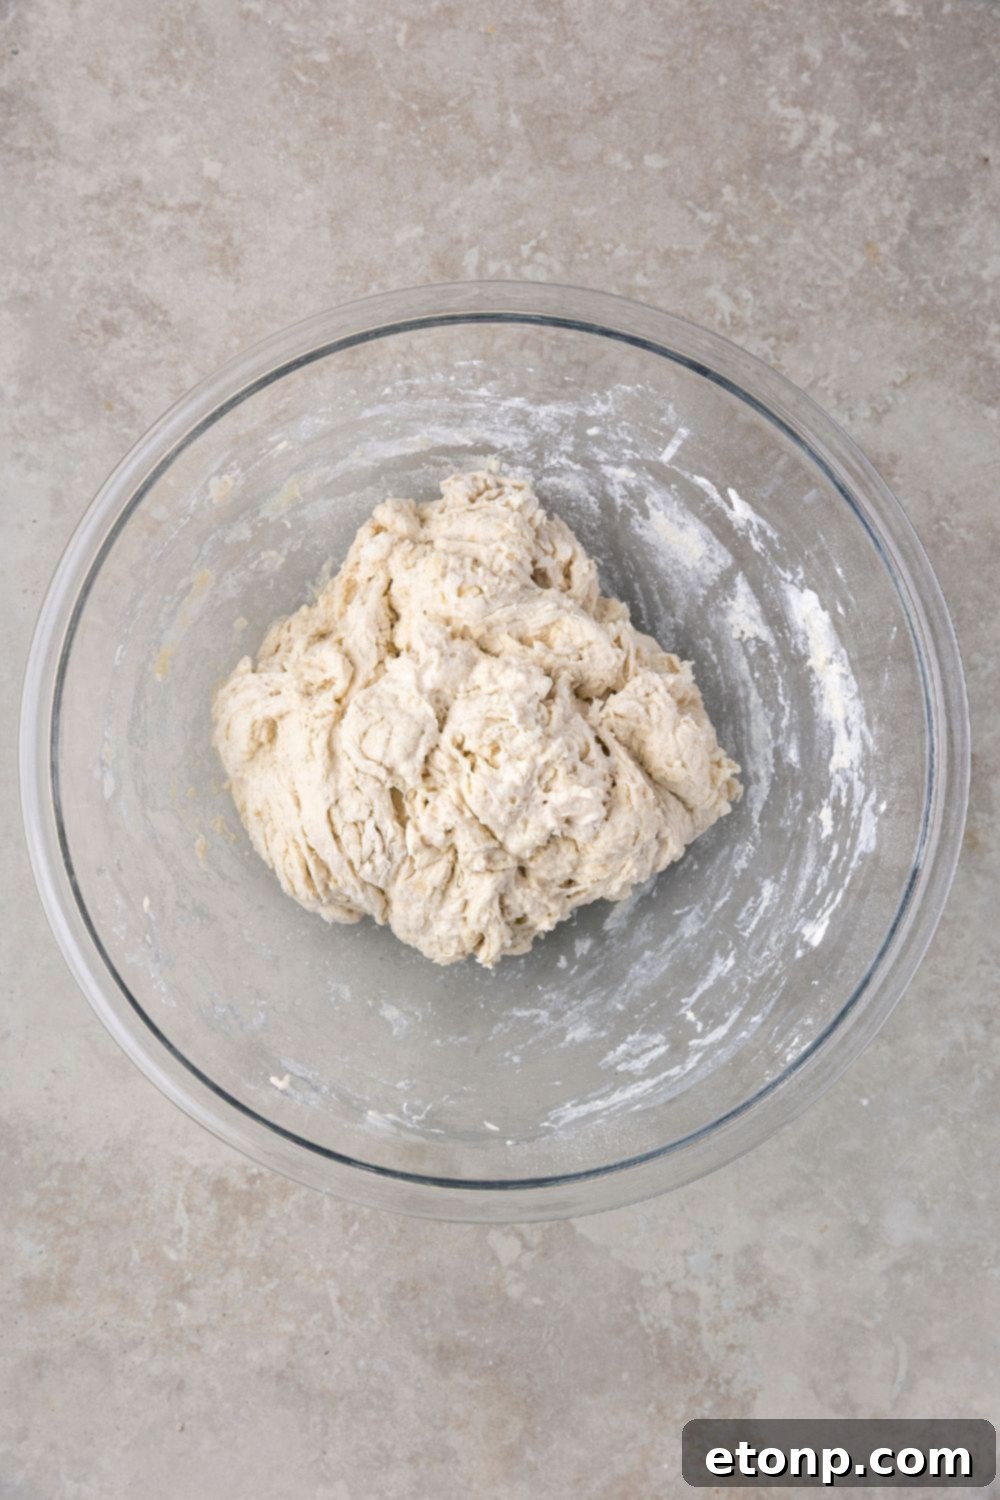
| Mixing & Rest (Autolyse) | 20 min + 30 min | This initial phase allows the flour to fully hydrate, kicking off early gluten development without additional effort. The dough will look shaggy. |
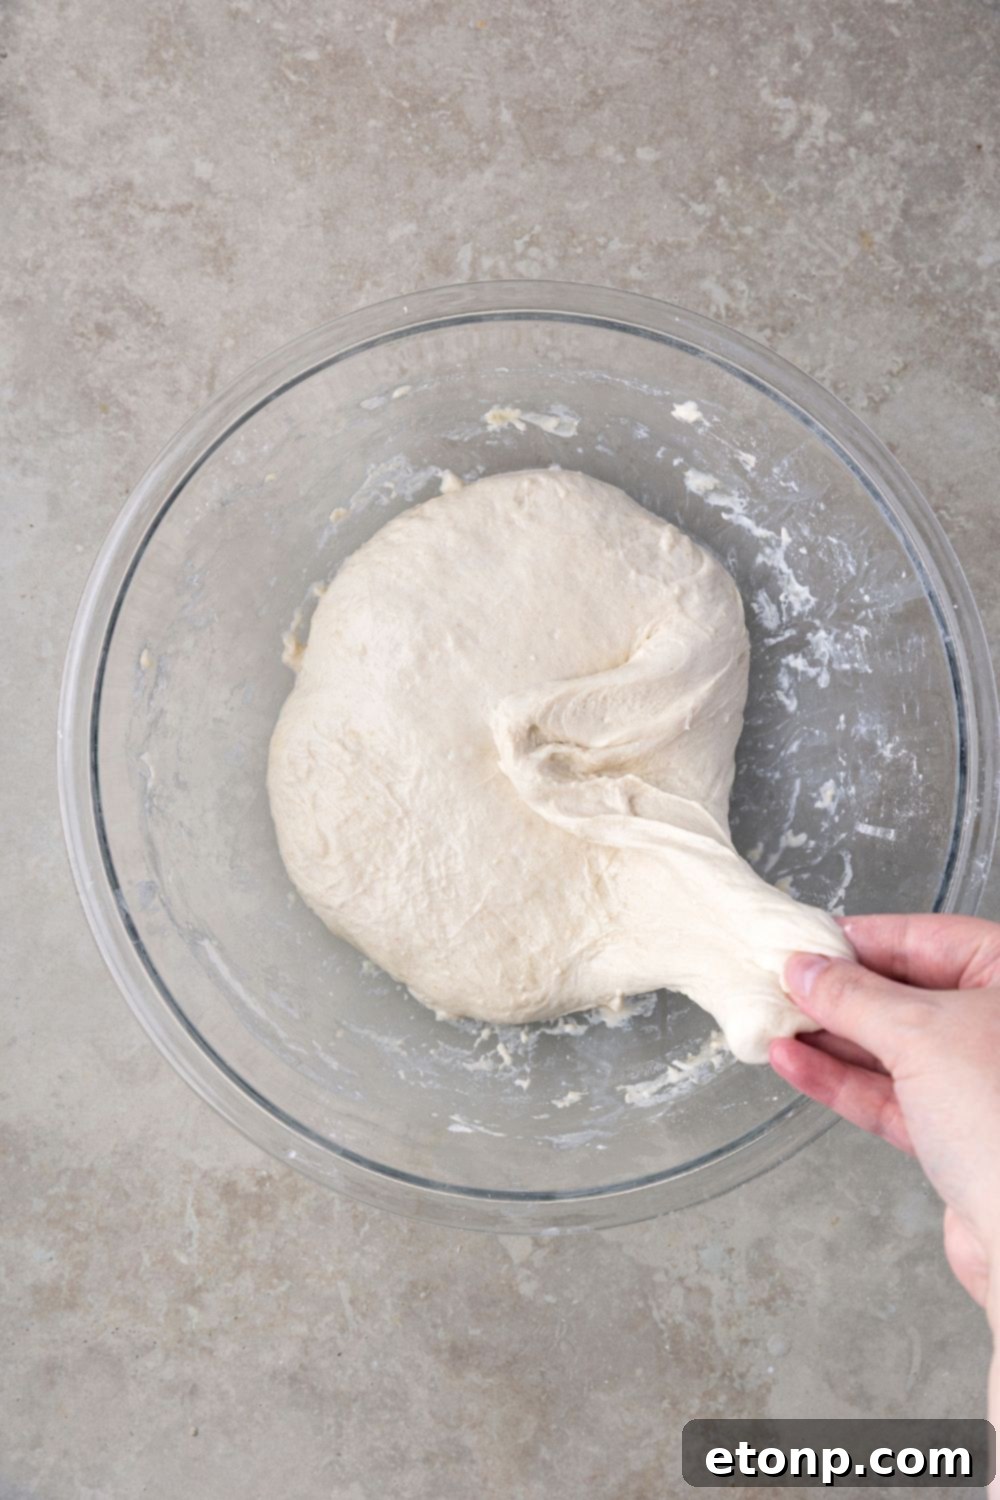
| Kneading & Stretch and Folds | 1–1.5 hrs (3 sets) | Gentle handling with wet hands prevents sticking and progressively builds the dough’s strength and elasticity, creating the framework for those beautiful air pockets. |
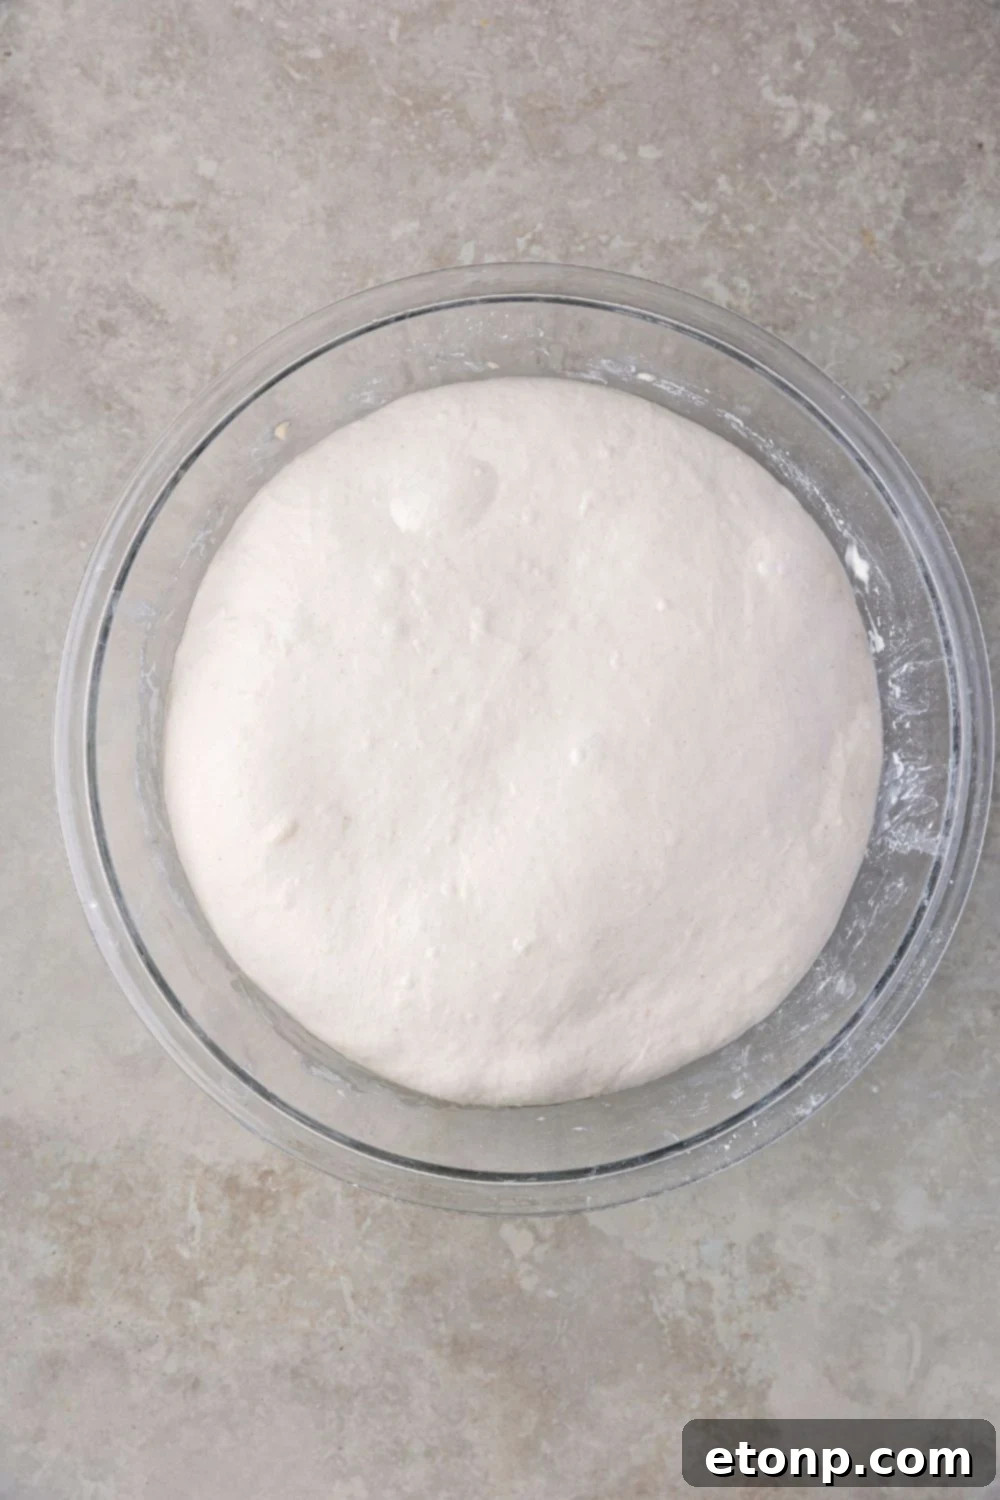
| Bulk Fermentation (First Rise) | 5–8 hrs | This is where the magic happens! The dough should significantly increase in volume (60–75%), appear slightly domed, and show visible bubbles, indicating active fermentation. |
| Shaping & Final Rise (Proofing) | 2–4 hrs | Careful shaping develops tension, which is crucial for a good oven spring. The dough will rise again, filling its banneton or loaf pan, until it’s visibly domed and soft to the touch. |
| Baking | 35–45 min | Initially covered to trap steam for a crisp crust, then uncovered to achieve a deep golden-brown color and finish baking the interior. |
| Cooling | 2 hrs (minimum!) | This is perhaps the hardest step! Resist the urge to slice warm bread, as it allows the internal structure to set, preventing a gummy texture. Patience here truly pays off. |
Pro Tip for Busy Schedules: One of the greatest advantages of sourdough is its flexibility. If your schedule changes or you need a break, simply pop your dough into the refrigerator after bulk fermentation or after shaping. This “cold proof” slows down fermentation significantly, allowing you to bake at your convenience, often enhancing the bread’s flavor and tang in the process!
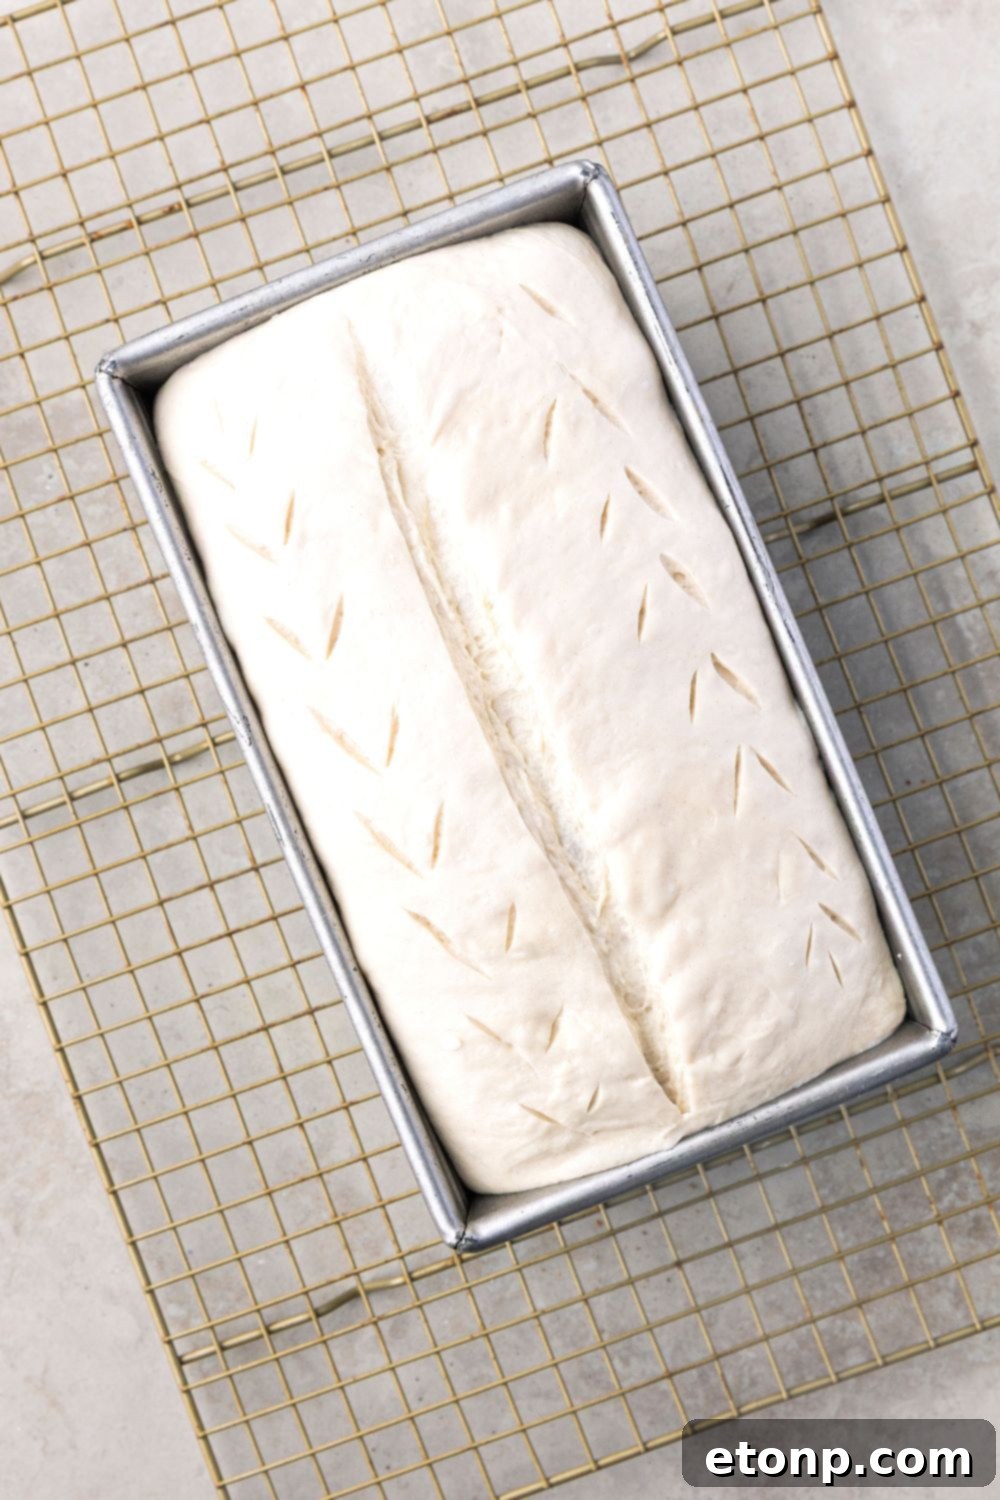
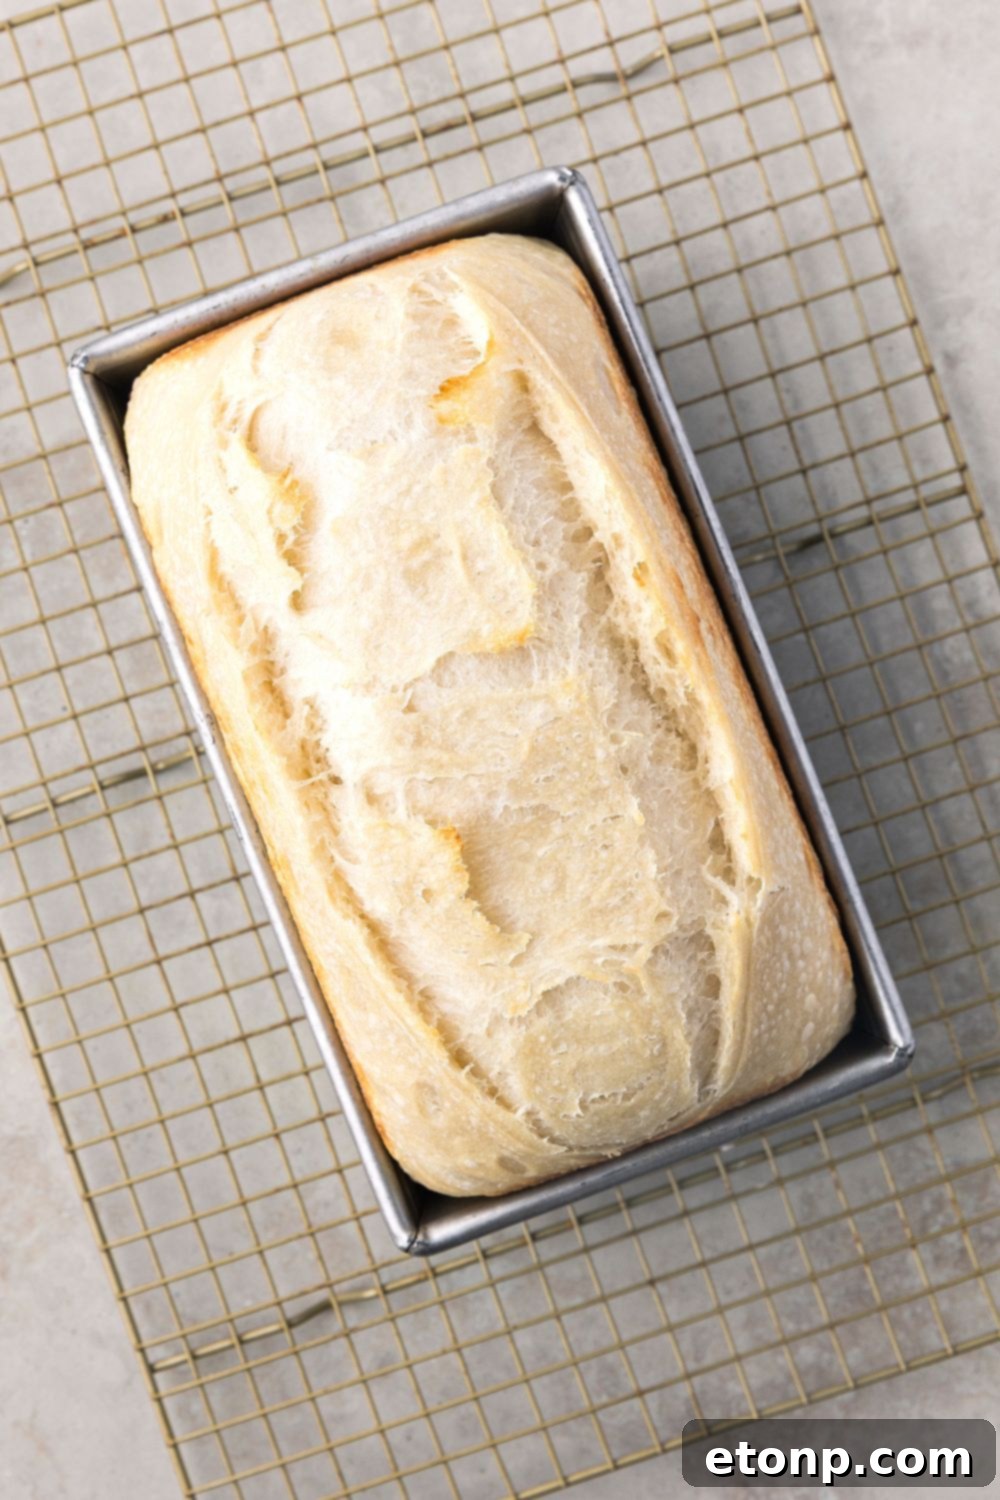
Shaping Your Sourdough: Artisan Round Loaf vs. Everyday Sandwich Loaf
One of the beauties of this sourdough recipe is its adaptability. You can choose to shape it into a dramatic, free-form artisan boule or a practical, softer sandwich loaf, depending on your preference and intended use. Both methods yield fantastic results, just with different characteristics.
Crafting the Artisan Round Loaf (Boule)
For that quintessential, rustic sourdough appearance with a thick, robust crust and an open crumb, an artisan round loaf is the way to go:
- Shaping Technique: After bulk fermentation, gently shape your dough into a tight, round boule (ball). This process builds surface tension, which is vital for a good oven spring.
- Proofing Environment: Carefully place the shaped dough, seam-side up, into a well-floured proofing basket (banneton) or a bowl lined with a floured tea towel. This supports the dough as it undergoes its final rise and prevents it from spreading too much.
- Baking Method: To achieve the best crust development and oven spring, bake your artisan loaf in a preheated Dutch oven. The trapped steam inside the Dutch oven mimics a professional bread oven, allowing the crust to expand before it sets, resulting in a beautiful, blistered surface. Alternatively, you can achieve similar results by baking on a baking stone or steel with a pan of hot water to create steam.
The Versatile Sandwich Loaf Variation
If your goal is a softer, more uniformly structured bread that’s perfect for daily toast, sandwiches, or even French toast, the sandwich loaf variation is ideal. It delivers a tender crust without the need for a Dutch oven:
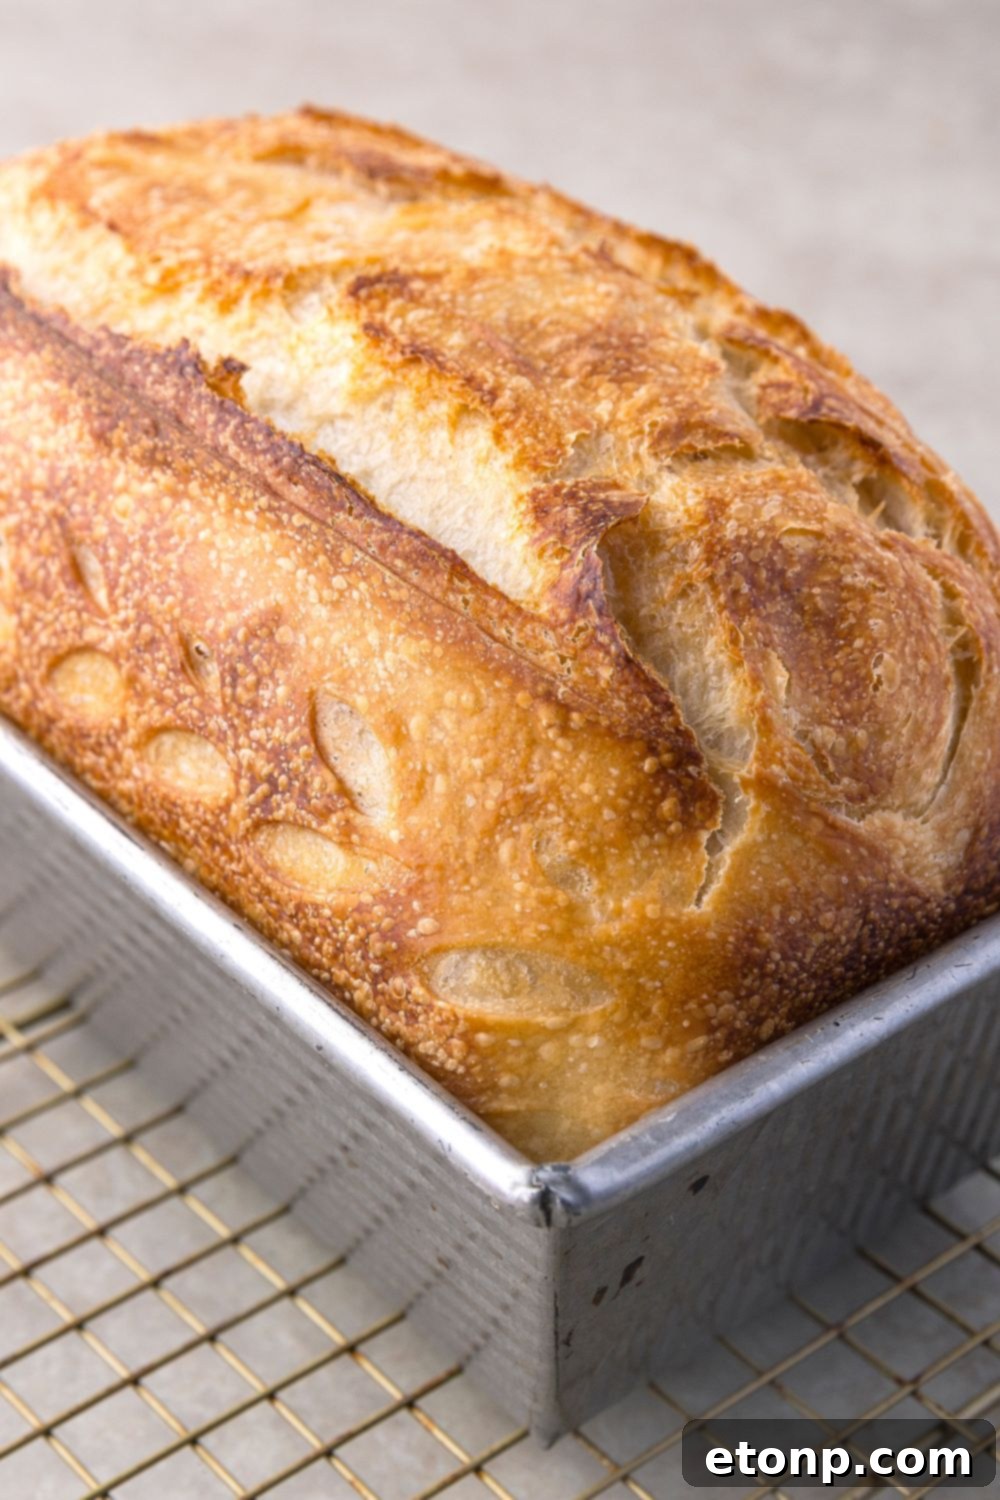
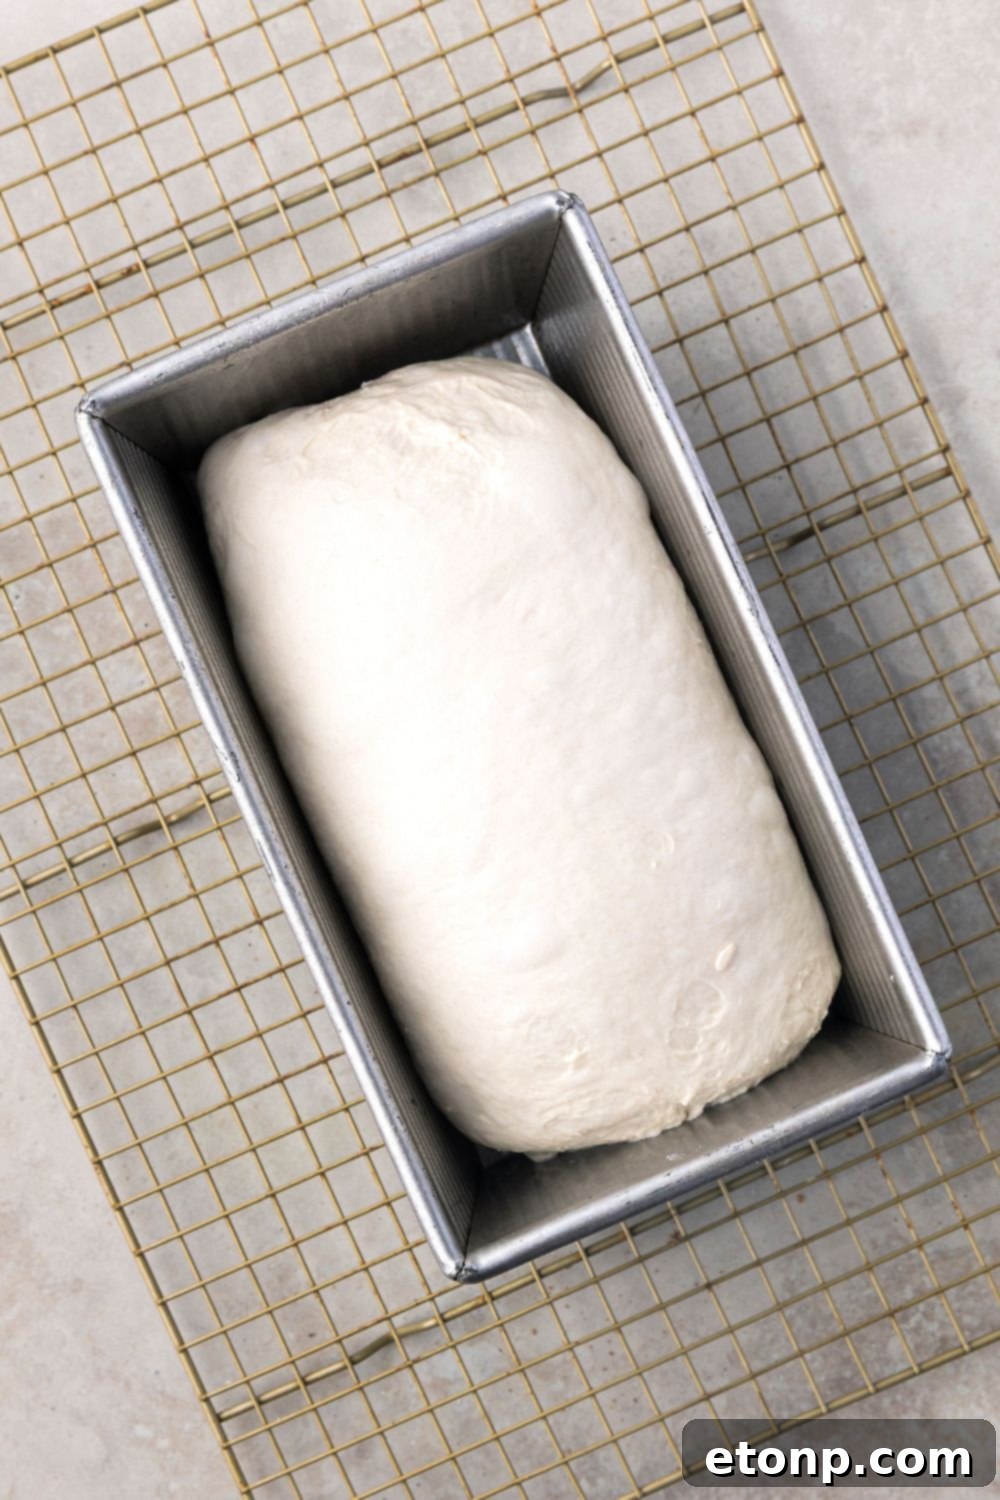
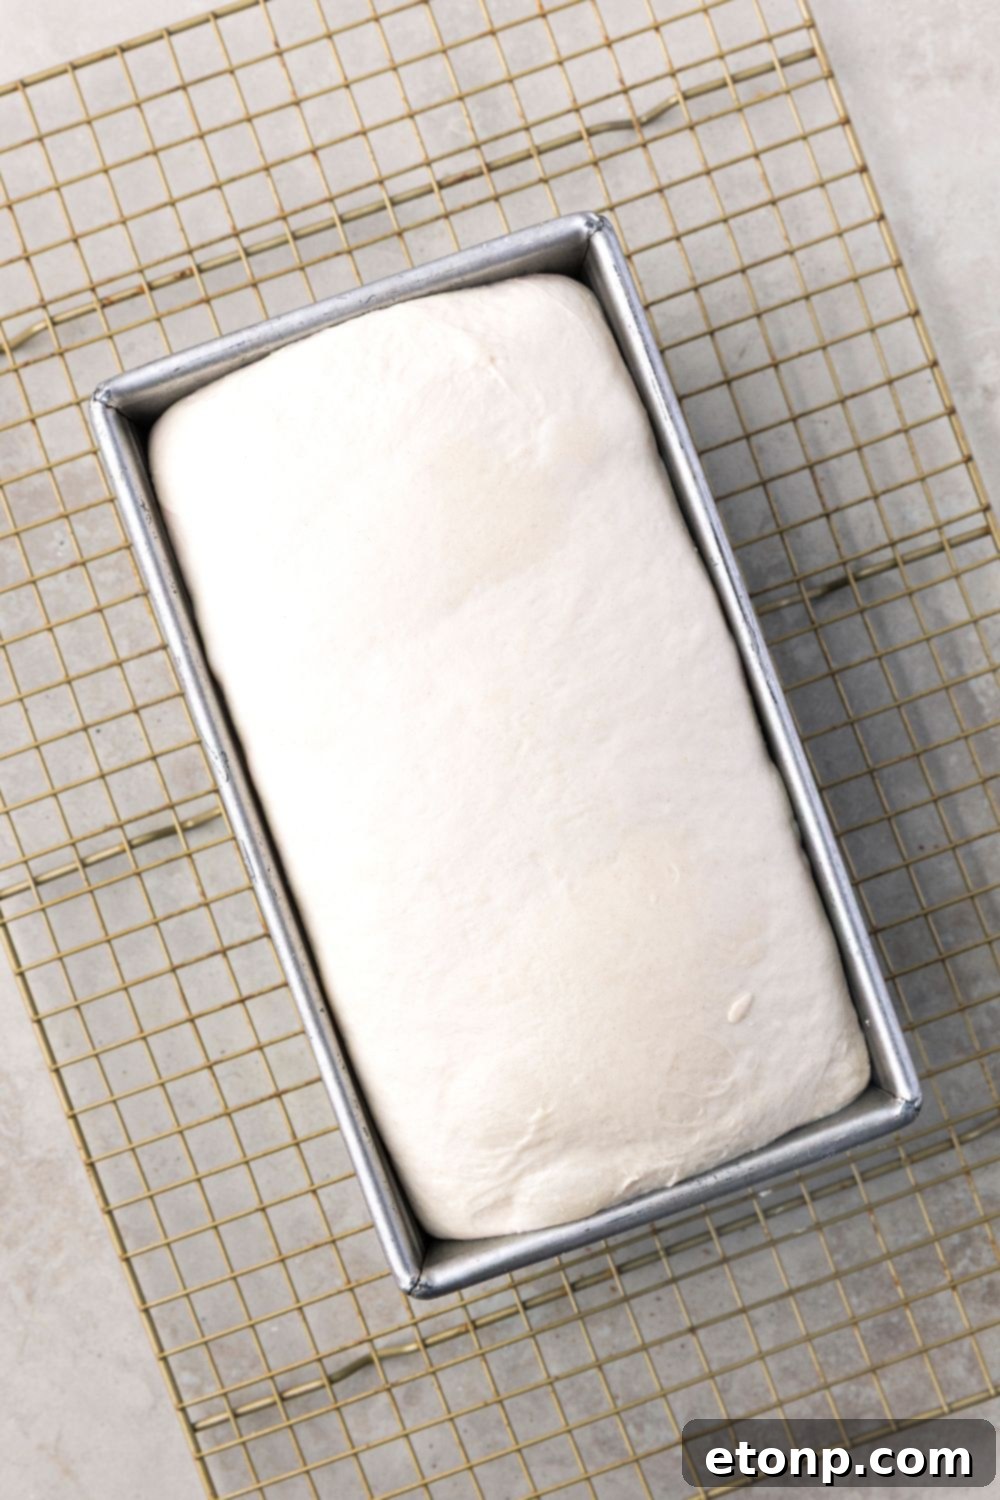
- Shaping and Proofing: Following the bulk fermentation, gently shape the dough into a tight log. Place this log into a greased 9×5-inch loaf pan. Cover the pan loosely and allow the dough to undergo its final rise until it has domed approximately ½ to 1 inch over the rim of the pan. This indicates it’s ready for baking.
- Innovative Baking Method: The Double-Loaf-Pan Technique: This clever method creates a steaming environment right in your standard oven. Lightly mist the surface of your risen dough with water. Then, invert a second empty loaf pan directly on top of the one containing your dough, effectively creating a makeshift lid. This traps the steam, which is essential for a soft, pliable crust.
- Baking Schedule: Bake the covered loaf at a high temperature, 450°F (232°C), for 25-30 minutes. The steam will work its magic during this phase. After this initial bake, remove the top pan, reduce the oven temperature to 425°F (218°C), and continue baking for another 10-15 minutes, or until the loaf achieves a beautiful deep golden-brown color and registers an internal temperature of 205-210°F (96-99°C).
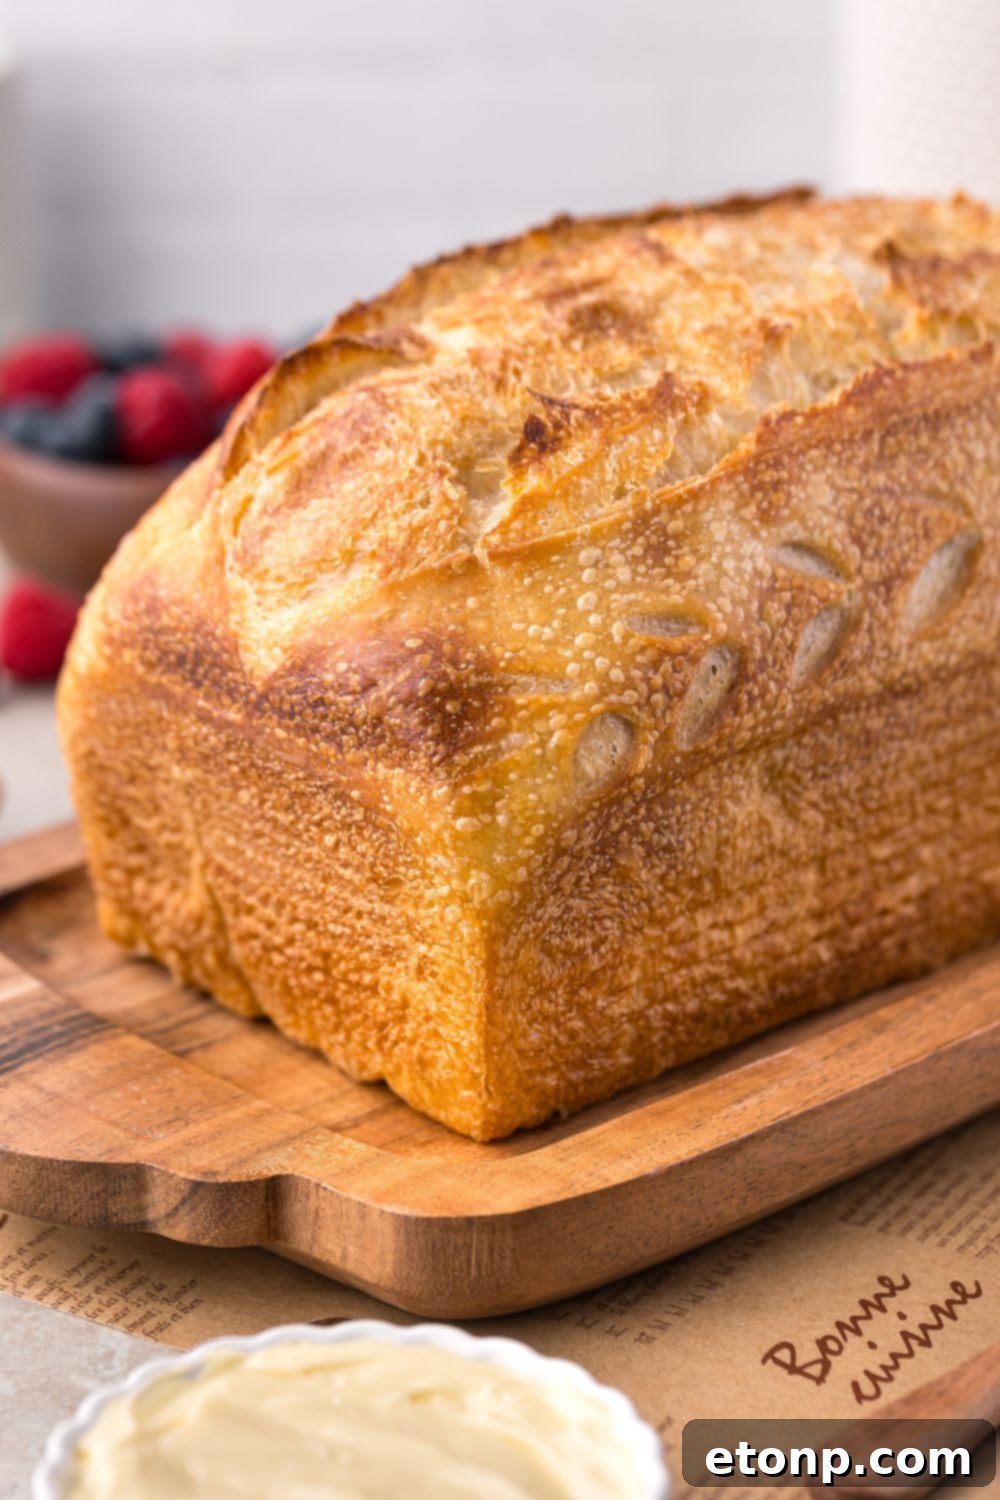
You’ll discover that this method yields a gorgeous, evenly baked loaf with a tender, flavorful crust. My husband, for instance, often prefers the sandwich loaf version for his packed work lunches, finding it perfectly suited for sturdy sandwiches. Meanwhile, I gravitate towards the crusty boule, perfect for tearing apart and dipping into a comforting bowl of soup. Regardless of your preference, you’re guaranteed a delicious, homemade sourdough that caters to your every need.

Smart Substitutions: Budget-Friendly Sourdough Baking & Equipment Swaps
Baking exceptional sourdough bread doesn’t require a kitchen full of expensive, specialized gadgets. Many of the tools commonly recommended for sourdough can easily be swapped for items you likely already have, proving that delicious homemade bread is accessible to everyone, even on a budget. The key is understanding the purpose of each tool and finding a functional alternative.
Here are some clever, budget-friendly equipment alternatives:
| Standard Tool | Budget-Friendly Alternative |
|---|---|
| Banneton (proofing basket) | A medium-sized mixing bowl generously lined with a clean, floured tea towel or dishcloth works perfectly to support the dough during its final rise. Ensure it’s well-dusted with rice flour to prevent sticking. |
| Lame (scoring blade) | A very sharp kitchen knife (like a paring knife) or a clean razor blade secured to a handle can create precise scores on your dough, allowing for controlled expansion during baking. |
| Dough Whisk (Danish Dough Whisk) | A sturdy regular fork, a wooden spoon, or even your clean hands are perfectly effective for mixing the initial sticky dough until no dry flour remains. |
| Dutch Oven | For a similar steaming effect, use a standard loaf pan and cover it tightly with aluminum foil to trap steam during the initial bake. Alternatively, a deep, oven-safe pot with a tight-fitting lid can substitute for a Dutch oven. For round loaves, bake on a baking sheet with another inverted metal bowl on top. |
| Bench Scraper | A firm spatula, a sturdy plastic scraper, or even a flat butter knife can be used to handle and divide dough on your work surface, keeping your hands cleaner. |
When you’re baking on a budget, prioritize consistency in your starter feeding routine and investing in good quality bread flour. These two elements will have the most significant impact on your final product. You truly don’t need a $300 enameled cast iron pot or a fancy bread lame to bake a superb loaf – just your active starter, your capable hands, and a dash of patience.
That being said, if you find yourself baking frequently, certain items can enhance the experience. I personally adore my USA Pans for their non-stick properties and even baking, and my Thermapen thermometer is invaluable for precise temperature checks. These are optional luxuries that have proven their worth over years of dedicated baking.
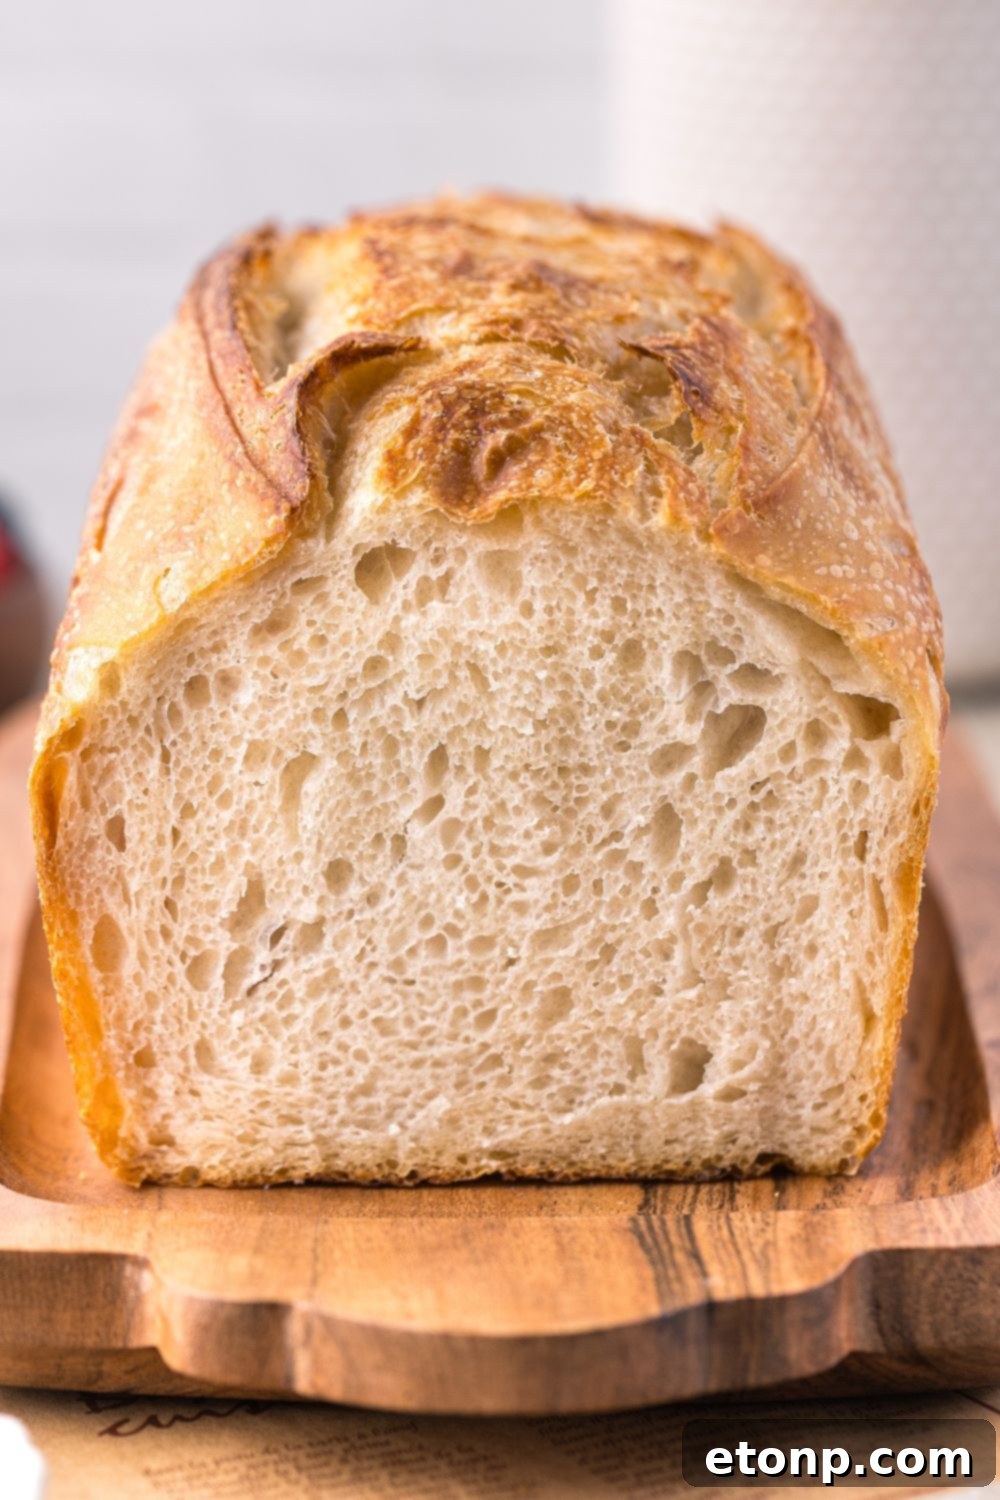
Common Hurdles & Easy Sourdough Troubleshooting Tips
Sourdough baking is a journey, and encountering a few challenges along the way is completely normal. Here’s a guide to some common issues and straightforward solutions to help you achieve perfect loaves every time:
- My dough is incredibly sticky!
* This is a very common experience, especially with high-hydration sourdough doughs. It’s totally normal! Keep your hands wet when handling the dough, and use a dough scraper to manage it on your work surface. Avoid adding excessive flour unless specified for shaping, as this can change the dough’s hydration. - My bread isn’t rising much.
* This is often an indication that your sourdough starter is underactive or your dough is under-proofed. Ensure your starter passes the float test before you begin. Feed it consistently and wait for it to reach its peak activity (bubbly and doubled in size) before mixing your dough. Also, allow sufficient time for bulk fermentation and final proofing, observing the dough’s volume rather than just the clock. - My loaf turned out flat.
* A flat loaf usually suggests it was over-proofed. The gluten structure may have weakened and collapsed from too much fermentation. Next time, try reducing the final rise time or baking the loaf a bit earlier when it’s still showing good tension. - The crumb of my bread is dense.
* A dense crumb can stem from a few issues: an inactive starter, insufficient bulk fermentation (not enough rise), or too much handling during shaping that deflated the precious gas bubbles. Focus on strengthening your starter, giving the dough adequate time to rise during bulk fermentation, and being gentle when shaping. - My crust got too dark too quickly.
* If your crust is burning before the inside is fully baked, try tenting the loaf loosely with aluminum foil during the last part of the bake. Using a lighter-colored loaf pan can also help prevent over-browning, especially for sandwich loaves.
Embrace these learning opportunities! Each bake teaches you more about your starter and your environment, making you a more intuitive and skilled baker.
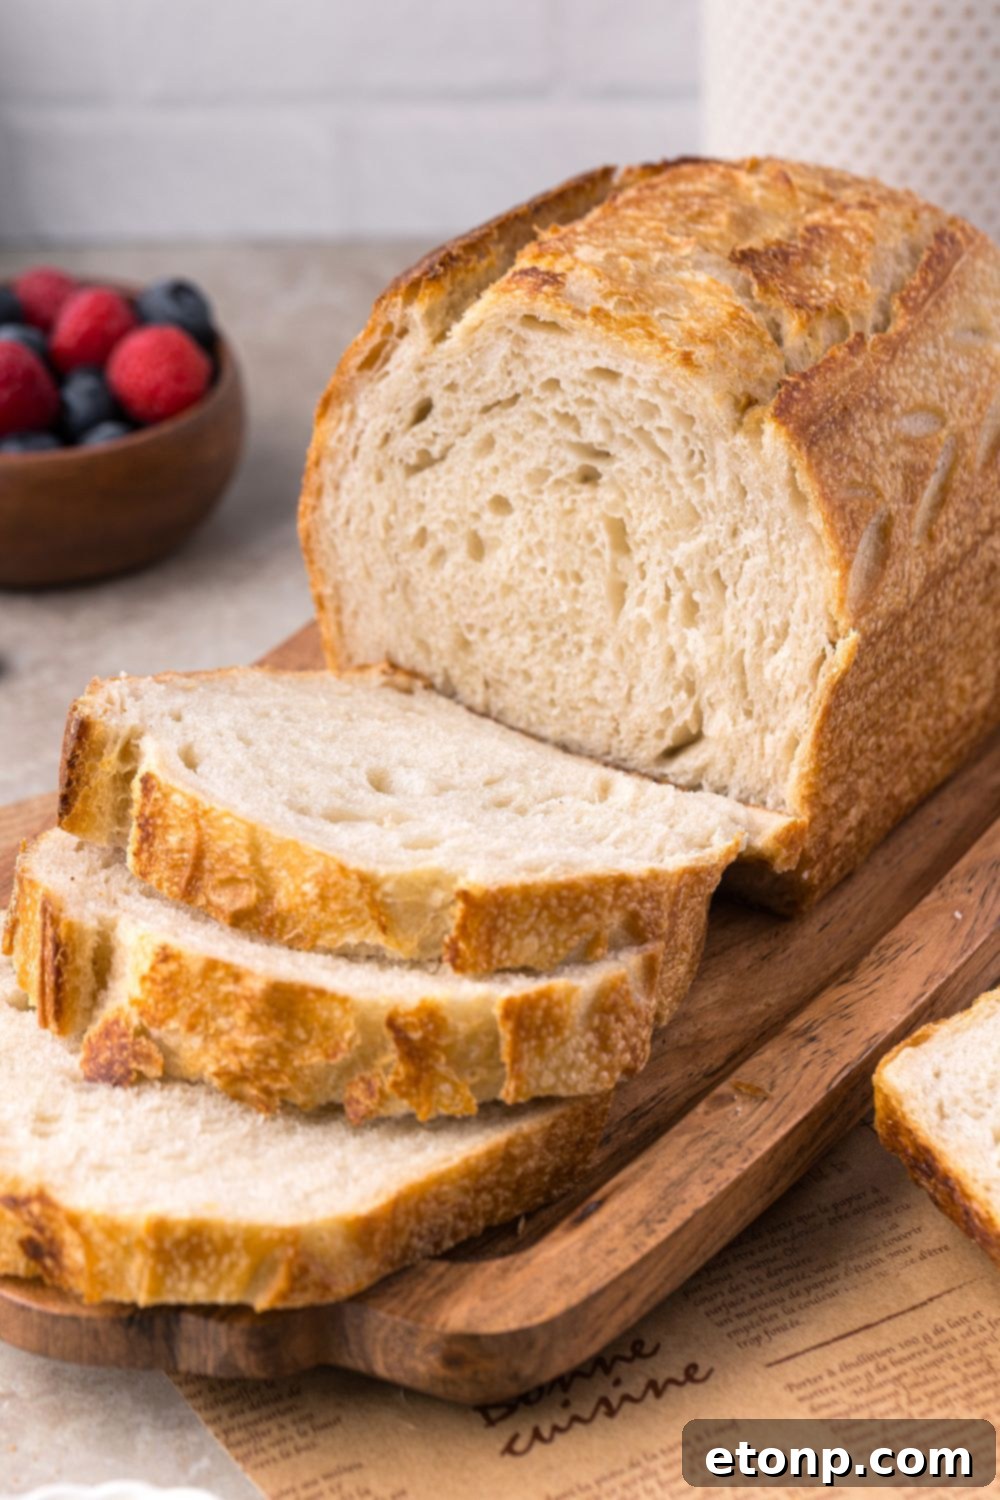
Preserving Freshness: Storage & Creative Serving Tips
Once you’ve baked your masterpiece, proper storage is key to enjoying your homemade sourdough for as long as possible. And when it comes to serving, the possibilities are truly endless!
To Store Your Sourdough:
- Short-Term (1-2 days): For the freshest taste and crust, store the completely cooled bread wrapped in a clean tea towel, or simply place it cut-side down on a cutting board. This allows some air circulation while preventing it from drying out too quickly.
- Medium-Term (up to 3-4 days): For slightly longer storage, transfer the cooled loaf into a large zip-top bag, a dedicated bread bag, or a traditional bread box. This helps retain moisture.
- Long-Term (Freezing): Sourdough freezes beautifully! For ultimate convenience, slice the cooled loaf into individual portions and freeze them in a zip-top freezer bag. You can then toast slices straight from frozen, making fresh sourdough toast a quick and easy option any day of the week.
Creative Ways to Serve Your Sourdough:
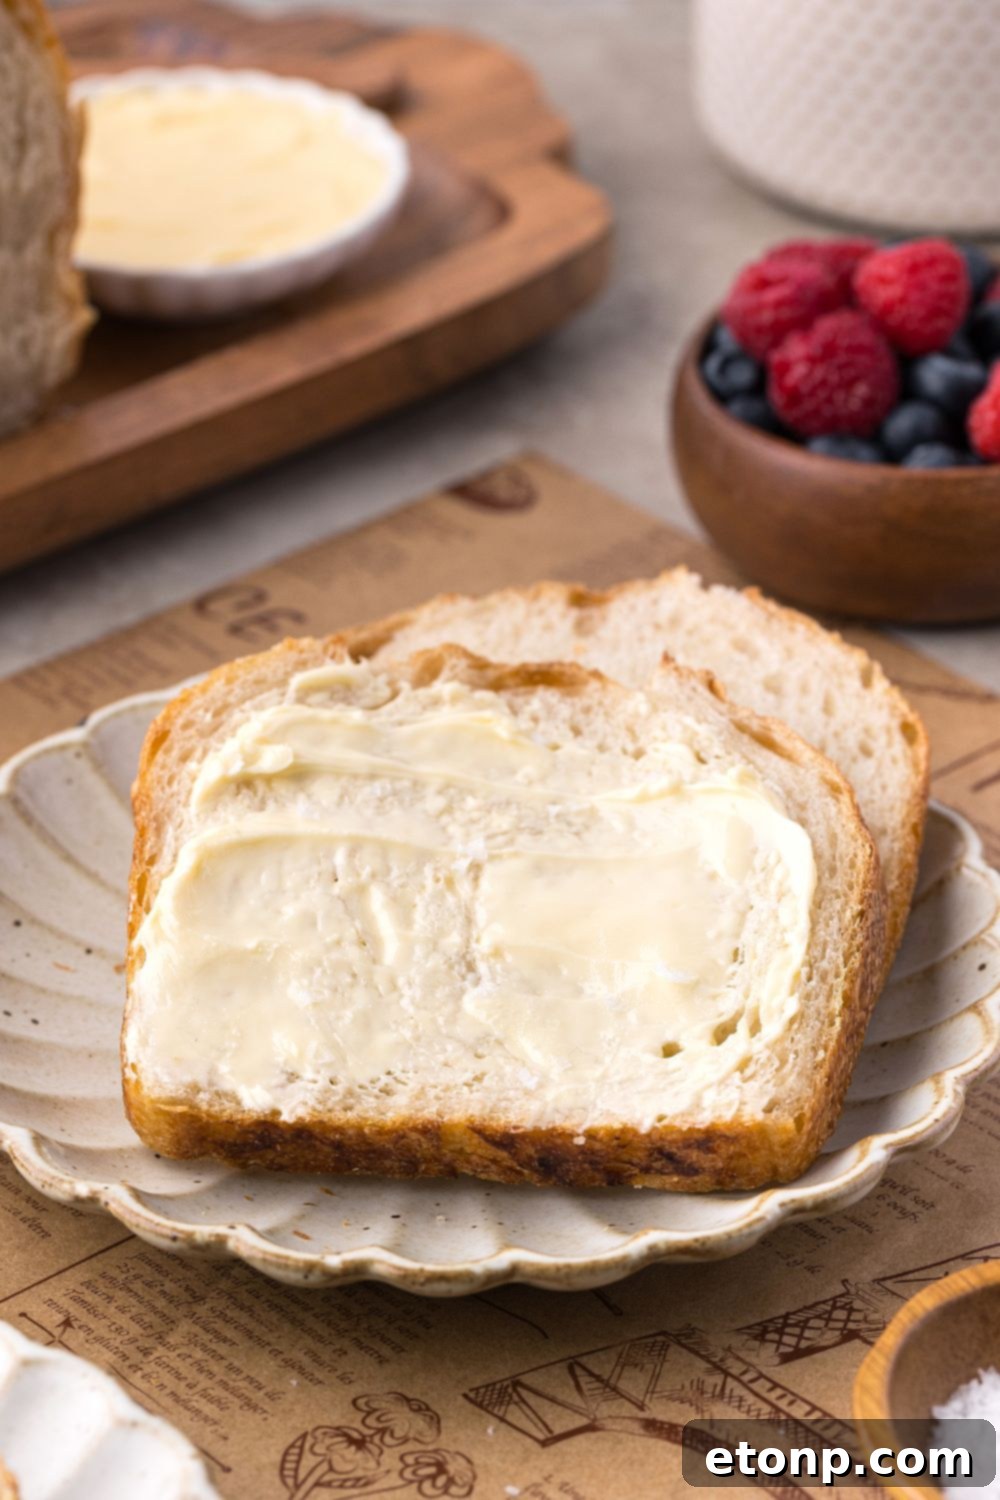
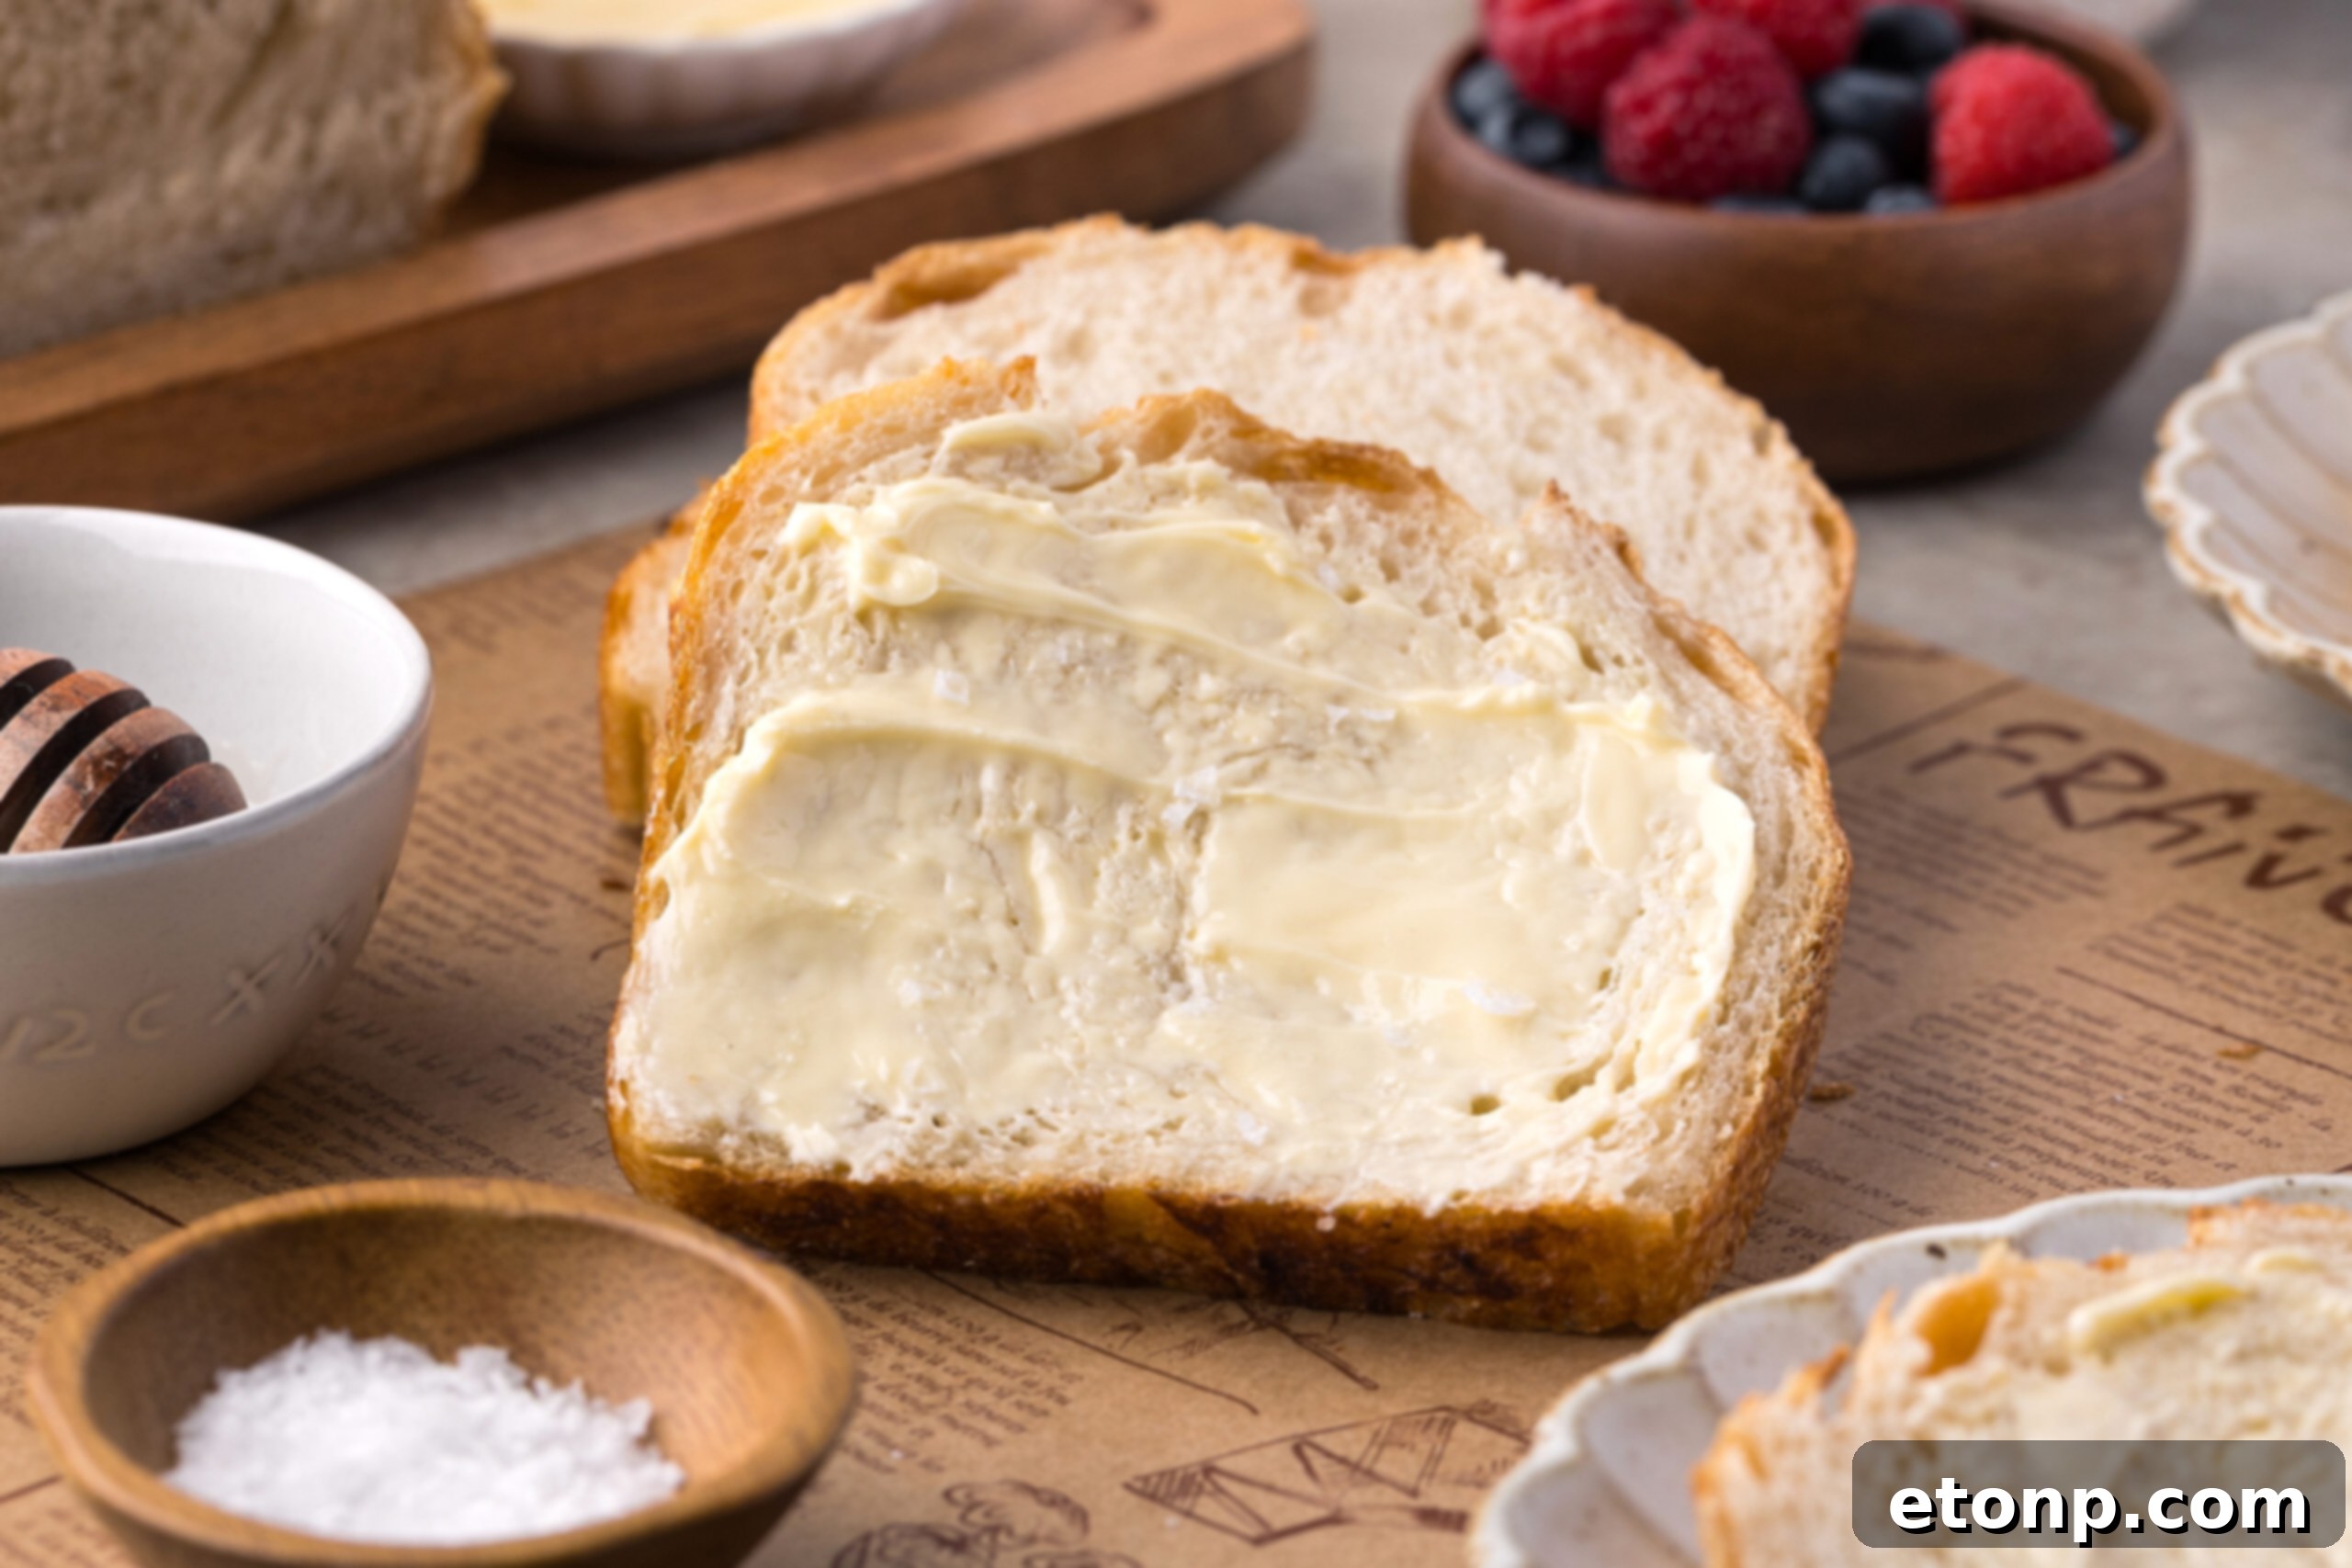
- Classic Perfection: Enjoy fresh slices simply adorned with good quality butter and a sprinkle of flaky sea salt.
- Breakfast & Brunch Favorite: Toast it and top with your favorite spreads – homemade jam, creamy nut butter, or the ever-popular avocado and a poached egg.
- Superior Sandwich Base: Utilize the sandwich loaf version for hearty, flavorful sandwiches that hold up beautifully to any filling.
- The Ultimate Dipper: Its sturdy crust and open crumb make it perfect for dipping into rich soups, savory stews, or even olive oil with balsamic vinegar.
- Beyond the Loaf: Don’t let stale sourdough go to waste! Transform it into gourmet grilled cheese, crunchy croutons for salads, or a decadent sourdough French toast casserole.
Planning Ahead: Make-Ahead & Freezing Strategies for Sourdough
Sourdough’s forgiving nature makes it an excellent candidate for make-ahead baking, giving you delicious bread with minimal last-minute effort. Freezing also allows you to enjoy homemade goodness whenever a craving strikes.
Smart Make-Ahead Strategies:
- Cold Proofing: You can refrigerate your sourdough dough after the bulk fermentation stage or even after it has been shaped into its final form. Simply cover the bowl or banneton tightly with plastic wrap and place it in the fridge for up to 48 hours.
- Enhanced Flavor: Not only does cold proofing offer unparalleled scheduling flexibility, but it can also significantly enhance the flavor of your sourdough. The extended, slow fermentation in the cold allows the beneficial bacteria to produce more lactic and acetic acids, resulting in a deeper, more pronounced tangy flavor that many sourdough enthusiasts adore. When you’re ready to bake, simply take the dough out of the fridge and let it warm up slightly at room temperature (about 30-60 minutes) before proceeding to bake as usual.
Effective Freezing Techniques:
- For Slices: Once your baked sourdough loaf has cooled completely, slice it to your desired thickness. Place the slices in a single layer on a baking sheet and freeze until solid (this prevents them from sticking together). Then, transfer the frozen slices to a zip-top freezer bag, removing as much air as possible. You can toast these slices directly from frozen for a quick and convenient option.
- For Whole or Half Loaves: Allow the baked loaf to cool entirely. Wrap it tightly in plastic wrap, then an additional layer of aluminum foil. Place it in a large freezer bag. It can be stored this way for up to 2-3 months.
- Reheating a Frozen Loaf: To reheat a thawed loaf, remove it from its wrapping and place it in a 325°F (160°C) oven for 8-10 minutes, or until the crust is crisp and the interior is warm. If reheating from frozen, it will take longer (e.g., 20-30 minutes at 350°F / 175°C), ensuring the internal temperature is properly reheated.

FAQ – Your Sourdough Bread Questions Answered
Navigating the world of sourdough can bring up many questions. Here are answers to some of the most common queries about baking homemade sourdough bread:
Can I make this bread without a Dutch oven?
Absolutely! While a Dutch oven is excellent for creating steam, you can achieve fantastic results using a standard loaf pan covered with an inverted second loaf pan (the “double-loaf-pan method” described above). Another option is to bake it on a baking steel or stone and generate steam by placing a tray of hot water in the oven.
What kind of flour works best for sourdough?
Bread flour is generally recommended for sourdough due to its higher protein content, which develops strong gluten for structure and chew. However, you can experiment by substituting up to 20% of the bread flour with whole wheat flour for added flavor and nutrients, or all-purpose flour for a slightly softer crumb. Just be aware that different flours will result in slightly different textures and hydration needs.
Is it okay to skip the oil or honey in the recipe?
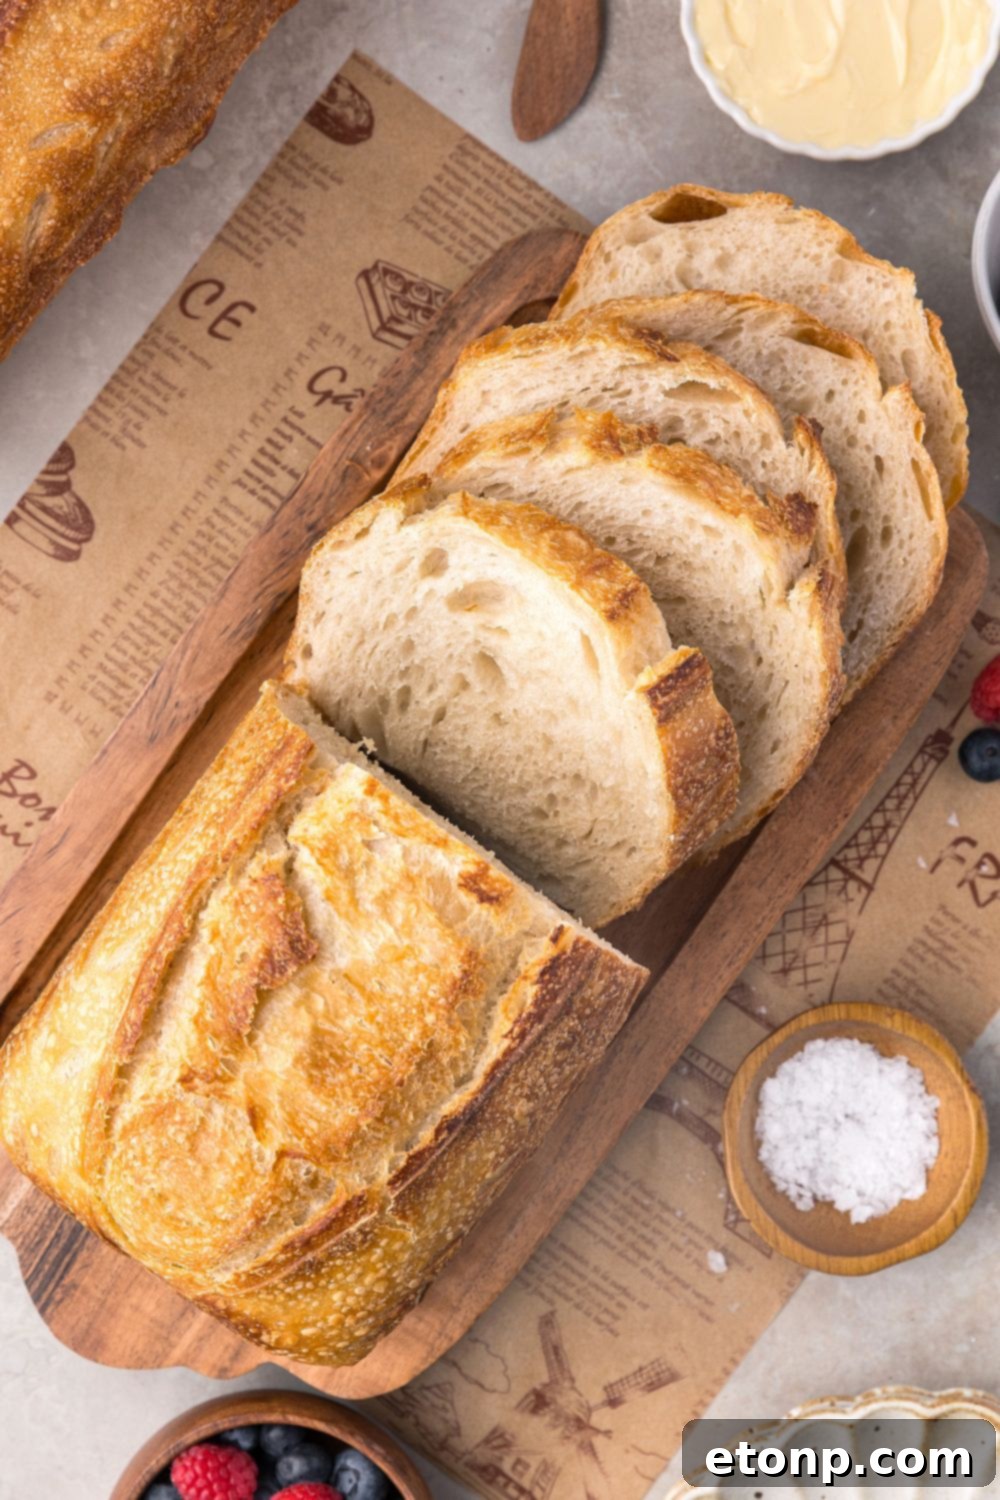
Yes, you can omit the oil or honey if you prefer. However, both ingredients contribute to the bread’s overall quality: the oil adds tenderness and moisture to the crumb, while honey provides a subtle sweetness and assists with browning the crust. Without them, your loaf might be a bit chewier and have a less golden crust, but it will still be delicious.
Why is my dough so sticky?
High-hydration sourdough doughs are naturally sticky—this is a good sign that your dough will have an open, airy crumb! Don’t panic and resist the urge to add too much extra flour. Instead, use wet hands when performing stretch and folds, and rely on a dough scraper for handling on your work surface. A light dusting of flour is usually only needed for the final shaping.
What if I don’t have a proofing basket (banneton)?
No problem at all! A simple, medium-sized mixing bowl lined with a clean, well-floured kitchen towel or tea towel works perfectly as a substitute. Ensure the towel is dusted generously with rice flour (or a mix of rice and all-purpose flour) to prevent sticking.
How do I know when the sourdough bread is fully baked?
There are two reliable ways to tell. First, gently tap the bottom of the loaf: if it sounds hollow, it’s generally done. Second, and most accurately, use an instant-read thermometer to check the internal temperature. The bread is fully baked when it reaches 205-210°F (96-99°C).
Can I bake this into a sandwich loaf instead of an artisan boule?
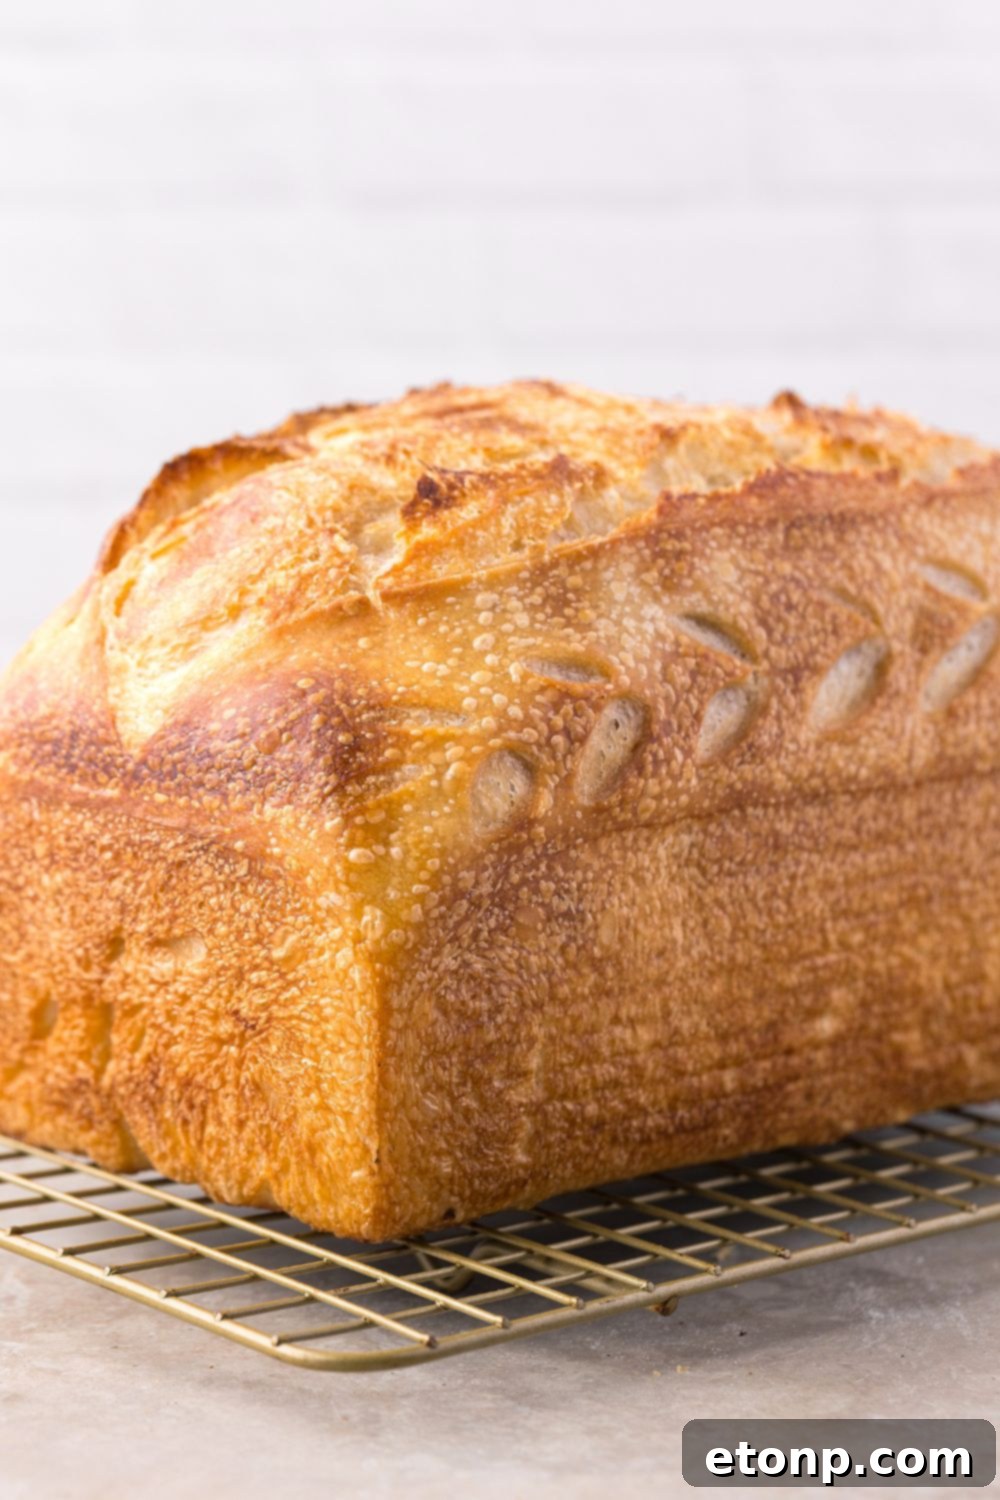
Absolutely! This recipe is very versatile. Refer to the “Sandwich Loaf Variation” section above for specific instructions on shaping and baking in a loaf pan to achieve a softer, square loaf that’s ideal for slicing for sandwiches.
Why did my bread not rise much during baking?
Several factors can contribute to a lack of rise: your starter might not have been active enough, the dough could have been under-proofed (not enough fermentation time), or it might have been over-proofed (too much fermentation, causing the gluten to collapse). Always ensure your starter is vigorous, and then watch the dough’s volume and feel during bulk fermentation and final proofing rather than relying solely on the clock.
How do I get those beautiful, big air bubbles (open crumb) inside my sourdough?
Achieving an open crumb requires a combination of factors: using an extremely active starter, performing gentle stretch and folds to build gluten without tearing it, being careful not to overwork or deflate the dough during shaping, and ensuring you don’t overproof the dough, which can weaken the gluten structure.
The Perfect Present: Gifting Homemade Sourdough Bread
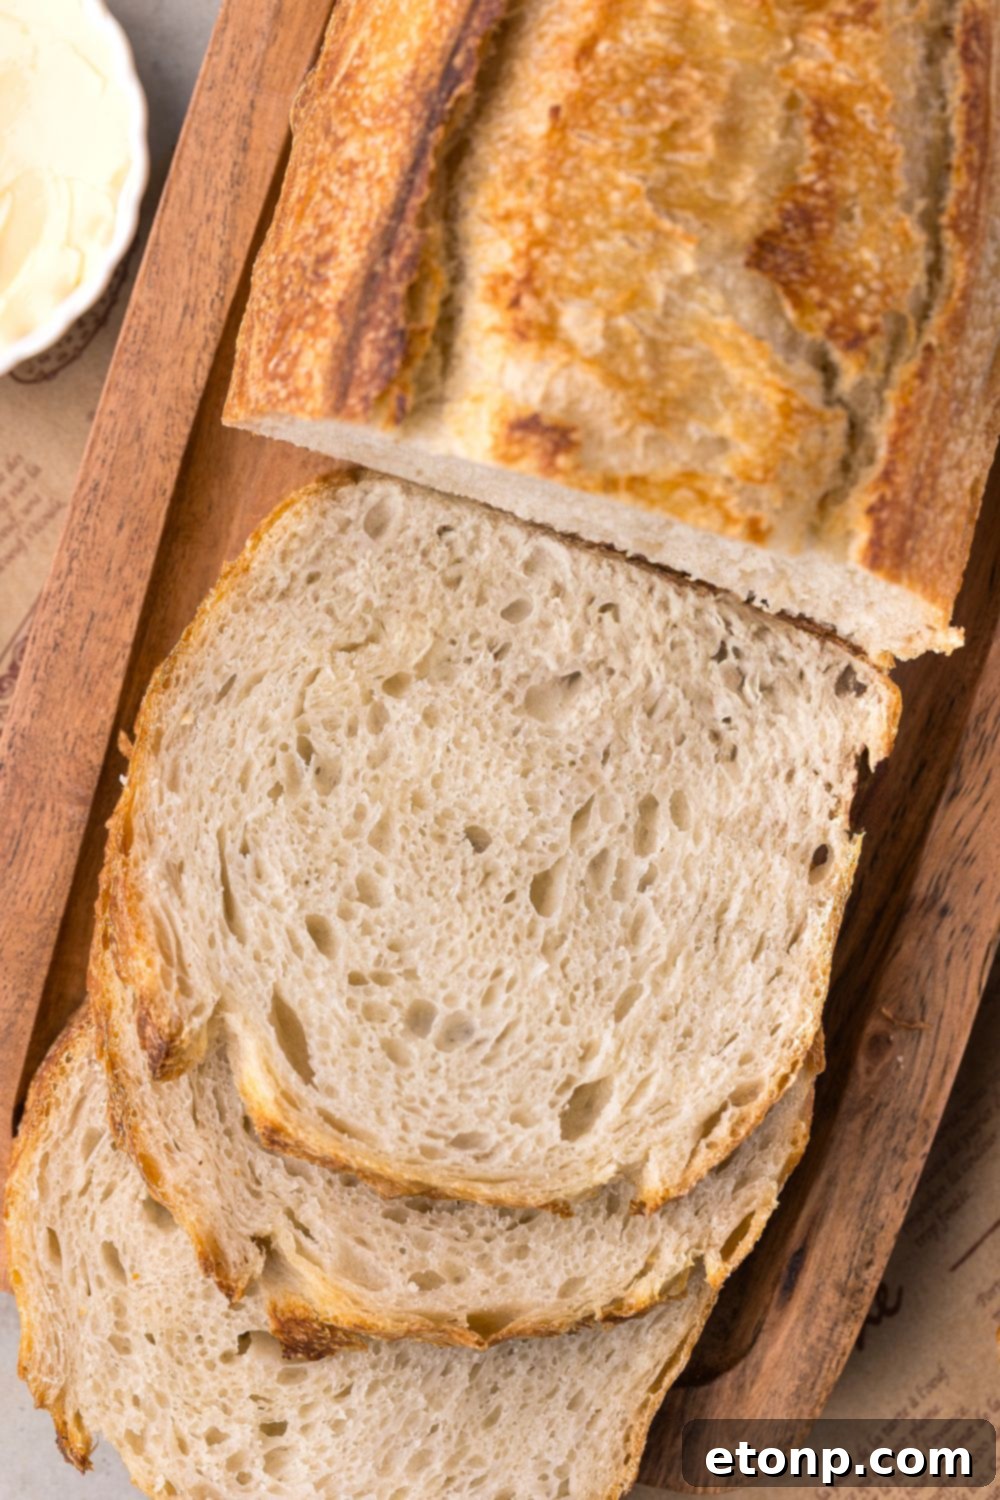
Homemade sourdough bread makes an exceptionally thoughtful and cherished gift. Its rustic charm, incredible flavor, and the personal effort involved convey warmth and care. Whether you’re expressing gratitude to a neighbor, extending a welcoming gesture to new friends, or sharing the spirit of the holidays, a freshly baked loaf is always received with delight.
To elevate your gift and ensure it’s beautifully presented, consider these wrapping and accompanying ideas:
Creative Wrapping Ideas
- Rustic Charm: Wrap the fully cooled loaf in a sheet of parchment paper or plain butcher paper. Secure it with natural twine and tuck in a fresh sprig of rosemary or a small bundle of dried lavender for an aromatic and visually appealing touch.
- Simple & Sweet: Place the bread in a clear cellophane bread bag or a plain brown paper bag. Seal it with a personalized sticker or a handwritten label that adds a homemade feel.
- Gourmet Basket: For a more elaborate gift, nestle the sourdough into a small basket. Pair it with complementary items such as a jar of gourmet jam, a small bottle of local honey, a high-quality olive oil, or a container of homemade compound butter.
The Importance of a Personal Note
Always include a small, handwritten card with your gifted loaf. This adds a truly personal touch and provides helpful information for the recipient:
- Loaf Type: Mention if it’s a classic sourdough, a whole wheat variation, or a specific flavor.
- Storage Instructions: Advise them on how to best store the bread (e.g., “Best enjoyed within 3 days, or slice and freeze for longer enjoyment”).
- Reheating Tips: Include quick instructions for refreshing the bread (e.g., “To warm, place in a 325°F oven for 8-10 minutes. If frozen, slices can be toasted directly from the freezer”).
A simple message like this often resonates: “Baked with love! This sourdough is wonderful toasted with butter or dipped into your favorite soup. Store at room temperature, or freeze slices for later. Enjoy this little piece of homemade goodness!”
We’ve found immense joy in gifting loaves to our children’s teachers, our cherished neighbors, and even our dedicated delivery driver during the holiday season. It’s a small gesture that consistently brings a big smile.

Final Thoughts: Your Sourdough Journey Begins Now
This Homemade Sourdough Bread recipe has truly become a cherished staple in our household. Its perfectly balanced crust, satisfying chew, and robust flavor make every single bite a delightful experience. Whether I’m carefully slicing a thick piece for a decadent avocado toast or preparing a practical sandwich loaf for my husband’s lunchbox, the act of creating and enjoying this bread always feels like a small, yet significant, victory.
It’s the kind of recipe that effortlessly weaves itself into your weekly rhythm, transforming from a daunting culinary challenge into a comforting, predictable pleasure. And despite the sophisticated reputation sourdough often carries, this particular method is genuinely simple and forgiving enough for real-life, busy individuals—especially parents like me who often find themselves answering a stream of children’s questions while simultaneously folding dough!
Take the leap and bake it once, and I have a strong feeling you’ll be inspired to return to this recipe again and again, finding consistent joy and deliciousness with every loaf.
Craving More Carb-Loaded Recipes?
- Amish Bread
- Hawaiian Dinner Rolls
- Homemade White Bread
- Lemon Bread
Homemade Sourdough Bread
Course:
Breads
Prep Time:
20 mins
Cook Time:
40 mins
Total Time:
15 hrs
Servings:
12 servings
Learn how to make fool-proof homemade sourdough sandwich bread, perfect for slicing and serving any time of the day. This recipe yields a delicious loaf with a crusty outside and soft, chewy inside, suitable for beginners.
Pin Recipe
Share Recipe
Ingredients
- 125 g active sourdough starter fed and bubbly
- 325 g warm filtered water around 90°F (32-35°C)
- 20 g neutral oil avocado, olive, or canola oil
- 12 g honey
- 12 g fine sea salt
- 500 g bread flour
Instructions
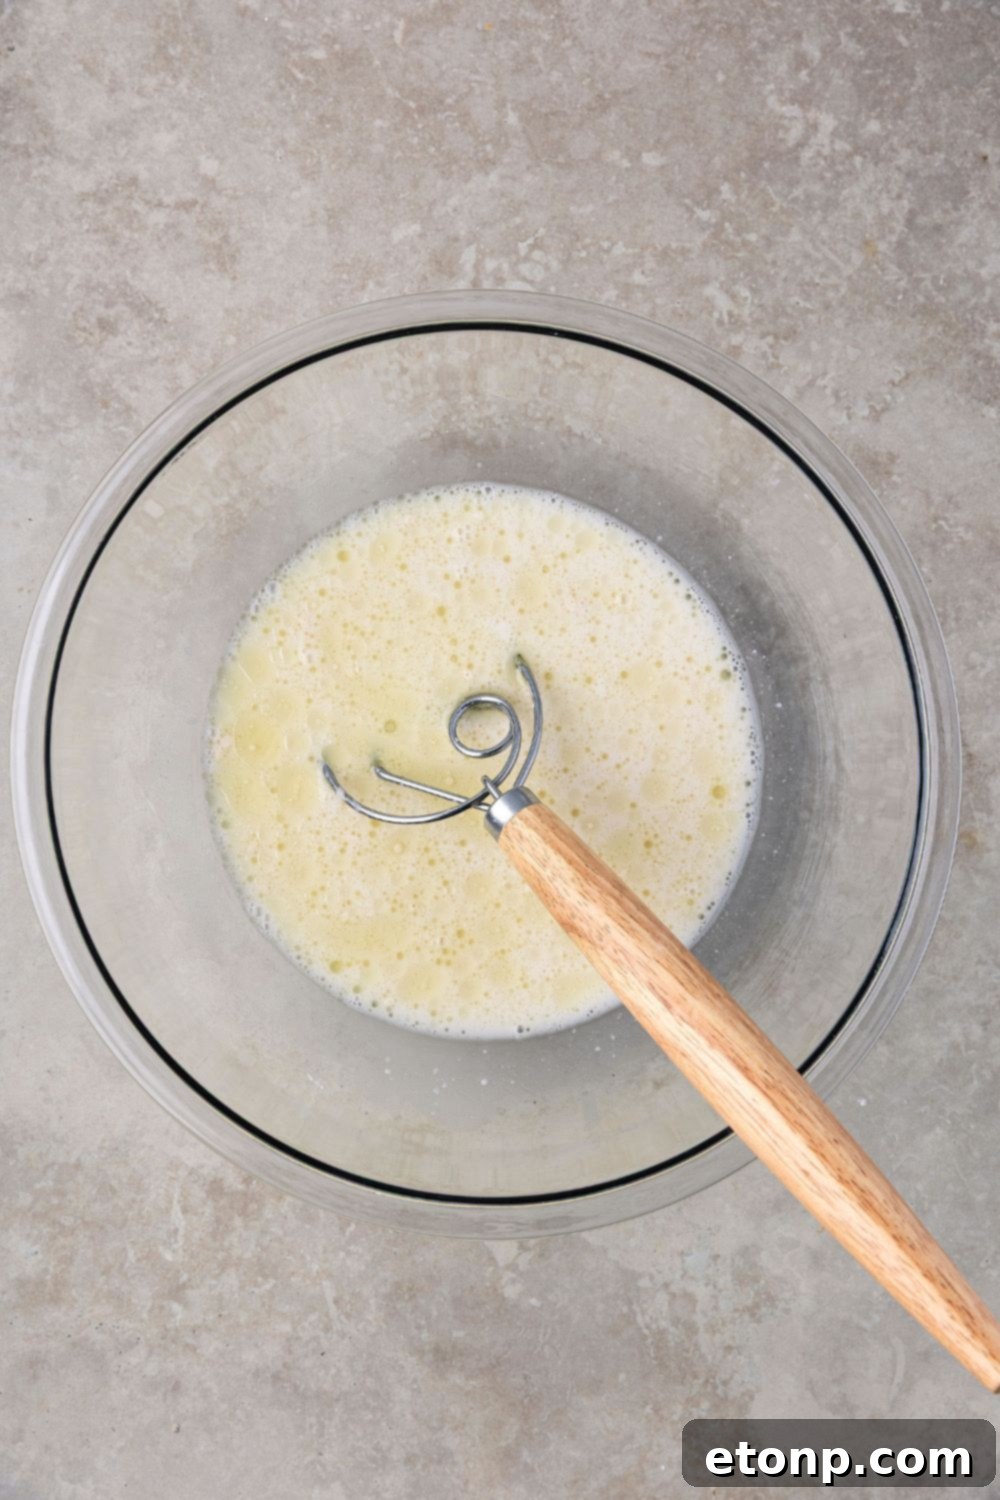
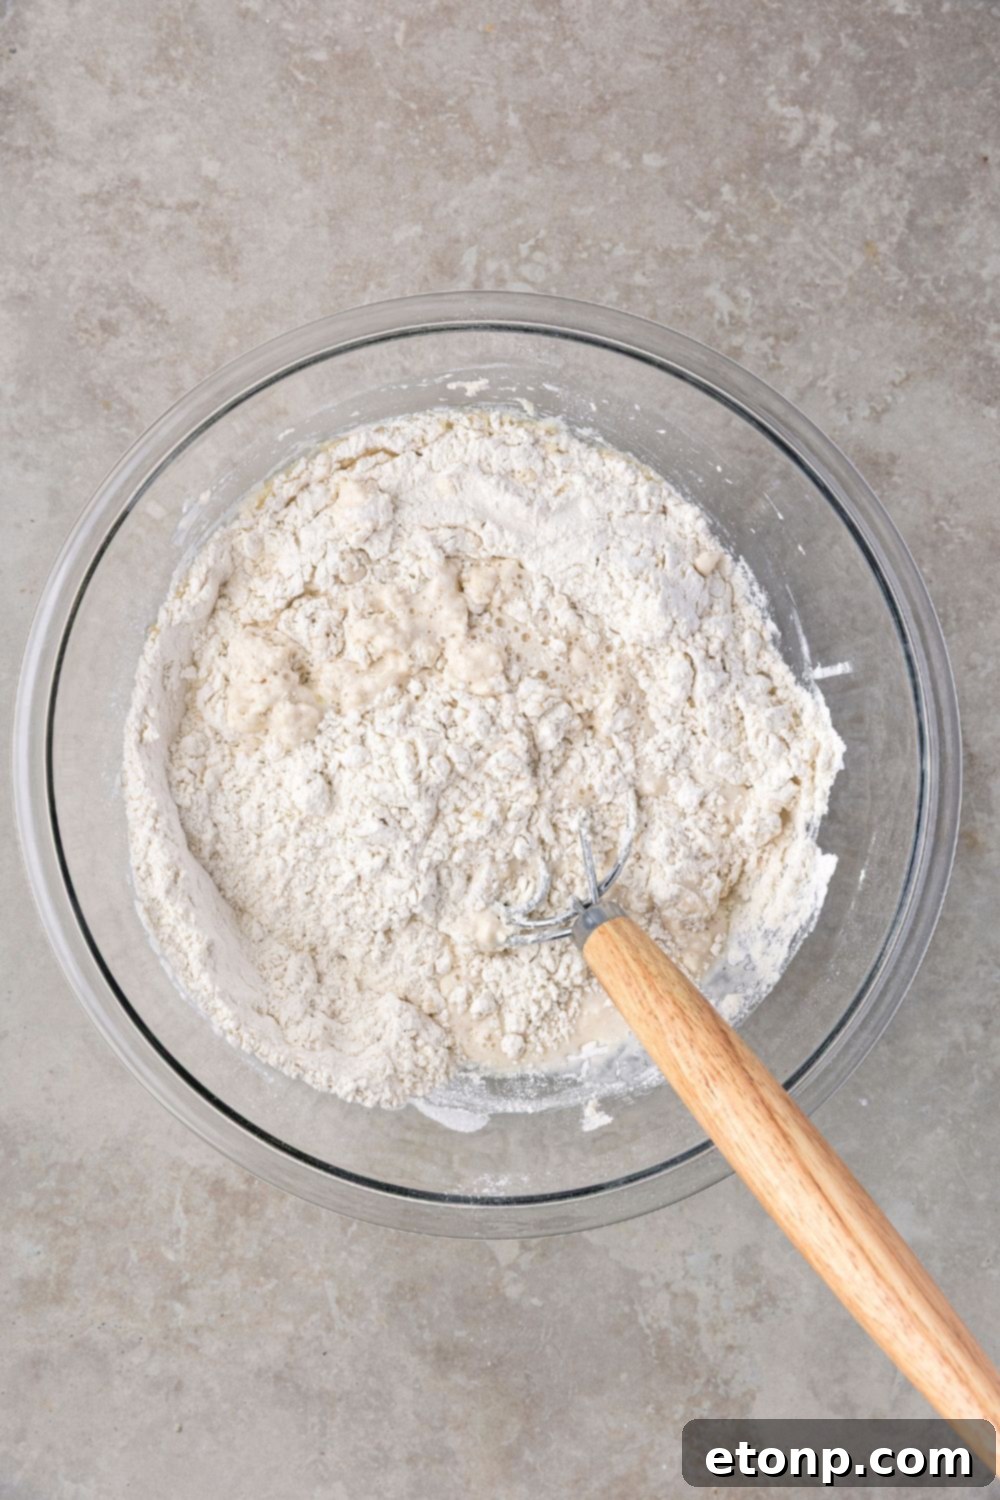
- In a large mixing bowl, combine the active sourdough starter, warm water, neutral oil, honey, and fine sea salt. Stir these wet ingredients vigorously until everything is thoroughly dissolved and well-incorporated. Add the bread flour and mix until there are absolutely no dry pockets of flour remaining. At this stage, the dough will appear shaggy and quite sticky.
- Cover the bowl with a damp cloth or plastic wrap and allow the dough to rest for 30 minutes. This resting period, known as autolyse, is crucial for hydrating the flour and kick-starting gluten development, making the dough easier to work with later.
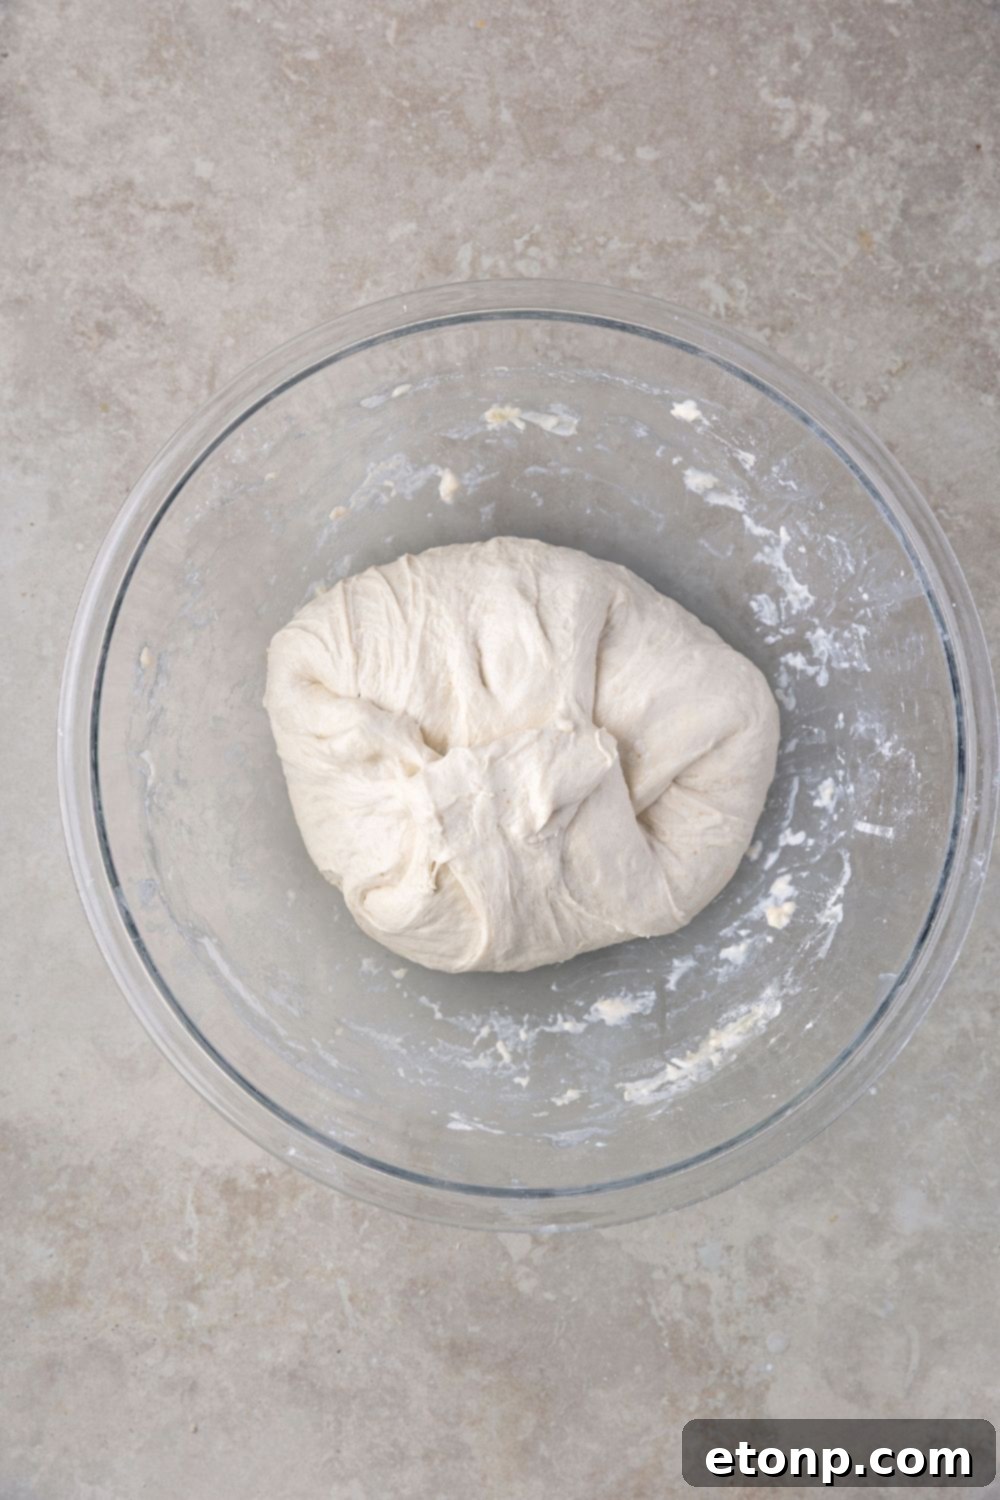
- After the rest, wet your hands thoroughly (this prevents sticking) and gently knead the dough directly in the bowl for 3 to 4 minutes. Use a push-pull motion, working the dough against the sides of the bowl. Rewet your hands as necessary to maintain the non-stick surface.
- Cover the dough again and let it rest for another 30 minutes. Now, begin your first set of stretch and folds: with wet hands, gently lift one section of the dough from the edge, stretch it upwards, and then fold it over onto itself towards the center. Rotate the bowl about a quarter turn and repeat this process on all sides. Aim for 4 to 8 stretches per round, adjusting based on how the dough’s strength is developing. Repeat this entire stretch and fold process for a total of 3 sets, with 30-minute rest periods between each set.
- After the final set of stretch and folds, cover the bowl once more. This marks the beginning of the bulk fermentation (first rise) stage. Allow the dough to rise at room temperature until it has increased in volume by approximately 60 to 75 percent. It should appear slightly domed on top and exhibit visible bubbles along the sides of the bowl. This typically takes 5 to 8 hours, but actual time depends heavily on your room temperature and starter activity.
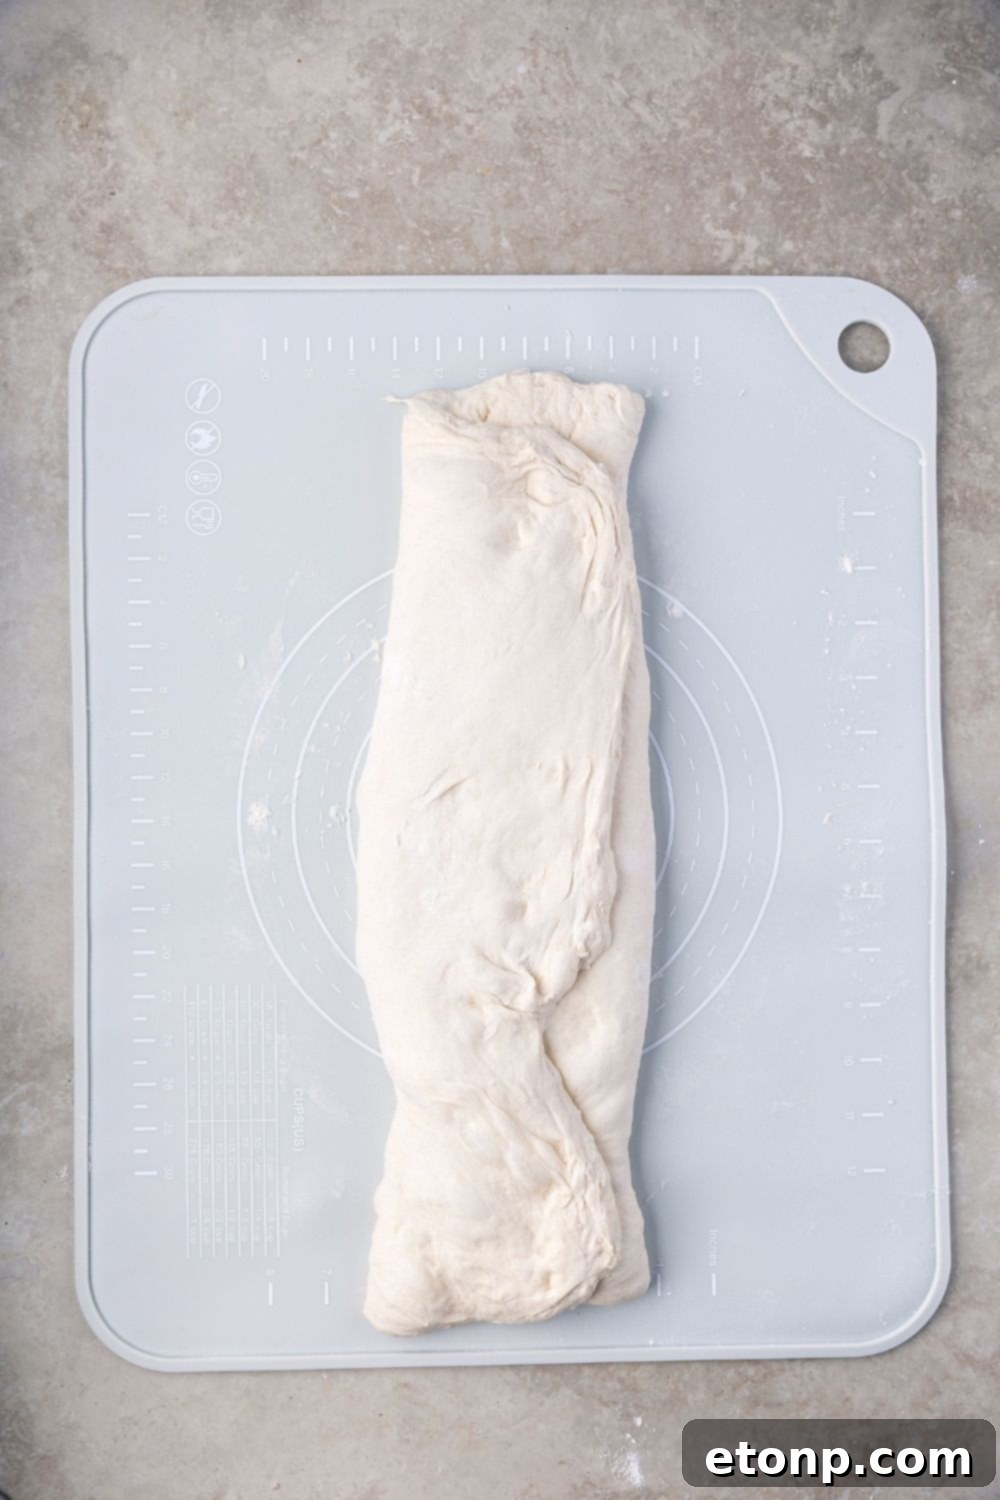
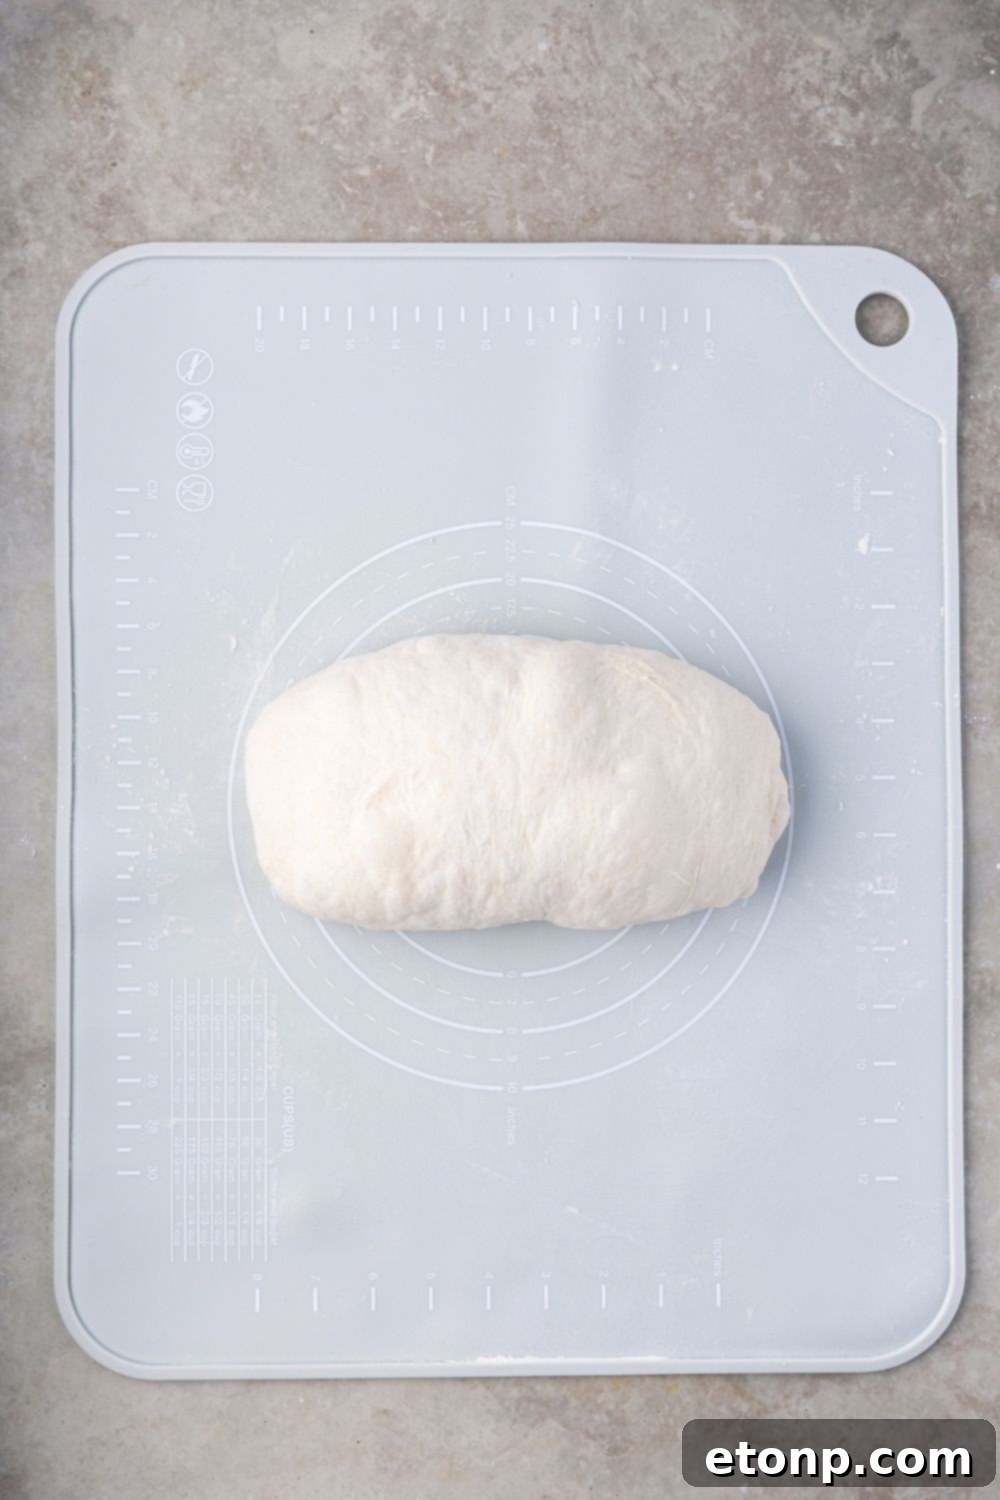
- Once bulk fermentation is complete, gently turn the dough out onto a lightly floured surface. You may need a little extra flour to prevent it from sticking to your hands and the surface. Carefully stretch the dough into a rectangular shape. Fold one side of the rectangle towards the middle, then fold the opposite side over the first fold, creating a tri-fold. Next, gently roll the dough into a log, being careful not to press too hard or deflate the trapped air, which is essential for a light and airy crumb. Place the shaped log of dough seam-side down into a greased 9×5-inch loaf pan.
- Cover the loaf pan loosely (e.g., with plastic wrap or a clean kitchen towel) and allow the dough to undergo its final rise (proofing). The dough should rise until it domes approximately ½ to 1 inch above the rim of the pan. This usually takes 2 to 4 hours at room temperature. For added flexibility or enhanced flavor, you can also cover and refrigerate the shaped loaf for up to 48 hours; if doing so, allow it to finish rising at room temperature before baking.
- Preheat your oven to 450°F (232°C). Once preheated, use a sharp lame or razor blade to score the top of your dough. A simple slash down the center or a decorative wheat stalk pattern works well. Scoring allows the bread to expand evenly and prevents uncontrolled tearing. Lightly mist the dough with water. To create a steaming environment for a softer crust, invert a second empty loaf pan on top of the one containing the dough. Bake covered for 25 to 30 minutes.
- After the initial covered bake, carefully remove the top pan, reduce the oven temperature to 425°F (218°C), and continue baking for another 10 to 15 minutes. Bake until the loaf develops a deep golden-brown crust and the internal temperature, checked with an instant-read thermometer, reaches 205-210°F (96-99°C). If the crust is browning too rapidly, loosely tent the loaf with aluminum foil to allow the interior to finish baking without over-browning the exterior. The steam trapped during the initial bake is crucial for achieving that characteristic bubbly and tender crust.
- Once baked, remove the bread from the oven and carefully transfer it out of the loaf pan onto a wire cooling rack. Allow the loaf to cool completely for at least 2 hours before slicing. This cooling period is critical for the internal structure to set, preventing a gummy crumb. We know it’s incredibly difficult to wait when the aroma of warm, fresh bread fills your home, so use your best judgment and enjoy a slice when you simply can’t resist!
Did you make this recipe?
Make sure to follow on Pinterest for more recipes!
Pin Recipe
Share on Facebook