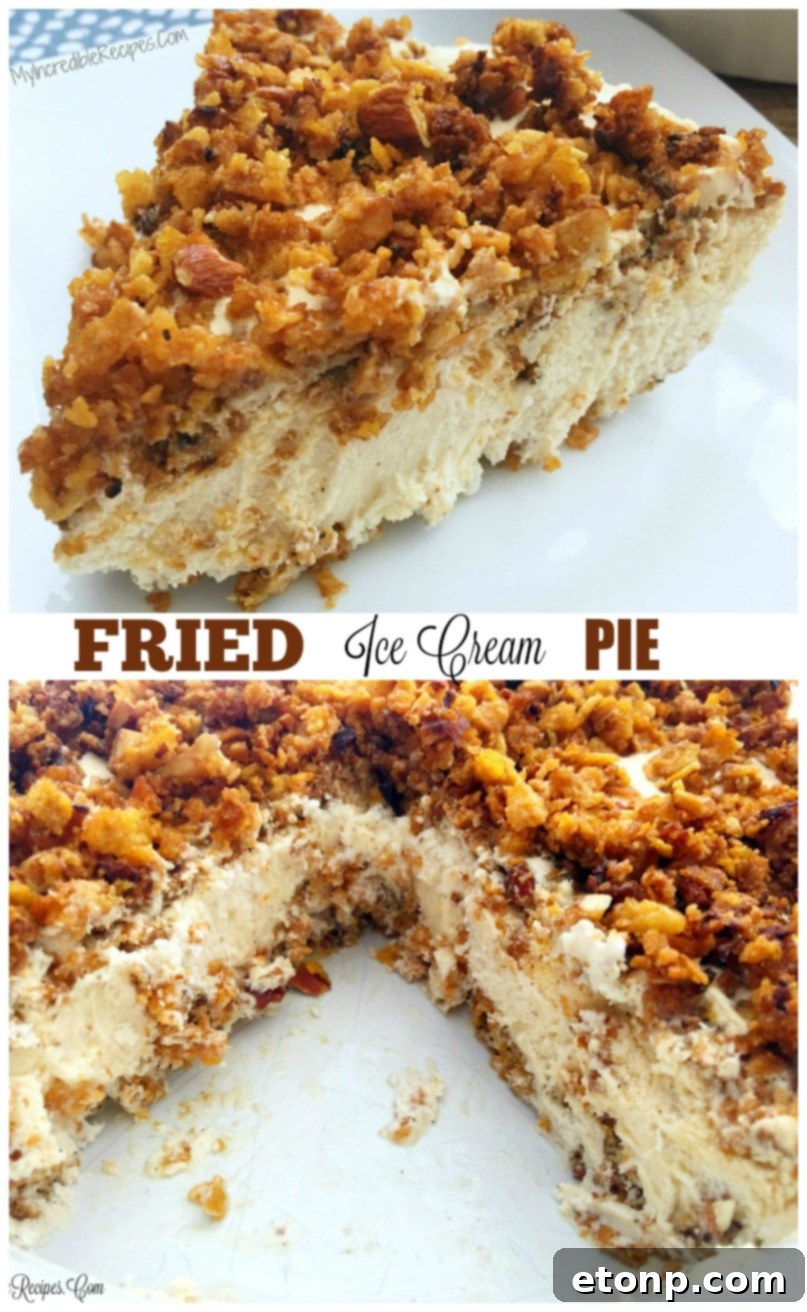
Irresistible No-Bake “Fried” Ice Cream Pie: Your New Favorite Dessert!
Get ready to tantalize your taste buds with a dessert that’s been weeks in the making – our incredible “Fried” Ice Cream Pie! This isn’t just any ice cream pie; it’s a culinary marvel that perfectly recreates the beloved flavors of a restaurant-style fried ice cream, all without the hassle of actual deep-frying. Imagine a delightfully crispy exterior embracing a rich, creamy ice cream filling, a symphony of textures and tastes that will leave you craving more. This recipe has been a labor of love, and I’m thrilled to finally share this awesome, easy-to-make indulgence with you. Its simplicity combined with its spectacular taste makes it an instant classic for family gatherings, parties, or simply a sweet treat to brighten any day.
The Magic Behind the “Fried” Illusion: Achieving Authentic Flavor Without the Fryer
For years, the thought of recreating restaurant-style fried ice cream at home felt daunting. The idea of deep-frying ice cream seemed messy, complicated, and frankly, a bit intimidating. That’s why when I stumbled upon various “no-bake fried ice cream” concepts circulating on Pinterest, my curiosity was immediately piqued. The promise of achieving that signature taste and crunch without a vat of hot oil was a game-changer. This recipe is a testament to clever ingredient combinations, making the impossible deliciously possible and accessible to every home cook.
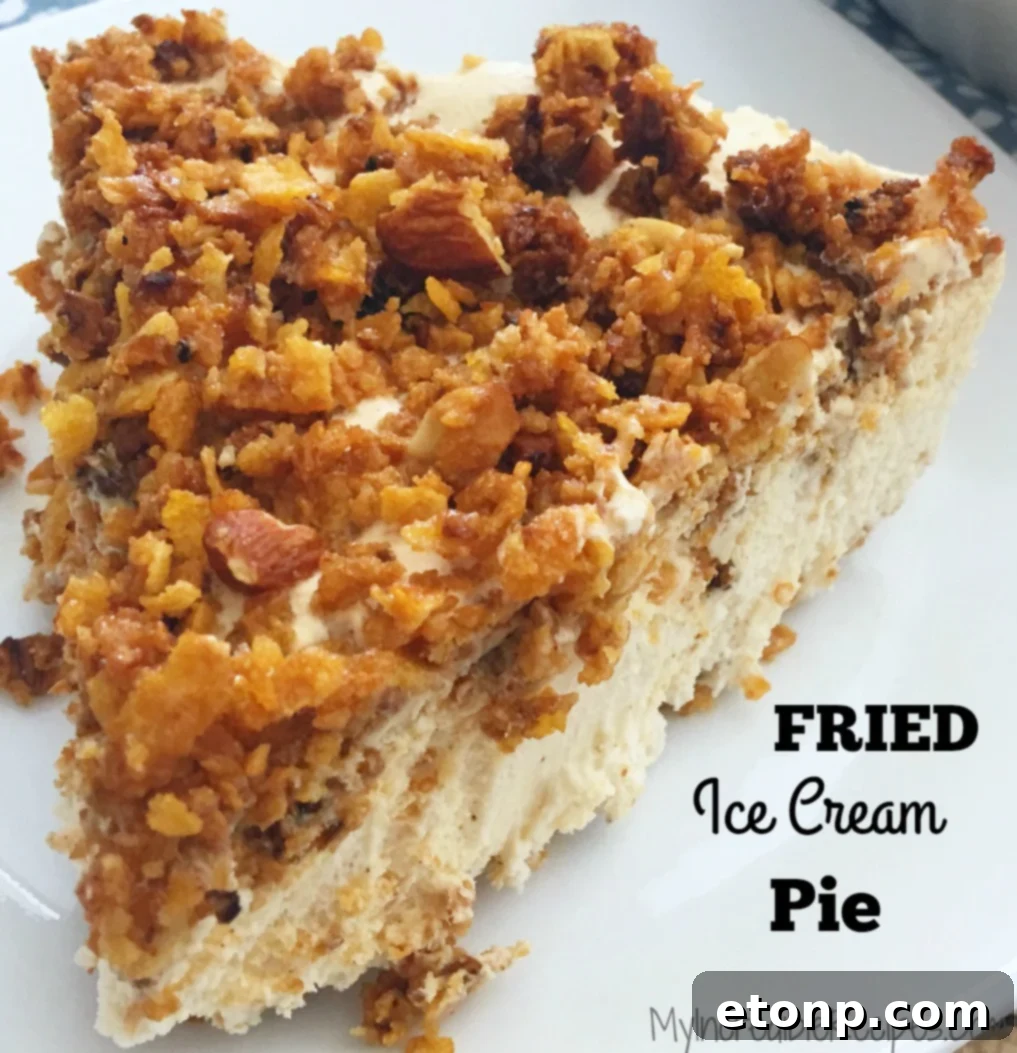
The secret lies in the distinct components that build the flavor profile. The “fried” part isn’t deep-fried at all, but rather a meticulously crafted mixture of toasted cornflakes, crunchy nuts, and a hint of sugar and cinnamon, all bound together with melted butter. This creates that wonderfully golden, slightly caramelized, and incredibly satisfying crunch that is synonymous with authentic fried ice cream. It’s the textural contrast between this crispy layer and the smooth, cold ice cream that truly elevates this dessert, transforming simple ingredients into a gourmet experience.
Every bite of this pie delivers the familiar warmth and spice of cinnamon-dusted cornflakes, perfectly complementing the cool, refreshing ice cream. This ingenious method not only simplifies the cooking process but also ensures a consistently delicious result every time. You get all the flavor and none of the fuss, making it a perfect dessert to prepare ahead of time.
My Quest for the Perfect No-Bake Version: Why Ice Cream is Non-Negotiable
As I delved into the world of “fried ice cream pie” recipes on Pinterest, I noticed a wide array of approaches. Some versions incorporated cream cheese for a richer filling, while others, to my astonishment, completely omitted the ice cream! For me, that was a deal-breaker. How can you call it “fried ice cream” without the very essence of the dessert – the ice cream itself? The core appeal of fried ice cream is that unique combination of warm, crunchy shell and frosty, creamy center.
My goal was clear: to find and perfect a recipe that truly highlighted the creamy, refreshing core of ice cream while delivering that signature crispy crust. After experimenting with a few different combinations, I landed on this particular blend of ingredients that strikes the perfect balance. It’s the closest you’ll get to that restaurant experience right in your own kitchen, and I promise, you won’t miss the deep fryer one bit. This recipe focuses on maximizing the impact of each ingredient, ensuring every spoonful is an authentic taste of fried ice cream bliss.
Essential Components for an Unforgettable Treat:
- **The Crispy Topping:** A blend of crushed cornflakes, your choice of nuts (almonds, pecans, or walnuts work beautifully), sugar, and cinnamon, all gently toasted in melted butter until perfectly golden brown. This is where the “fried” magic happens, creating a warm, sweet, and satisfyingly crunchy layer that truly mimics the deep-fried original.
- **The Creamy Filling:** A luscious mixture of slightly softened vanilla ice cream (or for a lighter, tangier touch, vanilla yogurt), rich sweetened condensed milk, and airy cool whipped topping. This combination yields an incredibly smooth, decadent, and easy-to-scoop filling that perfectly complements the crunchy texture of the topping and crust.
Crafting the Crunchy Base and Topping: The Heart of the “Fried” Experience
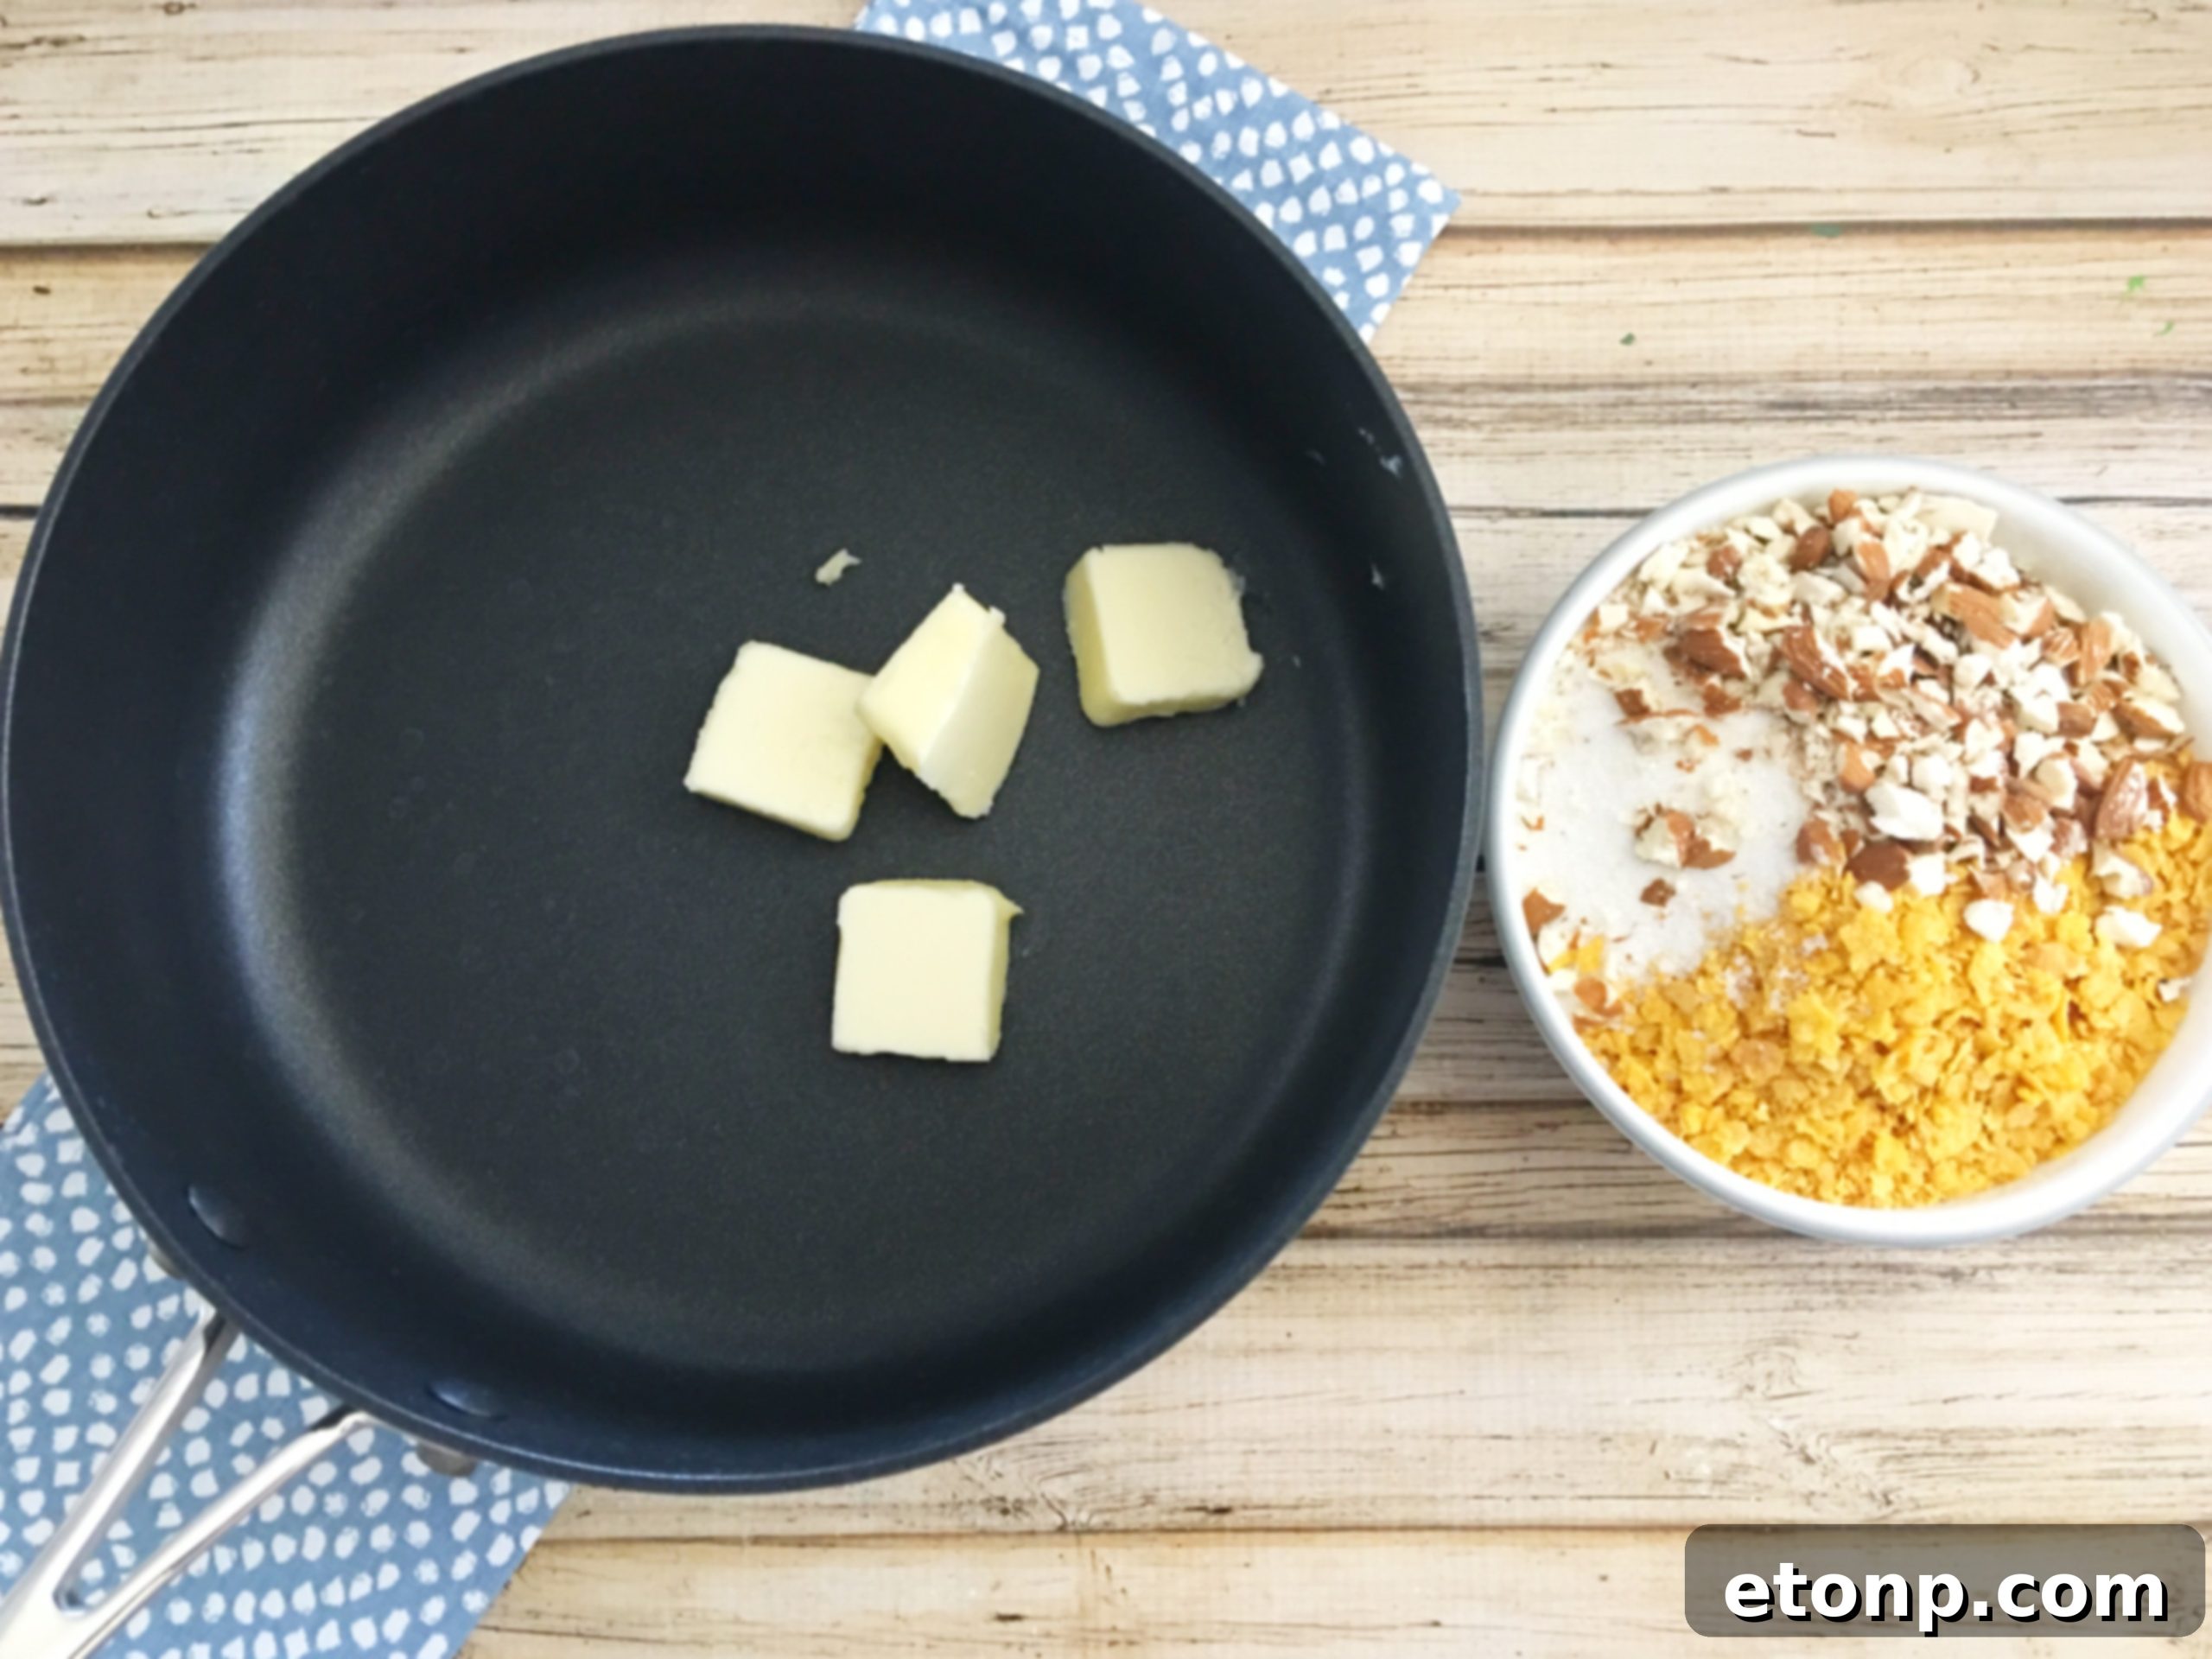
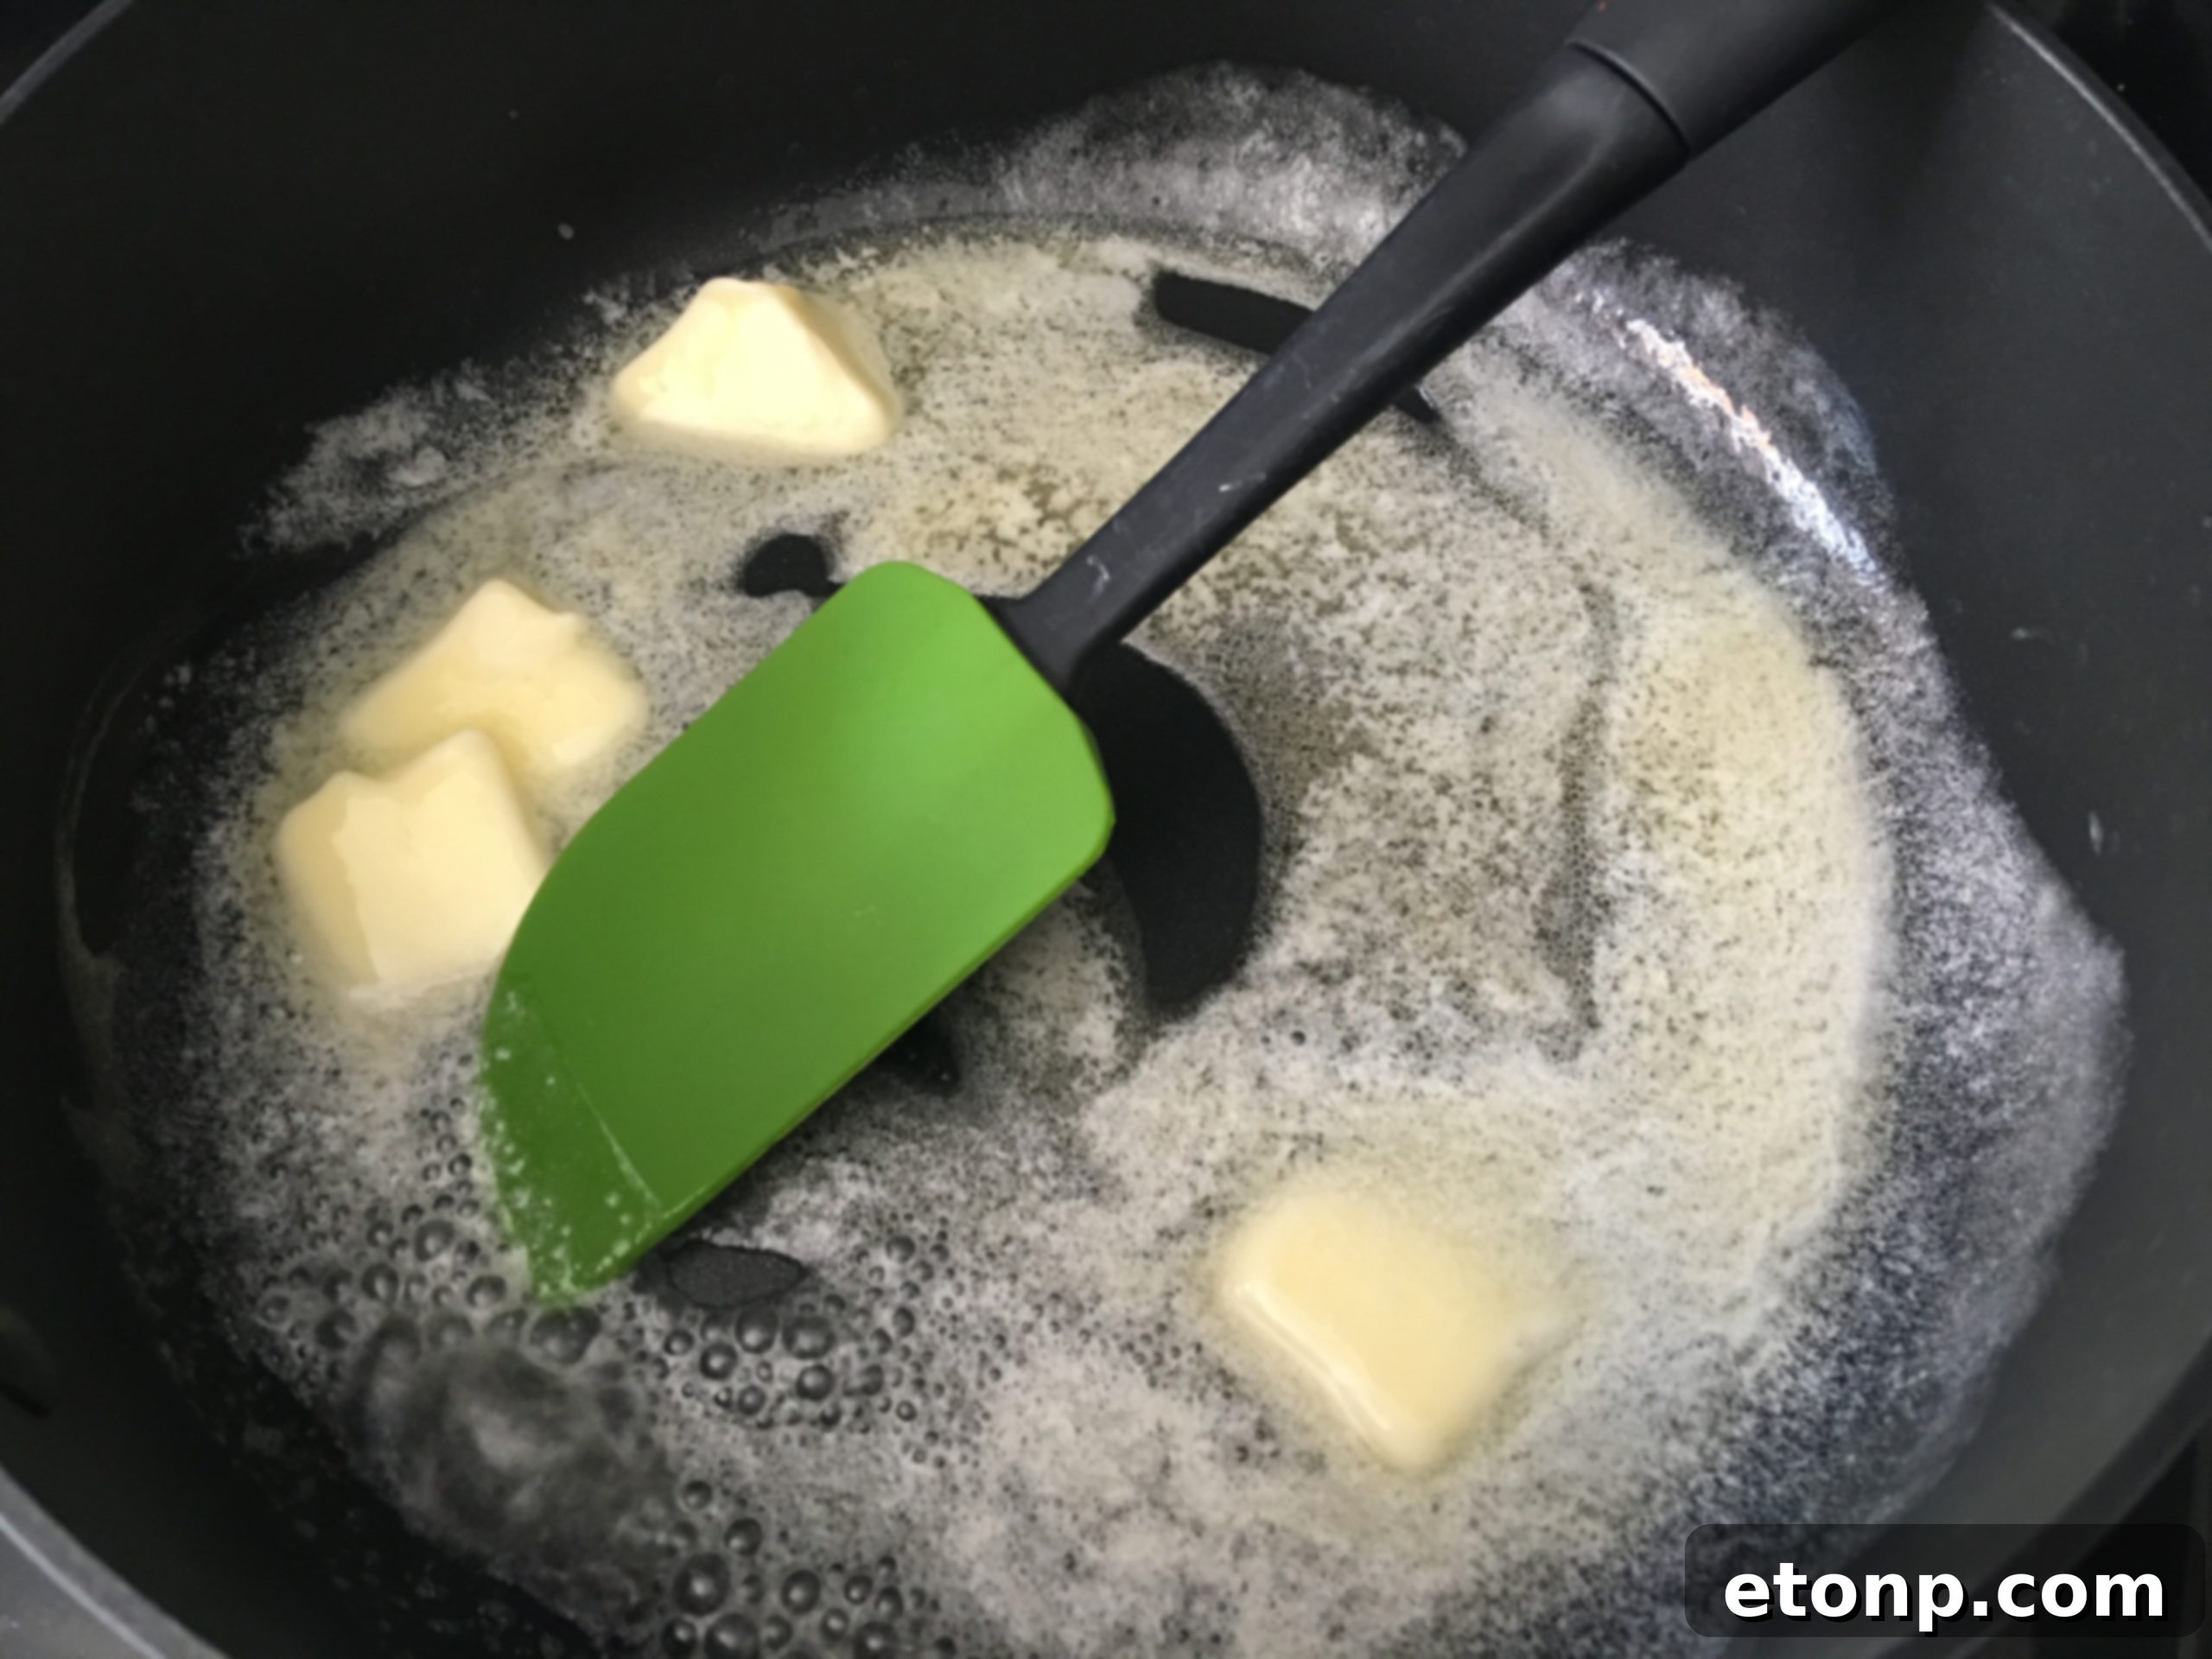
The journey to our spectacular “Fried” Ice Cream Pie begins with creating its defining characteristic: the golden, crunchy, and irresistibly flavorful cornflake mixture. This step is incredibly simple yet crucial for replicating that authentic fried texture and taste without any actual frying. You’ll start by melting six tablespoons of butter in a large skillet over medium heat. The rich aroma of butter heating up instantly signals that something delicious is about to happen, setting the stage for this delightful dessert.
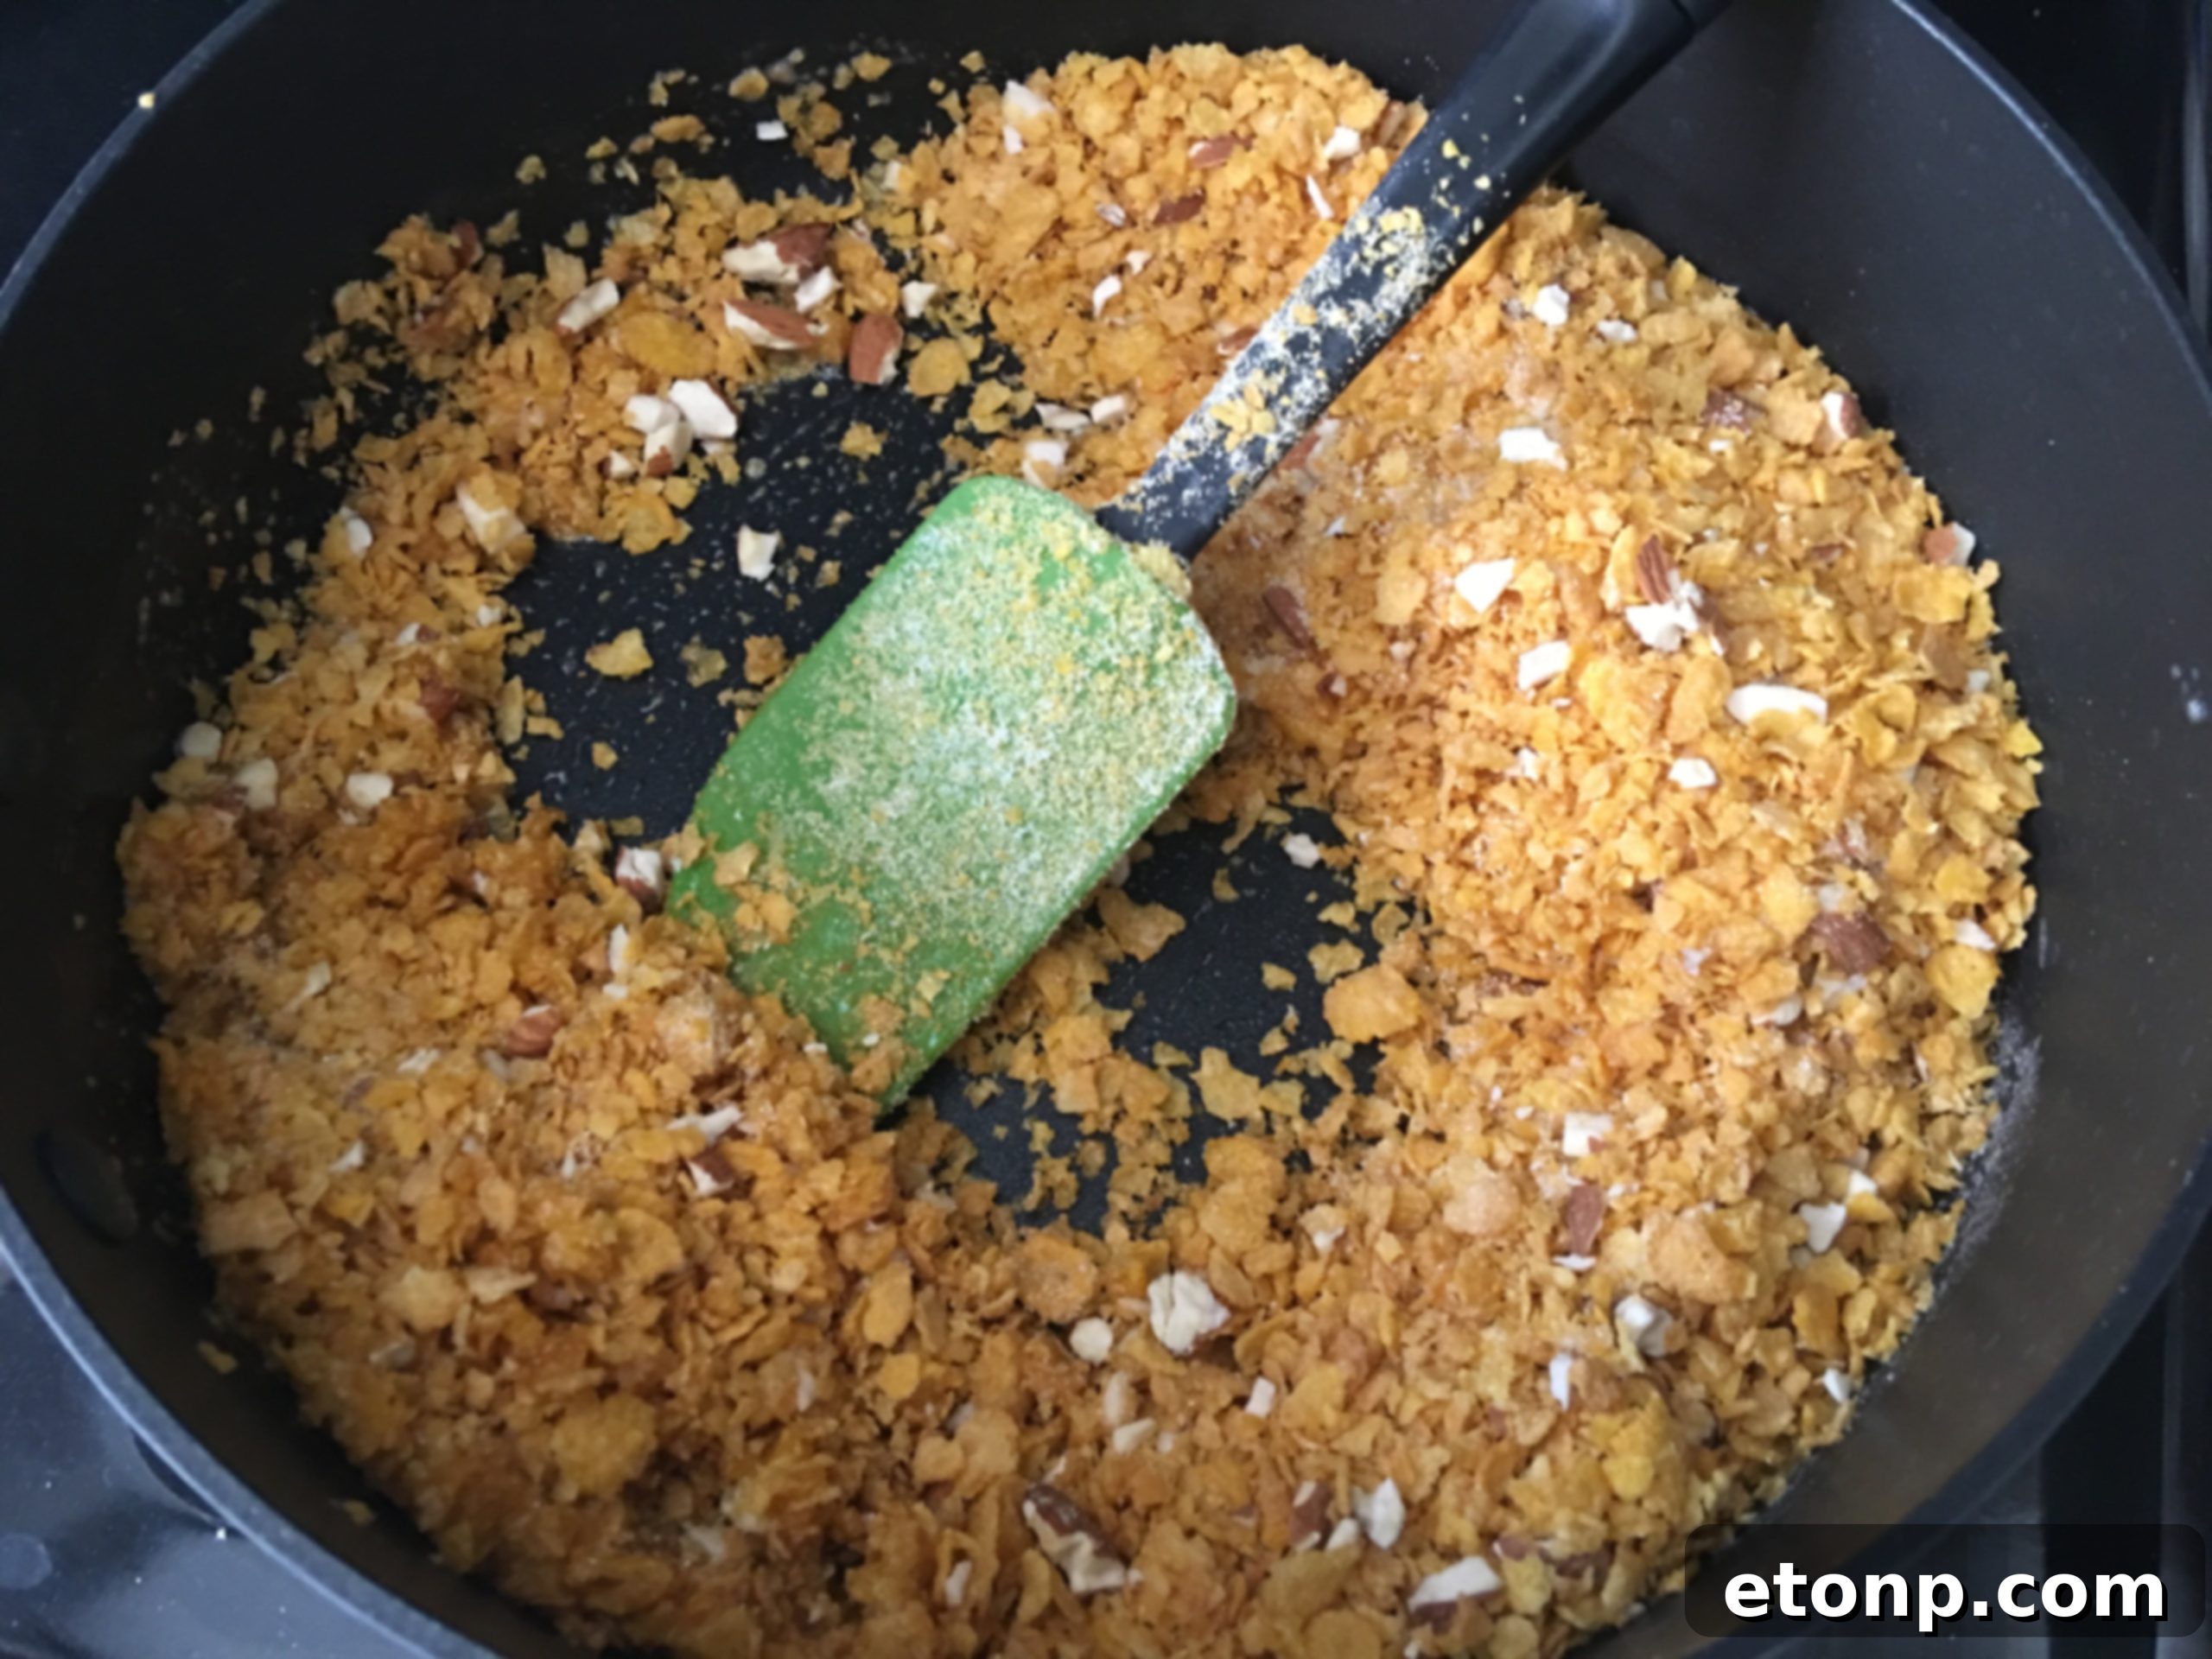
Once the butter is fully melted and shimmering, it’s time to add your crushed cornflakes, three tablespoons of sugar, and half a cup of your preferred nuts – be it almonds, pecans, or walnuts. I personally love the subtle sweetness and delicate crunch that almonds provide, but feel free to choose your favorite! Toasting these ingredients together allows the cornflakes to absorb the buttery goodness and become beautifully golden brown, while the sugar caramelizes slightly, adding a wonderful depth to the flavor. Keep stirring constantly for about 3-5 minutes until the mixture achieves that perfect golden hue and a warm, toasted scent fills your kitchen. This gentle toasting process is truly where the “fried” illusion comes to life, creating layers of flavor and texture that are key to the pie’s success.
After achieving that ideal golden crispness, transfer the mixture immediately to a bowl or spread it out evenly on a sheet of parchment paper to cool completely. Allowing it to cool is an essential step, as this prevents it from melting the delicate ice cream later on and ensures the maximum crunch factor when you bite into the pie. This perfectly toasted mixture serves as the foundation for both the bottom crust and the delightful top sprinkle, establishing the core texture that makes this pie so incredibly special.
Whipping Up the Dreamy Ice Cream Filling: Creamy Perfection in Every Bite
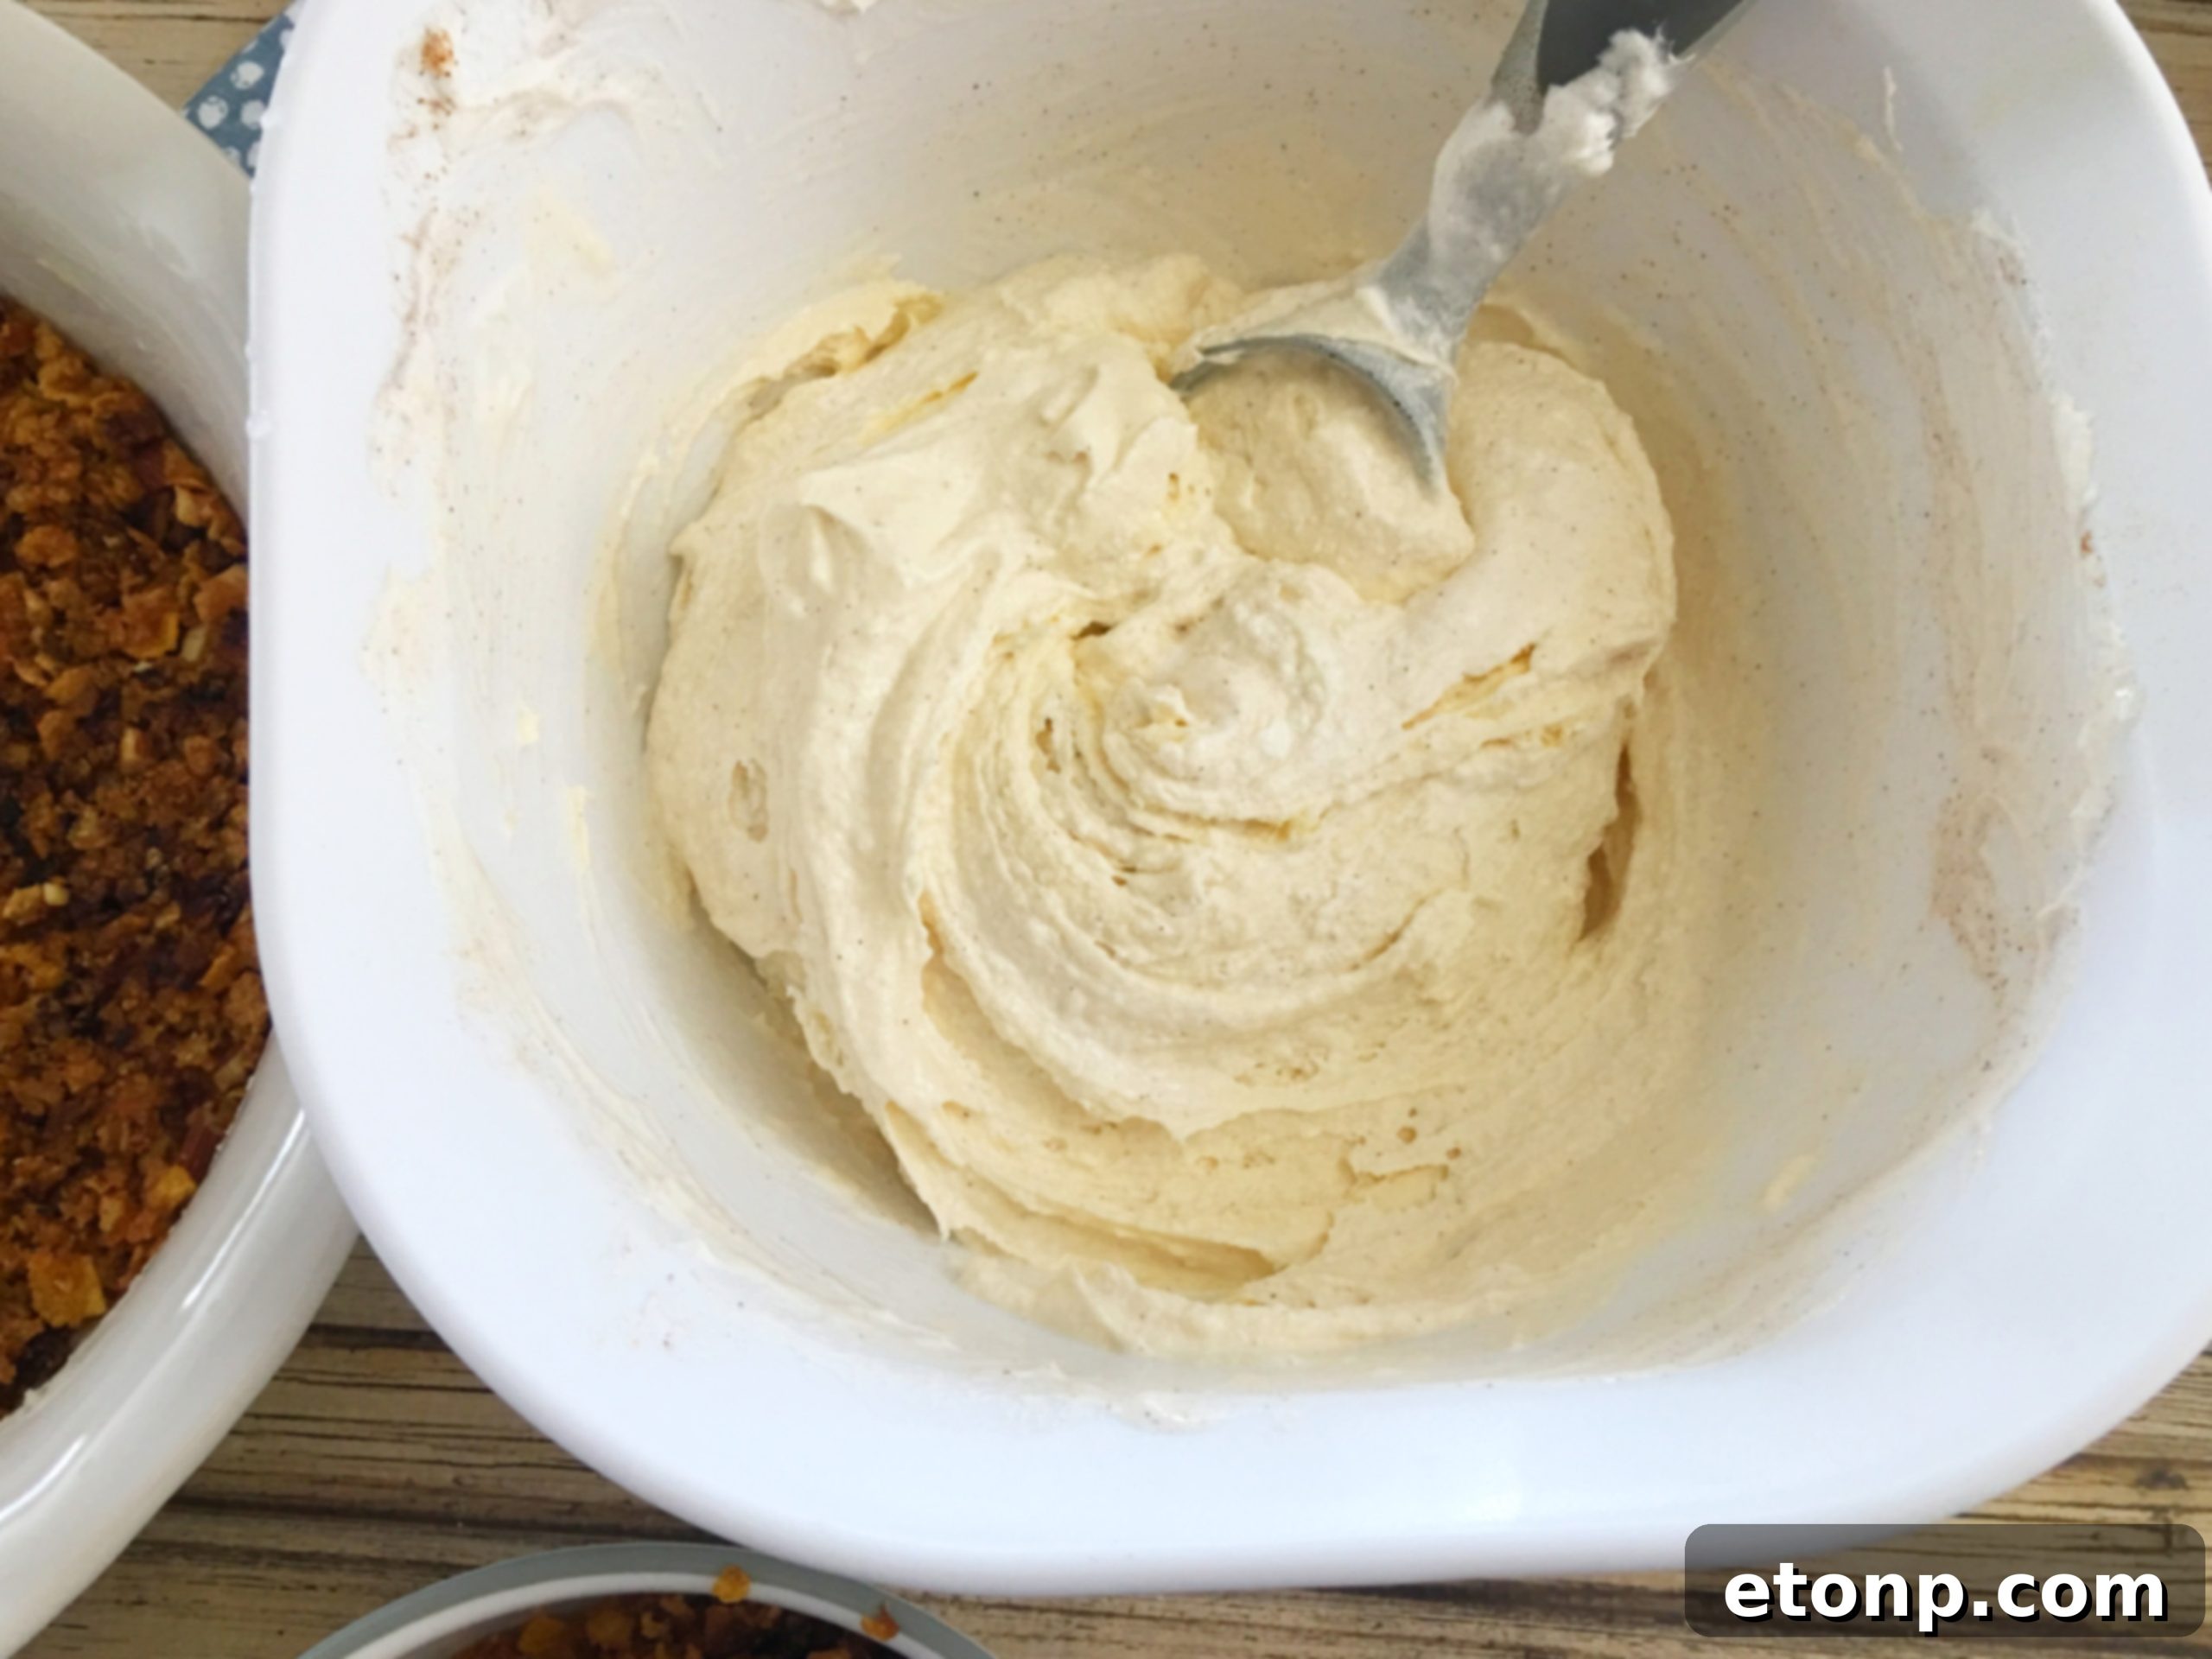
With our crunchy “fried” mixture cooling, it’s time to prepare the luxurious heart of our pie: the ice cream filling. This component brings the coolness, sweetness, and creamy texture that perfectly contrasts with the crispy exterior. In a large mixing bowl, combine your slightly softened vanilla ice cream (using a good quality vanilla ice cream will make a noticeable difference in flavor), a generous 4 ounces of cool whipped topping, 6 ounces of sweetened condensed milk, and a teaspoon of cinnamon. The sweetened condensed milk is key here, adding a rich, indulgent sweetness and an incredibly smooth consistency that prevents the ice cream from becoming overly hard when frozen, making it delightfully easy to scoop and enjoy right out of the freezer.
Gently beat these ingredients together until they are just well combined and smooth. Be careful not to overmix, as you want to maintain the airy texture of the whipped topping, which contributes to the light and creamy feel of the filling. The cinnamon adds a warm, subtle spice that beautifully complements the other flavors, evoking that classic fried ice cream taste with every mouthful. This filling is not only easy to make but also incredibly versatile. While the classic vanilla base is fantastic, I’m already dreaming of future variations! Next time, I might fold in swirls of rich caramel sauce or ribbons of decadent fudge for an extra layer of indulgence. Imagine a salted caramel “Fried” Ice Cream Pie – simply divine for a sophisticated twist!
Assembling Your Masterpiece: Layers of Delight
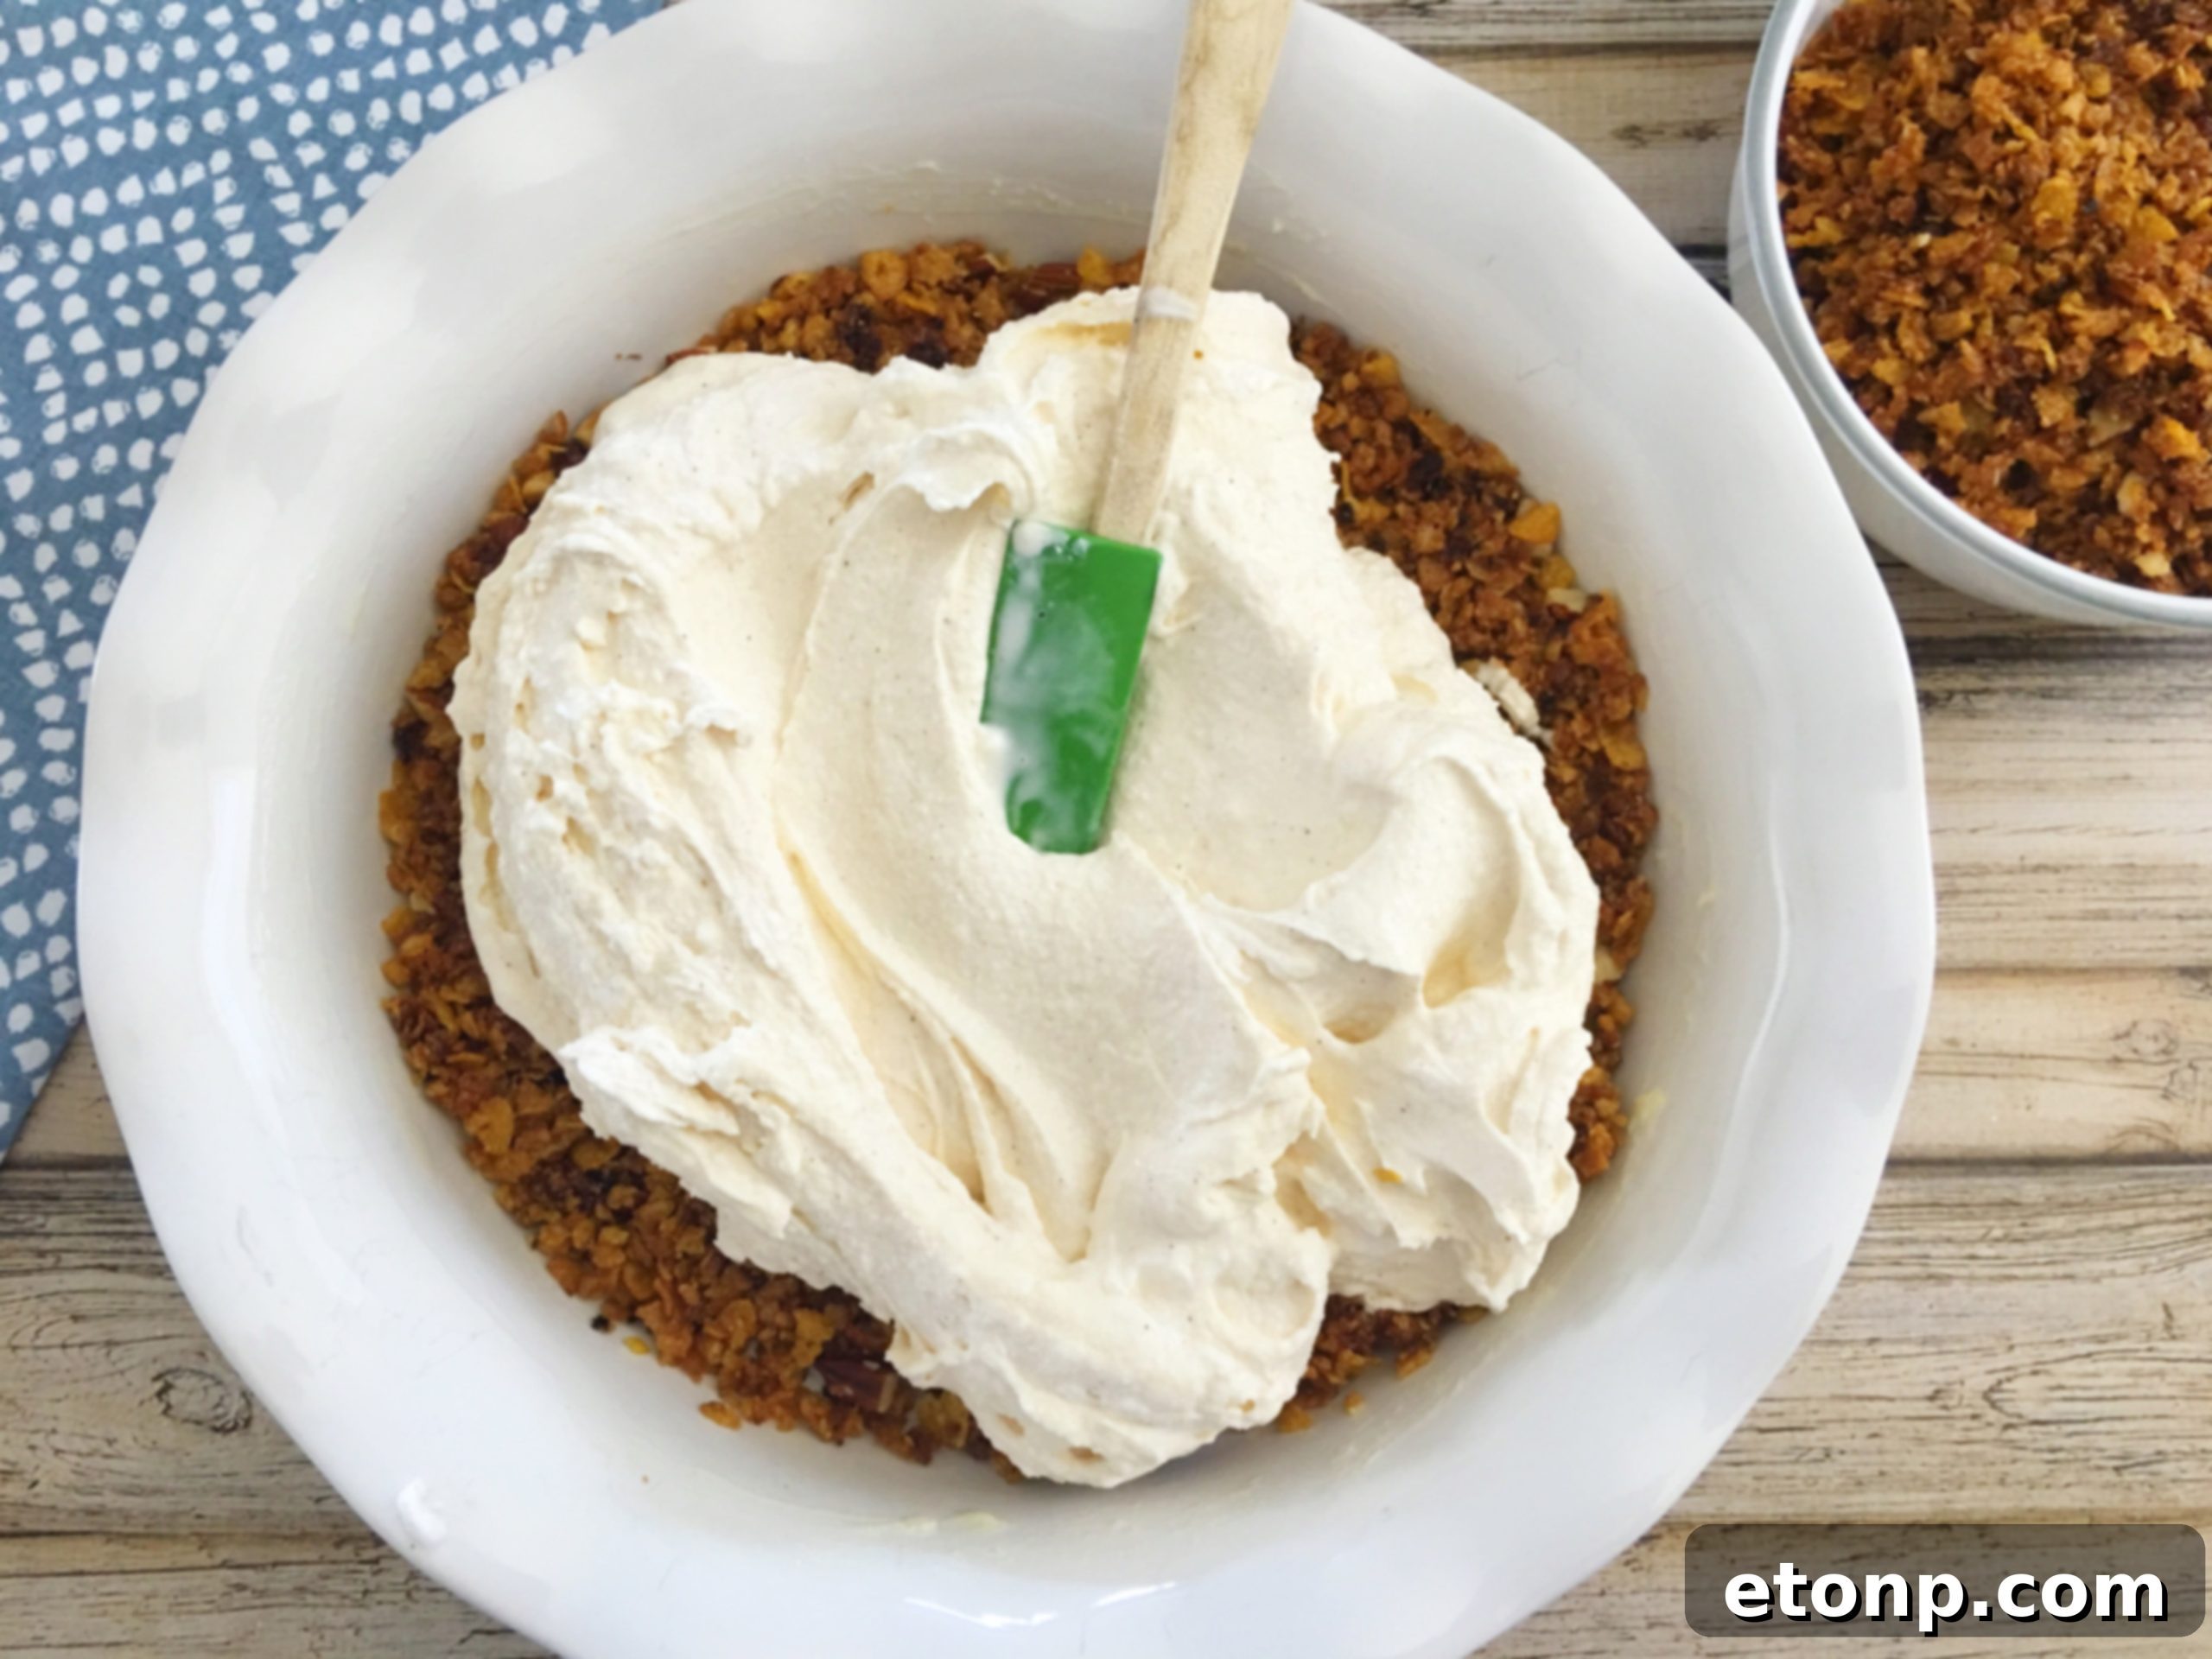
Now comes the exciting part – bringing all the components together to form your magnificent “Fried” Ice Cream Pie! This assembly process is quick and straightforward, culminating in a dessert that looks as impressive as it tastes, requiring minimal effort for maximum impact. First, take exactly half of your cooled cornflake mixture and firmly press it into the bottom of your chosen pie pan. This will form the delicious, crunchy crust that provides the essential foundation for our pie. Ensure it’s spread evenly across the bottom, creating a sturdy and uniform base for the creamy filling. Remember to set aside the other half of the mixture – it’s destined to become the fantastic, textural topping!
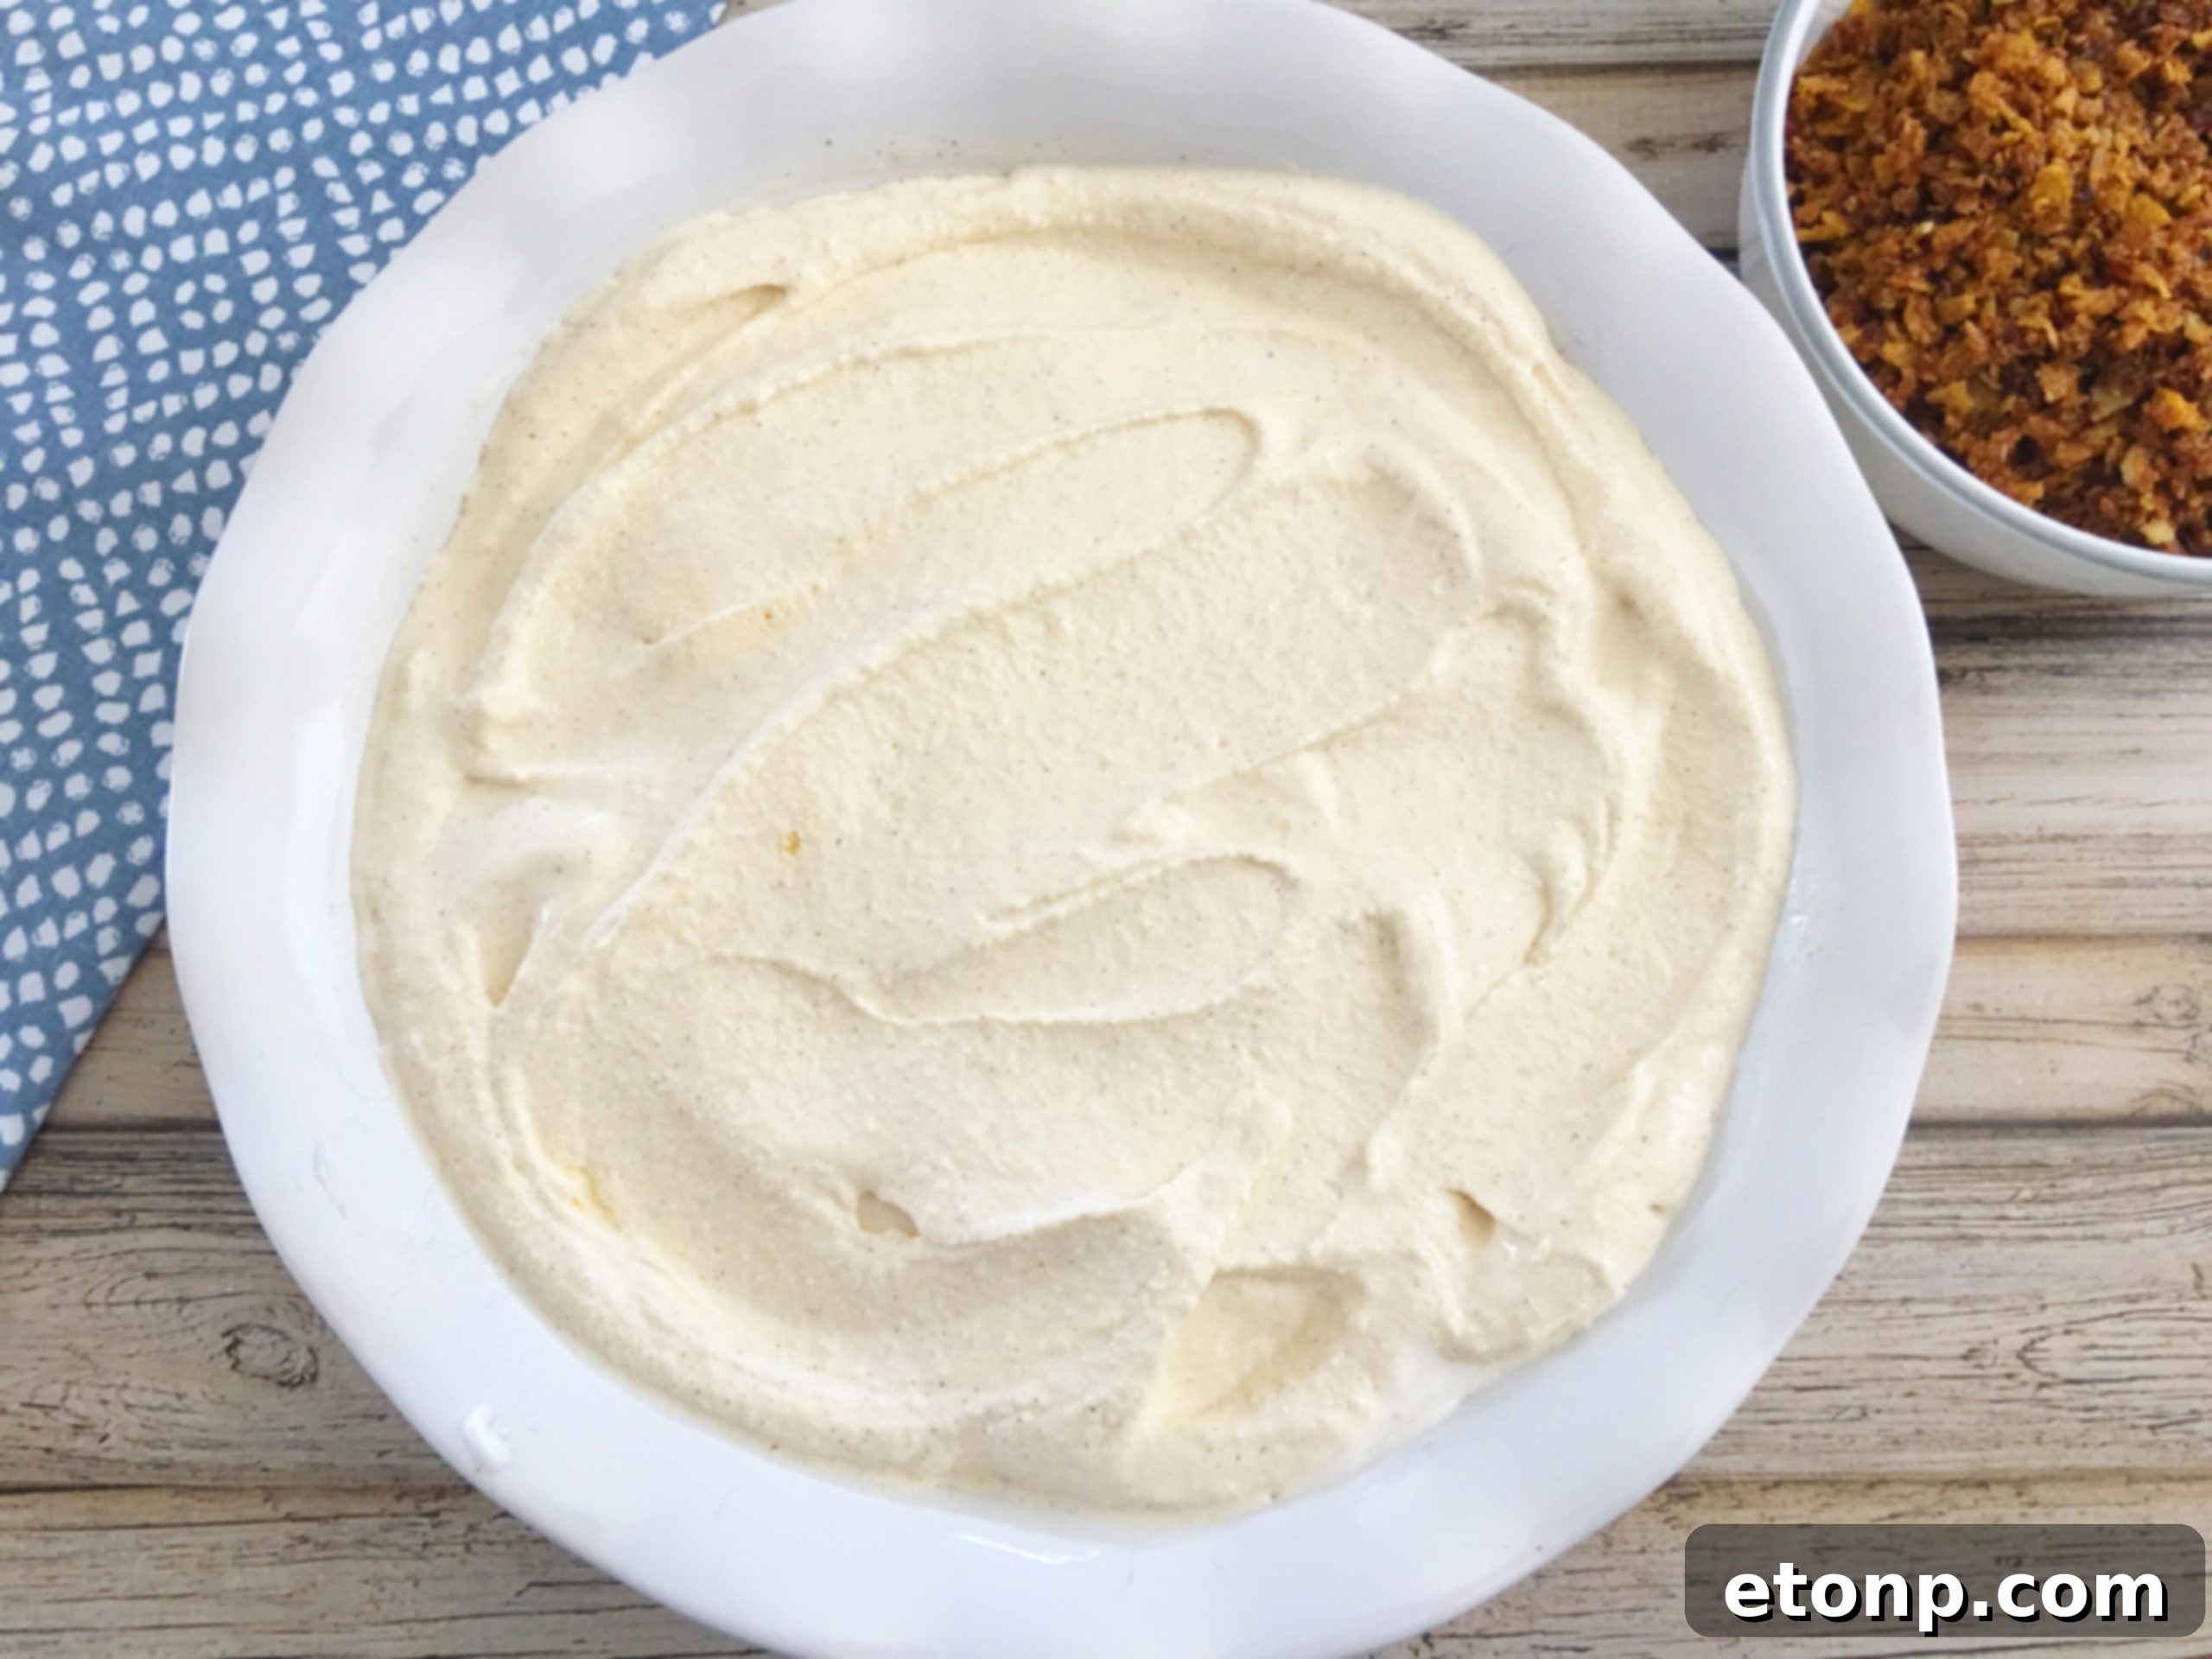
Next, carefully pour your smooth, creamy ice cream mixture over the cornflake crust. Use a spatula to gently spread it out, ensuring an even layer while taking extreme care not to disturb the delicate bottom crust too much. The goal is to maintain those distinct, beautiful layers for both visual appeal and textural contrast. Once the filling is perfectly spread, generously sprinkle the remaining “fried” cornflake mixture over the entire top surface. This final layer not only adds more of that essential crunch but also gives the pie its signature “fried” appearance, making it visually identical to its deep-fried counterpart.
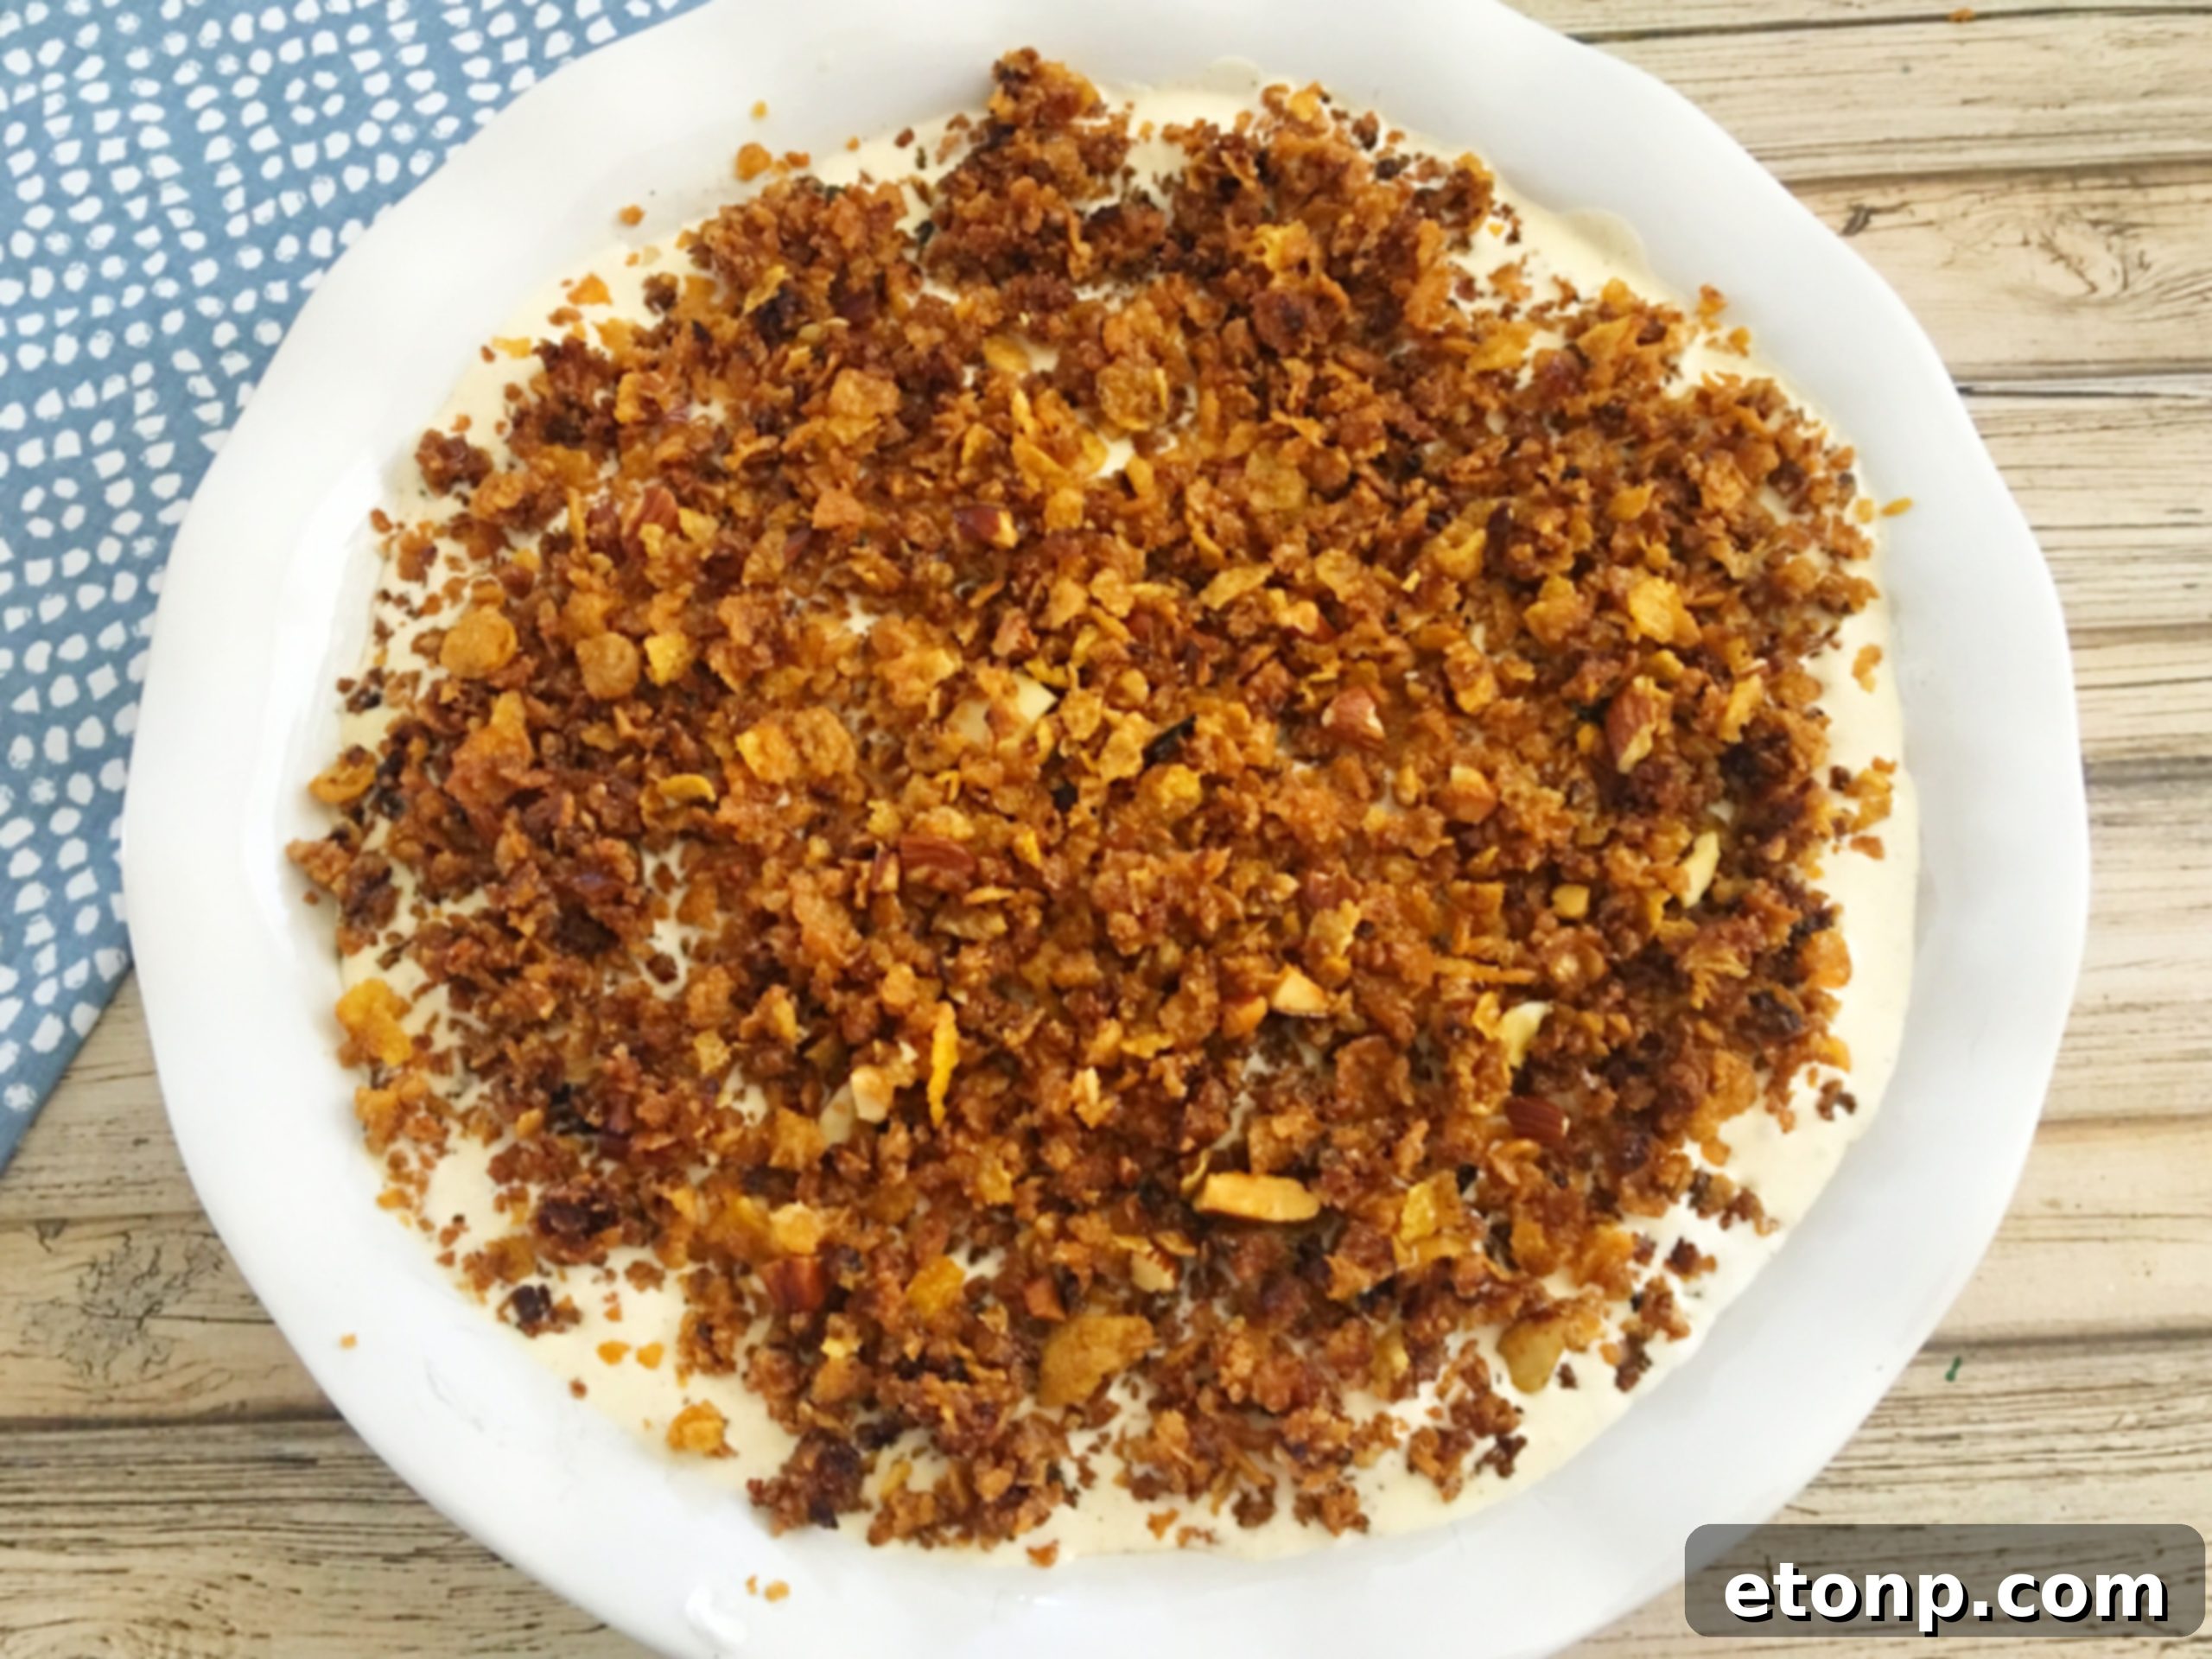
Seriously, this entire process is incredibly simple to throw together, making it an ideal dessert for both experienced bakers and kitchen novices alike. There are no complicated techniques, no lengthy baking times, and very little cleanup – just pure, unadulterated dessert joy from start to finish!
Freezing and Serving: The Grand Reveal
Once assembled, your “Fried” Ice Cream Pie needs time to set and firm up in the freezer. This is a crucial step to ensure the pie holds its shape and the layers remain distinct. Place it in the freezer for at least 3 hours, or ideally, until it’s perfectly solid. This ensures it will hold its shape beautifully when sliced, and the flavors will meld together wonderfully, creating a harmonious blend of sweet and spicy notes. The anticipation during this freezing period is almost as delicious as the pie itself – a true test of patience!
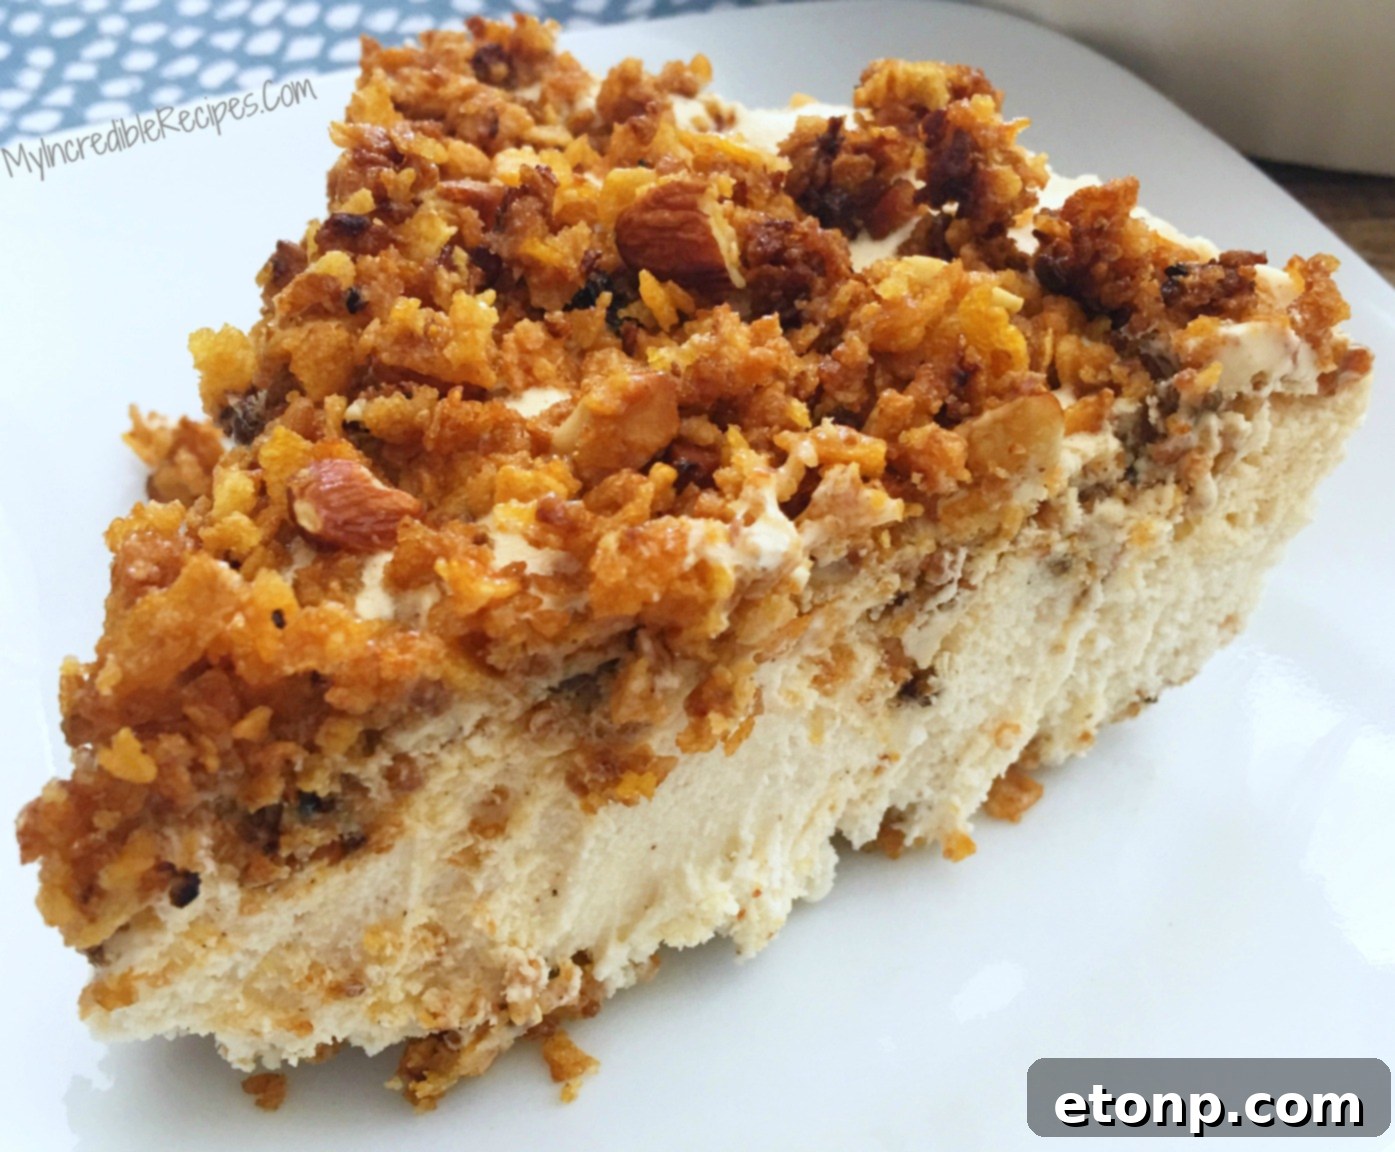
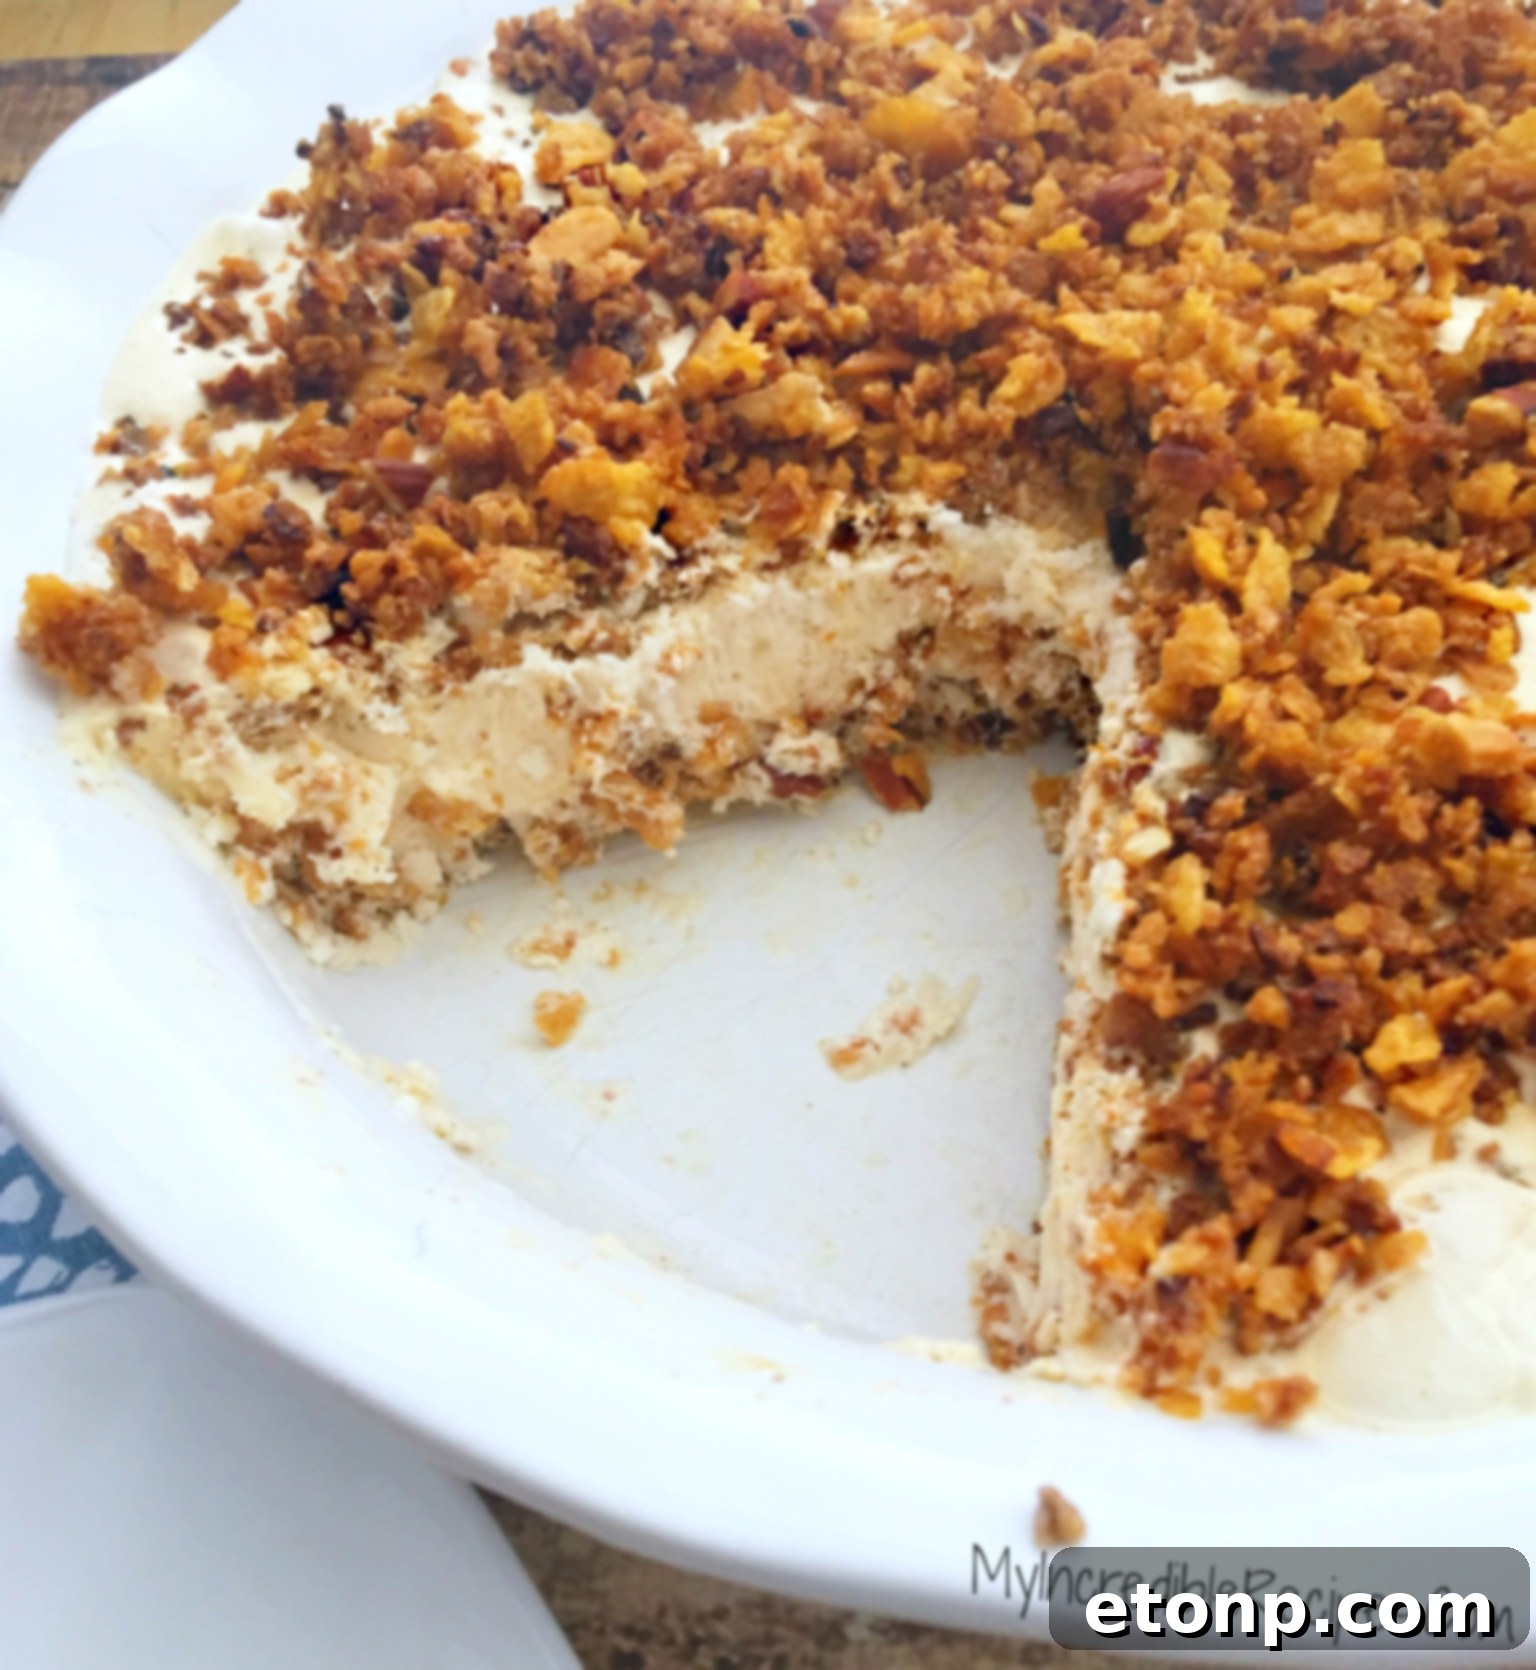
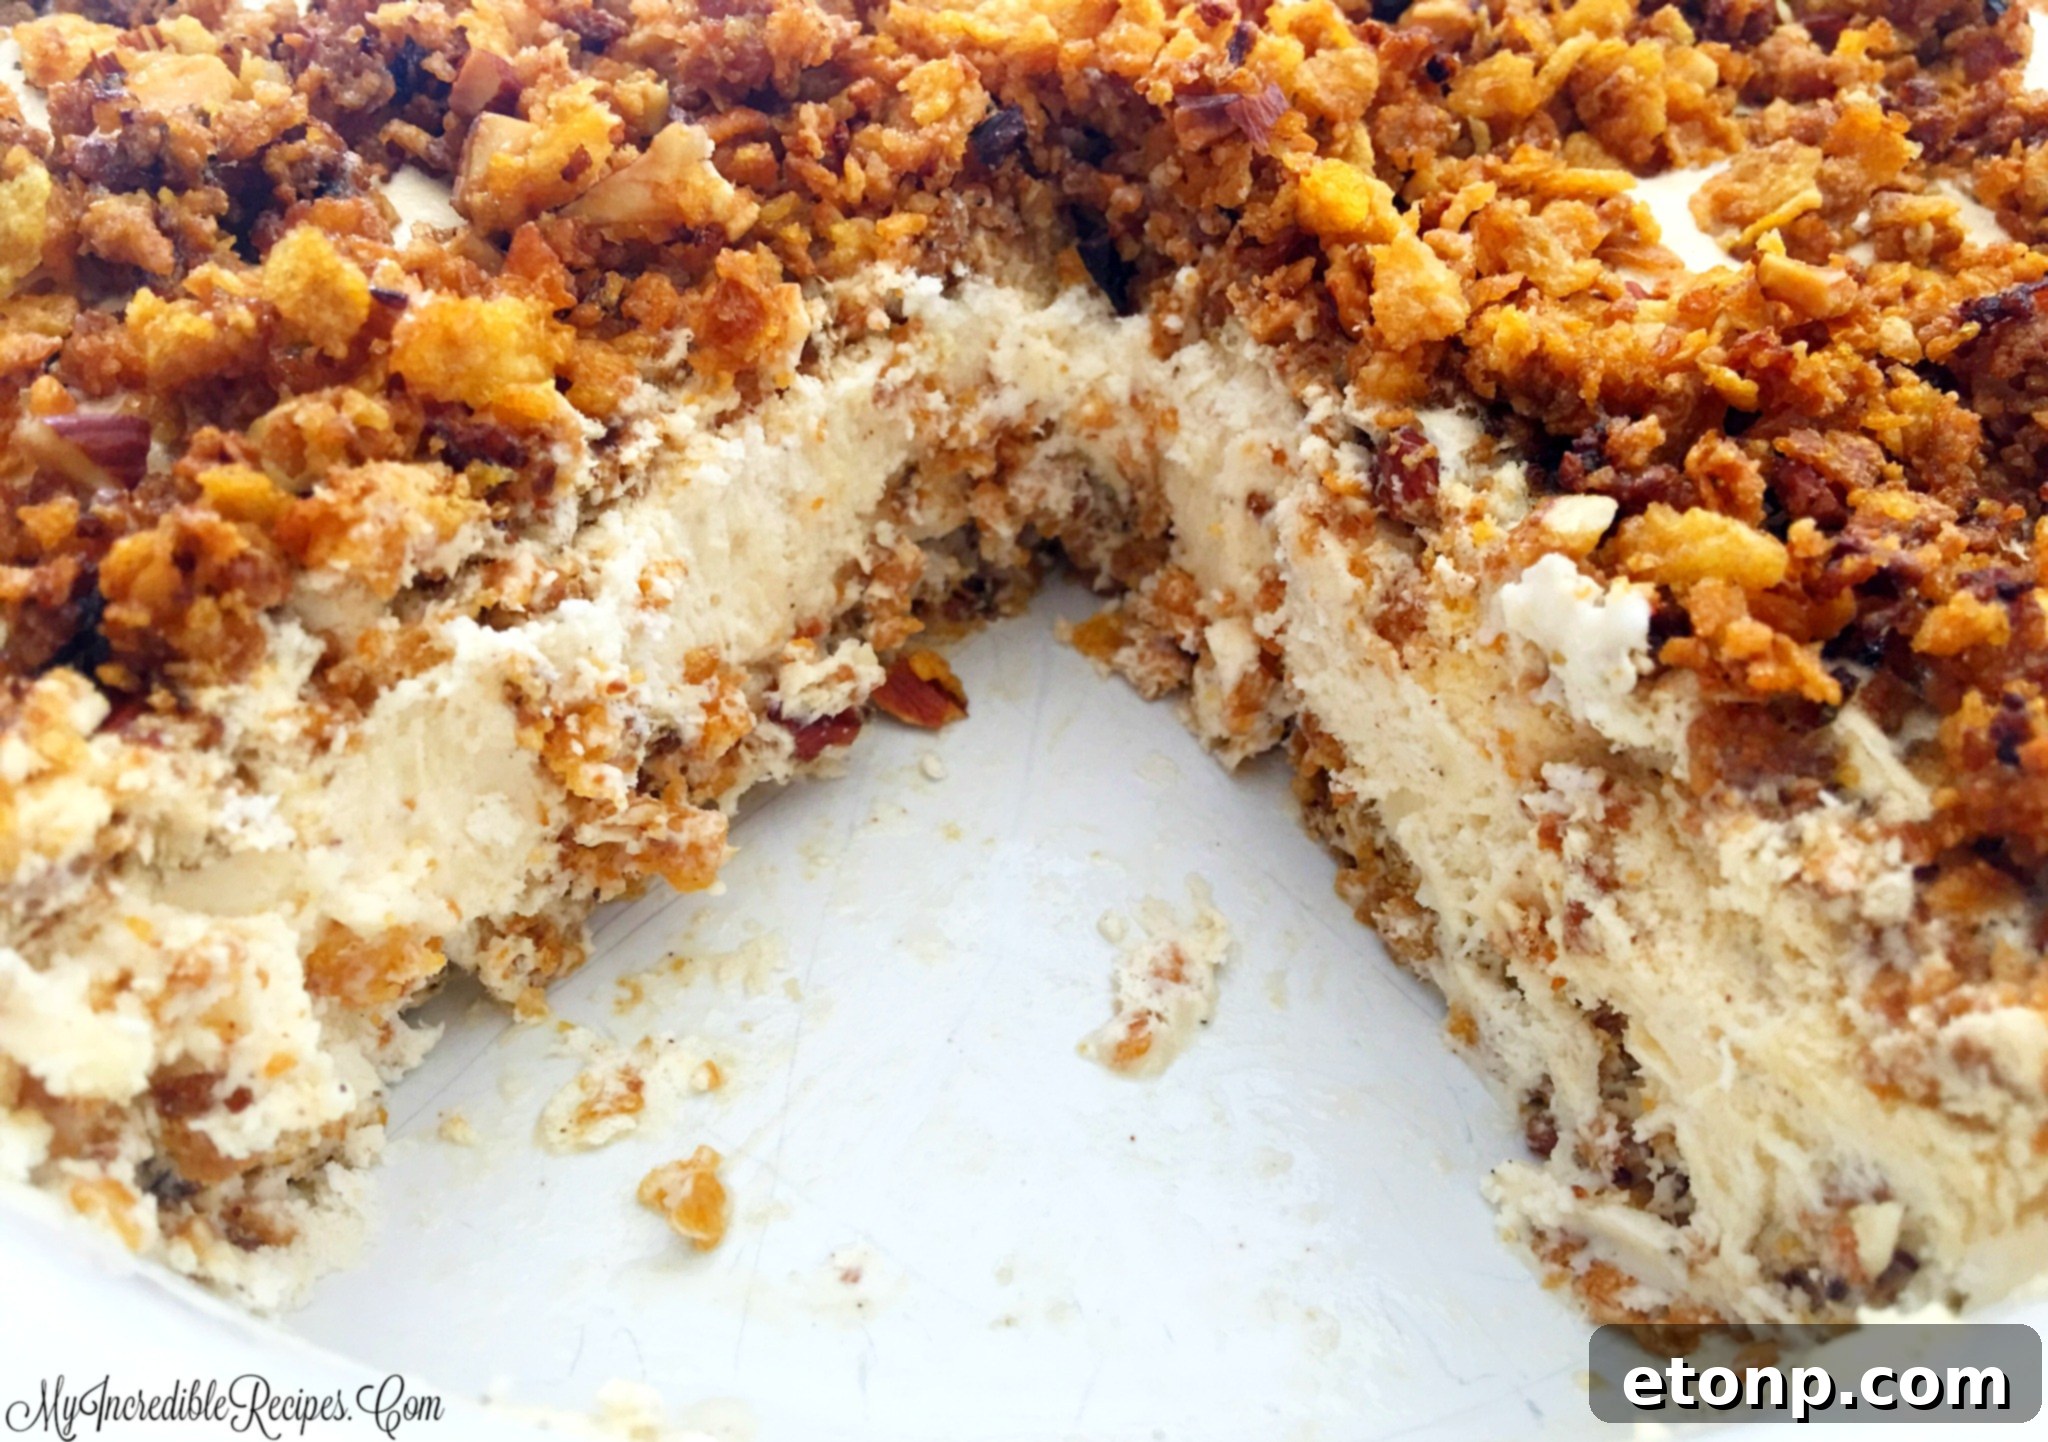
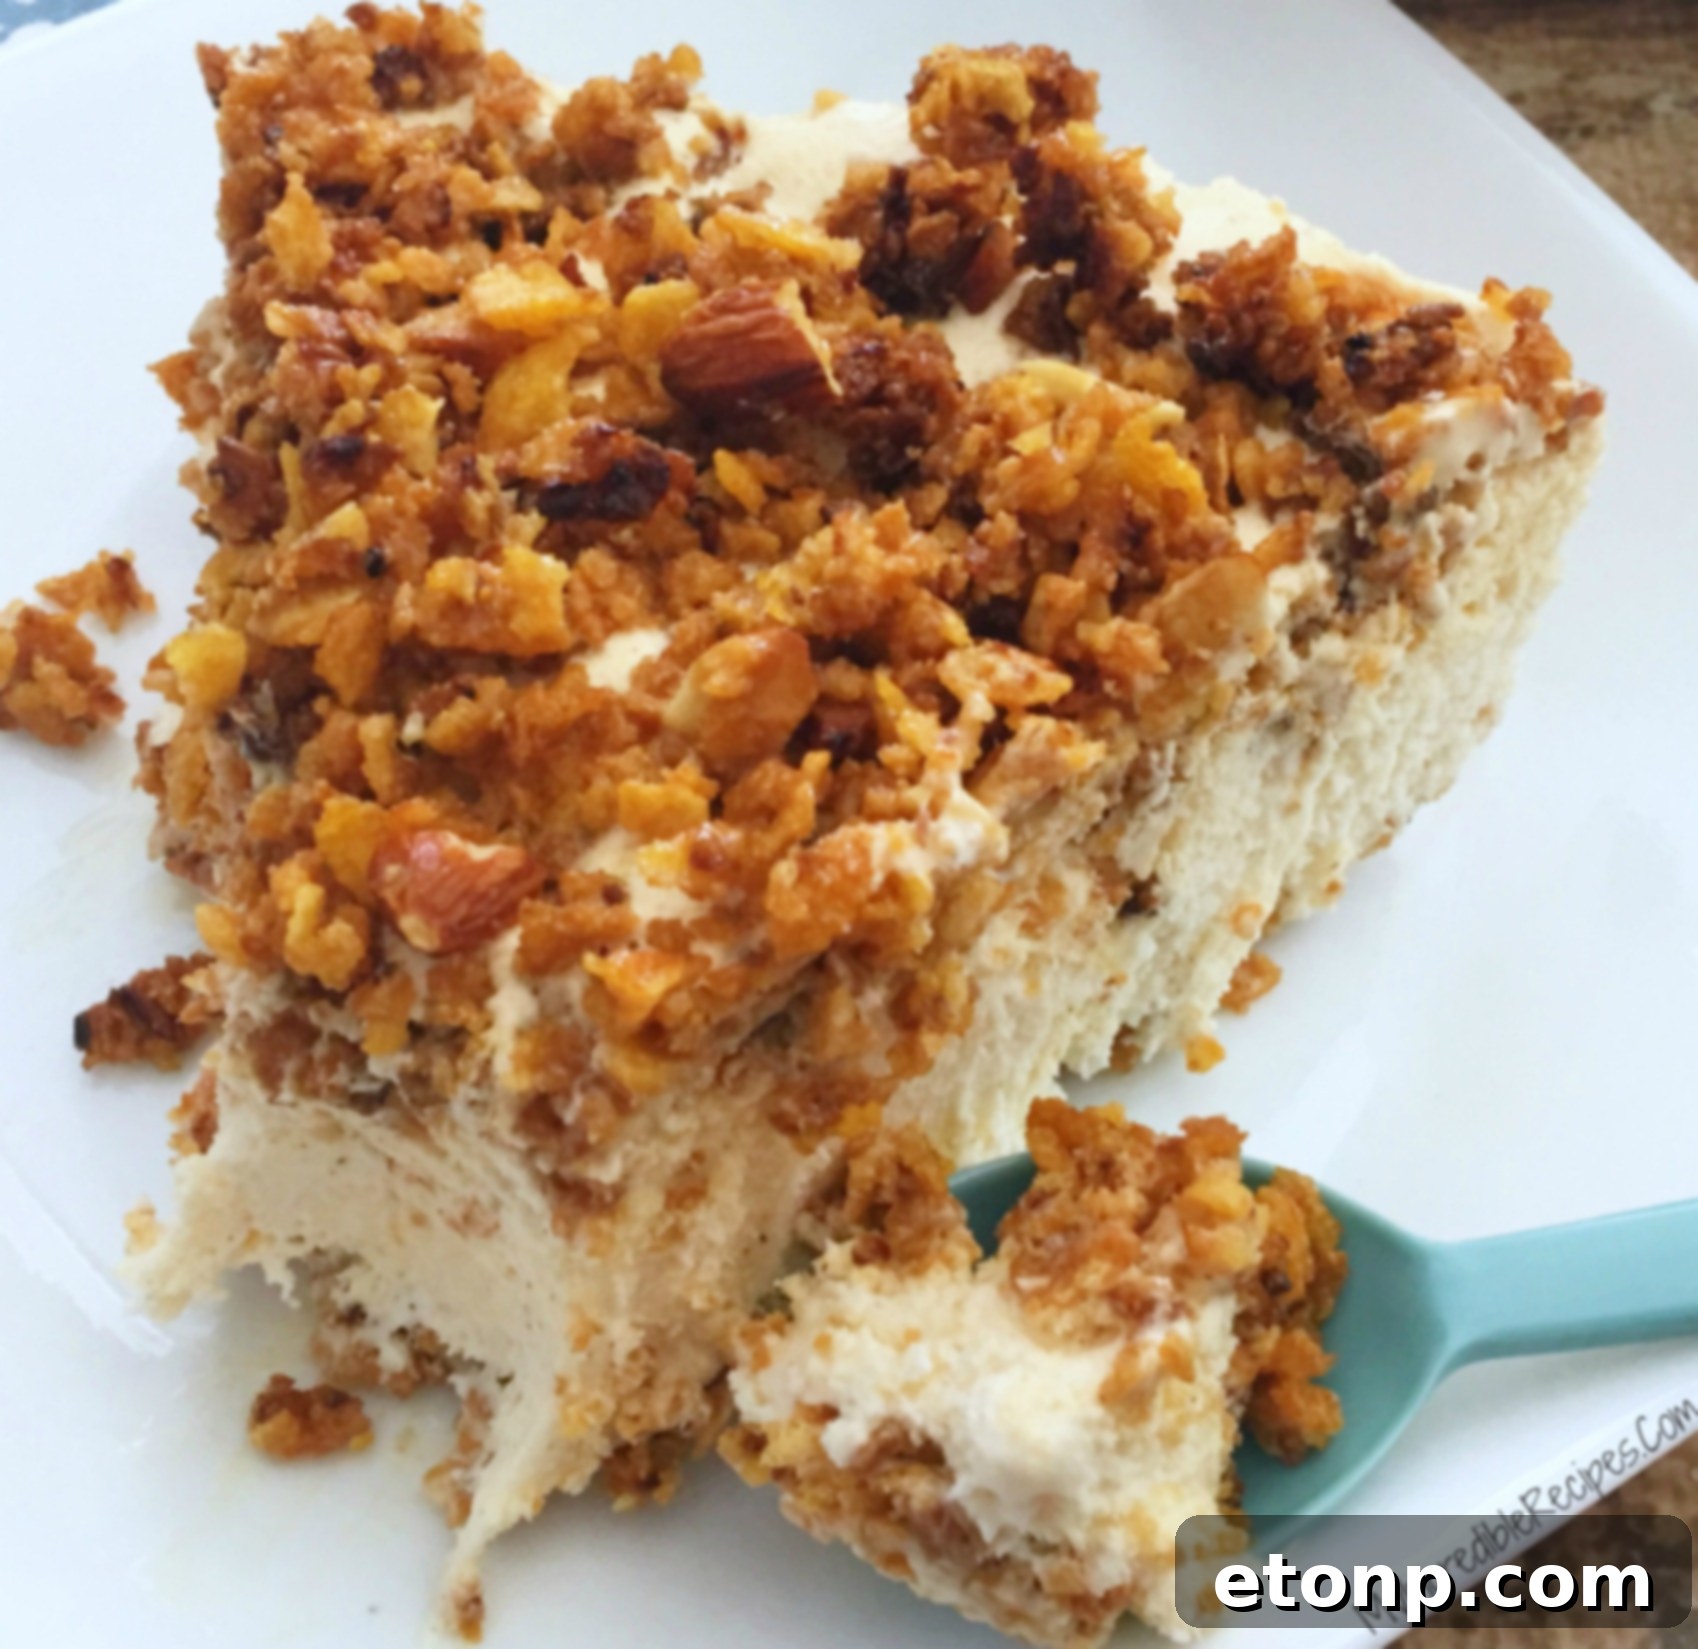
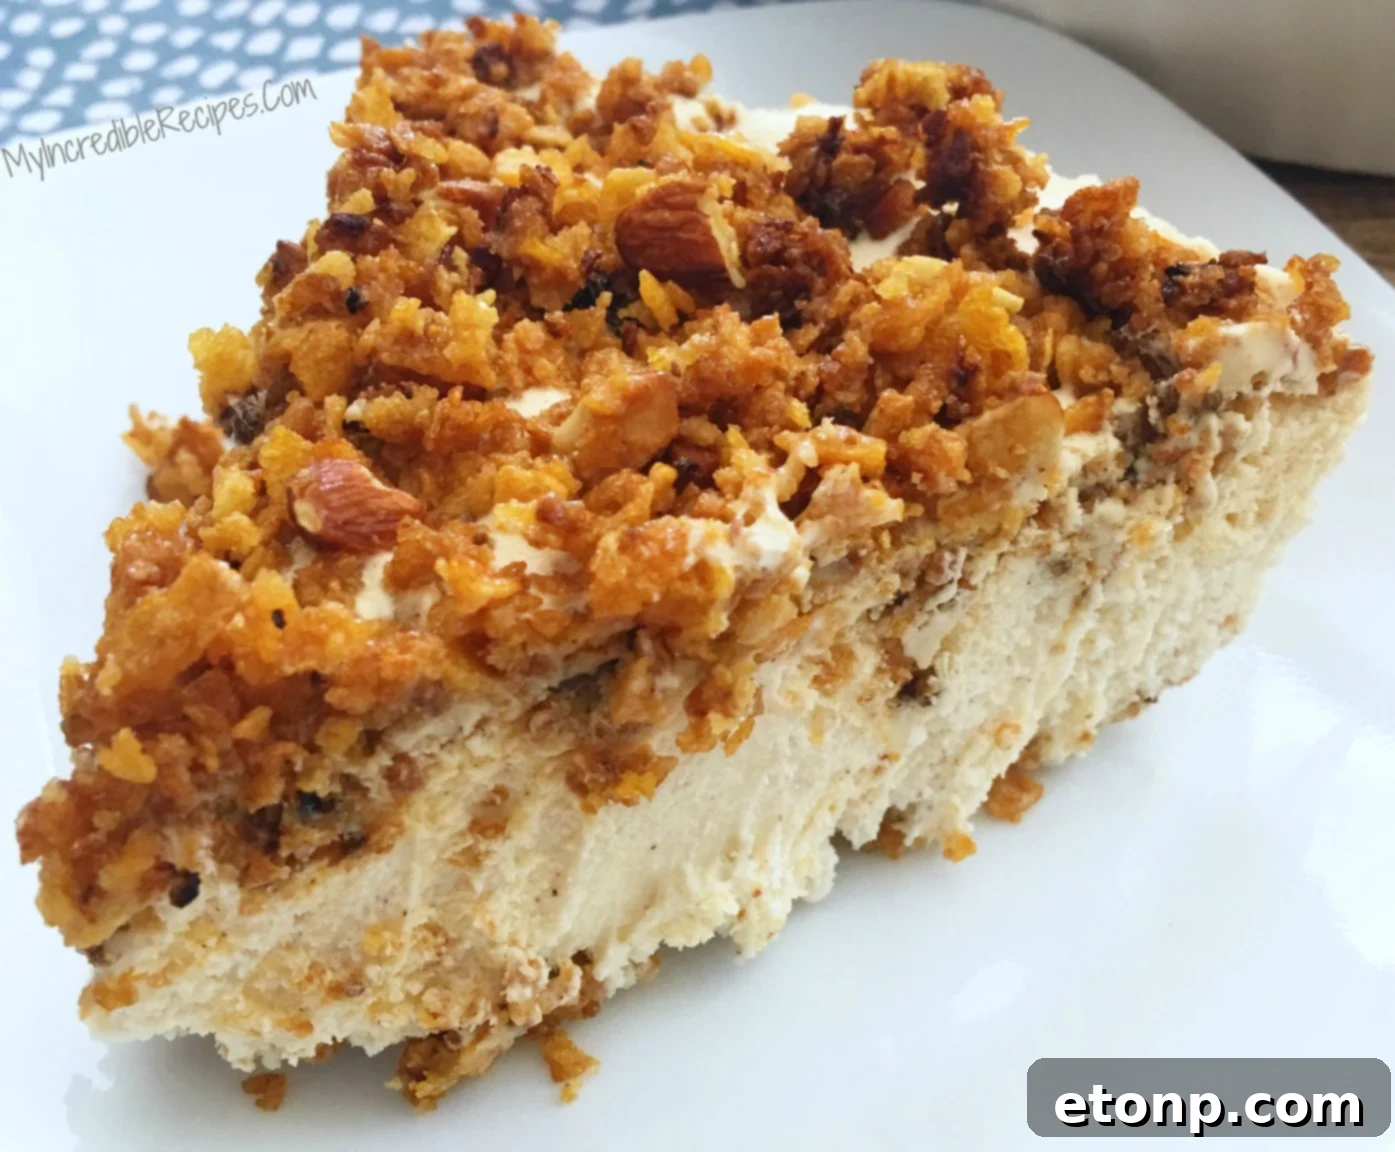
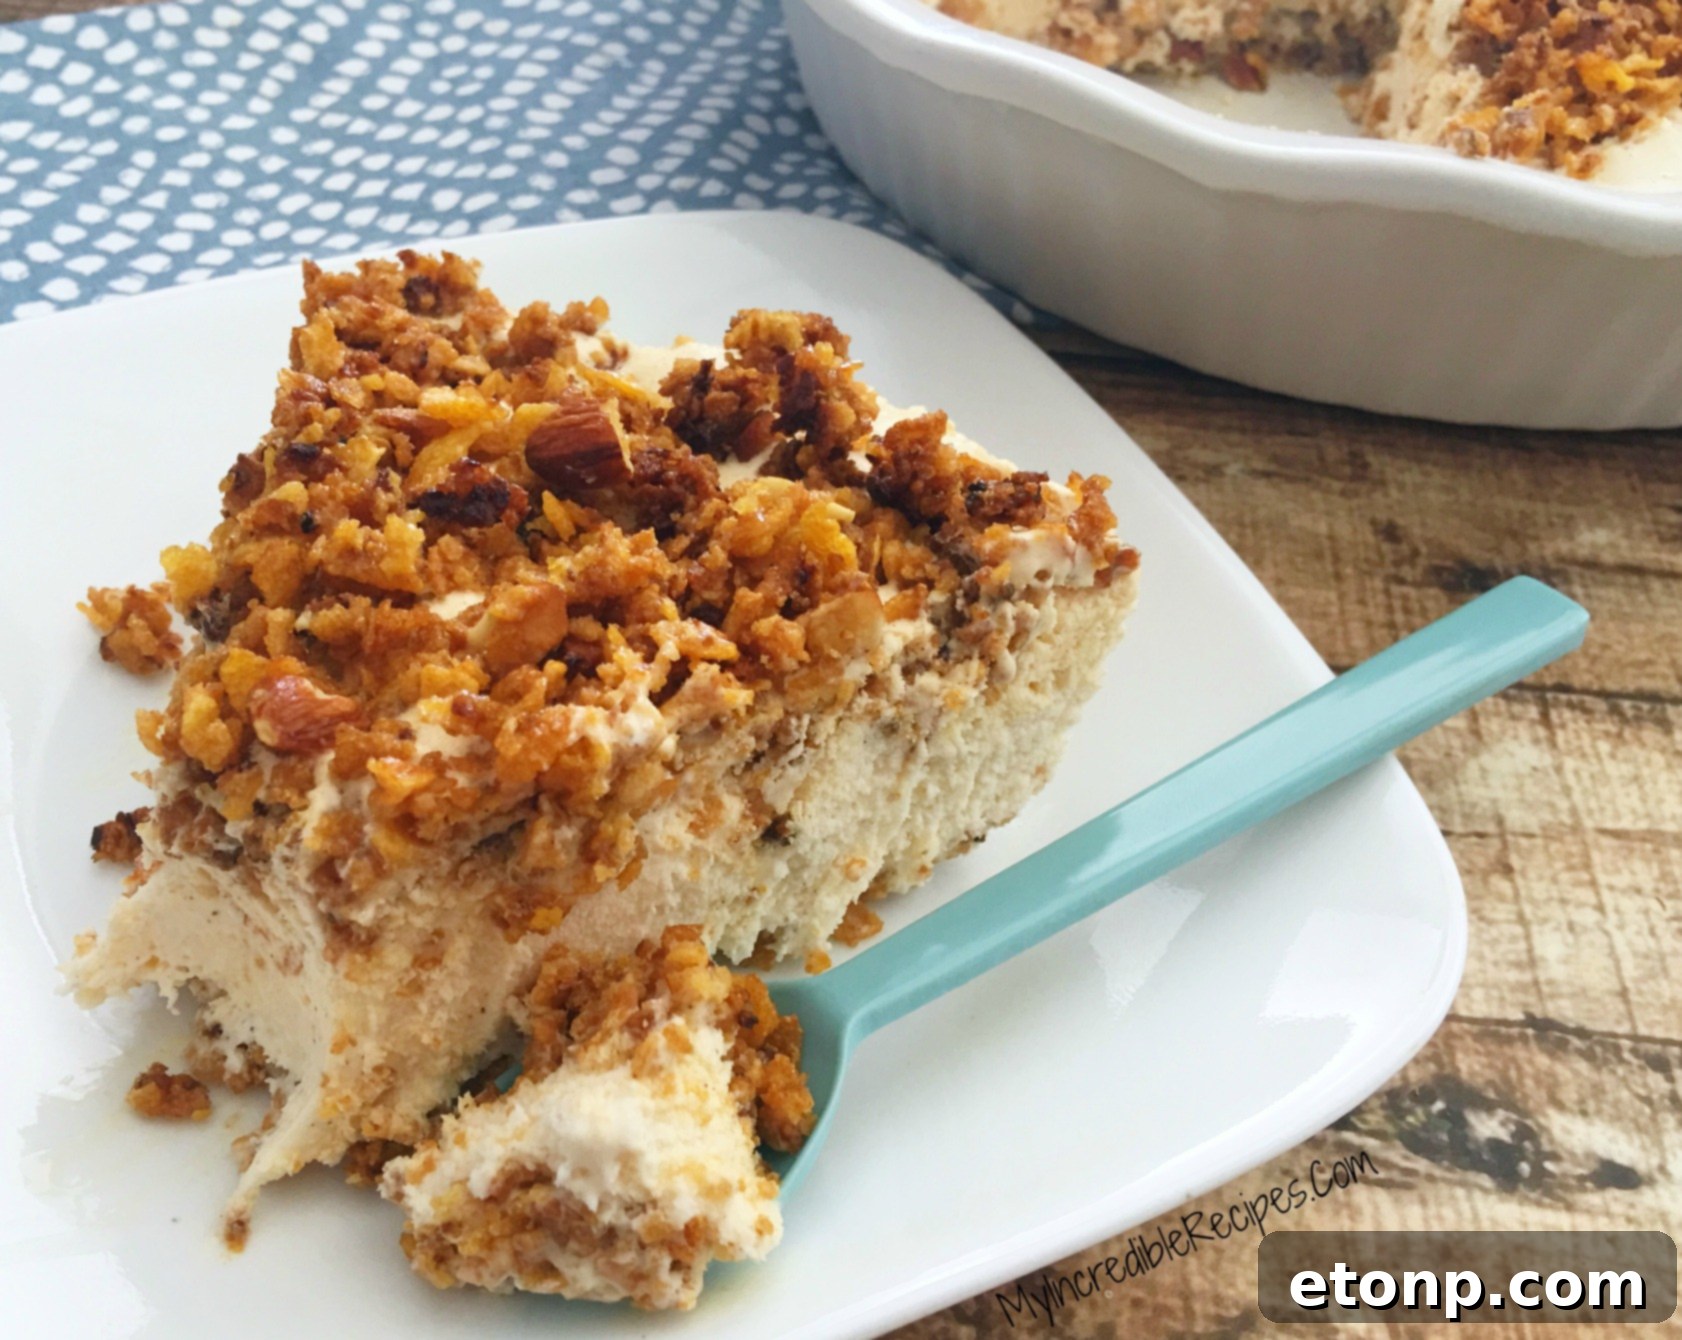
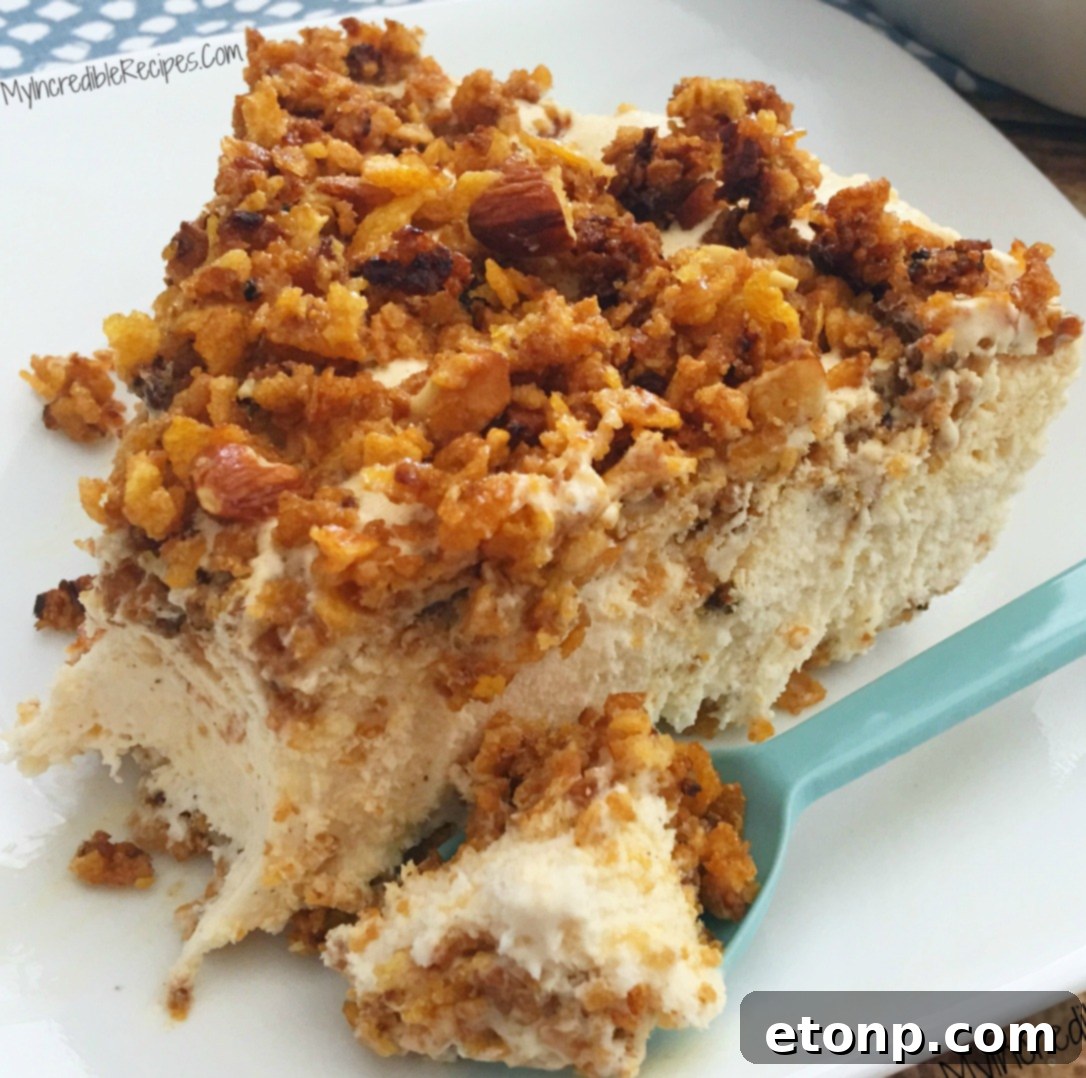
When it’s ready, take it out of the freezer, slice into that magnificent pie, and prepare to impress! You’ll love seeing those distinct layers: the golden, crunchy bottom crust, the creamy, smooth ice cream filling, and the extra crispy topping. Each slice promises a delightful combination of textures and temperatures. Get up nice and close so you can admire all that deliciousness – every bite is an explosion of texture and flavor, a true testament to its homemade goodness.
Presentation and Versatility: From Elegant Pies to Crowd-Pleasing Pans
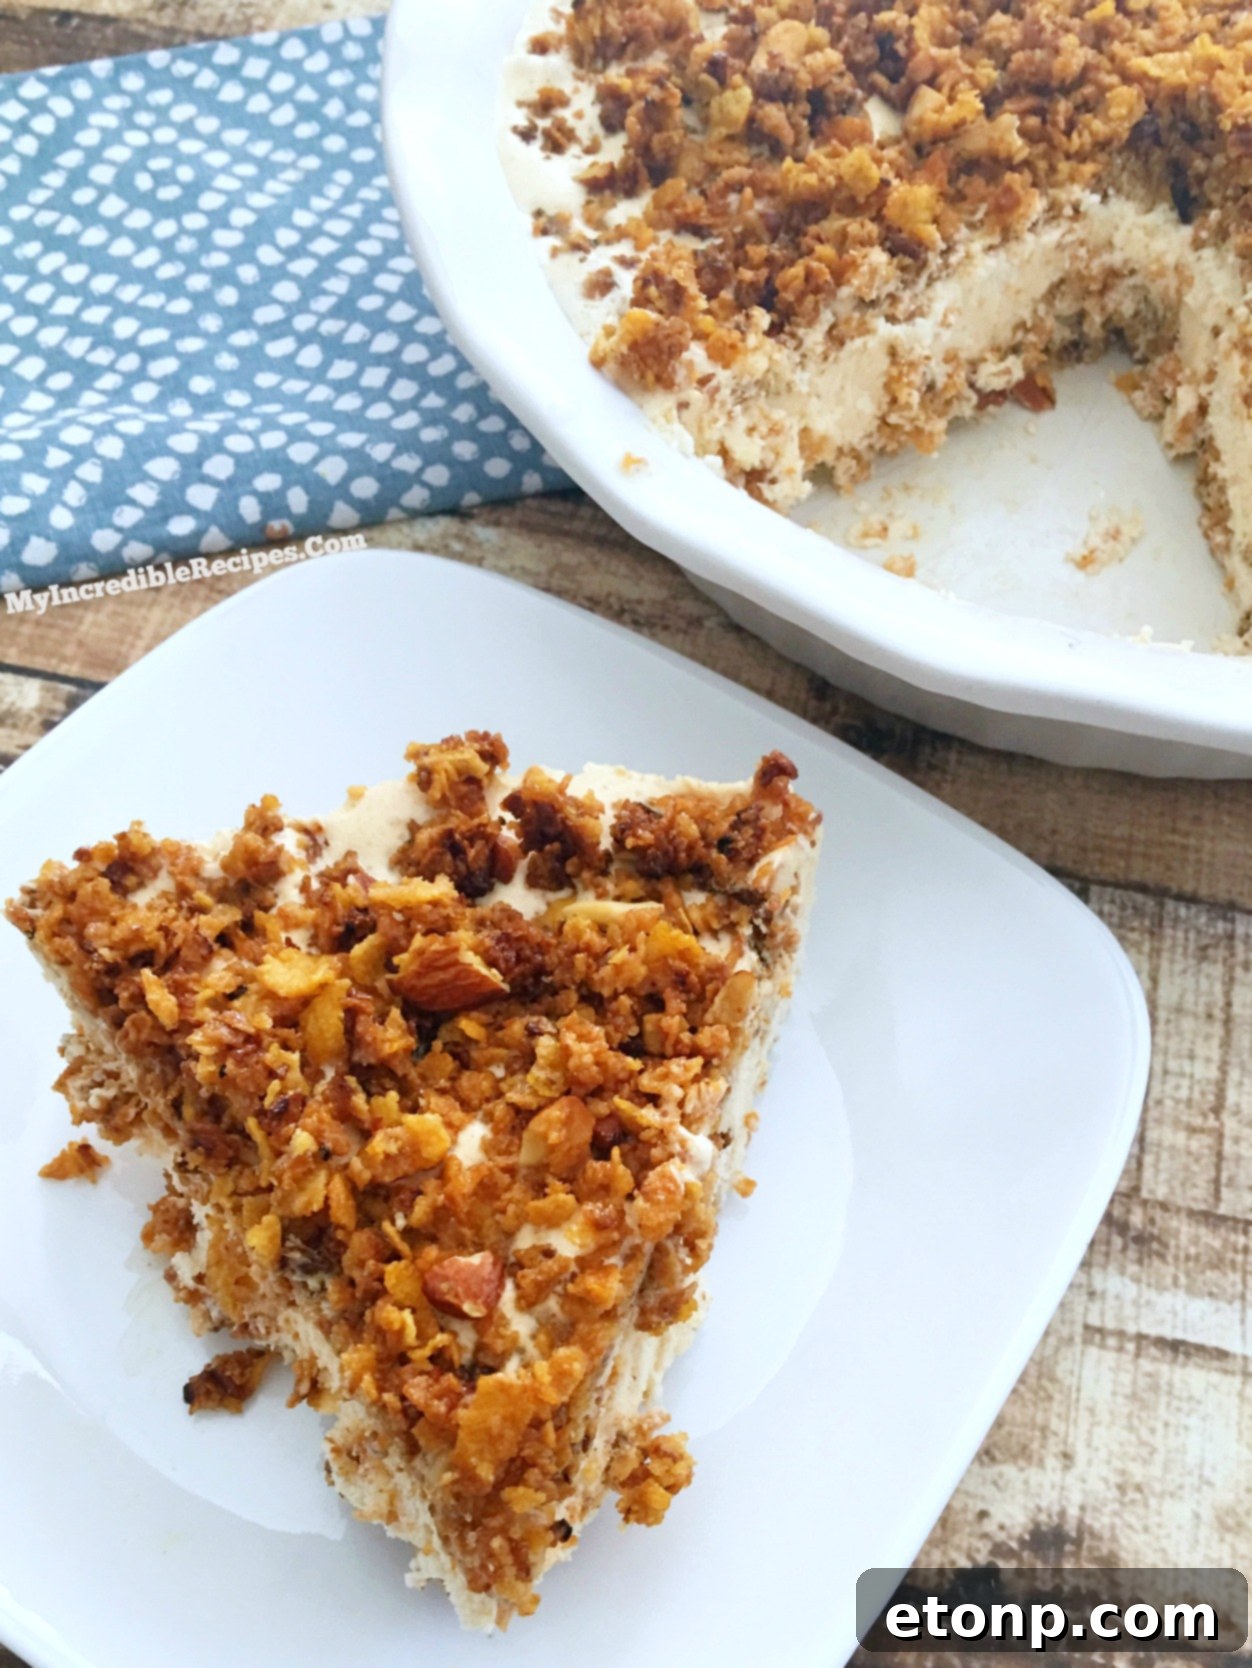
For these photos, I proudly presented the pie in my prettiest pie dish. The elegant presentation makes it look like you’ve spent hours slaving away in the kitchen, when in reality, it’s deceptively simple! This makes it a fantastic dessert to bring to dinner parties, potlucks, or special occasions where you want to serve something visually stunning and incredibly delicious, guaranteed to draw compliments and requests for the recipe.
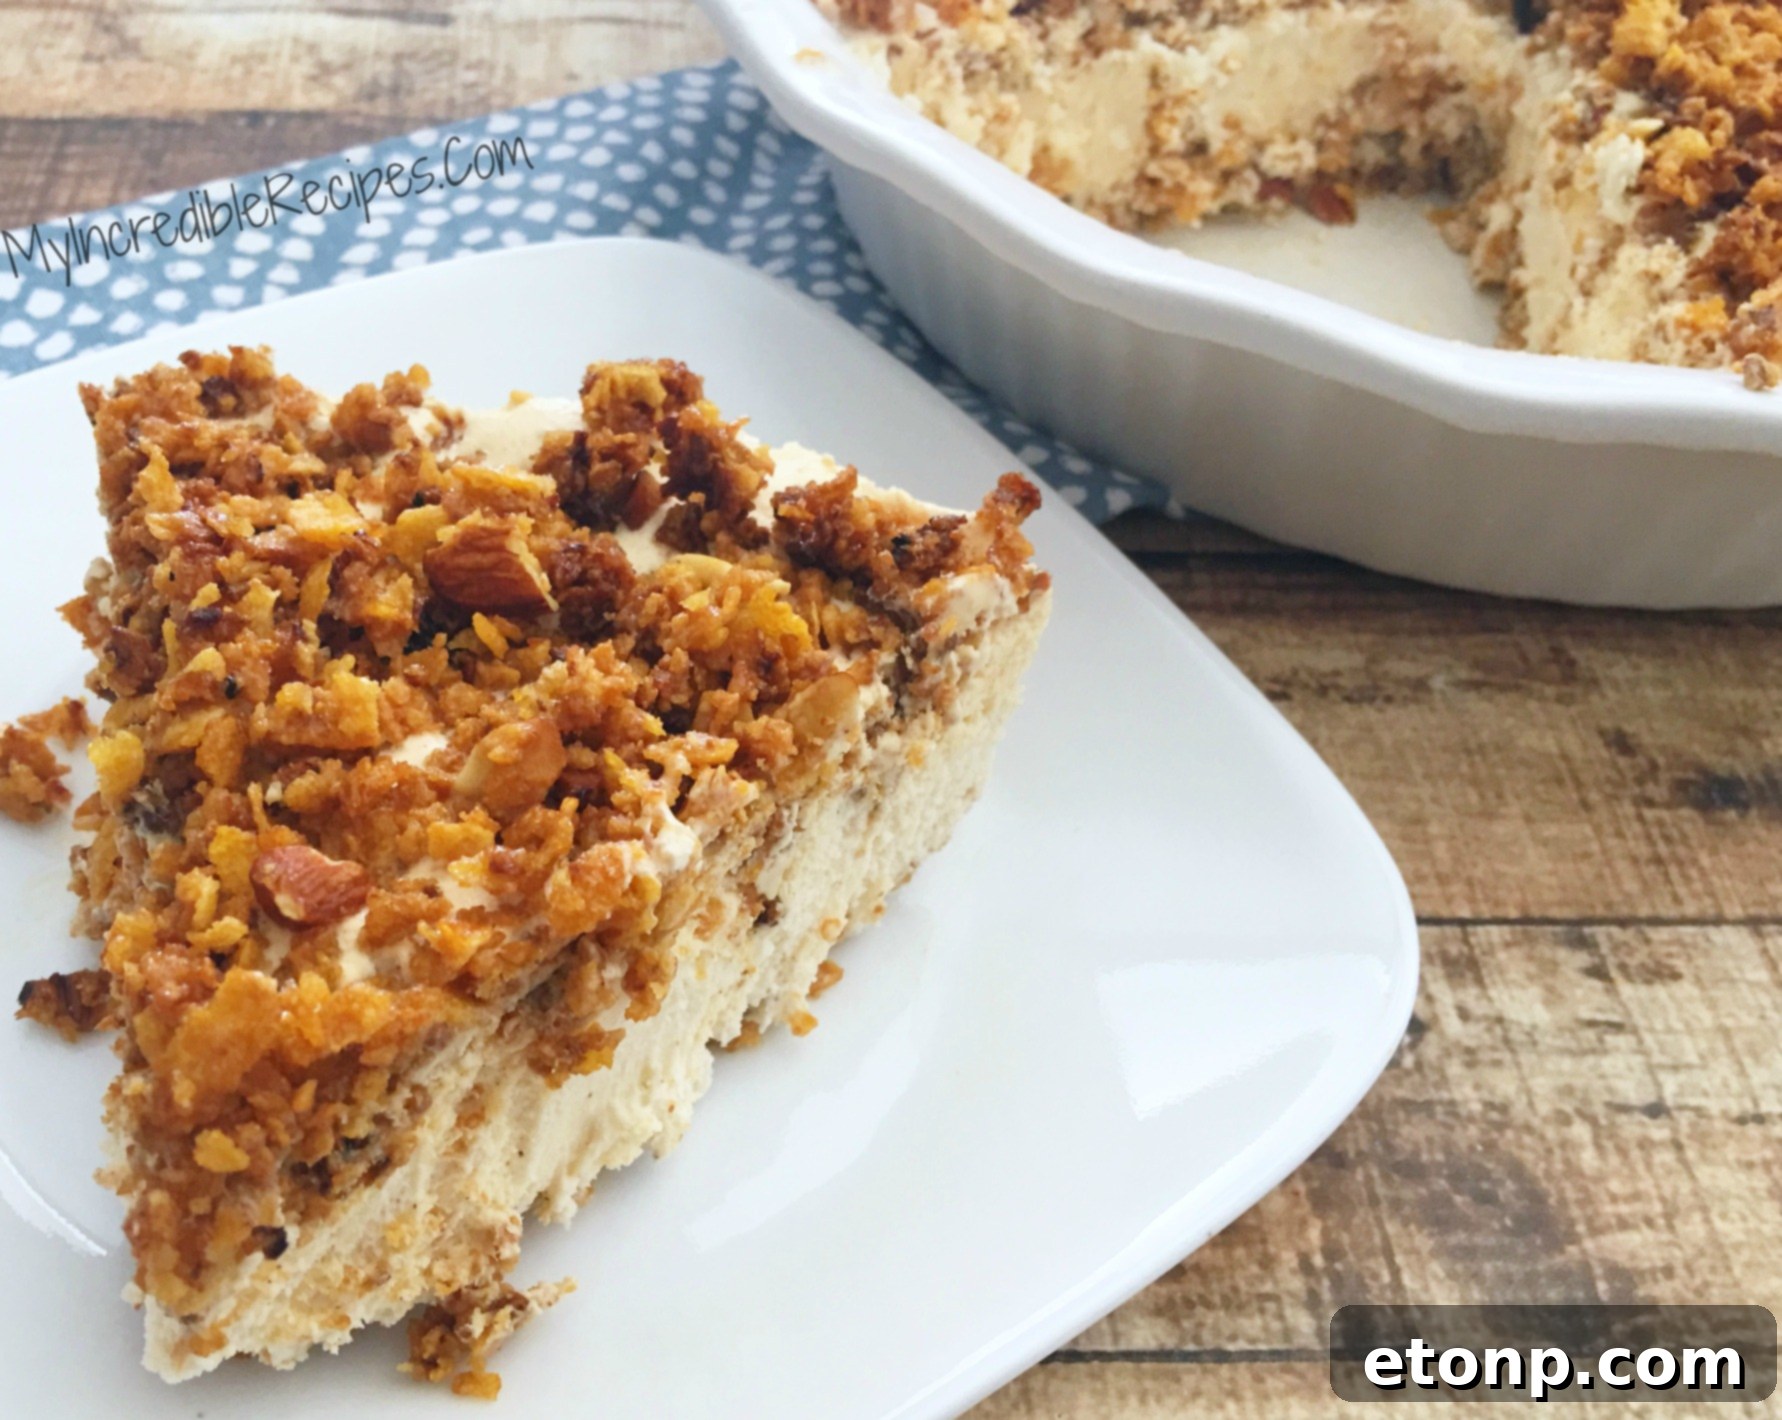
However, don’t let its elegant appearance fool you into thinking it’s only for fancy occasions. This pie is also incredibly versatile and perfect for feeding a crowd! I’m planning to make it for my family’s upcoming cookout, and for that, I’ll be preparing it in a large rectangular baking pan. This allows for easier serving to many guests and makes it super convenient for larger gatherings. You can simply scoop generous portions onto plates or into bowls, making it a hassle-free dessert that everyone will enjoy without compromising on taste or quality. It’s the ultimate crowd-pleaser that scales up effortlessly.
Storage Tips: Keeping Your Pie Perfect
Because this dessert is, at its core, an ice cream pie, it’s crucial to treat it like one when it comes to storage. I highly recommend keeping it frozen solid until you are absolutely ready to slice and serve. This will maintain its firm texture, prevent it from melting prematurely, especially if you’re serving it outdoors or at a warm gathering, and ensure that delightful crunch remains crisp. Proper storage is key to preserving its perfect consistency and flavor.
Think of it in the same way you would an ice cream cake: store it in the coldest part of your freezer, ideally covered tightly with plastic wrap or aluminum foil to prevent freezer burn and keep any unwanted odors out. This meticulous covering will protect the delicate flavors and textures. When it’s time to serve, you can let it sit at room temperature for just a few minutes (5-10 minutes) to allow it to soften ever so slightly for easier slicing, but don’t let it sit out for too long. This brief rest ensures that delicious crunch remains distinct from the creamy filling, delivering the optimal “fried” ice cream experience.
The Verdict: An Unforgettable Dessert Experience
I can confidently say that this “Fried” Ice Cream Pie tastes exactly like the incredible fried ice cream I enjoyed at a restaurant recently. Seriously, who would have thought it would be this easy to recreate such a decadent treat at home with such simple ingredients and a no-fuss method? The combination of that irresistible crunch from the toasted cornflake topping and the smooth, creamy texture of the ice cream filling is absolutely fantastic. Every spoonful is a perfect blend of sweet, cool, and crunchy – a truly sensational experience that will transport your taste buds.
This recipe is not just a dessert; it’s an experience. It’s the perfect sweet ending to any meal, a show-stopping addition to your holiday table, or just a delightful treat to make any ordinary day feel special. Once you try this no-bake wonder, you’ll find yourself making it again and again for every celebration and craving. It’s that good – prepare for it to become a household favorite!
Love This Recipe? Share the Sweetness!
If you adored this “Fried” Ice Cream Pie recipe as much as I do, please don’t keep it a secret! Your support helps my recipes reach more dessert lovers and brings joy to countless kitchens. Consider sharing it with your friends and family on Facebook or saving it to your favorite dessert boards on Pinterest. Every share helps spread the deliciousness!
Share on Facebook
Pin It!
Follow me onPINTERESTby Clicking HERE!
No-Bake “Fried” Ice Cream Pie Recipe Card
Ingredients
- 6 tablespoons butter
- 3 tablespoons sugar
- 2 1/2 Cups crushed corn flakes
- 1/2 cup crushed almonds, pecans, or walnuts (your choice!)
- 1 teaspoon cinnamon
- 1/2 container of Vanilla Ice cream (softened, approximately 1.5-2 quarts) or Vanilla Yogurt
- 4 oz cool whipped topping
- 6 oz out of a 14oz can sweetened condensed milk
Instructions
- In a large skillet, melt the butter over medium heat.
- Add the crushed nuts, corn flakes, and sugar to the skillet. Stir constantly and cook until the mixture is golden brown and fragrant, about 3-5 minutes.
- Remove the cornflake mixture from heat and spread it out on a plate or parchment paper to cool completely.
- In a separate large mixing bowl, combine the softened ice cream (or yogurt), cool whipped topping, sweetened condensed milk, and cinnamon. Beat gently until well mixed and smooth.
- Press half of the cooled cornflake mixture evenly into the bottom of your pie pan, forming the crust.
- Carefully pour the ice cream mixture over the crust and spread it evenly with a spatula, being mindful not to disturb the crust too much.
- Generously sprinkle the remaining half of the cornflake mixture over the top of the ice cream layer.
- Place the assembled pie in the freezer and freeze for at least 3 hours, or until completely firm.
- Once frozen, slice and serve immediately.
- Enjoy your homemade “Fried” Ice Cream Pie!
For more delicious recipes and inspiration, make sure to follow us on Pinterest!
Print Recipe