
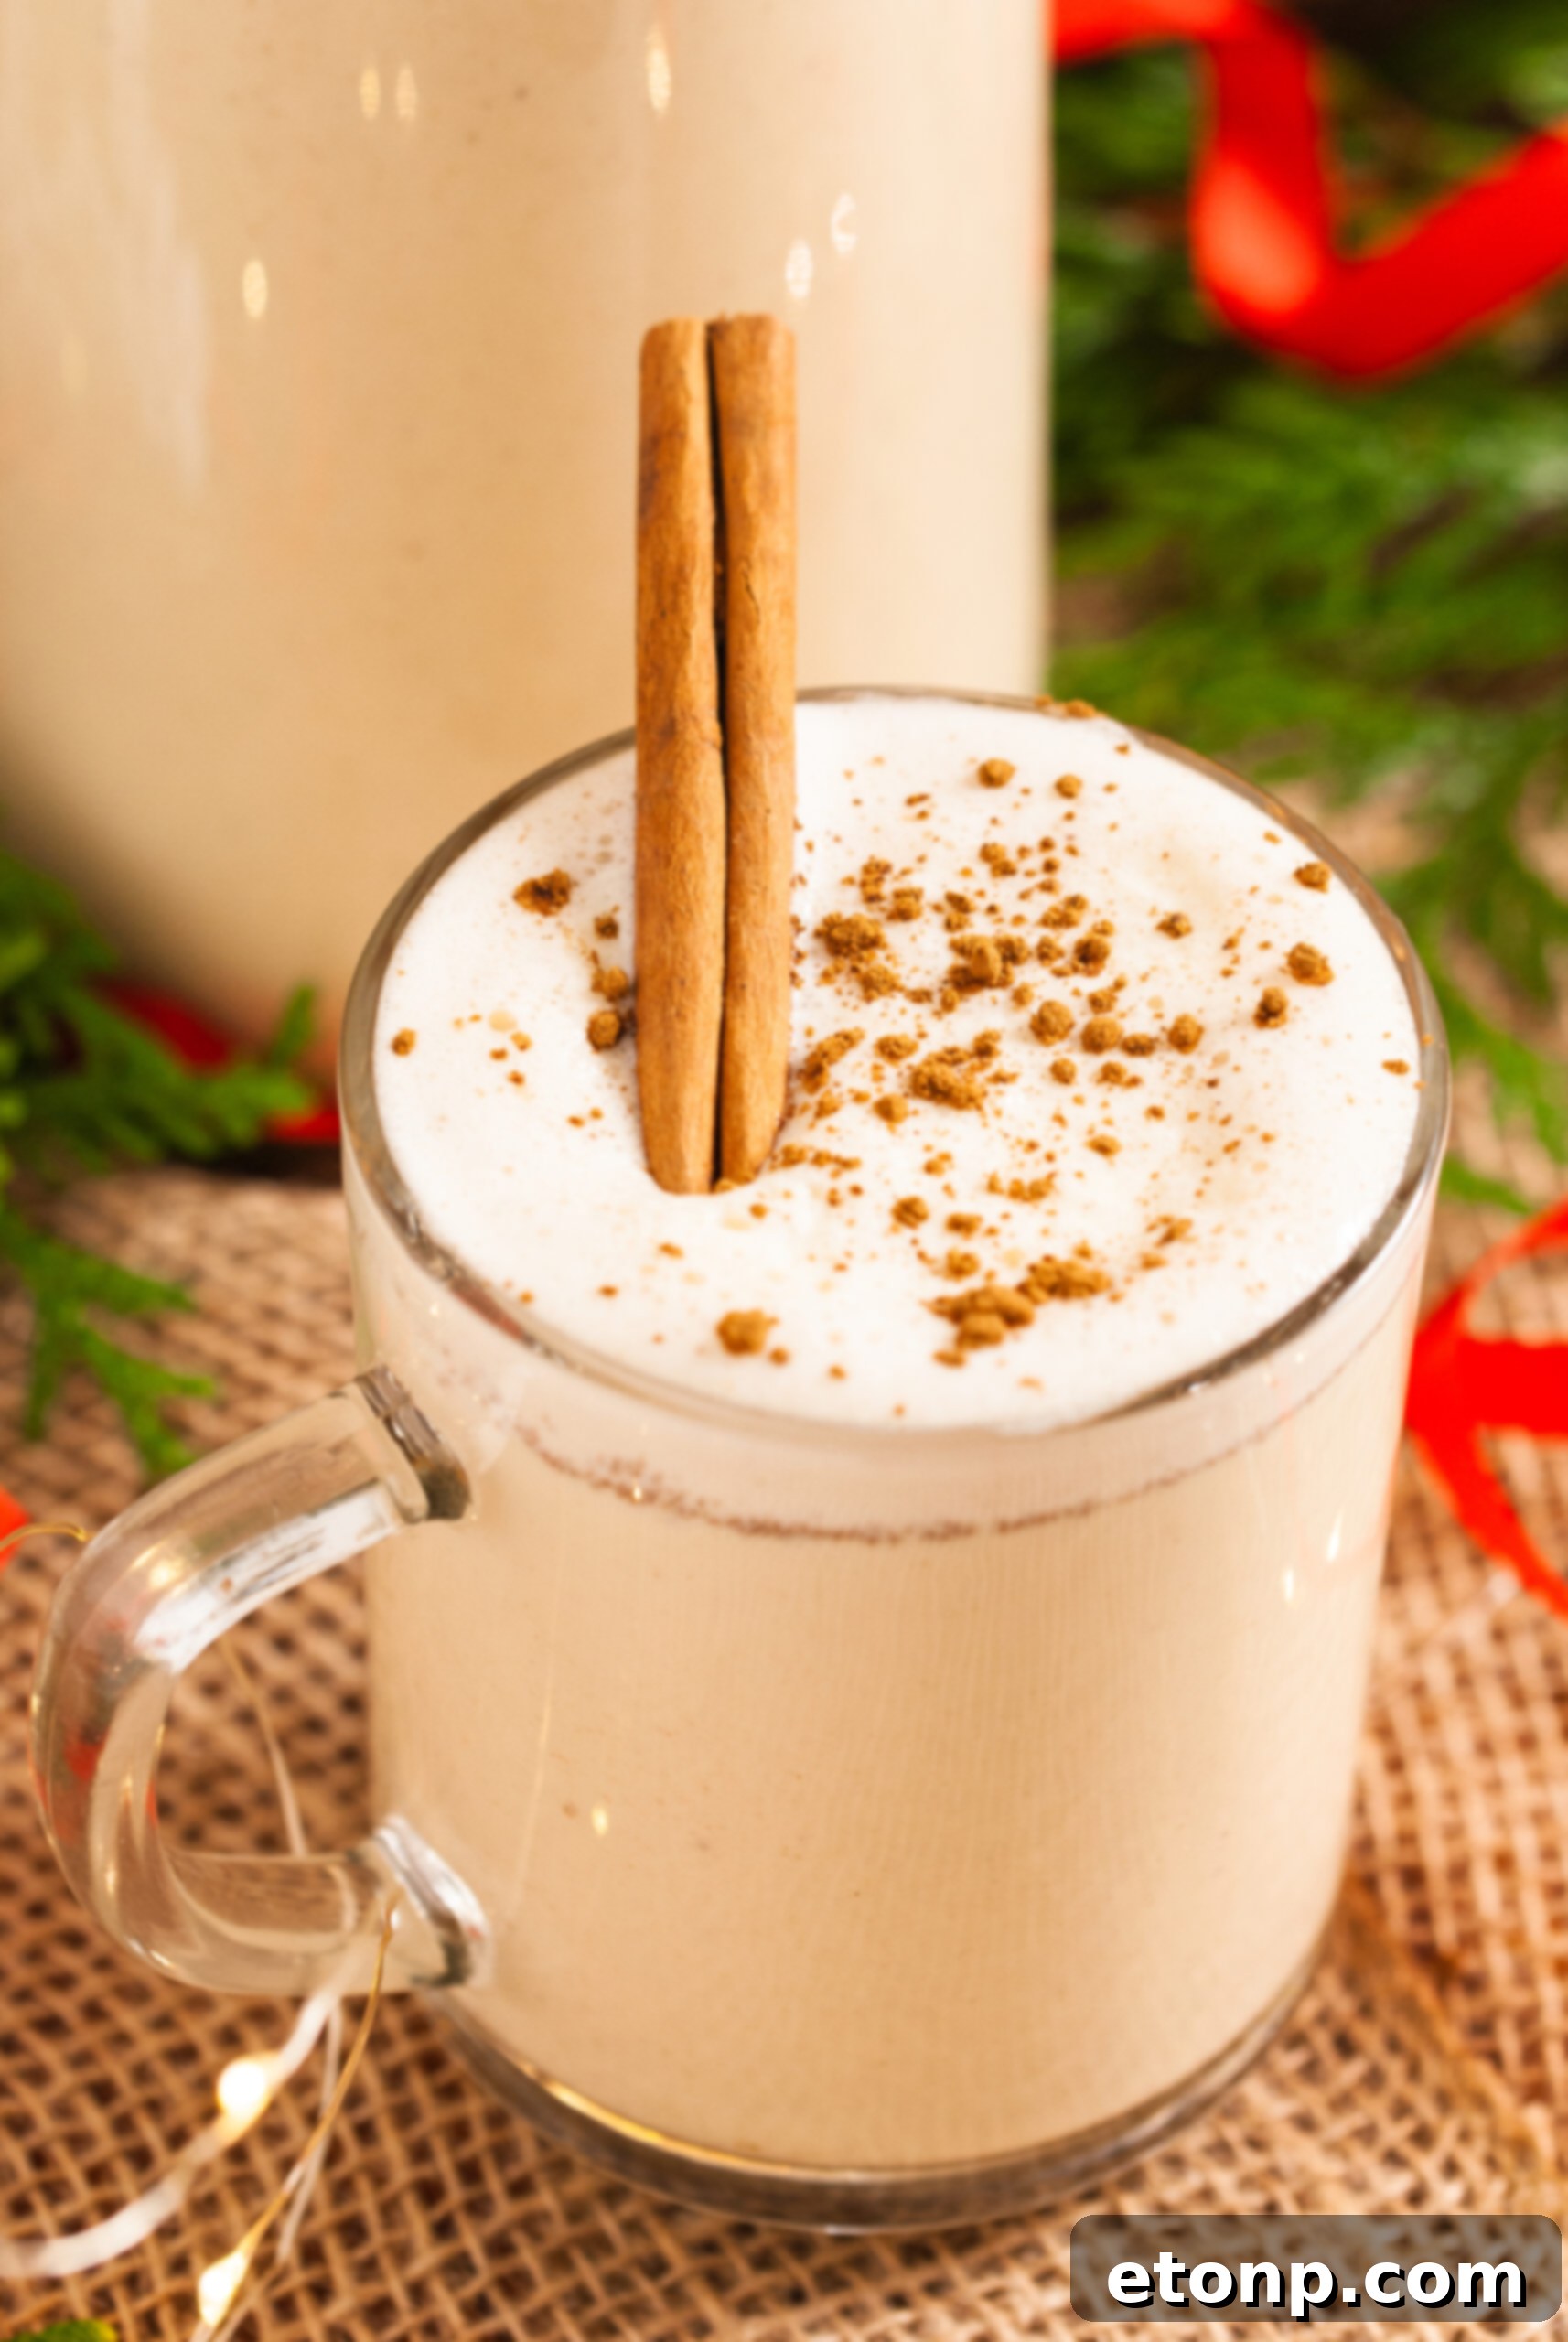
Classic Homemade Eggnog: Your Ultimate Guide to a Festive Holiday Drink
The holiday season isn’t truly complete without a glass of rich, creamy eggnog. While store-bought options are readily available, nothing quite compares to the luxurious taste and comforting warmth of a batch made from scratch. This comprehensive guide will transform simple, wholesome ingredients into the most incredibly mouthwatering *classic homemade eggnog*, guaranteed to become a cherished holiday tradition in your home. It’s surprisingly easier than you might think, and whether you prefer it with or without a spirited kick, this recipe promises an unforgettable festive experience.
Why Homemade Eggnog Reigns Supreme Over Store-Bought Versions
Let’s be clear: *homemade eggnog beats store-bought by far*. The difference in flavor, texture, and overall quality is immense. Commercial eggnogs often rely on artificial flavorings, excessive sugar, and a myriad of preservatives to achieve a semblance of the real thing. When you make eggnog from scratch, you’re in control of every ingredient, ensuring only the freshest and best go into your festive drink.
The Purity of Real Ingredients
This homemade recipe calls for only *real and good quality ingredients*: fresh eggs, rich cream, whole milk, granulated sugar, and authentic spices like nutmeg, cinnamon, and vanilla. There are no mysterious additives, just pure, wholesome goodness. This results in a thick, creamy, and undeniably delicious beverage with perfectly balanced vanilla, nutmeg, and cinnamon flavors that sing of the Christmas season. Once you taste homemade, you’ll never go back to store-bought.
Cost-Effective and Customizable
Not only is homemade eggnog incredibly easy to make, but it’s also quite economical (especially if you factor out the optional liquor). You get to decide the precise level of sweetness, the intensity of the spices, and the type and amount of alcohol, if any, making it fully customizable to your palate and dietary preferences. It’s an excellent way to savor a classic holiday treat without compromising on quality or breaking the bank.
The Enduring Appeal of Classic Eggnog
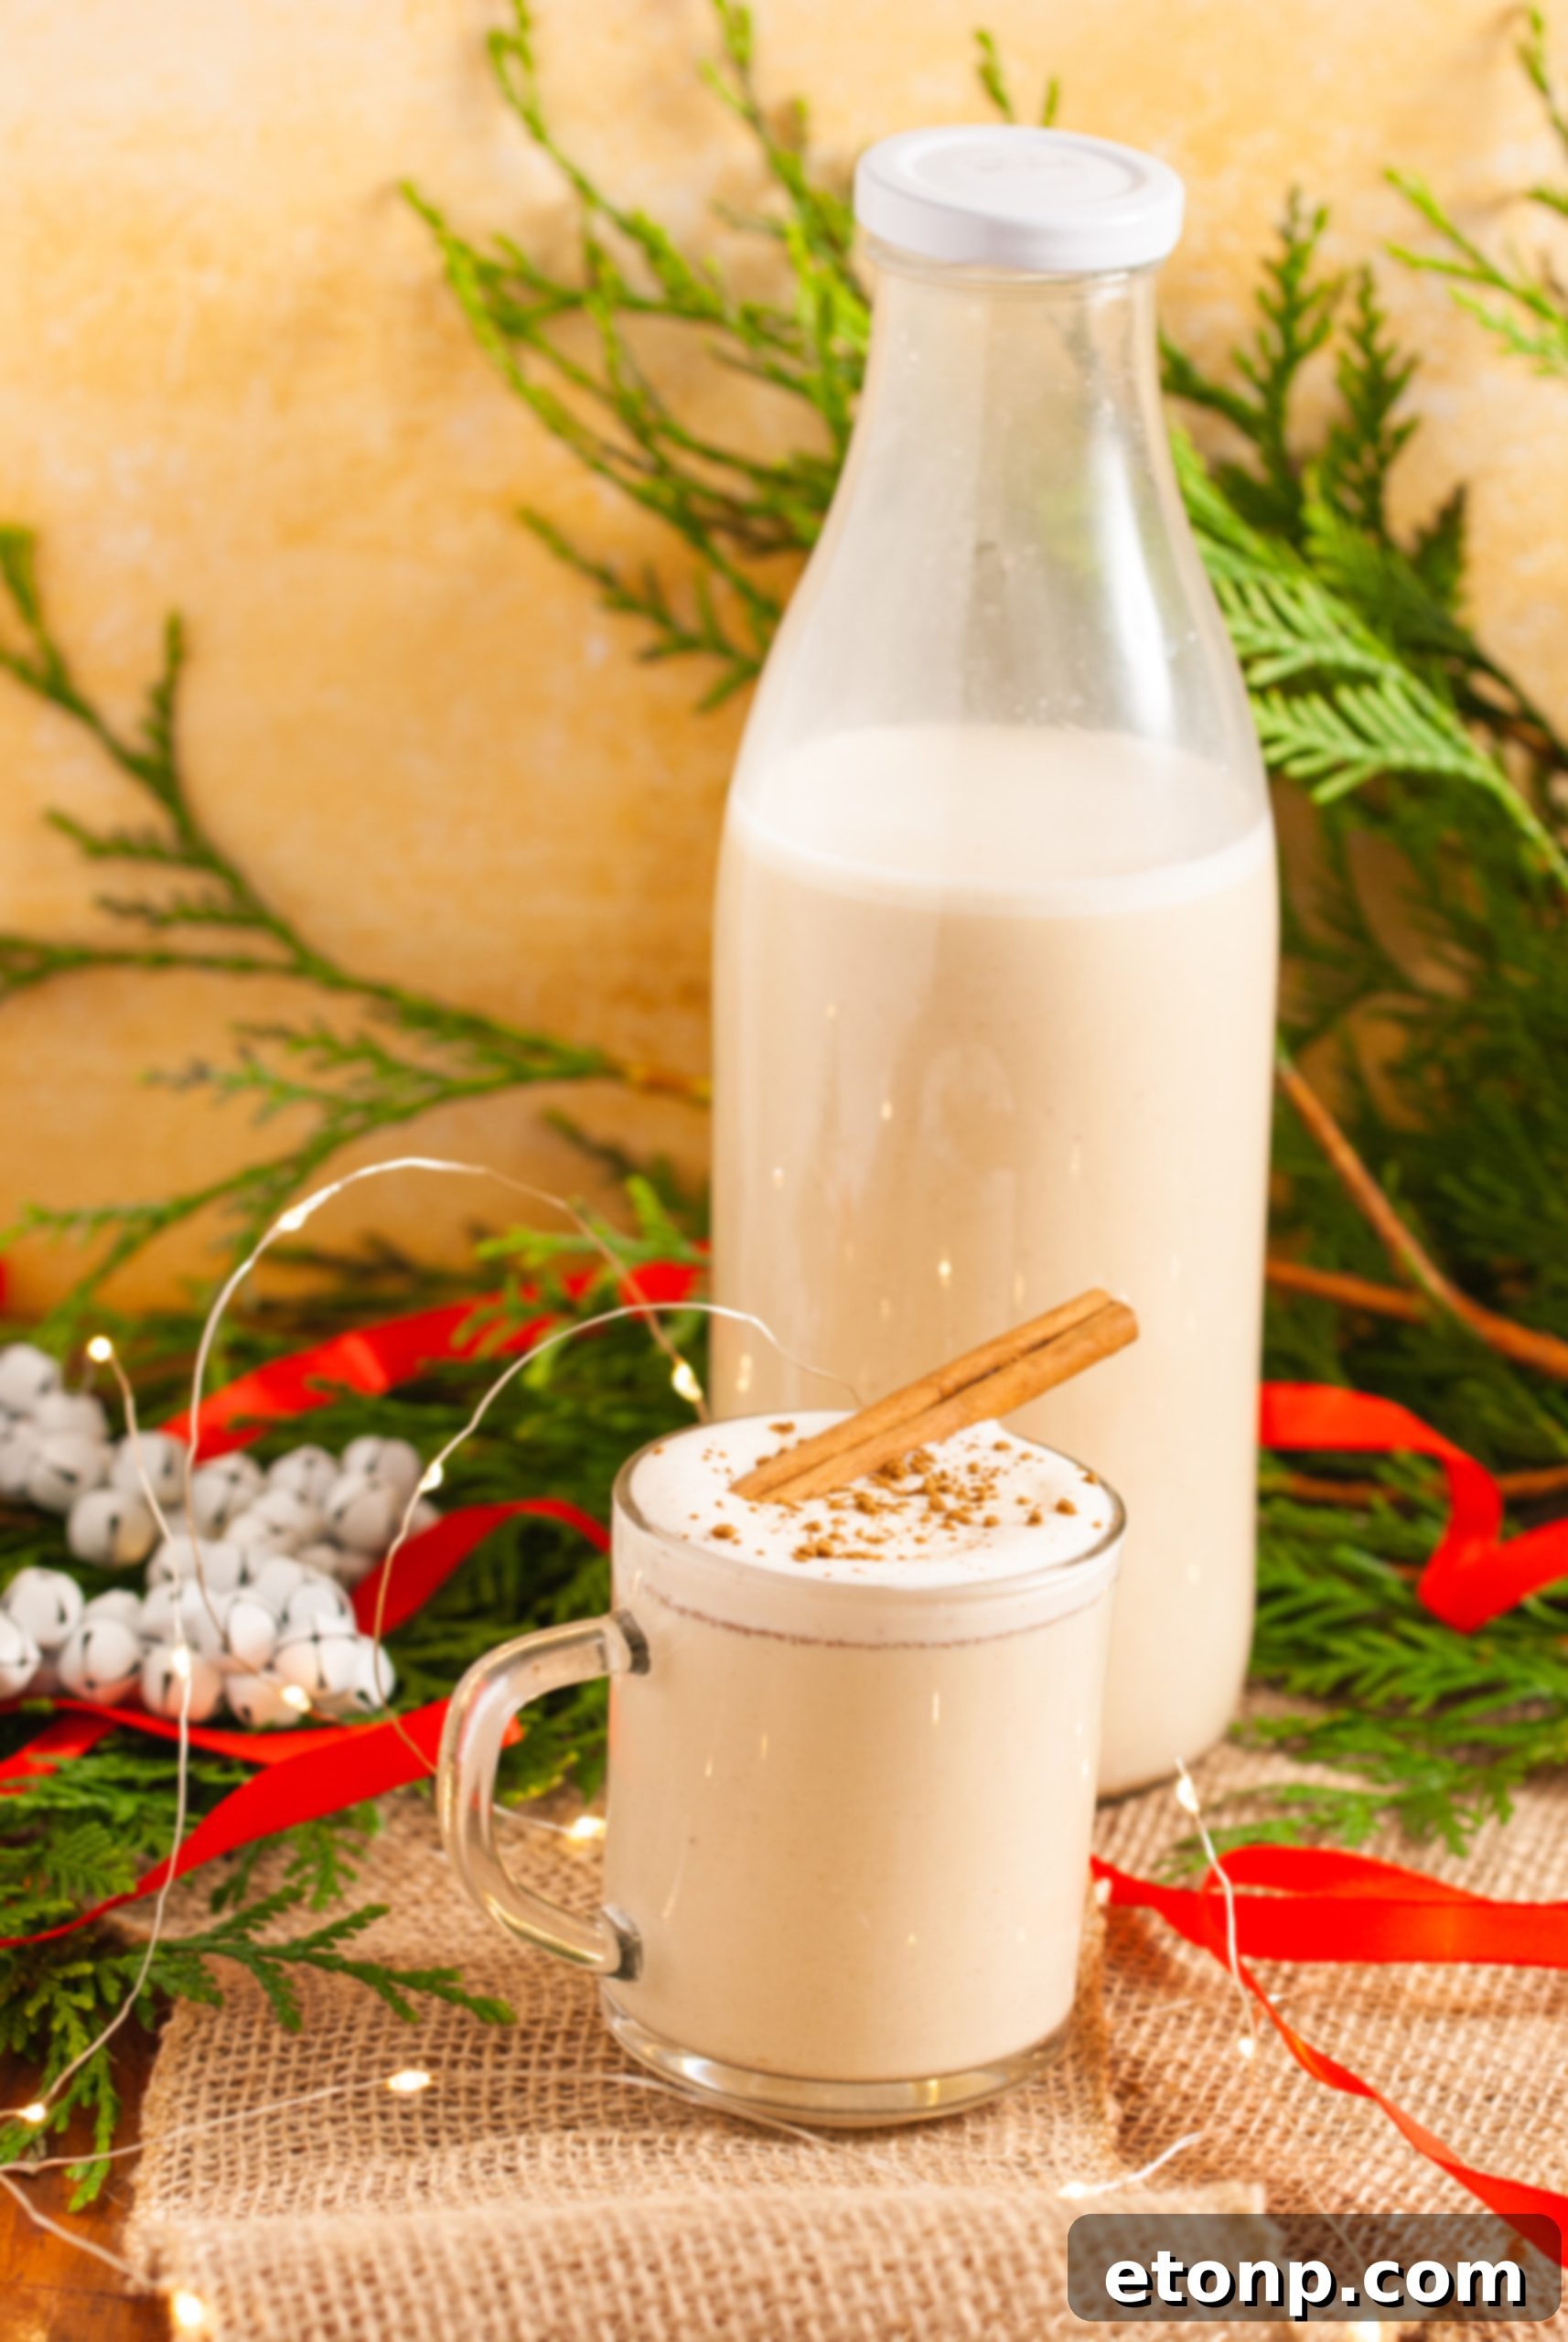
What is it about this classic drink that captures our hearts every holiday season? It’s sweet, deliciously spiced, and evokes a sense of comfort and celebration. Whether enjoyed with or without alcohol, *homemade eggnog* is the perfect beverage to savor while cozying up on a chilly day, perhaps with a good book or engaging in heartfelt conversation with loved ones. Its rich texture and festive aroma instantly create a warm, inviting atmosphere, making it an essential part of your holiday traditions. I personally love mine spiked with rum or bourbon, adding an extra layer of warmth and complexity.

Addressing “Raw Egg” Concerns: The Tempering Method
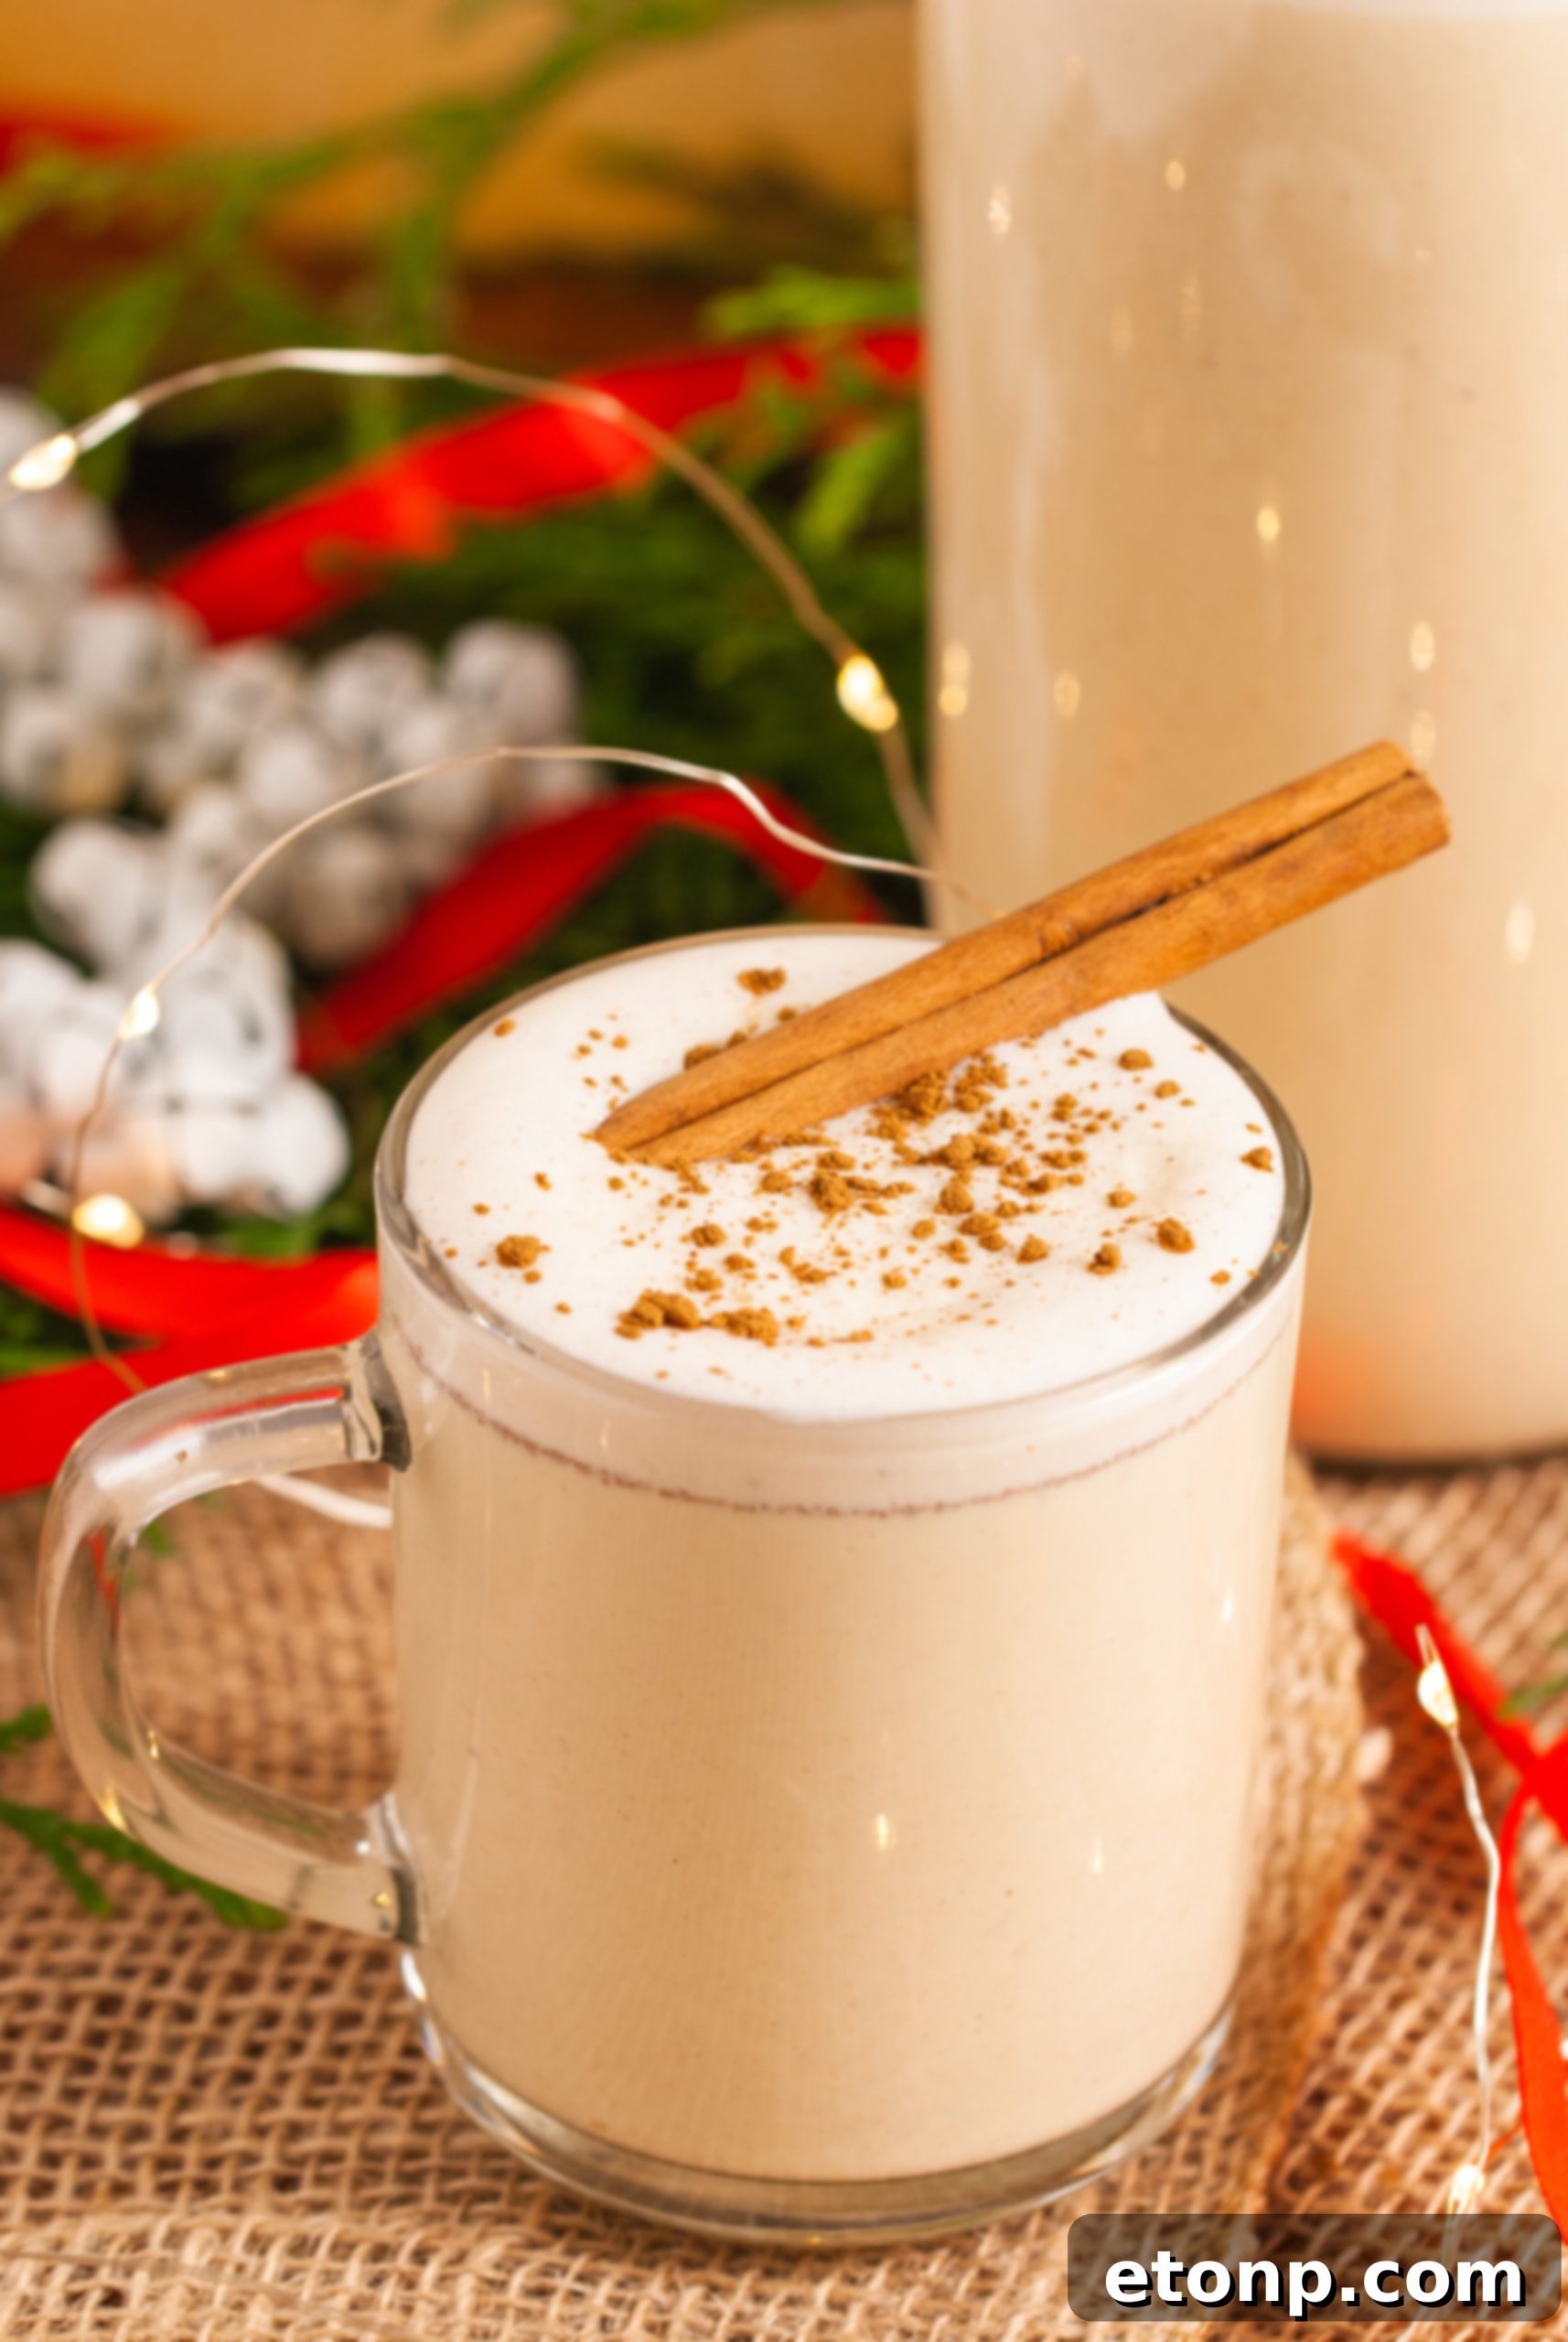
Before any apprehension sets in regarding the idea of “raw eggs,” rest assured that the egg yolks in this recipe are effectively “cooked” through a process called tempering. This technique involves slowly adding hot liquid to the egg yolks while continuously whisking. This gradual heating prevents the eggs from scrambling and instead creates a beautifully creamy, thickened base. The result is a smooth, delicious drink that absolutely does not taste like raw eggs. You can follow the detailed, step-by-step instructions below with complete confidence; it’s a very easy and safe process!
Choosing Your Spirit: What Alcohol Pairs Best with Eggnog?
While a *non-alcoholic, kid-friendly eggnog* is a perfectly delightful option, a spiked version adds an extra layer of festive cheer and flavor complexity. Choosing the right alcohol can elevate your eggnog from delicious to truly extraordinary.
Our Top Alcohol Recommendations:
-
Rum: Golden or dark rums are excellent choices, especially spiced varieties. They complement the warming spices of eggnog beautifully, adding depth and a hint of molasses sweetness.
-
Bourbon: A timeless classic, bourbon introduces delightful caramel and vanilla notes, along with a pleasant oakiness, which harmonizes wonderfully with the creamy base.
-
Brandy: For a slightly more sophisticated touch, brandy offers a fruity, sometimes floral complexity that adds a unique twist to your eggnog.
When selecting your liquor, opt for one with an aged, rich flavor and a good alcohol content. This not only enhances the taste but also helps to balance the sweetness of the eggnog and acts as a natural preservative, extending its shelf life.
Key Ingredients Needed for Homemade Eggnog
To craft this incredibly creamy and dreamy holiday beverage, gather the following high-quality ingredients:
-
Heavy Whipping Cream: Essential for a rich, thick, and luxurious texture. Don’t skimp on the fat content here!
-
Whole Milk: Provides the creamy base. Full-fat milk is recommended for the best results and flavor.
-
Granulated White Sugar: The primary sweetener. You can adjust the quantity to suit your preference for sweetness.
-
Eggs: We specifically use the egg yolks. They are crucial for both the rich flavor and the emulsifying properties that give eggnog its signature texture. (The egg whites can be saved for other delightful recipes like meringues or soufflés!)
-
Your Liquor of Choice (Optional): As discussed, quality rum, bourbon, or brandy are highly recommended for a perfectly *spiked eggnog*.
-
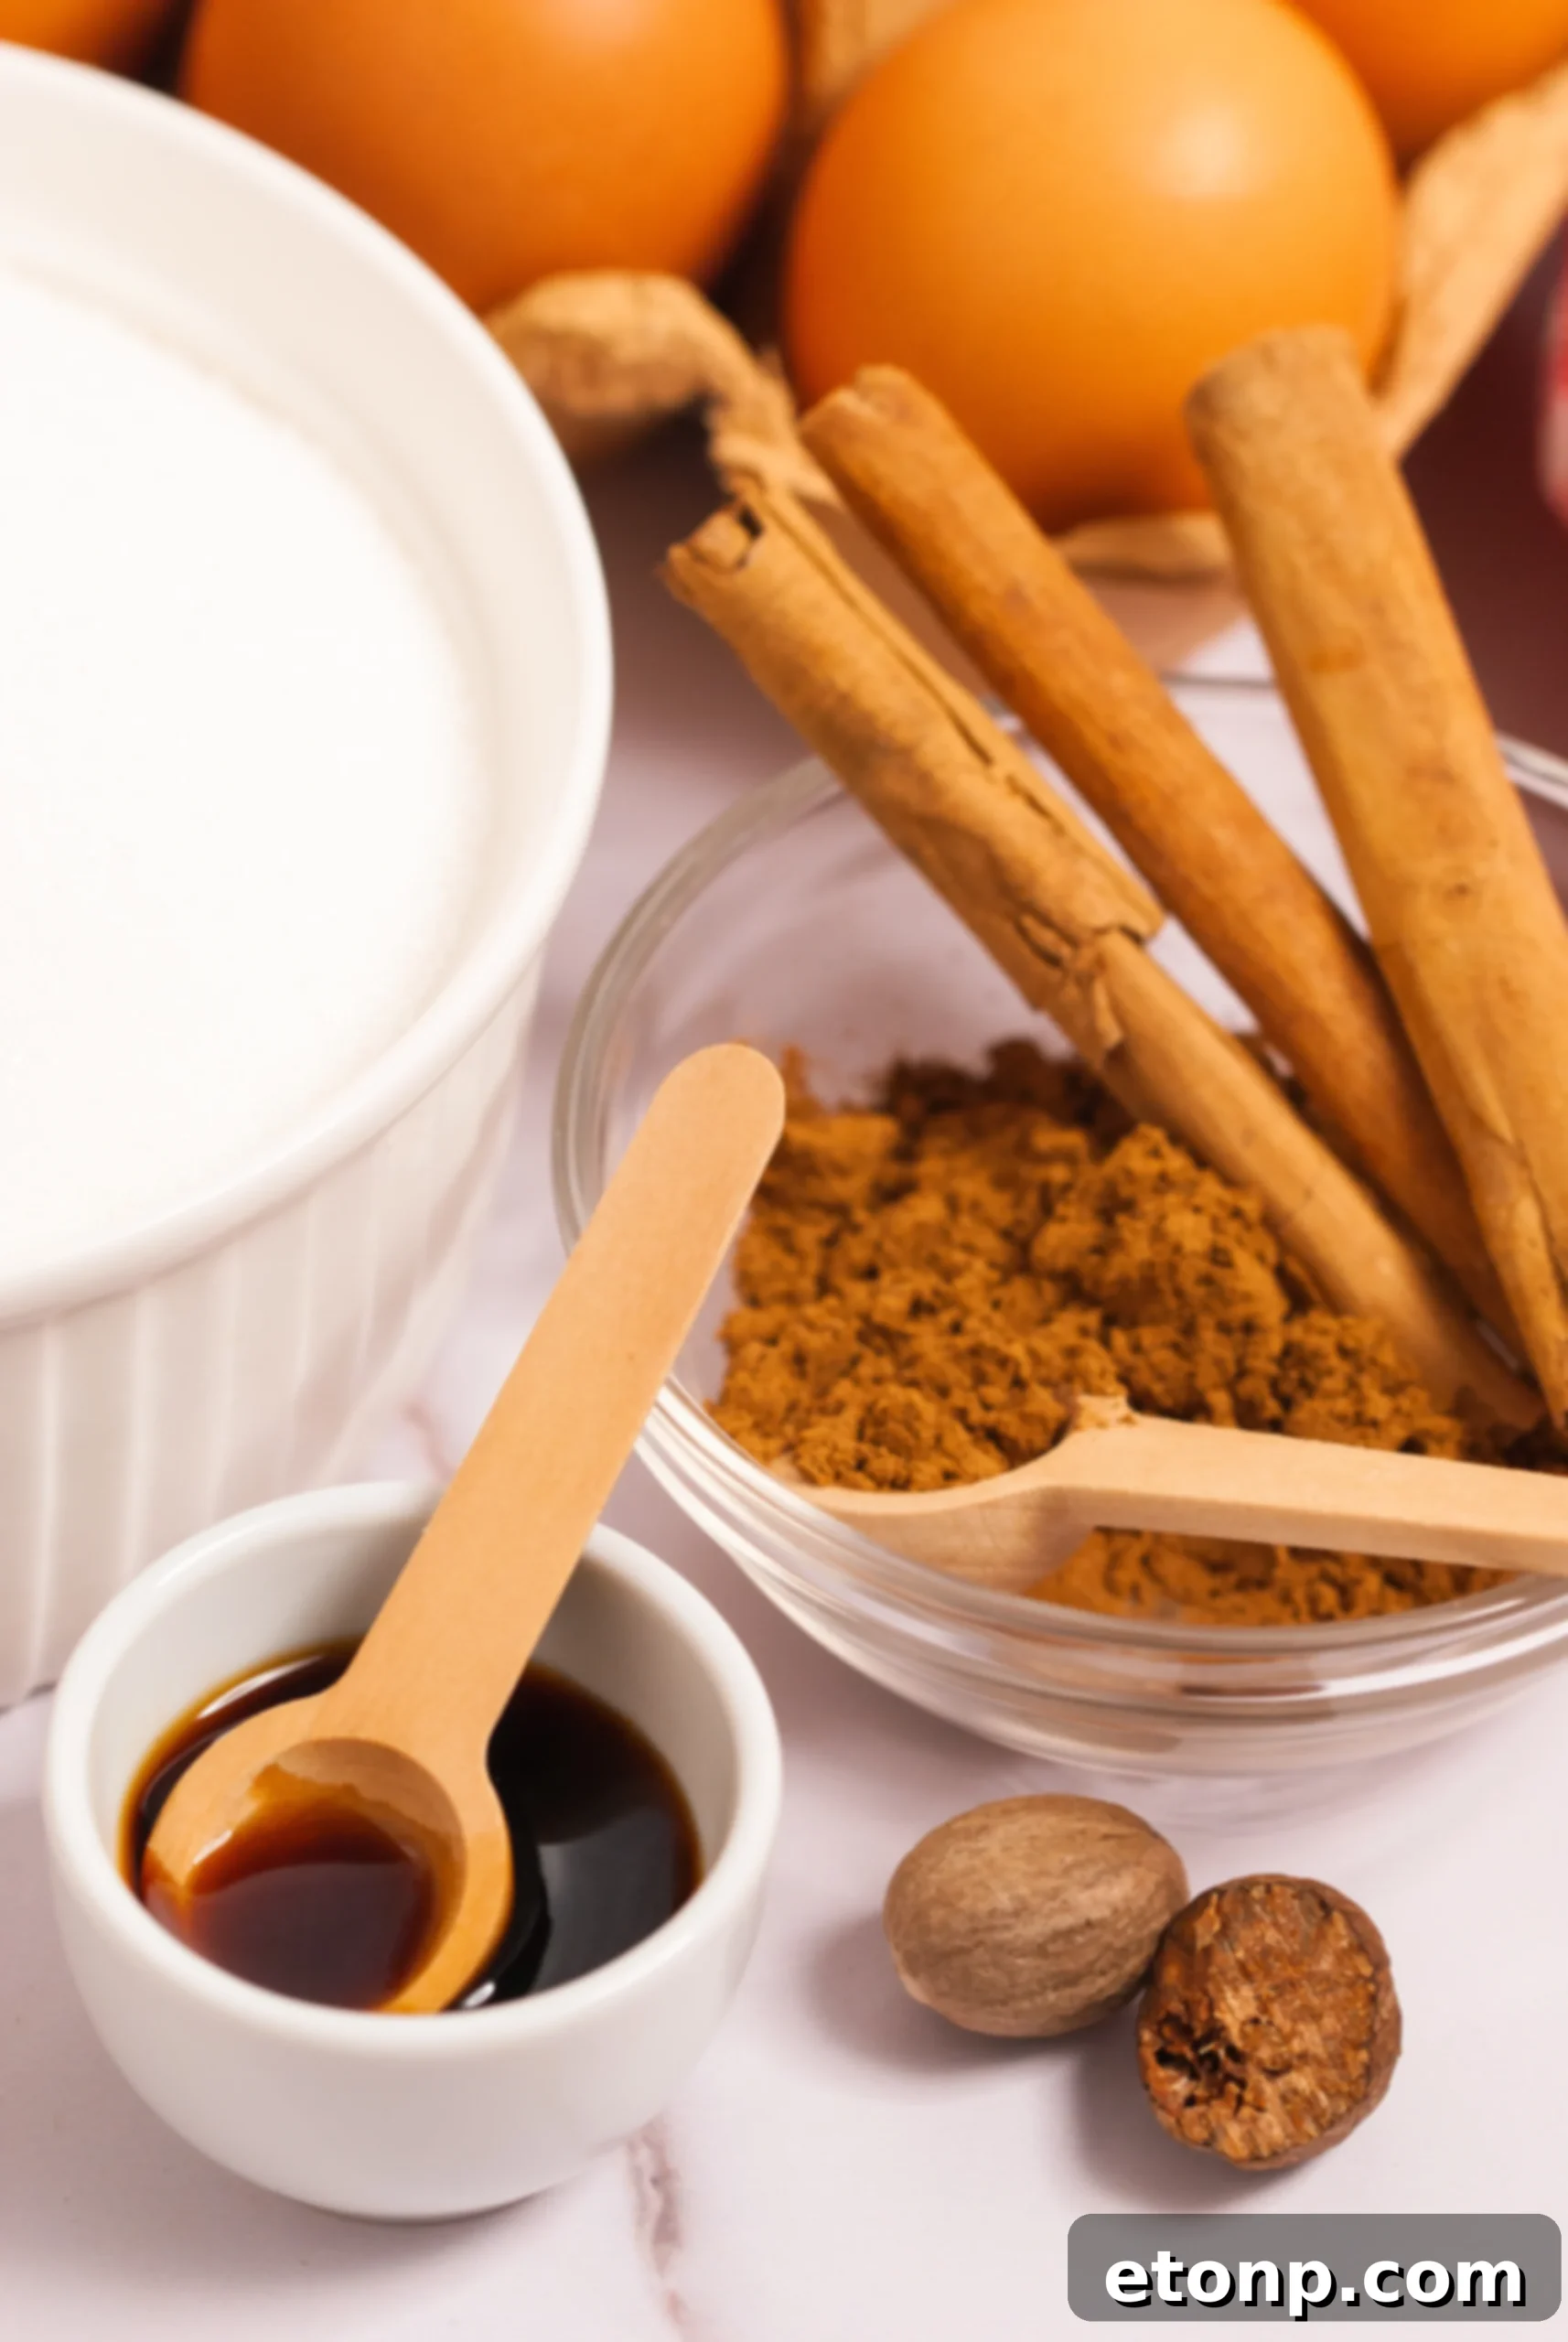
Spices: Ground nutmeg and cinnamon, along with vanilla, create that quintessential festive flavor combination. For an aromatic boost, consider freshly grating your nutmeg. You can use a vanilla bean for intense flavor or a good quality vanilla extract for convenience. Cinnamon sticks are also excellent for garnishing and a subtle infusion when serving.
-
A Pinch of Salt: A small amount of salt enhances and balances all the other sweet and spicy flavors, making them pop.
Useful Equipment for Eggnog Preparation
To ensure a smooth and successful *homemade eggnog* experience, have these essential tools ready:
-
A Small Saucepan: Ideal for gently heating the milk and infusing it with spices.
-
Measuring Cups and Spoons: Accuracy in measurements is key for the perfect consistency and flavor balance.
-
A Large Heatproof Bowl: Necessary for whisking the egg yolks and tempering them with the hot milk.
-
A Medium-Sized Bowl: Useful for separating egg whites.
-
Electric Mixer or a Whisk (or Fork): An electric mixer makes whisking egg yolks and sugar effortless, but a sturdy hand whisk or even a fork can also get the job done with a little more elbow grease.
-
Fine-Mesh Strainer: Crucial for filtering out any small bits of cooked egg or spice, ensuring a perfectly smooth and silky eggnog.
-
An Airtight Bottle or Crystal Container: For hygienic storage in the refrigerator.
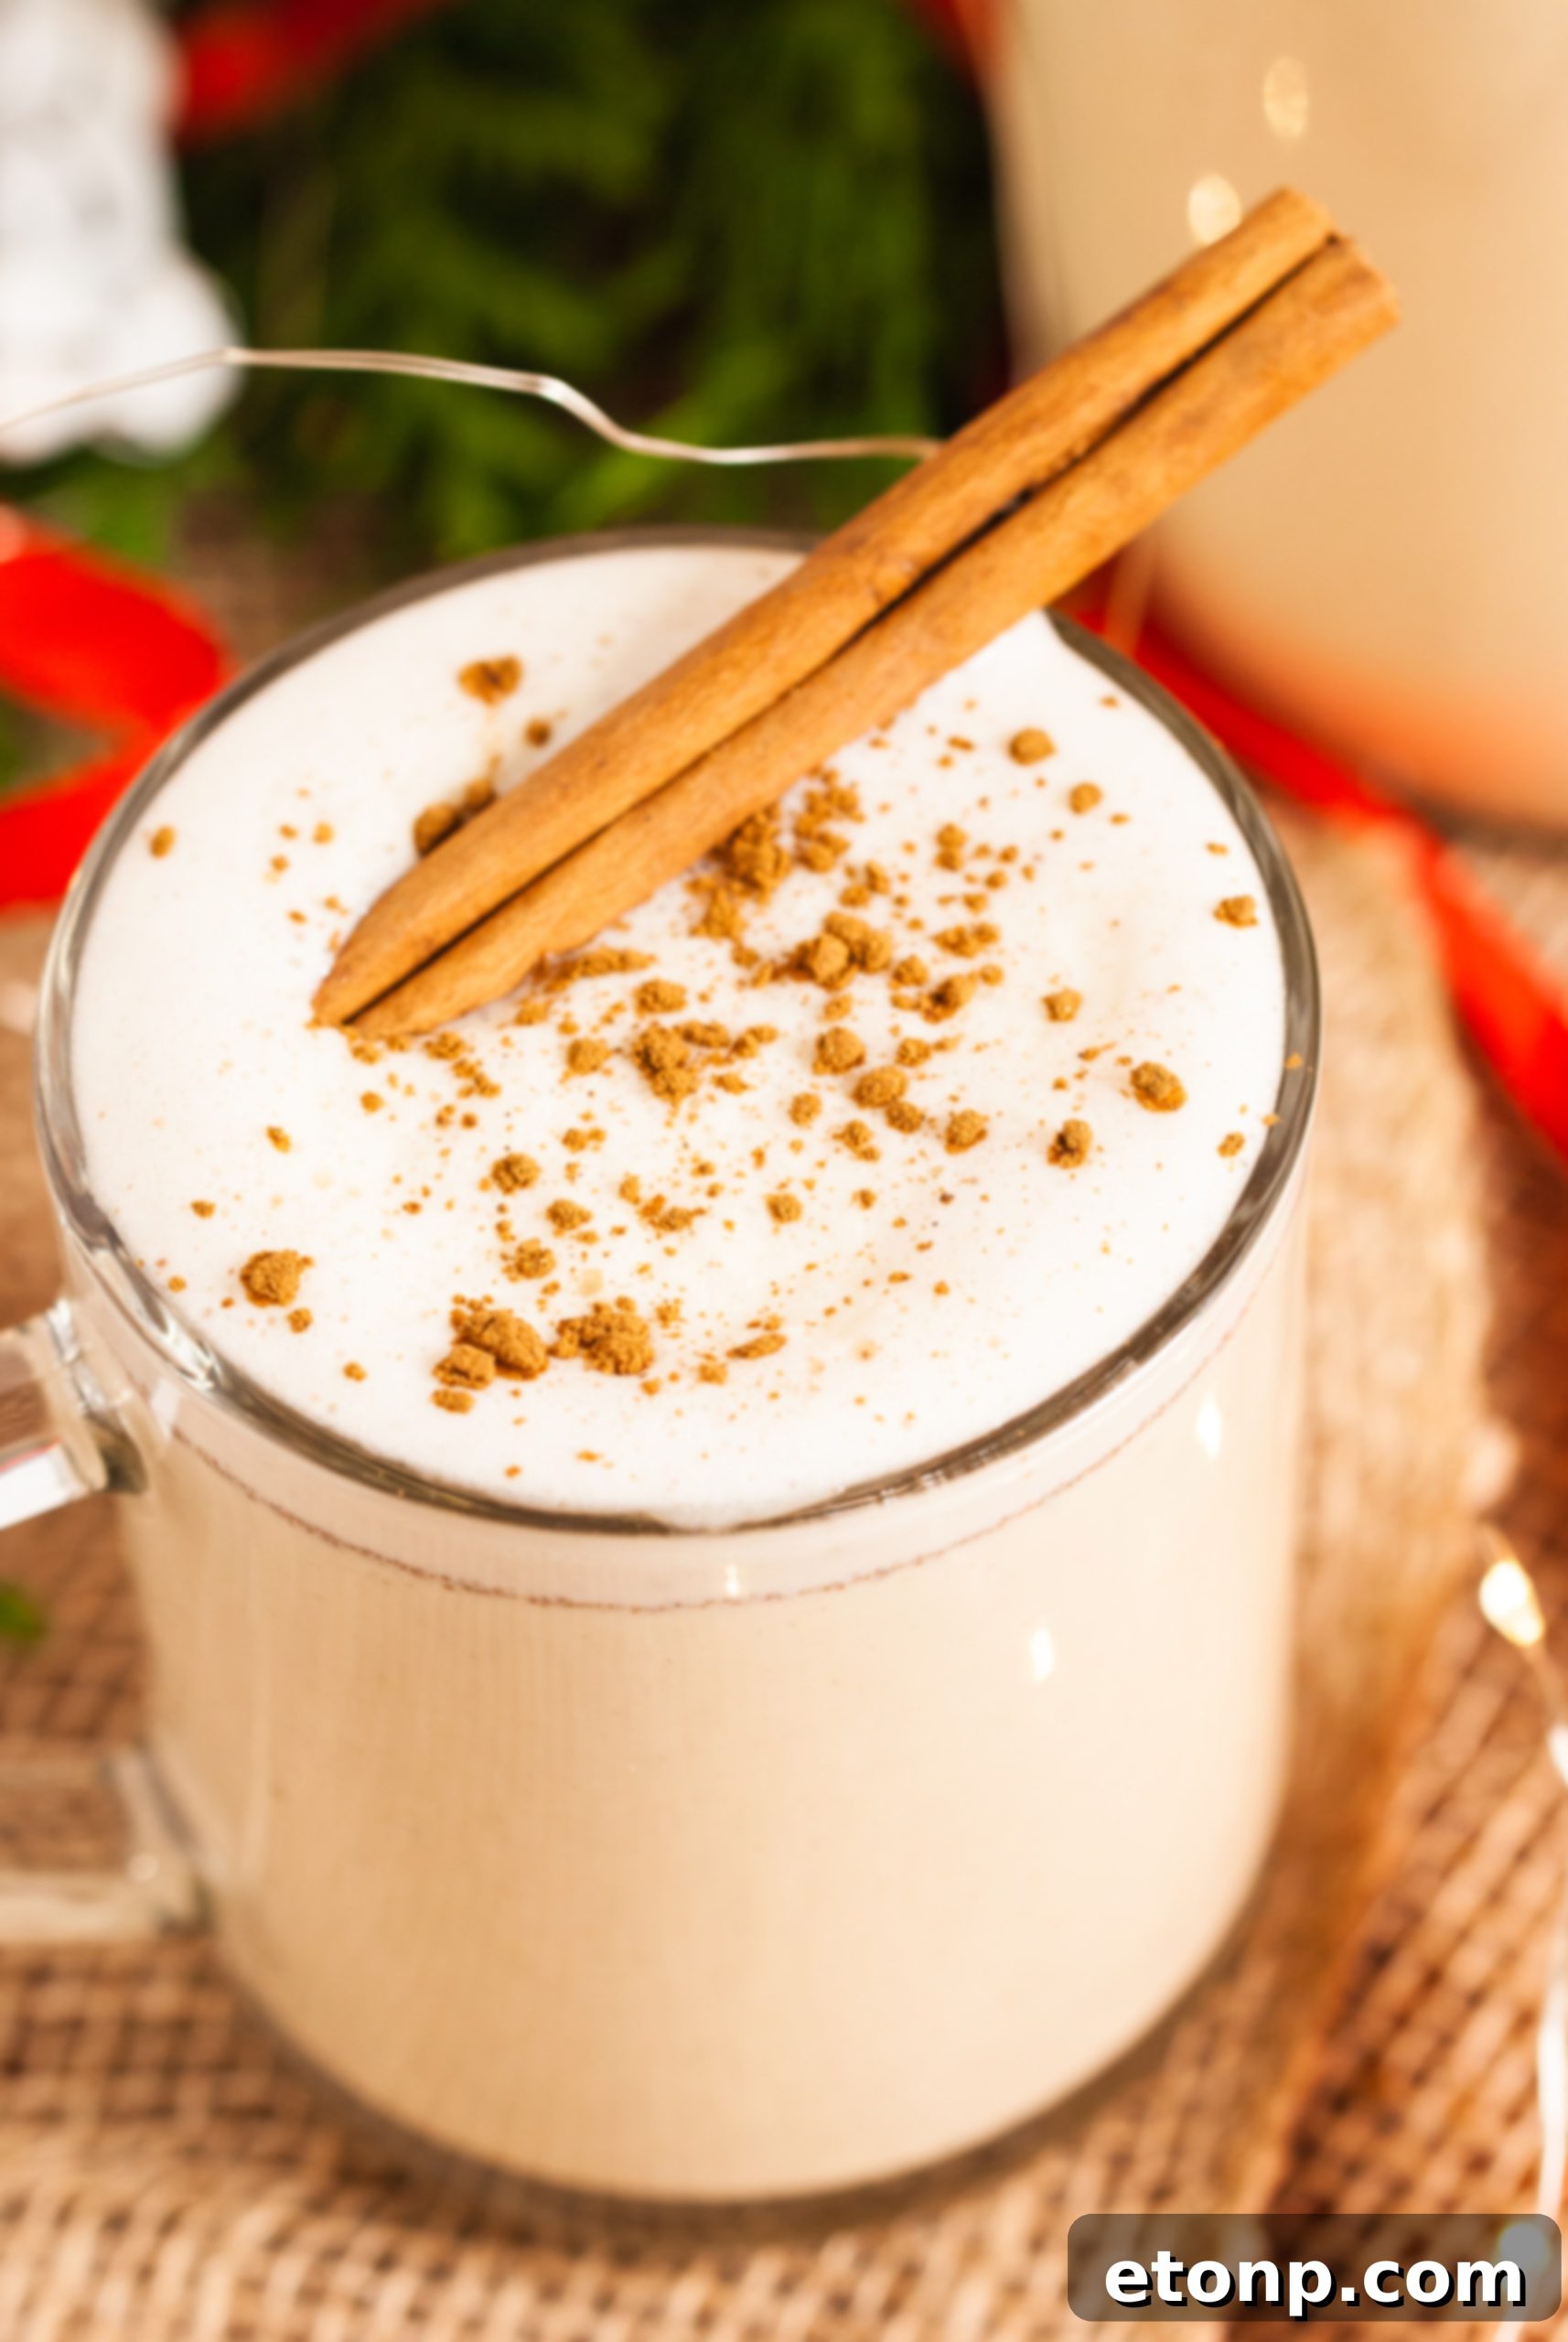
The Easiest and Creamiest Homemade Eggnog Recipe
This quintessential Christmas drink is easier to master than you might imagine. Follow these steps for an incredibly smooth and flavorful *eggnog from scratch*.
Classic Homemade Eggnog Recipe
Servings: 6
Ingredients:
- 2 cups heavy whipping cream
- 2 cups whole milk
- ½ cup granulated white sugar
- 6 egg yolks
- 1 cup of your liquor of choice (brandy, rum, or bourbon, optional)
- ½ teaspoon ground nutmeg + a bit more for garnish
- ½ teaspoon vanilla extract
- ½ teaspoon ground cinnamon + a bit more for garnish
- Cinnamon sticks for garnish (optional)
- A pinch of salt
Instructions:
- Separate Egg Yolks: Carefully separate the yolks from the whites. The “shell to shell” method works well: crack the egg gently over a bowl and transfer the yolk between shell halves, allowing the white to fall into the bowl. Once the yolk is clean, transfer it to a larger heatproof bowl.
- Whisk Yolks and Sugar: Add the granulated sugar to the egg yolks in the large bowl. Using an electric mixer or a sturdy whisk, beat them until the mixture becomes pale yellow, creamy, and fluffy. This creates the foundational custard texture.
- Infuse Milk and Spices: In a small saucepan over medium heat, combine the whole milk, ground nutmeg, cinnamon, and a pinch of salt. Heat the mixture until it’s steamy and fragrant, but be very careful not to let it boil. Remove the saucepan from the stove immediately.
- Temper the Eggs: This crucial step prevents the eggs from curdling. Slowly ladle about ½ cup of the hot milk mixture into the egg yolk and sugar mixture while whisking constantly and vigorously. Continue to gradually add the hot milk, about a tablespoon at a time, until at least half of the milk has been incorporated. This gently raises the temperature of the egg yolks.
- Cook the Eggnog Base: Pour the tempered egg yolk mixture back into the saucepan with the remaining hot milk. Return to medium-low heat and cook, stirring constantly with a spoon or whisk, until the mixture visibly thickens enough to coat the back of the spoon. Do not let it boil, as this will cause curdling. Remove from heat as soon as it reaches this consistency. Never leave it unattended during this stage.
- Add Cream and Vanilla: Once removed from the heat, stir in the heavy whipping cream and vanilla extract until everything is well combined and smooth.
- Strain for Smoothness: To ensure a perfectly smooth and silky eggnog, pour the entire mixture through a fine-mesh strainer into a clean bowl or storage container. This catches any small bits of cooked egg or spice.
- Cool and Chill: Let the eggnog cool to room temperature, stirring occasionally to prevent a skin from forming. Once cooled, cover the container tightly and refrigerate for at least 4 hours, or ideally overnight. Chilling allows the flavors to meld and the eggnog to thicken further.
- Add Liquor (Optional): Once thoroughly chilled, stir in your chosen liquor (rum, bourbon, or brandy) if you desire a spiked version. For a delicious *non-alcoholic eggnog*, simply skip this step.
- Store: Transfer your finished *homemade eggnog* into a clean, airtight glass bottle or sealed container for storage.
- ENJOY!
How to Serve Your Delicious Homemade Eggnog
Presentation truly enhances the enjoyment of this delightful holiday drink. Here are some popular ways to serve your *classic homemade eggnog*:
-
Chilled is Classic: Eggnog is traditionally served chilled, which allows its rich, complex flavors to fully develop and shine.
-
Warm and Cozy: If you prefer a comforting hot beverage, gently heat the eggnog on the stovetop over low heat. It’s crucial not to let it boil; boiling can cause the alcohol (if present) to evaporate and the mixture to curdle. Just warm it through until it’s pleasantly hot.
-
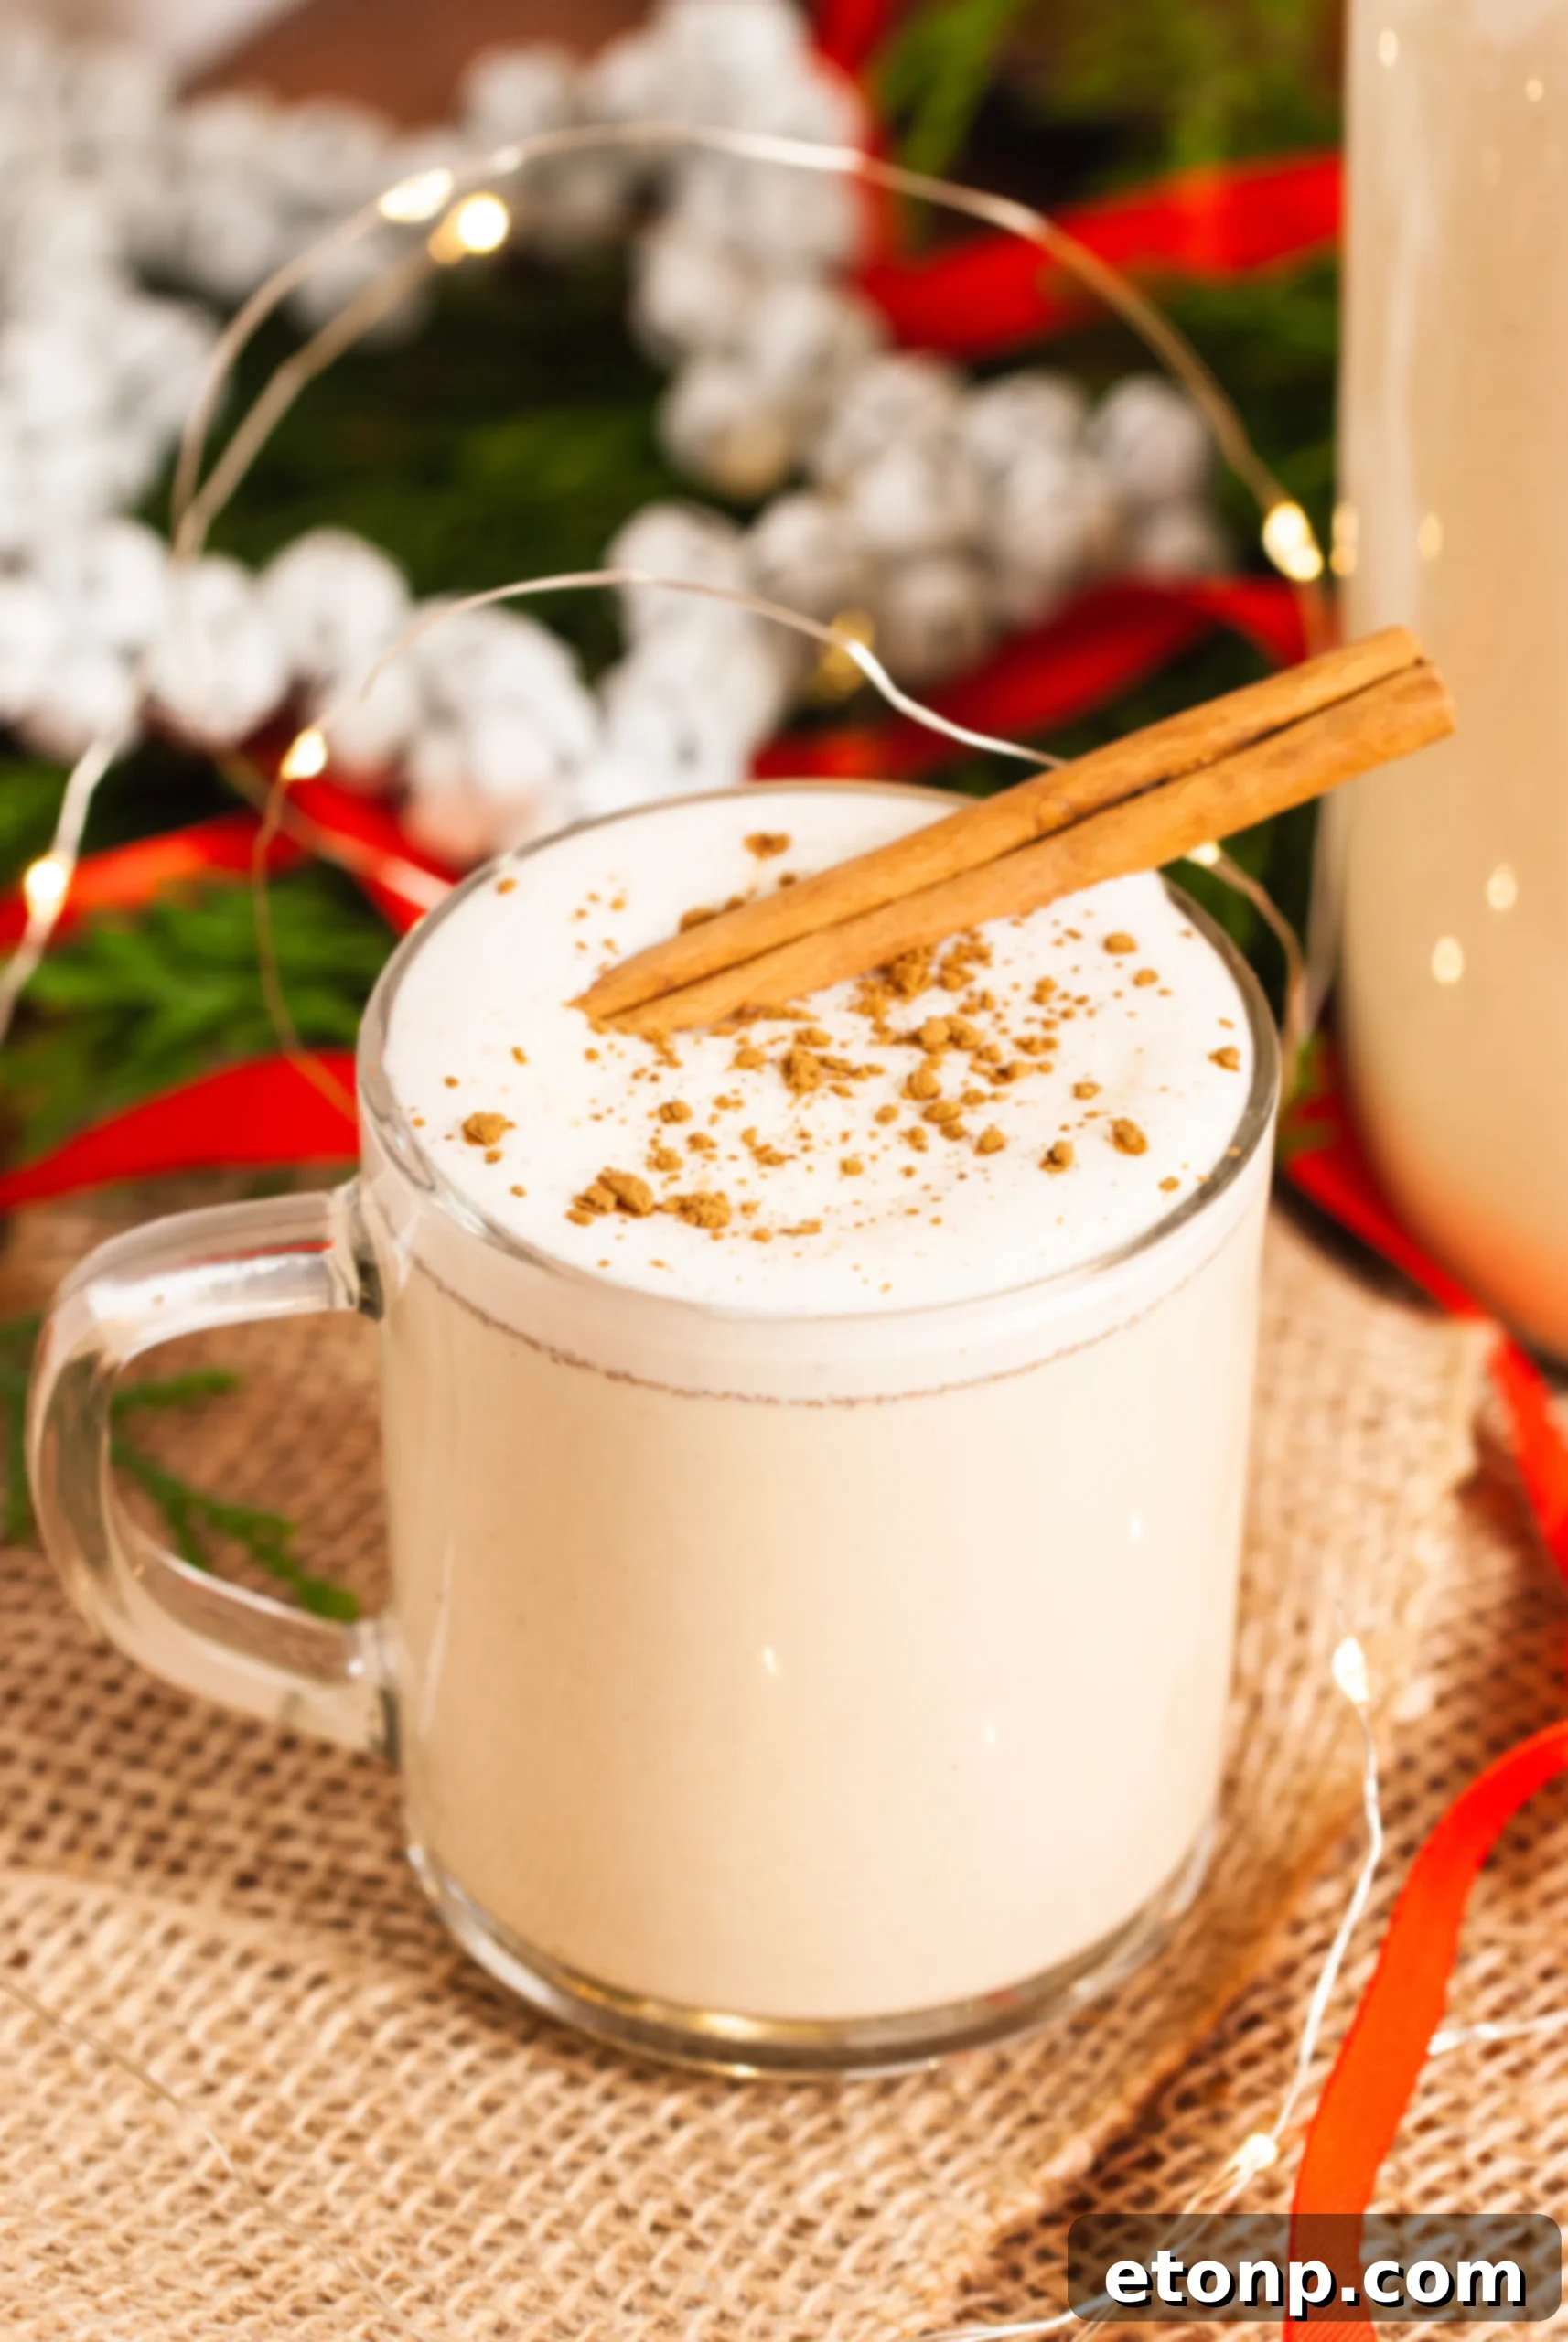
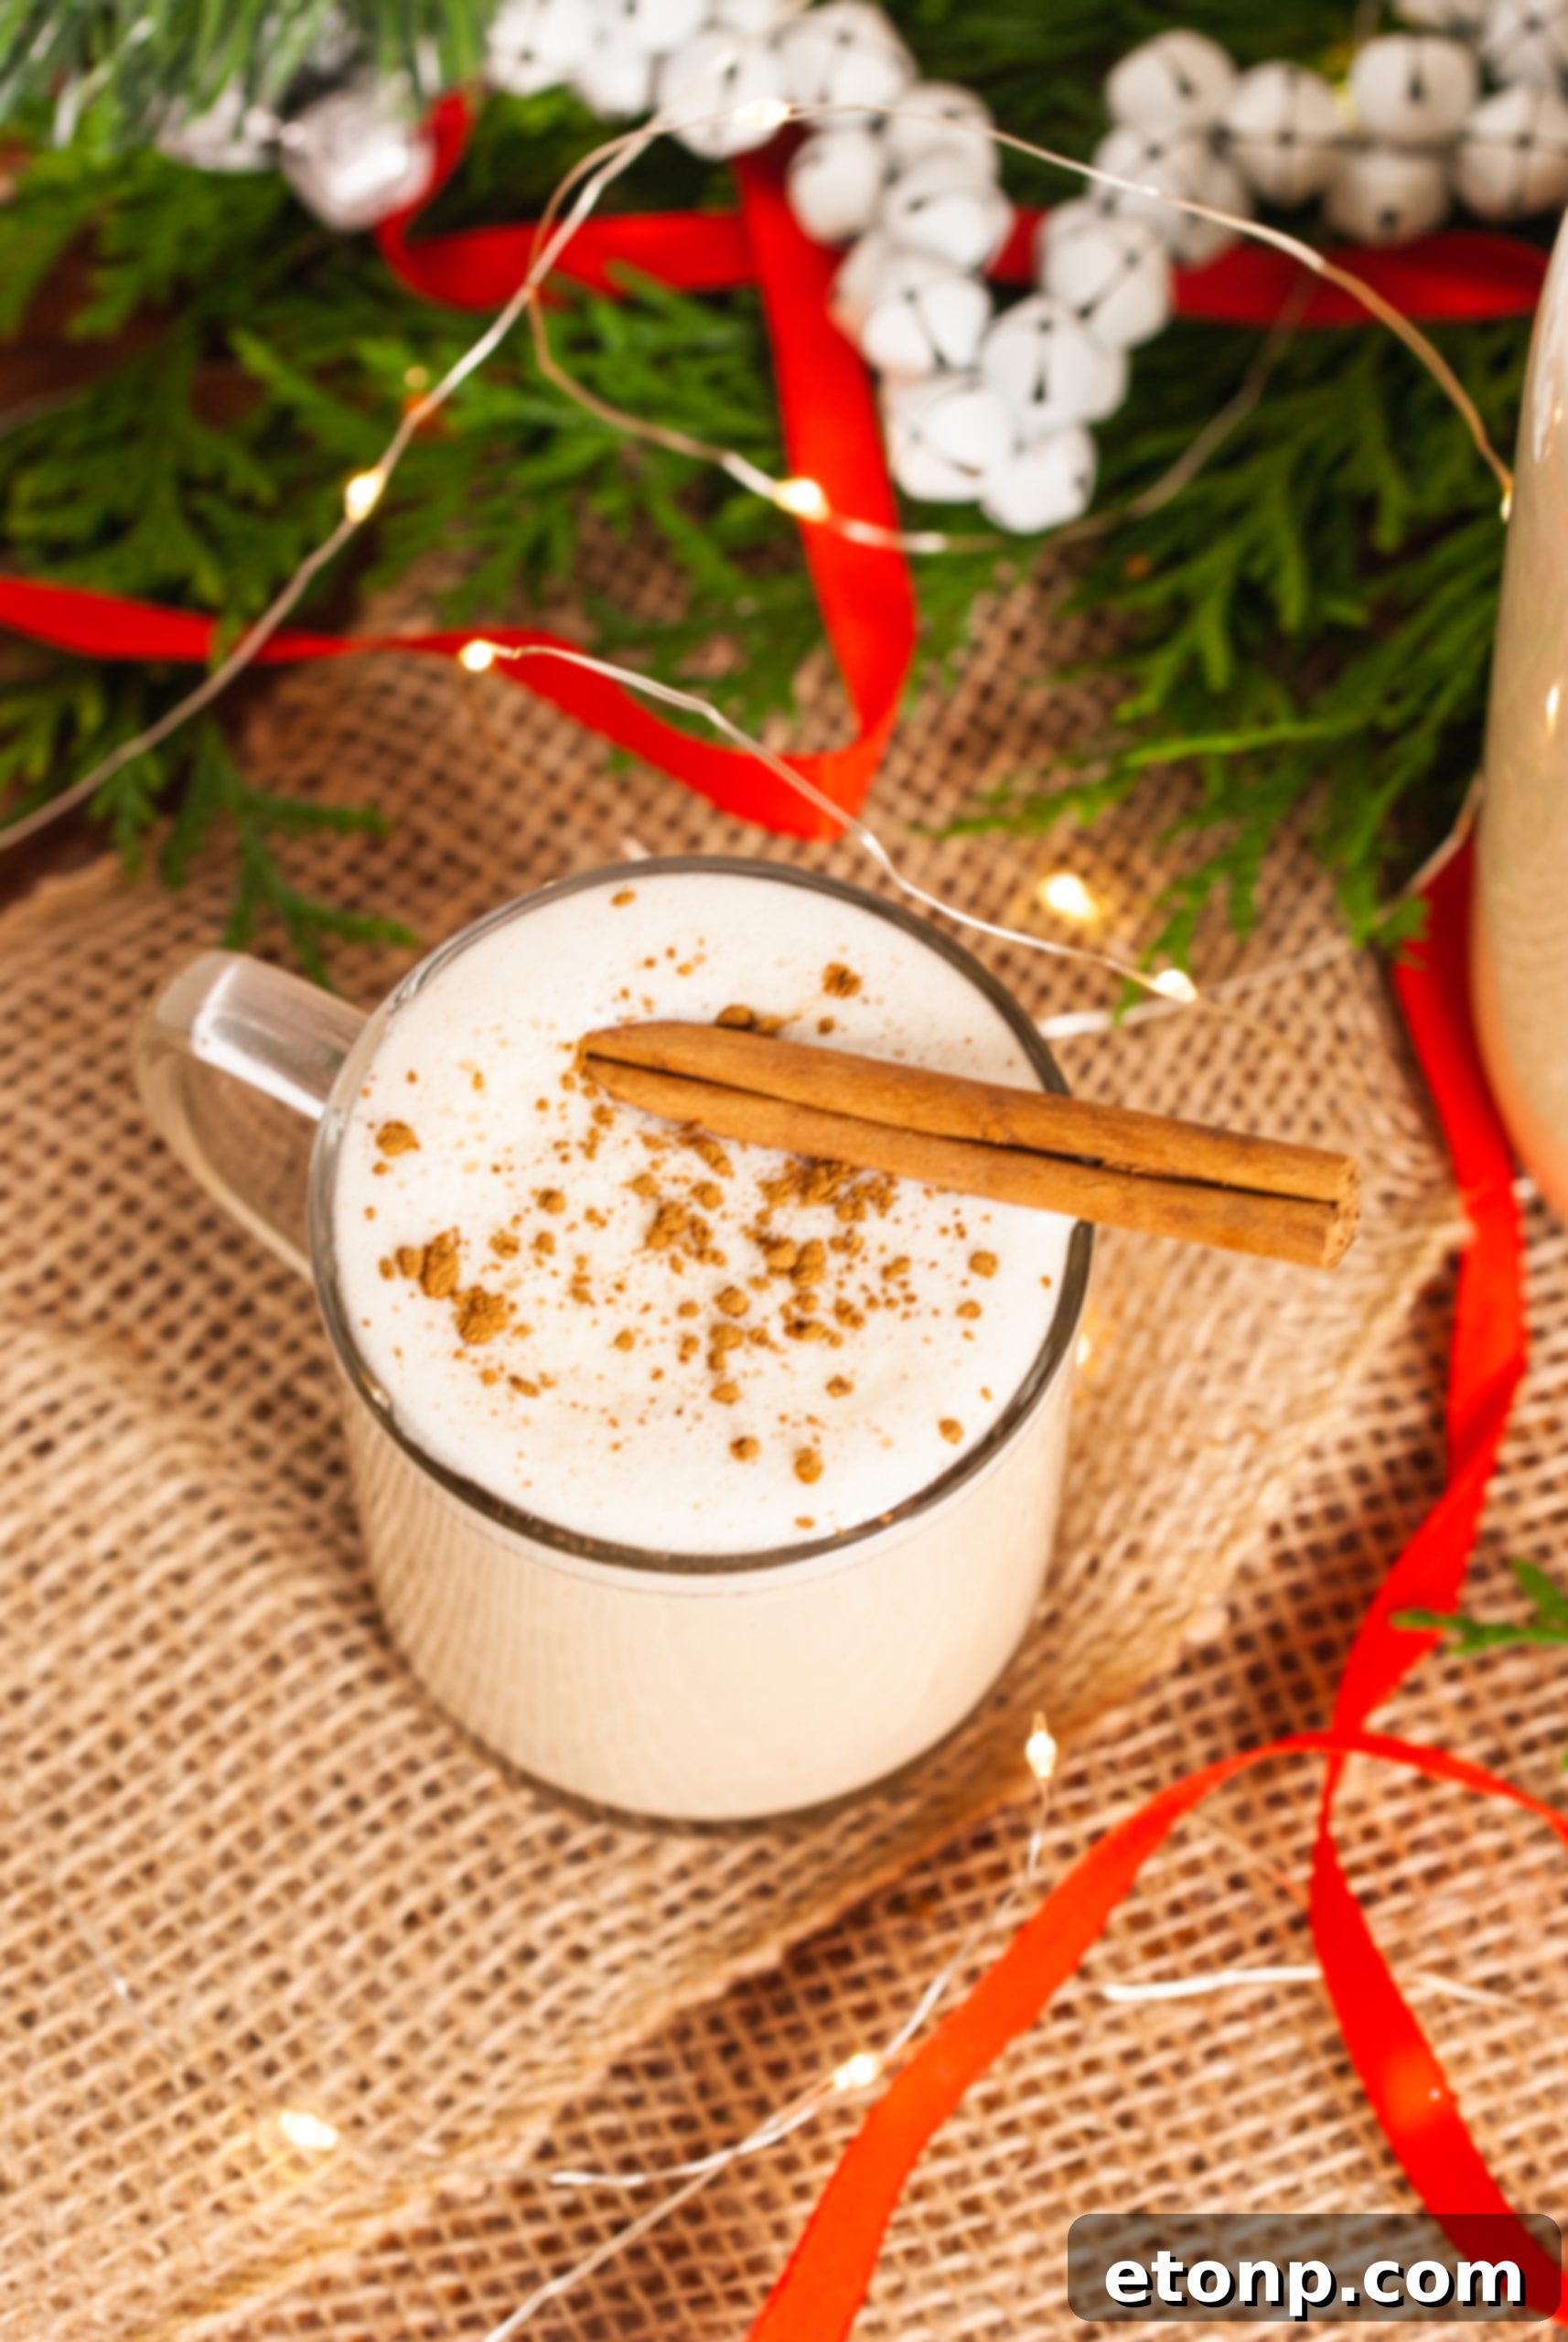
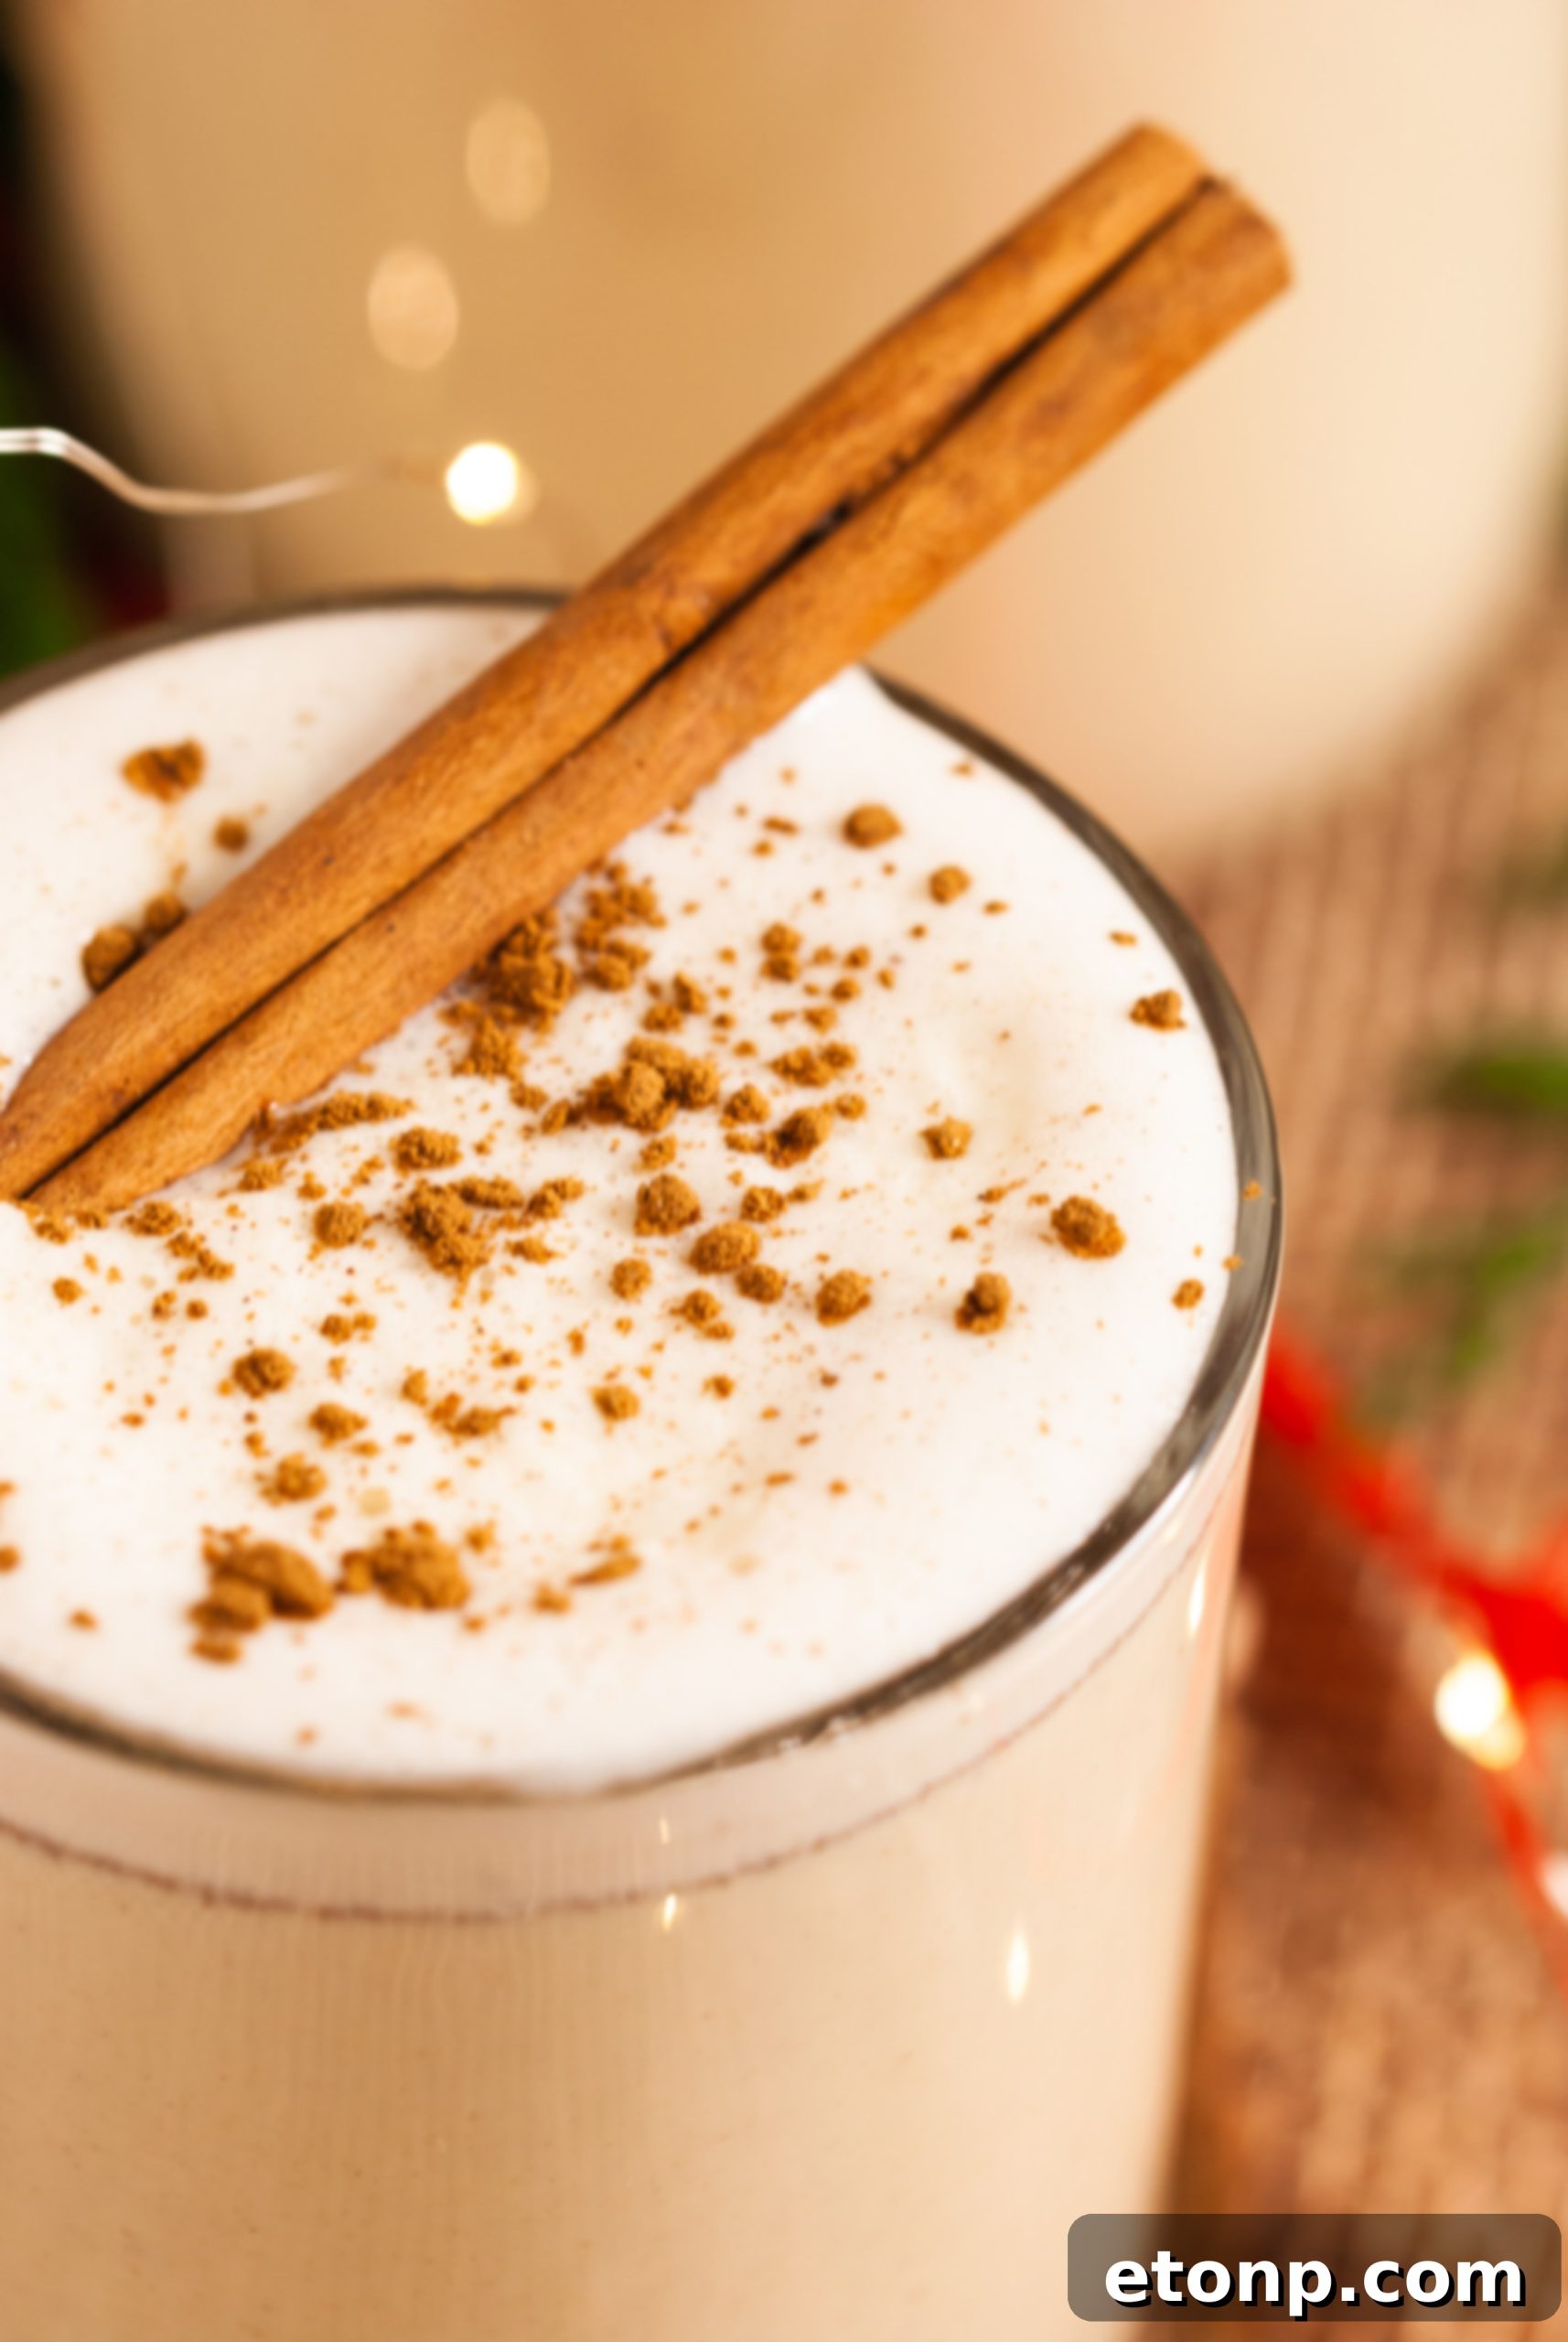
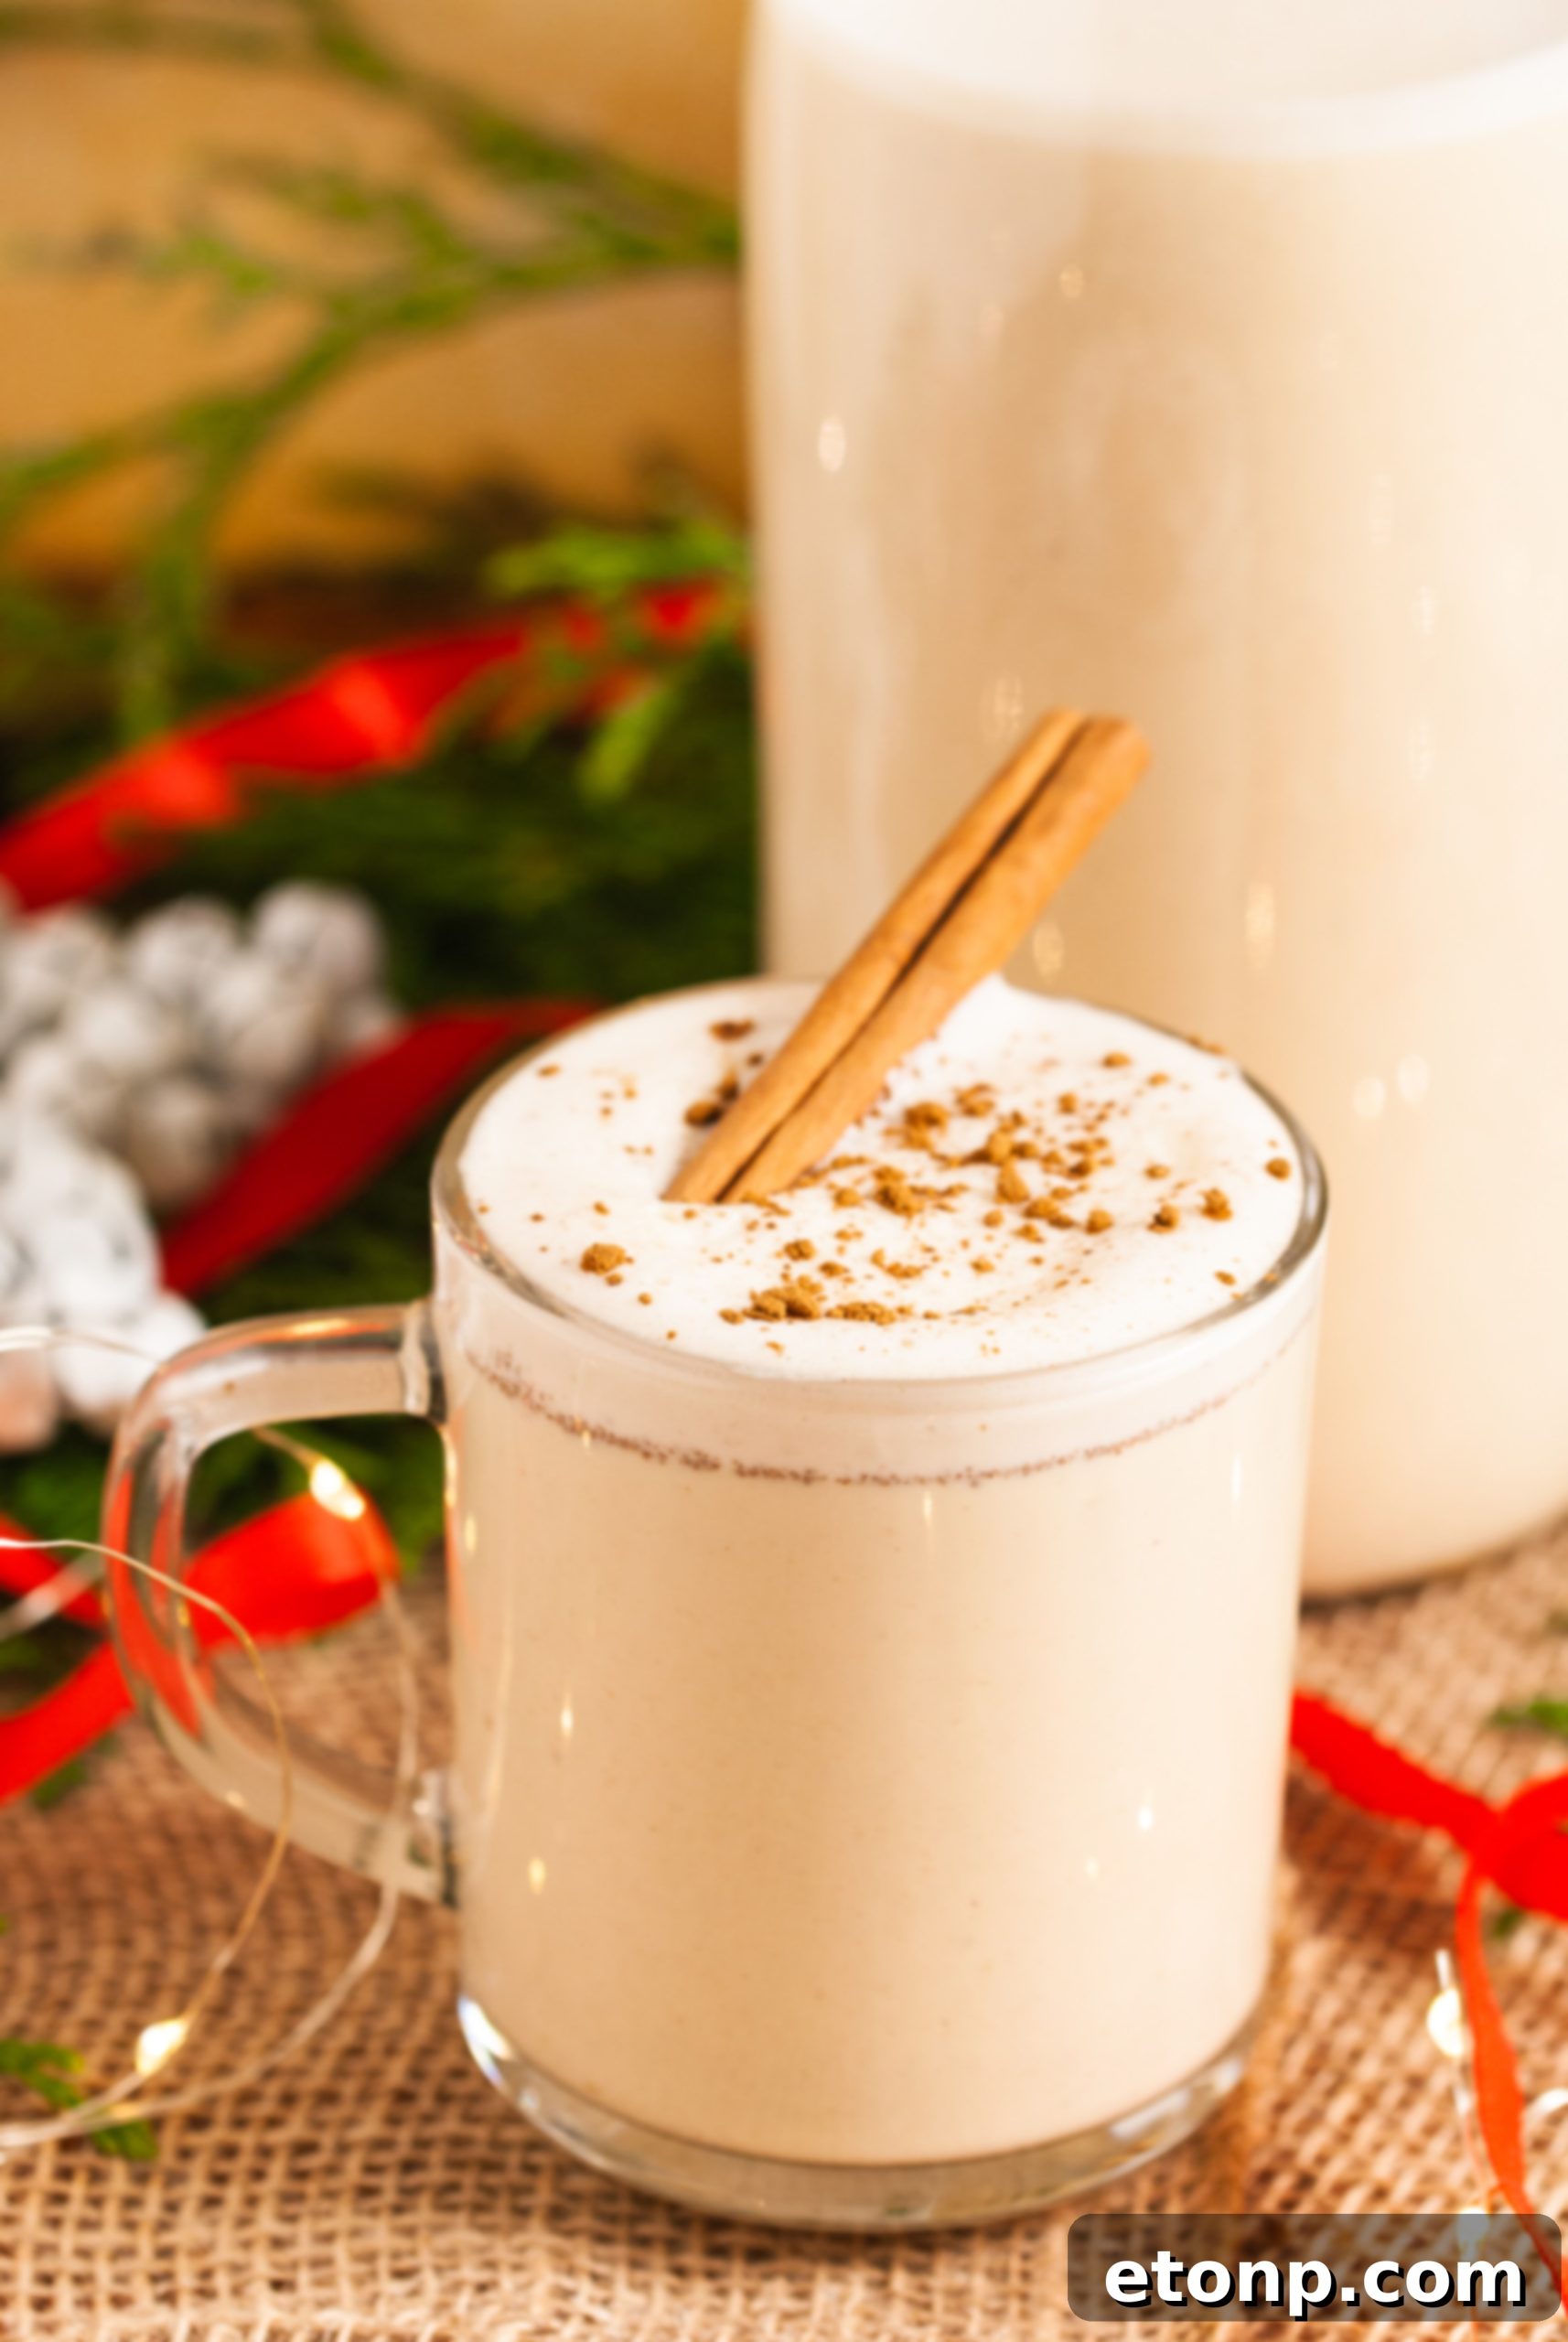
Garnish for Elegance: Pour your eggnog into festive glasses. Top generously with a dollop of freshly whipped cream, a sprinkle of freshly grated nutmeg, and a dash of cinnamon. For an elegant touch, add a cinnamon stick as a stirrer. A light dusting of cocoa powder or a drizzle of caramel sauce can also add a delightful flourish.
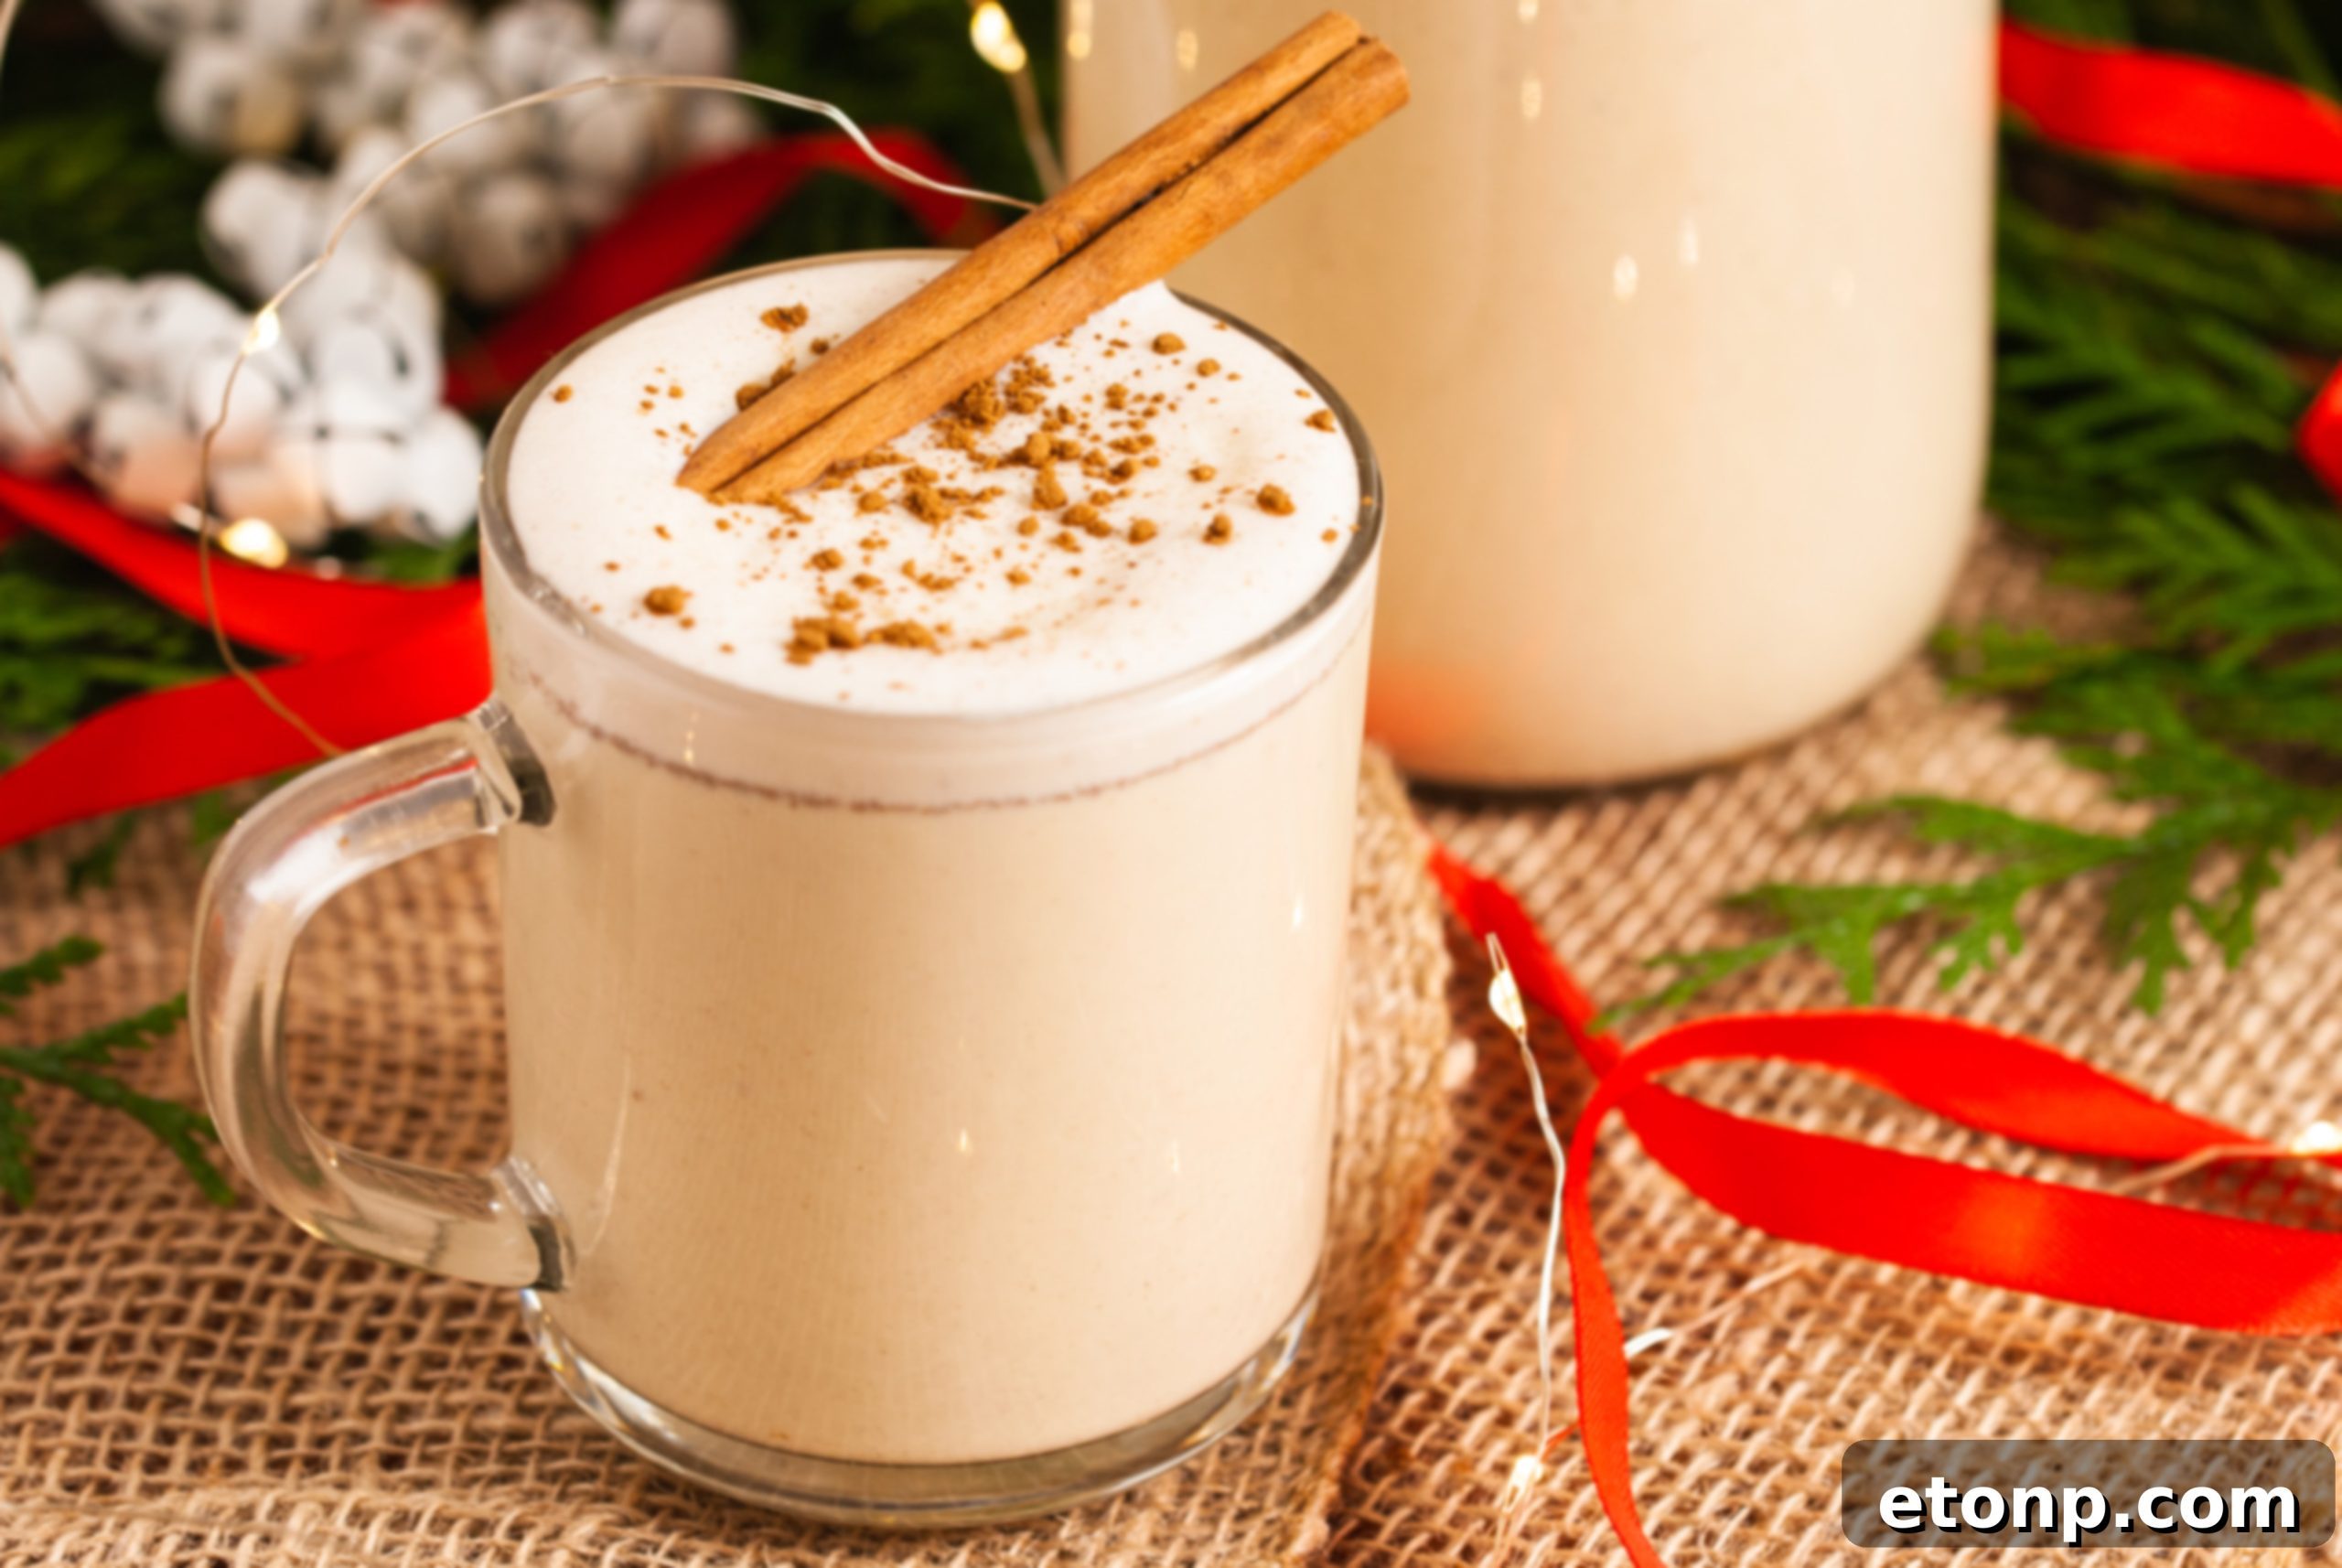
How Long Does Homemade Eggnog Last? Storage Tips
Proper storage is key to enjoying your *homemade eggnog* for days.
-
Refrigeration: Always store your eggnog in an airtight container or bottle in the refrigerator.
-
Shelf Life: Unspiked eggnog typically lasts for up to 3-5 days in the fridge. *Spiked eggnog* tends to have a slightly longer shelf life, often up to a week or even more, as the alcohol acts as a natural preservative. However, always use your best judgment – if it smells or looks off, it’s best to discard it.
Frequently Asked Questions About Homemade Eggnog
Can I use pasteurized eggs for this recipe?
Yes, absolutely! Using pasteurized eggs can provide an extra layer of reassurance for those concerned about raw egg consumption, even though the tempering process in this recipe effectively cooks the yolks to a safe temperature.
Can I make eggnog ahead of time?
Indeed! *Homemade eggnog* actually benefits from being made a day or two in advance. Chilling allows the flavors to deepen and meld together, resulting in an even more delicious and harmonious taste. It makes it a perfect make-ahead option for holiday entertaining.
What if my eggnog curdles during cooking?
Curdling typically occurs if the egg yolks are heated too quickly or to too high a temperature. This is why the tempering process (slowly adding hot milk to the yolks while whisking) is so crucial. If your eggnog curdles slightly, try straining it very thoroughly through a fine-mesh sieve. For minor curdling, sometimes a quick blend in a blender can help smooth it out, but severe curdling is difficult to fully rectify.
Can I make a non-dairy version of eggnog?
While this recipe focuses on traditional dairy-based eggnog for its classic richness, you can certainly experiment with non-dairy alternatives. Substitutions like almond milk, oat milk, or coconut milk, combined with plant-based creams, can create a non-dairy version. Keep in mind that the texture and flavor profile will differ from the classic recipe.
Conclusion
Crafting your own *classic homemade eggnog* is a rewarding holiday tradition that yields unparalleled flavor and a truly festive experience. With simple ingredients and clear instructions, you can create a luxurious, creamy, and perfectly spiced drink that will delight everyone during the holiday season. Enjoy the process, and savor every sip of your homemade masterpiece!