Delicious Easter Marshmallow Bark: A Fun & Easy Holiday Treat!
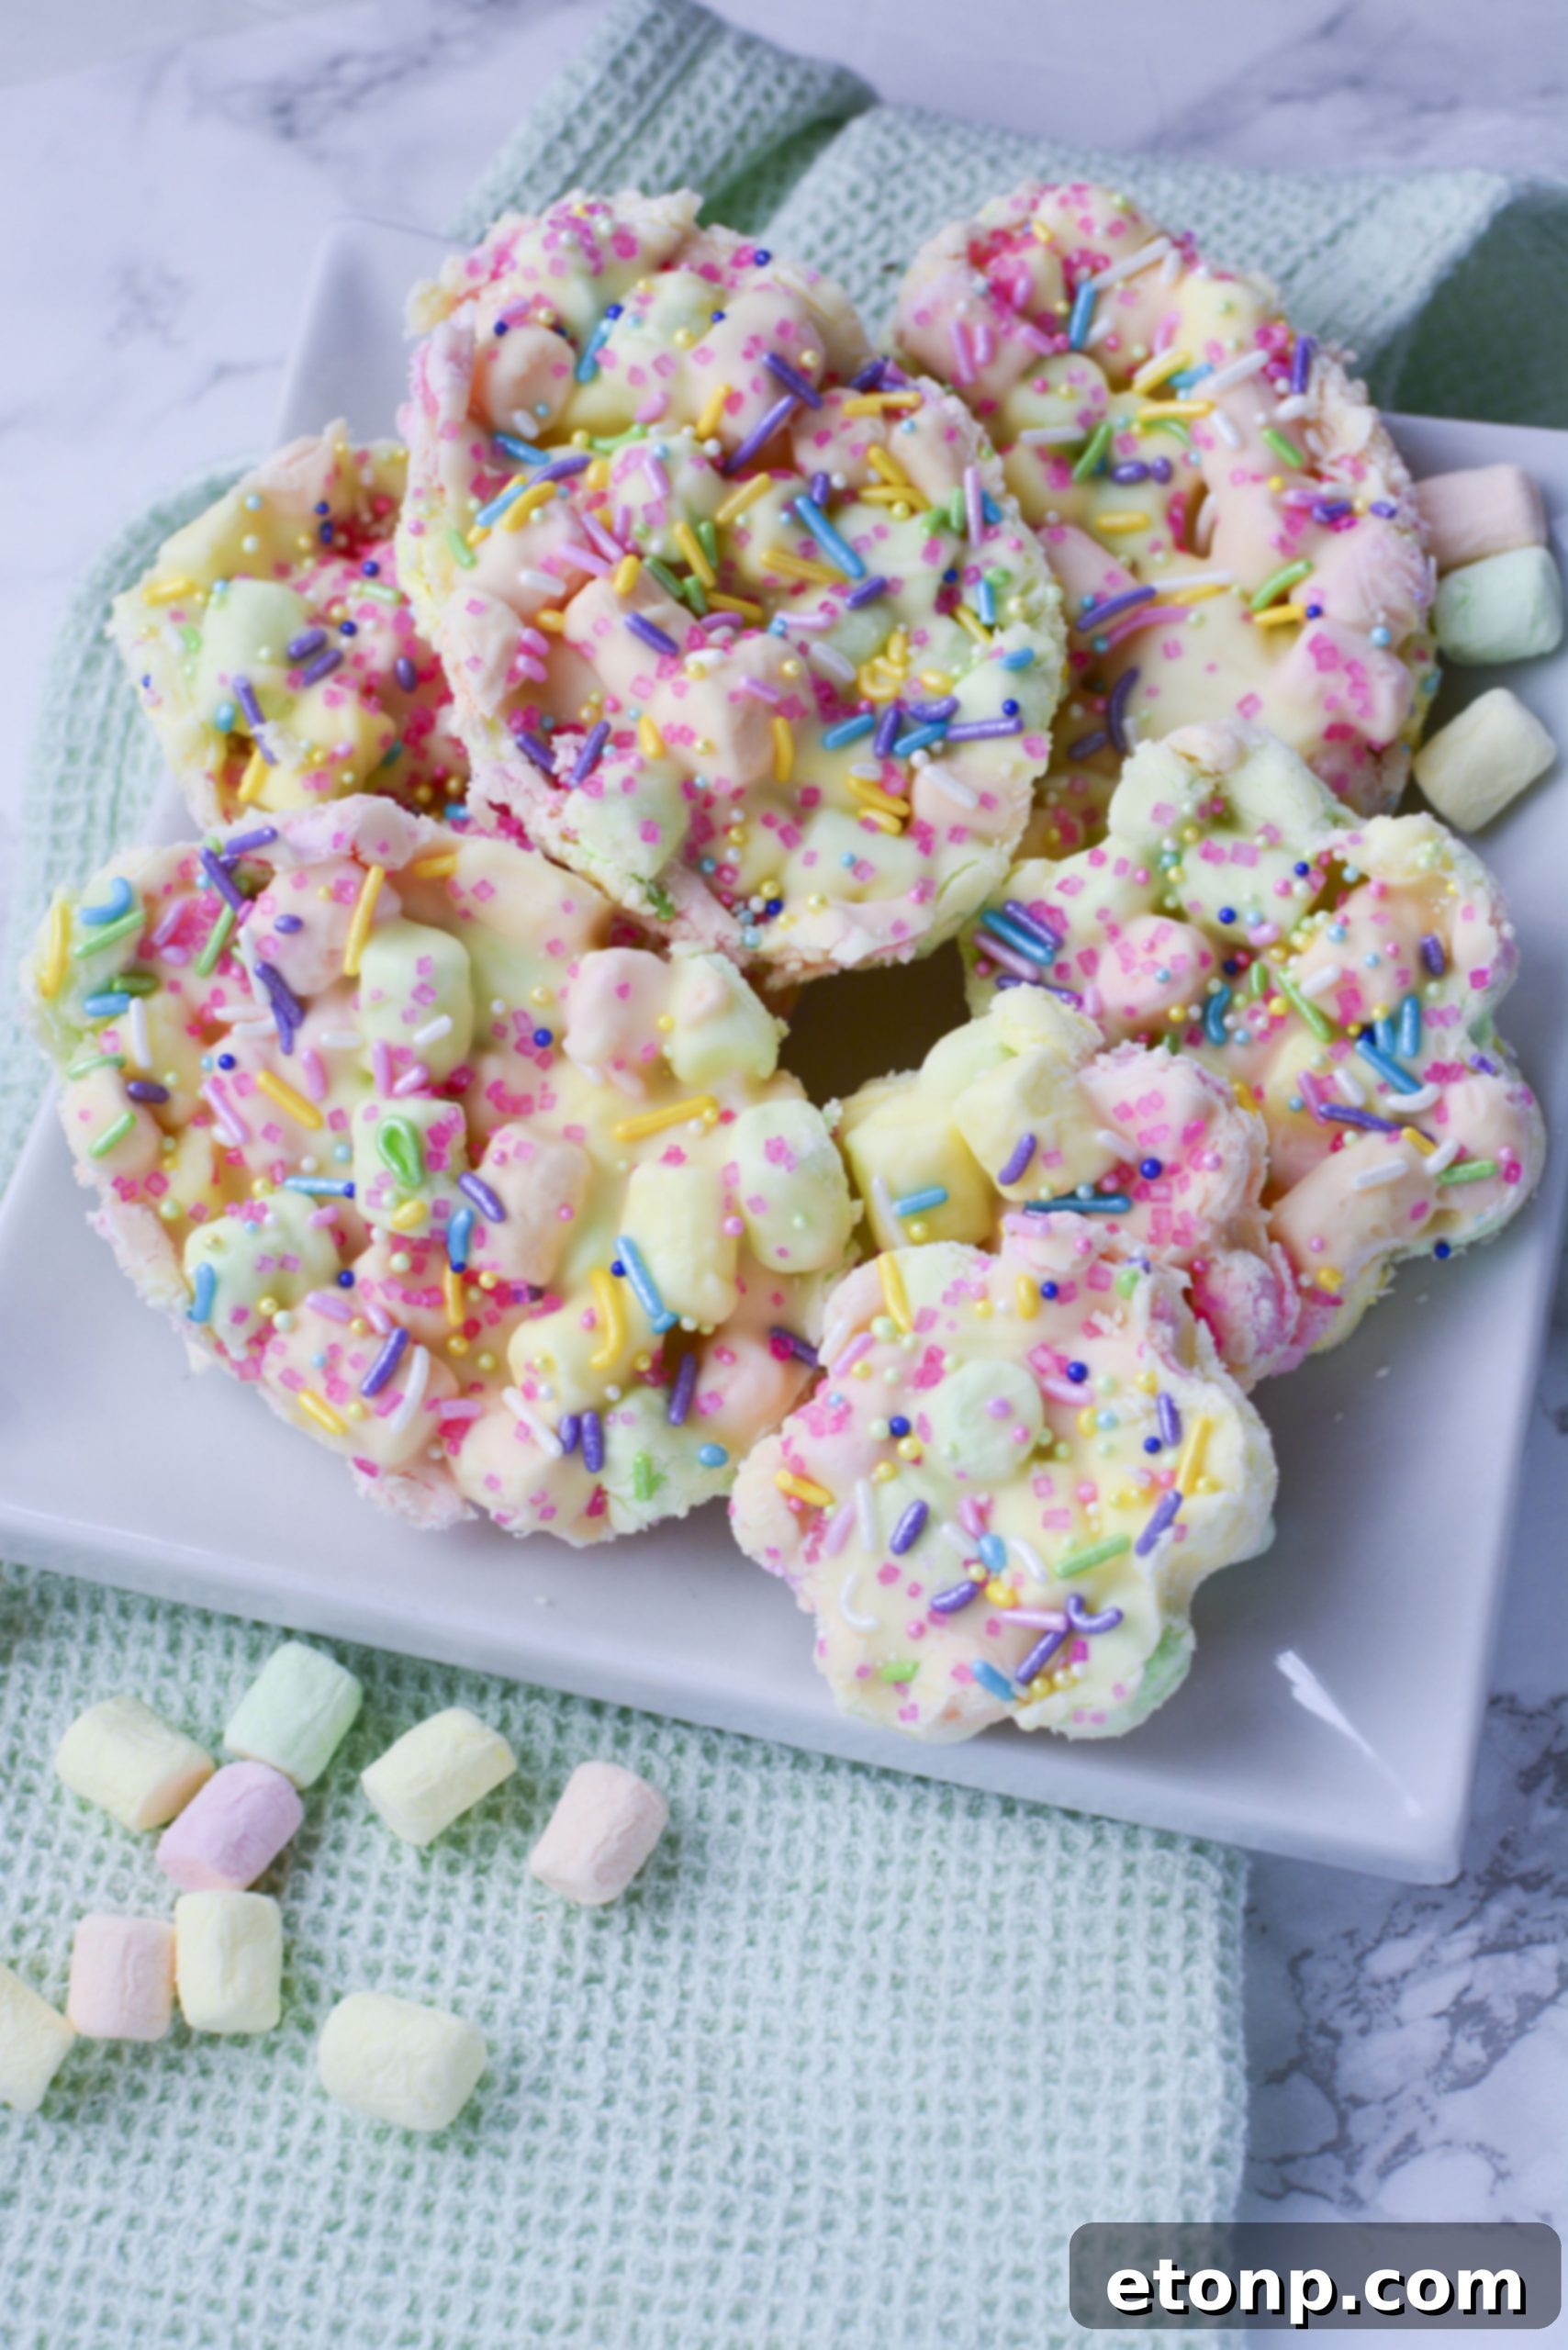
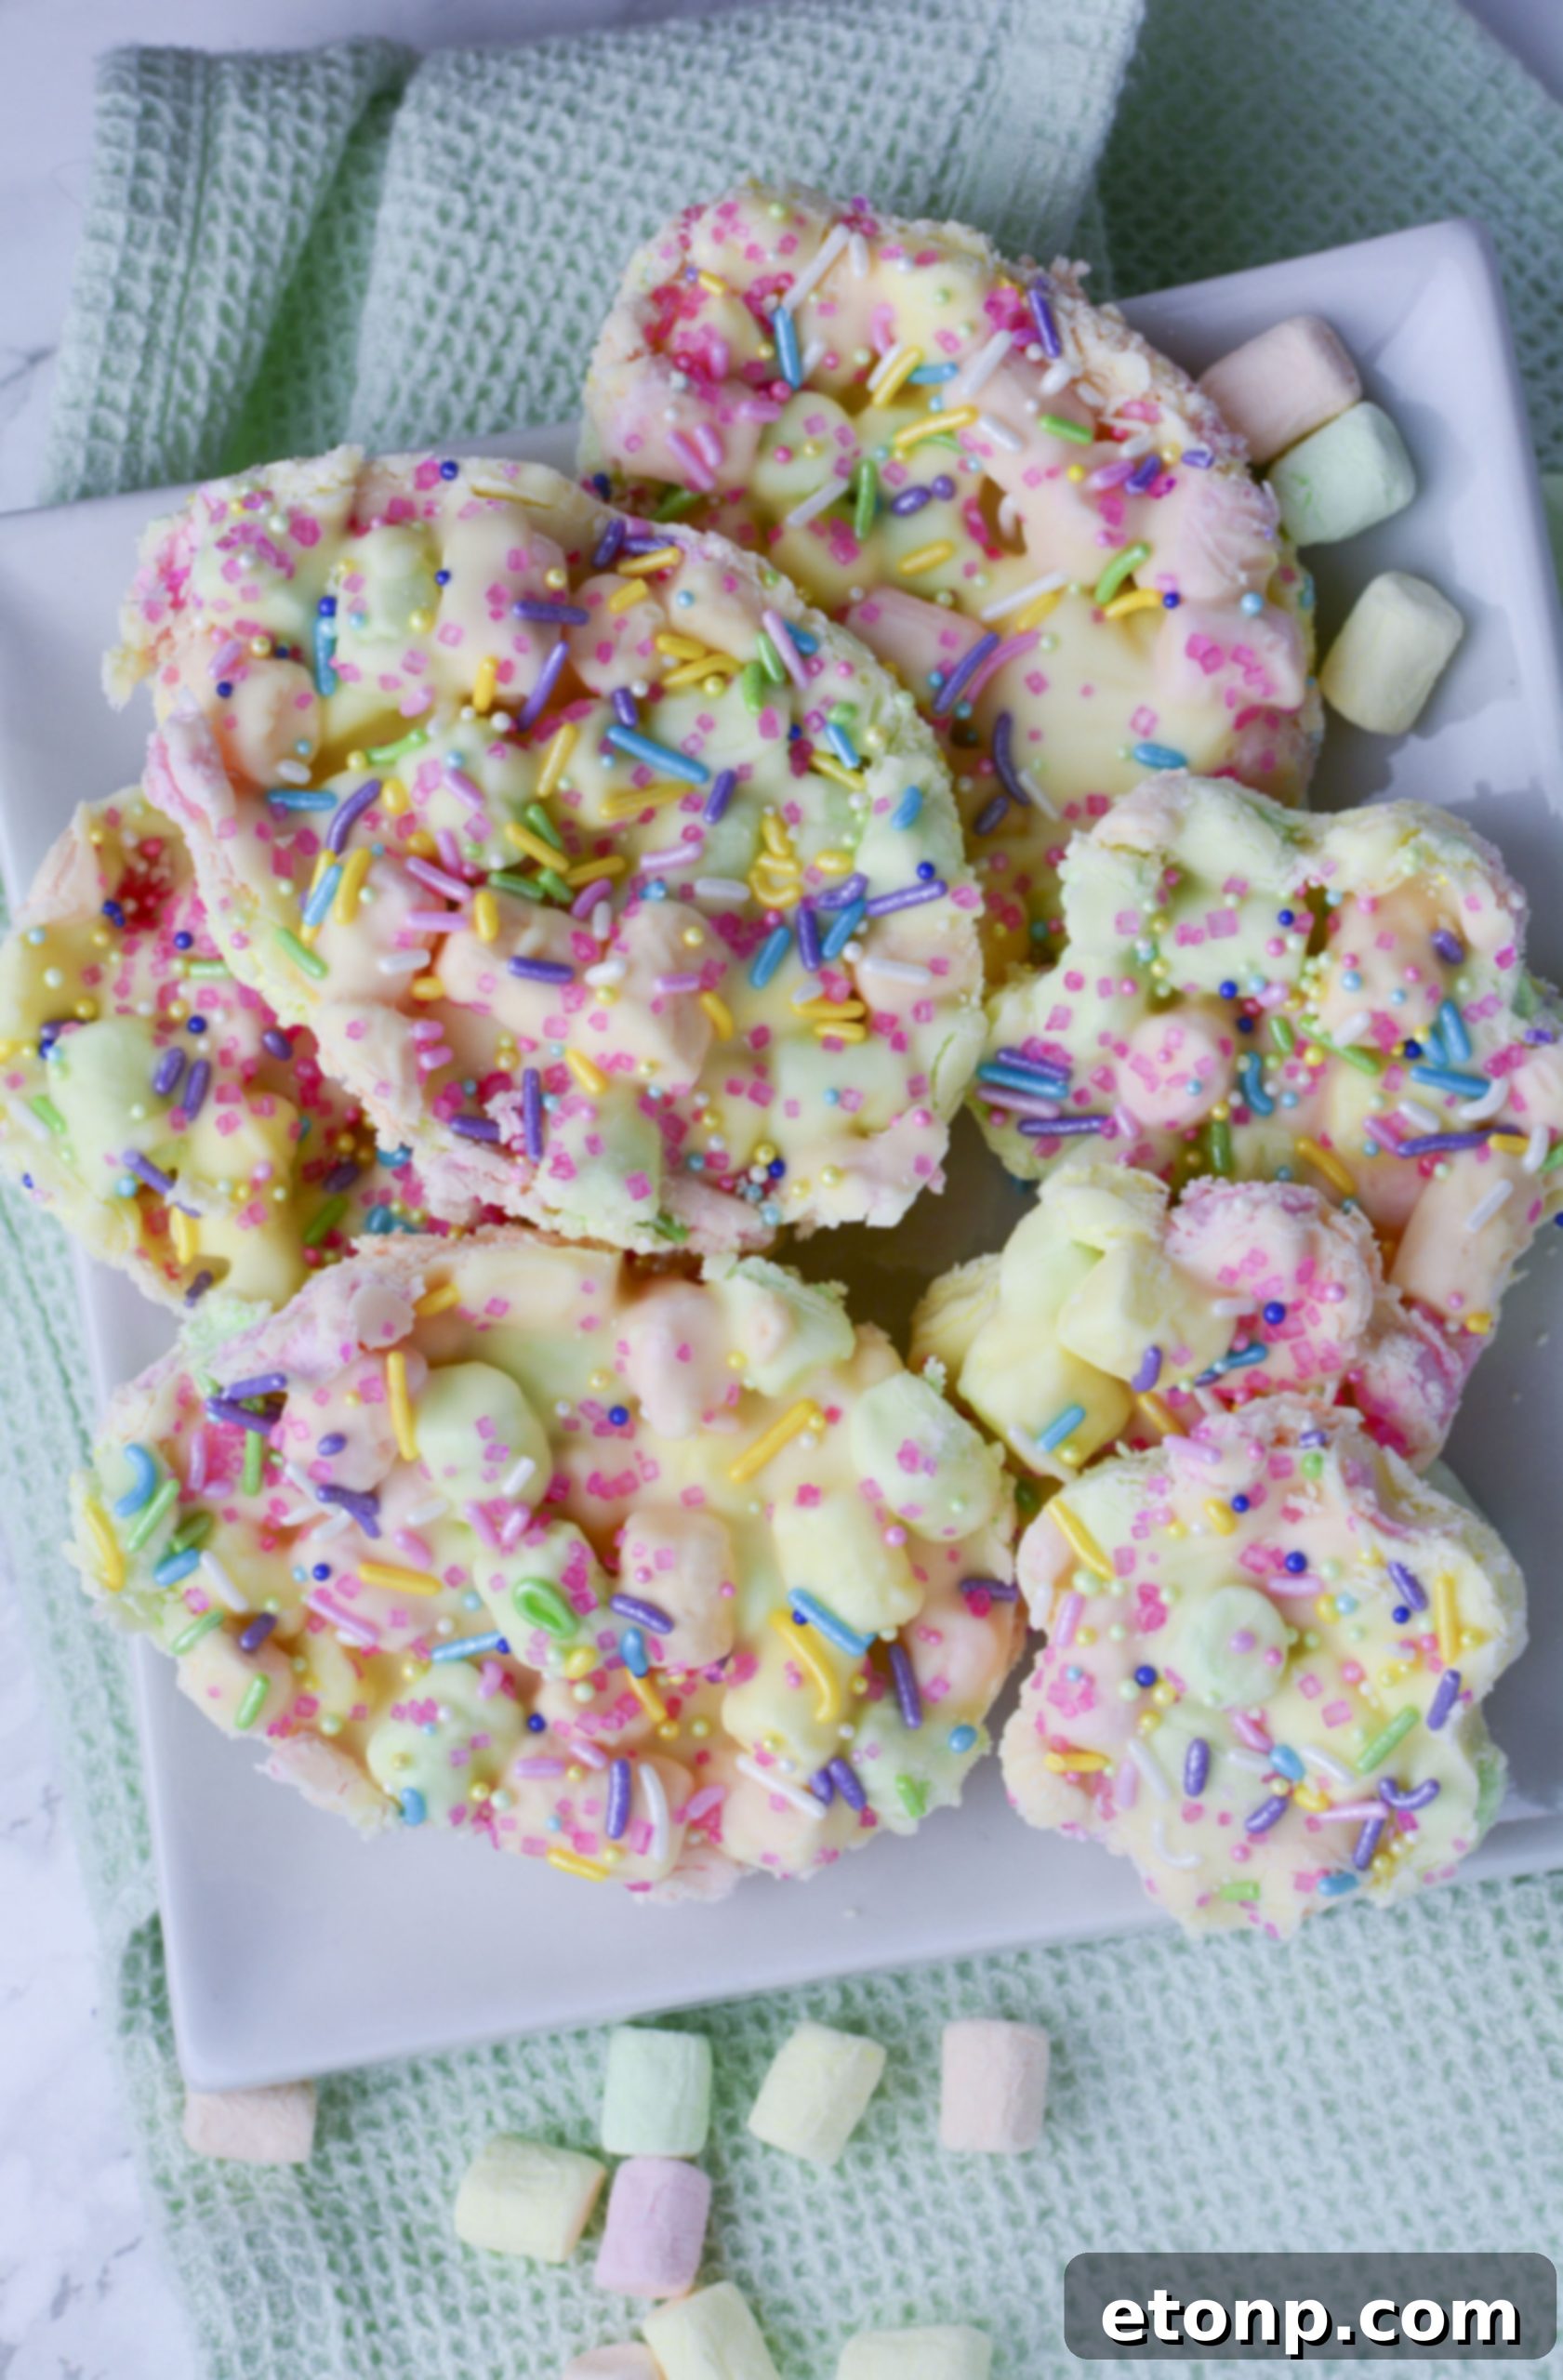
This year, elevate your Easter celebrations with a delightful homemade treat that’s as charming as it is delicious: Easter Marshmallow Bark! Perfectly fluffy, bursting with flavor, and incredibly simple to create, this festive candy bark is guaranteed to become a new family favorite. Imagine vibrant pastel marshmallows suspended in creamy white chocolate, adorned with cheerful sprinkles – a truly irresistible addition to any Easter basket or dessert spread. Get ready to impress your loved ones with these yummy Easter treats that are both easy to make and incredibly satisfying!
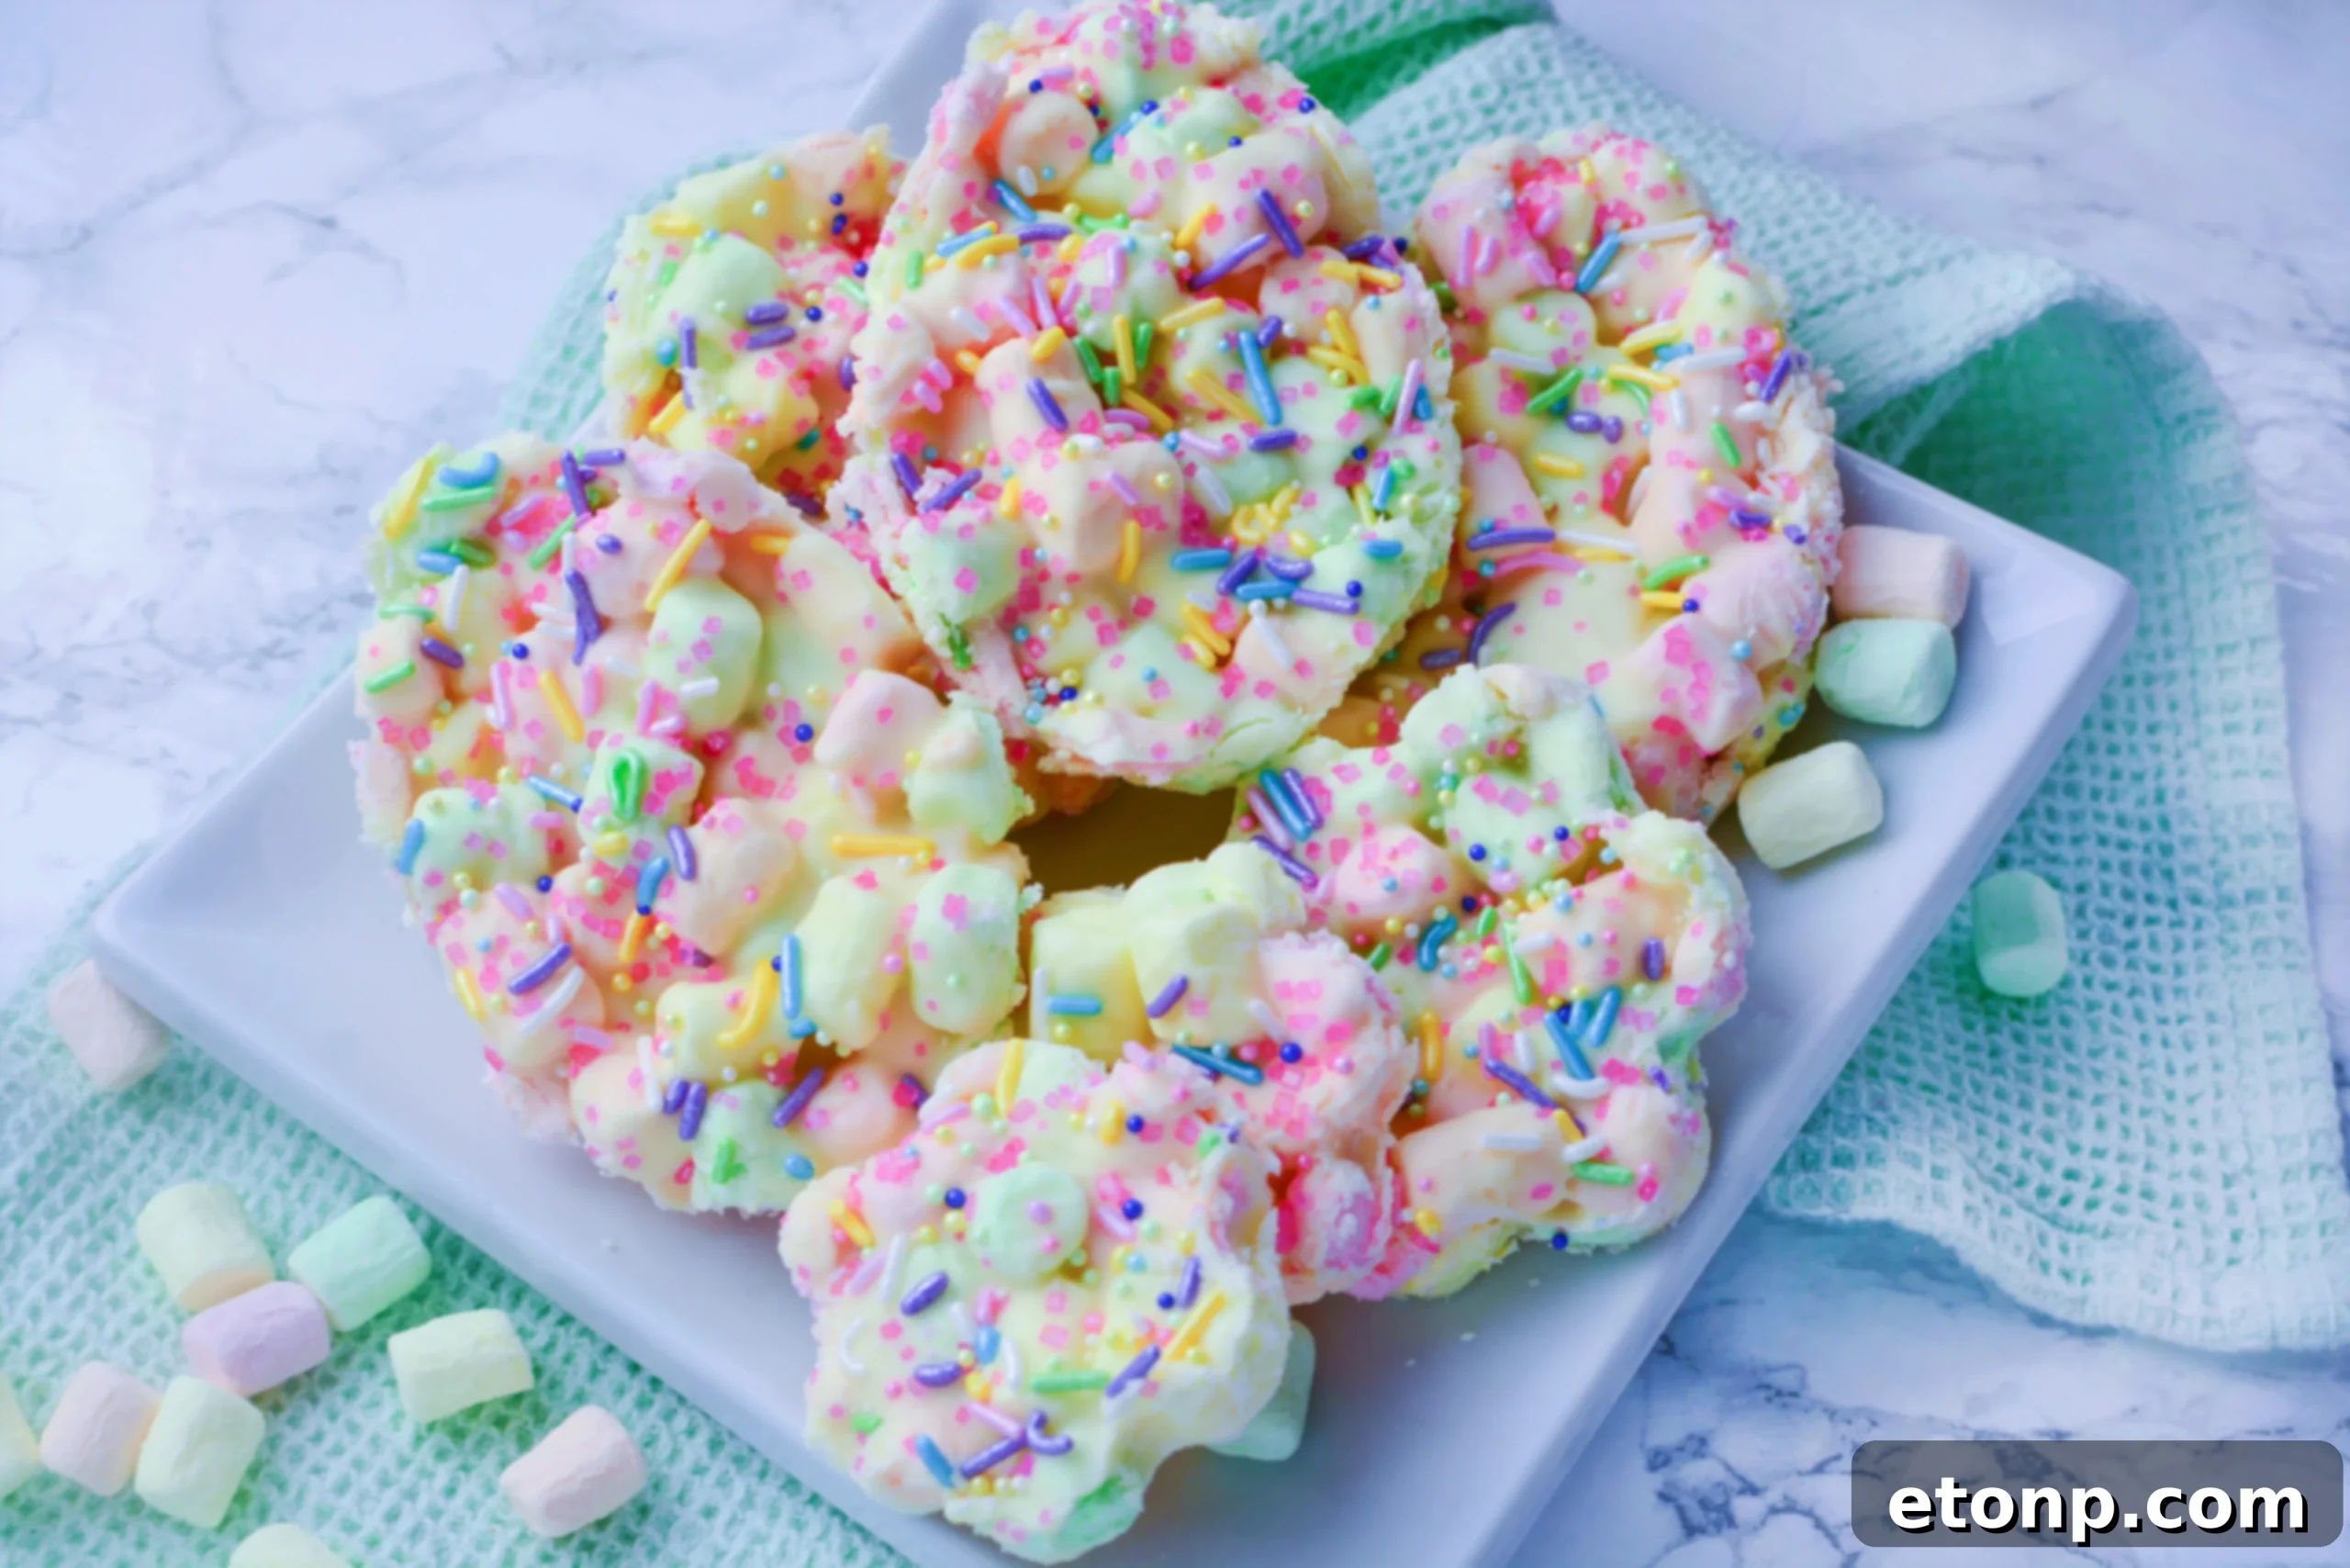
Easter is a time for joy, renewal, and of course, indulging in sweet treats. While traditional desserts have their place, sometimes you crave something special, something that brings a smile to everyone’s face without demanding hours in the kitchen. This homemade Easter Marshmallow Bark recipe offers just that – a delightful, eye-catching dessert that’s perfect for sharing, gifting, or simply enjoying with your loved ones. Its inherent simplicity makes it an ideal project for budding young chefs, adding an extra layer of fun to your holiday preparations. Whether you’re looking for a quick grab-and-go snack or a festive centerpiece, this fluffy, flavorful bark is a fantastic choice.
Why You’ll Adore This Easy Easter Dessert
If you’re searching for an effortless yet impressive Easter dessert, look no further. This Marshmallow Bark stands out for several reasons, making it a must-try for your holiday menu:
- Minimal Ingredients, Maximum Flavor: You’ll be amazed at how quickly you can create this incredible confection with just a few readily available ingredients. The magic truly happens with a simple combination of marshmallows, chocolate, and sprinkles, proving that you don’t need a complex ingredient list for an explosion of delightful taste. This recipe prioritizes convenience without compromising on deliciousness.
- Irresistibly Delicious: This bark is a dream come true for anyone who adores the classic combination of rich chocolate and soft, chewy marshmallows. Each bite offers a delightful texture contrast – the crisp snap of chocolate giving way to the gooey sweetness of marshmallows – creating a truly satisfying experience that will undoubtedly satisfy any sweet tooth. It’s a comforting yet exciting treat that appeals to all ages.
- Versatile & Enjoyable Anytime: One of the greatest advantages of this Easter bark is its flexibility. Whether you’re craving a quick, celebratory snack after lunch, a charming sweet finish to your Easter dinner, or a comforting midnight indulgence, this bark is perfectly suited. It’s an easy-to-grab treat that always hits the spot, offering a burst of festive sweetness whenever you desire a little something special.
- Kid-Friendly & Fun to Make: This recipe is incredibly adaptable for little helpers, making it an ideal family activity. From carefully pouring marshmallows into the melted chocolate to enthusiastically sprinkling colorful decorations, children can safely participate in almost every step. This hands-on experience transforms baking into a wonderful family bonding activity and creates lasting memories of their Easter preparations.
- Perfect for Easter Baskets & Thoughtful Gifting: Move over, store-bought candies! This homemade Easter Marshmallow Bark makes an exceptional and personalized addition to Easter baskets. It can be charmingly nestled alongside stuffed animals and other holiday goodies. Furthermore, it’s a thoughtful, homemade gift that shows you care, perfect for sharing with friends, neighbors, teachers, or anyone deserving of a sweet gesture this spring.
- Visually Stunning: The vibrant pastel colors of the marshmallows and sprinkles against the white chocolate backdrop make this bark incredibly photogenic and appealing. It adds a beautiful pop of color to any dessert table, making it not just a treat for the palate, but also for the eyes.
Key Ingredients for Your Homemade Easter Marshmallow Bark
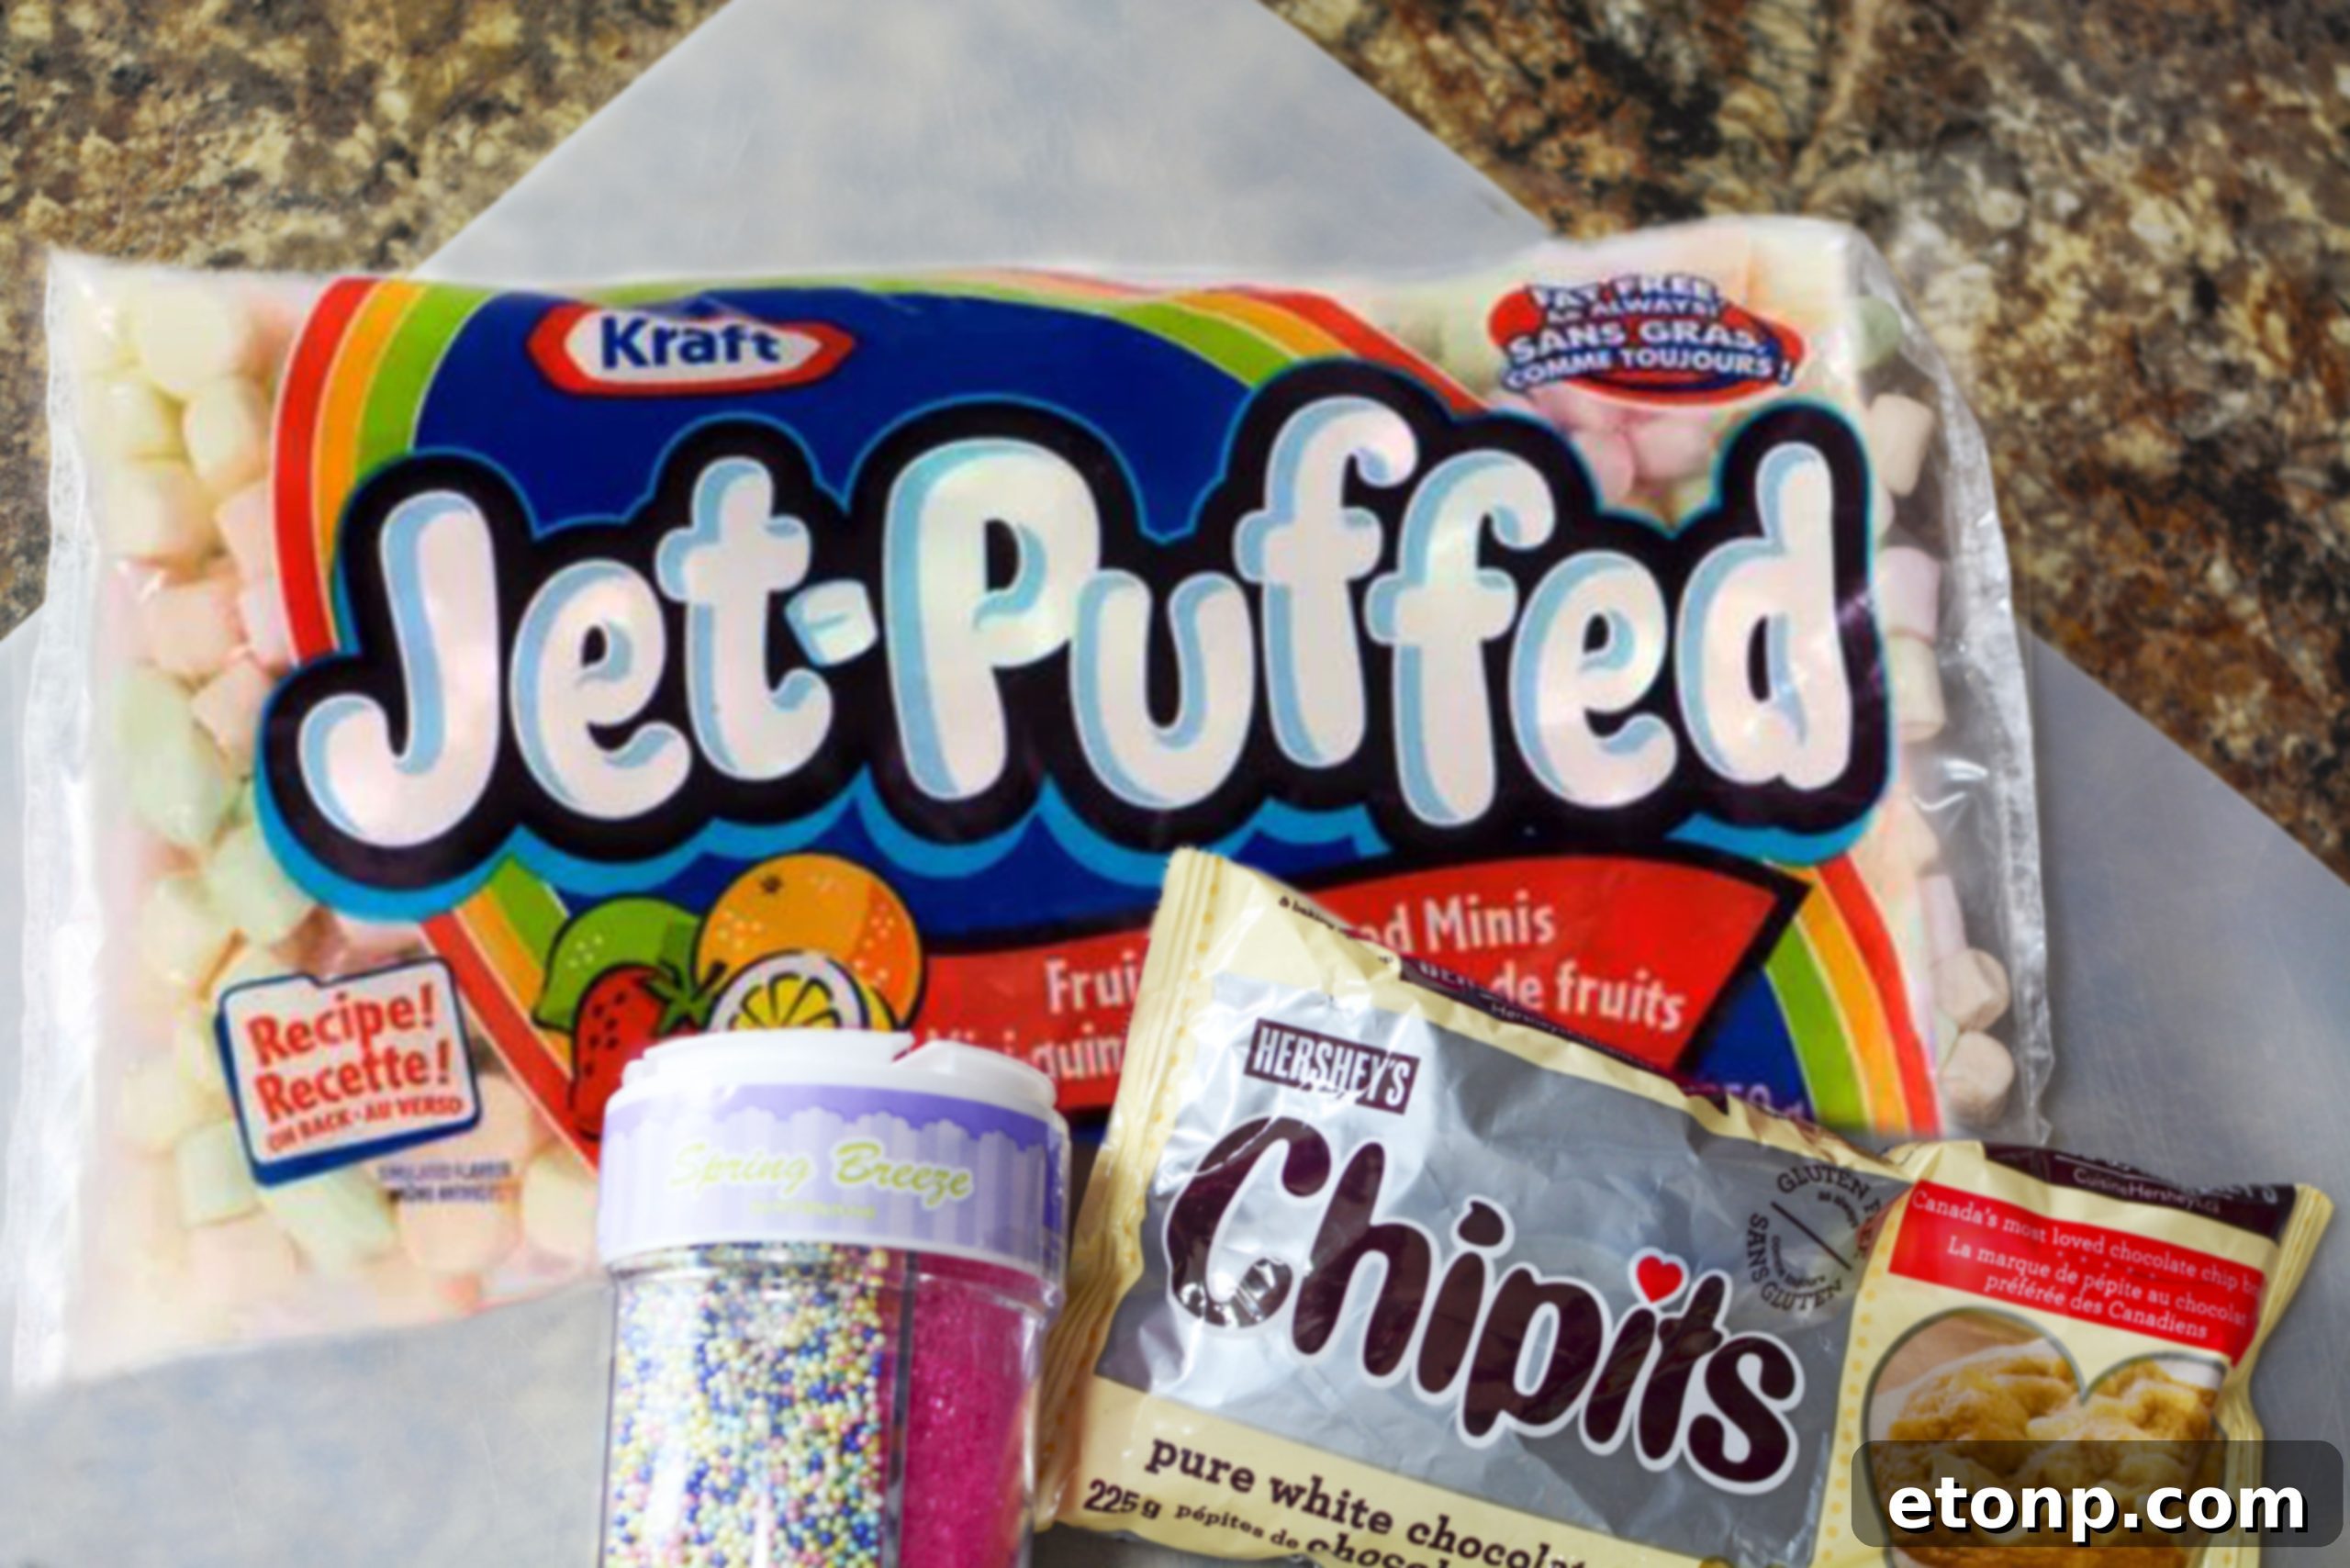
Creating this delightful Easter bark is surprisingly simple, thanks to its short and sweet ingredient list. The beauty of this recipe lies in its emphasis on quality ingredients, allowing their natural flavors and textures to shine through in every bite.
- Marshmallows: The foundational component of our bark! You’ll need a generous quantity of fluffy marshmallows to create the core texture and volume. For optimal visual appeal and an authentic Easter feel, mini rainbow marshmallows (often featuring pastel pink, green, and yellow) are highly recommended. Their smaller size ensures even distribution within the melted chocolate and contributes to the bark’s signature soft, chewy bite. While mini marshmallows are generally preferred for ease of use and aesthetic, larger marshmallows can also be utilized if they are carefully cut into smaller, bite-sized pieces beforehand. This step ensures consistent texture throughout your bark.
- White Chocolate: This forms the creamy, luscious base that binds all the components of the bark together. High-quality white chocolate chips, melting wafers, or a good bar of white chocolate (finely chopped) are ideal choices. These options melt smoothly and evenly, which is crucial for achieving a beautiful, consistent consistency for your bark. White chocolate also provides a pristine, neutral canvas, allowing the bright, cheerful colors of the marshmallows and sprinkles to truly pop, perfectly aligning with the festive and lighthearted Easter aesthetic. Opting for a reputable brand of white chocolate will significantly enhance the overall flavor and mouthfeel of your finished treat.
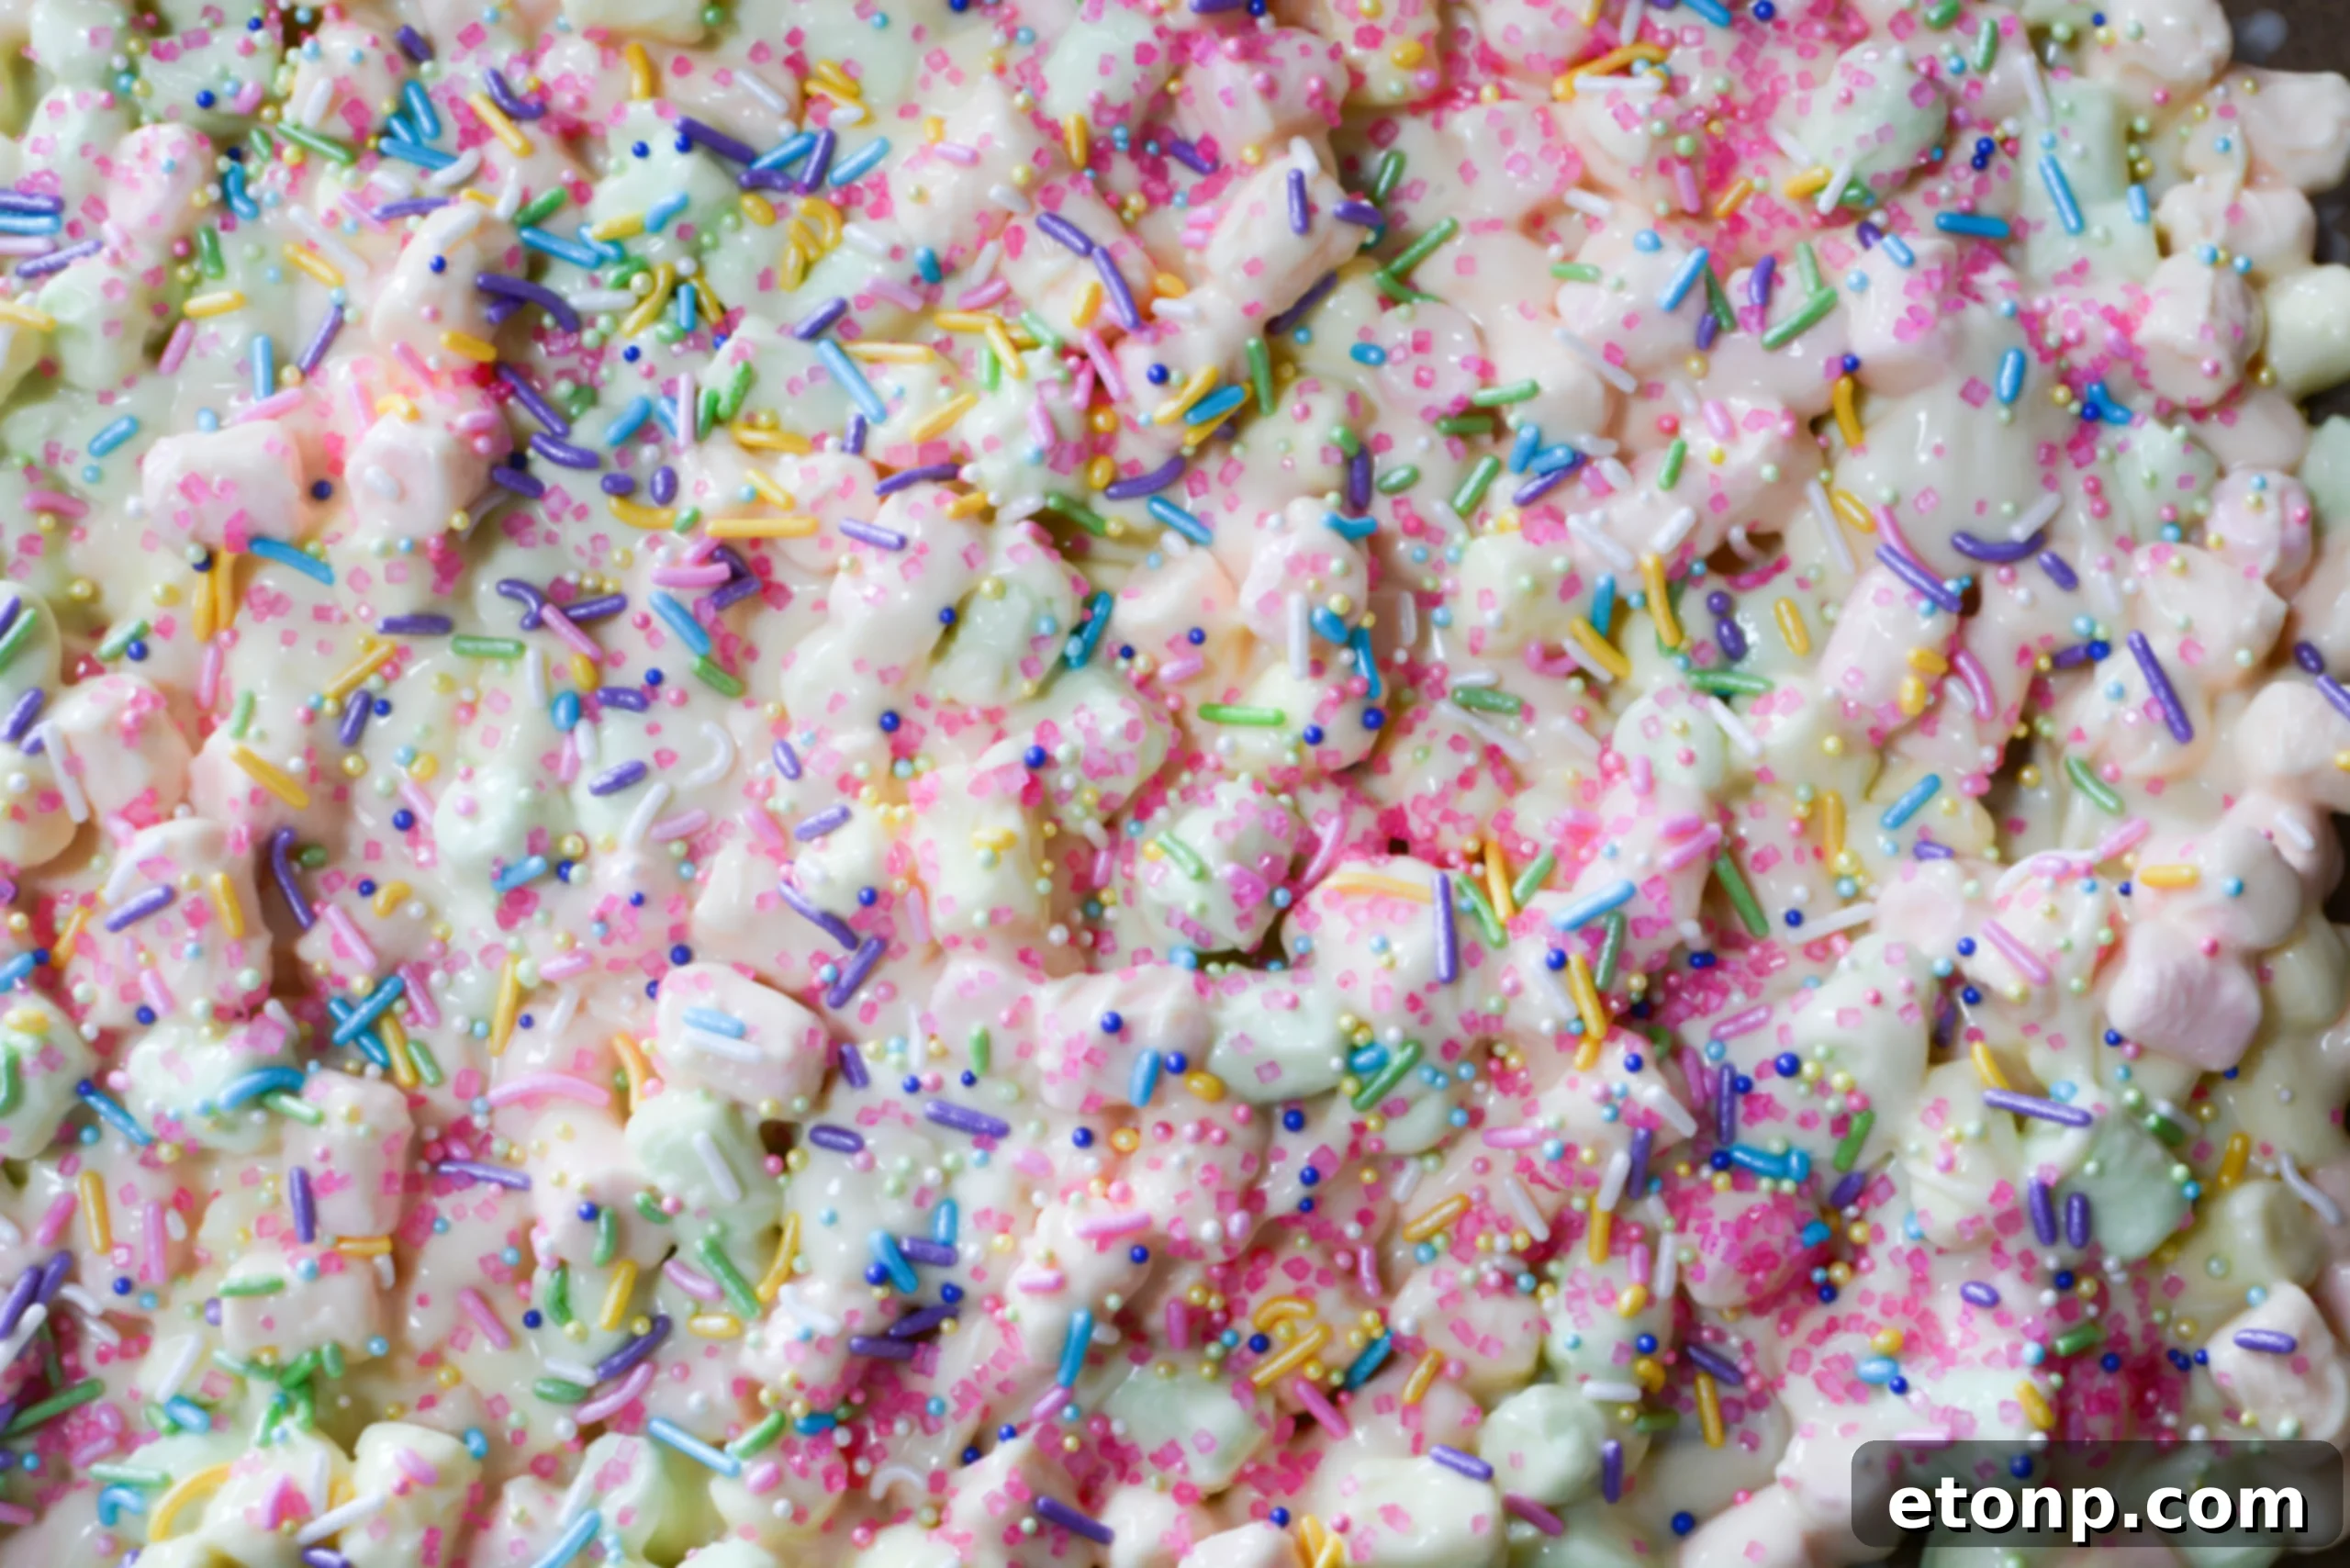
- Sprinkles: The dazzling, festive finishing touch that transforms your bark into a true Easter masterpiece! Easter-themed sprinkles are an absolute must for adding that playful and celebratory look. Look for mixes that feature a variety of pastel colors, charming bunny shapes, adorable egg designs, or classic jimmies and nonpareils in cheerful spring hues. Sprinkles not only enhance the visual appeal, making your bark irresistible, but they also contribute a delightful crunch and an extra burst of concentrated sweetness, adding another layer of texture and flavor complexity.
That’s truly all you need for the basic yet spectacular version of this fun and flavorful treat! This remarkably simple ingredient list makes the recipe incredibly approachable for home bakers of all skill levels. Plus, involving children in the sprinkling process is a fantastic way to let them personalize their Easter bark and unleash their creativity.
Frequently Asked Questions & Creative Customization Ideas
One of the best aspects of making homemade candy bark is how easily it can be adapted and customized to suit your personal tastes and preferences. Here are answers to some common questions, along with a plethora of creative ideas to make your Easter Marshmallow Bark truly unique and memorable.
Can I use different types of melting chocolate?
Absolutely! While white chocolate is traditionally used for its bright, clean appearance that perfectly complements Easter’s pastel palette, you are highly encouraged to experiment with other varieties. For a richer, deeper flavor profile, consider blending white chocolate with milk chocolate or even dark chocolate. If you want to maintain the light, festive aesthetic of Easter but add more color, you can divide your melted white chocolate and tint it with food-grade gel colors. Think about creating beautiful swirls of light pink, soft pastel purple, serene light blue, or sunny yellow. This technique allows for stunning marbling effects or distinct colored sections in your bark, making it even more visually captivating and tailor-made for your holiday theme.
Where can I find Easter sprinkles?
Finding Easter sprinkles should be a breeze, especially during the spring season leading up to the holiday. You’ll typically discover a fantastic selection in the baking aisle of your local grocery store. Larger retail chains such as Target and Walmart are also reliable sources, usually stocking a wide array of holiday-themed sprinkles, often in dedicated seasonal sections. For those seeking unique or specific blends, online retailers like Amazon offer an almost endless variety of options, ranging from classic pastel jimmies and colorful nonpareils to intricate bunny and egg-shaped edible decorations. Don’t hesitate to mix and match different sprinkle types for a truly dynamic and personalized look that will make your bark stand out!
Can I add extra ingredients to these Easter treats?
Yes, you absolutely can! Customizing your Easter Marshmallow Bark with additional ingredients is a fantastic way to introduce unique flavors, exciting textures, and even more visual appeal. The possibilities for personalization are truly endless, allowing you to tailor the bark precisely to your preferences. Here are some popular ideas to inspire your creativity:
- Chopped Nuts: For a delightful crunch and an earthy counterbalance to the sweetness, consider finely chopped almonds, pecans, walnuts, or even pistachios.
- Chocolate Candies: Enhance the chocolatey goodness by scattering pastel-colored M&M’s, mini chocolate chips (dark, milk, or white), or chopped chocolate-covered raisins over the top.
- Other Candies: Get creative with other Easter-themed candies! Crushed Oreos can add a delicious cookies-and-cream twist, while finely chopped Peeps (the iconic Easter marshmallow chicks and bunnies) can introduce an extra layer of marshmallowy delight and vibrant color. With the increasing variety of unique Peeps flavors available today, they make a particularly fun and topical addition.
- Toasted Coconut: Toasted coconut flakes can impart a wonderful tropical aroma and a pleasantly chewy texture, adding depth to the bark.
- Pretzels: For a fantastic sweet and salty contrast that keeps everyone coming back for more, crush some pretzels and sprinkle them generously over the bark before it sets.
- Dried Fruits: Diced dried cranberries, cherries, or apricots can introduce a subtle tartness and beautiful jewel-toned colors, complementing the sweetness of the chocolate and marshmallows.
- Extracts: For an extra layer of flavor, you can stir a few drops of a flavoring extract (such as vanilla, almond, peppermint, or even a hint of orange zest) into your melted white chocolate before adding the marshmallows.
Feel free to unleash your imagination and use ingredients that you and your family love! Remember to add any extra toppings when the chocolate is still warm and wet, ensuring they adhere properly as the bark sets and cools.
What should I do if I don’t have cookie cutters?
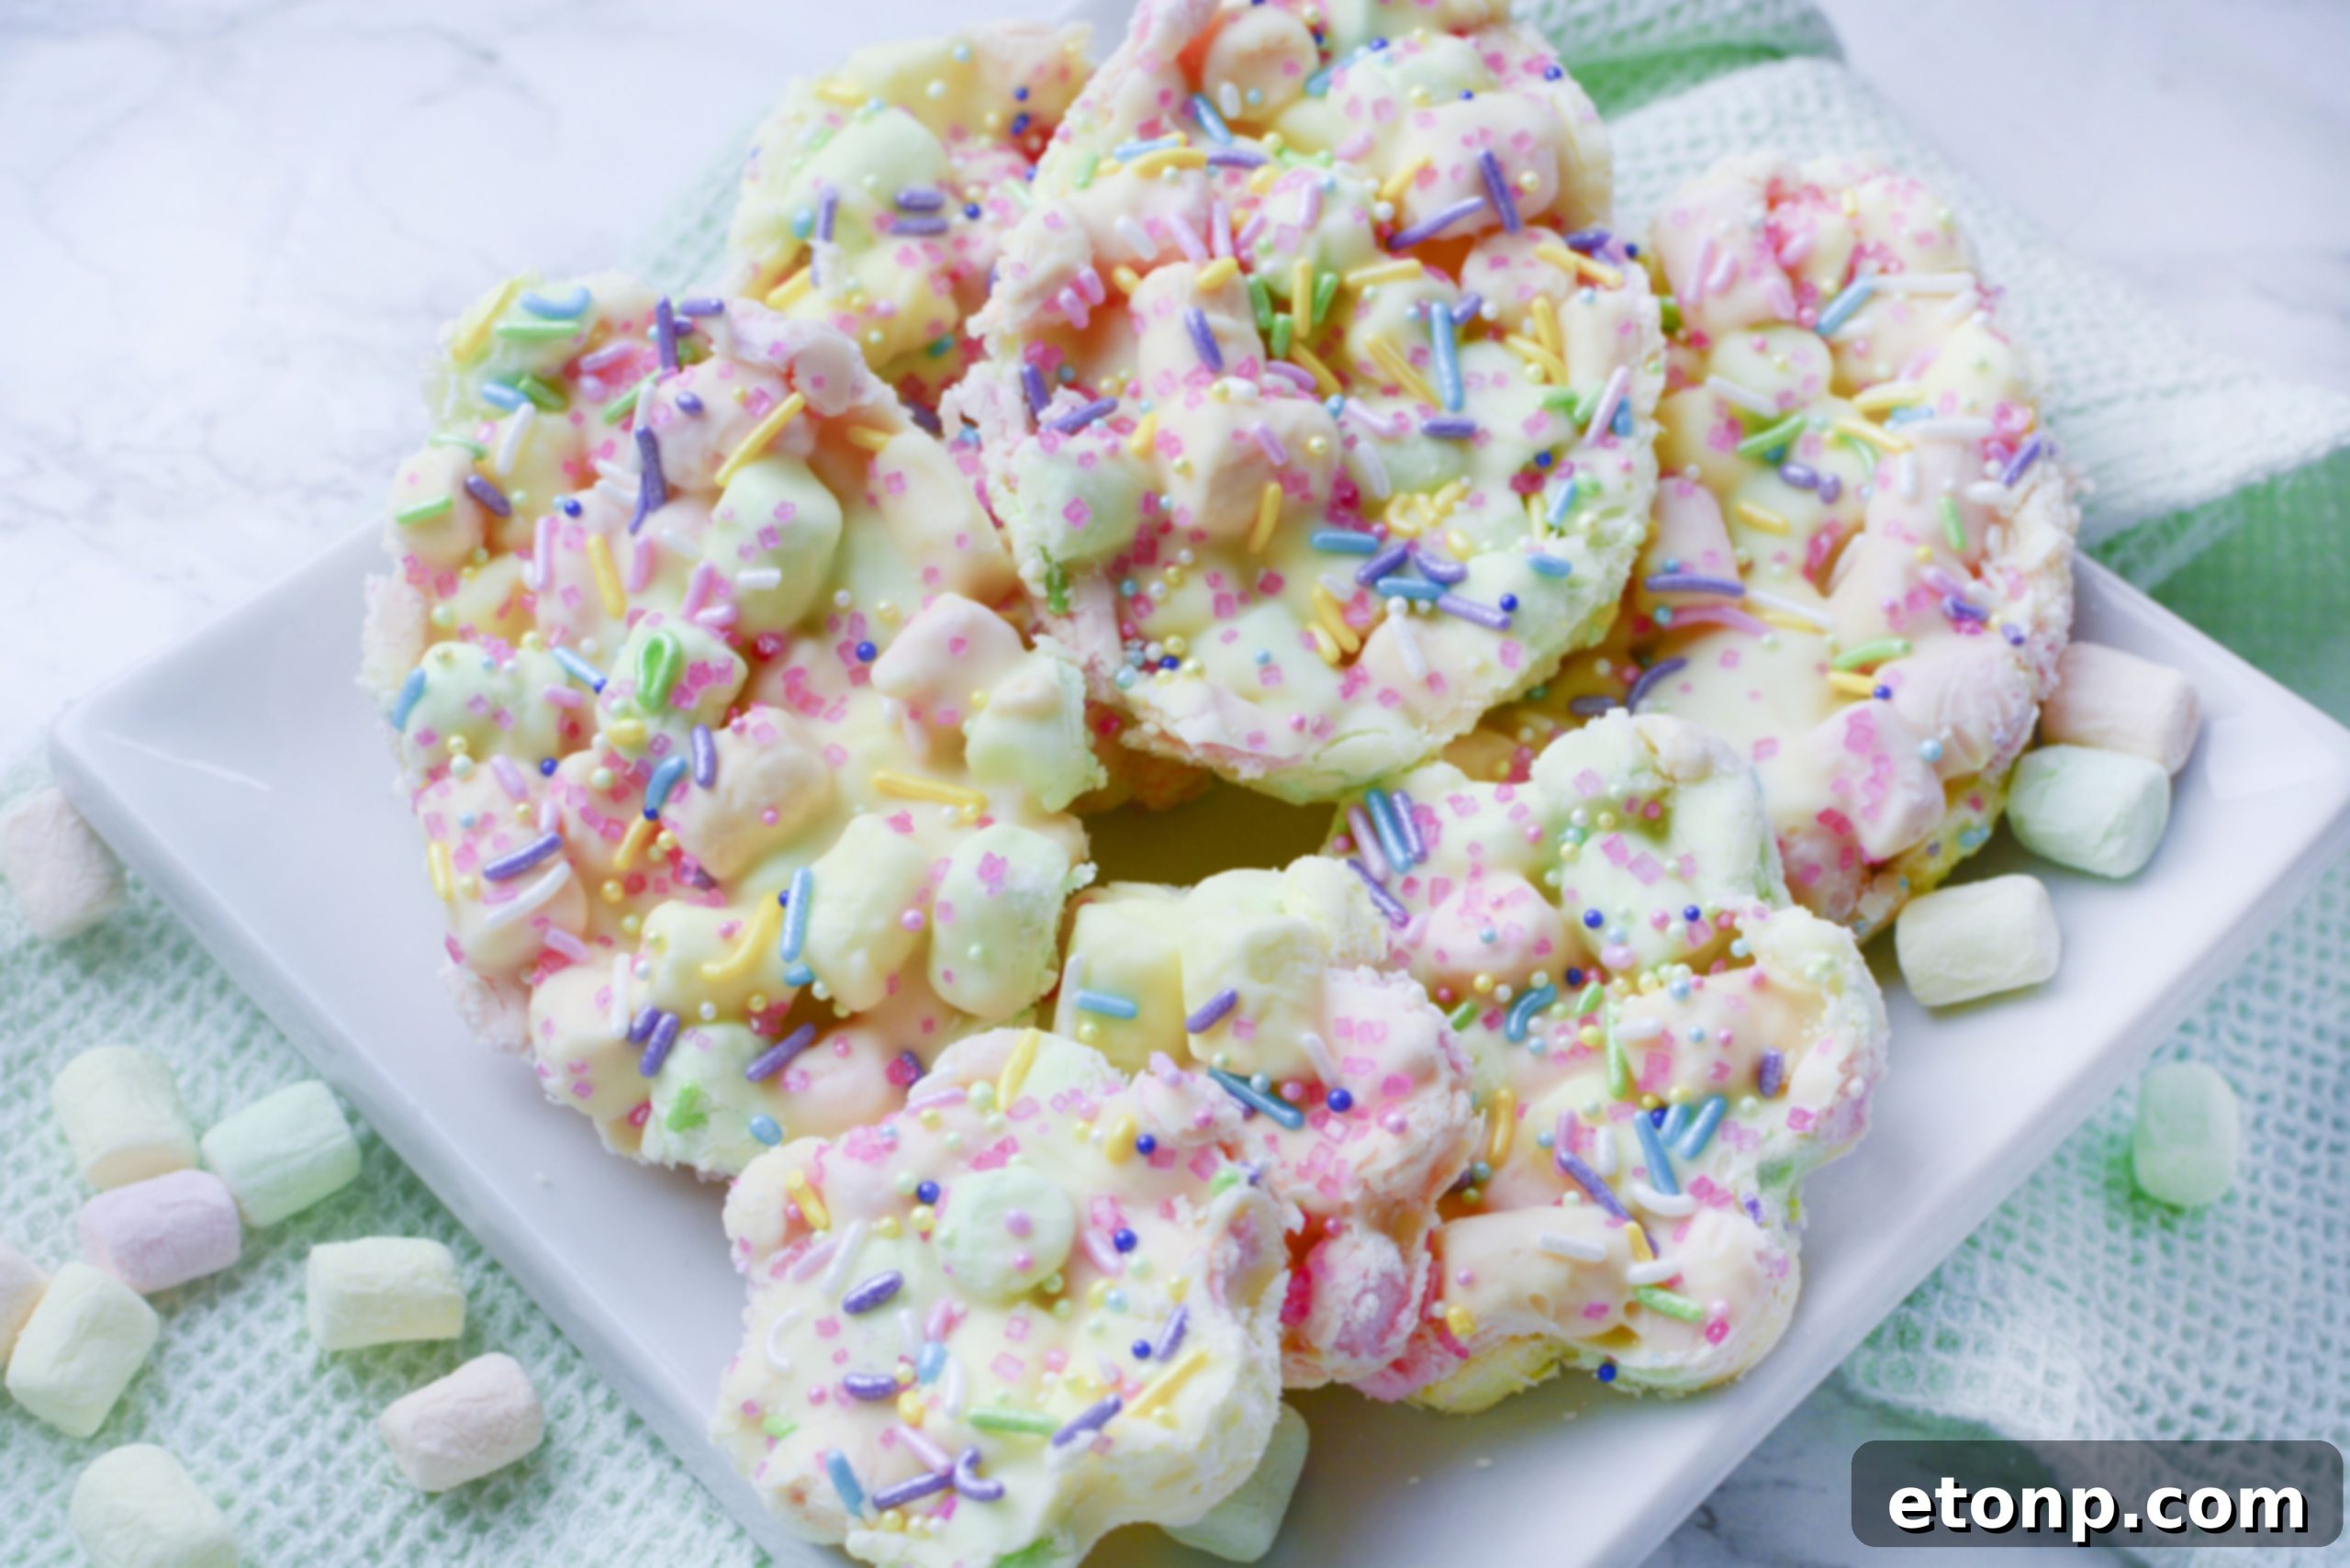
No cookie cutters? No problem at all! While using Easter-themed cookie cutters (like eggs, bunnies, chicks, or flowers) can certainly add an extra touch of festive charm and undeniable cuteness, they are by no means essential for creating delicious marshmallow bark. Don’t let the absence of specialized tools deter you from making this wonderful Easter treat. You can simply use a sharp, sturdy knife to cut your hardened bark into squares, rectangles, or even irregular shards. These free-form pieces are just as delicious, satisfying, and visually appealing, offering a more rustic and artisanal charm. The primary goal is to create bite-sized portions that are easy to pick up, share, and enjoy. So, go ahead and make this delightful treat, cookie cutters or not!
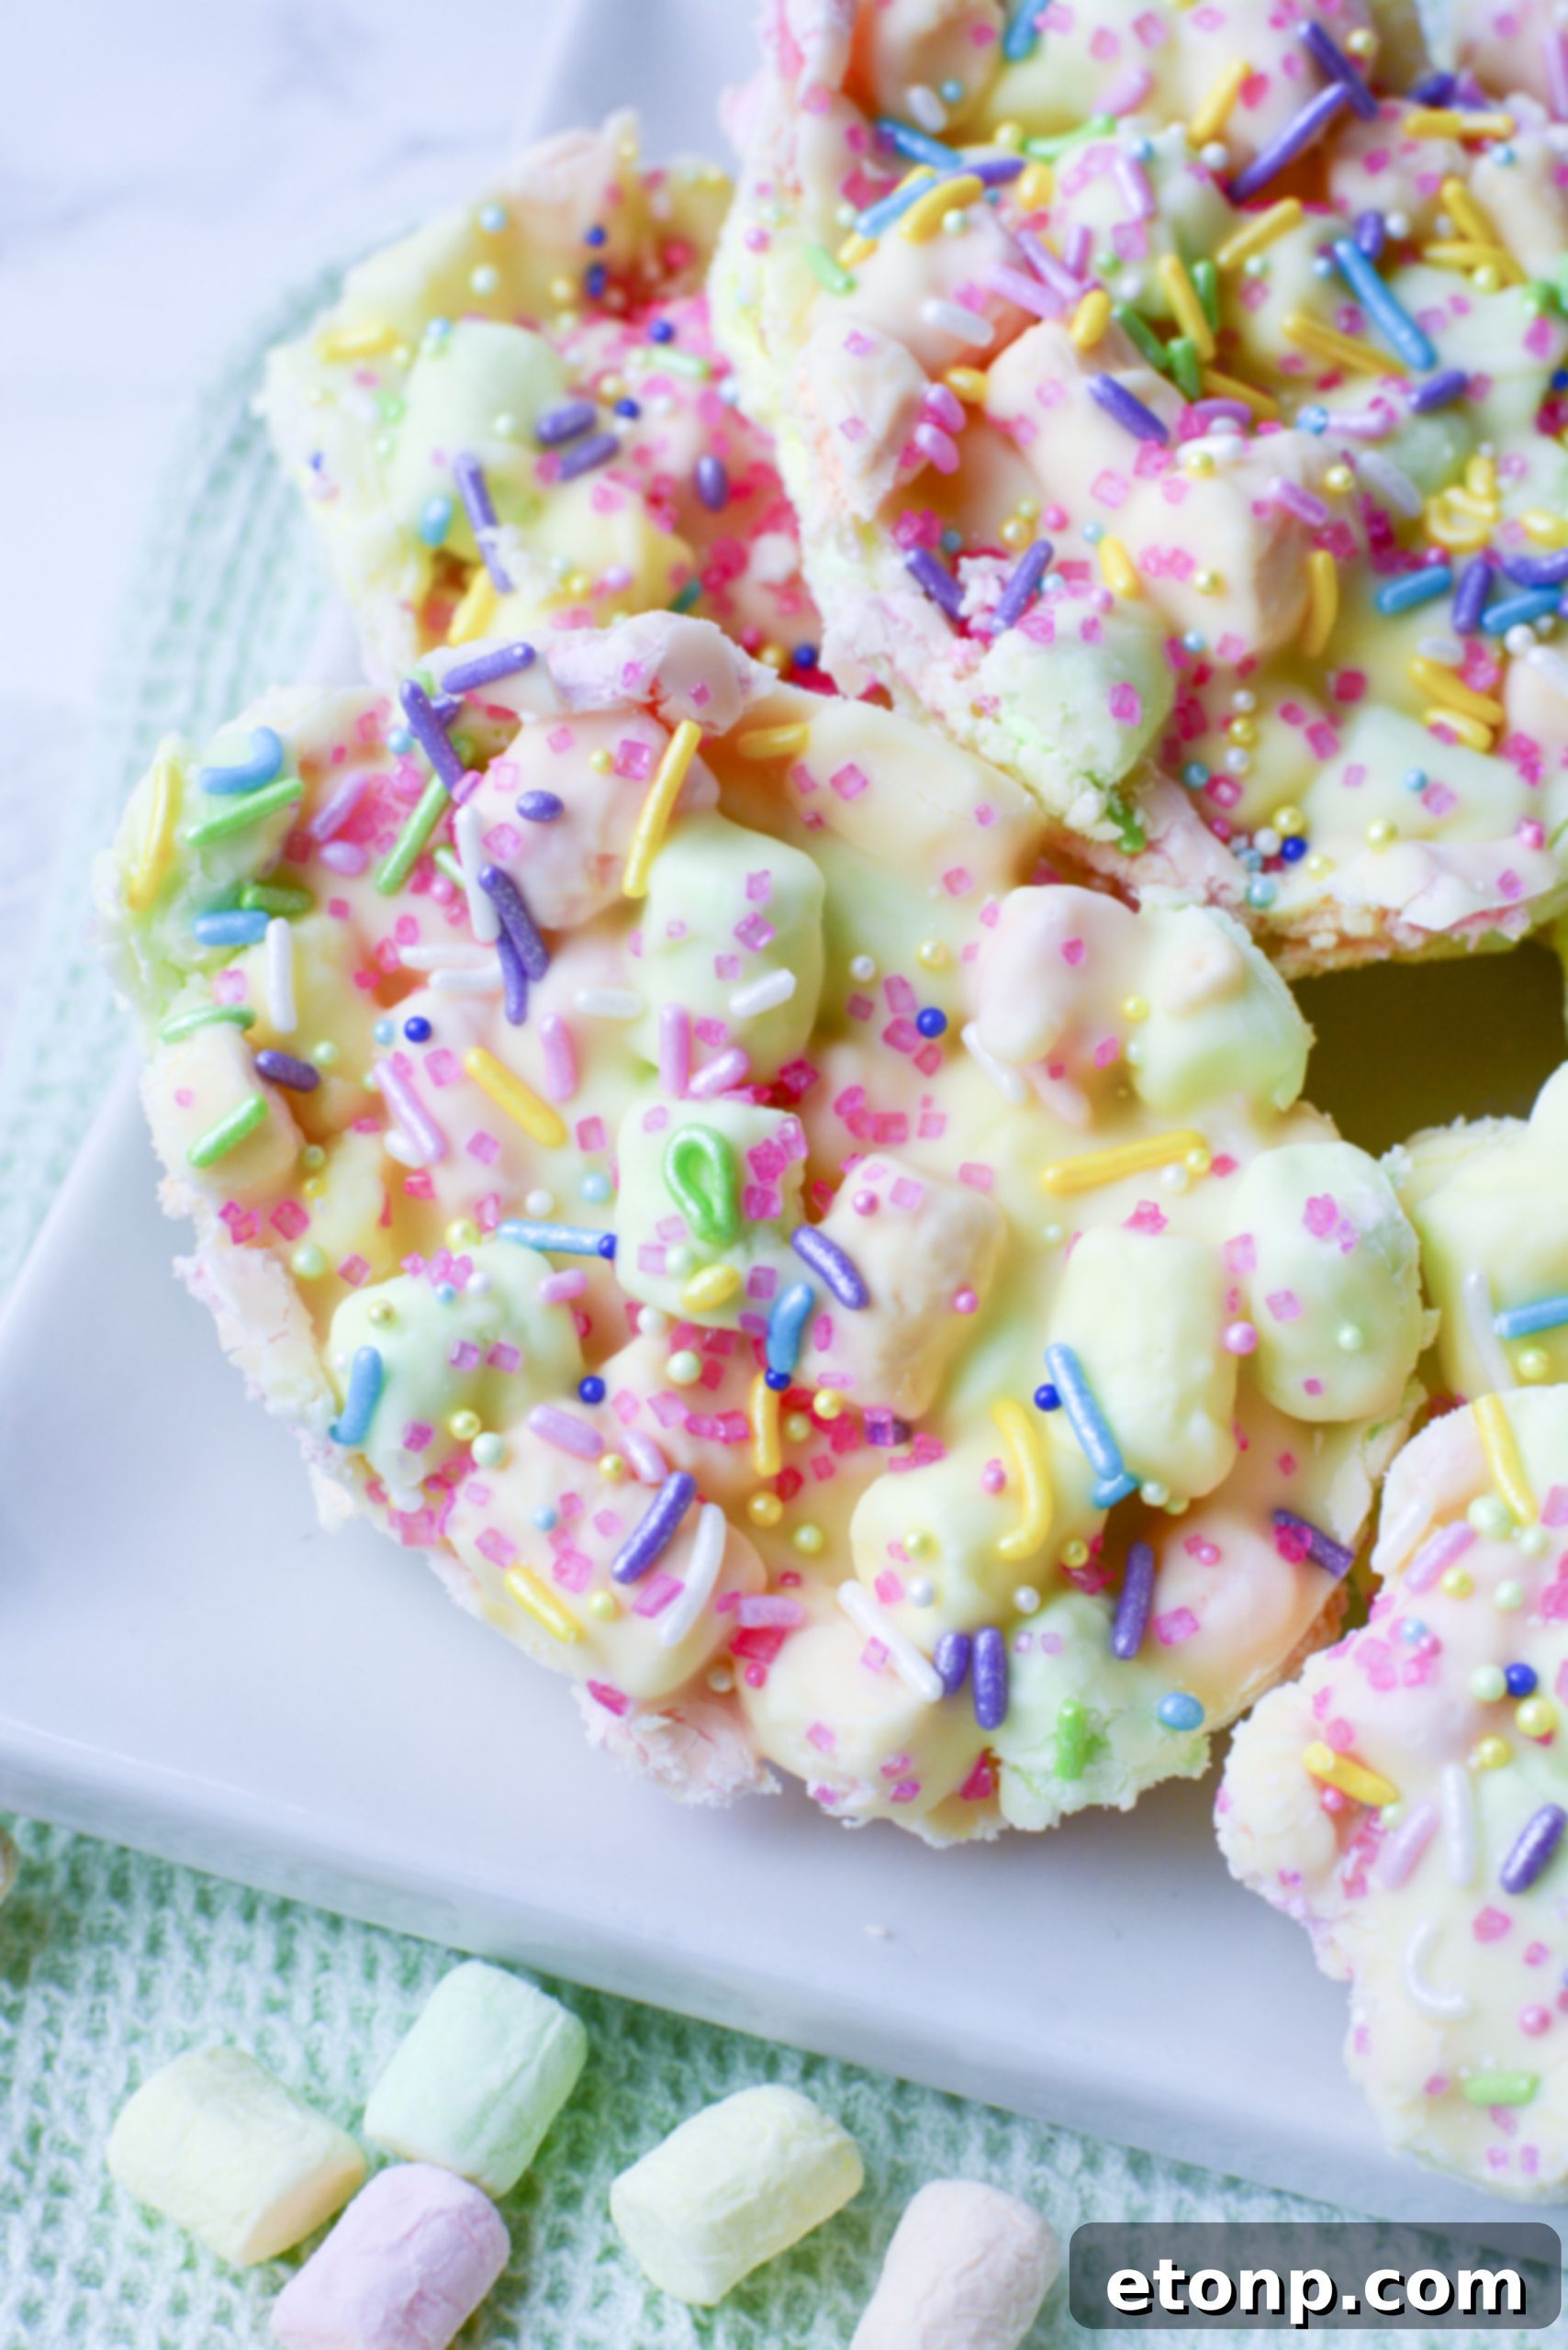
Expert Tips & Tricks for Perfect Easter Marshmallow Bark Every Time
Achieving perfectly set, delicious, and beautiful Easter Marshmallow Bark is simple when you follow a few key guidelines. These expert tips will ensure your homemade treats turn out wonderfully every time, impressing everyone who tastes them:
- Gentle Chocolate Melting is Crucial: When melting your white chocolate, always use the microwave in short, controlled bursts. Heat in 30-second intervals, stirring thoroughly after each one. This prevents scorching, which can make chocolate seize and become lumpy or gritty. If your chocolate appears too thick or stiff after melting, stir in a tiny amount – just a drop or two – of a neutral-flavored oil (like coconut oil or vegetable oil) or a bit of shortening. This will improve its consistency, making it smoother and much easier to spread.
- Marshmallow Preparation Matters: You have the flexibility to use either large or mini marshmallows for this recipe. However, if you opt for large marshmallows, it is highly recommended to cut them into smaller, more manageable pieces before adding them to the melted chocolate. This ensures a more even distribution throughout the bark and makes it significantly easier to achieve a single, cohesive layer. For optimal results, vibrant pastel mini marshmallows are typically the best choice for both ease of use and visual appeal.
- Work Quickly and Efficiently: Once your white chocolate is perfectly melted and smooth, it’s time to work with a bit of speed. Combine it with the marshmallows and immediately spread the mixture onto your prepared parchment-lined baking sheet. Chocolate begins to set as it cools, so a swift hand ensures an even, consistent spread before it becomes too firm to manipulate.
- Parchment Paper is Your Best Friend: This step cannot be stressed enough: always line your baking sheet with high-quality parchment paper. This crucial barrier prevents the bark from sticking to the pan, guaranteeing incredibly easy removal and hassle-free cleanup once the bark has hardened. Do not substitute parchment paper with foil placed directly on the pan without thoroughly greasing it, as the chocolate may still adhere.
- Achieve an Even Layer: When spreading the marshmallow and chocolate mixture, aim to create a single, relatively even layer across your prepared baking sheet. Gently press the marshmallows down to ensure they are fully coated in chocolate and adhere to each other. The melted chocolate acts as a binding “glue,” ensuring your bark is sturdy and won’t crumble apart when you cut or break it.
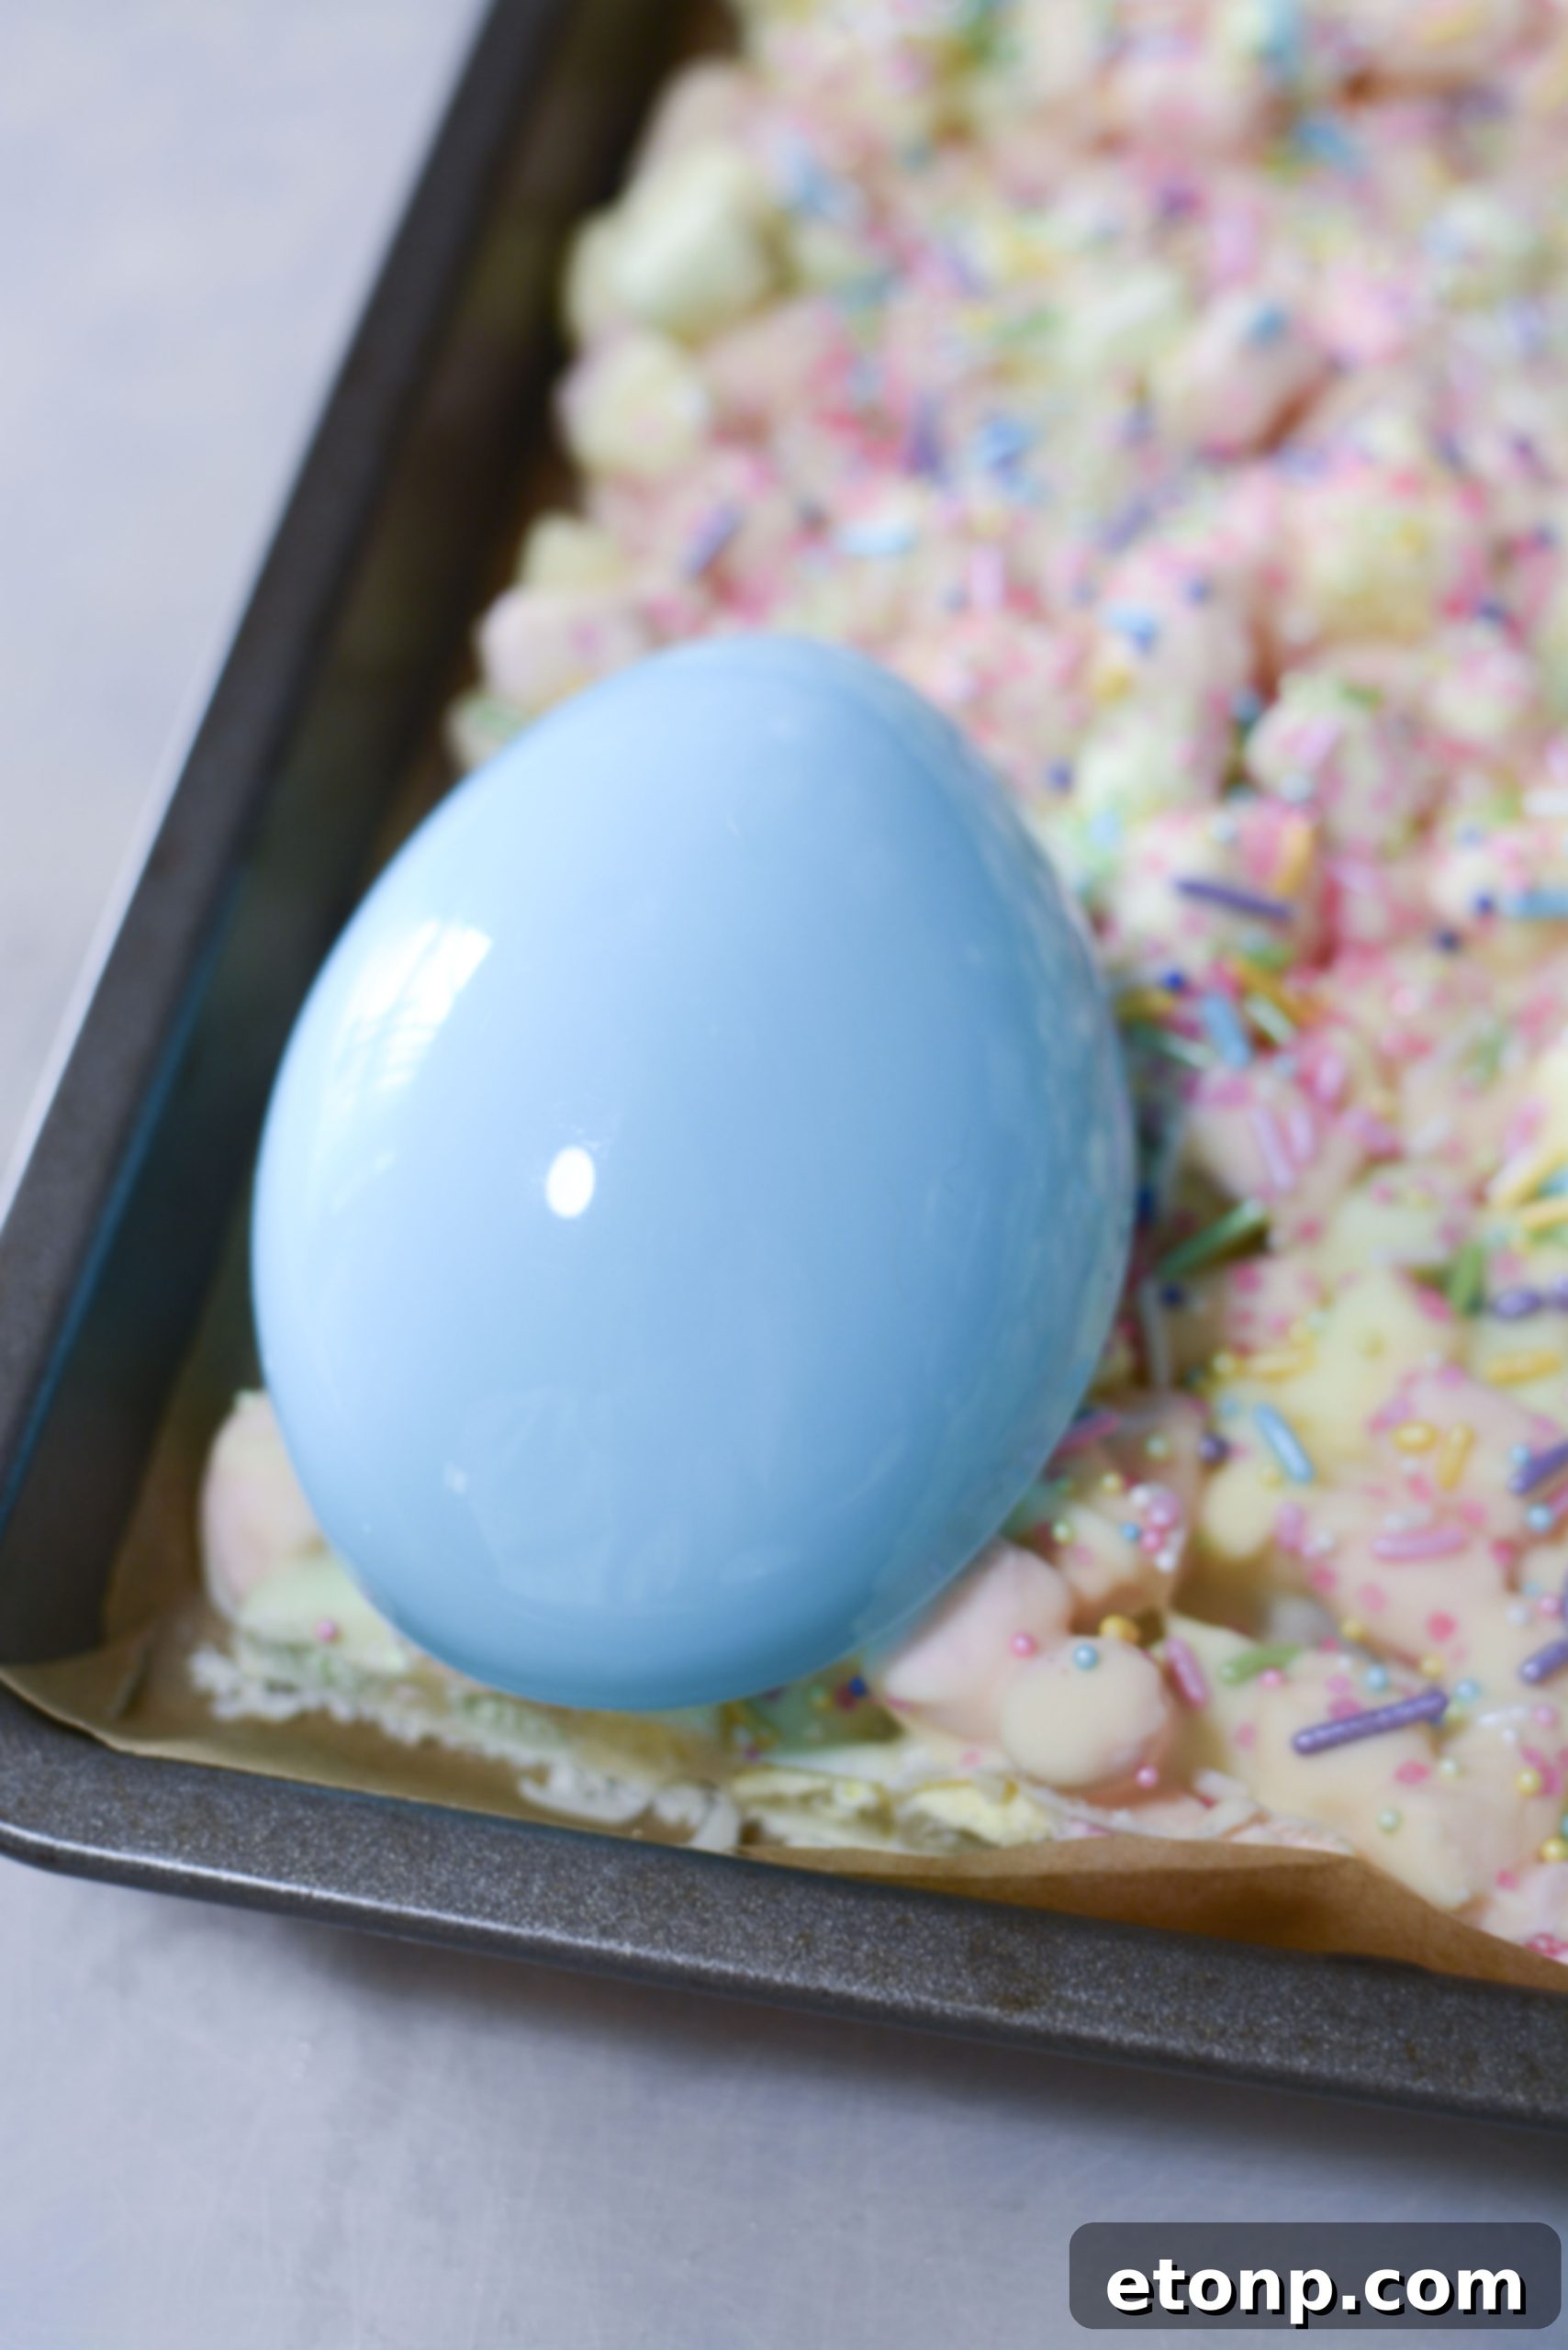
- Proper Chill Time is Essential: For the best structural integrity and ease of handling, allow your bark to chill completely until the chocolate is fully hardened. Place the baking sheet in the refrigerator for at least 30 to 60 minutes, or in the freezer for a quicker setting time of 15 to 20 minutes. Rushing this critical step can result in a soft, sticky, and difficult-to-cut bark.
- Room Temperature Cutting for Best Results: While the bark needs to be thoroughly chilled to set, it’s often easier to cut into clean pieces if you allow it to sit at room temperature for about 5-10 minutes before attempting to slice or use cookie cutters. This slight warming helps prevent the chocolate from cracking excessively and ensures cleaner, more precise cuts. Always use a sharp knife for the neatest edges.
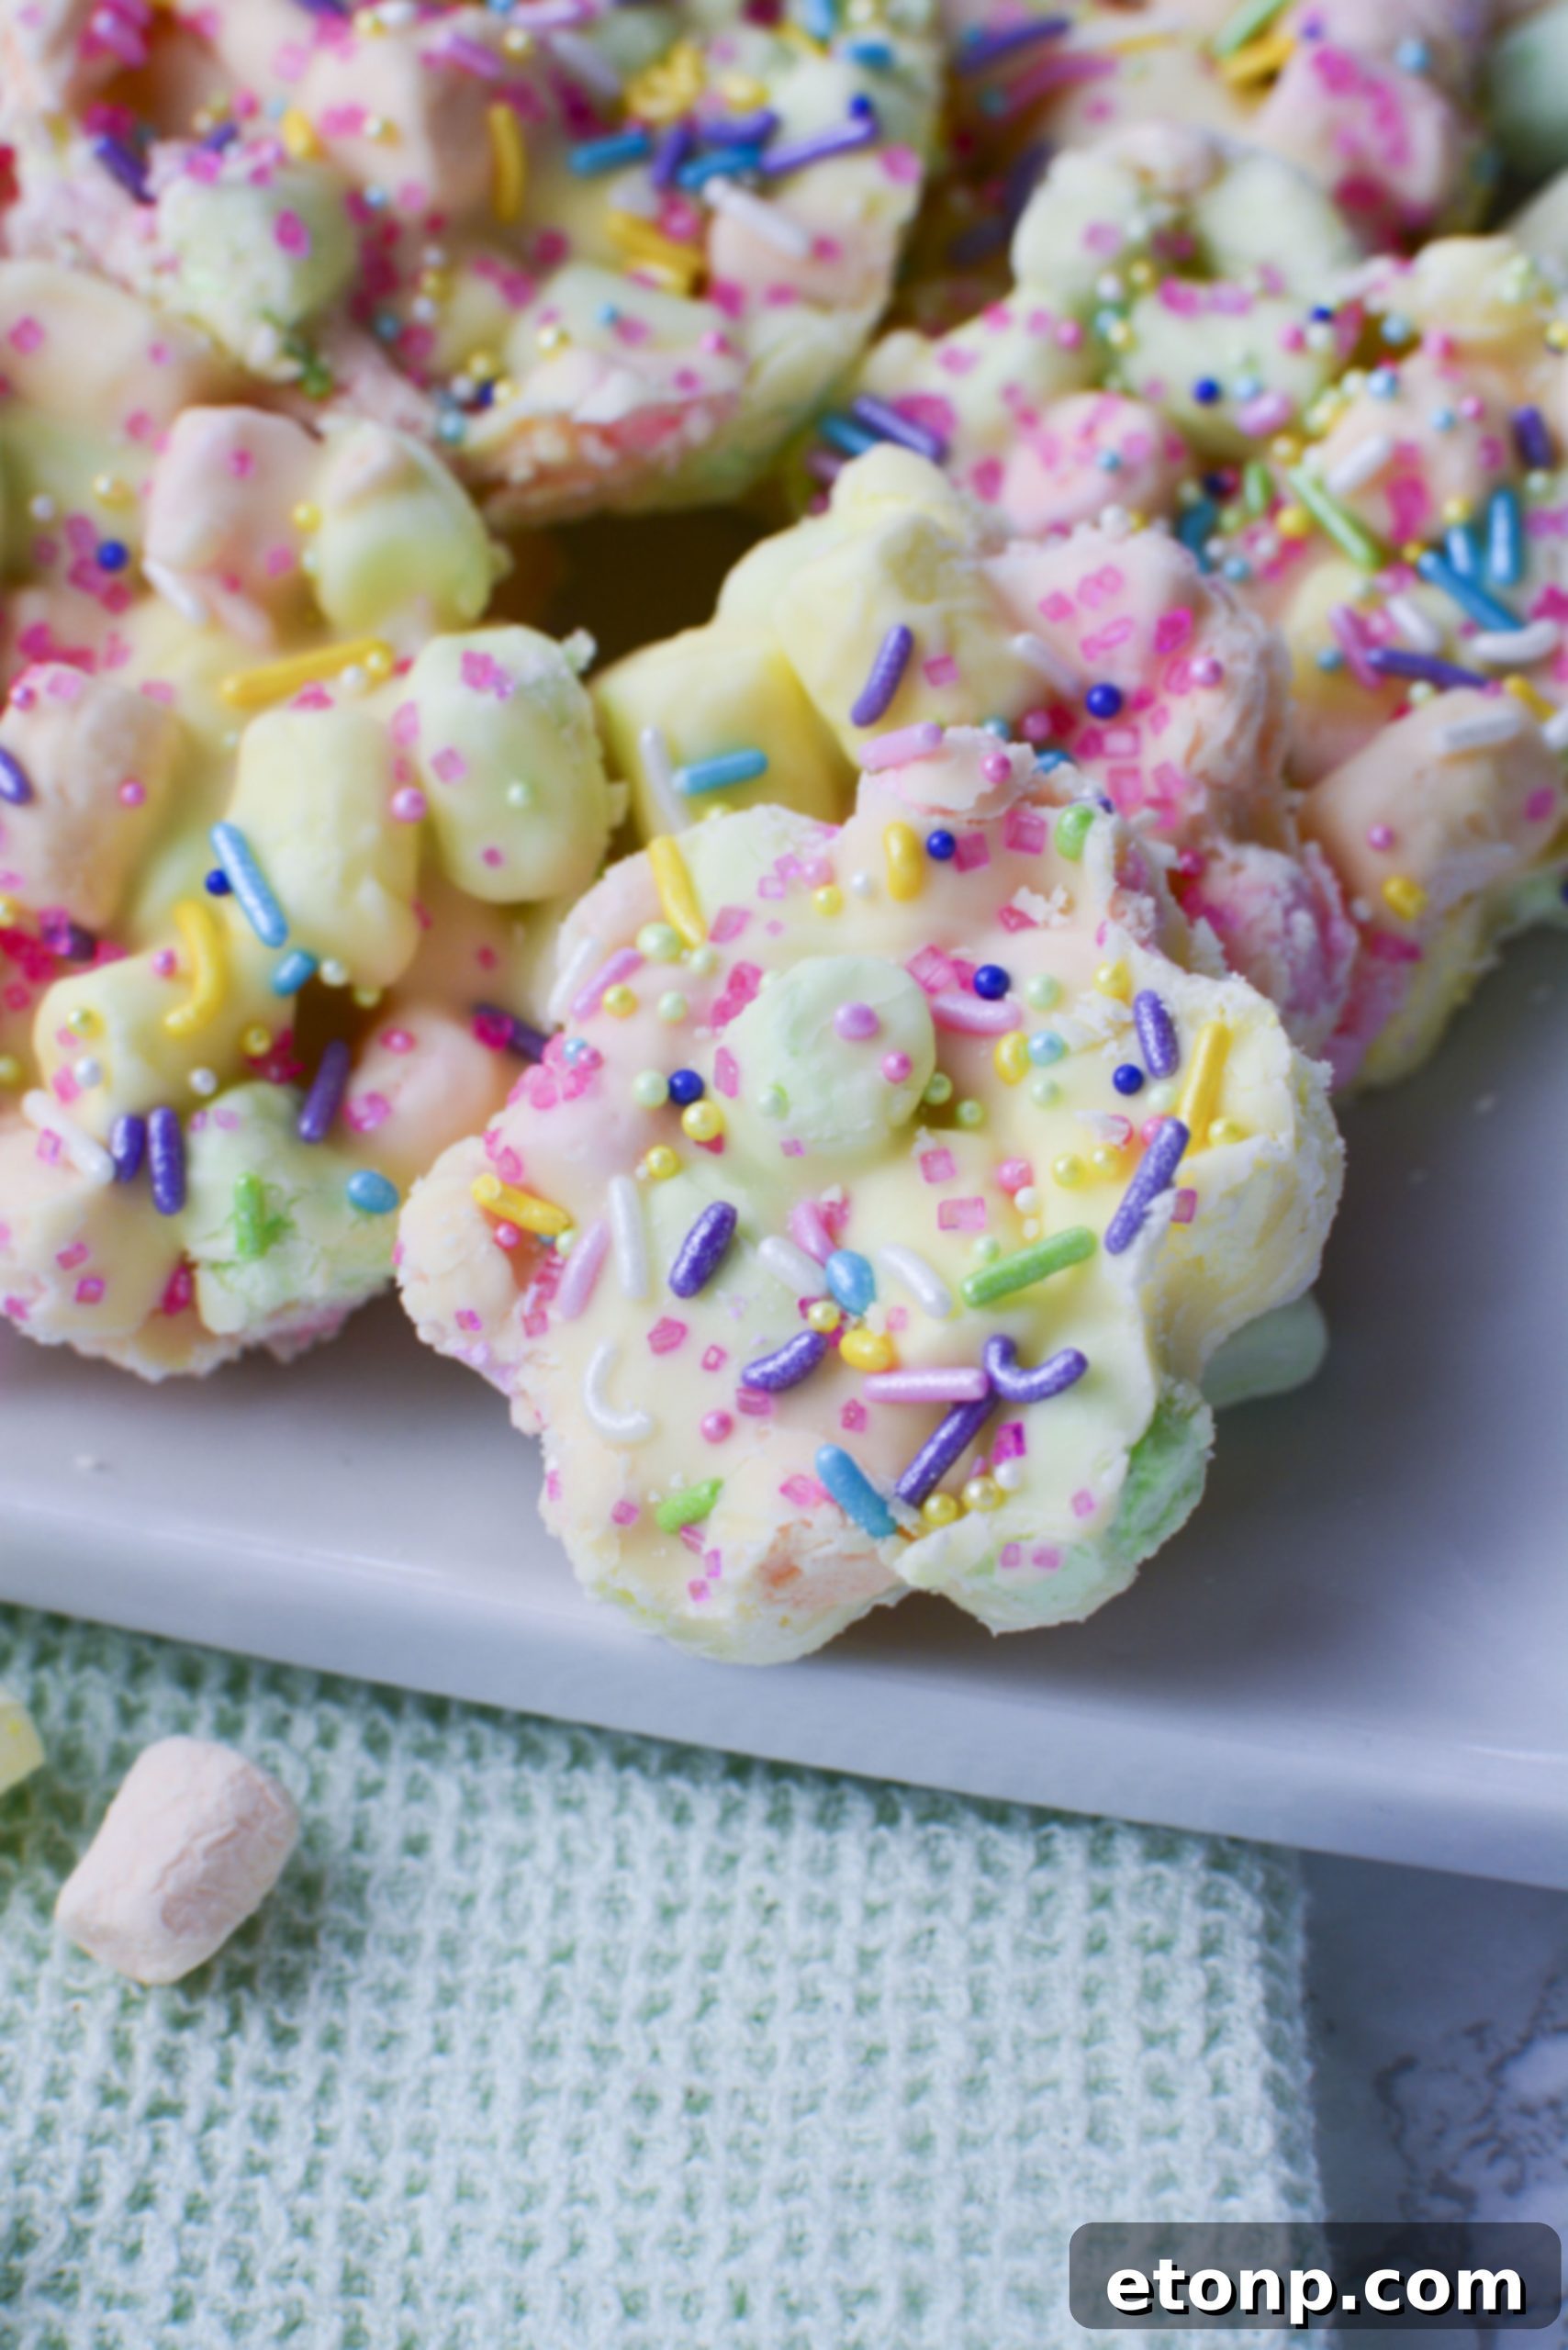
How to Store Your Homemade Easter Marshmallow Bark
Proper storage is key to ensuring your delicious Easter Marshmallow Bark remains fresh, flavorful, and enjoyable for as long as possible. Once your bark has fully set and been cut into its delightful pieces, carefully transfer them to an airtight container. To prevent the pieces from sticking together, especially if layering them, you can place small sheets of parchment paper in between each layer. Store the container at room temperature on your kitchen countertop or in a cool, dry pantry. In this environment, the bark will typically remain fresh and taste its best for up to a week. If you prefer a colder, firmer texture, or if your kitchen tends to be particularly warm, you can also store the bark in the refrigerator. This will not only keep it wonderfully firm but may also slightly extend its shelf life. Just be aware that refrigeration might make the chocolate slightly harder to bite into right away, so you might want to let it sit out for a few minutes before serving to achieve optimal texture.
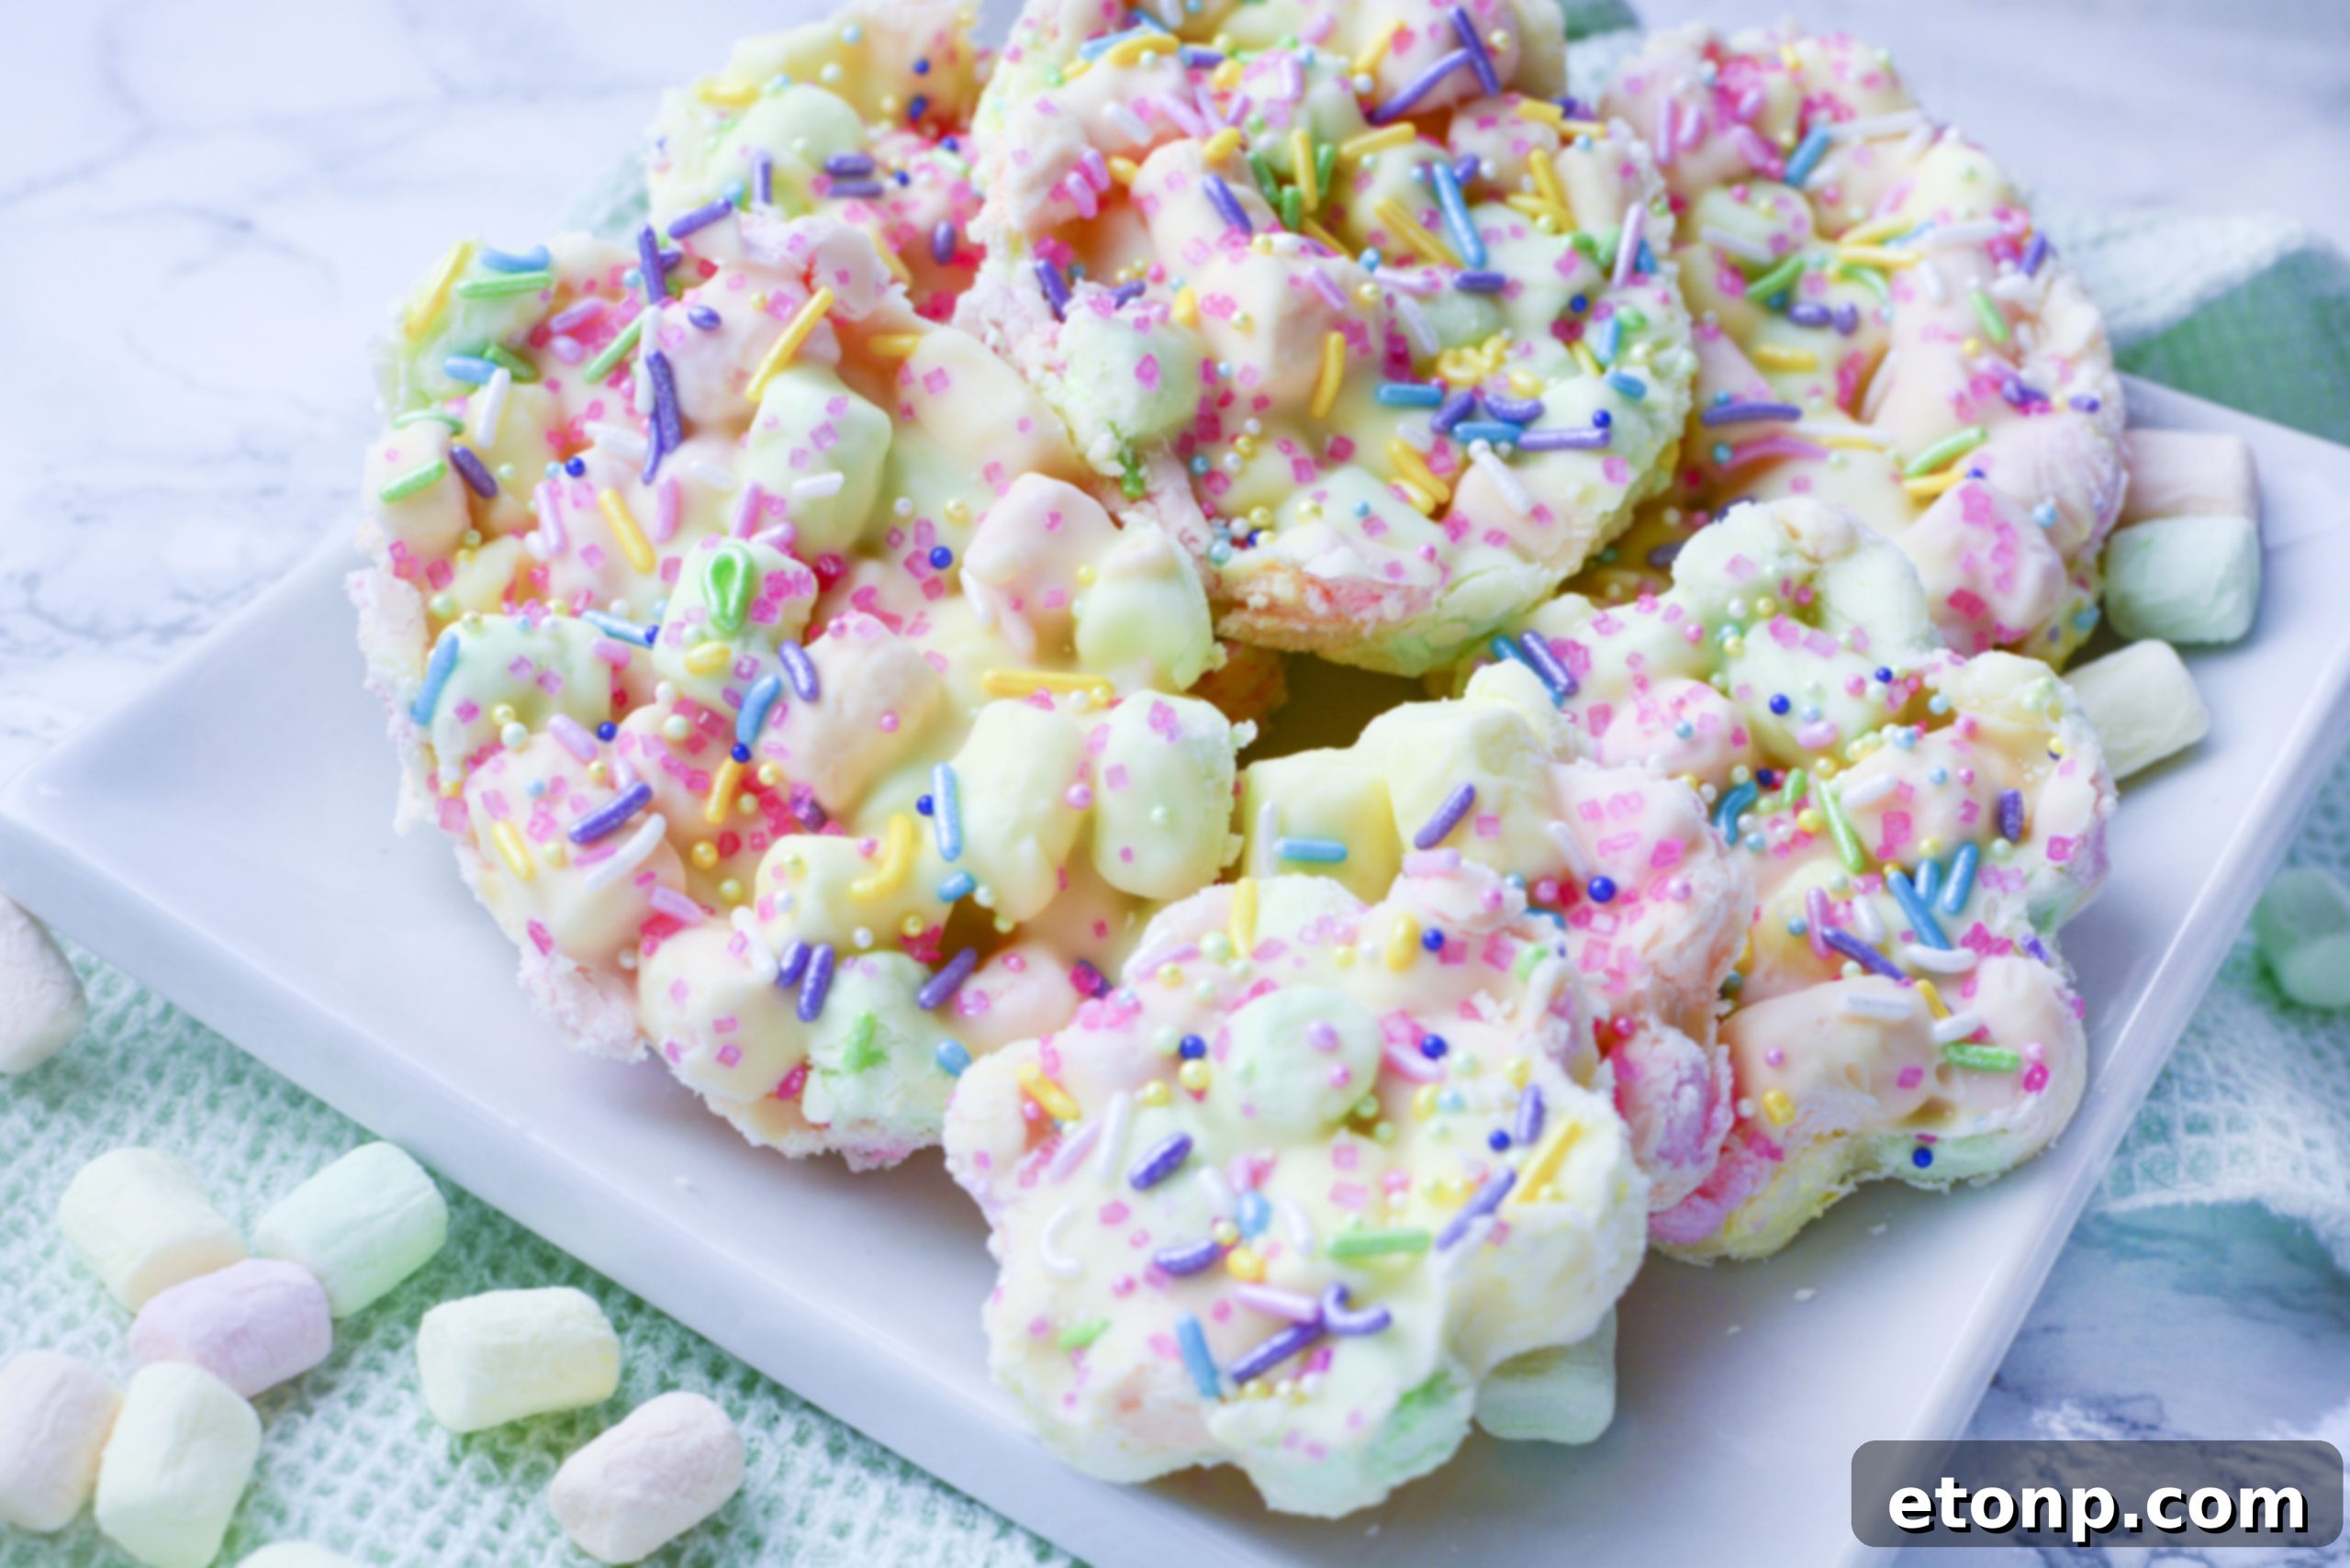
Recipe Card: Easy Easter Marshmallow Bark
Get ready to create some Easter magic with this incredibly simple and delightful recipe!
Ingredients:
- 1 (12 oz) bag white chocolate chips or good quality melting chocolates
- 4 cups mini rainbow marshmallows (pink, green, yellow for festive appeal)
- Easter-themed sprinkles, as desired
Instructions:
- Prepare your baking sheet: Line a half-size cookie sheet (approximately 13×18 inches) or a 9×13 inch baking pan with parchment paper. This critical step ensures easy removal of the hardened bark and makes cleanup a breeze.
- Measure ingredients: Accurately measure out your white chocolate chips and mini marshmallows. Set aside your chosen Easter sprinkles for the final decorating step.
- Melt the chocolate: In a large microwave-safe bowl, melt the white chocolate. Heat the chocolate in short bursts of 30 seconds at a time. After each interval, stir the chocolate thoroughly with a spatula. Continue this process until the chocolate is completely smooth, creamy, and free of any lumps. Be vigilant not to overheat, as white chocolate can scorch quickly.
- Combine marshmallows and chocolate: Once the chocolate is perfectly melted, work quickly! Pour the mini marshmallows into the bowl with the warm melted white chocolate. Using your spatula, gently but thoroughly mix the marshmallows and chocolate together until all the marshmallows are well coated.
- Spread the mixture: Immediately pour the marshmallow-chocolate mixture out onto your prepared parchment-lined baking sheet. Using your spatula, spread the mixture into a single, relatively even layer. Gently press the marshmallows down to ensure they are in close contact and fully coated, allowing the chocolate to act as a “glue” to hold everything together securely.
- Add sprinkles: Without delay, generously sprinkle your chosen Easter-themed sprinkles over the entire surface of the marshmallow mixture. For extra adhesion, you can gently press the sprinkles into the marshmallows with your spatula.
- Chill to set: Place the baking sheet containing the bark into the refrigerator for at least 30 to 60 minutes, or into the freezer for 15 to 20 minutes. This chilling time is essential for the chocolate to harden completely and for the bark to become firm.
- Prepare for cutting: Once the bark is completely firm, remove the pan from the fridge or freezer. Allow the bark to sit at room temperature for about 5-10 minutes before attempting to cut it. This slight warming helps prevent the chocolate from cracking excessively, leading to cleaner, more precise cuts.
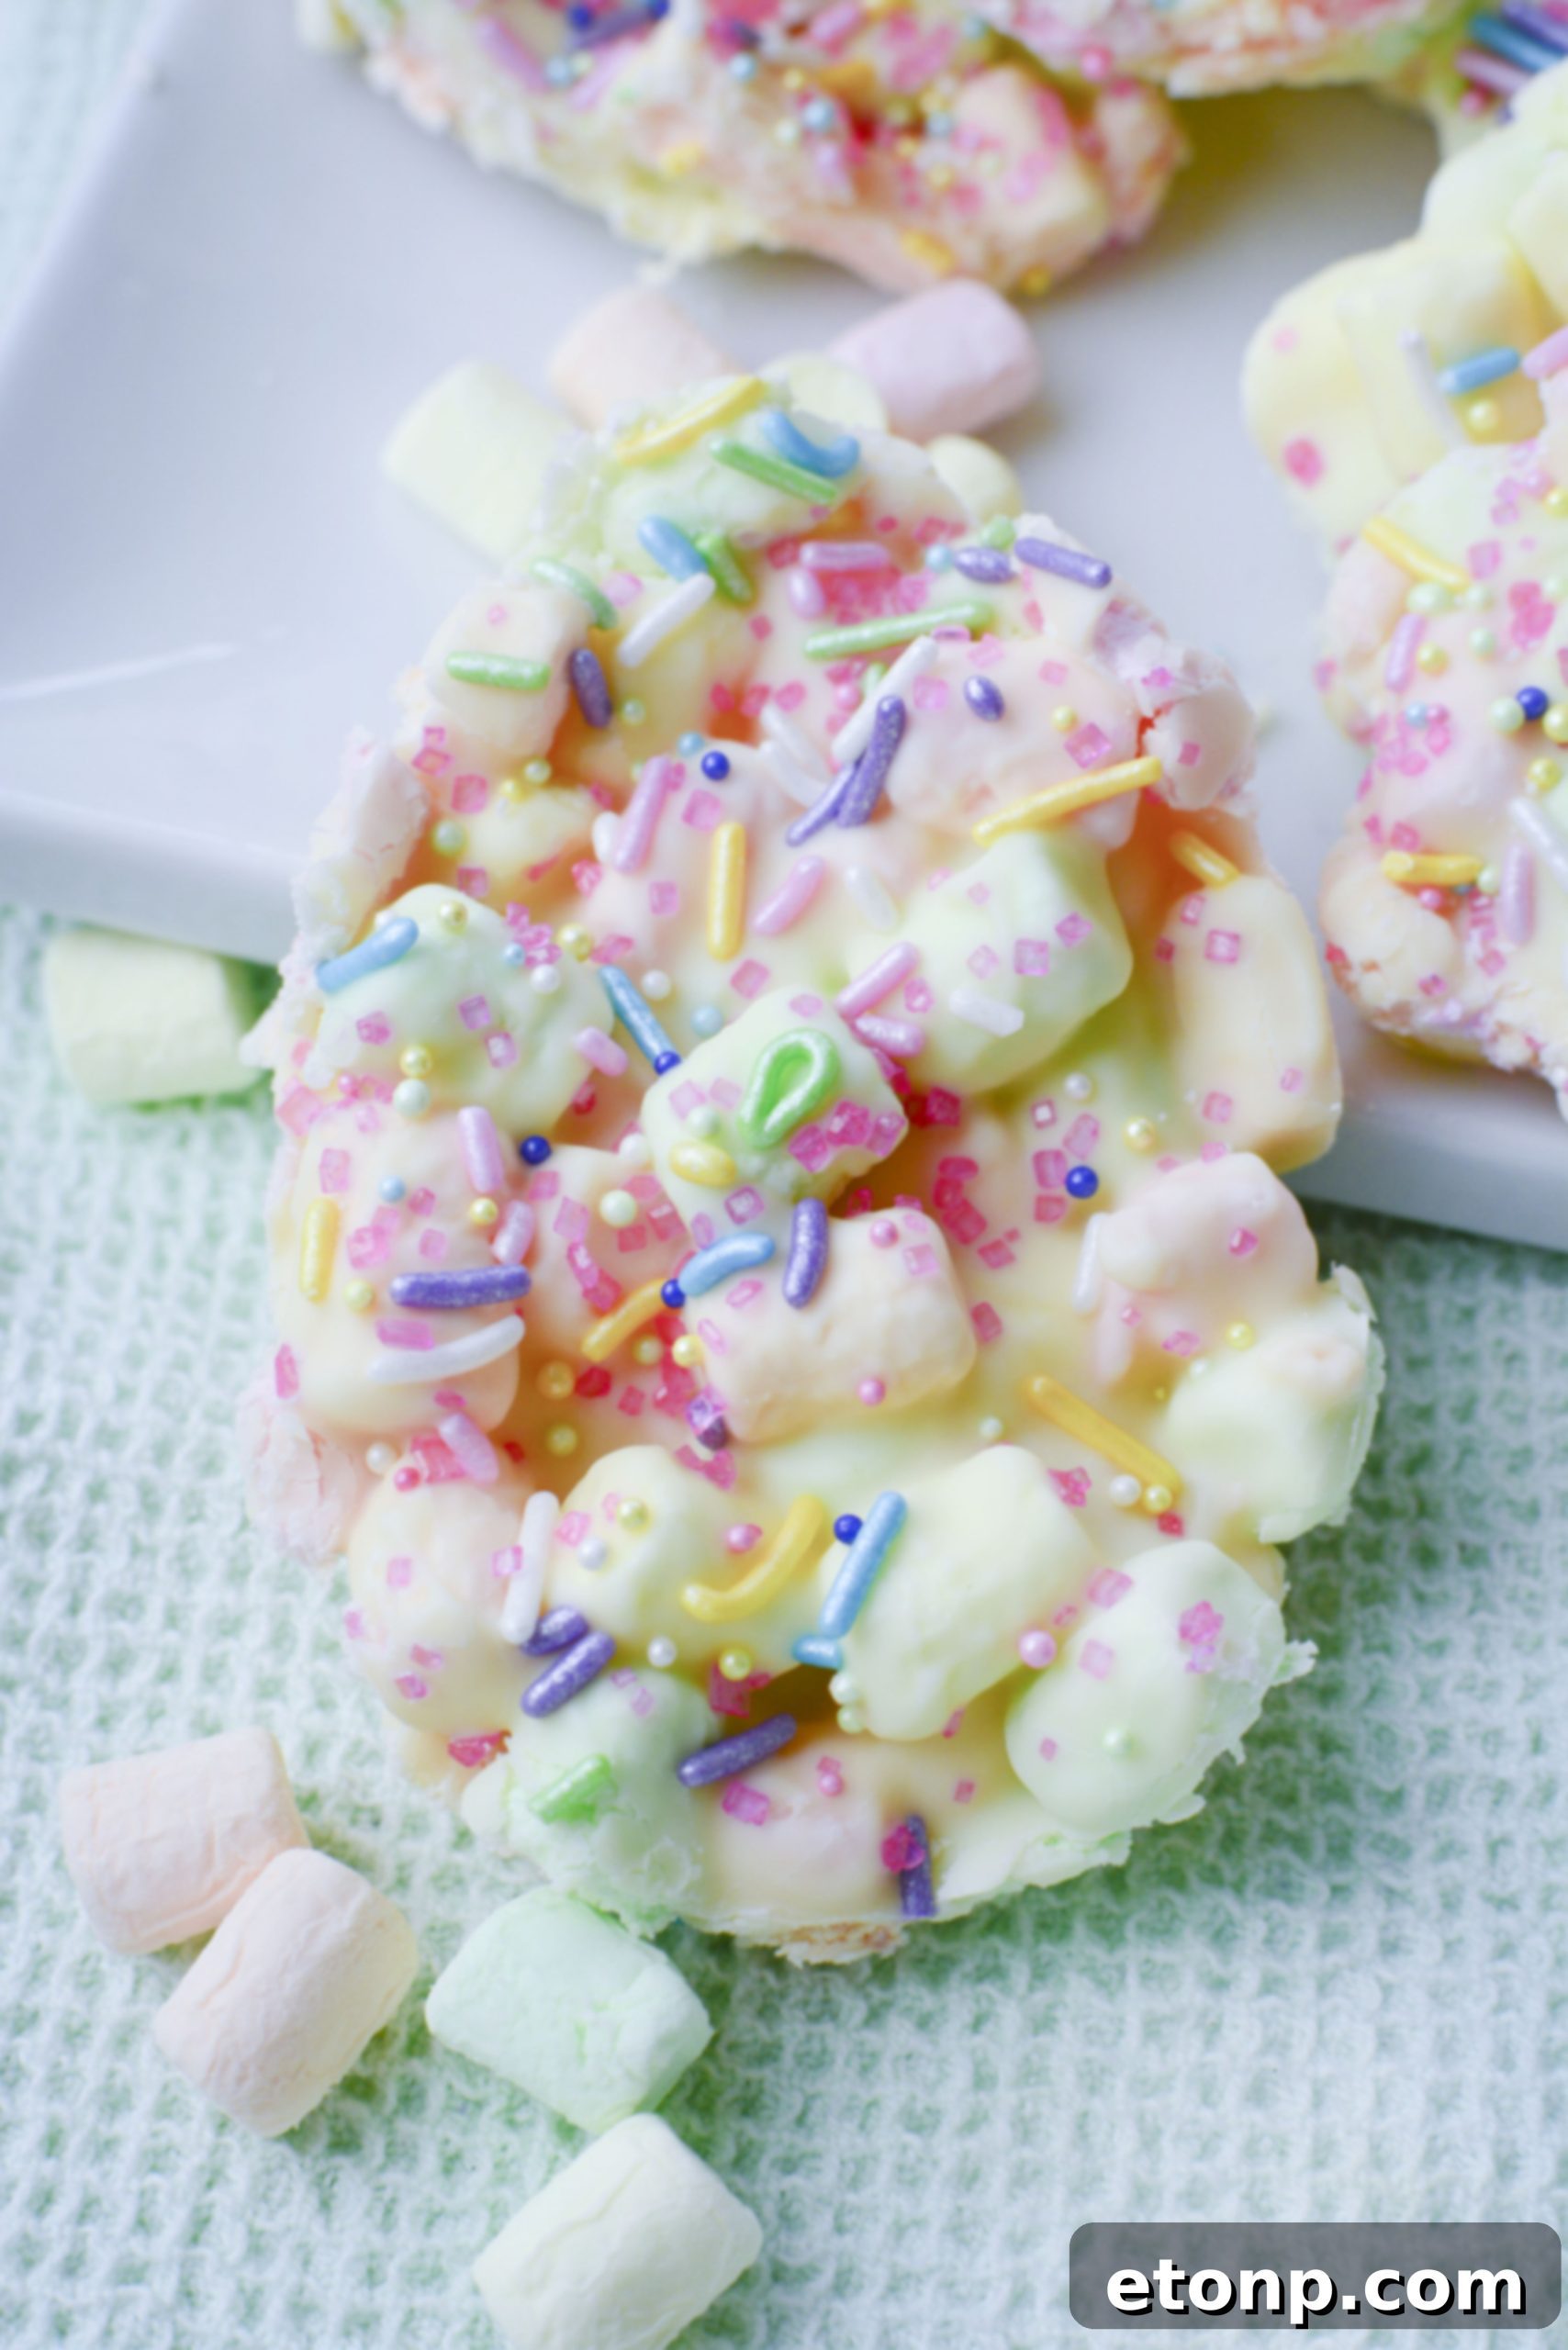
- Cut and serve: If you possess Easter-shaped cookie cutters (such as eggs, bunnies, or flowers), press them into the bark to create charming, festive shapes. Alternatively, if you don’t have cookie cutters, simply use a sharp knife to carefully cut the bark into desired squares, rectangles, or irregular pieces.
- ENJOY! Your beautiful and delicious Easter Marshmallow Bark is now ready to be savored and shared with your loved ones!
A Sweet Conclusion to Your Easter Festivities
This Easter Marshmallow Bark recipe is much more than just a dessert; it’s a wonderful opportunity to create cherished memories and spread joy among your loved ones. Its remarkable simplicity makes it an absolute pleasure to prepare, ensuring that even the busiest of holiday schedules can accommodate this delightful activity. The vibrant pastel colors make it an undeniable feast for the eyes, instantly brightening any Easter table, while its irresistible taste guarantees it will be an instant hit with everyone, from the youngest children to the most seasoned adults. Whether you’re meticulously filling Easter baskets, preparing an elaborate festive dessert spread, or simply looking for a fun and engaging kitchen activity to do with family, this homemade marshmallow bark ticks all the boxes. So, gather your family, unleash your creativity with a medley of sprinkles and toppings, and wholeheartedly enjoy the process of making these super simple, incredibly fun, and utterly delicious Easter treats. Happy Easter and happy baking!