
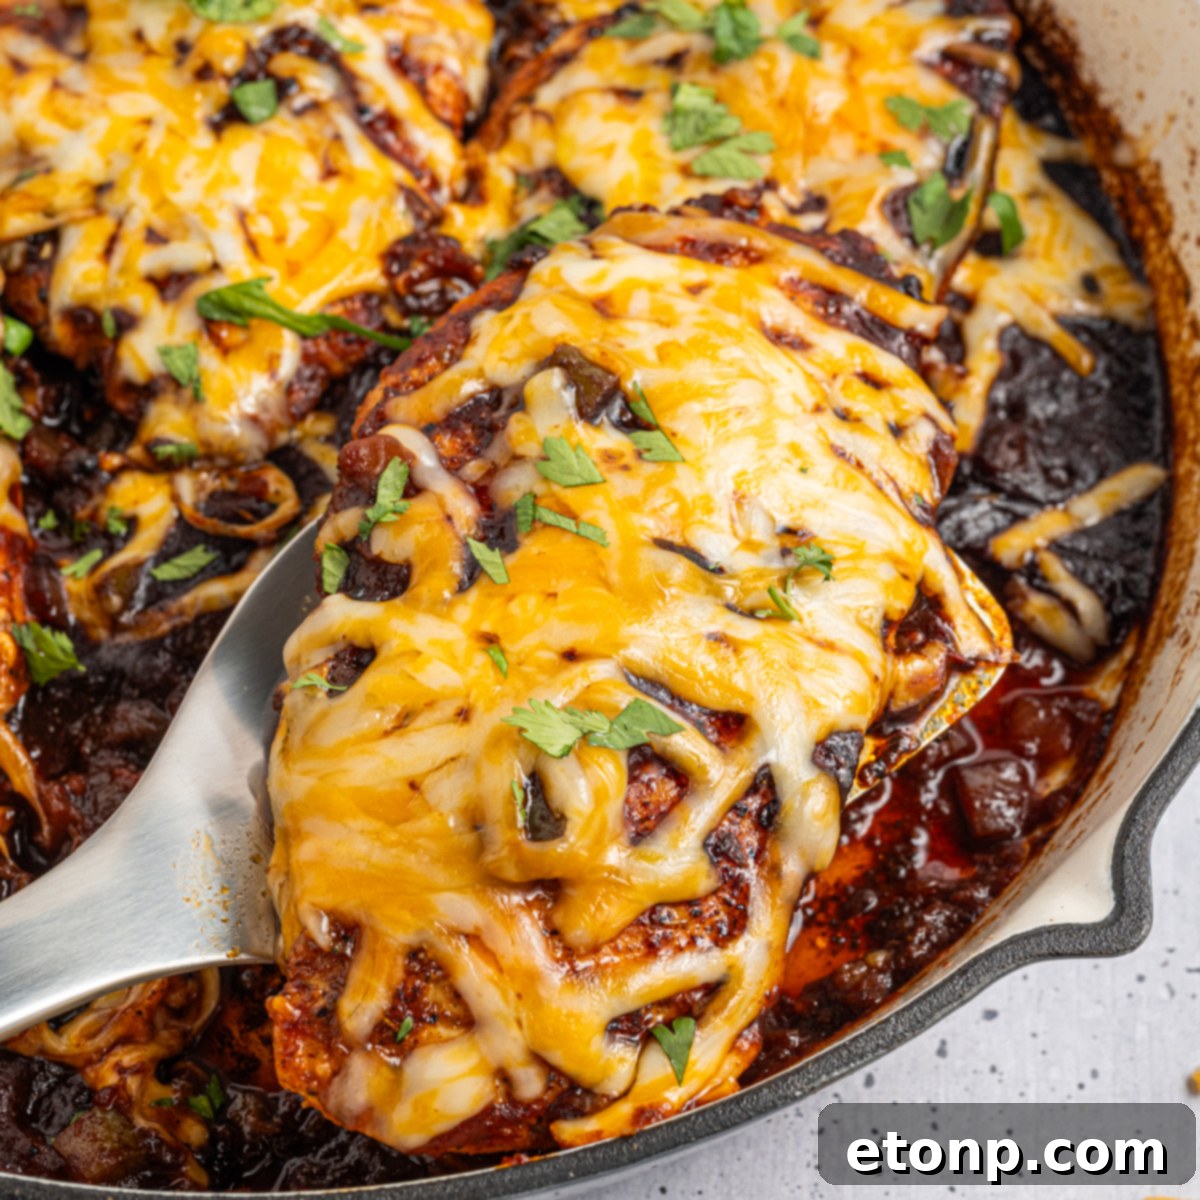
Dinner doesn’t have to be complicated to be deeply satisfying and comforting. This incredible Cheesy Salsa Chicken recipe is a testament to how effortlessly you can transform a handful of everyday pantry staples into a truly memorable, flavor-packed meal. In less than 30 minutes, you can have a hearty, Tex-Mex inspired dish ready to grace your table, proving that quick weeknight dinners can indeed feel special. As a busy parent juggling daily demands, I constantly seek out recipes that deliver maximum flavor with minimal fuss, and this one consistently earns a top spot in our family’s rotation.
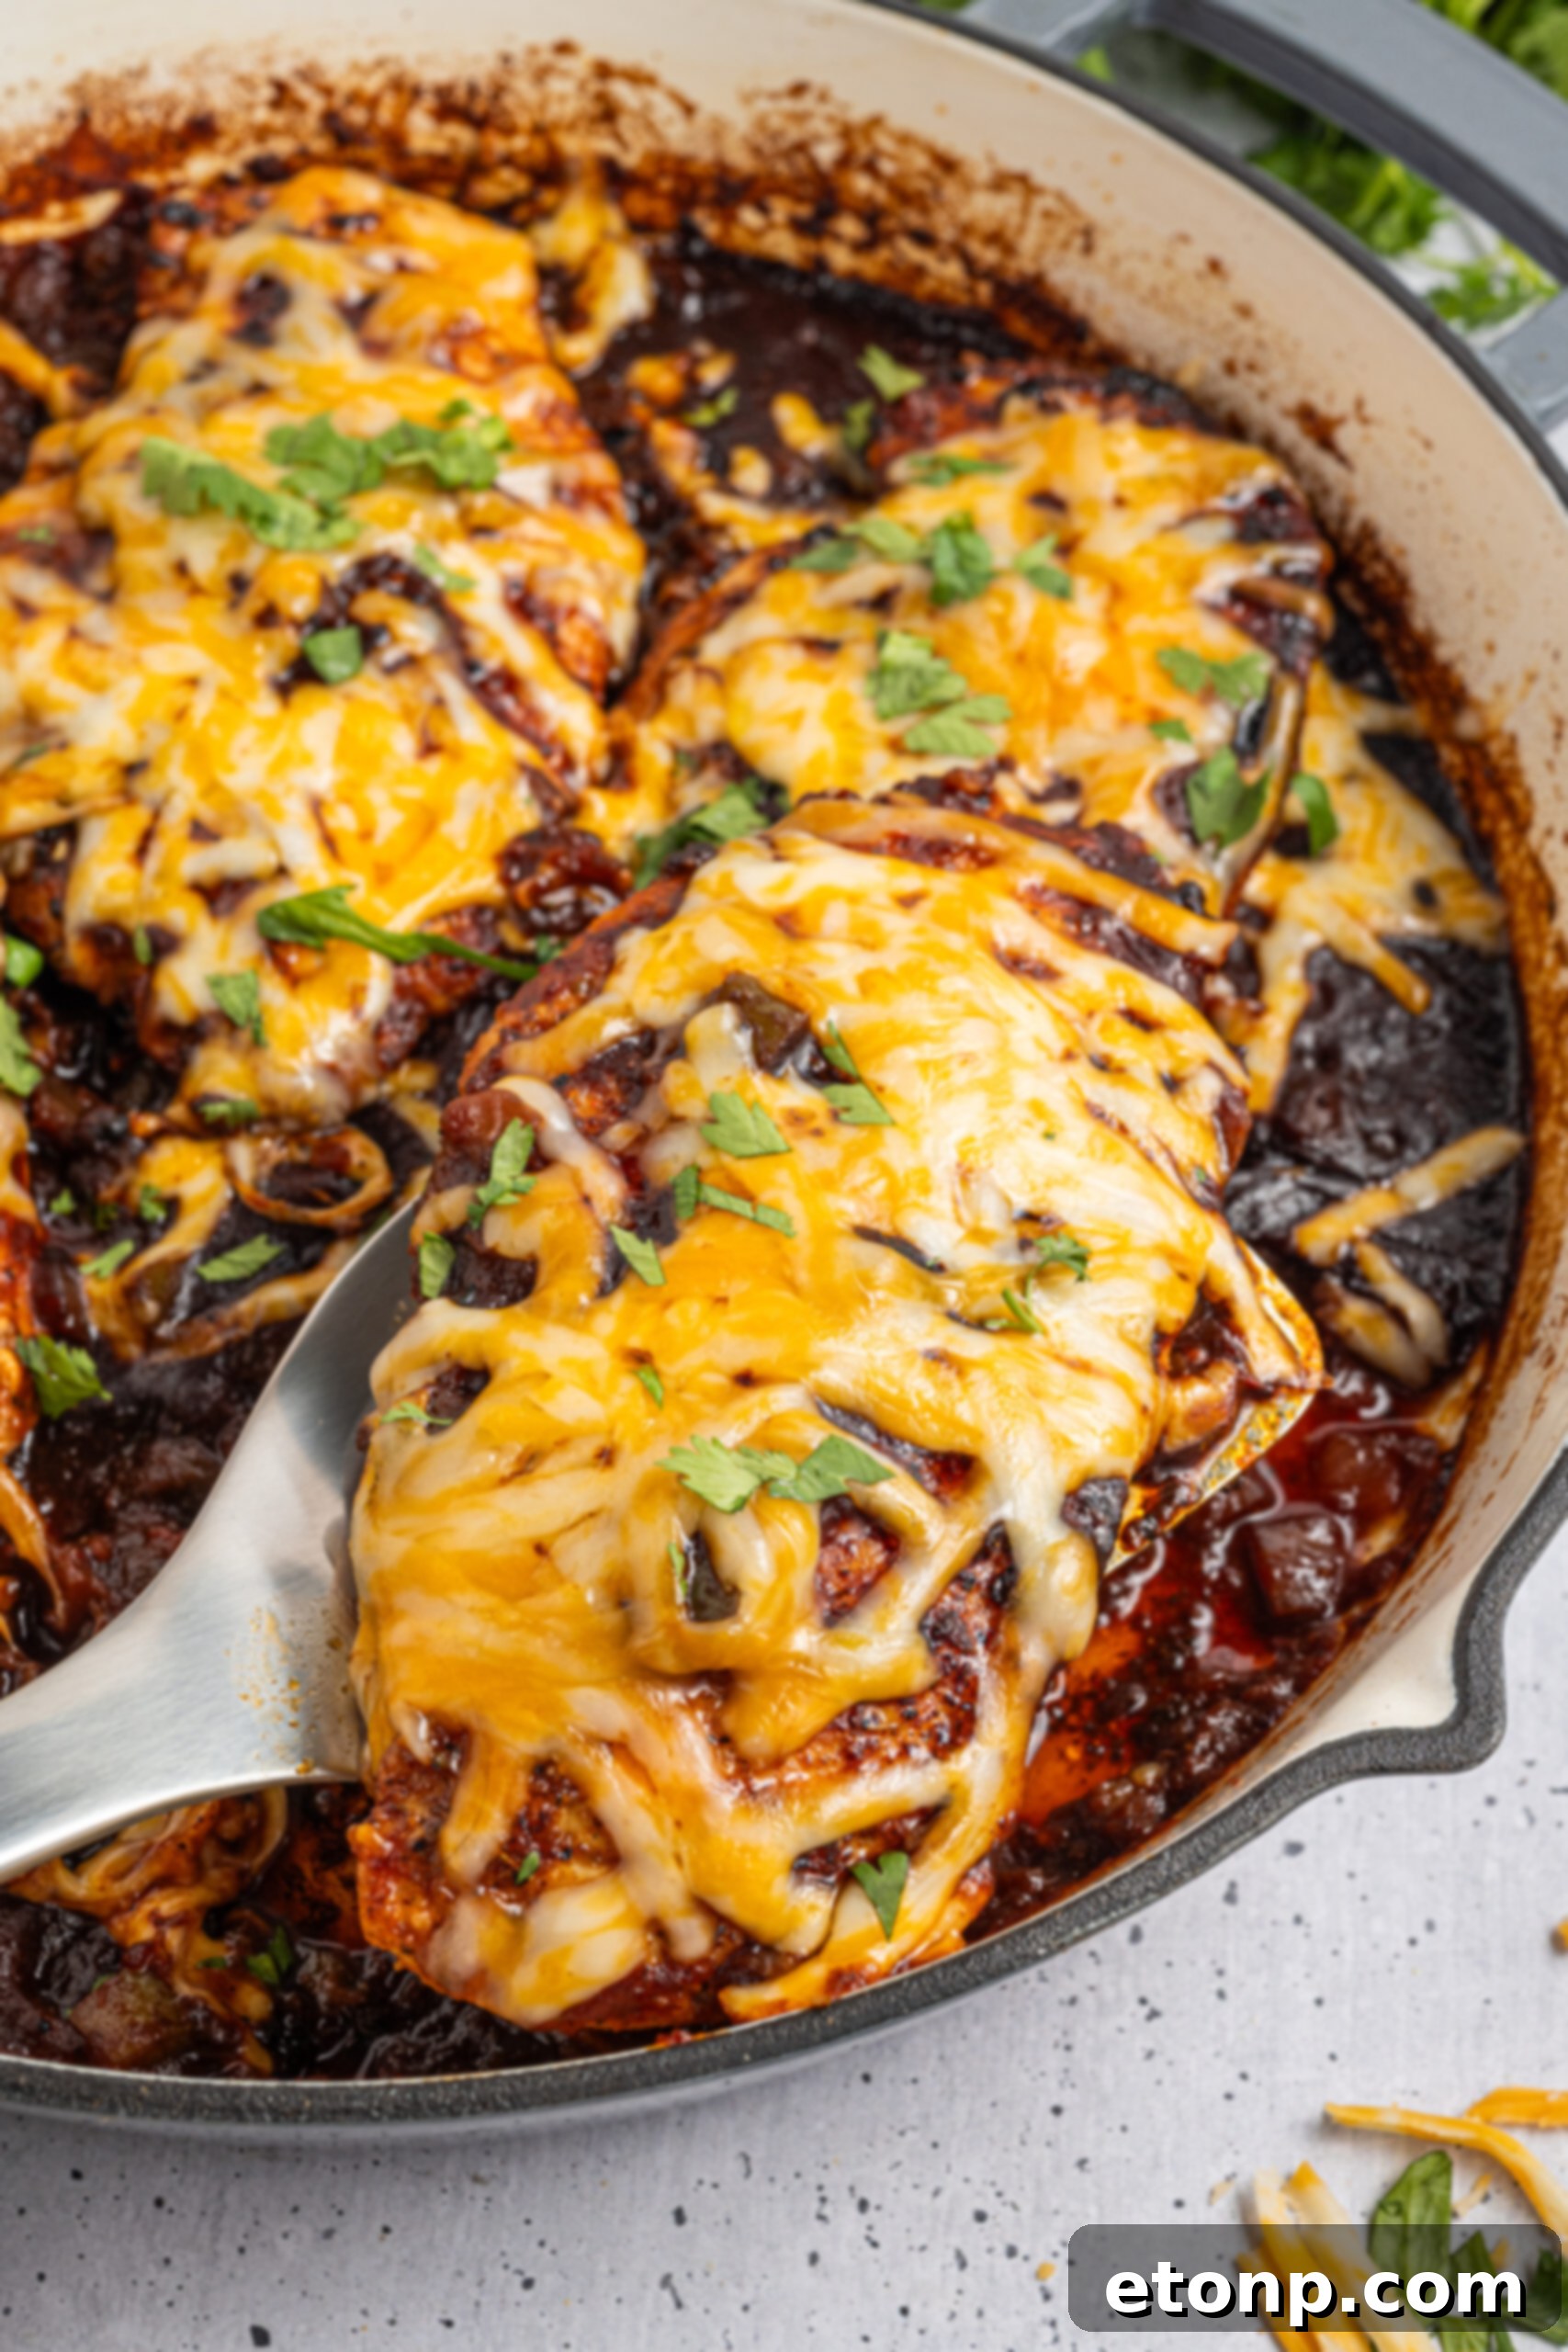
Discover the Magic of Cheesy Salsa Chicken
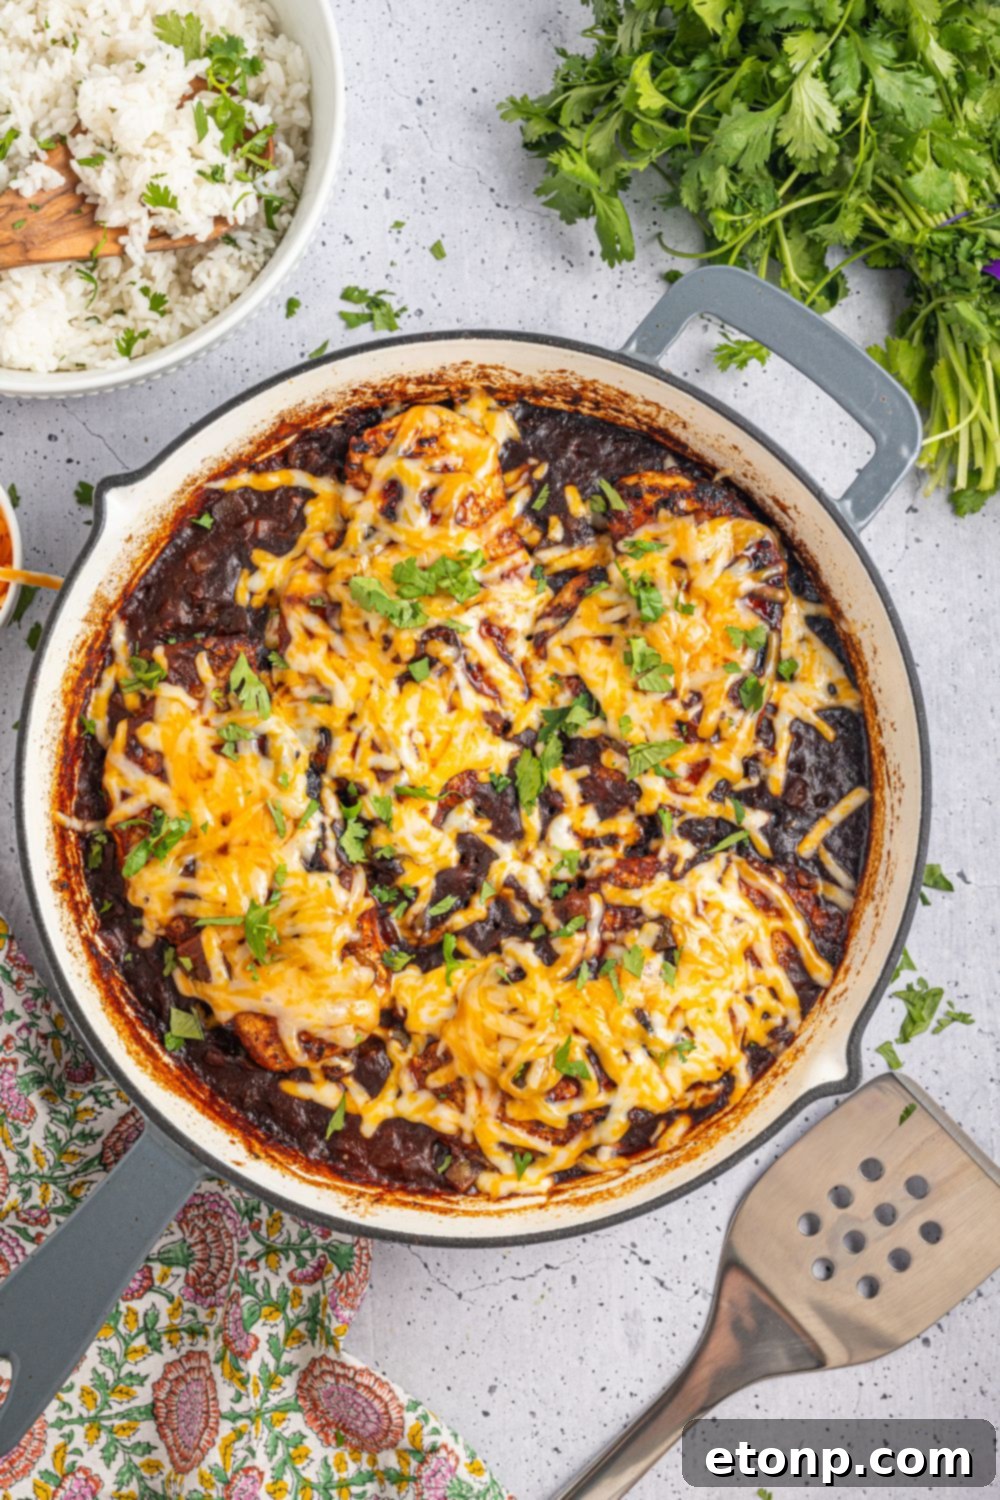
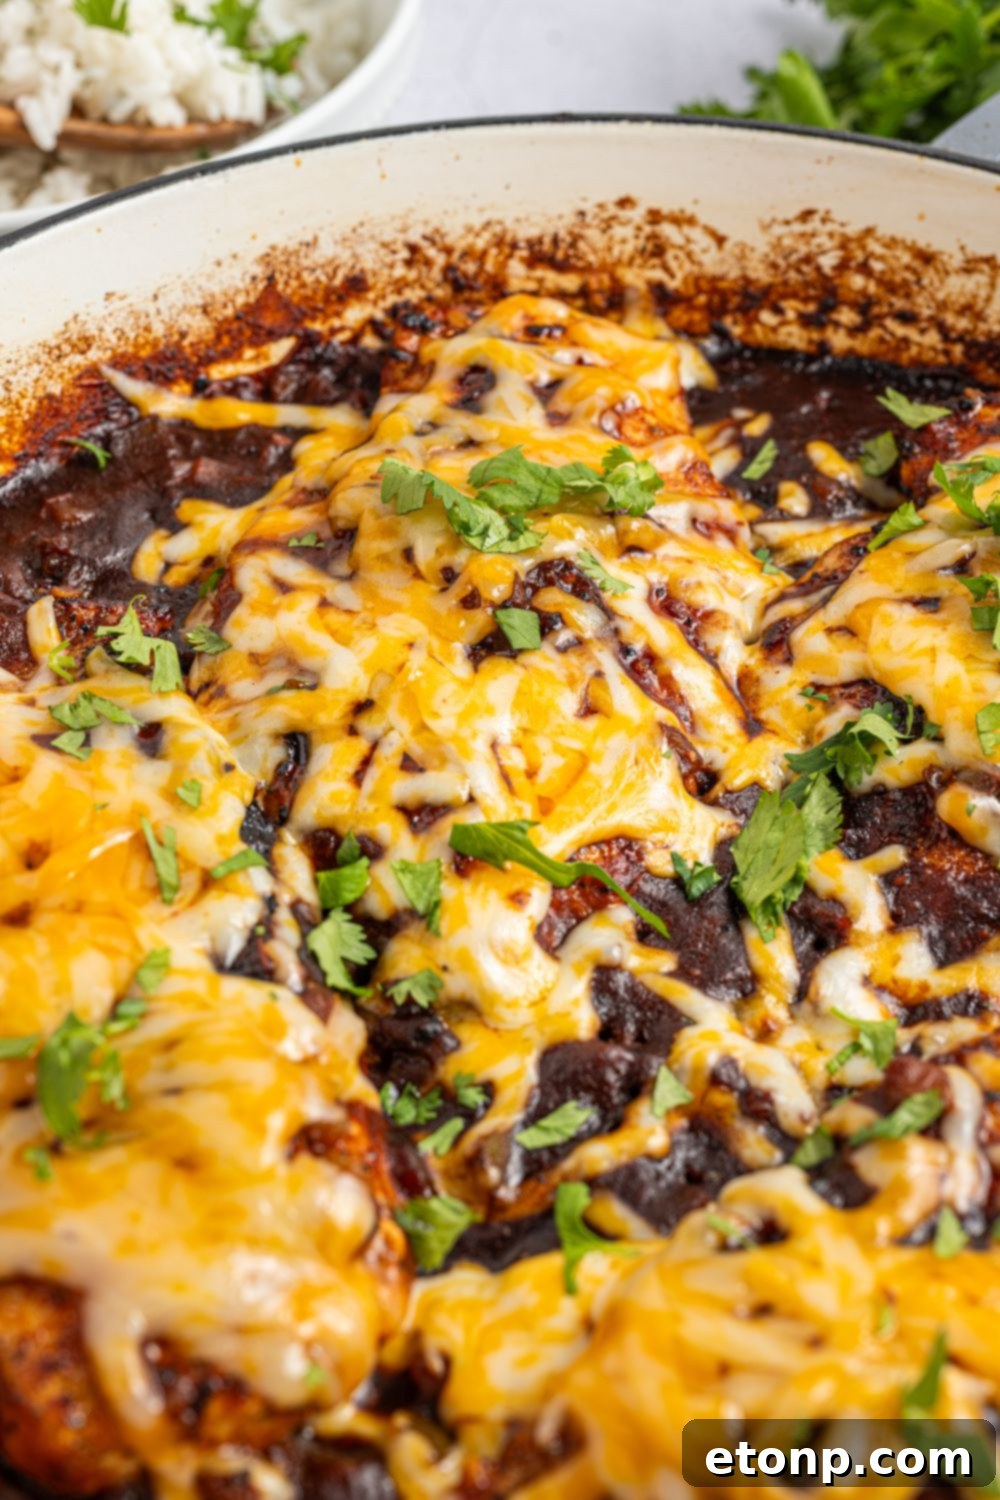
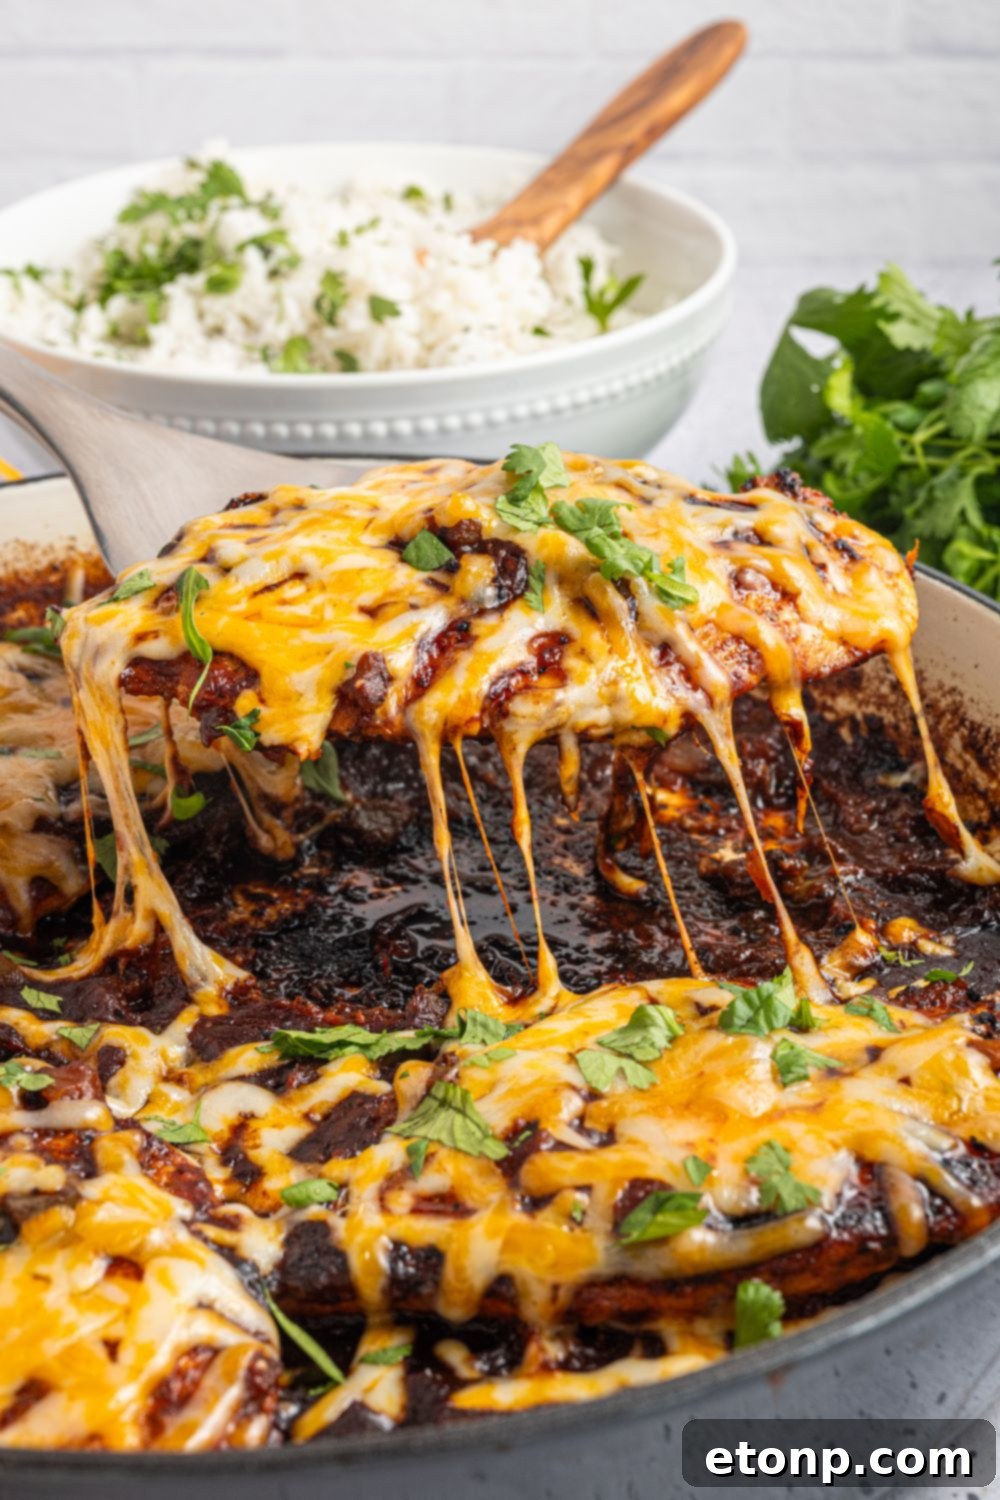
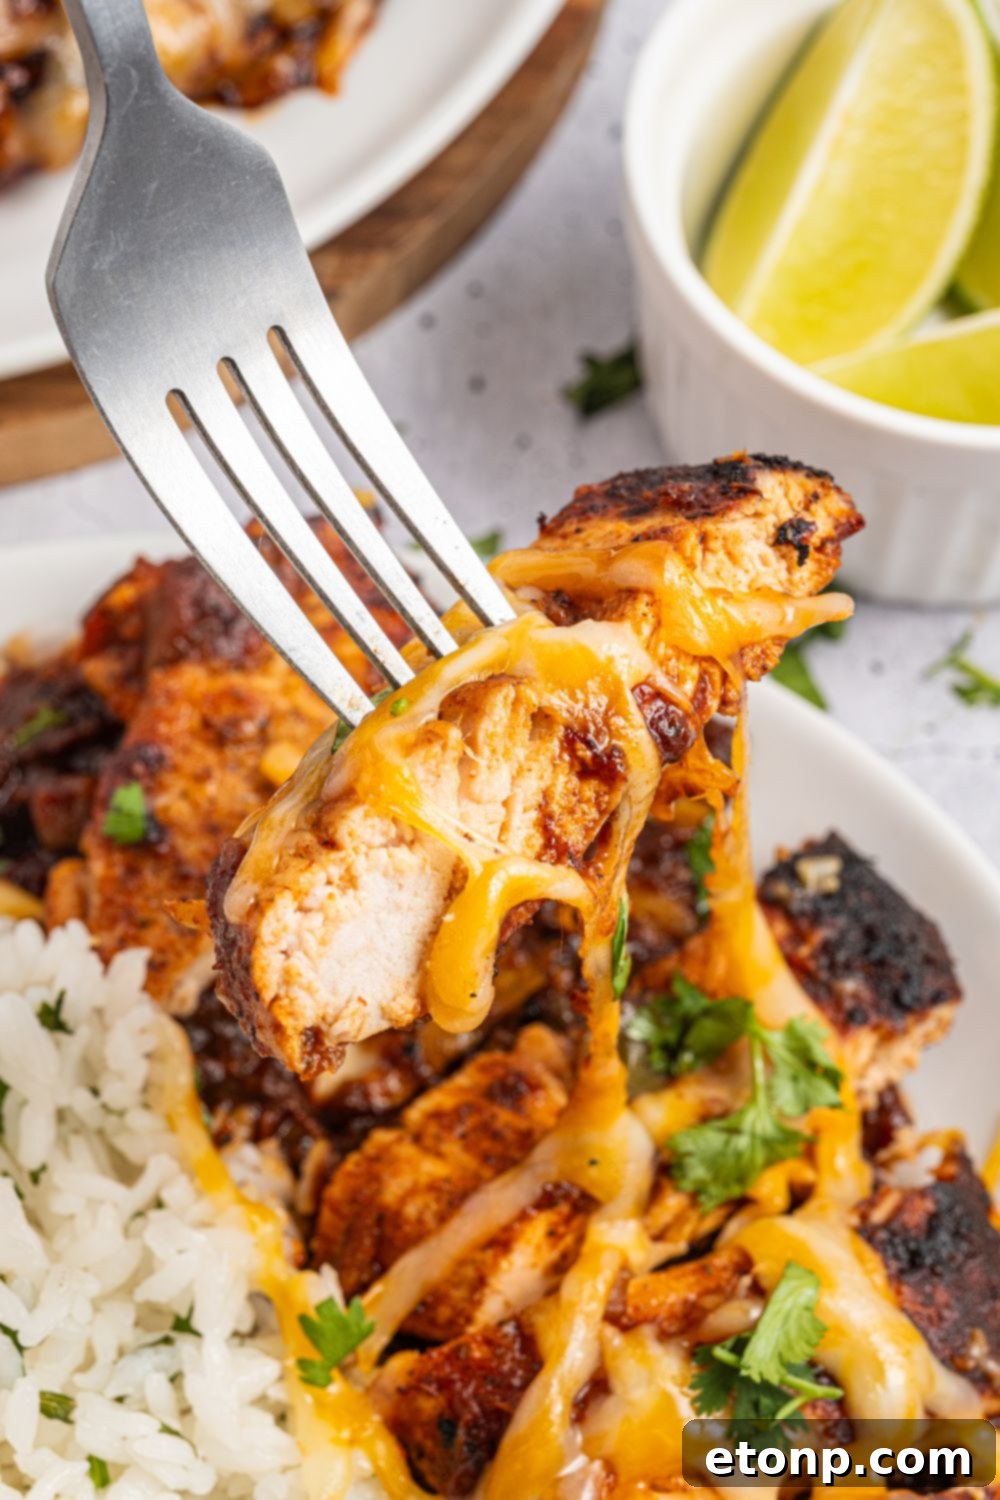
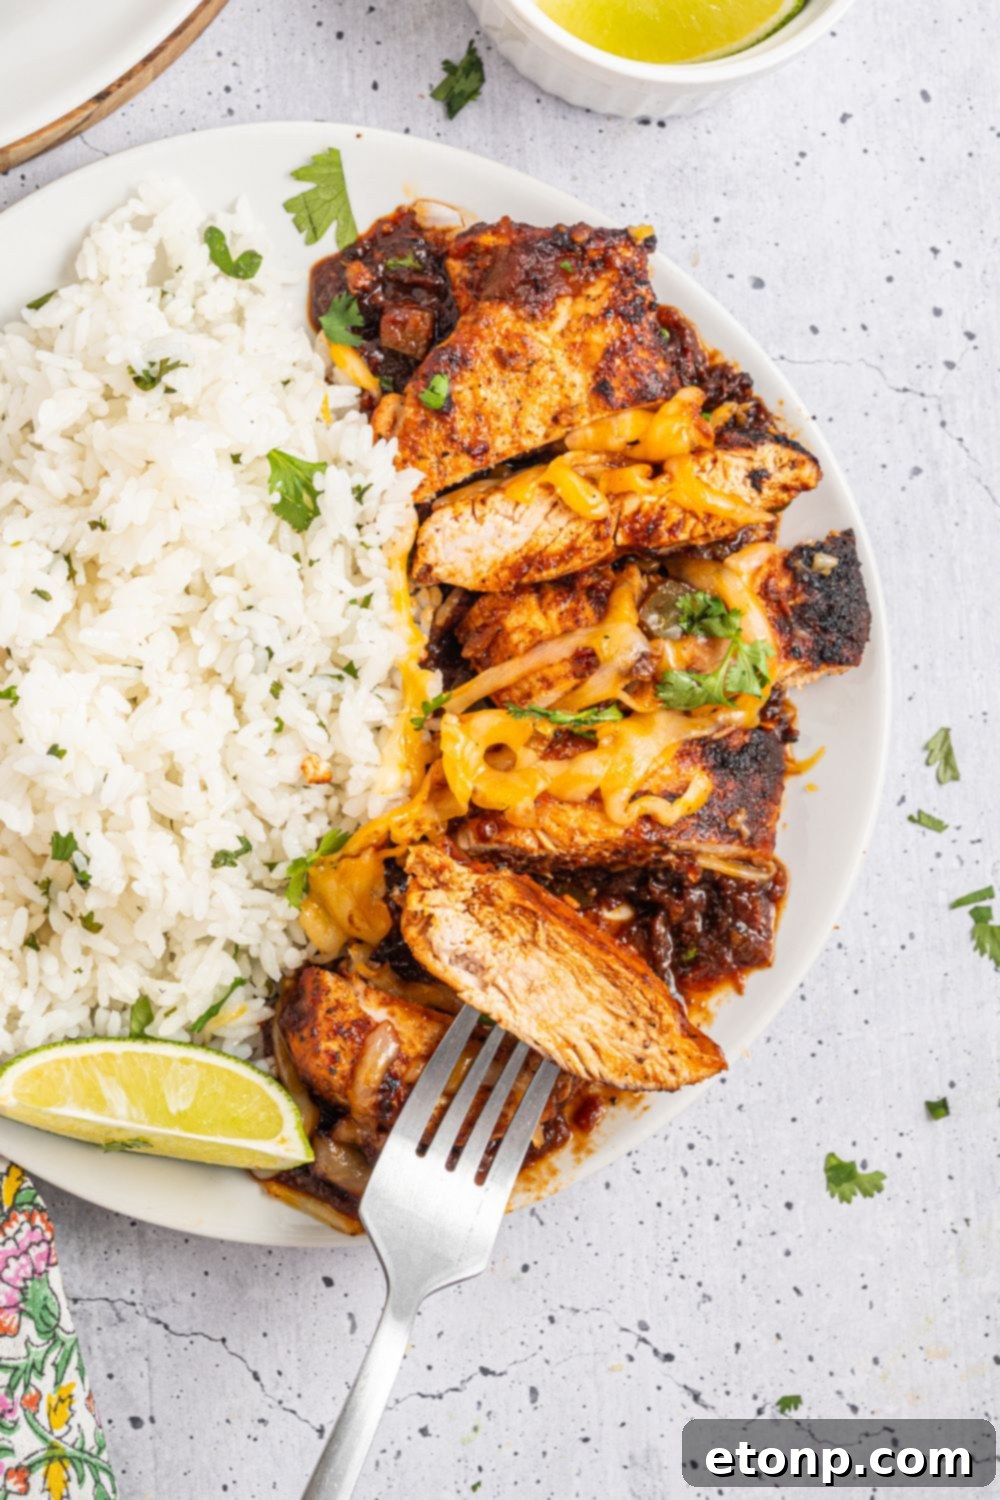
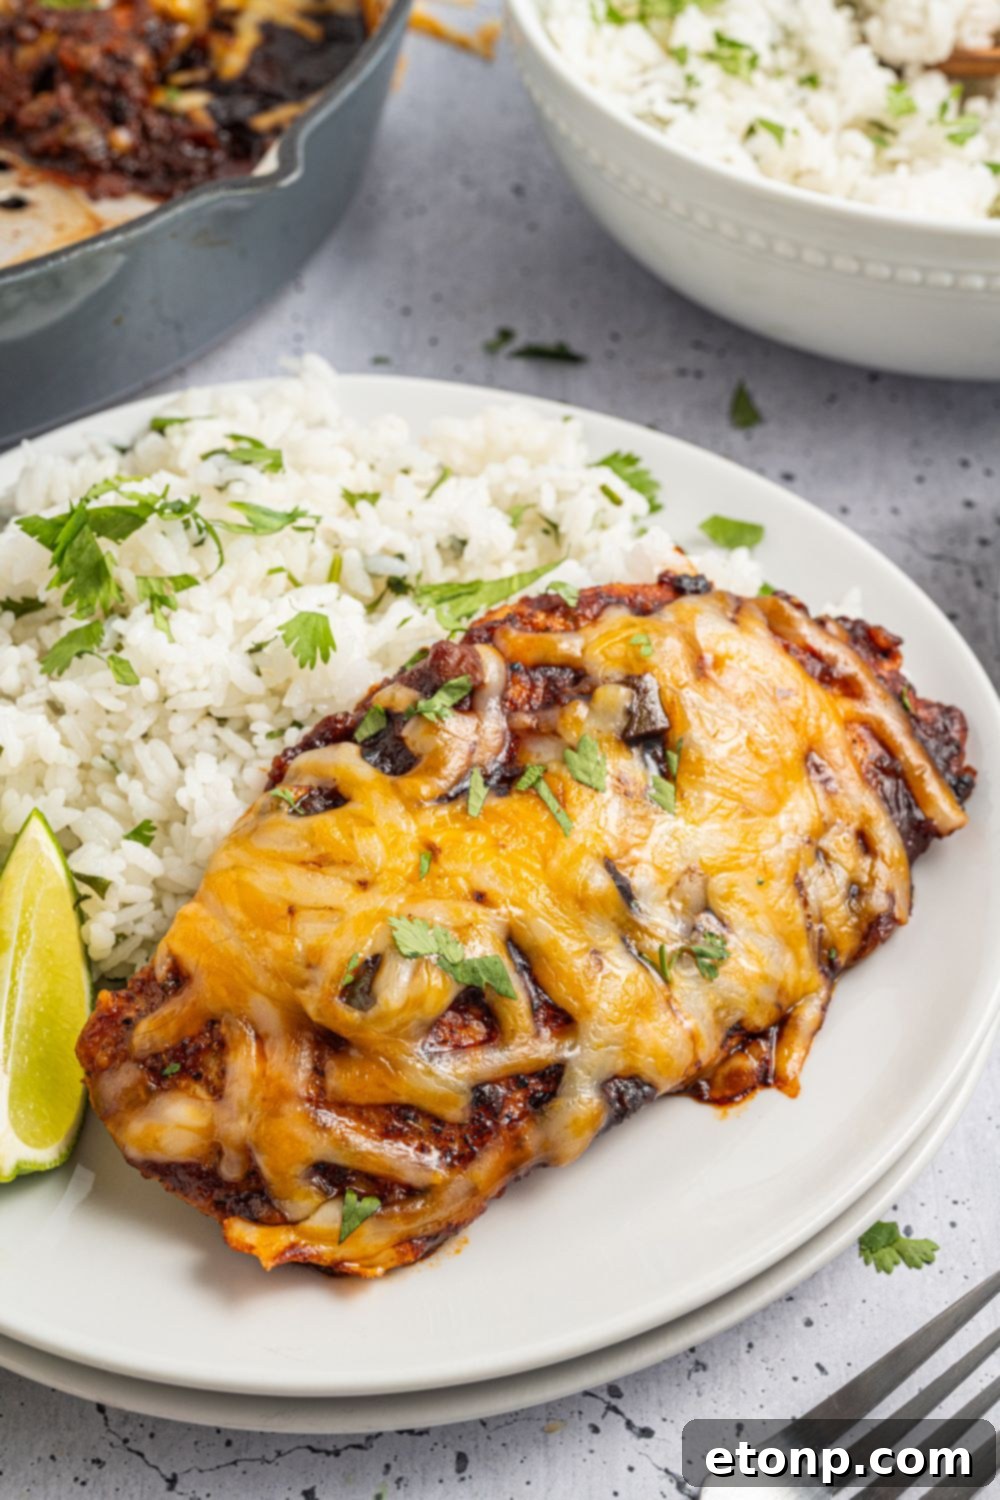
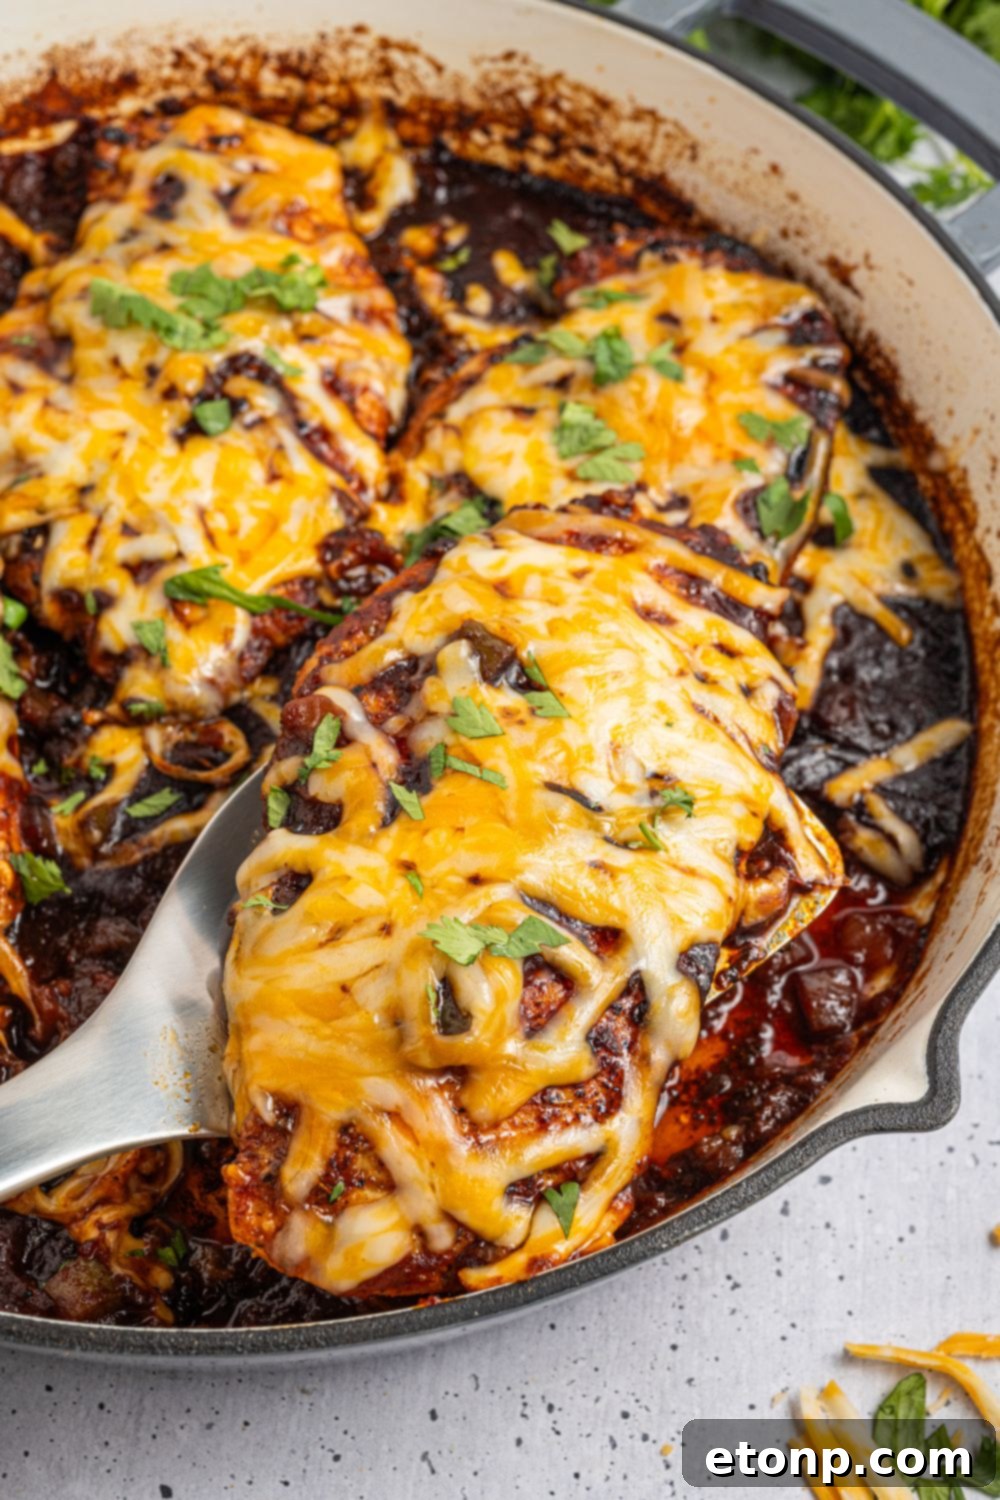
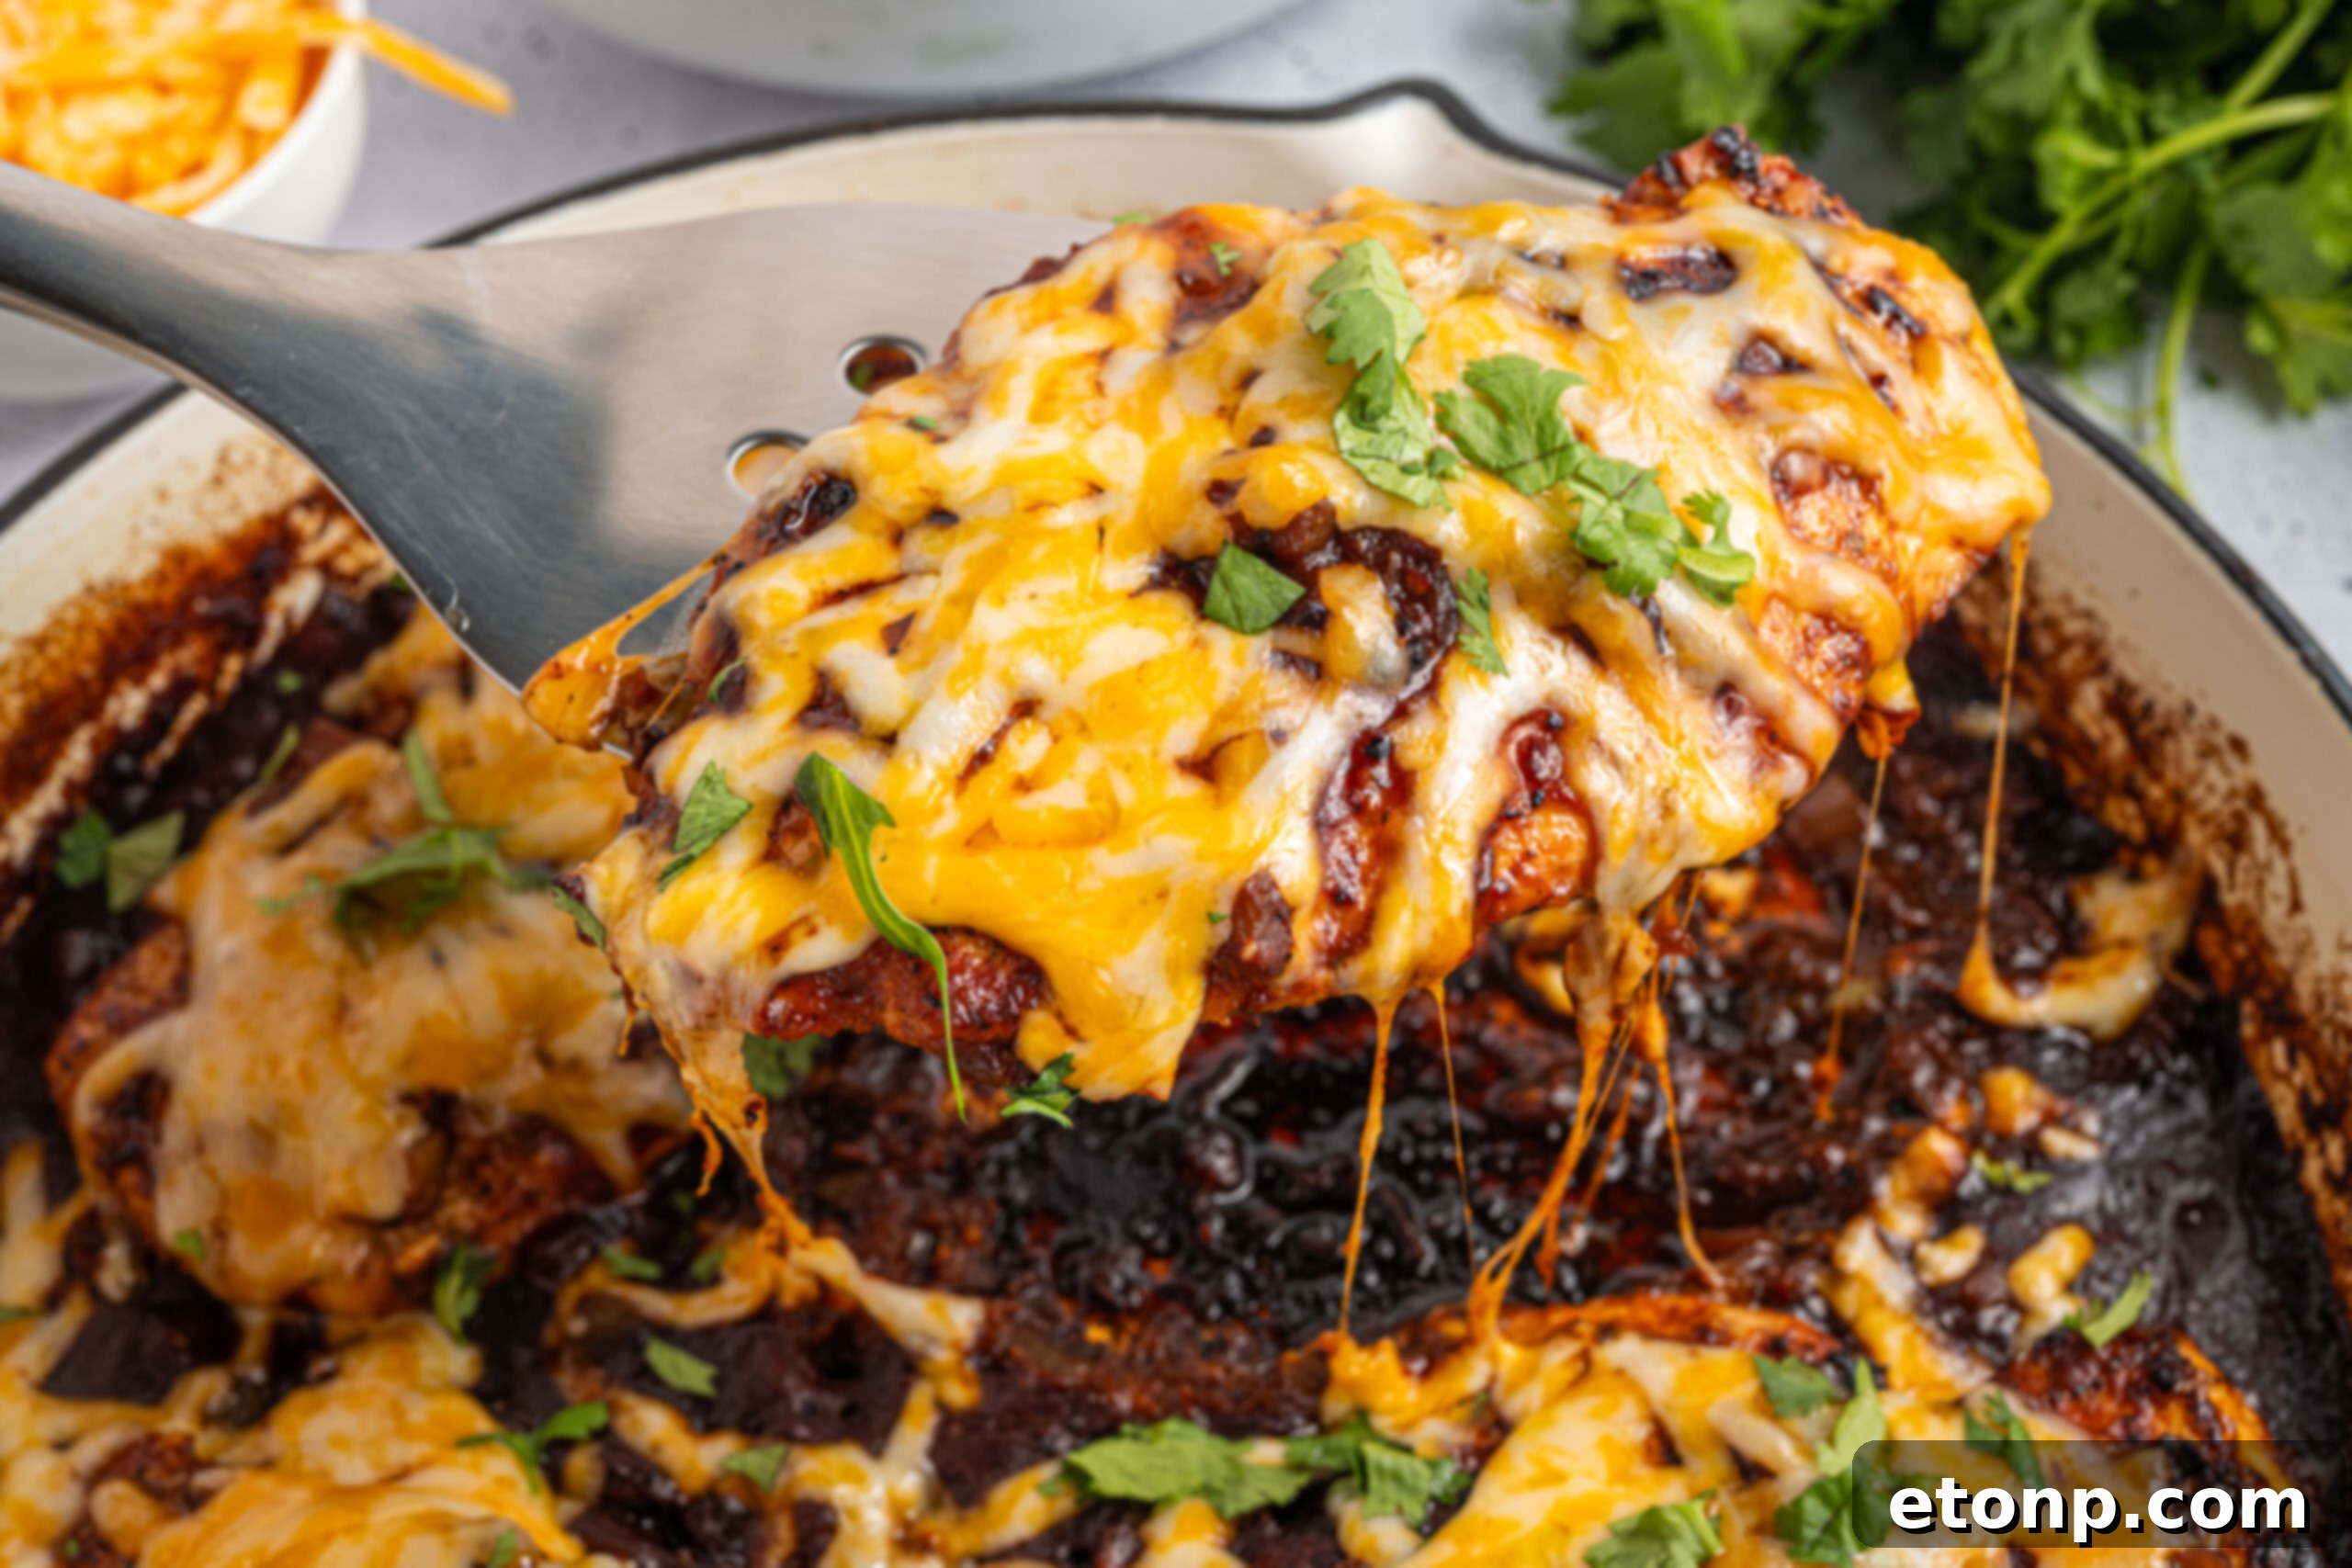
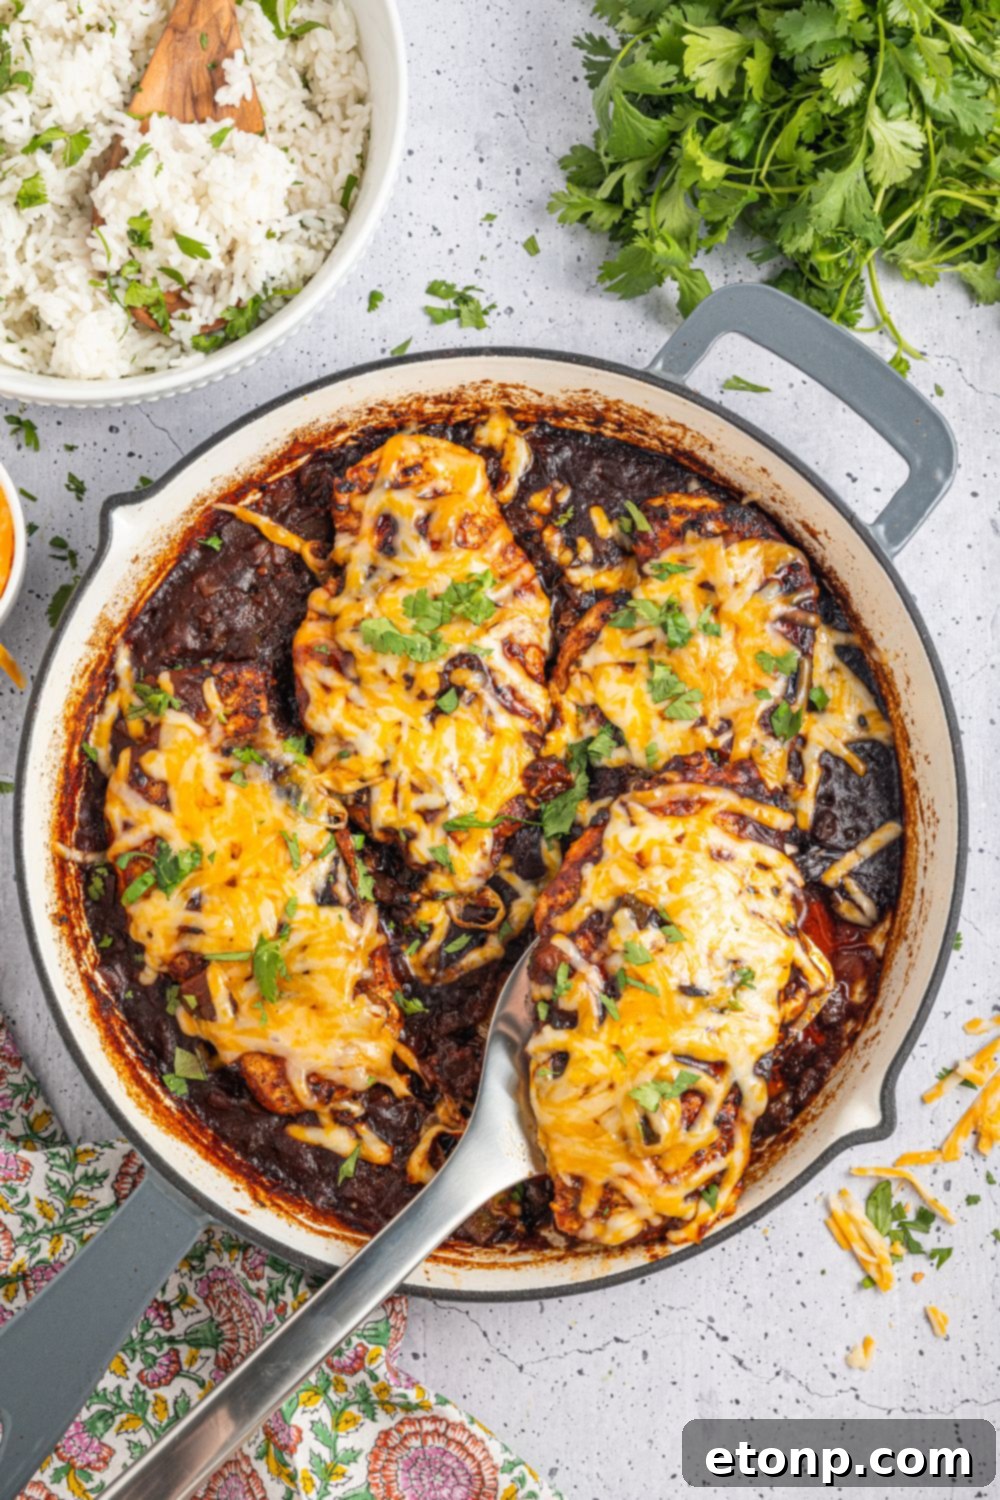
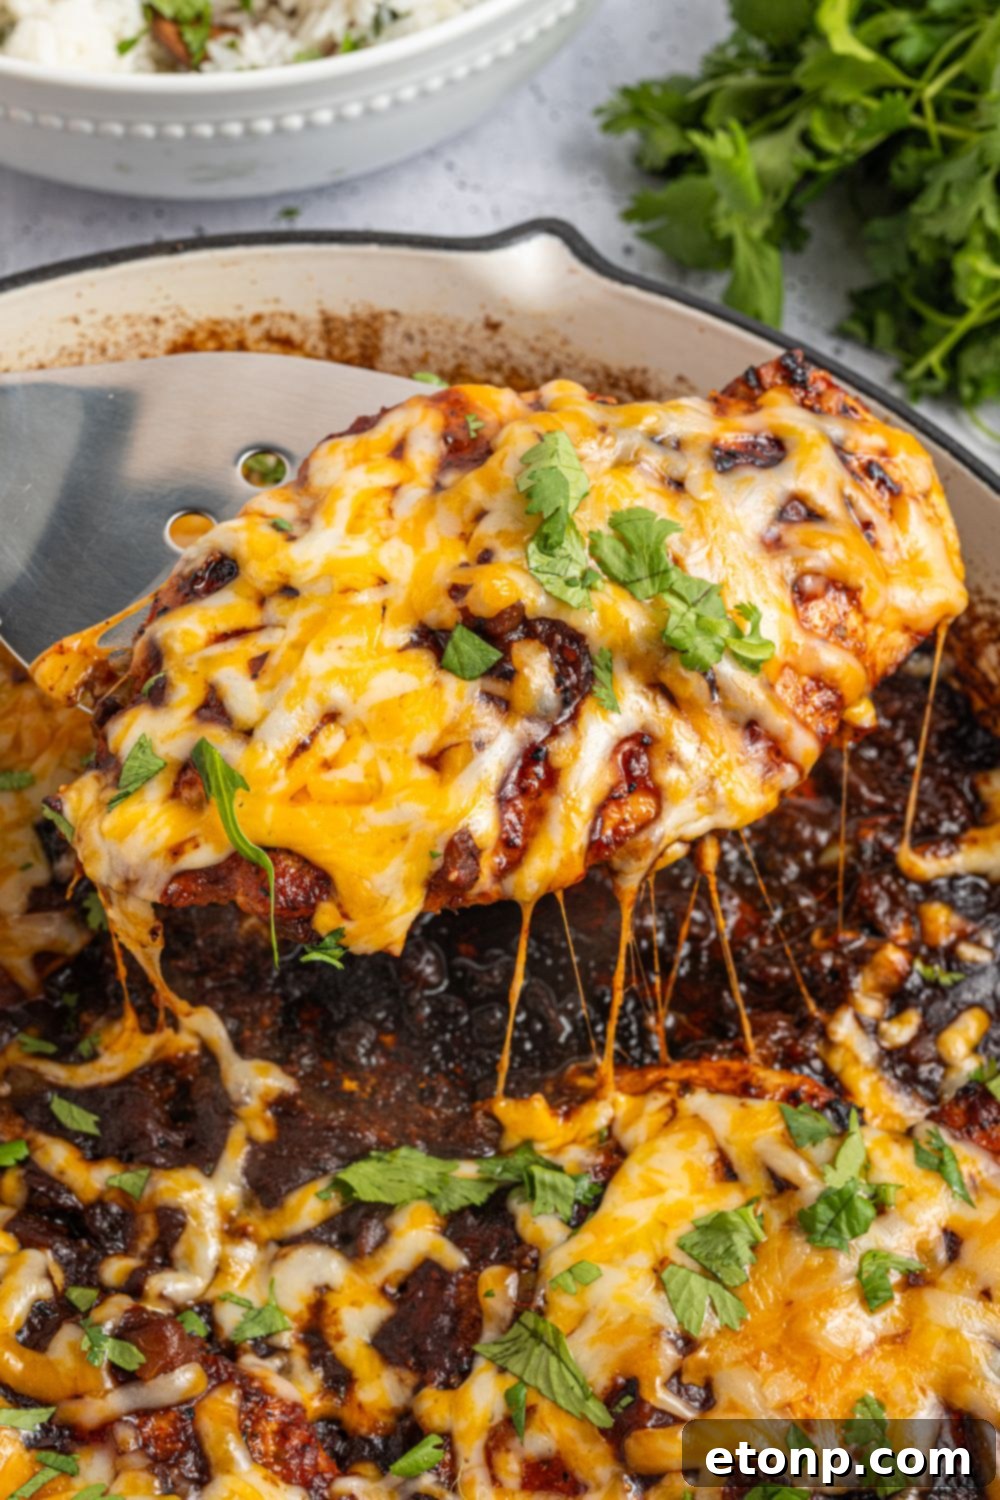
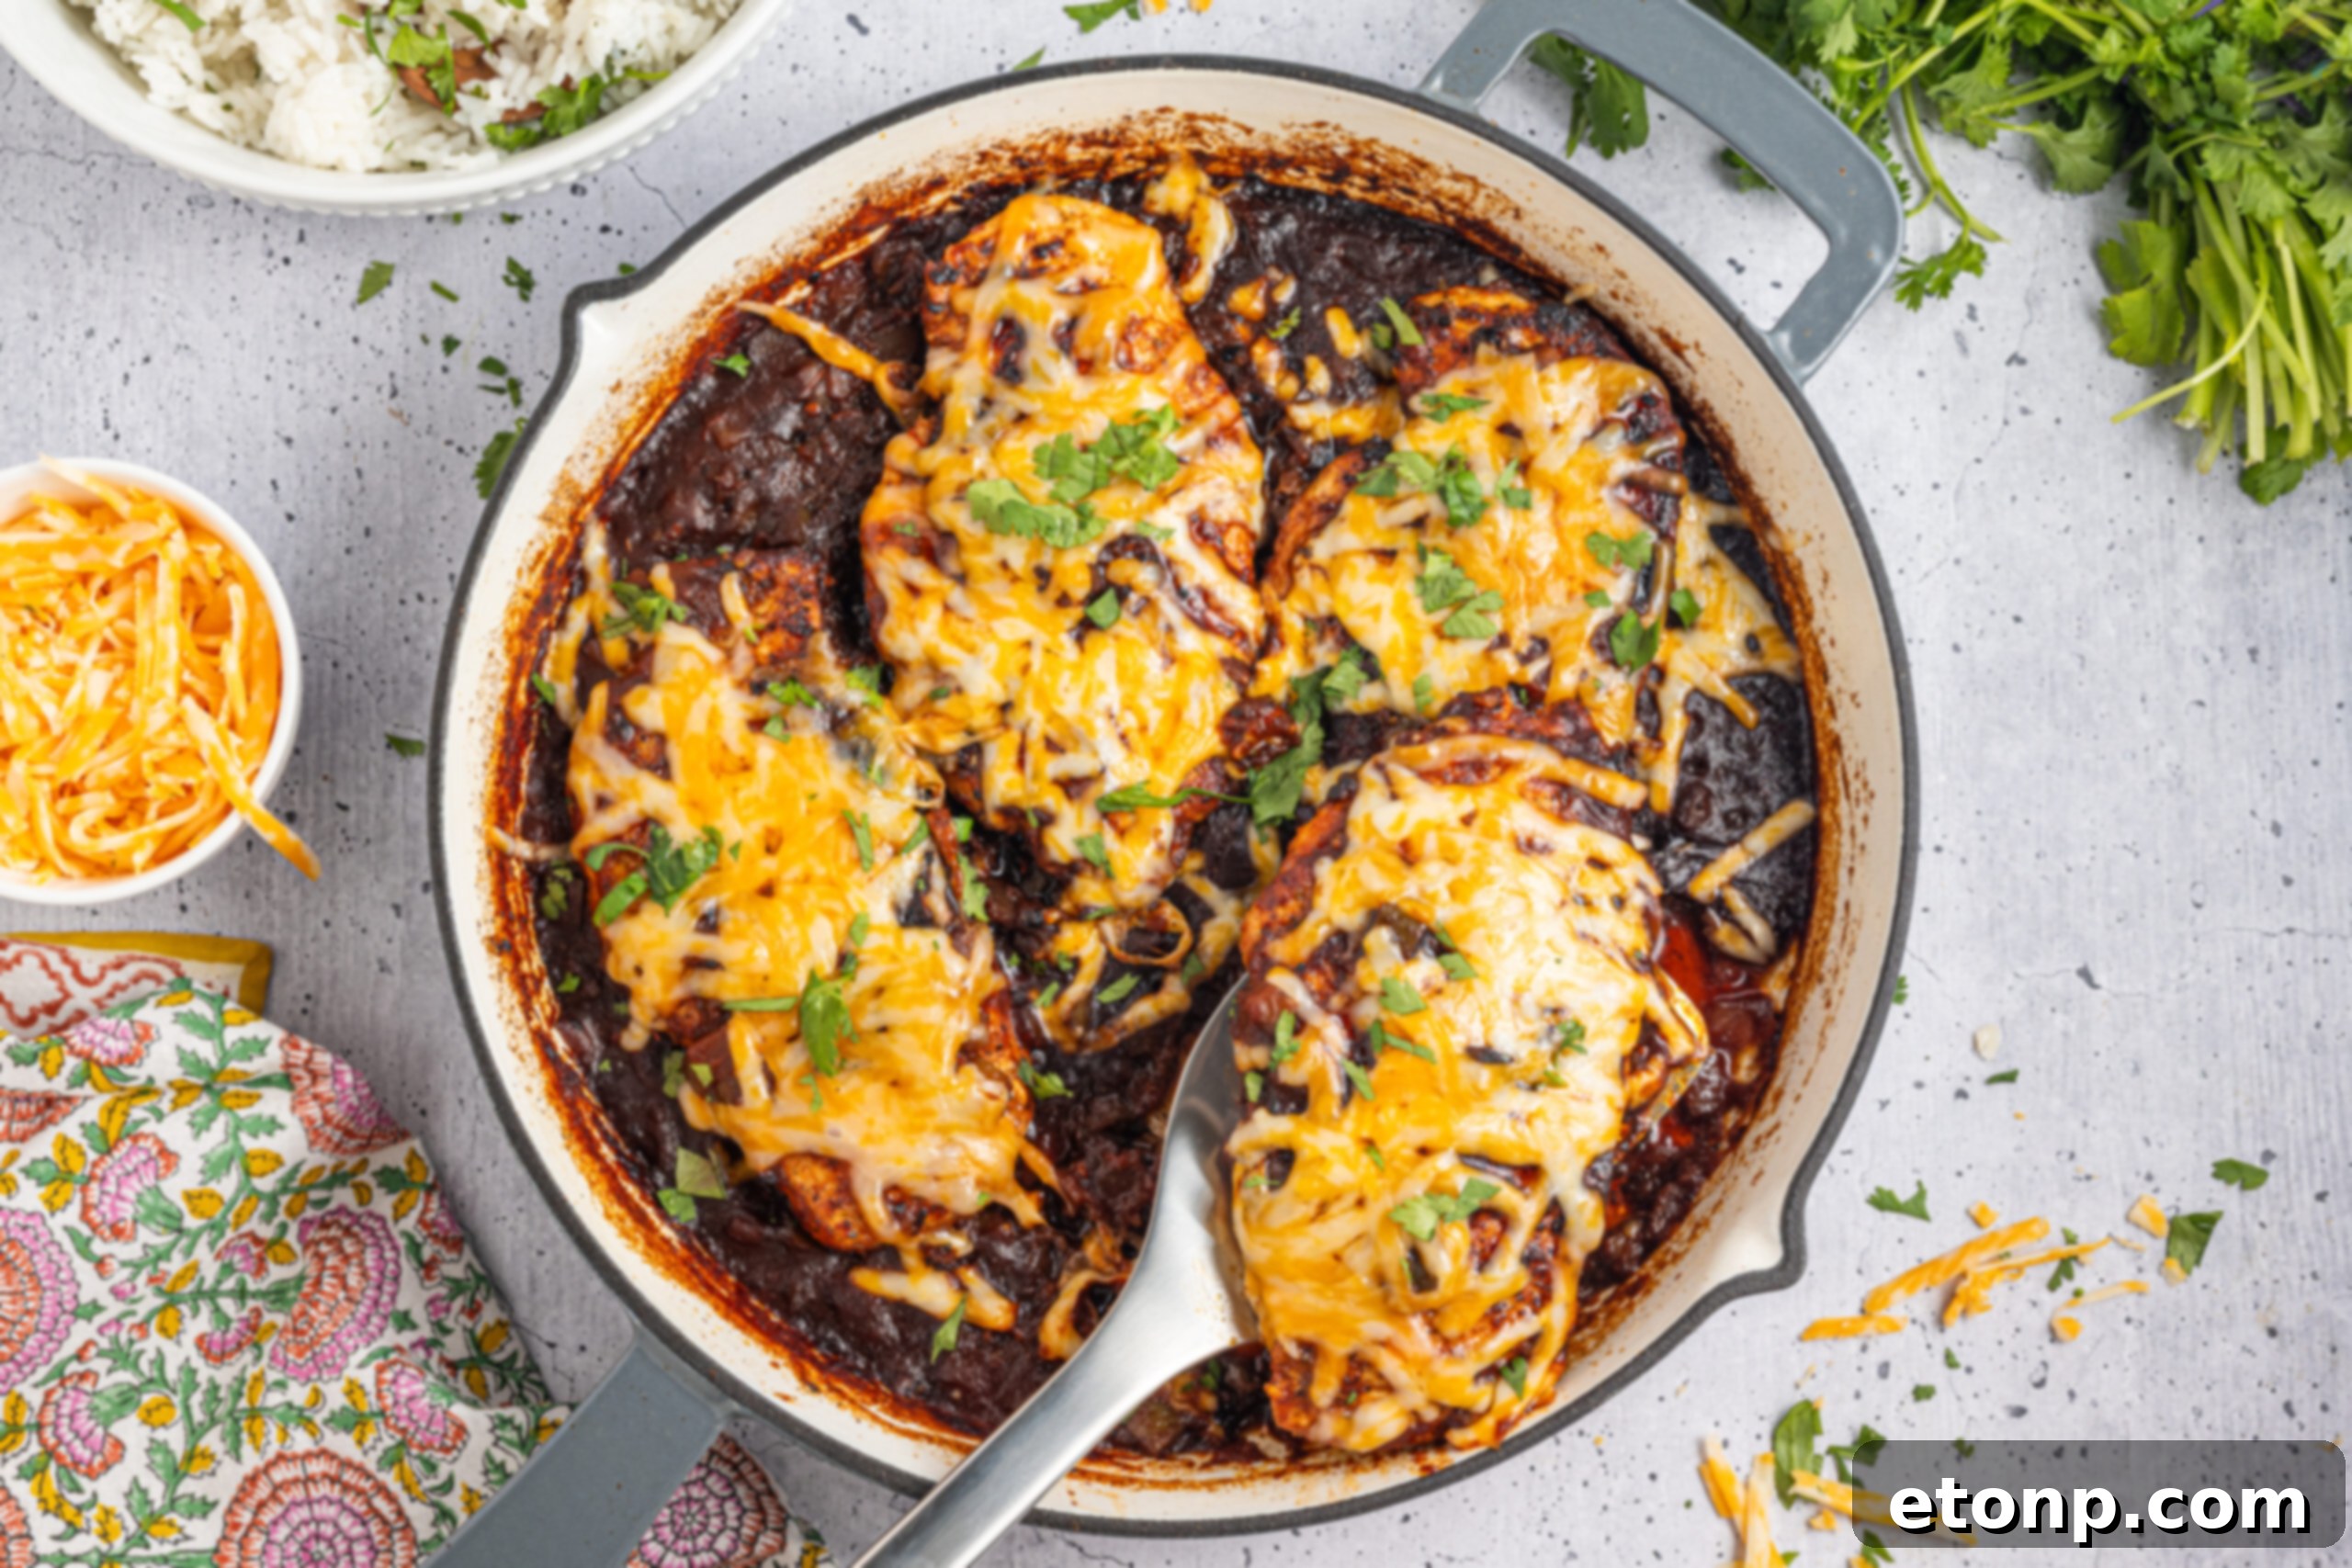
So, what exactly makes Cheesy Salsa Chicken so special? It’s a deliciously simple yet robust one-skillet meal featuring perfectly seasoned chicken breast filets, generously smothered in a rich, flavorful salsa, and crowned with a luscious layer of melted Colby Jack cheese. The beauty of this dish lies in its simplicity: the chicken breast simmers gently in the vibrant salsa, absorbing all its zesty flavors and becoming incredibly tender, before being topped with a gooey, golden-brown cheese blanket that promises pure comfort in every bite. This Tex-Mex inspired delight is a fantastic choice for those hectic weeknights when time is short but you crave a wholesome, satisfying meal. It’s equally perfect for a relaxed weekend dinner with friends or family.
Our family, for instance, absolutely adores it. My five-year-old daughter, Ariya, is captivated by the irresistible cheesy topping, often asking for “extra cheese” on her plate. Little Cameron, who just celebrated his first birthday, happily nibbles on the shredded, tender chicken pieces, making it a toddler-friendly option too. And my husband, James? If it involves melted cheese and a hint of spice, he’s always enthusiastic. This dish truly caters to diverse palates, making it a universal crowd-pleaser.
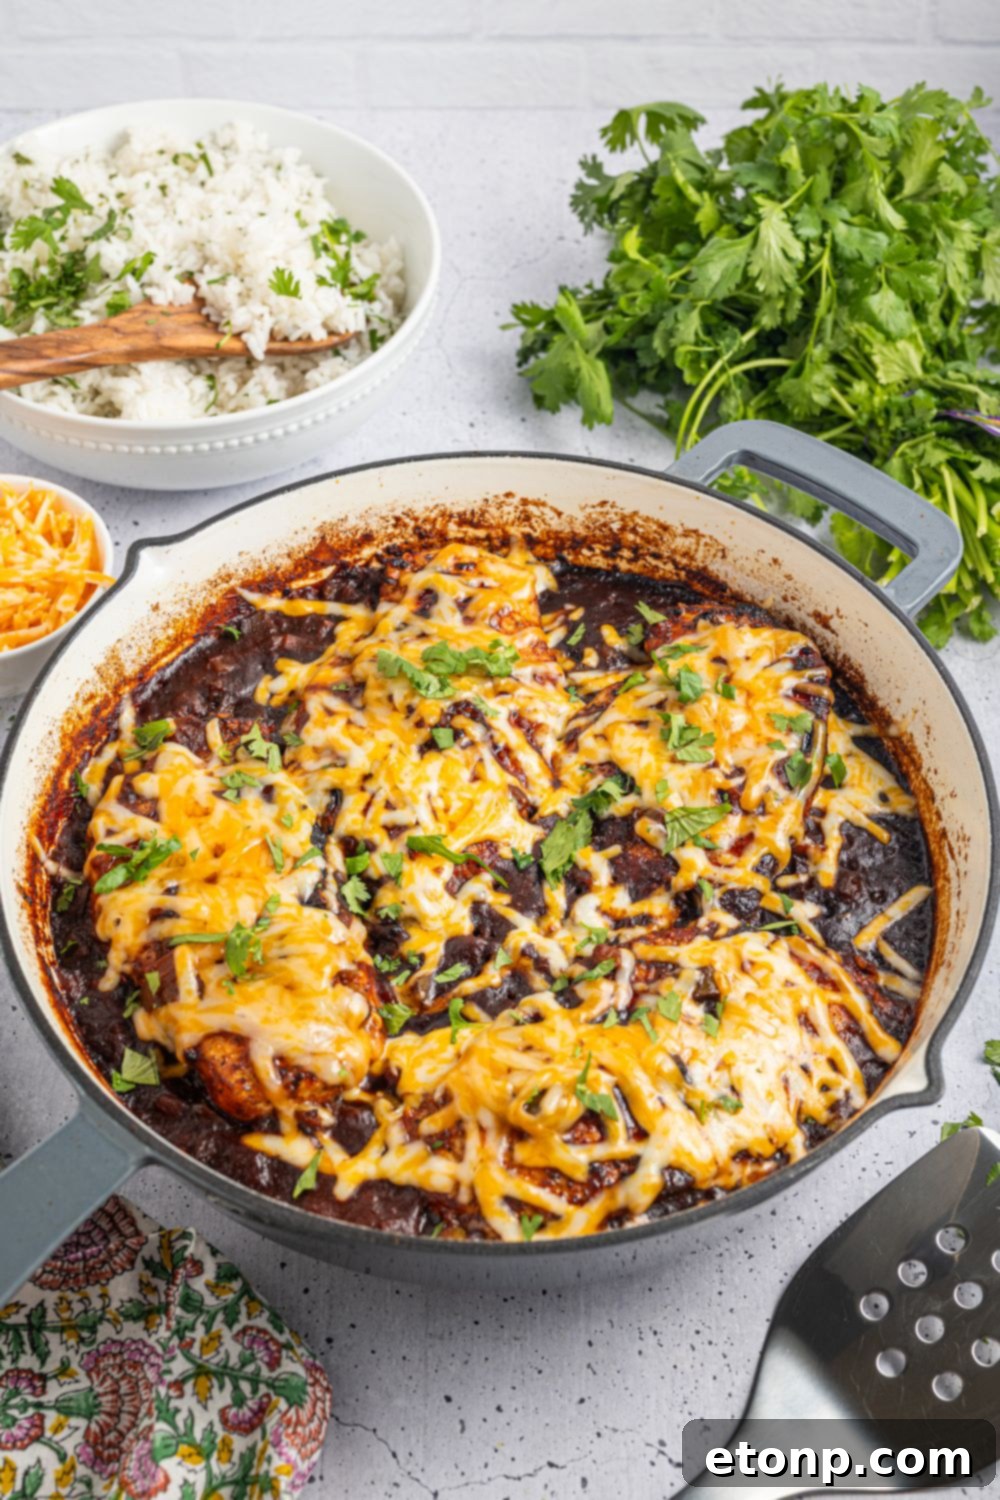
When to Serve This Versatile Dish
The versatility of this skillet salsa chicken means it fits seamlessly into a variety of occasions:
- Effortless Weeknight Dinners: When you need a quick, hearty, and full-flavored meal after a long day, this recipe is your savior. It minimizes cooking time and maximizes satisfaction.
- Smart Meal Prep: This dish makes excellent leftovers that reheat beautifully, making it an ideal candidate for your weekly meal prep. Prepare a larger batch on Sunday, and enjoy delicious, ready-to-eat meals throughout the week.
- Casual Get-Togethers: Hosting a relaxed gathering? Serve this Cheesy Salsa Chicken family-style with a spread of accompaniments like fluffy rice, warm tortillas, and various toppings. It encourages everyone to build their own personalized plates, fostering a fun and interactive dining experience.

Why You’ll Fall in Love with This Cheesy Salsa Chicken Recipe
There are countless reasons why this easy salsa chicken recipe will become a staple in your kitchen:
- One-Pan Perfection: Say goodbye to stacks of dirty dishes! This entire meal comes together in a single skillet, drastically cutting down on cleanup time. More time enjoying, less time scrubbing.
- Explosive Flavor, Minimal Effort: Don’t let the simplicity fool you. With just a few key ingredients, this dish delivers bold, authentic Tex-Mex flavors that taste like you spent hours in the kitchen, when in reality, prep is incredibly quick.
- Customizable Spice Level: Whether you prefer a mild hint of flavor or a fiery kick, you can easily adjust the heat by choosing your favorite salsa—from mild and sweet to extra hot.
- Family-Approved, Even for Picky Eaters: This recipe has universal appeal. The tender chicken and gooey cheese are typically big hits, even with the most discerning young palates, making mealtime a breeze.
- Ready in Under 30 Minutes: From start to finish, you can have a wholesome, homemade dinner on the table in less than half an hour, making it perfect for the busiest of weeknights.
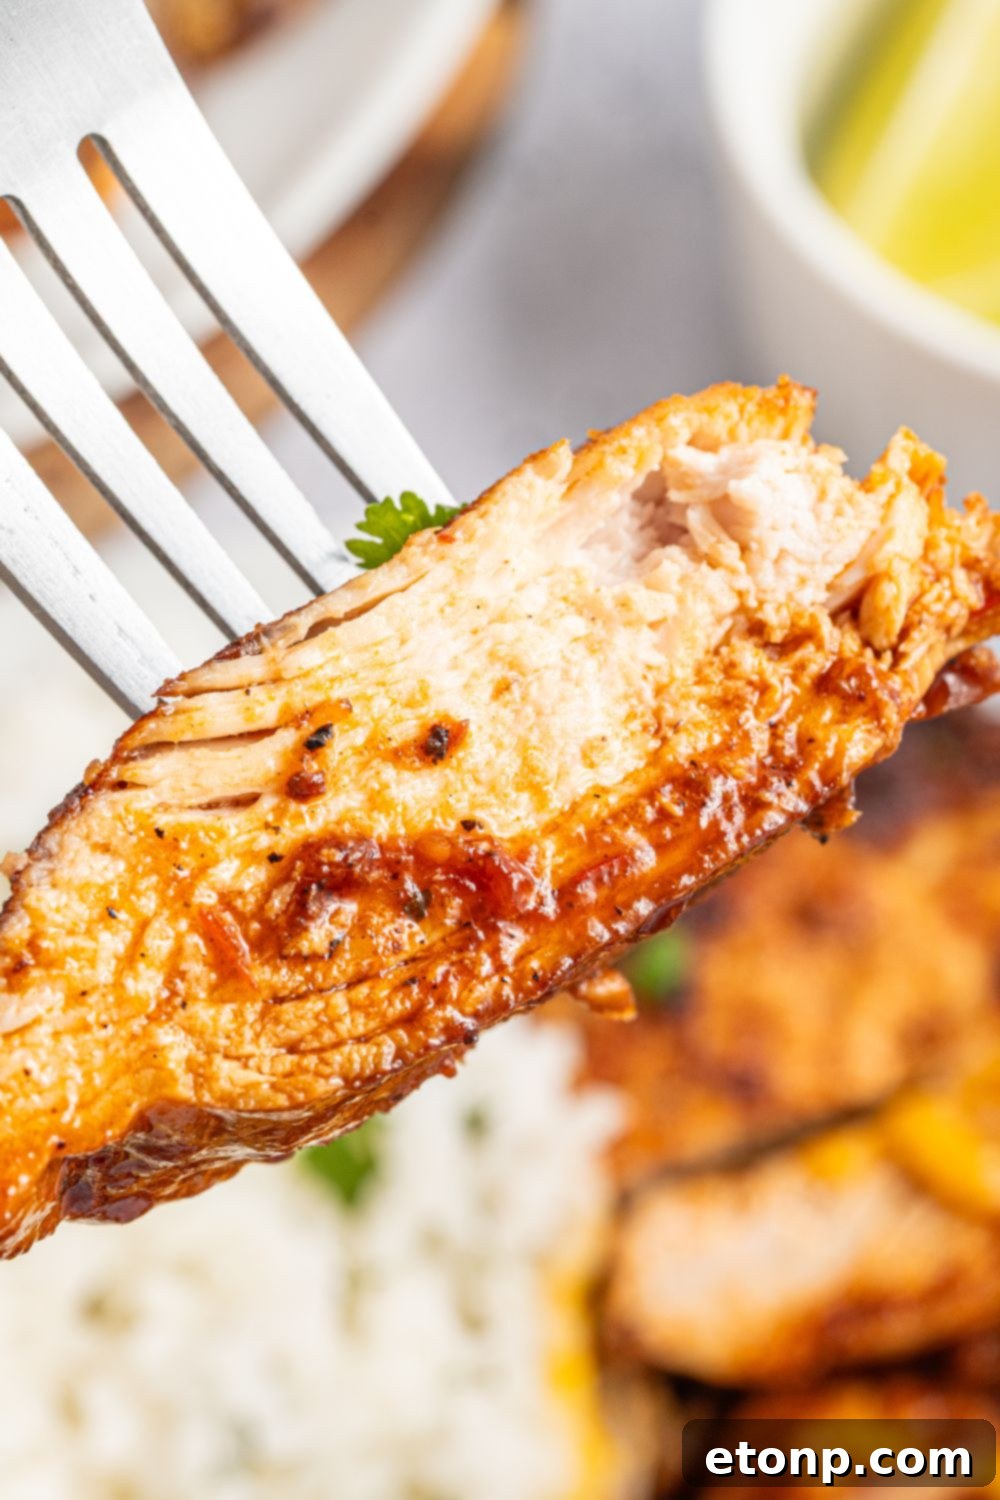
Essential Ingredient Breakdown for Skillet Salsa Chicken
Here’s a closer look at the simple yet powerful ingredients that come together to create this comforting cheesy skillet dinner. Opting for good quality ingredients will elevate the final taste significantly:
- Chicken Breast Filets: We recommend boneless, skinless chicken breasts, ideally cut in half horizontally to create thinner, more uniform filets. This ensures quicker and more even cooking. You can buy them pre-trimmed or easily butterfly them yourself. For extra tender results, lightly pound them to an even thickness.
- Chicken Taco Seasoning: This is your flavor powerhouse, infusing the chicken with those classic, savory Tex-Mex notes. McCormick Chicken Taco Seasoning is a popular and reliable choice, but feel free to use your favorite brand or even a homemade blend.
- Olive Oil: Essential for searing the chicken, olive oil helps create a beautiful golden crust and prevents sticking, adding a subtle richness to the dish.
- Chunky Salsa: The foundation of our sauce! A good quality chunky salsa is crucial. Choose mild, medium, or hot depending on your family’s spice preference. A thicker salsa will cling better to the chicken and reduce to a richer sauce. Avoid watery salsas as they can thin out the sauce too much.
- Colby Jack Cheese: The star of the “cheesy” element! Colby Jack is a fantastic choice due to its superior melting properties, yielding that irresistible gooey, stretchy finish. Freshly shredded cheese always melts better than pre-shredded, which often contains anti-caking agents.
Optional Enhancement: Fresh Cilantro: A sprinkle of freshly chopped cilantro right before serving adds a burst of vibrant color and a refreshing herbaceous note that beautifully complements the rich, savory flavors of the dish.
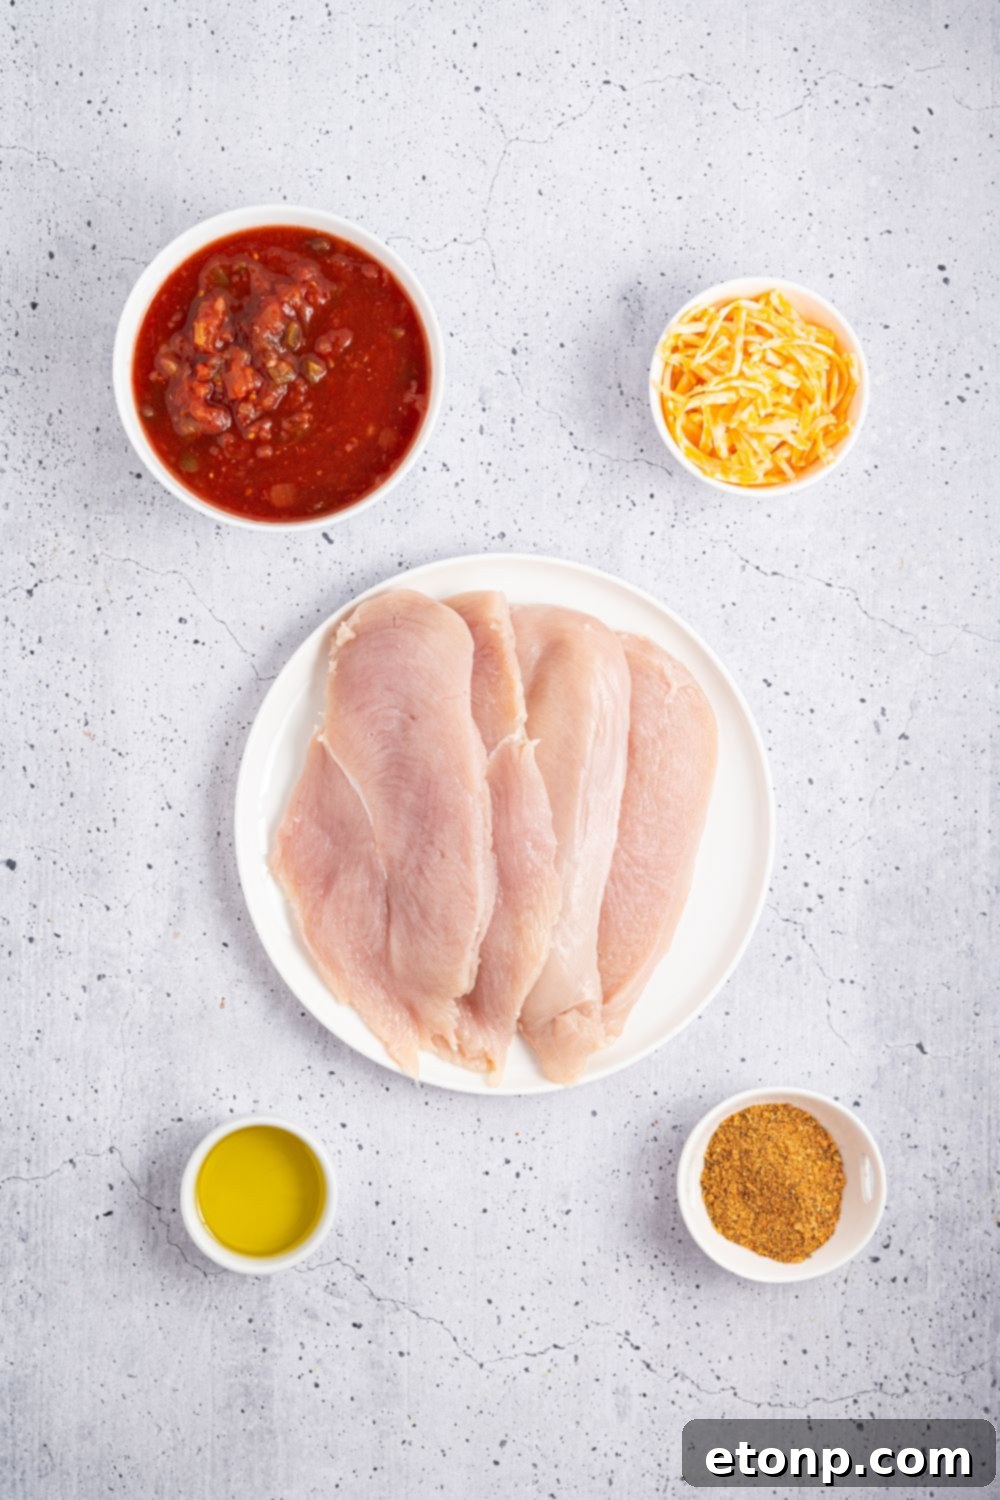
How to Make Perfect Cheesy Salsa Chicken in a Skillet
Creating this delicious Cheesy Salsa Chicken is incredibly straightforward, perfect for any home cook. Follow these simple steps for a flavorful meal in minutes:
- Prepare the Chicken: Begin by patting your chicken breast filets dry with paper towels. This helps the seasoning adhere and promotes better searing. Evenly rub the chicken taco seasoning generously on both sides of each chicken breast filet, ensuring full coverage for maximum flavor.
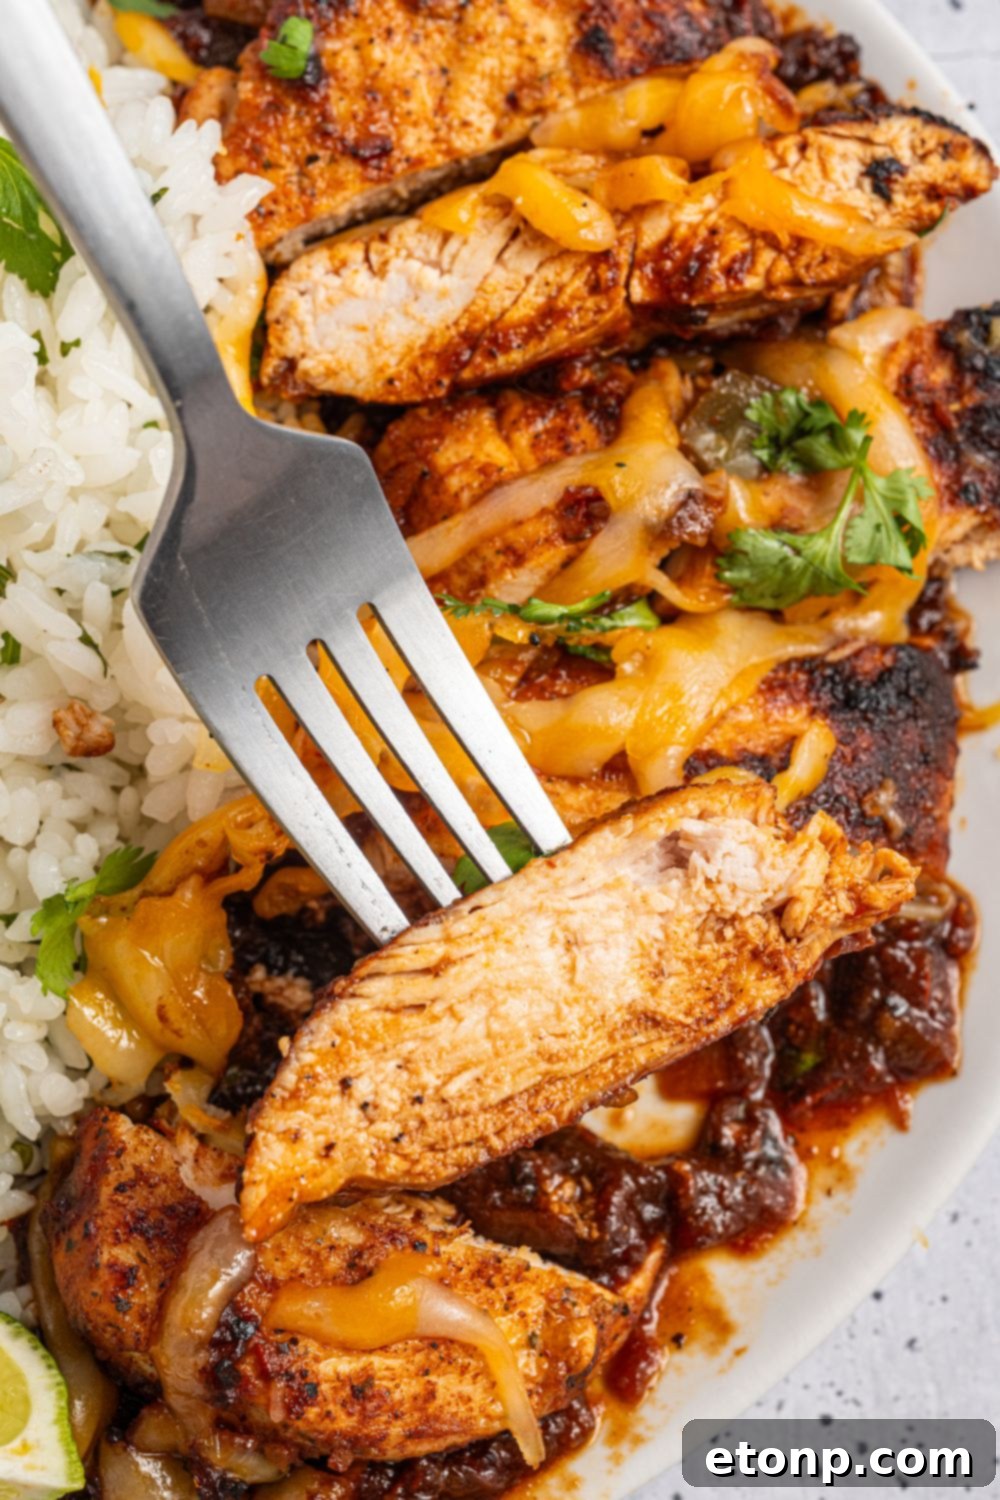
- Sear the Chicken: Heat the olive oil in a large, 12-inch skillet over medium-high heat. An enameled cast iron skillet works wonderfully for even heat distribution and retention, but any large skillet will do. Once the oil is shimmering, carefully add the seasoned chicken filets to the pan, ensuring not to overcrowd it. Cook for approximately 5 minutes on each side. You’re looking for a beautiful golden-brown sear and for the juices to run clear. For absolute precision, use an instant-read thermometer to check that the thickest part of the chicken reaches an internal temperature of 165°F (74°C).
- Build the Sauce: Once the chicken is cooked through, temporarily remove the filets from the skillet and set them aside on a plate. This allows you to deglaze the pan and build the salsa base. Pour the entire jar of chunky salsa into the hot skillet. Use a wooden spoon or spatula to gently scrape up any browned bits from the bottom of the pan—these are packed with flavor!
- Simmer and Infuse: Return the cooked chicken filets to the skillet, nestling them into the salsa. Allow the chicken to simmer in the salsa for another 5 minutes. This step allows the chicken to absorb the vibrant flavors of the salsa and for the salsa itself to slightly reduce and thicken, creating a richer sauce.
- Melt the Cheese: Reduce the heat to low. Evenly sprinkle the freshly shredded Colby Jack cheese over the top of each chicken filet in the skillet. Cover the pan with a large lid for 2-3 minutes. This traps the steam, helping the cheese melt beautifully and evenly into a gooey, irresistible layer. Once the cheese is fully melted and bubbly, remove the skillet from the heat.
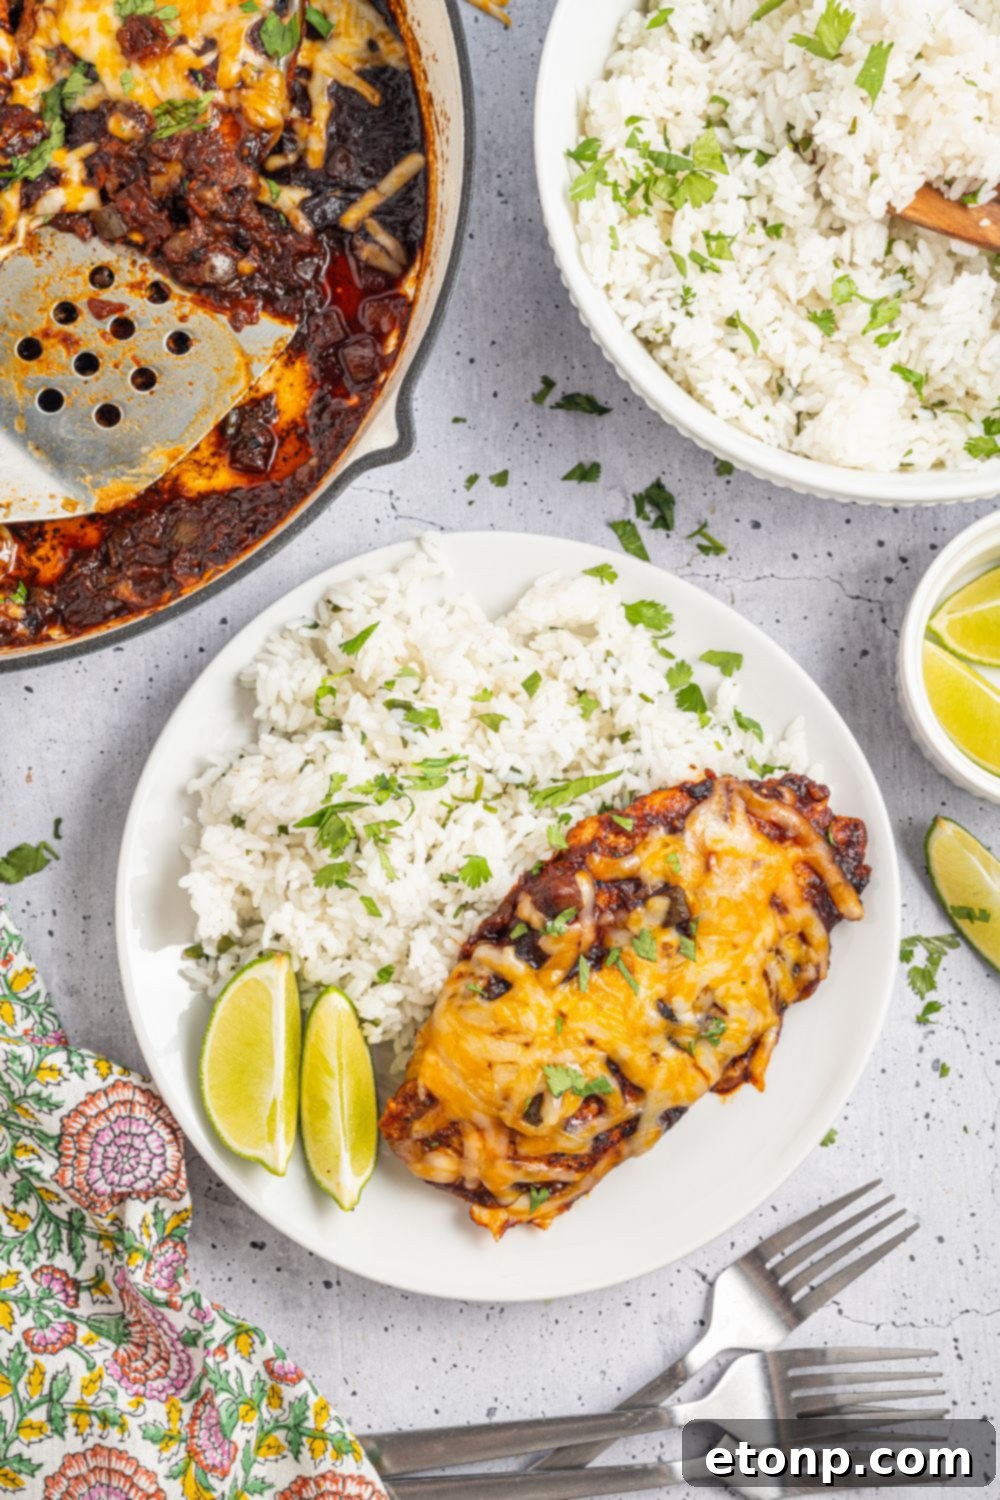
- Garnish and Serve: If desired, sprinkle the finished dish with fresh chopped cilantro for a pop of color and fresh flavor. Serve your Cheesy Salsa Chicken immediately with your favorite Tex-Mex sides. Enjoy!
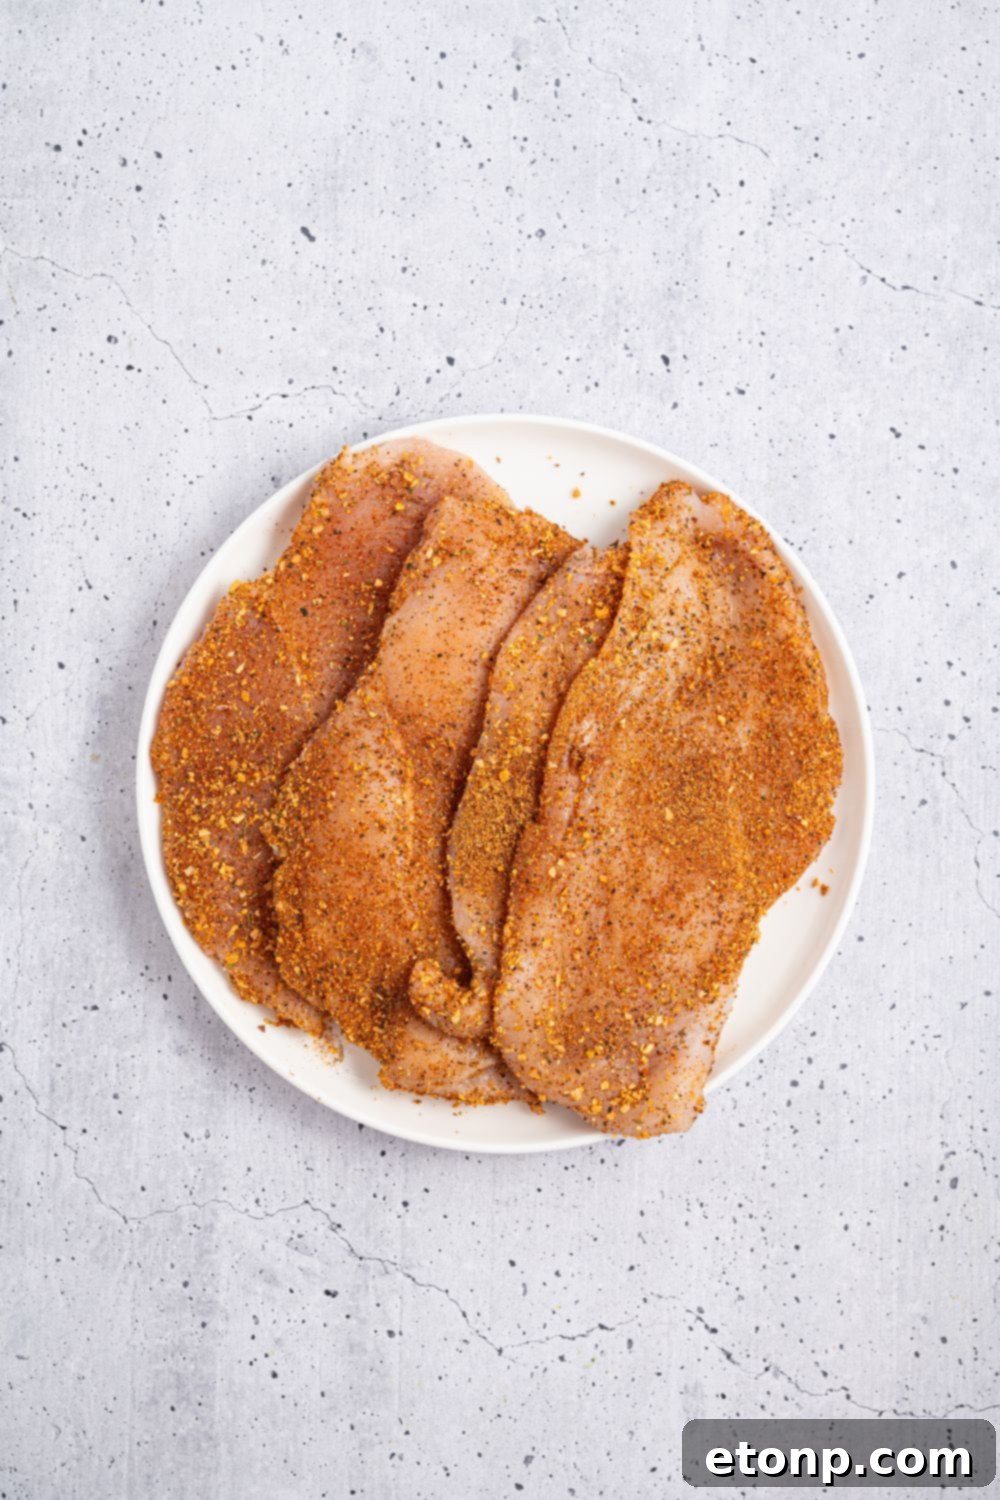

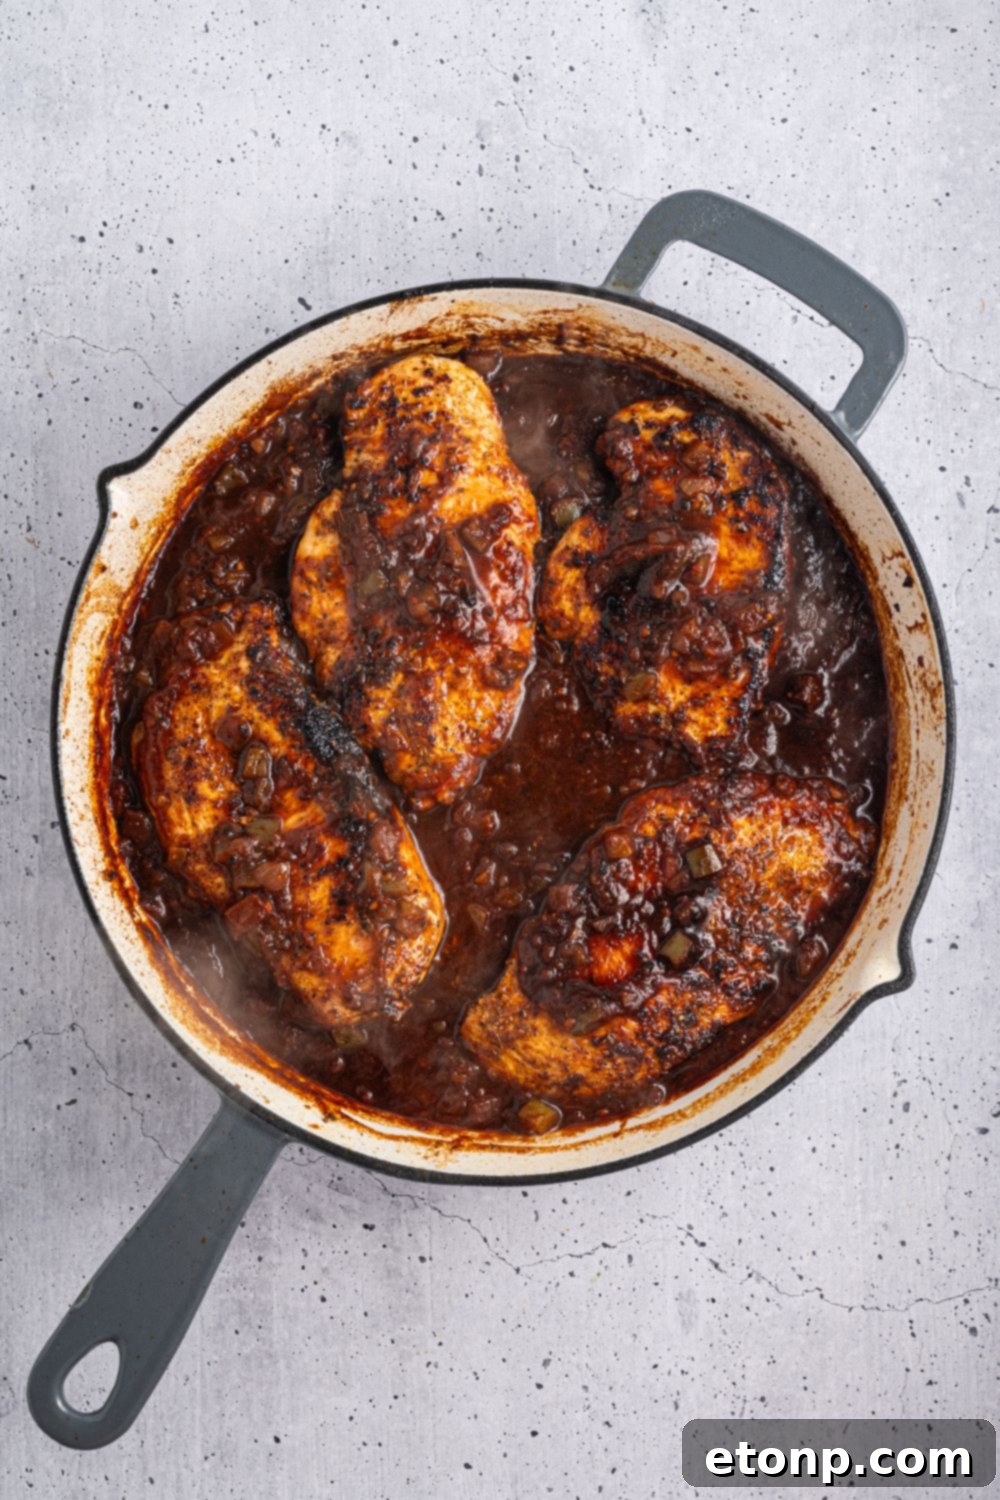
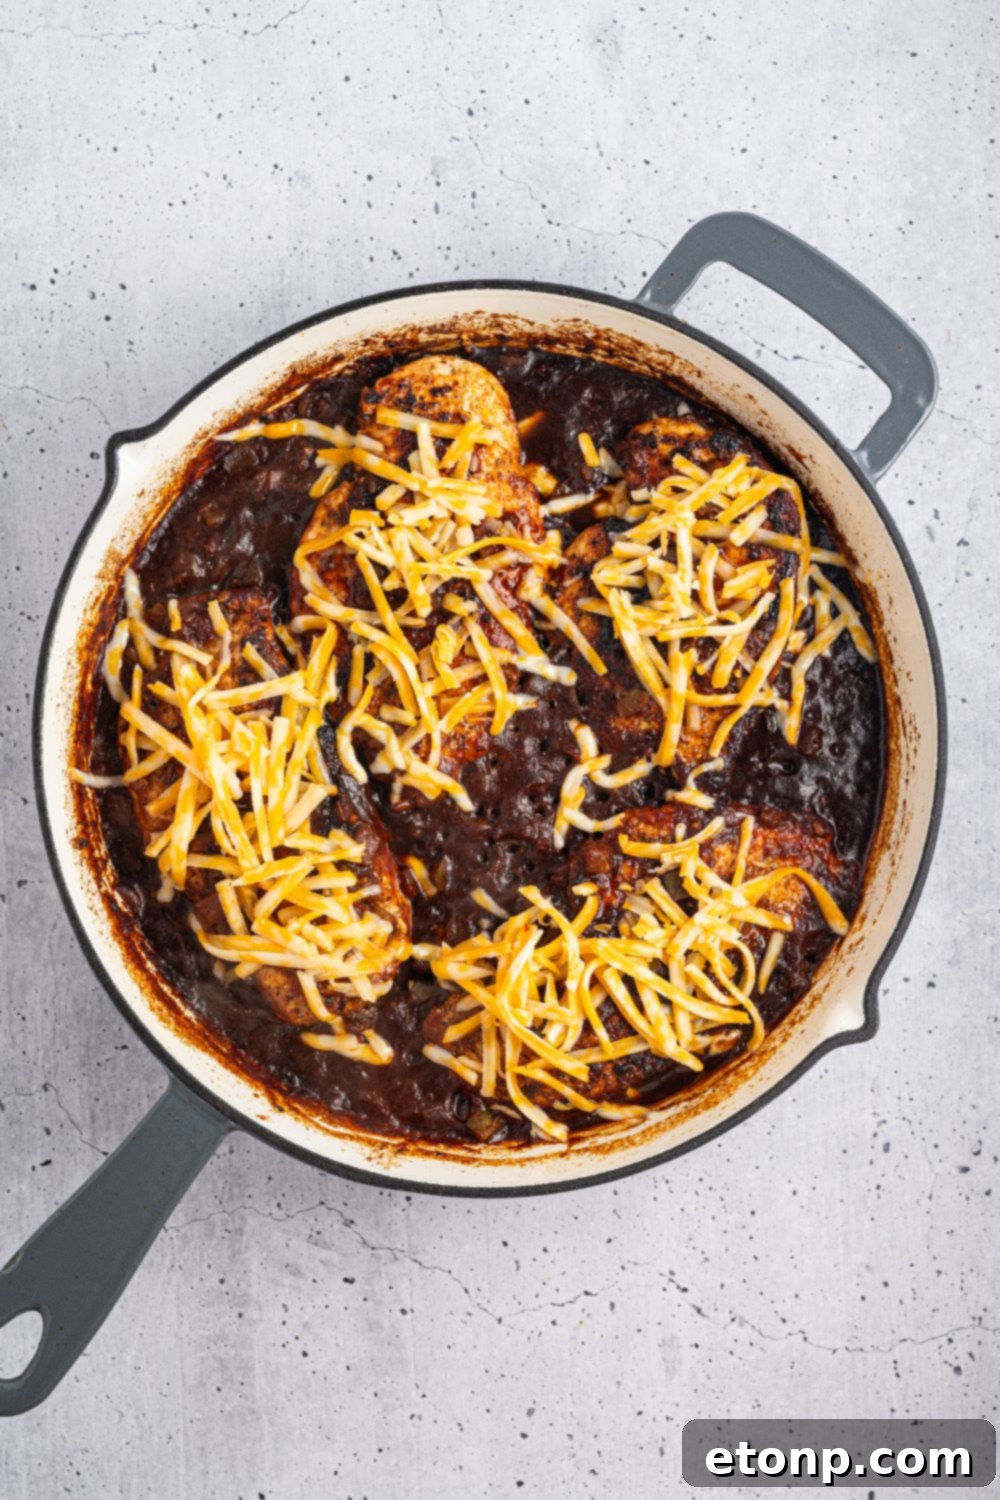
Exciting Variations & Smart Substitutions
This skillet chicken recipe is incredibly adaptable, allowing you to easily customize it based on your preferences or what you have on hand:
- Cheese Options: While Colby Jack melts beautifully, feel free to experiment! Sharp cheddar, creamy Monterey Jack, or a zesty Mexican cheese blend are all excellent alternatives that will deliver a fantastic cheesy finish.
- Salsa Exploration: Don’t limit yourself to traditional chunky salsa. For a tangy twist, try salsa verde. If you prefer a hint of sweetness and tropical flavor, pineapple salsa can be a delightful surprise. You can also mix in corn and black beans into your salsa for added texture and nutrition.
- Meat Alternatives: If you’re looking for a change from chicken breast, boneless, skinless chicken thighs are a fantastic choice for a juicier and more forgiving option. For a quicker seafood variation, large shrimp can also be used, reducing cooking time significantly.
- Vegetarian Adaptation: To make this dish vegetarian, substitute the chicken with thick-sliced extra-firm tofu (pressed and pan-fried until golden) or your favorite plant-based chicken cutlets. The robust salsa and cheese will still provide a satisfying and flavorful experience.
Troubleshooting Tips for Perfect Results
Even the simplest recipes can sometimes present minor challenges. Here are some quick fixes to ensure your Cheesy Salsa Chicken turns out perfectly every time:
- Dealing with Dry Chicken: Overcooking is the main culprit for dry chicken. To avoid this, always use an instant-read thermometer to ensure the chicken reaches exactly 165°F (74°C) at its thickest part, then remove it from the heat promptly. Pounding the chicken to an even thickness also helps prevent uneven cooking and dry spots.
- Preventing Watery Sauce: If your salsa seems too thin after simmering, simply let it continue to simmer uncovered for an extra couple of minutes. This allows more moisture to evaporate, concentrating the flavors and thickening the sauce to a desirable consistency.
- Ensuring Melty Cheese: If your cheese isn’t melting properly, covering the skillet with a tight-fitting lid for a few minutes is key. The trapped steam will create a warm environment that helps the cheese melt evenly and become perfectly gooey.
Budget-Friendly and Delicious: Cost Breakdown
One of the many benefits of this easy chicken dinner is its affordability. This entire dish, designed to generously feed 4 people, typically costs around $10–$12 to prepare. That breaks down to an incredibly budget-friendly $2.50–$3 per serving! To keep costs down without compromising on flavor, consider buying chicken in bulk when it’s on sale and opting for quality store-brand salsas. This makes Cheesy Salsa Chicken an excellent and smart choice for feeding a family on a budget, especially for busy households looking for economical yet delicious meal solutions.
Storage, Reheating & Freezing Tips for Convenience
This salsa chicken recipe is not only quick to make but also incredibly convenient for future meals:
Storage: Allow any leftover Cheesy Salsa Chicken to cool completely to room temperature before transferring it to an airtight container. Store it in the refrigerator for up to 3 days, maintaining its freshness and flavor.
Reheating:
- Microwave Method: For a quick reheat, place individual portions in a microwave-safe dish. Heat in 30-second intervals, stirring occasionally, until thoroughly warmed through.
- Skillet Method: For best results, gently reheat the chicken in a skillet over medium-low heat. Add a splash of water or extra salsa to help keep the chicken moist and prevent it from drying out. Cover and heat until piping hot.
Freezing: This dish freezes well! Once the cooked chicken and salsa have cooled completely, transfer them to freezer-safe containers or heavy-duty freezer bags. It can be frozen for up to 2 months. When ready to enjoy, thaw overnight in the refrigerator and then reheat using either the microwave or skillet method described above.
What to Serve with Cheesy Salsa Chicken
This flavorful Tex-Mex chicken dish pairs beautifully with a variety of sides, creating a complete and satisfying meal:
- Rice Dishes: Classic Spanish rice or a bright, zesty cilantro lime rice are perfect complements to soak up all the delicious salsa.
- Beans: Creamy refried beans or hearty black beans add texture, protein, and authentic flavor to your plate.
- Chips and Dips: For a fun appetizer or side, serve with crispy tortilla chips and fresh guacamole or a dollop of sour cream.
- Fresh Salads & Veggies: A simple green salad with a light vinaigrette or some grilled corn on the cob provides a refreshing contrast to the richness of the chicken.
- Warm Tortillas: Offer warm flour or corn tortillas for wrapping the chicken and making delicious tacos or burritos.
Nutrition Information (per serving)
Approximate values based on 4 servings and typical ingredients
- Calories: 340
- Protein: 36g
- Fat: 16g
- Carbs: 12g
- Sugar: 5g
- Sodium: 820mg
(Exact nutrition may vary depending on the brand and type of ingredients used.)
Protein Swaps & Dietary Adjustments for Every Lifestyle
One of the best aspects of this one-pan chicken meal is its incredible adaptability to various dietary needs and preferences:
- Alternative Proteins: If chicken isn’t your preference, this recipe works beautifully with other proteins. Consider boneless pork chops for a richer flavor, or even large, firm shrimp for a quicker-cooking seafood option.
- Vegetarian Twist: For a fantastic vegetarian meal, swap the chicken for extra-firm tofu, thoroughly pressed to remove excess water and then pan-fried until golden before adding to the salsa. Plant-based chicken cutlets are another excellent alternative.
- Sodium-Conscious: If you’re managing sodium intake, choose a low-sodium taco seasoning blend and look for reduced-sodium cheese options. Many salsa brands also offer low-sodium varieties.
- Keto-Friendly: To adapt this recipe for a keto diet, focus on low-carb ingredients. Skip the salsa and instead use a creamy, low-carb sauce made with heavy cream, cream cheese, and a touch of taco seasoning, or a low-carb salsa. Ensure your chosen cheese is also low in carbs.
- Dairy-Free Option: Easily make this dairy-free by simply omitting the cheese or using a high-quality plant-based shredded cheese that melts well. The rich salsa base still provides plenty of flavor.
This dish truly shines in its flexibility, allowing you to tailor it to your unique dietary requirements without sacrificing any of its signature deliciousness.
Frequently Asked Questions (FAQs) About Cheesy Salsa Chicken
Here are answers to some common questions about making this fantastic Cheesy Salsa Chicken:
Can I use pre-cooked chicken for this recipe?
Absolutely! If you have leftover rotisserie chicken, grilled chicken, or any pre-cooked chicken, simply shred or slice it, then heat it gently in the simmering salsa until it’s warmed through before adding the cheese. This makes the recipe even faster!
Can I make this Cheesy Salsa Chicken in advance?
Yes, this recipe is ideal for making ahead. It stores beautifully, making it perfect for meal prep. Just cook it as directed, let it cool completely, then refrigerate. Reheat when ready to enjoy.
Can I bake it instead of using a skillet?
Definitely! If you prefer oven baking, simply season the chicken, place it in a baking dish, and pour the salsa over the top. Bake at 375°F (190°C) for approximately 25–30 minutes, or until the chicken is cooked through. Add the cheese during the last 5 minutes of baking until it’s melted and bubbly.
What’s the best type of salsa to use for this recipe?
A thick, chunky salsa is highly recommended. Its texture helps it cling to the chicken, creating a richer and more flavorful coating. Avoid overly watery salsas, as they can make the overall dish too runny and dilute the flavors.
What’s the best cheese for melting?
Colby Jack is an excellent choice for its smooth, creamy melt and mild flavor. However, feel free to use your personal favorite melting cheese. Cheddar, Monterey Jack, mozzarella, or even a spicy pepper jack cheese will all work wonderfully.
How can I make this dish spicier?
To add an extra kick, use a hot or extra-hot salsa. You can also sprinkle in a pinch of red pepper flakes or finely diced jalapeños (fresh or pickled) when adding the salsa to the pan.
Can I make this recipe dairy-free?
Yes! To make it dairy-free, simply omit the cheese entirely, or use a good quality plant-based shredded cheese that is known for melting well. The salsa base still provides plenty of delicious flavor.
What if I don’t have chicken taco seasoning?
No problem! You can use regular taco seasoning as a substitute. Alternatively, create your own blend with common pantry spices: combine equal parts cumin, paprika, onion powder, garlic powder, and chili powder for a flavorful homemade mix.
How do I ensure the chicken stays moist while cooking?
The key to moist chicken is even cooking and avoiding overcooking. Fileting the chicken breasts to an even thickness (about ¾-inch) helps them cook uniformly. Cooking over medium-high heat for the initial sear, and then simmering, combined with using an instant-read thermometer to reach 165°F (74°C), will ensure juicy results every time.
How to Master Meal Prep with Cheesy Salsa Chicken
This Cheesy Salsa Chicken is truly a meal prep dream come true, making healthy eating convenient throughout your busy week. The process is simple: just cook the entire recipe as directed, allow it to cool completely to room temperature, and then divide it into individual portions. Store these portions in airtight containers, and they will keep perfectly fresh in your refrigerator for up to 4 days. When it’s time for lunch or dinner, simply reheat and enjoy. For a balanced and complete meal, pack your chicken with fluffy Spanish rice, roasted vegetables like bell peppers and zucchini, or a fresh side salad. This preparation strategy ensures you have delicious, homemade meals ready to go, saving you time and effort during peak hours.
Reader Tips & Creative Customizations
I love hearing how you make my recipes your own! Here’s how some of our fantastic readers have put their unique spin on this cheesy chicken skillet:
- “I tried it with salsa verde and pepper jack cheese, and it was absolutely amazing—a perfect blend of tangy and spicy!”
- “To add more fiber and heartiness, I stirred in a can of drained black beans with the salsa and served it over wholesome brown rice.”
- “Made it in my cast iron pan, and for an extra crispy top, I broiled the cheese for a minute at the end. The texture was incredible!”
Do you have a clever tip or a favorite customization you’d like to share? Please leave a comment below! Your ideas inspire us all to get more creative in the kitchen.
Oven & Air Fryer Variations for Hands-Off Cooking
Don’t want to use the stovetop? No problem! This Cheesy Salsa Chicken is incredibly flexible and can be prepared in both the oven and the air fryer, yielding equally delicious results. These methods are perfect for hands-off cooking or for preparing larger batches.
Oven Method: A Hands-Off Approach
This method is ideal if you prefer a mostly hands-off cooking process or if you’re doubling the recipe to feed a larger crowd. The oven provides consistent heat, ensuring even cooking.
- Preheat Oven: Start by preheating your oven to a steady 375°F (190°C).
- Prepare Chicken: Season the chicken breast filets generously with taco seasoning on both sides.
- Arrange in Dish: Place the seasoned chicken in a lightly greased baking dish (a 9×13-inch dish works well for 4-6 filets).
- Add Salsa: Pour the chunky salsa evenly over the chicken, ensuring each piece is well coated.
- Initial Bake (Covered): Cover the baking dish tightly with aluminum foil. Bake for 20–25 minutes. The chicken should reach an internal temperature of 165°F (74°C) when checked with an instant-read thermometer.
- Add Cheese (Uncovered): Carefully remove the foil. Sprinkle the Colby Jack cheese (or your preferred cheese) evenly over the cooked chicken.
- Final Bake (Uncovered): Return the dish to the oven, uncovered, for another 3–5 minutes. Continue baking until the cheese is fully melted, bubbly, and slightly golden.
- Rest and Serve: Let the chicken rest in the dish for about 5 minutes before serving. This allows the juices to redistribute, ensuring maximum tenderness.
Pro Tip: For an extra golden and slightly crispy cheese topping, place the uncovered dish under the broiler for 1–2 minutes after step 7. Watch it closely to prevent burning!
Air Fryer Method: Quick & Juicy Small Batches
The air fryer is fantastic for cooking smaller batches of chicken, keeping it incredibly juicy with a delightful crisp finish, and often faster than the oven.
- Preheat Air Fryer: Preheat your air fryer to 375°F (190°C).
- Season Chicken: Season the chicken breast filets with taco seasoning. Lightly spray or brush both sides of the chicken with olive oil to help with browning.
- Air Fry Chicken: Place the seasoned chicken filets in the air fryer basket in a single layer. Avoid overcrowding; cook in batches if necessary to ensure even air circulation. Air fry for 8–10 minutes, flipping the chicken halfway through, until the internal temperature reaches 165°F (74°C).
- Add Salsa and Cheese: Carefully remove the basket. Spoon salsa evenly over each chicken filet, then sprinkle the shredded cheese on top.
- Melt Cheese: Return the basket to the air fryer and cook for an additional 1–2 minutes, or just until the cheese is beautifully melted and bubbly.
- Serve Immediately: Serve your hot and cheesy salsa chicken with your favorite Tex-Mex sides.
Air Fryer Tip: For easier cleanup, especially when adding the salsa and cheese, use air fryer-safe parchment liners. This will catch any drips and make post-meal tidying a breeze.
Final Thoughts on This Family Favorite
This Cheesy Salsa Chicken has truly earned its place as a cherished weeknight go-to in our household. It’s more than just a quick and easy meal; it’s a dish that brings genuine smiles to everyone at the table. From Ariya’s enthusiastic requests for “extra cheese” to little Cameron’s happy wiggles when his tray arrives, and James’s signature addition of hot sauce followed by a clean plate, it’s a consistent winner. This recipe effortlessly combines comfort, convenience, and incredible flavor, making it a perfect solution for busy parents and food lovers alike. Whether you’re planning your weekly meal prep or simply seeking a delicious, no-fuss dinner, this is one of those timeless recipes you’ll find yourself returning to again and again. It truly embodies the joy of simple, homemade food.
Explore More Delicious Chicken Recipes
- Comforting Crack Chicken Soup
- Creamy Chicken Lazone!
- Crispy Air Fryer Chicken Tenders
- Classic Chicken Marsala
Cheesy Salsa Chicken
Course: Main Course
Prep Time: 10 mins
Cook Time: 18 mins
Total Time: 28 mins
Servings: 4 servings
Serve up this irresistible cheesy salsa chicken recipe for a simple yet satisfying weeknight dinner. Enjoy tender chicken breasts, perfectly seasoned with Tex-Mex spices, and served with a flavorful salsa and melted cheese alongside fluffy rice.
Pin Recipe
Share Recipe on Facebook
Ingredients
- 1 (1-ounce) package chicken taco seasoning
- 4 chicken breast filets (about 1.5 pounds total, trimmed)
- 2 tablespoons olive oil
- 1 (16-ounce) jar chunky salsa
- ¾ cup freshly shredded Colby Jack cheese
Instructions
- Rub the taco seasoning on both sides of the chicken breast filets, ensuring even coverage.
- Heat the olive oil over medium-high heat in a large, 12-inch skillet (enameled cast iron works great, but is not required). Cook the filets for 5 minutes on each side or until the juices run clear, or an instant-read thermometer registers the chicken at 165°F (74°C) in the thickest part.
- Remove the filets from the skillet and set aside. Pour in the salsa to deglaze the pan, scraping up any browned bits. Return the chicken filets to the skillet and cook for 5 minutes or until the salsa starts to reduce slightly.
- Lower the heat and sprinkle the cheese evenly on top of each filet. Cover the pan with a large lid for 2-3 minutes or until the cheese has completely melted. Remove from heat.
- Sprinkle with fresh chopped cilantro, if desired, and serve immediately with your favorite sides.
Did you make this recipe?
Make sure to follow on Pinterest for more recipes!
Pin Recipe
Share on Facebook