
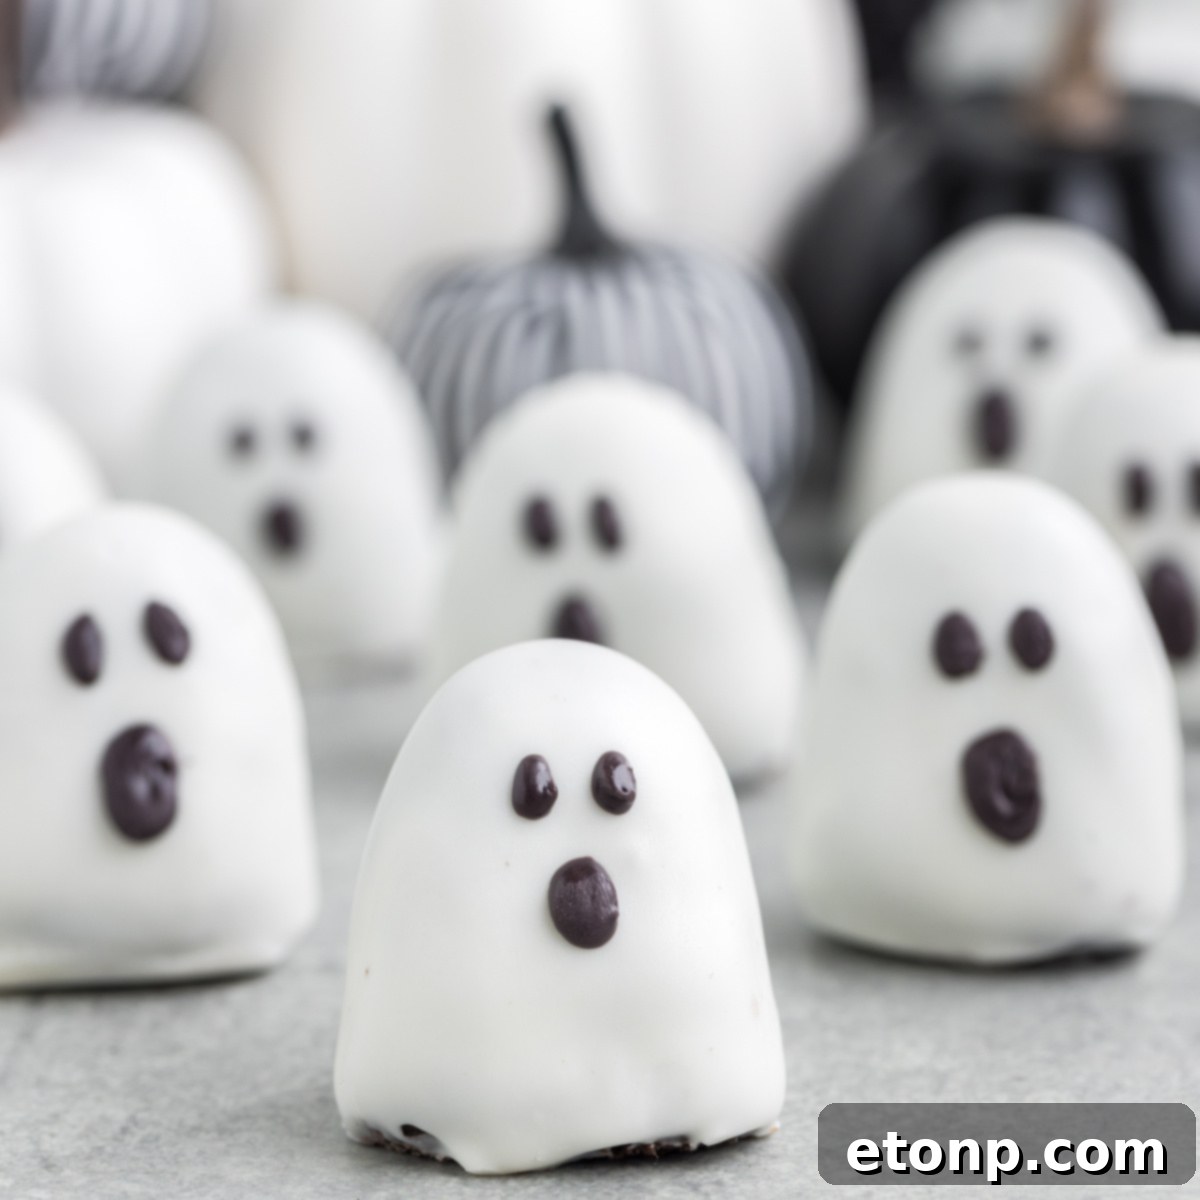
Welcome to the ultimate guide for crafting the most enchanting Halloween delights: our Ghost-Shaped Truffles! As the spooky season approaches, prepare to embark on a culinary adventure that promises to be both delightfully haunting and incredibly delicious. These irresistible Halloween Ghost Truffles are more than just a treat; they’re a whimsical celebration of frightful fun, designed to satisfy every sweet tooth while adding a touch of supernatural charm to your festivities.
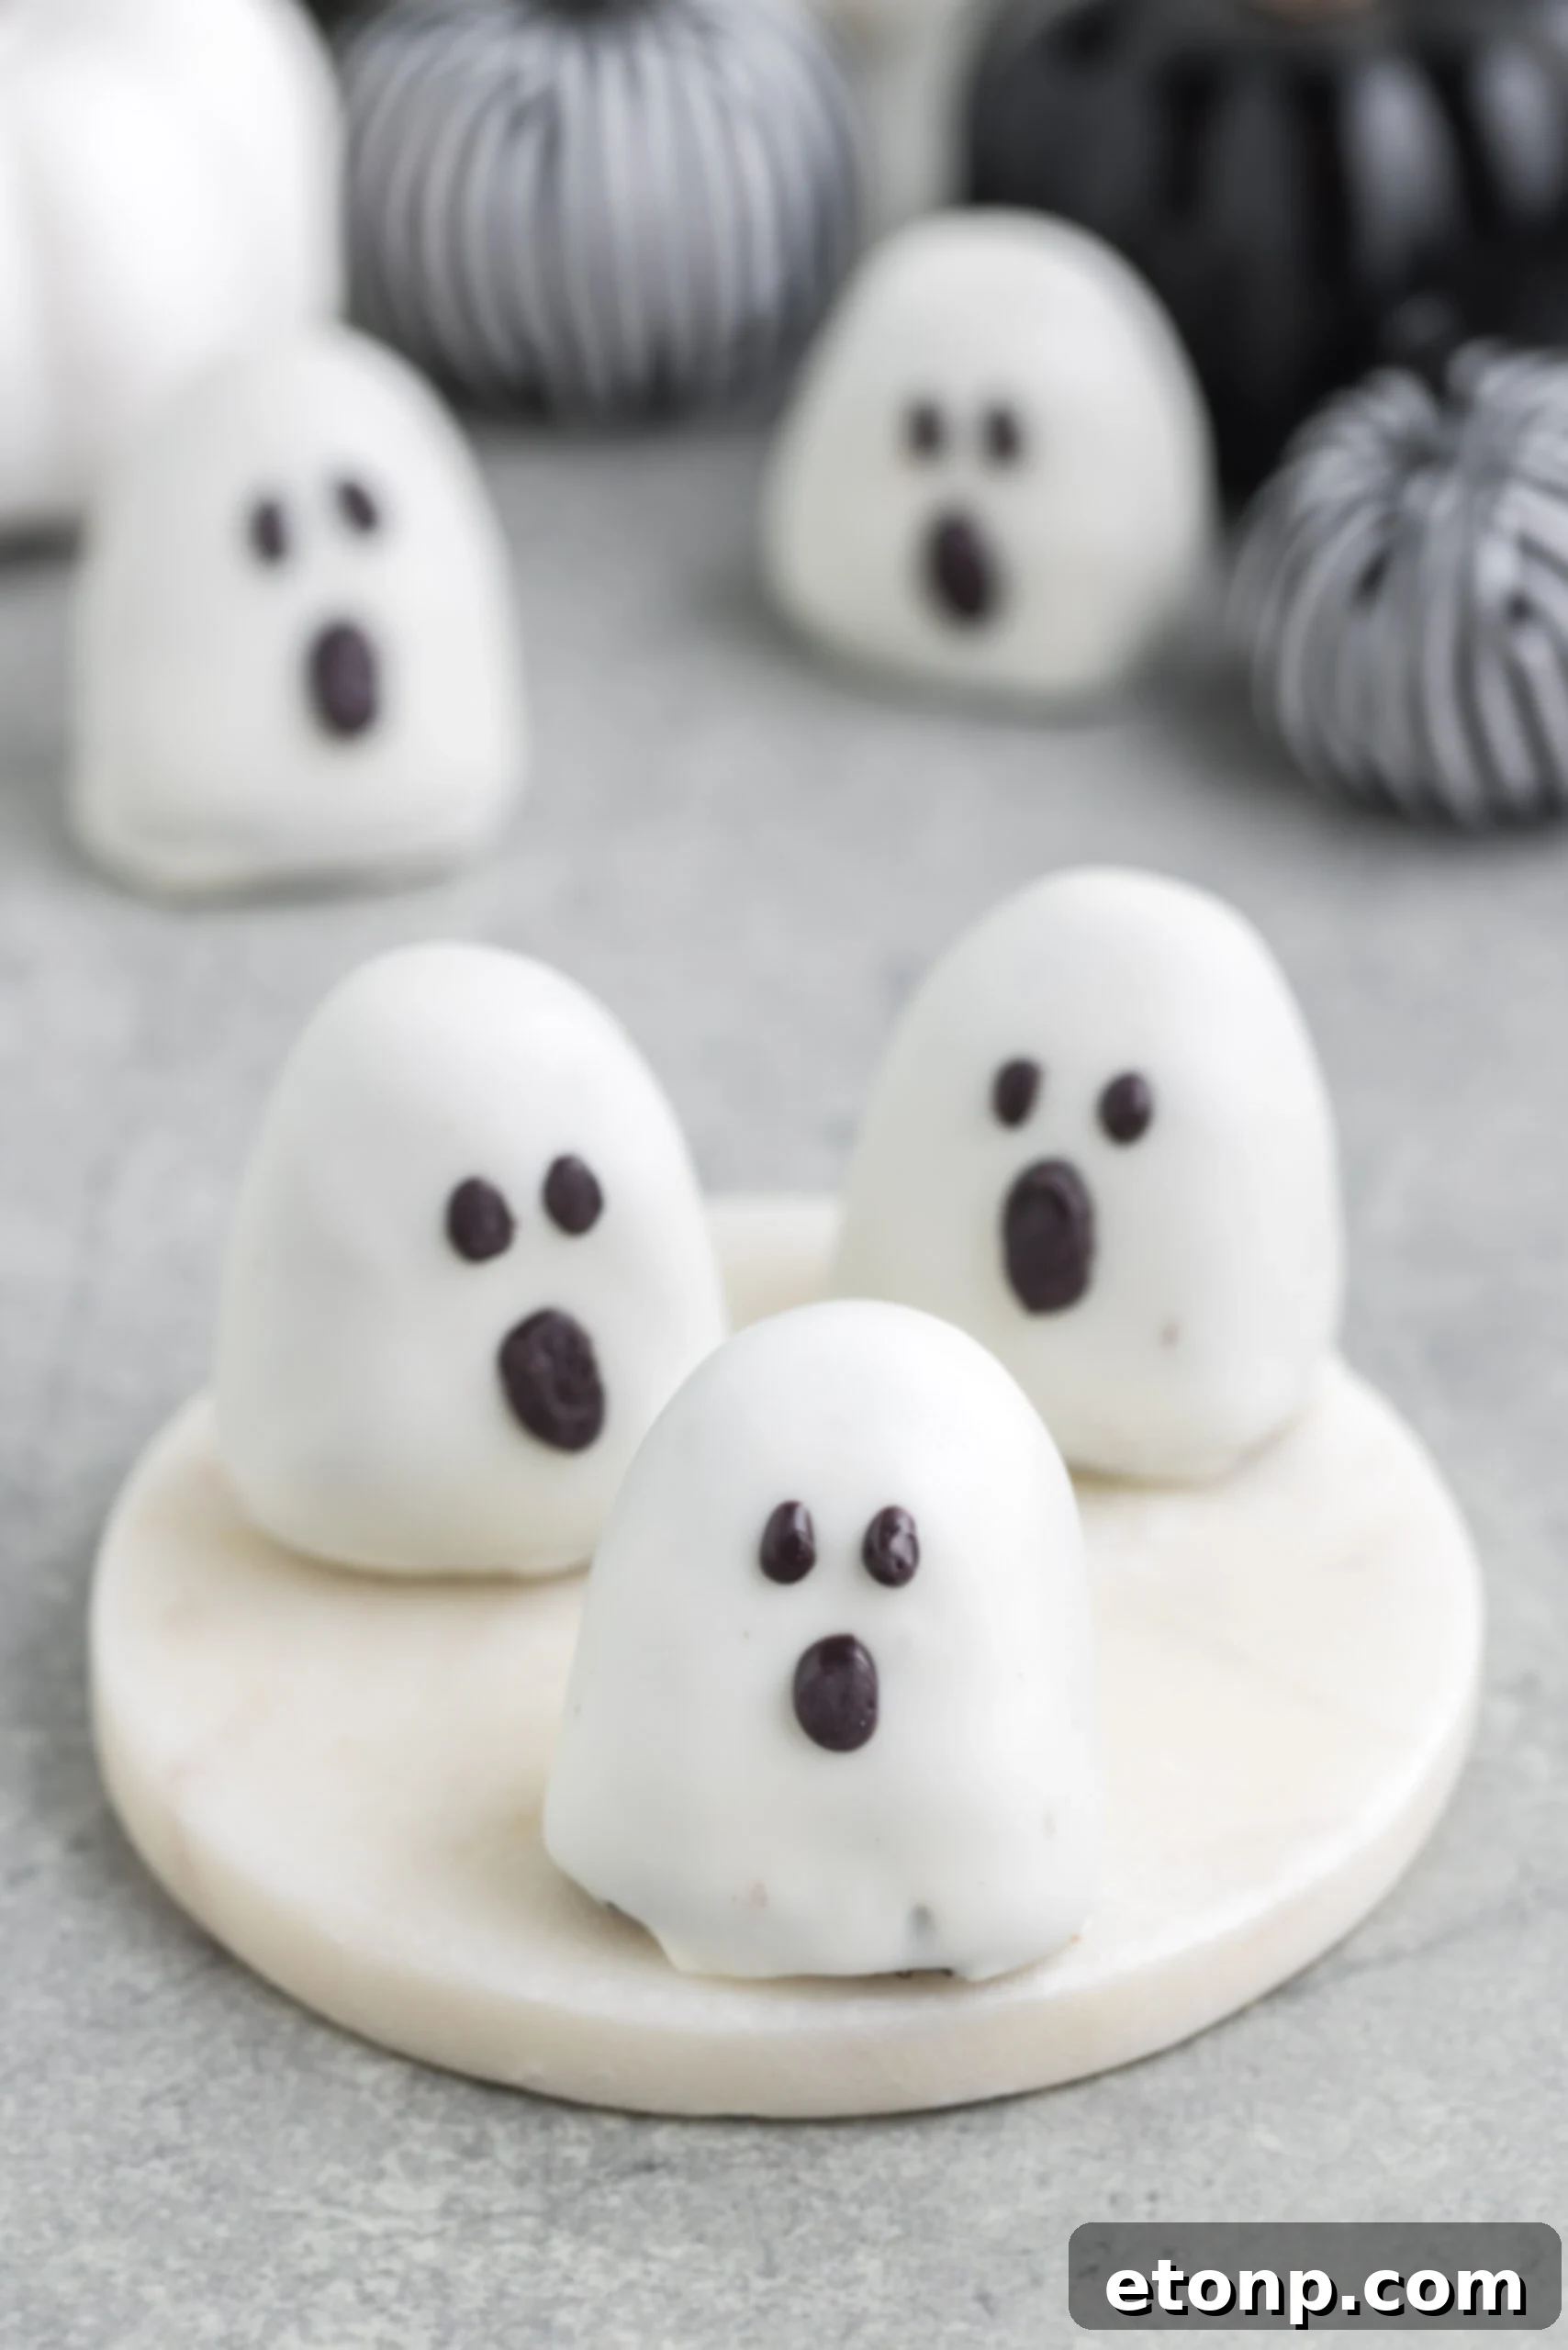
Our Ghost Oreo Truffles are the epitome of an easy, no-bake Halloween dessert, combining the beloved flavors of classic chocolate sandwich cookies and rich frosting into a wonderfully versatile mixture. Each truffle is meticulously shaped to resemble a charming, spooky ghost, then enveloped in a smooth, pristine white chocolate coating. The final touch? Hand-piped black candy melt details that bring these adorable apparitions to life, making them a standout addition to any Halloween party or family gathering. This recipe transforms simple ingredients into an extraordinary experience, proving that impressive treats don’t always require hours in the kitchen.
What makes this Ghost Oreo recipe truly exceptional is its simplicity and speed. With just five common ingredients, you can whip up the base mixture in mere moments. The real joy often comes in the decorating phase, a fantastic activity for little hands once the white chocolate coating has set. Imagine the laughter and creativity as children meticulously add eyes and mouths to their ghostly creations! It’s a hands-on experience that fosters memories as sweet as the truffles themselves. This recipe is not just about making a dessert; it’s about creating a festive tradition that brings everyone together.
Looking to expand your Halloween spread? Don’t miss out on these fantastic companion recipes! For a playful adult treat, consider these Ghost Jello Shots, or easily adapt them into a non-alcoholic, kid-friendly snack. And for another show-stopping party favorite, this decadent Halloween Dirt Cake offers a rich, layered dessert that’s always a hit. Pairing these ghostly truffles with other themed treats ensures your Halloween buffet is diverse, delicious, and utterly unforgettable.
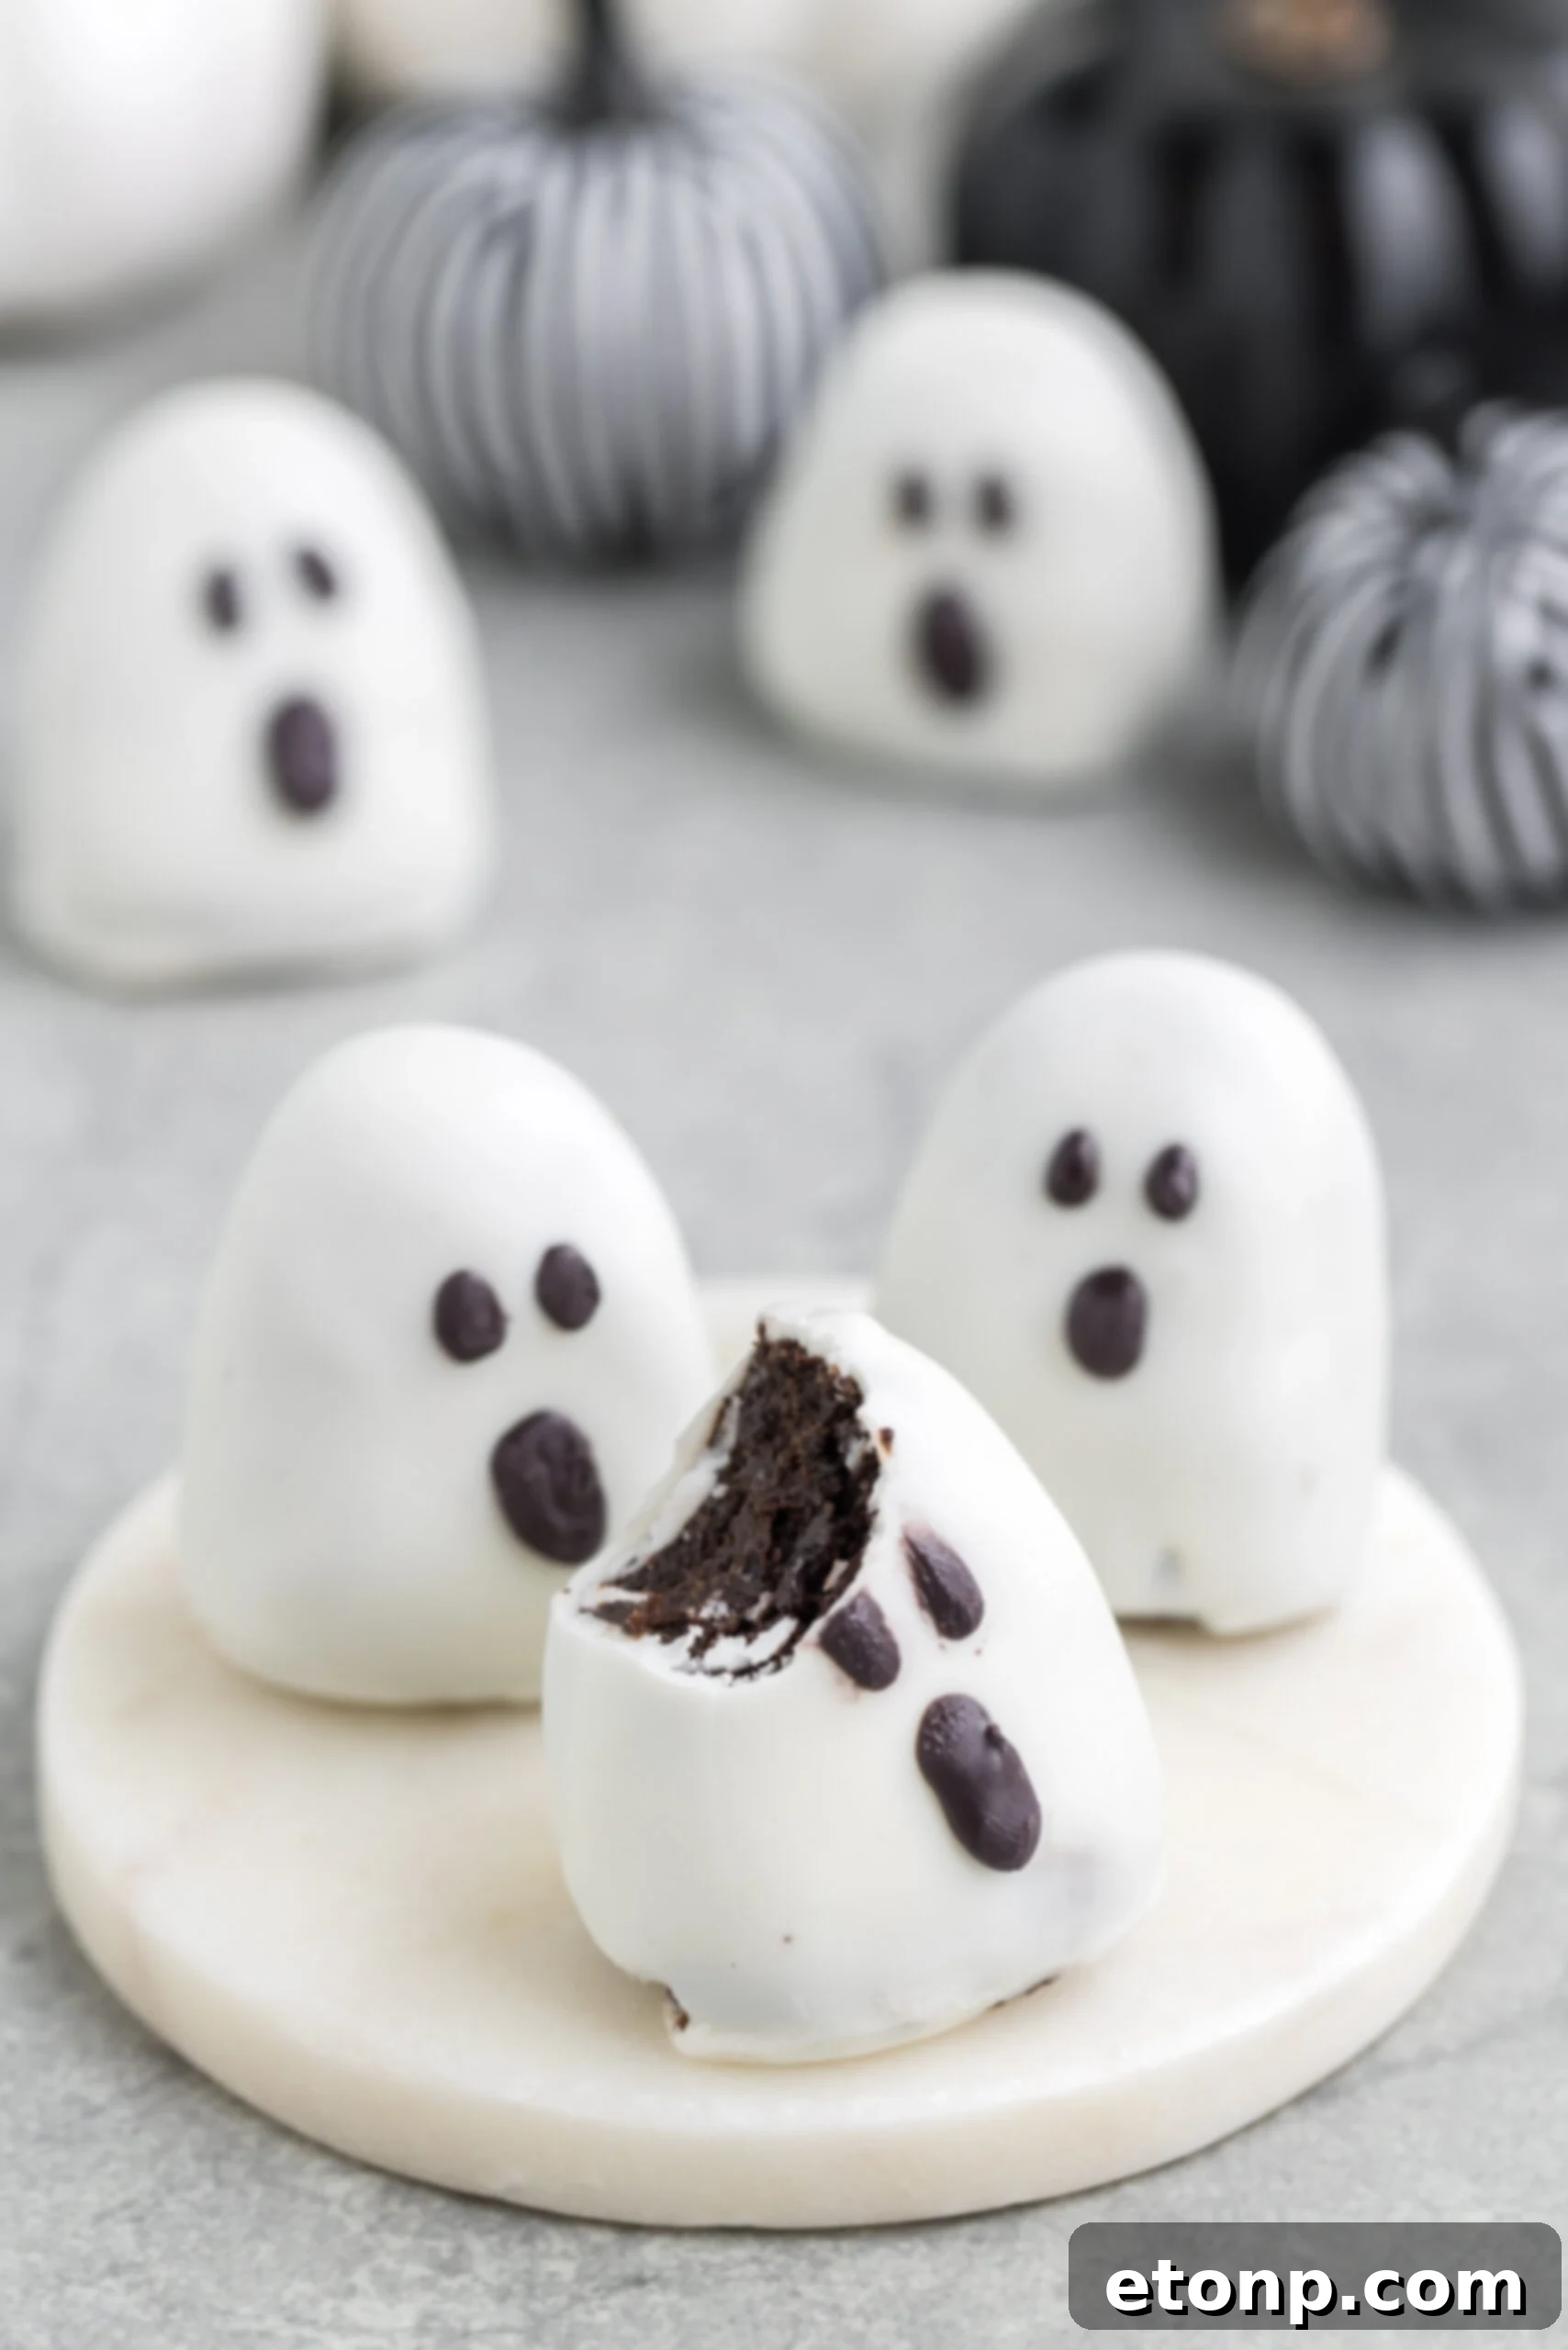
Why You’ll Adore This Ghost Truffle Recipe
- Effortlessly Simple: This no-bake recipe is incredibly straightforward, perfect for beginner bakers or busy individuals seeking a quick yet impressive dessert. It eliminates the complexities of oven temperatures and elaborate preparation, making Halloween treat-making a breeze.
- Minimal Ingredients: Requiring just 5 key ingredients, this recipe is budget-friendly and uses items you likely already have in your pantry or can easily find at any grocery store. Simplicity in ingredients translates to less shopping and more fun!
- Prepare Ahead Convenience: These truffles can be made a day or two in advance, freeing up your time closer to your Halloween event. This makes them an ideal choice for party planning, allowing you to focus on other aspects of your celebration without last-minute dessert stress.
- A True No-Bake Delight: For those who prefer to keep their ovens off or want a recipe suitable for all ages to assist with, this no-bake approach is perfect. It’s cool, safe, and guarantees a delicious outcome without the heat.
- Versatile Fall Favorite: Beyond Halloween parties, these truffles are fantastic as an after-school surprise, a thoughtful homemade gift for neighbors, or a delightful dessert for any autumn gathering. Their charming appearance and delectable taste make them suitable for numerous occasions throughout the fall season.
- Kid-Friendly Activity: The shaping and decorating process is exceptionally engaging for children. It’s a wonderful way to involve young ones in the kitchen, fostering their creativity and giving them a sense of accomplishment with a fun, edible craft.
Essential Ingredients for Your Ghost Truffles
Crafting these delightful ghost truffles requires a handful of simple, readily available ingredients. Each component plays a crucial role in achieving the perfect flavor and texture, ensuring your treats are both delicious and visually appealing:
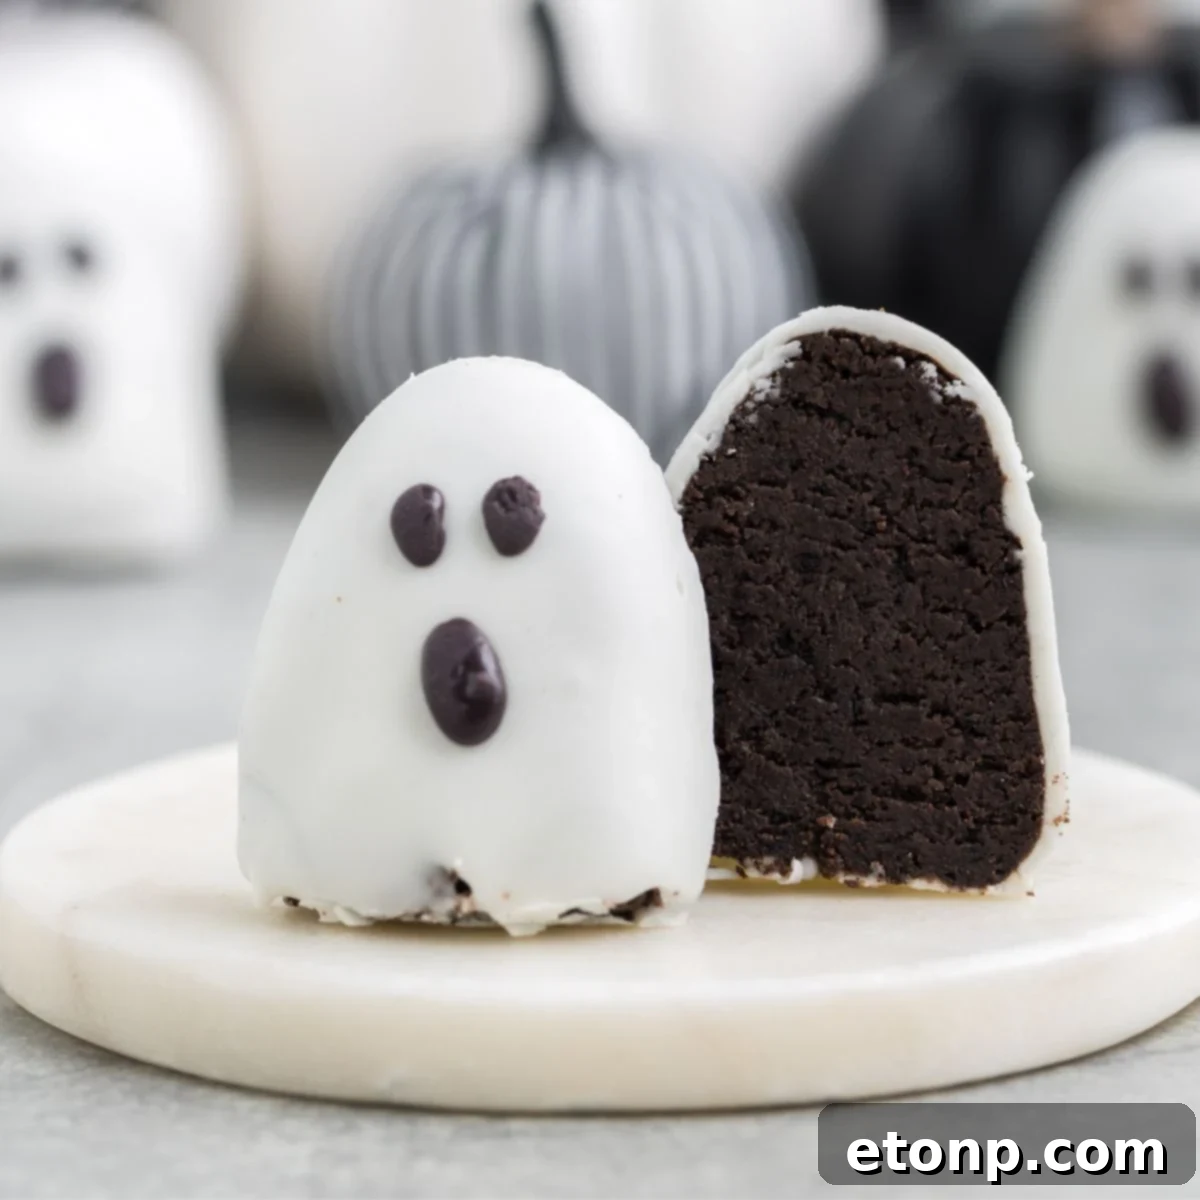
- Oreo Cookies: The foundation of our truffles! We recommend using classic Oreo cookies for this recipe, not the Double Stuffed variety. The standard amount of cream filling in classic Oreos ensures the ideal consistency when crushed and mixed, preventing the truffle mixture from becoming too wet or oily. The rich chocolate cookie provides a perfect contrast to the sweet white chocolate coating.
- Chocolate Frosting: This acts as the binder that holds our crushed Oreo crumbs together, creating a rich, fudgy interior. You can opt for your favorite store-bought chocolate frosting for convenience, or elevate the flavor by preparing a batch of homemade chocolate frosting. Experimenting with different chocolate frosting intensities can also add a unique twist.
- Salt: A tiny pinch of salt might seem counterintuitive in a sweet recipe, but it’s a secret weapon! It expertly balances and enhances the rich chocolate and sweet flavors of the Oreo cookies and frosting, preventing the truffles from being overly sweet and adding a subtle depth of flavor.
- White Candy Melts: These are essential for creating the smooth, pristine white coating that gives our truffles their ghostly appearance. Candy melts are specifically designed for easy melting and setting, providing a glossy, even finish. They make dipping a simple and mess-free process, ensuring a beautiful exterior for each ghost.
- Black Candy Melts: Used for the intricate details, these black candy melts allow you to pipe on the charming oval eyes and spooky mouths, transforming the white-coated truffles into recognizable ghosts. Just a small amount is needed, but it’s crucial for bringing their character to life.
To complement these sweet treats, consider serving them alongside a warm cup of Halloween hot chocolate, conveniently made right in your slow cooker for maximum ease and warmth on a crisp autumn evening.
Creative Substitutions and Flavorful Variations
While the classic Ghost Truffles recipe is undeniably delicious, there’s plenty of room to get creative and customize them to your taste or dietary needs. Here are some fantastic substitutes and variations to inspire your next batch:
- Cookie Base Alternatives: Don’t limit yourself to classic Oreos! Feel free to experiment with seasonal Oreo flavors, Golden Oreos for a vanilla twist, or even other types of chocolate or vanilla sandwich cookies. Peanut butter sandwich cookies like Nutter Butters also work wonderfully, just be mindful that they may release more oil, so refrigerating the finished truffles until serving is recommended for best texture.
- Frosting Flavor Swaps: The chocolate frosting can easily be swapped for other flavors. Vanilla frosting offers a milder backdrop, while Funfetti frosting can add a playful touch of color and extra sweetness. Cream cheese frosting would also provide a tangy contrast, or even a spiced pumpkin frosting for an ultimate fall flavor profile.
- Chocolate Coating Options: If white candy melts aren’t available or you prefer an alternative, almond bark or even high-quality white chocolate chips can be used for dipping your ghost truffles. When using white chocolate chips or baker’s white chocolate bars, remember to follow melting instructions carefully to prevent seizing, as pure white chocolate can be more temperamental than candy melts.
- Creative Facial Features: Beyond black candy melts, there are several fun ways to give your ghosts their expressions. Food-safe edible markers are excellent for drawing on precise eyes and mouths. Small pieces of black licorice cut into shapes, mini chocolate chips, or even tiny black nonpareil sprinkles can also be used to create distinctive faces, adding a unique personality to each truffle.
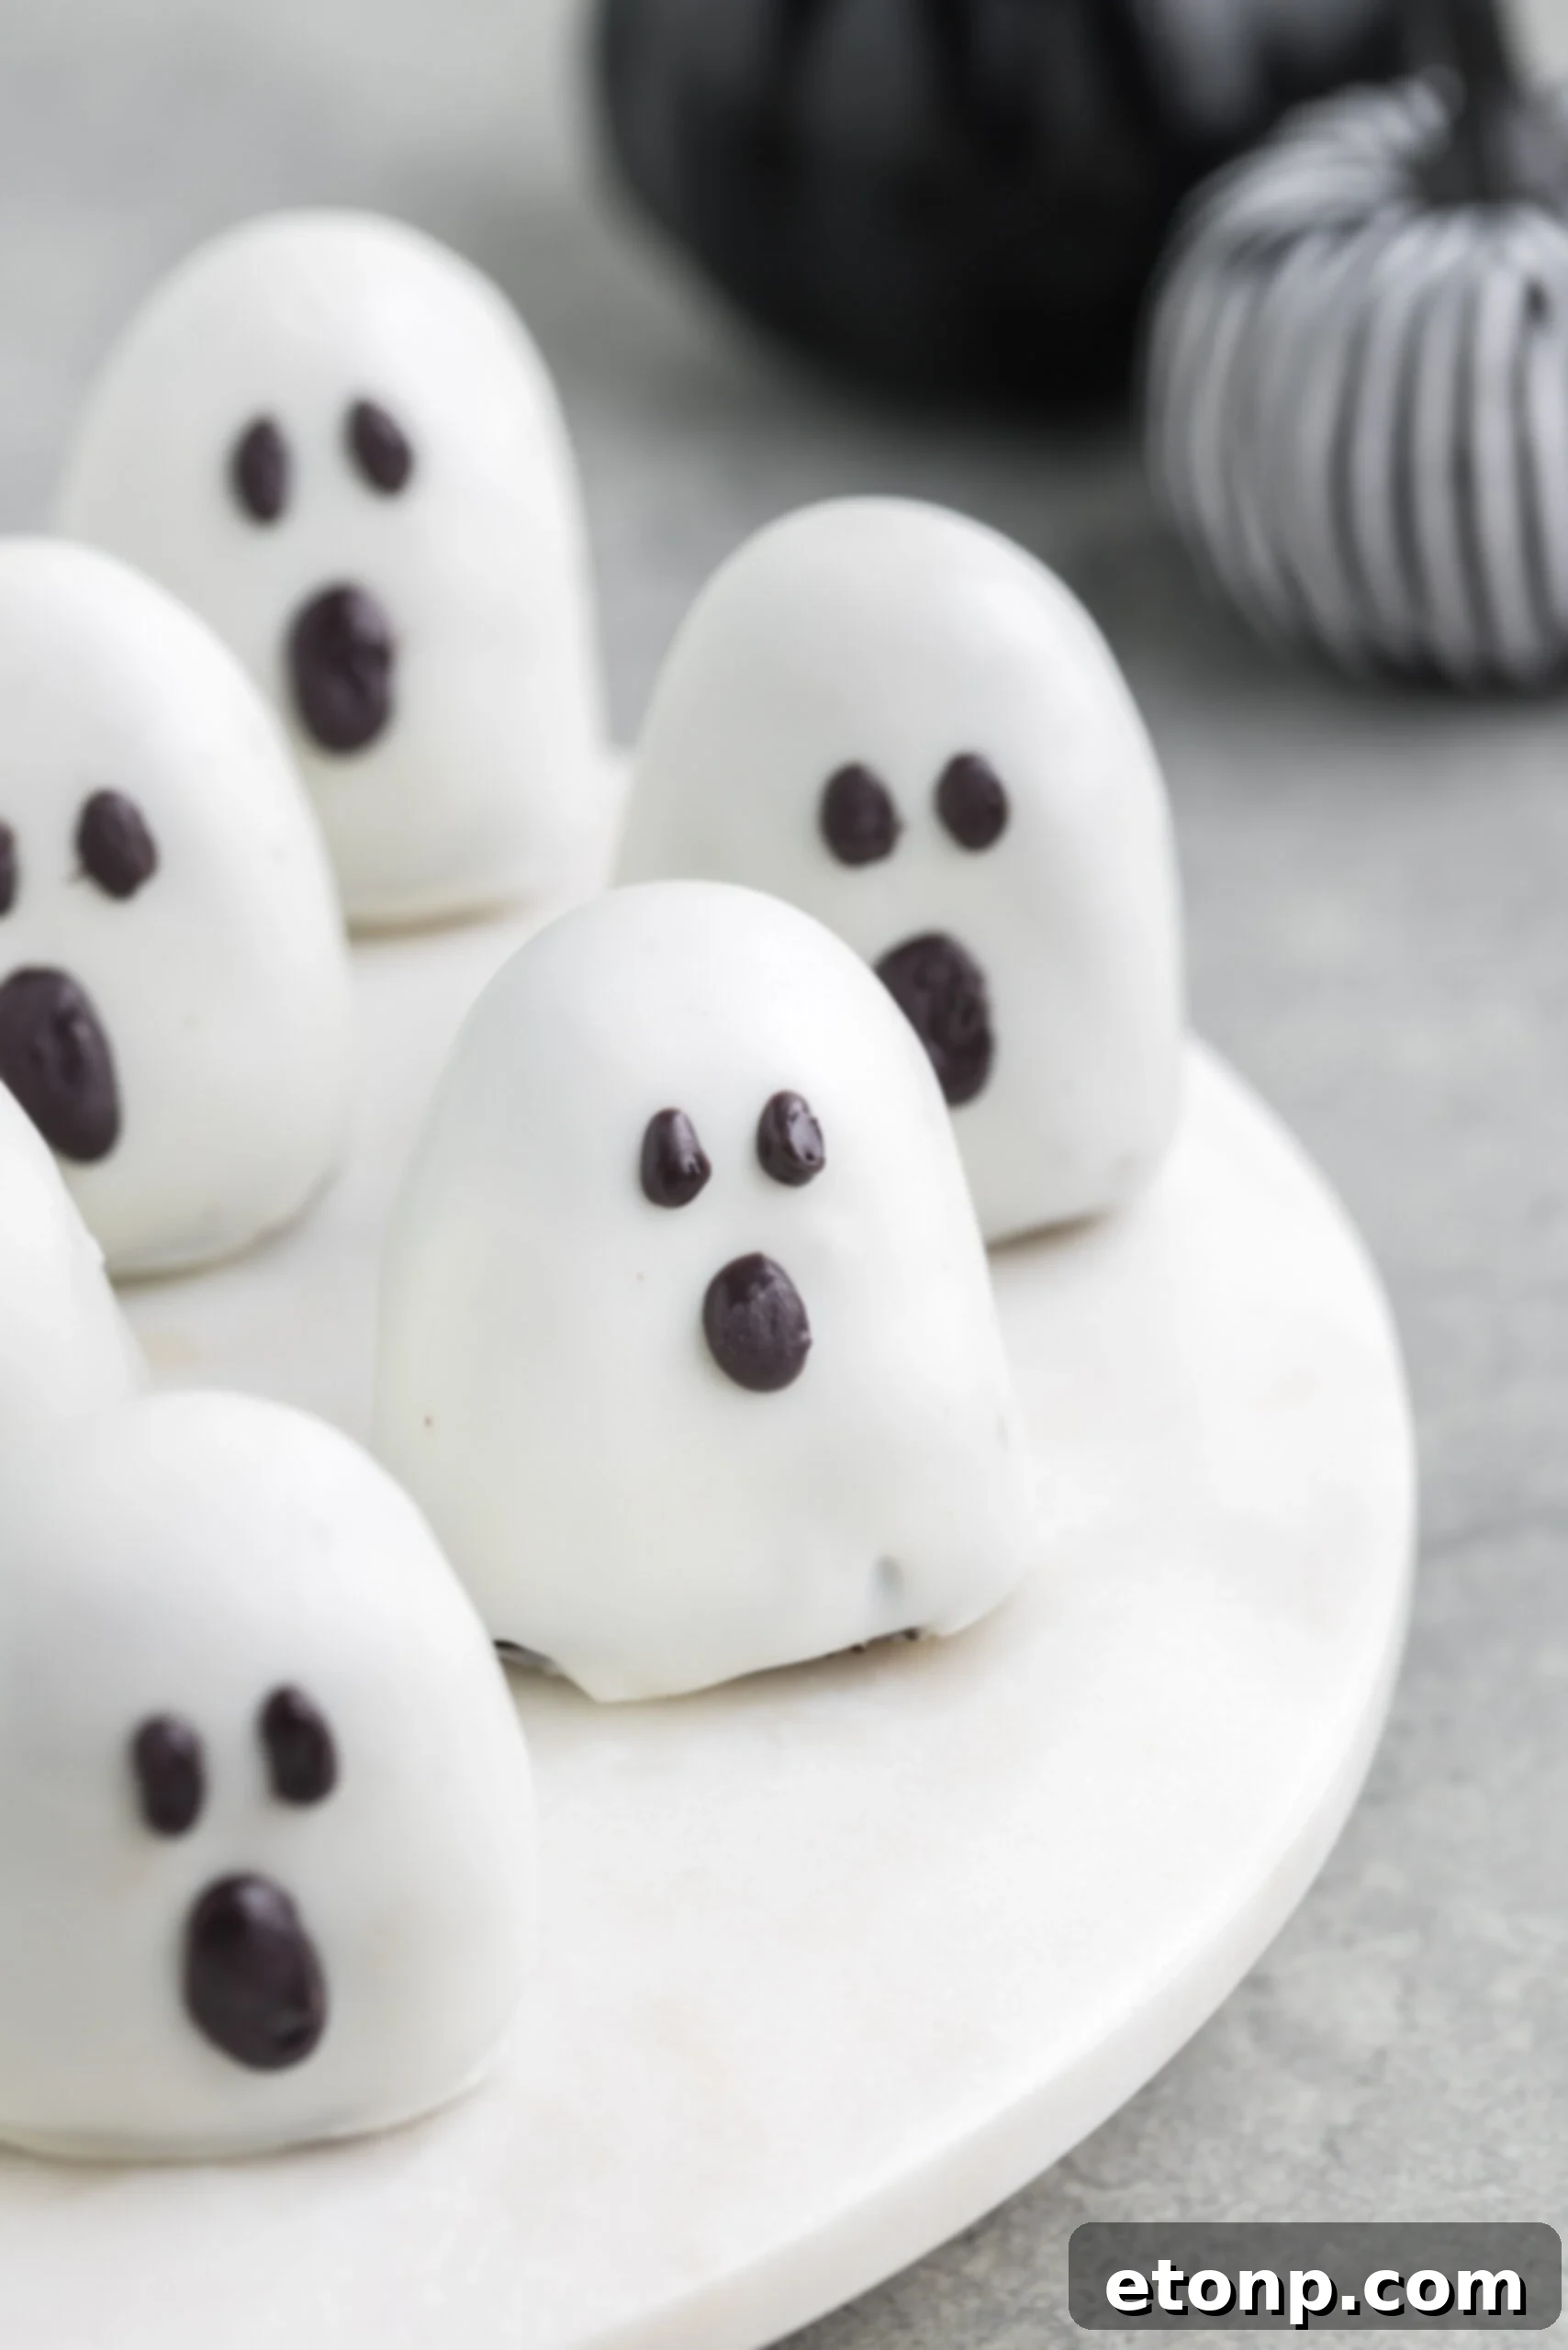
Expert Tips for Perfect Ghost Truffles
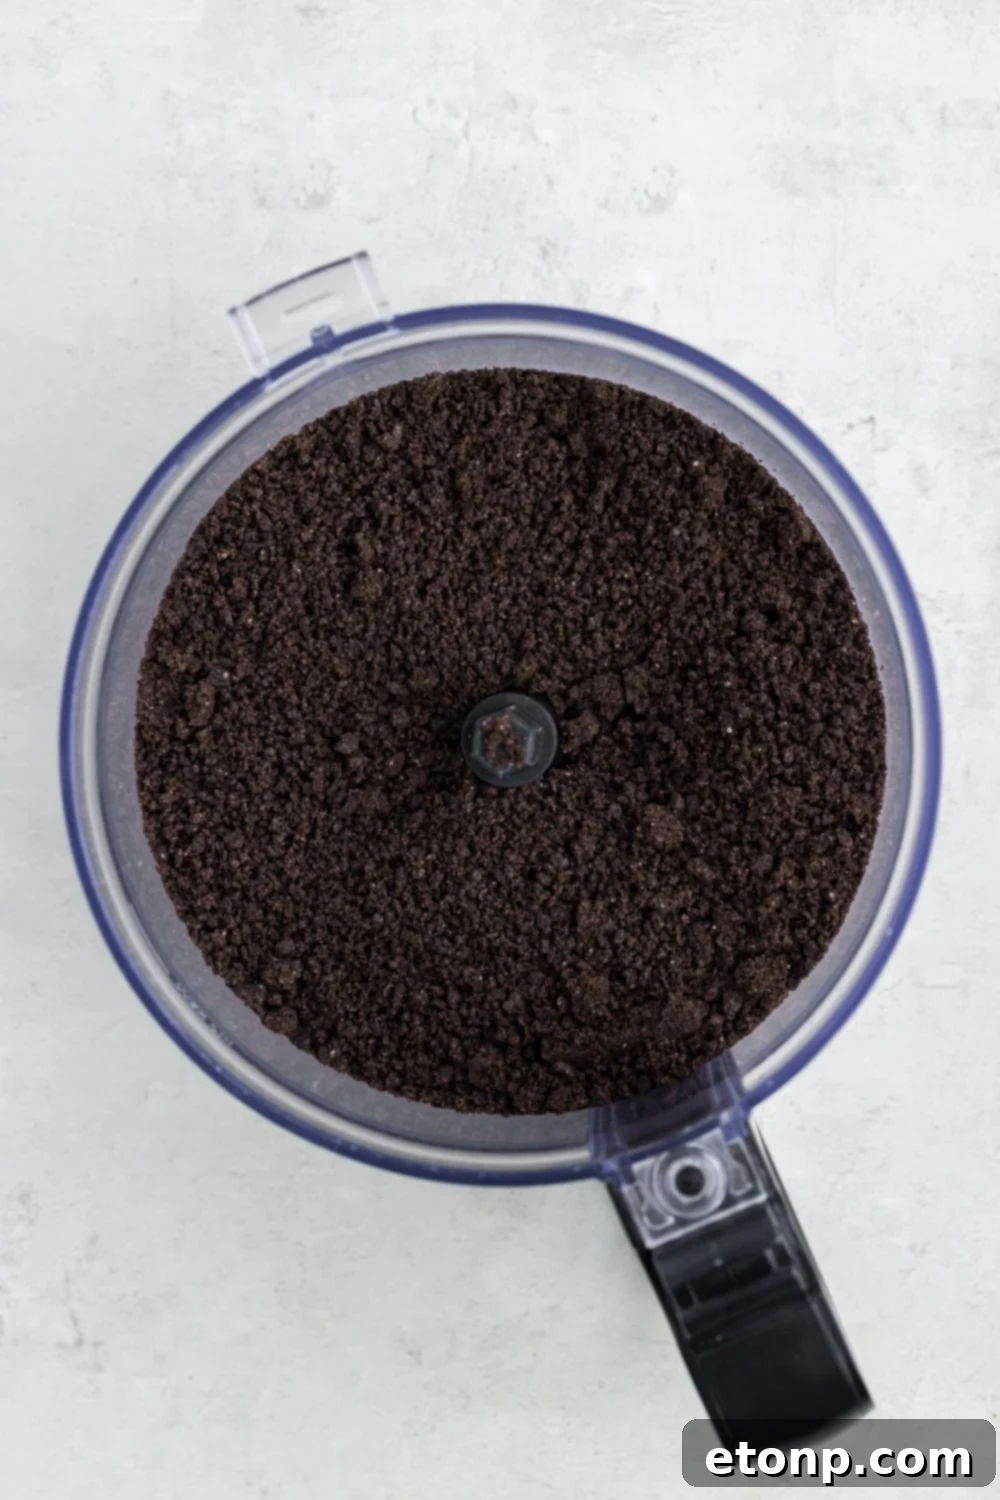
- Achieve the Perfect Crumb: The key to a smooth, pliable truffle mixture is finely crushed Oreo cookies. Using a food processor is highly recommended to achieve a consistent, flour-like crumble. Any larger chunks can make shaping difficult and affect the truffle’s texture.
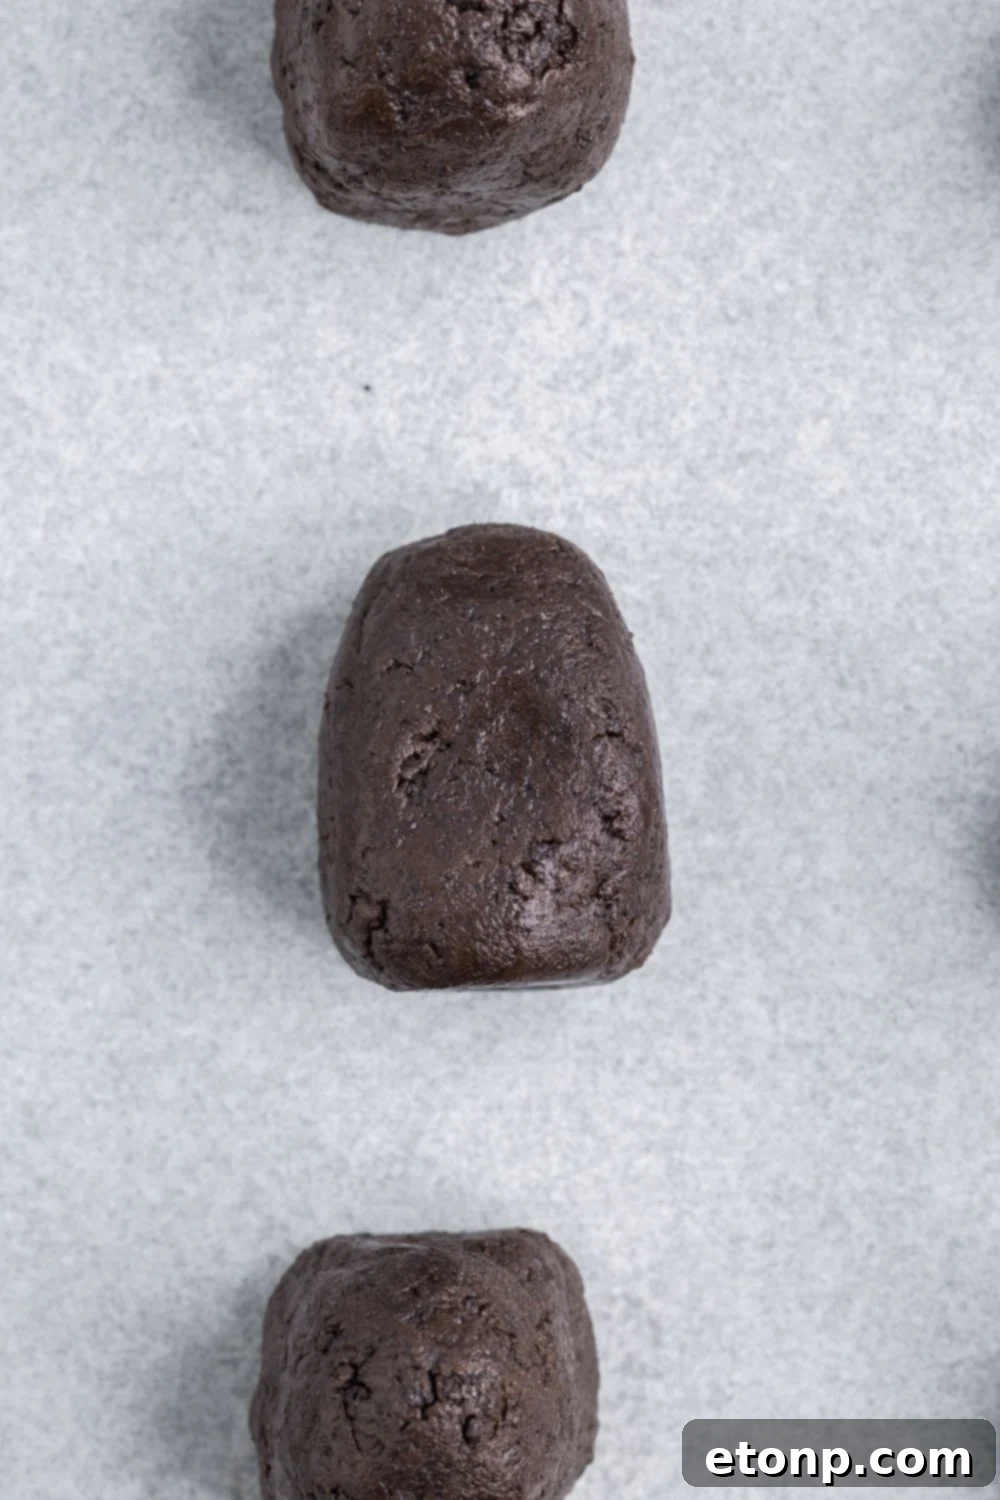
- Shaping Your Ghosts: While perfection isn’t the goal, a uniform bell shape for your truffles provides an excellent base for dipping and decorating. Don’t stress about every truffle being identical; their individual quirks add to their charm. The wider base and slightly tapered top naturally lend themselves to a classic ghost silhouette.
- Mind the Melting Chocolate: When melting your white candy melts (or chocolate), do so gently. Overheating chocolate, especially white chocolate, can cause it to “seize up” – becoming thick, grainy, and unusable. Use a double boiler or microwave in short bursts (15-30 seconds), stirring frequently, until just melted and smooth.
- Adjusting Batter Consistency: If you find your truffle mixture is too sticky and difficult to shape, it likely has too much moisture. Simply add a few more finely crushed Oreo cookies (or even just the dark crumb part) to absorb excess moisture until the mixture is firm enough to handle without sticking excessively to your hands.
- Chill for Stability: Chilling your shaped truffles in the freezer or refrigerator before dipping is a crucial step. This firms them up, preventing them from losing their shape when introduced to the warm melted chocolate. A well-chilled truffle will maintain its structure, ensuring a beautifully coated ghost.
- Piping with Ease: For piping on the black candy melt faces, a small piping bag with a tiny round tip works best. Alternatively, a simple sandwich bag with a very small corner snipped off (start small, you can always cut more) provides an effective and convenient way to create neat eyes and mouths.
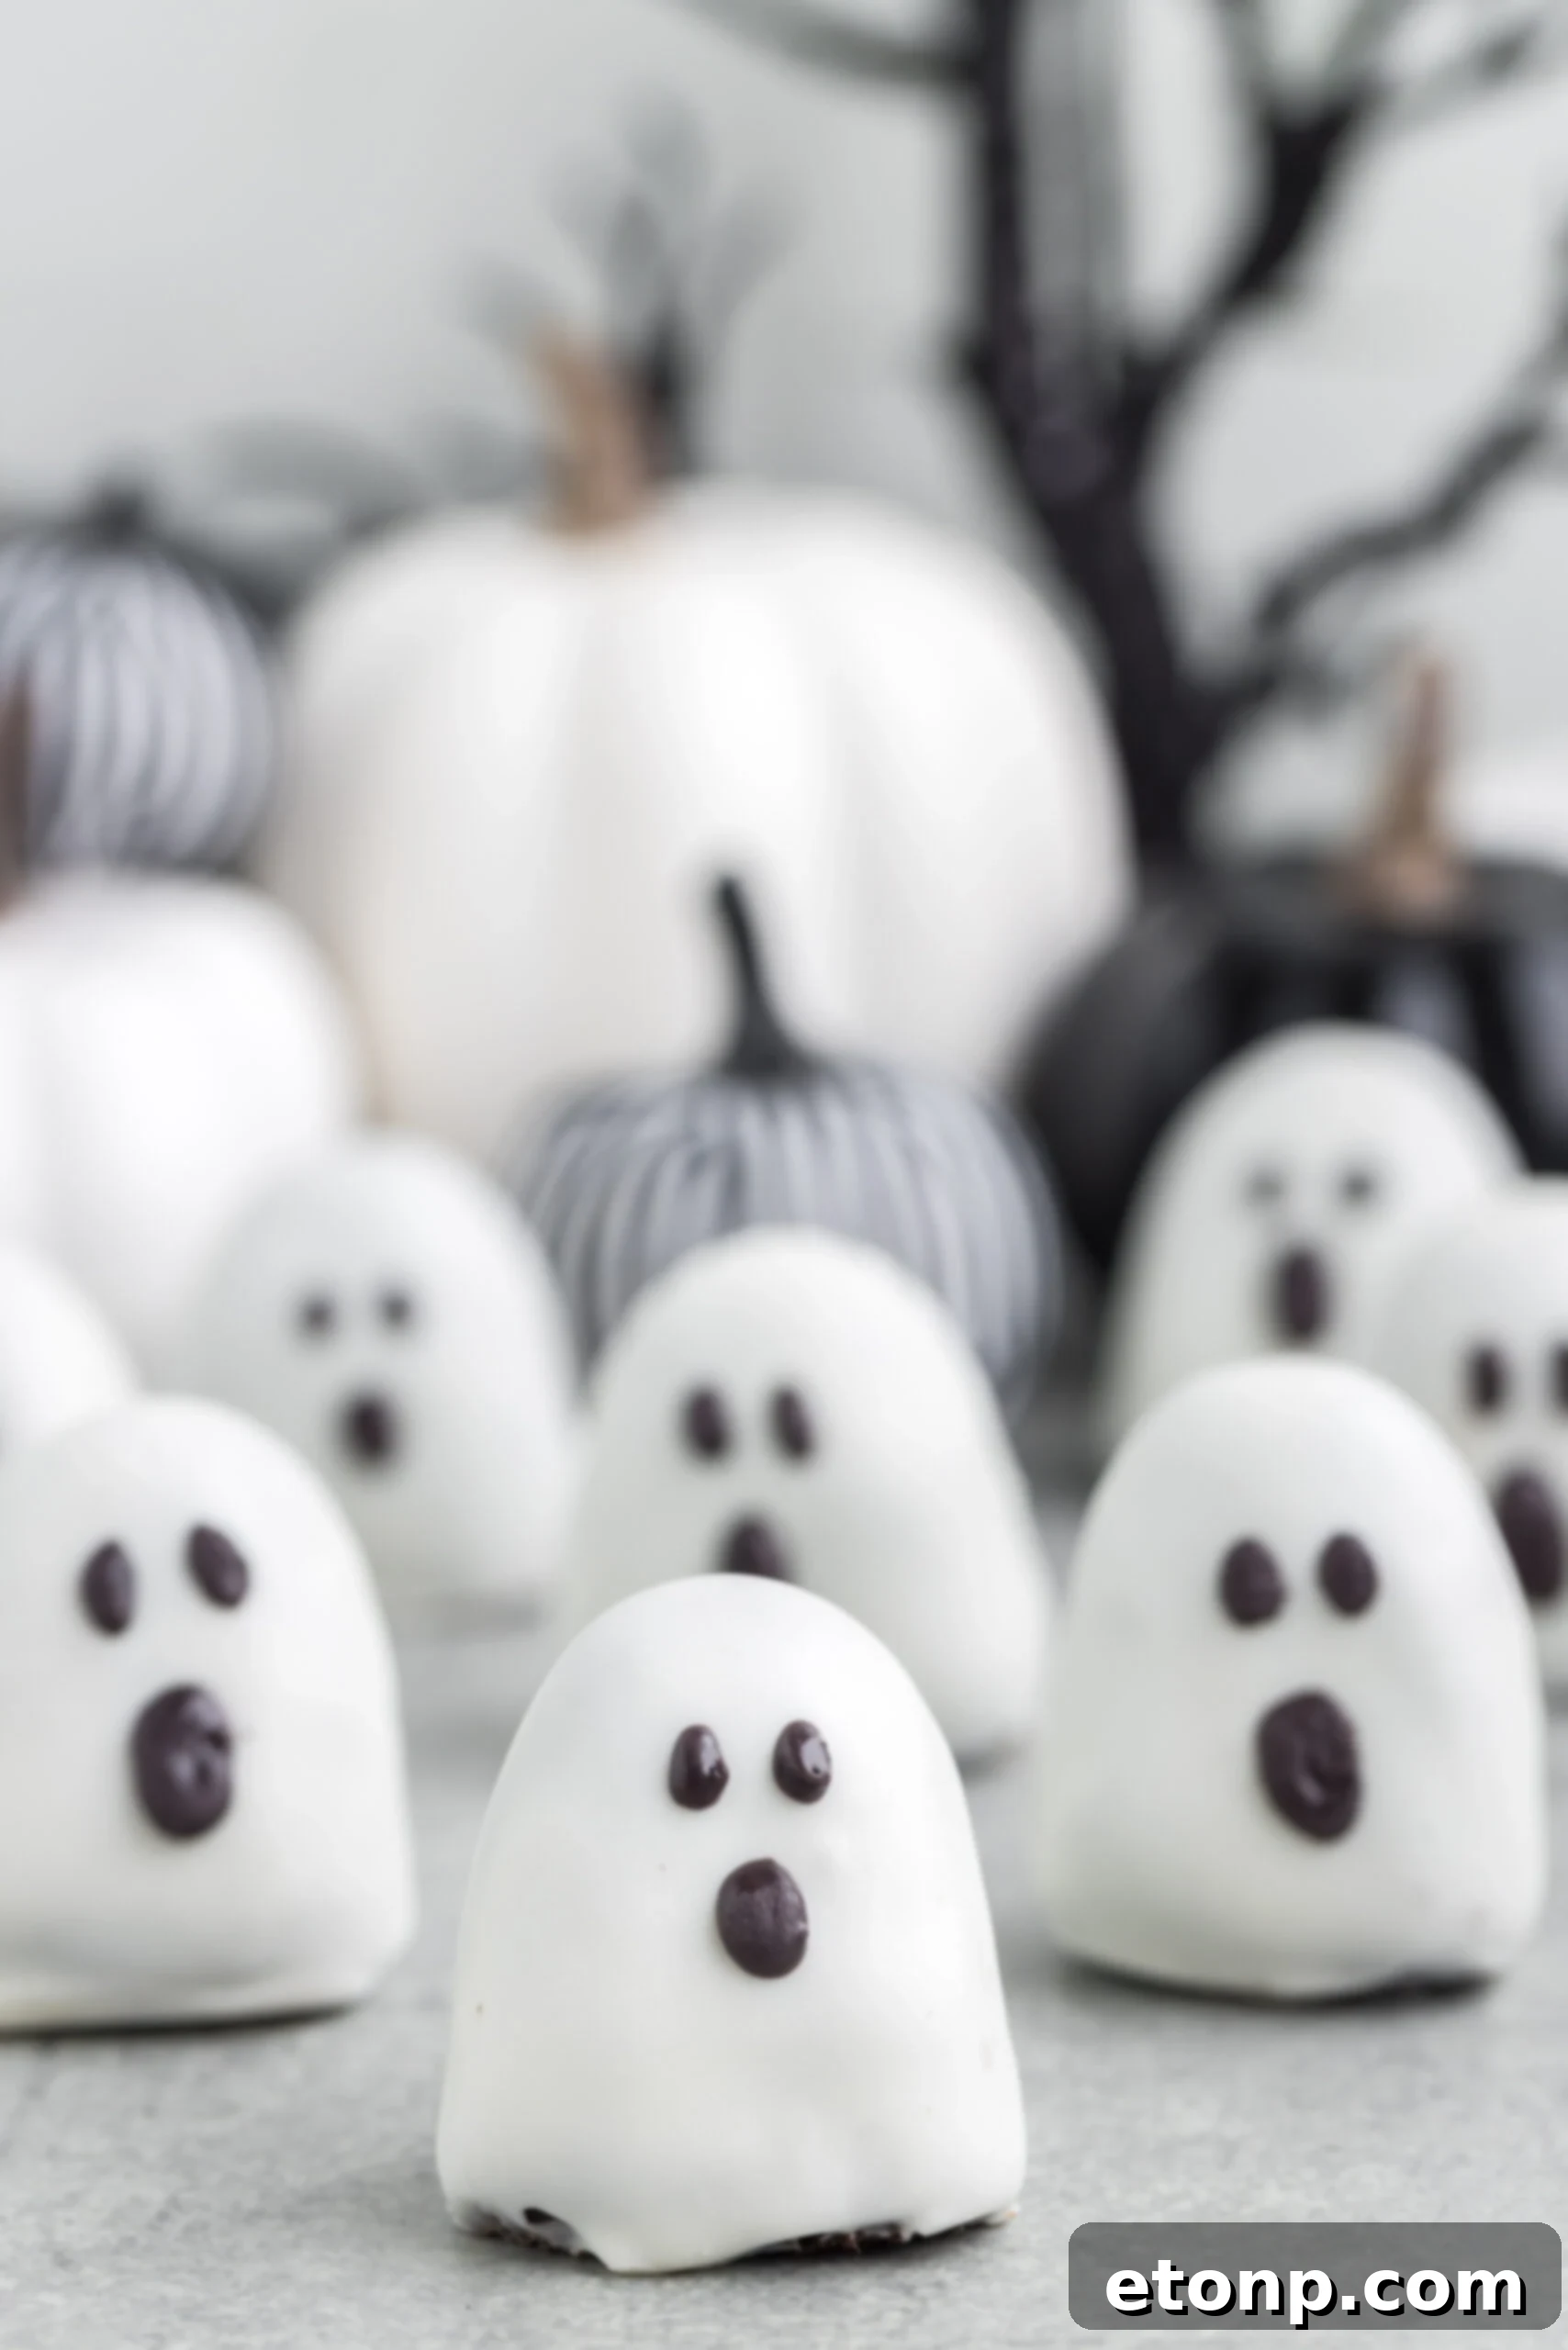
Storing Your Ghostly Delights
Proper storage is key to keeping your Ghost Truffles fresh and delicious for as long as possible. Whether you plan to serve them within a few days or save some for later, here’s how to store them effectively:
- Room Temperature or Refrigerator: These ghost truffles are quite versatile in their storage preferences. You can store them on the kitchen counter at room temperature for up to a week, especially if your home isn’t overly warm. For extended freshness and a firmer texture, storing them in the refrigerator is recommended. Simply place the Oreo truffles in a sealed, airtight container in a single layer to prevent them from sticking or getting damaged. In the fridge, they will maintain their quality for up to two weeks.
- Freezer for Long-Term Storage: If you’ve made a large batch or want to enjoy these spooky treats beyond the immediate Halloween season, the freezer is your best friend. Place any leftover ghost Oreo balls in a freezer-safe container or a heavy-duty freezer bag. They can be frozen for an impressive 5-6 months without significant loss of quality. To enjoy them later, simply transfer them from the freezer to the refrigerator overnight, or allow them to thaw on the counter for a few hours until they reach your desired consistency.
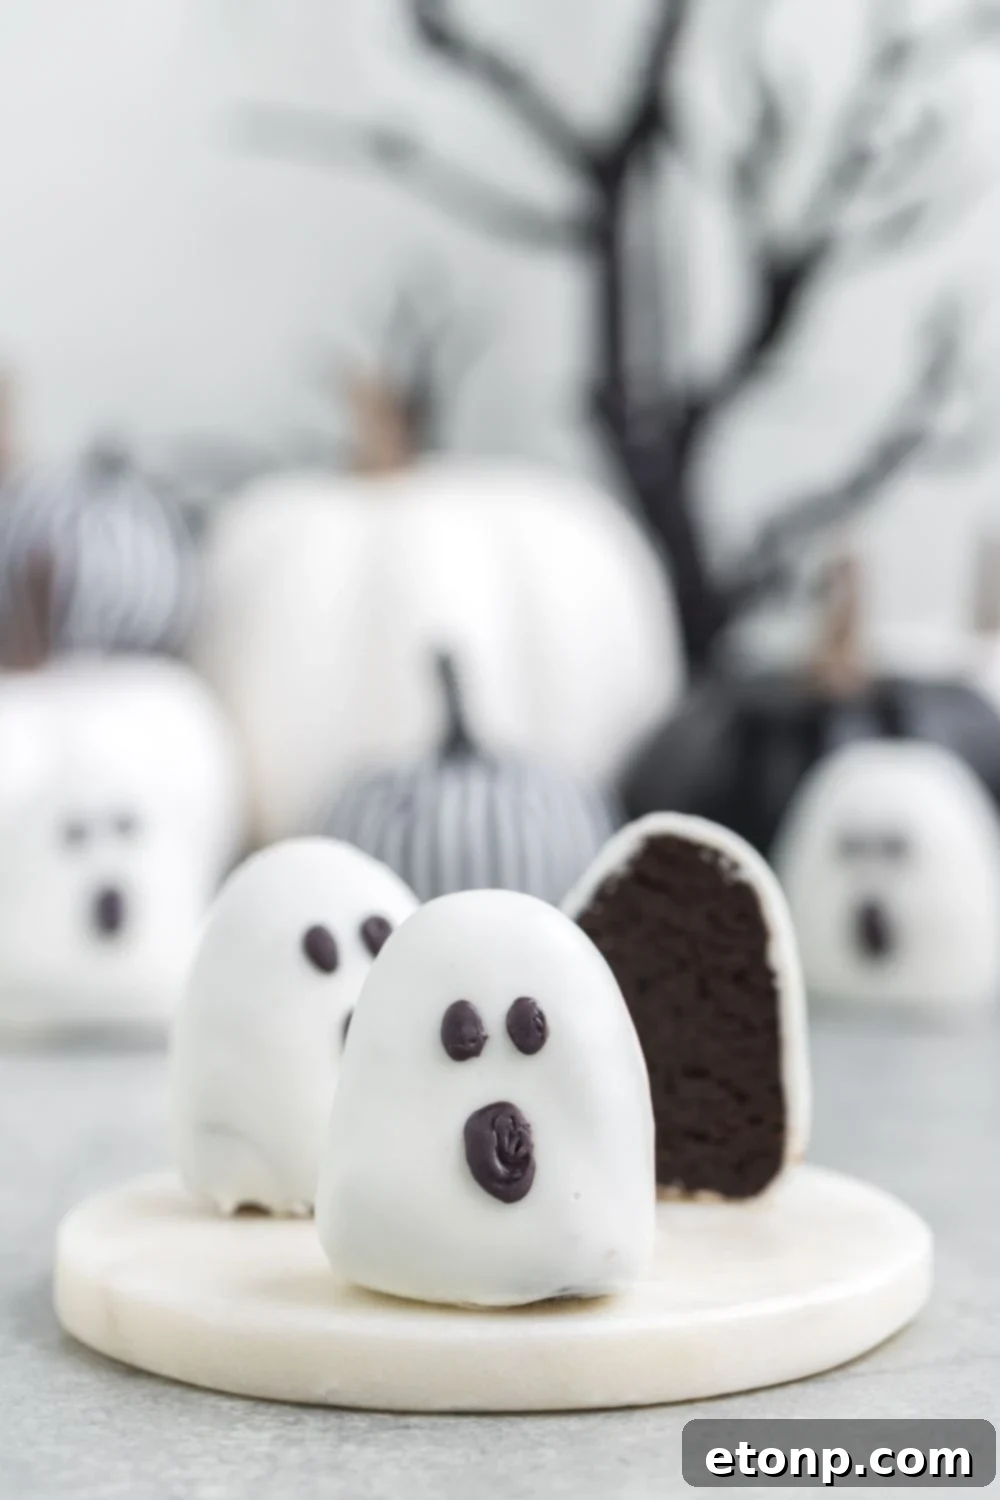
Frequently Asked Questions (FAQs) About Ghost Truffles
Can I use peanut butter cookies instead of Oreos?
Absolutely! If you wish to use a peanut butter sandwich cookie, such as Nutter Butters, it will work wonderfully and add a delightful nutty flavor. However, it’s important to note that peanut butter-based cookies tend to release more oil than Oreos when crushed and mixed. This can make the truffles slightly oilier. For the best experience, we recommend refrigerating these peanut butter ghost truffles until just before you plan to serve them, which will help maintain their shape and firm texture.
Does this ghost truffles recipe double or triple well?
Yes, this recipe is incredibly forgiving and scales up beautifully! You can confidently double or even triple the batch size if you’re planning for a larger gathering or want to make plenty for gifting. When working with larger quantities, simply grab a container that’s large enough to accommodate the mixture and work in batches if needed. One tip to keep in mind: the white chocolate coating tends to dry quickly. If your melted chocolate starts to thicken in the bowl, gently warm it back up in the microwave for a few seconds (stirring thoroughly) until it returns to its smooth, dippable consistency, and then continue dipping your truffles.
Can I make these ghost truffles ahead of time for an event?
Definitely! These ghost truffles are an excellent make-ahead dessert, which is perfect for busy party preparations. You can prepare them up to two days in advance without any issue. Once they are fully set and decorated, store them in an airtight container at room temperature or in the refrigerator. Keeping them covered ensures they don’t dry out and remain fresh and delicious until you are ready to serve them to your delighted guests.
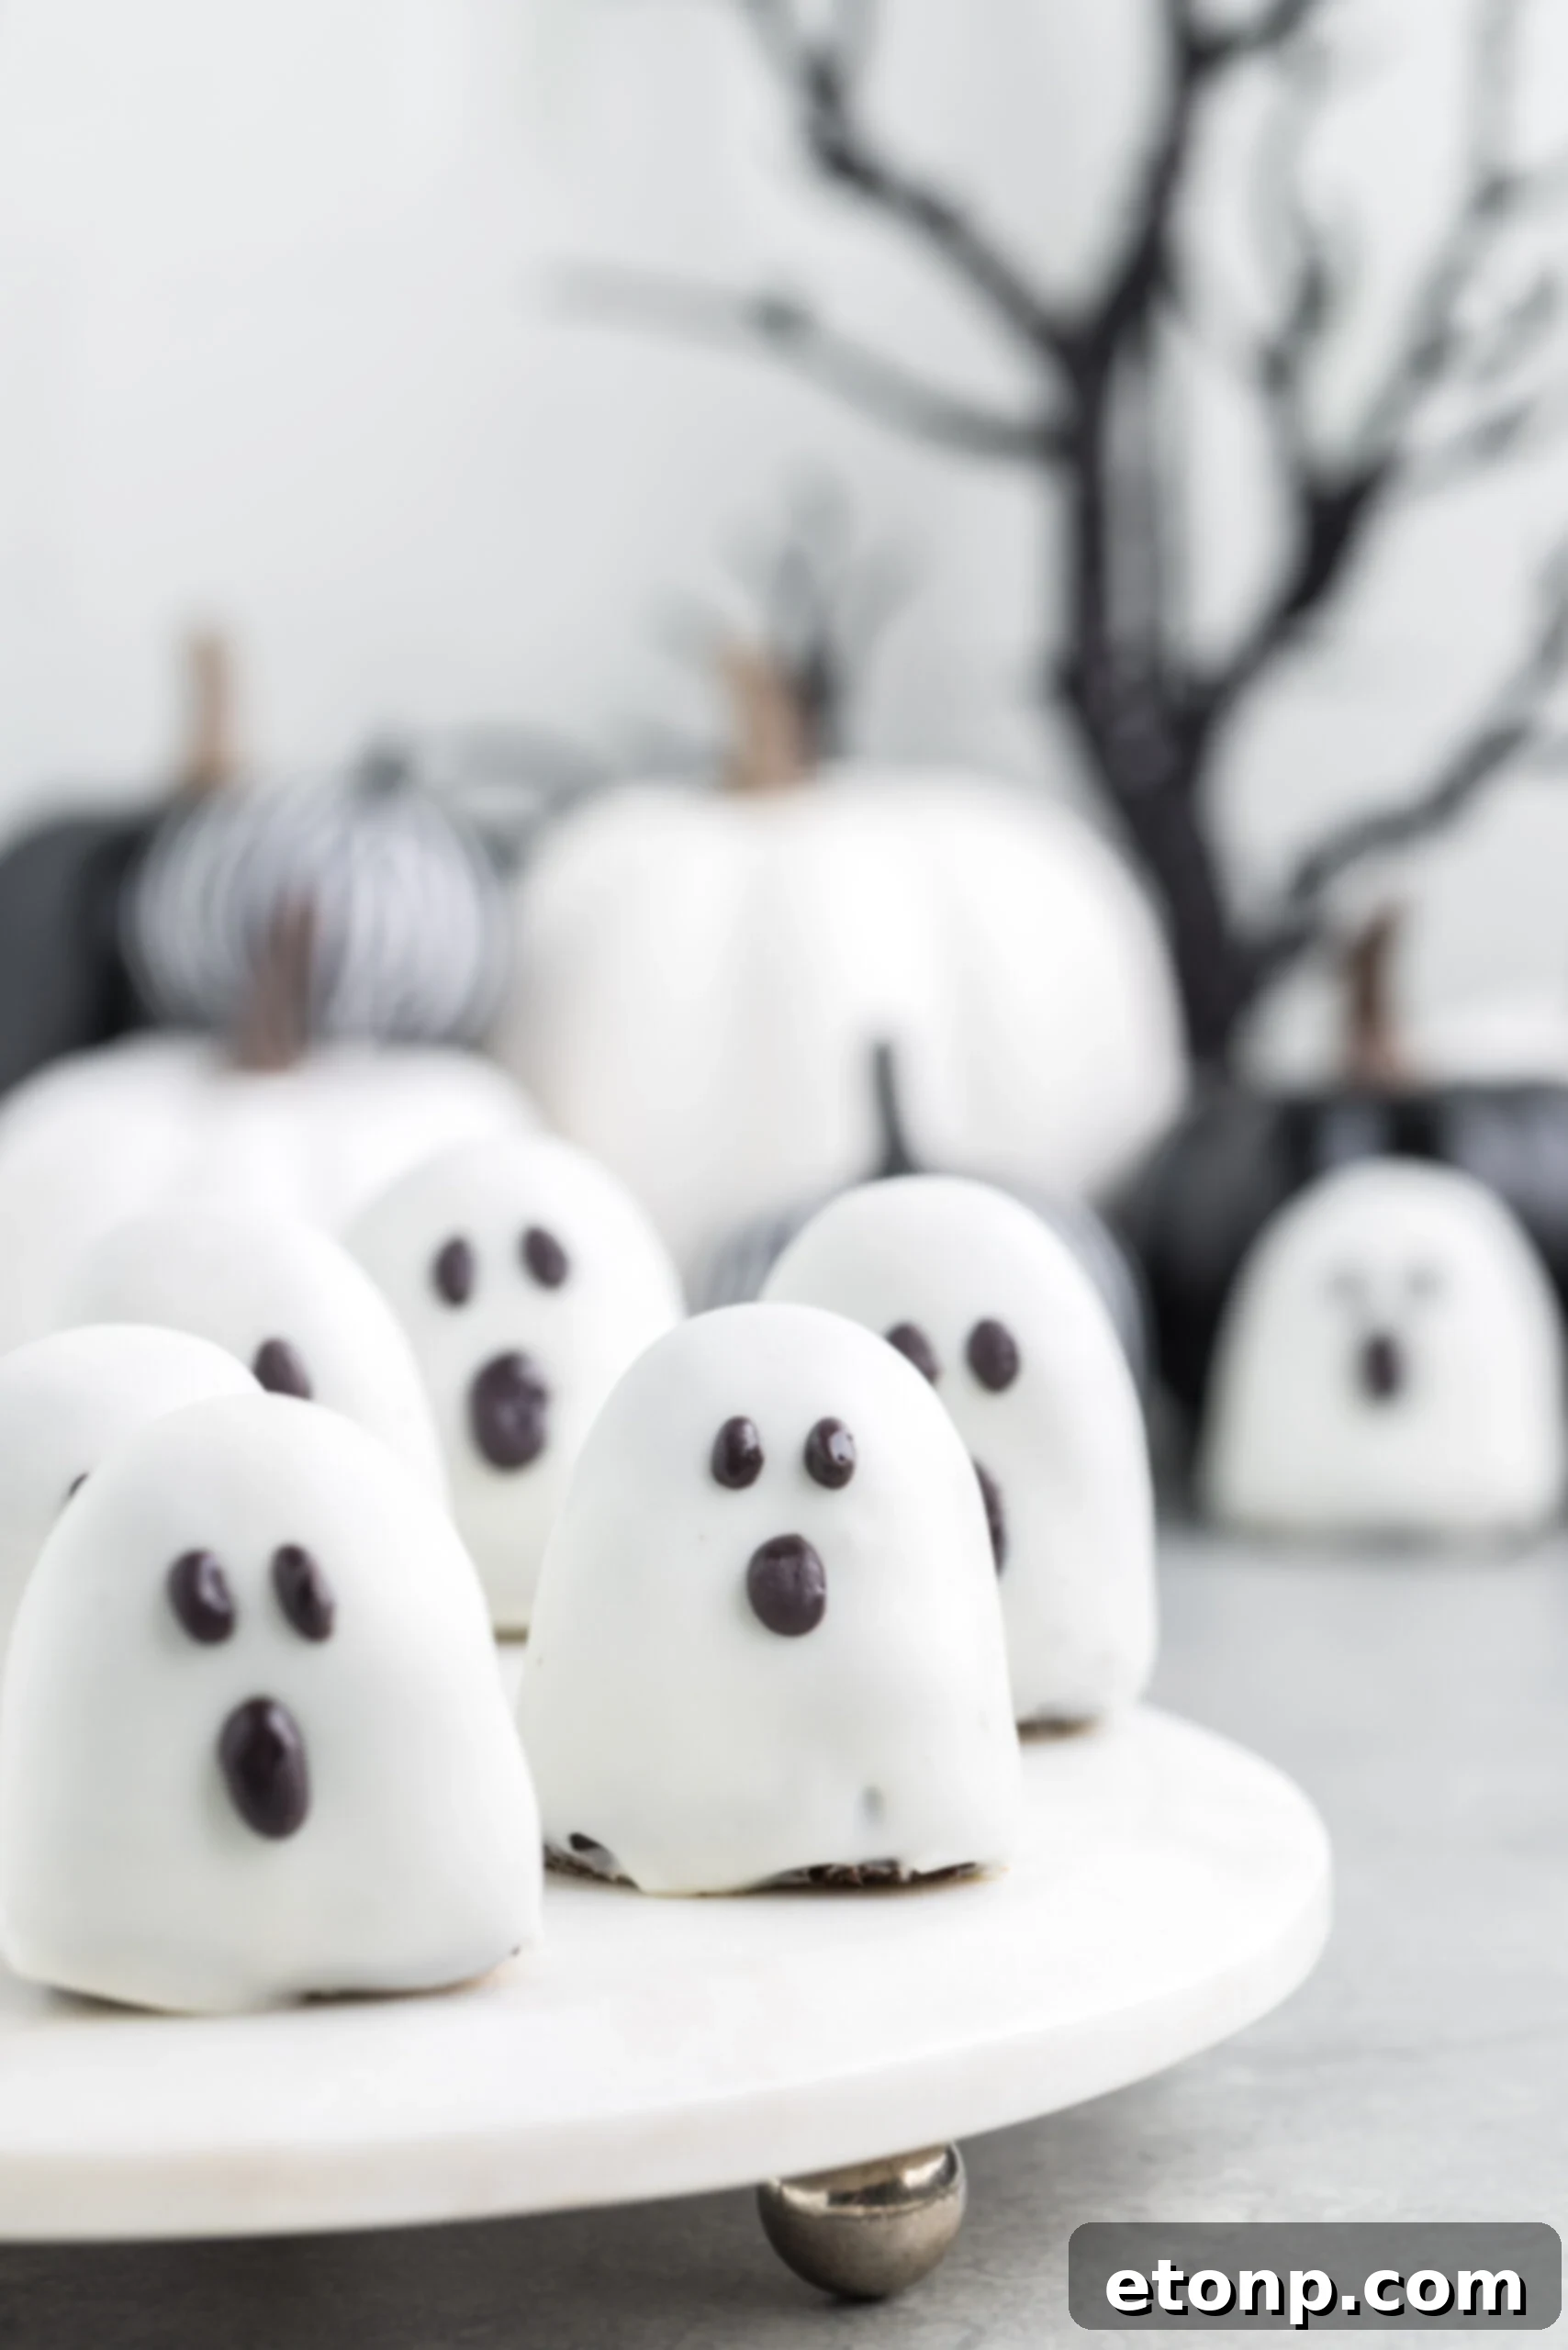
More Spooky Sweet Recipes to Explore
- Decadent Halloween Cheesecake
- Fun Jack O’Lantern Cookies
- Irresistible Pumpkin Cheesecake Bars
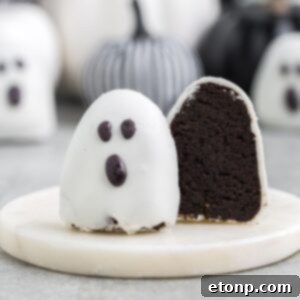
Ghost Truffles
Ghost Truffles are a delicious Oreo and chocolate frosting truffle that is shaped like a ghost and dipped in white chocolate. These bite-sized Halloween truffles are a hit every time I make them.
Ingredients
- 24 chocolate Oreo cookies
- 1 cup store-bought chocolate frosting
- ¼ teaspoon salt
- 1 ½ cups white candy melts
- 2 tablespoons black candy melts
Instructions
-
Line a rimmed baking sheet with parchment paper and set it aside.
-
In a food processor, add your Oreo cookies and crush them into a fine crumble. Ensure there are no large pieces remaining.
-
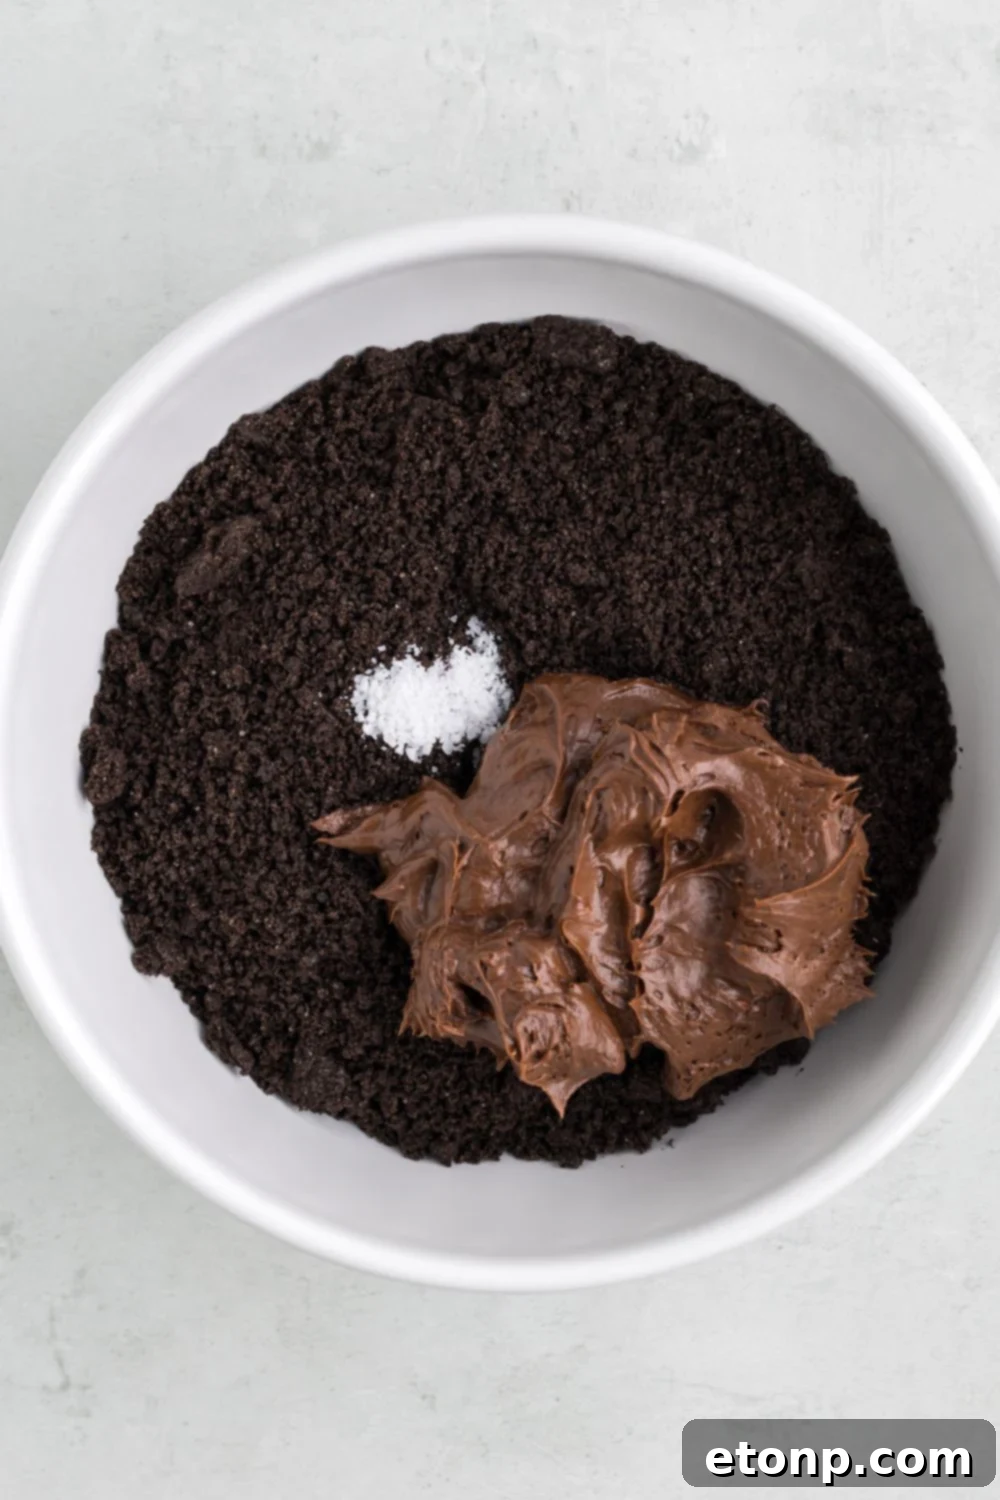
Transfer the crushed crumbs to a medium-sized bowl. Add the chocolate frosting and salt. Mix thoroughly until all ingredients are well combined and a uniform, pliable mixture forms.
-
Scoop out a heaping tablespoon of the truffle mixture. Gently shape it into a bell-like form, creating a rounded top and a slightly wider, flowing base to resemble a ghost. Place the shaped truffle onto the prepared baking sheet. Repeat this process until all of the truffle mixture has been used.
-
Refrigerate the shaped truffles for 30-40 minutes. This chilling period is crucial as it allows the truffles to firm up significantly, which will prevent them from falling apart during the dipping process.
-
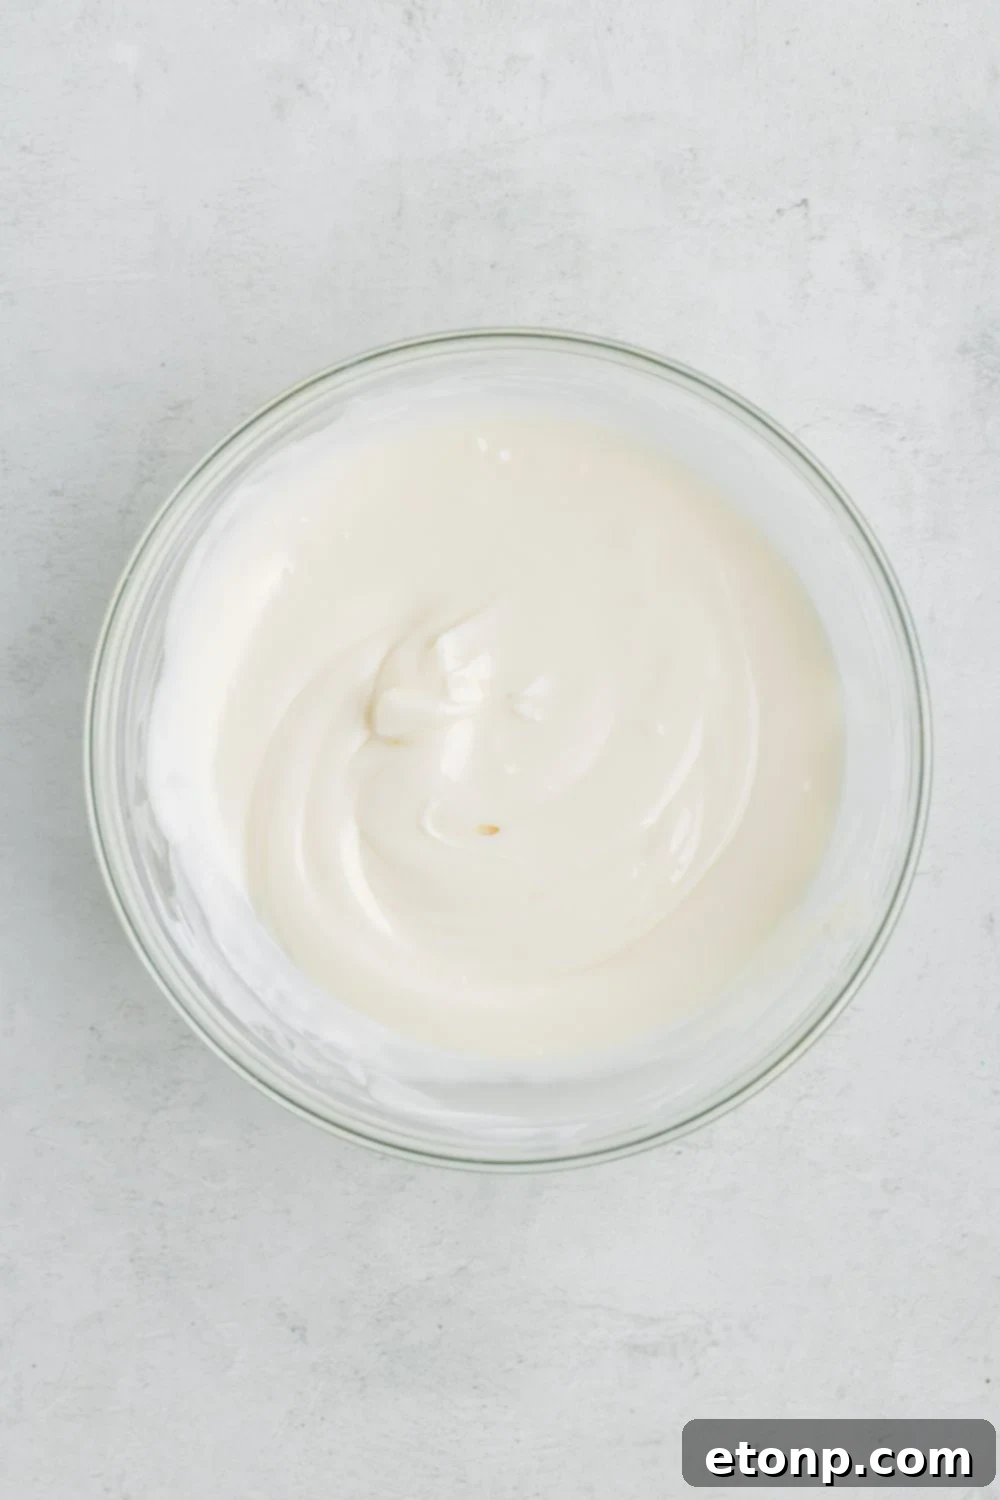
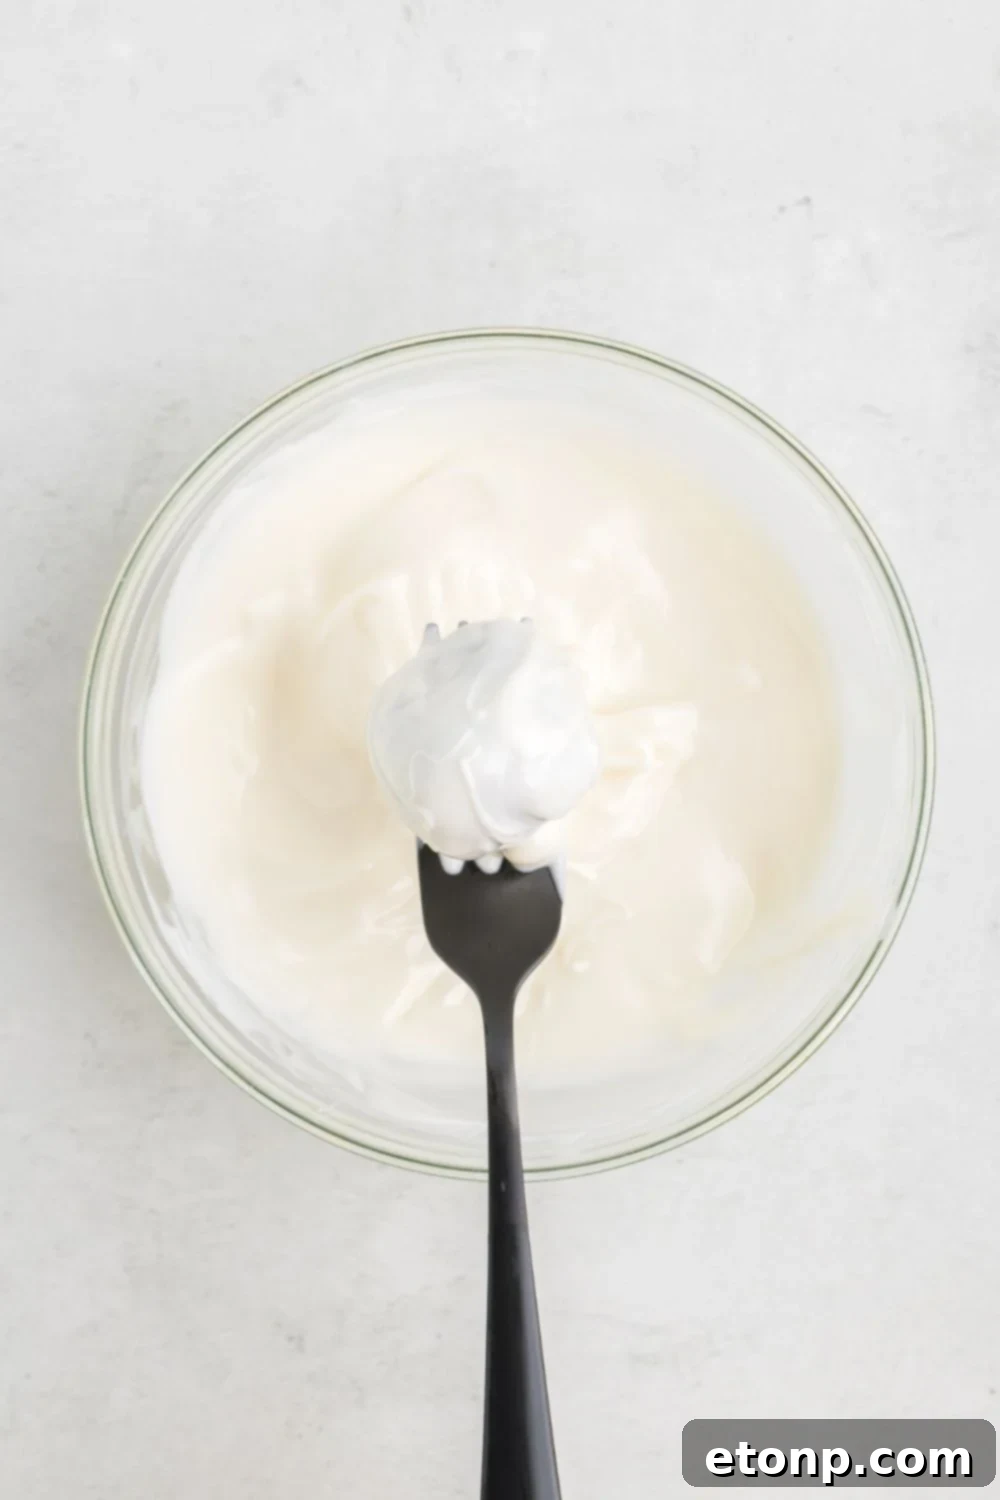
While the truffles are chilling, melt the white candy melts according to the package directions. Use a microwave (in short 15-30 second bursts, stirring in between) or a double boiler to prevent overheating. Dip each chilled truffle into the melted white chocolate, ensuring it’s fully coated. Gently shake off any excess chocolate.
-
Carefully place the dipped truffle back onto the parchment-lined tray. Continue dipping the remaining truffles, allowing them to set on the tray.
-
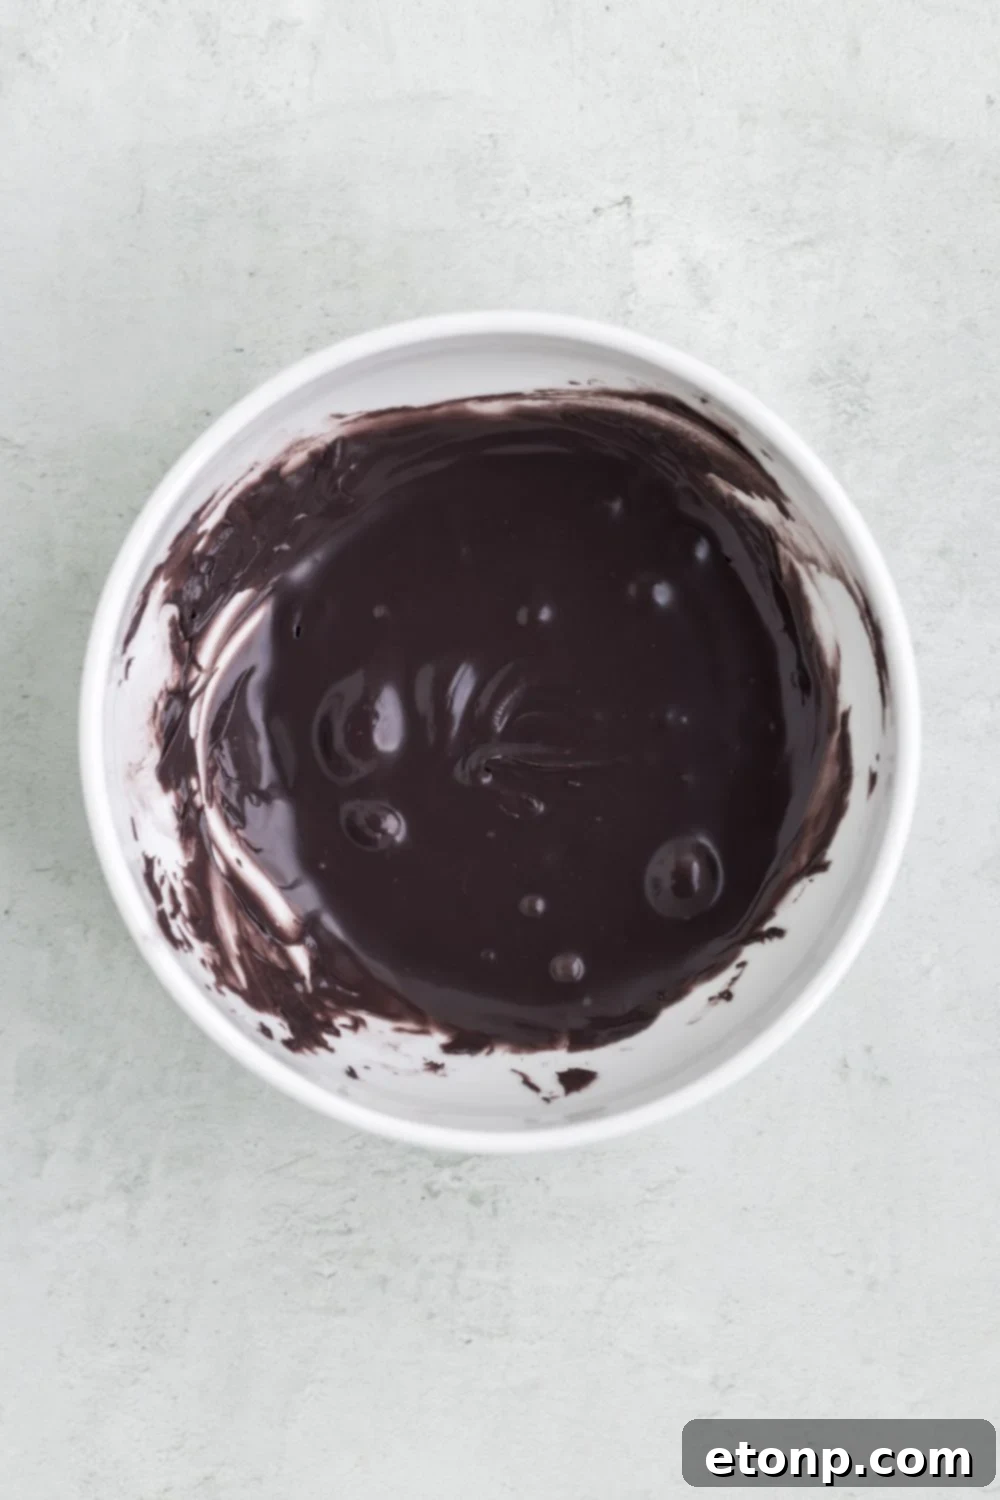
Once the white chocolate coating has completely set (this can be sped up by chilling for a few minutes), melt the black candy melts. Transfer the melted black candy melts into a piping bag or a small sandwich bag. Snip a very small tip off one corner of the bag.
-
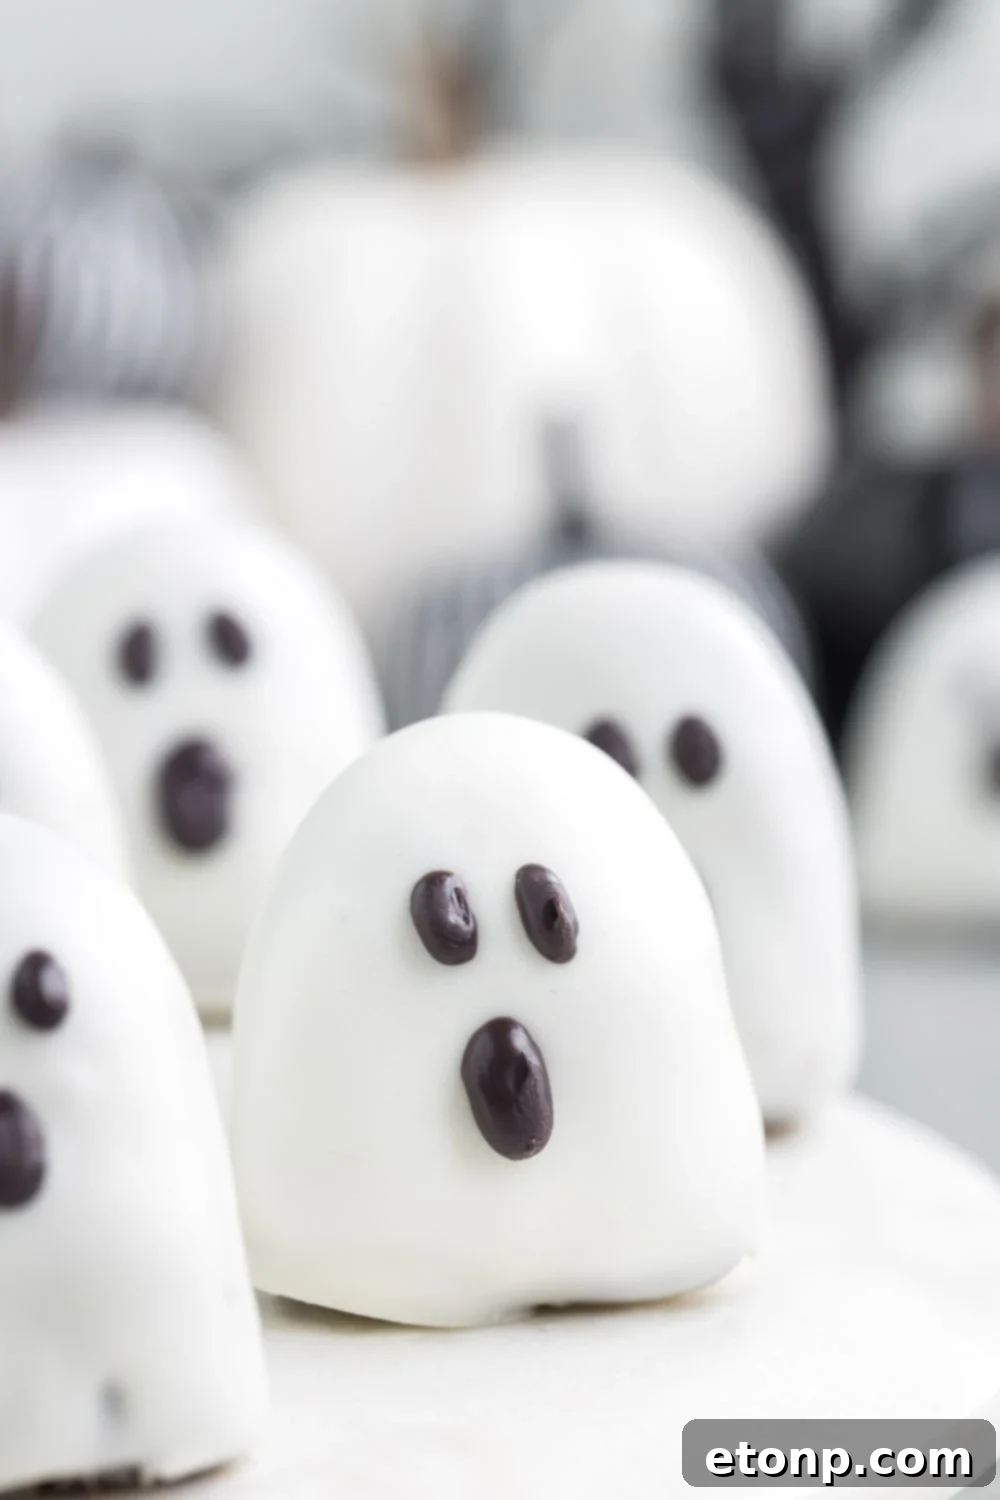
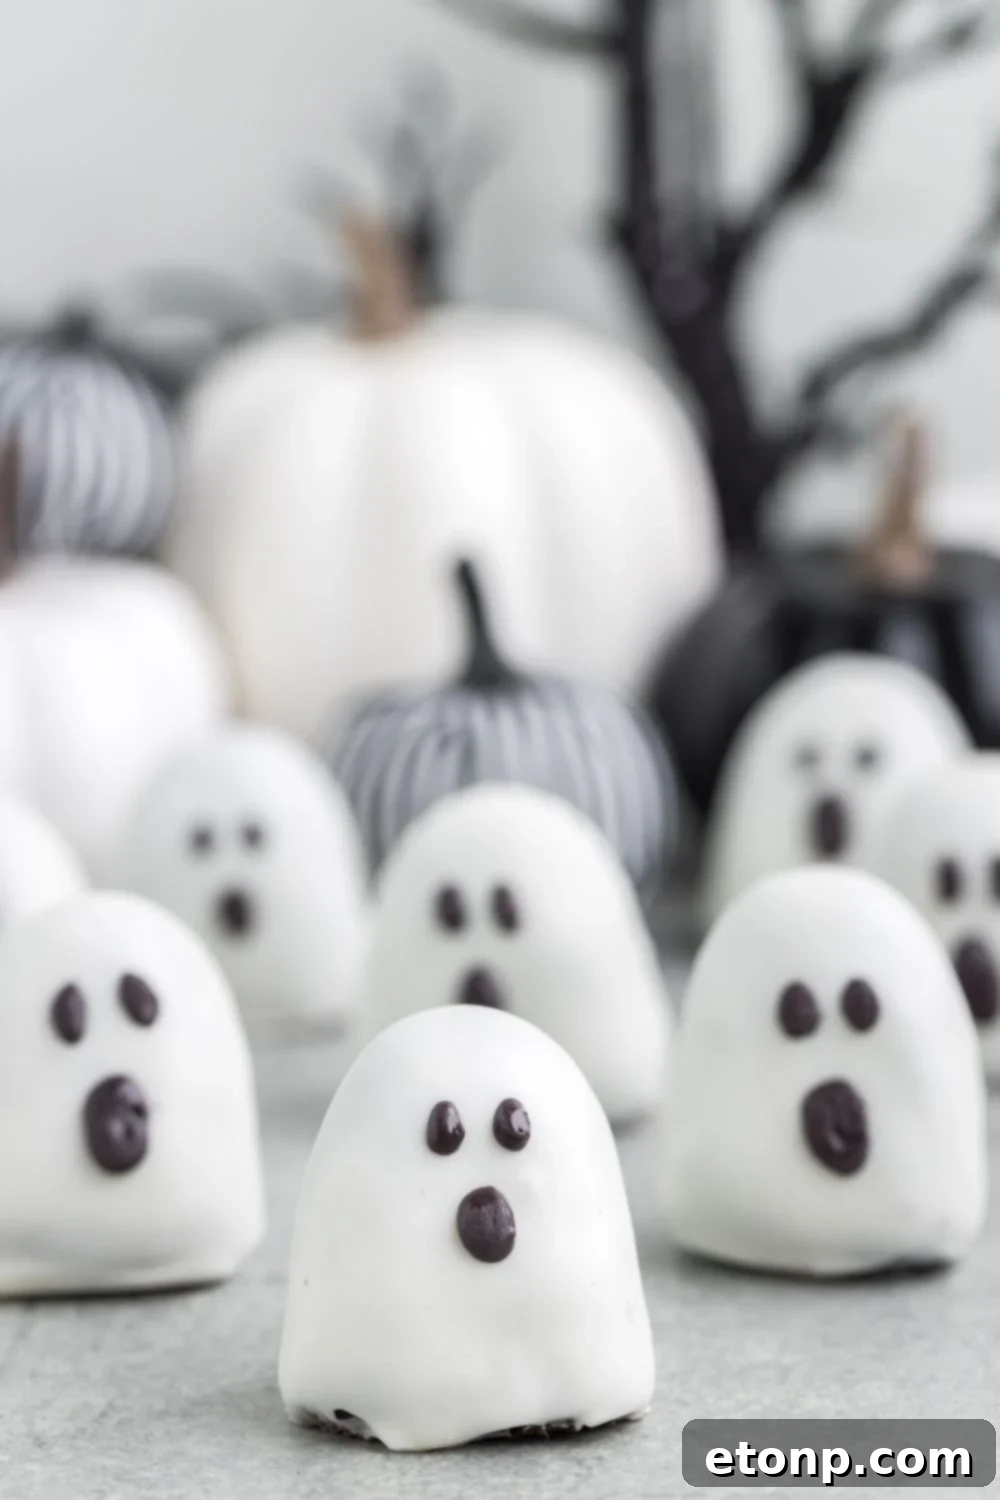
Using the piping bag, carefully pipe on small oval shapes for eyes and a small, slightly curved line for a mouth onto each ghost truffle, bringing your spooky creations to life.
Did you make this recipe?
Make sure to follow on Pinterest for more incredible recipes and inspirations!
Pin Recipe
Share on Facebook