
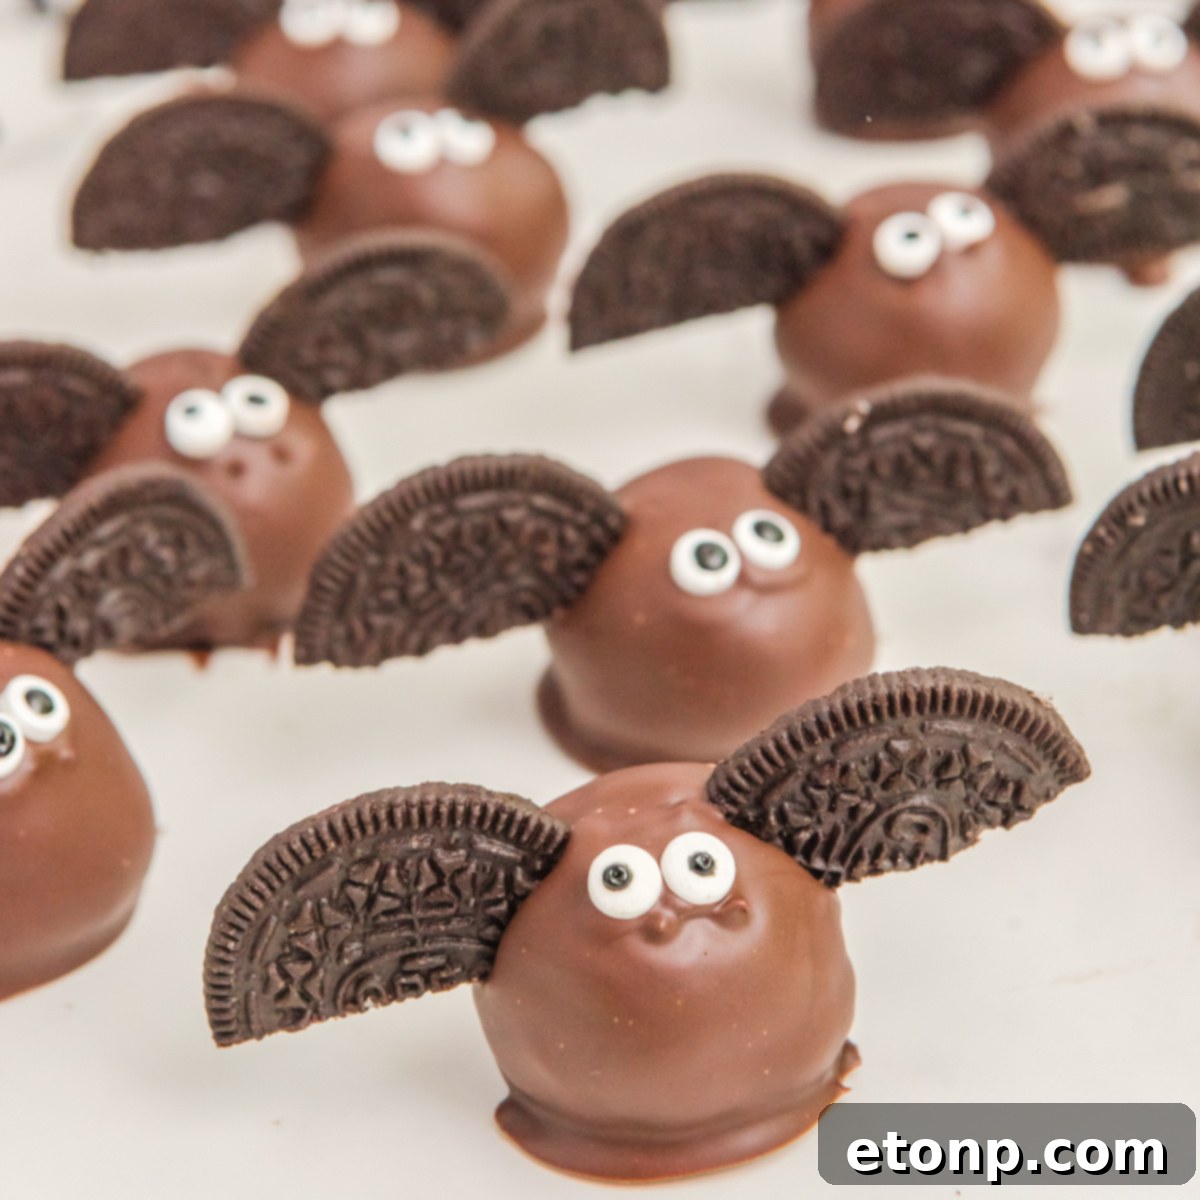
Get ready to unleash some spooktacular fun in your kitchen this Halloween with our incredibly easy and utterly delightful Bat Oreo Truffles! These aren’t just any ordinary no-bake treats; they’re a hauntingly charming addition to any festive gathering, guaranteed to bewitch both kids and adults alike. Imagine the rich, decadent flavor of crushed Oreo cookies blended with creamy cheese, then perfectly dipped in smooth chocolate, and finally adorned with playful Oreo cookie wings and adorable candy eyes to bring these friendly bats to life. Each bite-sized truffle is a burst of chocolatey goodness, making them the ultimate sweet indulgence for the autumn season.
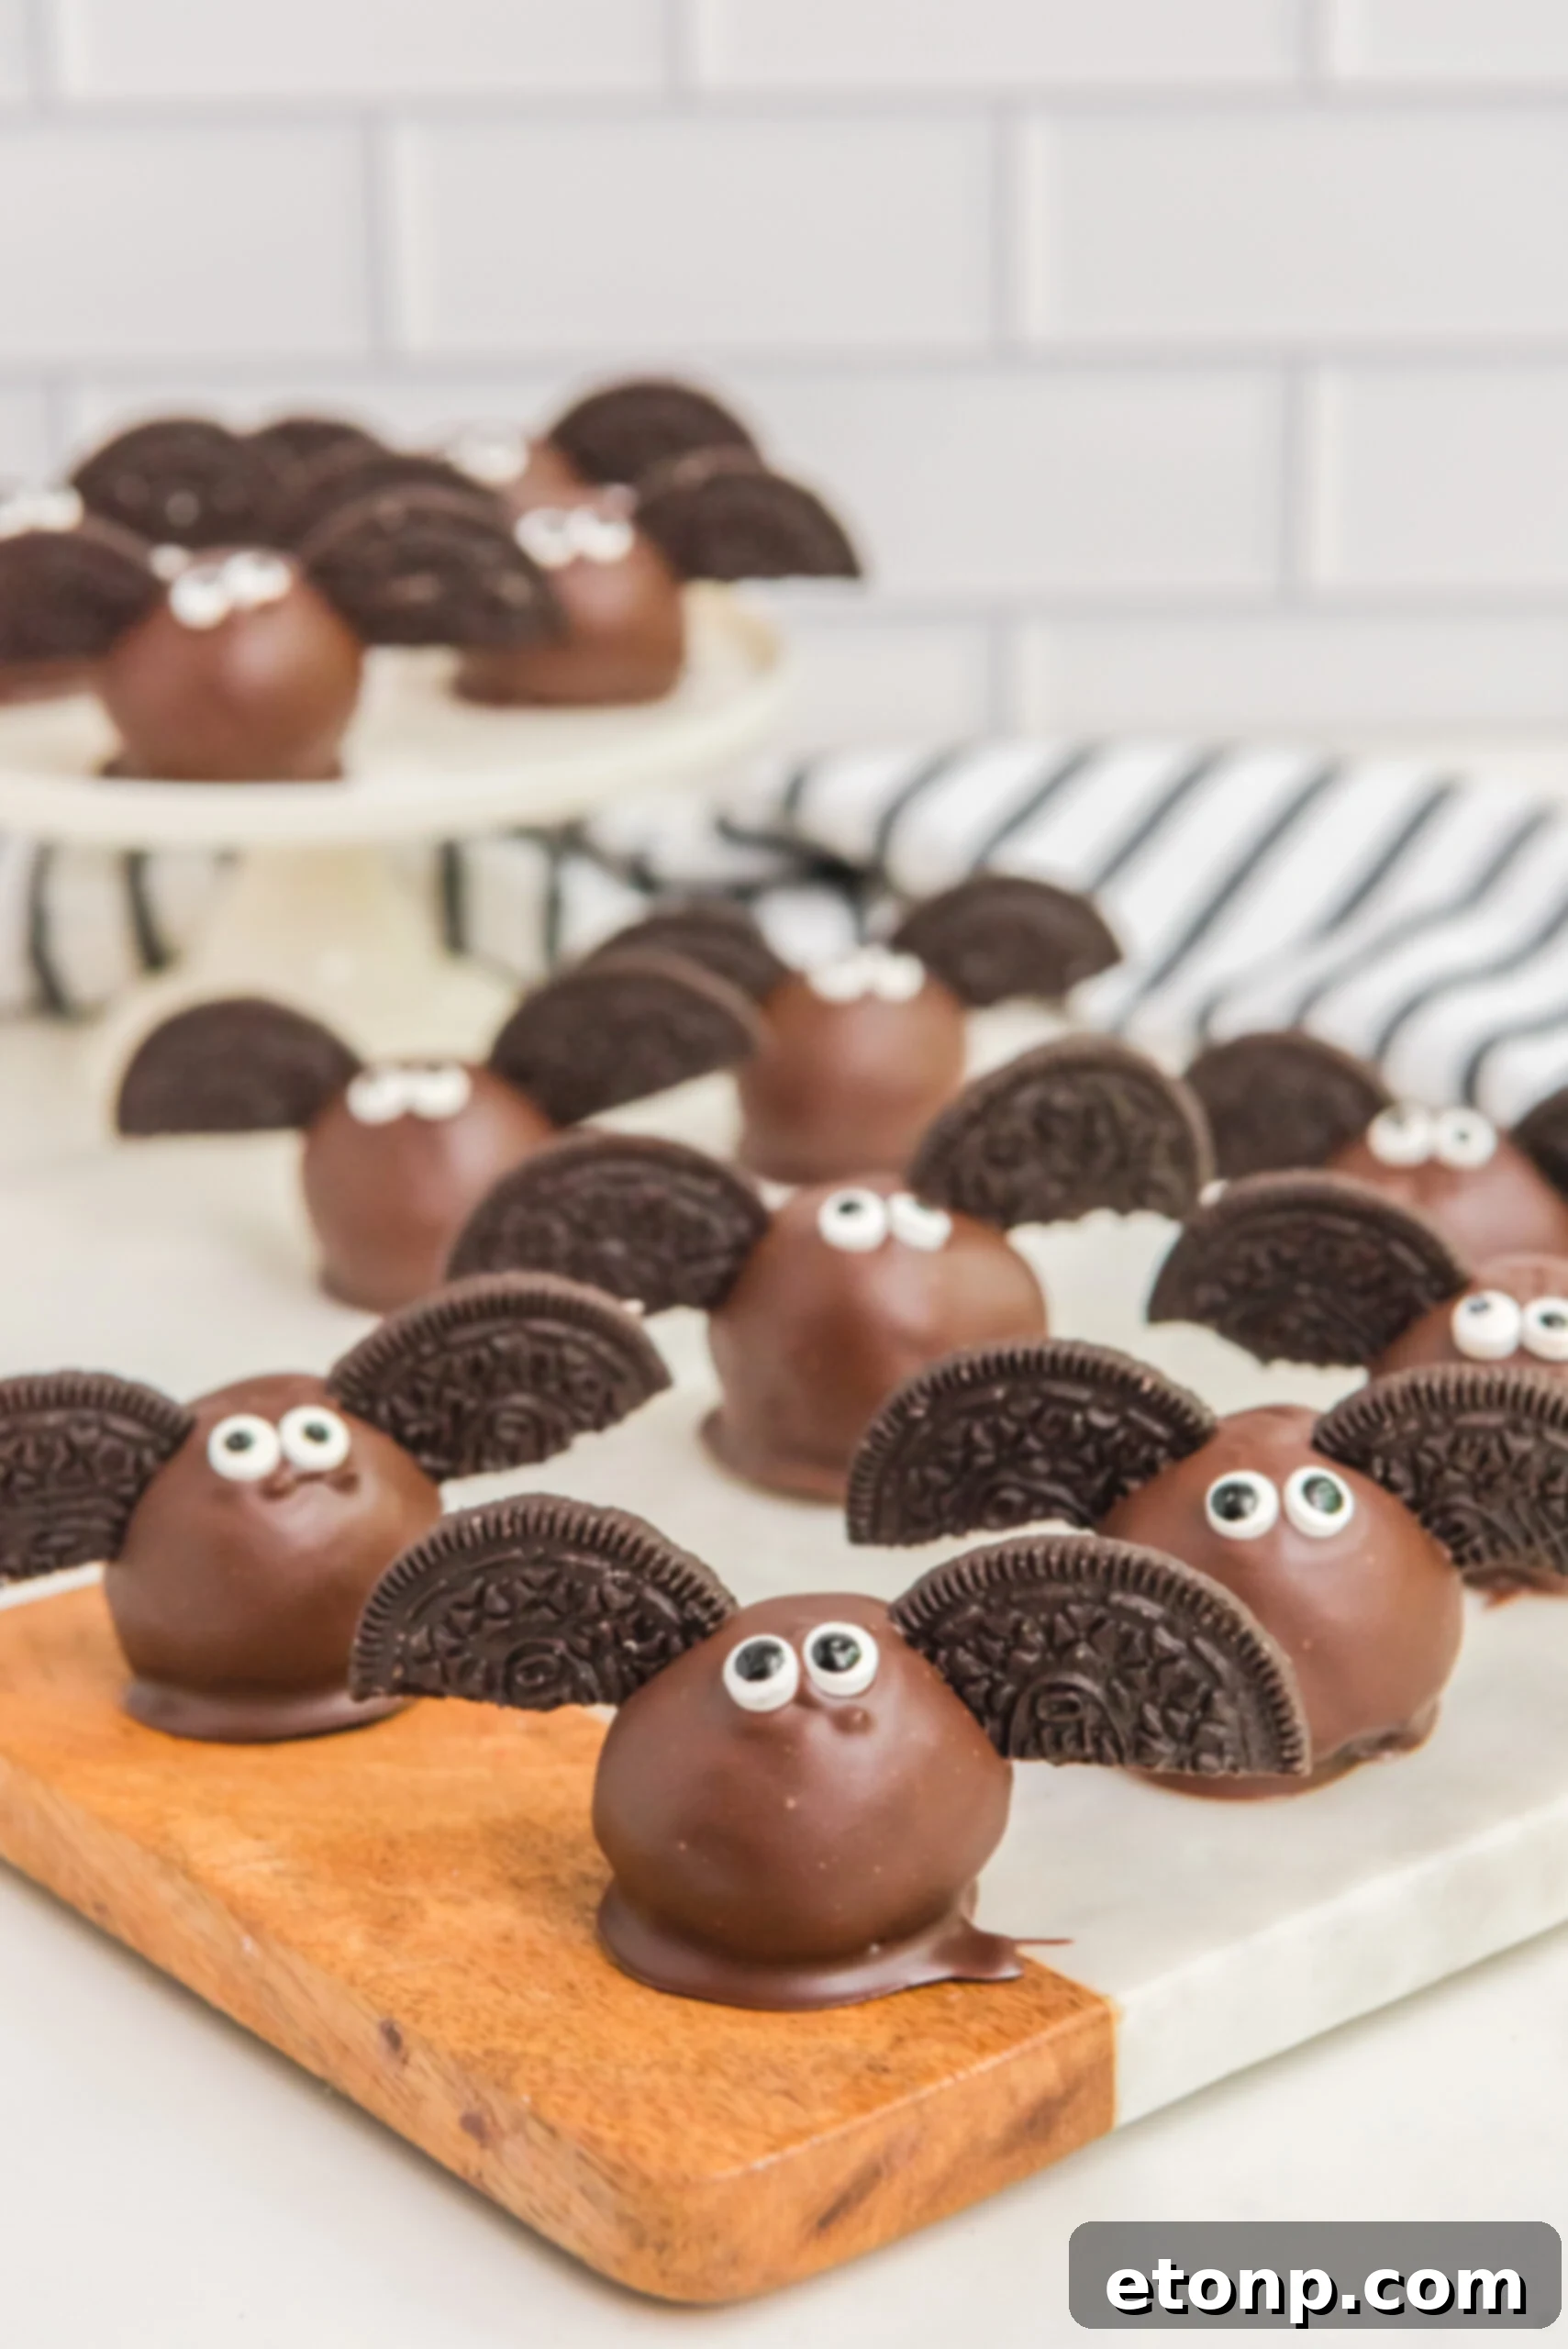
Crafting these Halloween Bat Truffles is a fantastic activity for the entire family. With their simple ingredients and no-bake preparation, even the littlest hands can join in on the decorating fun, rolling the Oreo balls and adding the final touches. It’s a wonderful way to get everyone excited for fall and the much-anticipated Halloween celebrations. These charming little bats are not only visually captivating but also incredibly simple to make, proving that the best Halloween treats don’t have to be complicated.
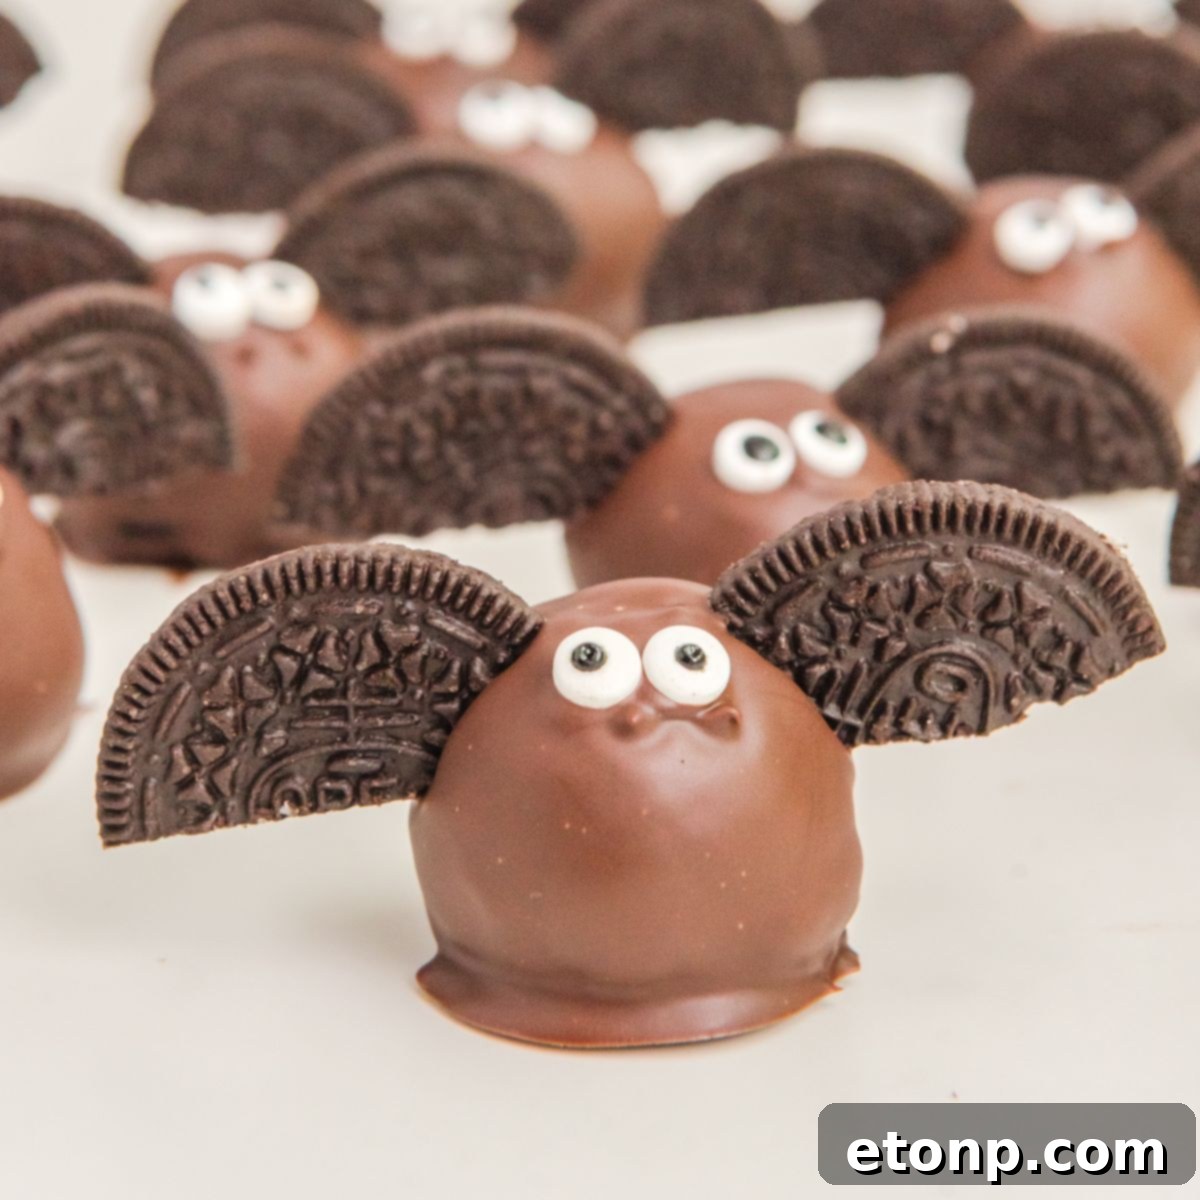
Whether you’re looking for a quick dessert to impress your guests, a creative school party treat, or just a fun way to spend an afternoon, these Bat Oreo Truffles fit the bill perfectly. Their irresistible chocolate flavor and festive appearance make them a standout dessert that will disappear faster than ghosts on Halloween night. Prepare yourself for a wave of compliments and delighted smiles as these homemade spooky delights become the star of your dessert table.
Looking for more no-bake autumn delights? Try our delightful no-bake pumpkin cheesecake bars for a creamy, sliceable dessert. Or, for another spooky-themed treat, consider these peanut butter spider cookies or our adorable Jack O Lantern cookies. These complementary recipes offer more ways to celebrate the season with easy, delicious creations.

What Exactly Are Bat Oreo Truffles?
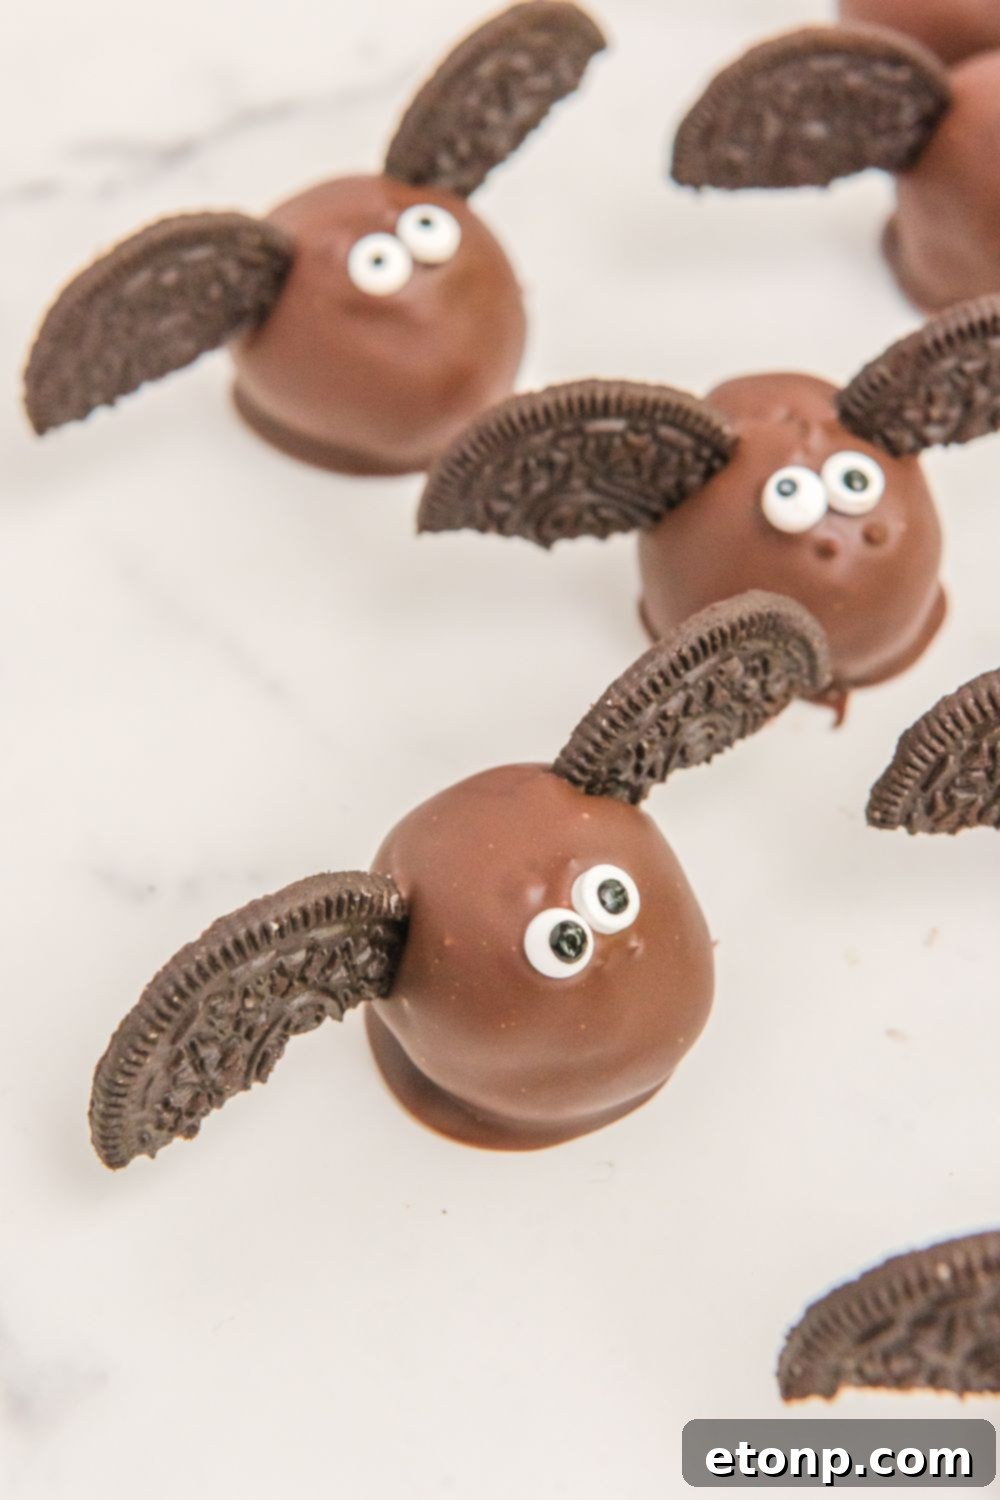
Bat Oreo Truffles are a confectionery marvel, a delightful fusion of crushed Oreo cookies and softened cream cheese, forming a rich, dense, and incredibly moist truffle base. This mixture is then hand-rolled into perfect spheres, creating the body of our charming bats. Each sphere is then lovingly coated in a generous layer of rich, melted chocolate, which forms a smooth, glossy shell. The magic truly happens during decoration, where sliced Oreo cookies are ingeniously positioned to mimic the distinct wings of a bat, and small, edible candy eyes are carefully placed to give each truffle its spooky yet endearing personality. Essentially, they are a quick, no-bake, chocolate-covered cookie-and-cream-cheese ball, transformed into an adorable Halloween character.
These truffles stand out as a fantastic no-bake Oreo dessert, offering a quick and satisfying sweet fix without needing to turn on your oven. The combination of classic Oreo flavor with the tang of cream cheese creates a balanced taste profile that is both familiar and exciting. They’re a testament to how simple ingredients can come together to create something truly spectacular and festive in record time.
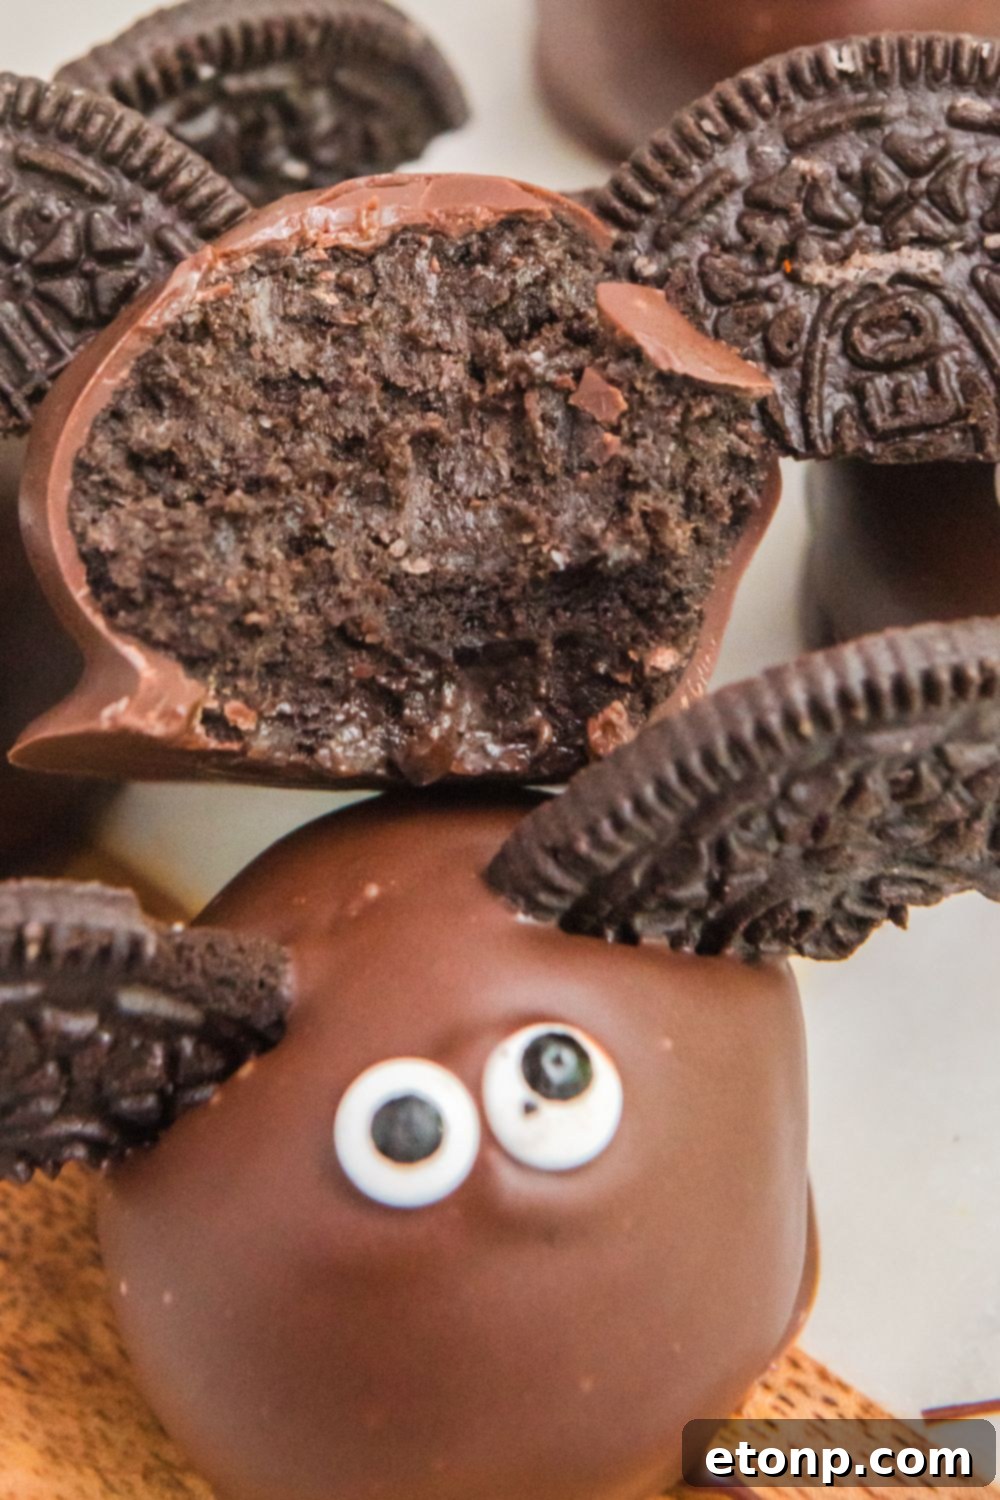
Reasons You’ll Fall in Love with These No-Bake Oreo Truffles
There’s a myriad of reasons why these Bat Oreo Truffles will become your new go-to Halloween treat. Their ease of preparation, delightful taste, and festive appeal make them a true winner for any occasion during the spooky season. Here’s why these truffles are an absolute must-try:
- Perfectly Festive: They embody the spirit of Halloween and the entire fall season, making them an ideal treat for themed parties, school events, or simply enjoying at home. Their bat-like appearance adds an undeniable charm and a touch of spooky fun to your dessert spread.
- Effortless No-Bake Recipe: Forget the oven! This recipe requires absolutely no baking, which means less time in the kitchen and more time enjoying the festivities. It’s perfect for those who prefer quick, simple, and fuss-free desserts.
- Engaging for All Ages: Kids adore these truffles, and the decorating process is incredibly fun and creative. It’s a wonderful opportunity for little ones to help out in the kitchen, fostering their creativity and excitement for the holiday.
- Versatile for Any Event: Whether it’s a school party, a lively Halloween gathering at home, a community bake sale, or a potluck, these truffles are a guaranteed hit. They travel well and are easy to serve, making them a convenient option for any event.
- Thoughtful Homemade Gifts: Individually wrap these delightful truffles in clear cellophane bags with a festive ribbon, and you have a charming, personalized gift. They make excellent tokens of appreciation for friends, co-workers, teachers, or family members.
- Irresistible Flavor Combination: The classic taste of Oreo cookies perfectly complements the smooth, tangy cream cheese, all enveloped in a rich chocolate coating. This harmonious blend of textures and flavors is incredibly addictive.
- Make Ahead Friendly: These truffles can be prepared in advance, freeing up your time closer to your event. They actually benefit from chilling, which enhances their flavor and texture.
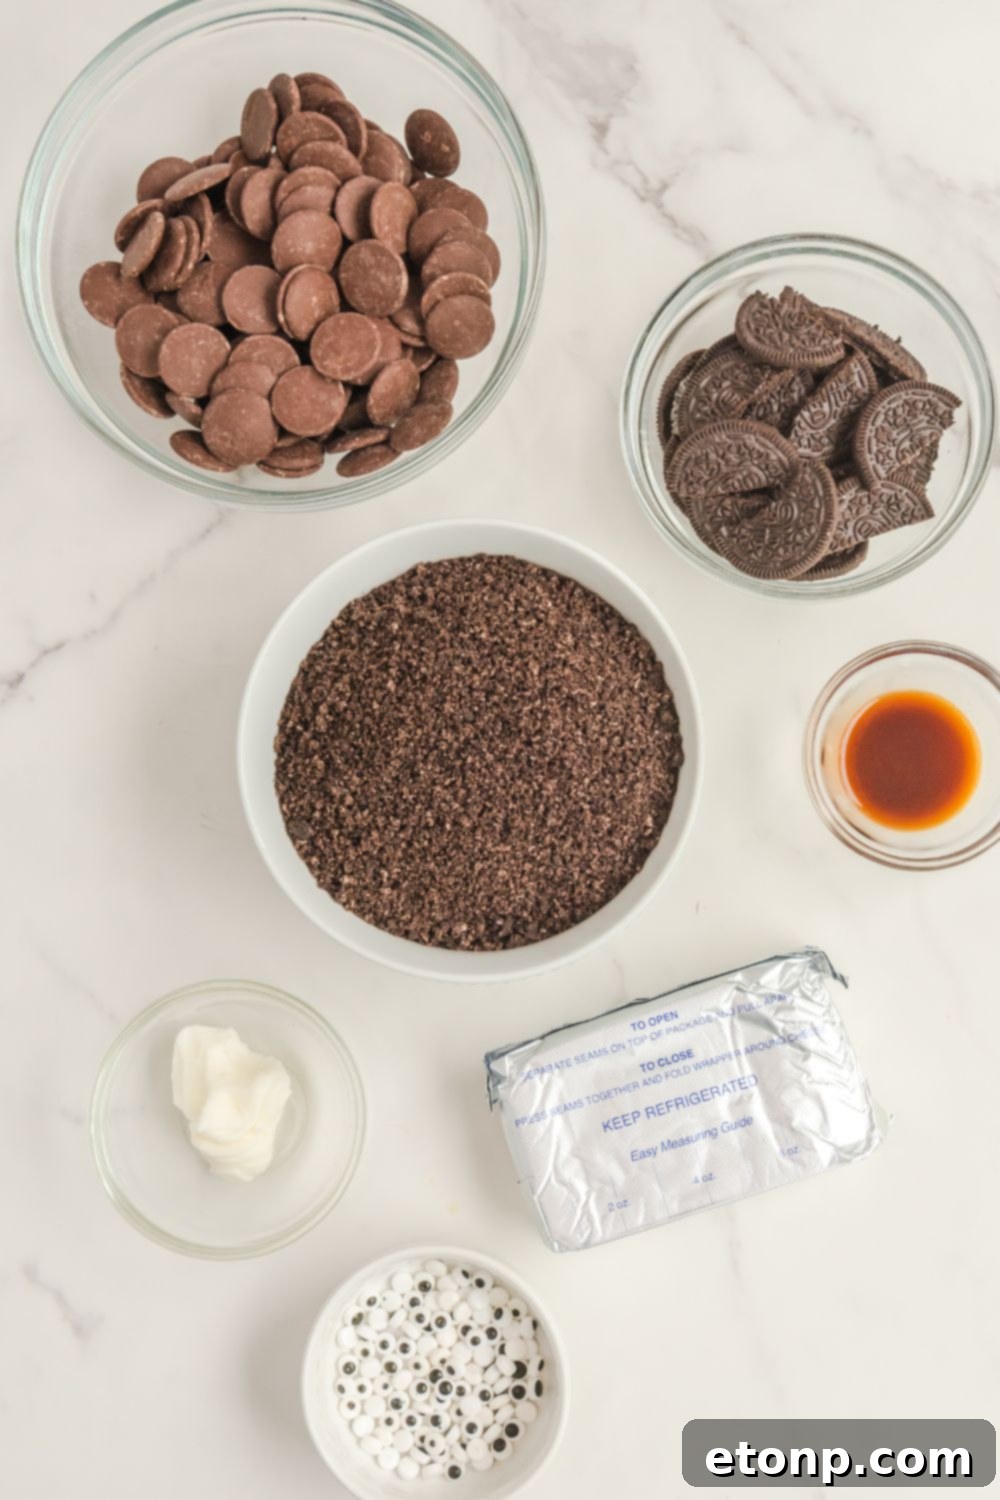
Essential Ingredients for Your Bat Oreo Truffles
Creating these delightful Bat Oreo Truffles requires a handful of common ingredients, each playing a crucial role in achieving the perfect flavor and texture. Here’s a detailed look at what you’ll need:
Oreos: The star of our show! You’ll need a good quantity of classic Oreo cookies. The key here is to crush them very finely, almost to a powder. A food processor is your best friend for this, ensuring a consistent texture that blends smoothly with the cream cheese. If you don’t have one, placing the Oreos in a sturdy zip-top bag and using a rolling pin or even the bottom of a heavy glass works wonders for achieving that fine crumb.
Cream Cheese: This ingredient provides the essential creaminess and tang that balances the sweetness of the Oreos. It’s crucial that your cream cheese is at room temperature. Cold cream cheese will be lumpy and difficult to incorporate evenly, leading to a clumpy truffle mixture. Softened cream cheese ensures a smooth, uniform base for your truffles.
Vanilla Extract: A touch of vanilla extract is added to enhance and deepen the overall flavor profile of the Oreo balls. It provides a warm, aromatic note that complements the chocolate and cream cheese beautifully, rounding out the sweetness.
Chocolate Melting Wafers: For the perfect smooth and glossy coating, chocolate melting wafers (also known as candy melts or dipping chocolate) are highly recommended. These are specifically formulated to melt smoothly without seizing and harden quickly, creating that professional-looking finish. Regular chocolate chips can be used, but may require tempering or additional shortening to achieve the desired consistency for dipping.
Crisco Shortening: A small amount of shortening is invaluable when melting your chocolate. It helps thin the melted chocolate slightly, making it much easier to dip the truffles for an even, smooth coating. More importantly, it aids in setting the chocolate to a firm, non-sticky finish, which is essential for handling and stacking your truffles.
Candy Eyes: These adorable little edible eyes bring your bats to life! They are readily available in the baking aisle of most grocery stores, especially around Halloween. They’re a fun and simple way to add personality and a spooky touch to your truffles.
Oreo Wafers (without cream): For the iconic bat wings, you’ll use the plain chocolate wafers from additional Oreo cookies. Carefully twist Oreos apart and scrape off the cream filling. Then, slice these wafers in half to create symmetrical wings that are easy to insert into your chocolate-dipped truffles.
Creative Variations for Your Bat Oreo Truffles
While the classic Bat Oreo Truffle is undeniably delicious, there’s always room to get creative and customize your Halloween treats! Here are some exciting variations to inspire your next batch:
- Colorful Coatings: Instead of traditional dark chocolate, experiment with colored candy melts. Orange, black, purple, or even green candy melts can add an extra layer of Halloween flair and make your bats truly pop with vibrant hues.
- Alternative Shapes: While round is classic, consider molding your truffles into slightly oval shapes for a more elongated bat body. This small change can give your bats a unique and distinct look that sets them apart.
- Textural Toppings: For added texture and visual interest, sprinkle some chocolate sprinkles or even finely chopped nuts over the wet chocolate coating before it sets. This can mimic a furry texture or simply add a delightful crunch.
- Mimic Fur with Crushed Oreos: If you want to create a more realistic “fur” effect, roll the chocolate-dipped truffles in a fine layer of crushed Oreos before adding the wings and eyes. This gives them a slightly fuzzy, dark appearance that’s perfectly spooky.
- Hand-Drawn Eyes: Get artistic! Instead of store-bought candy eyes, use melted white chocolate and black candy melts (or an edible food marker) to draw on unique eyes for each bat. This allows for more personalized and expressive bat faces.
- Flavorful Oreo Swaps: Don’t limit yourself to classic Oreos! Explore different Oreo flavors to create a unique taste experience. Mint Oreos would make a refreshing twist, Golden Oreos could offer a vanilla-based truffle, or even peanut butter-filled Oreos for an extra nutty kick.
- Garnish with Sprinkles: Add some festive Halloween sprinkles (ghosts, pumpkins, witches’ hats) to the melted chocolate before it sets, creating a whimsical and colorful look for your truffles.
- “Bloody” Drizzle: For a truly gruesome touch, after the chocolate coating has set, drizzle a thin stream of red candy melt over the bats to create a “bloody” effect.
Expert Tips for Truffle Success
Achieving perfectly shaped and delicious Bat Oreo Truffles is easy with a few key tips. Follow these guidelines to ensure your Halloween treats are a soaring success:
Crafting Perfect Bat Wings
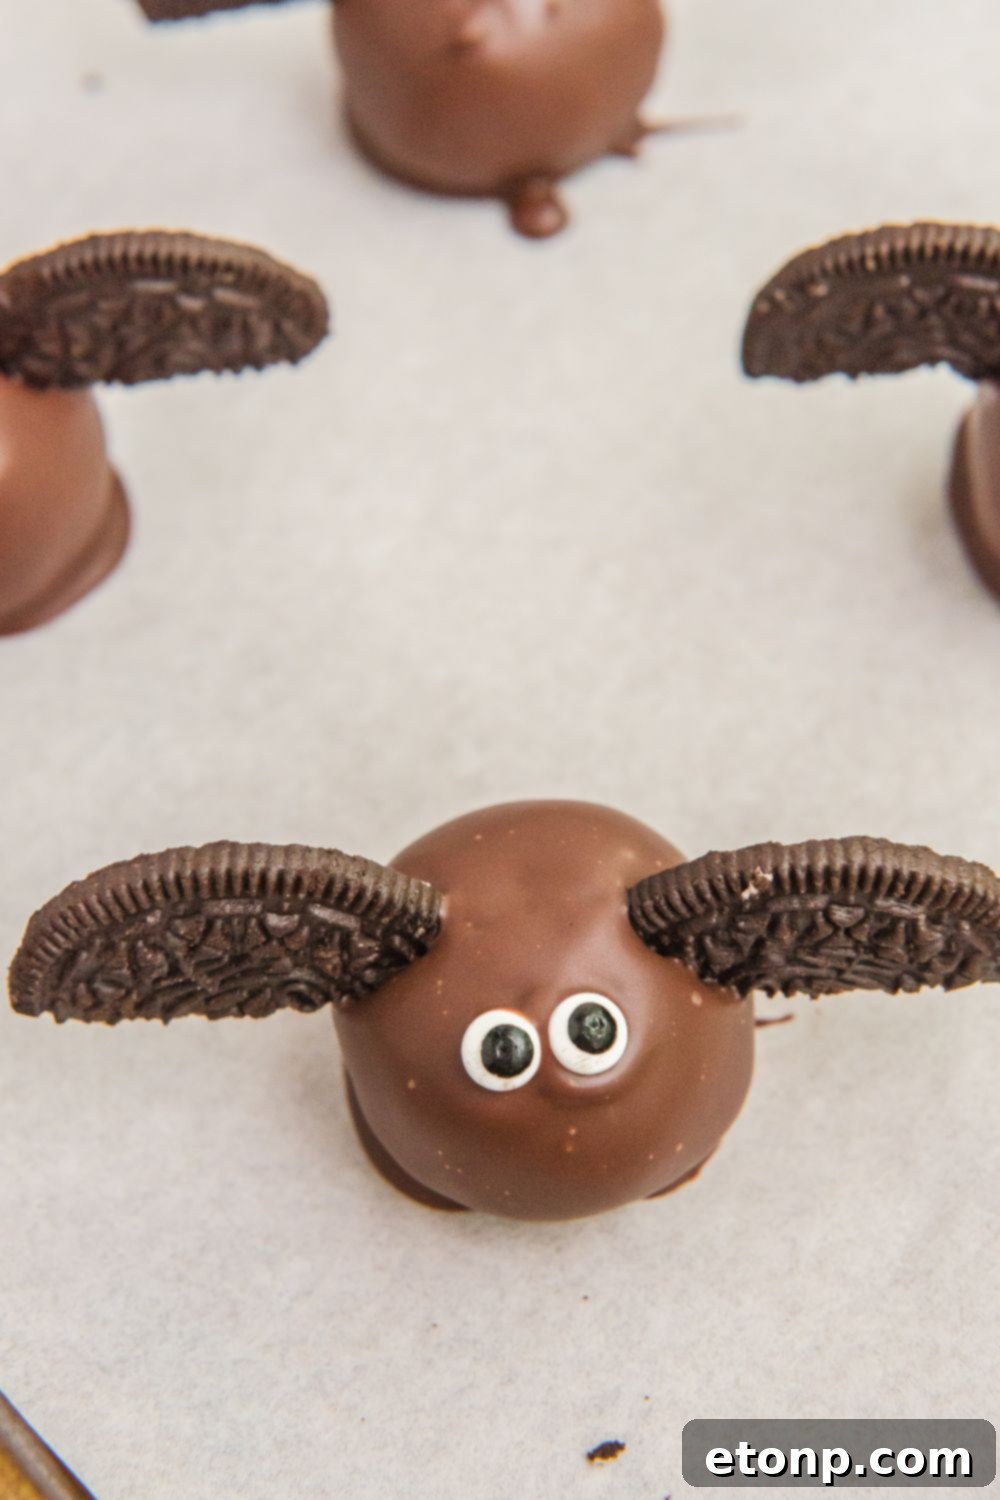
The bat wings are crucial for the visual appeal of these truffles. To create beautifully shaped, even wings, use a very sharp knife to slice your Oreo cookie wafers in half. Discard the cream filling from additional Oreos first, then carefully cut the chocolate wafers. A clean cut prevents crumbling and ensures that the wings look crisp and symmetrical, greatly enhancing the overall presentation of your finished bats.
The Importance of Chilling the Oreo Mixture
Once you’ve combined your crushed Oreos, cream cheese, and vanilla extract, it is absolutely essential to chill the mixture thoroughly. Cover the bowl and refrigerate it for at least two hours, or until the mixture is firm enough to handle easily without sticking excessively to your hands. This chilling period allows the cream cheese to firm up, making the rolling process much cleaner and preventing the balls from losing their shape or altering their texture when dipped in warm chocolate. A well-chilled ball will maintain its integrity and result in a perfectly smooth, firm truffle.
Mastering Melted Chocolate or Candy Melts
Whether you choose chocolate melting wafers or candy melts, proper melting technique is vital for a smooth, dippable coating. Heat your chocolate in short intervals in a microwave-safe bowl (e.g., 30-second bursts at 50% power). After each interval, remove the bowl and stir the chocolate thoroughly, even if it doesn’t look fully melted. The residual heat will continue to melt the chocolate. This process prevents the chocolate from overheating, seizing, or burning, ensuring you get a perfectly smooth, silky consistency that’s ideal for dipping your truffles.
Swift Decoration is Key
Once you’ve dipped a truffle in chocolate, you must work quickly to add the candy eyes and Oreo wings. The chocolate coating begins to set very rapidly, especially on chilled truffles. If you wait too long, the decorations won’t adhere properly. Dip one truffle, immediately press in the two half-Oreo wings, and then place the candy eyes before moving on to the next one. This one-at-a-time method ensures that all decorations are firmly secured while the chocolate is still wet.
Utilize Parchment Paper
Parchment paper is your best friend when assembling these truffles. Line your baking sheets with parchment paper before placing the rolled Oreo balls and after dipping them. This non-stick surface ensures that your newly dipped and decorated bats won’t stick to the tray as the chocolate sets, making them easy to remove without damaging their delicate wings or coating.
Avoid Stacking Your Truffles
Once decorated, it’s best to store your Halloween Oreo truffles in a single layer. Stacking them directly on top of each other can easily break off those fragile Oreo wings and smudge the candy eyes, ruining their adorable bat appearance. If you must stack them for storage, place a sheet of parchment paper or wax paper between each layer to provide a protective barrier and prevent sticking and damage.
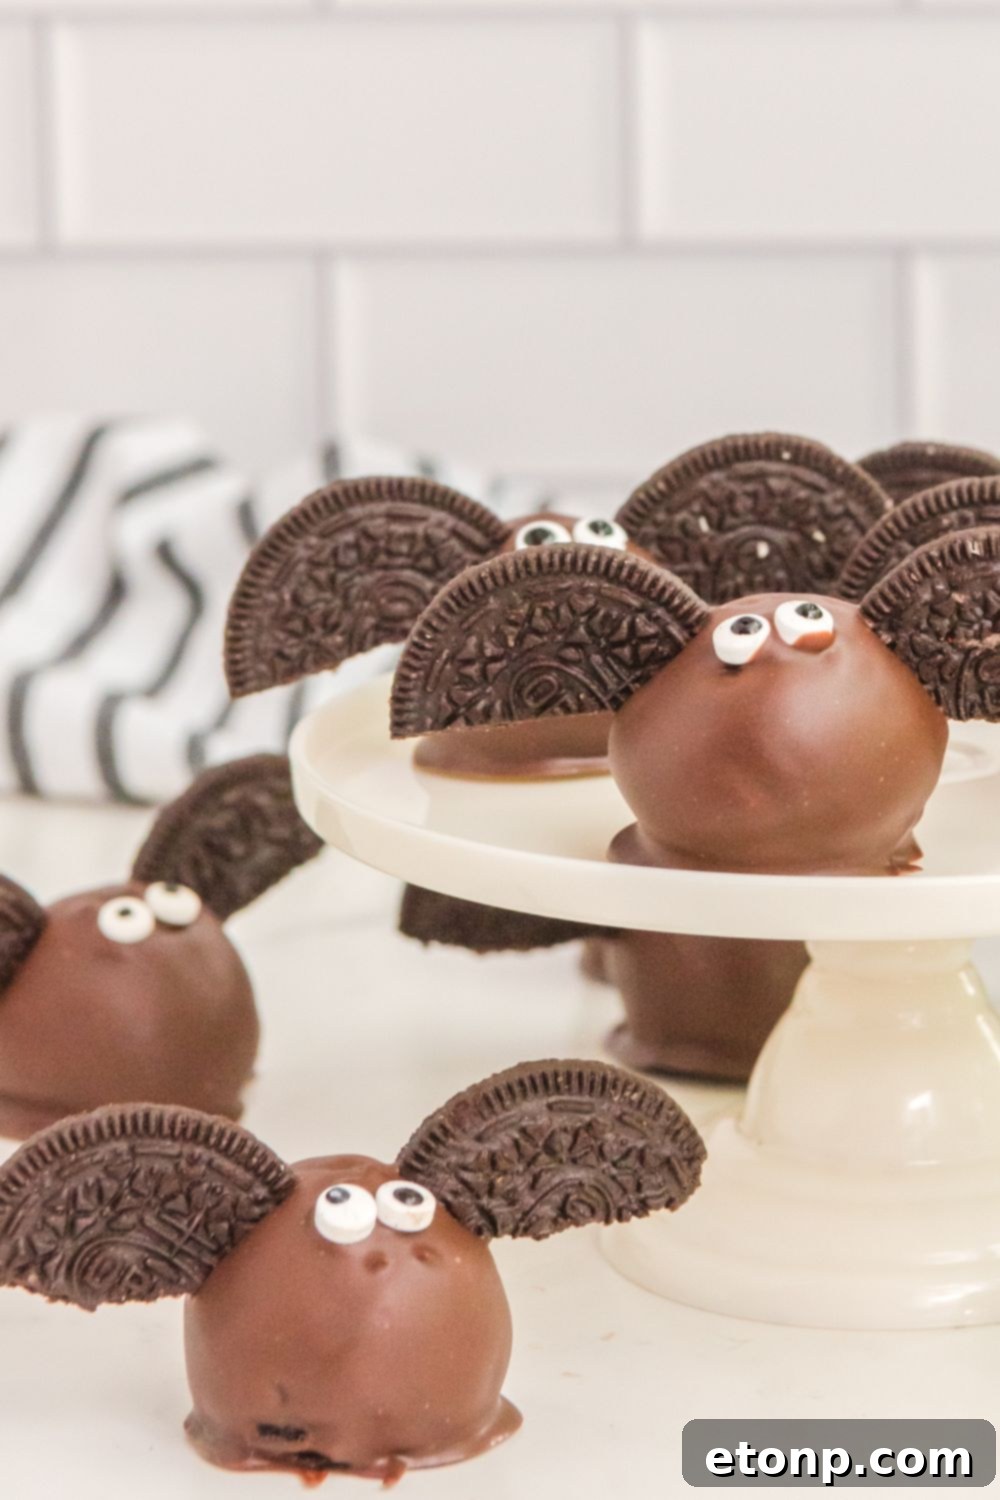
With these comprehensive tips and tricks, your Bat Oreo Truffles are sure to make a hauntingly impressive appearance at all your Halloween festivities. These deliciously creepy treats will undeniably leave everyone spellbound by their eerie charm and utterly scrumptious taste, making your celebration truly unforgettable.
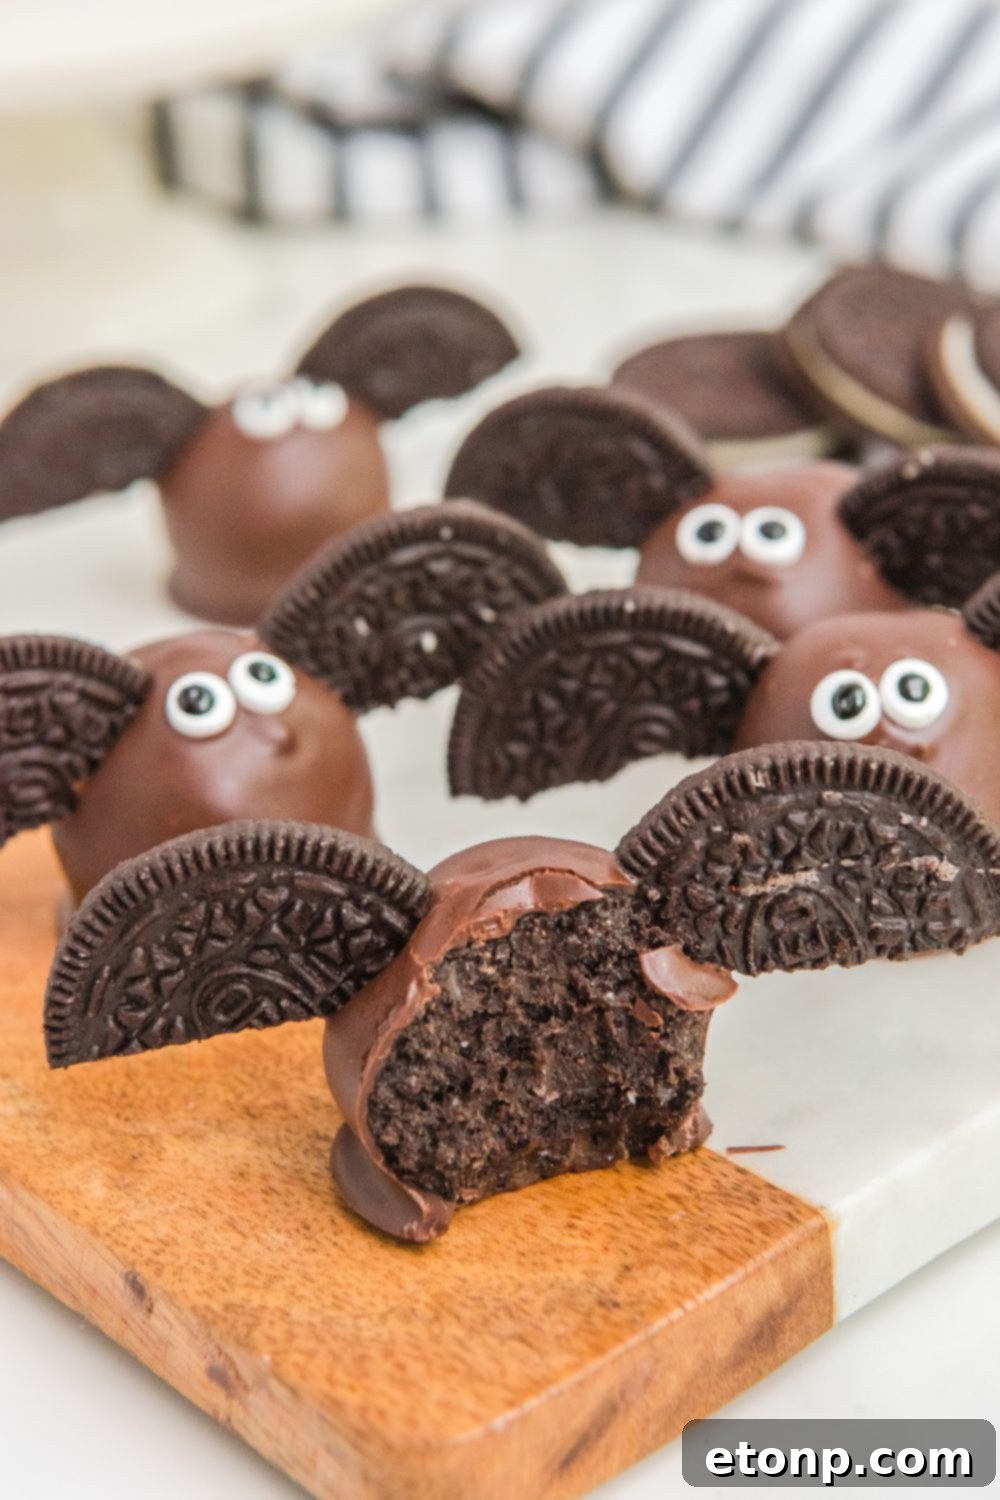
Whether you’re hosting an epic Halloween party for ghouls and goblins of all ages or simply looking for a fun and engaging activity to enjoy with your family, these bat truffles are a guaranteed hit. Their playful design and irresistible flavor ensure they’ll be the first to disappear from the dessert table.
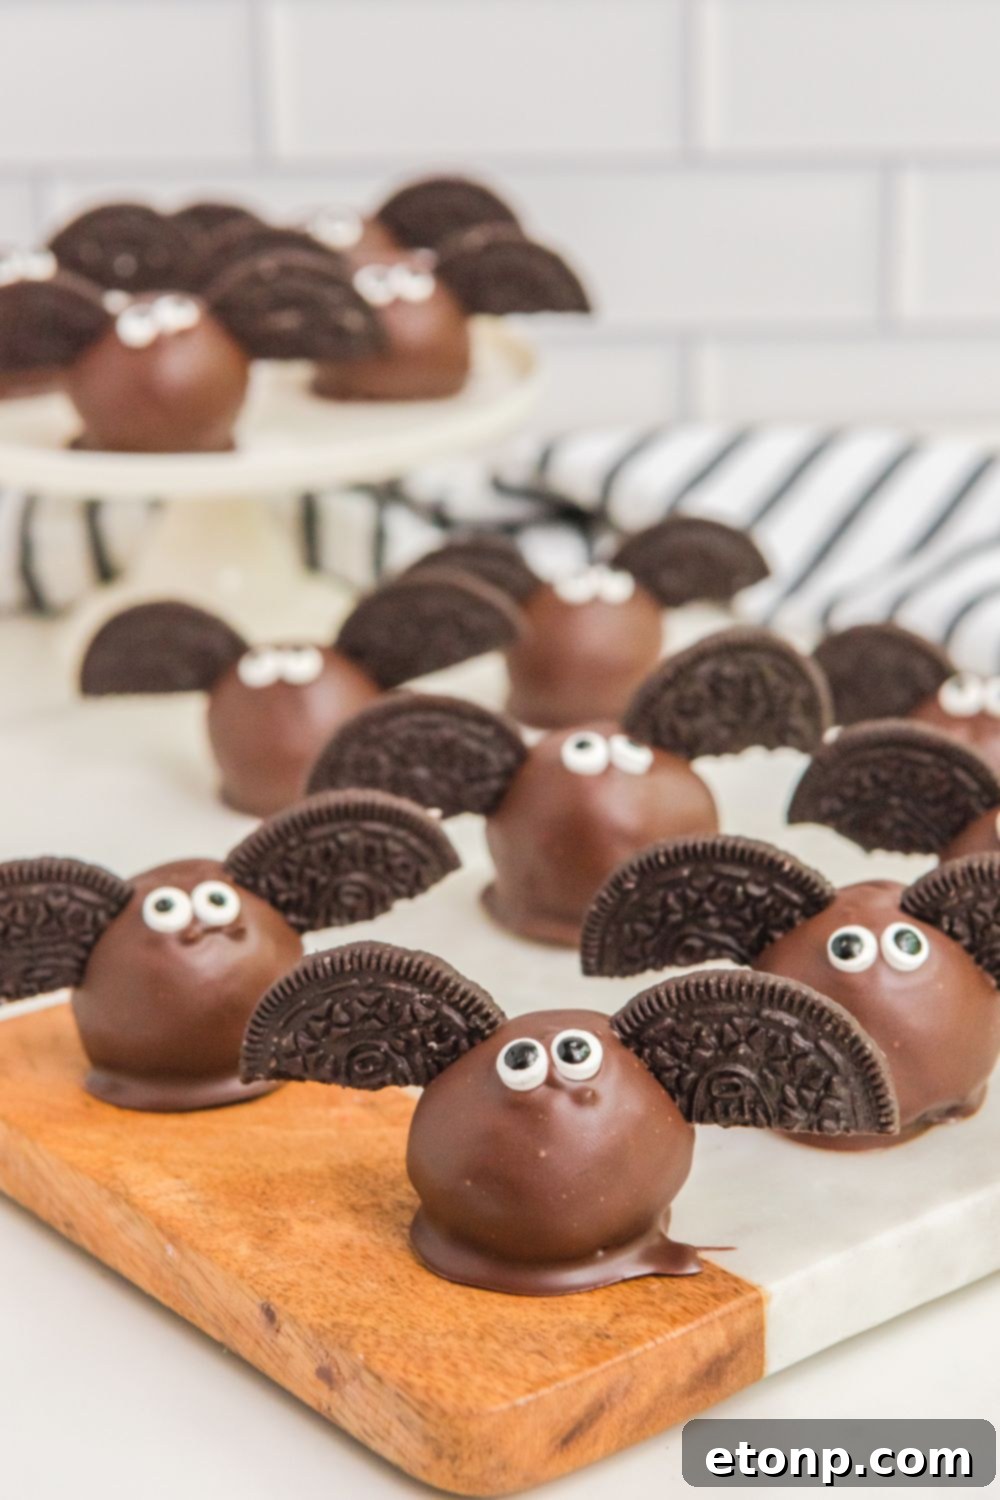
These delectable truffles effortlessly transform into the cutest, most talked-about dessert for Halloween! Children especially go absolutely wild for them, captivated by their spooky-cute appearance. Make a batch of these adorable, rich, and chocolaty treats for your next Halloween party, and watch as every guest, young and old, falls in love with their enchanting charm.
Storing Your Bat Oreo Truffles
Proper storage is essential to keep your Bat Oreo Truffles fresh and delicious for as long as possible. Given their cream cheese base, refrigeration is key.
Refrigerate: Always store your finished Oreo truffles in the refrigerator. Place them in a sealed, airtight container to prevent them from drying out or absorbing other odors from the fridge. When properly stored, these truffles will remain fresh and tasty for up to a week. For the absolute best flavor and texture, it’s recommended to enjoy them within the first few days of making them.
Freezer: If you want to extend the life of your Bat Oreo Truffles, the freezer is an excellent option. Arrange them in a single layer on a parchment-lined baking sheet and freeze until solid. Once frozen, transfer them to a freezer-safe, airtight container or a heavy-duty freezer bag, separating layers with parchment paper to prevent sticking. They can be frozen for 3-4 months. When you’re ready to enjoy them, simply thaw them in the refrigerator for a few hours, or you can even eat them straight from the freezer for a delightful frozen treat!
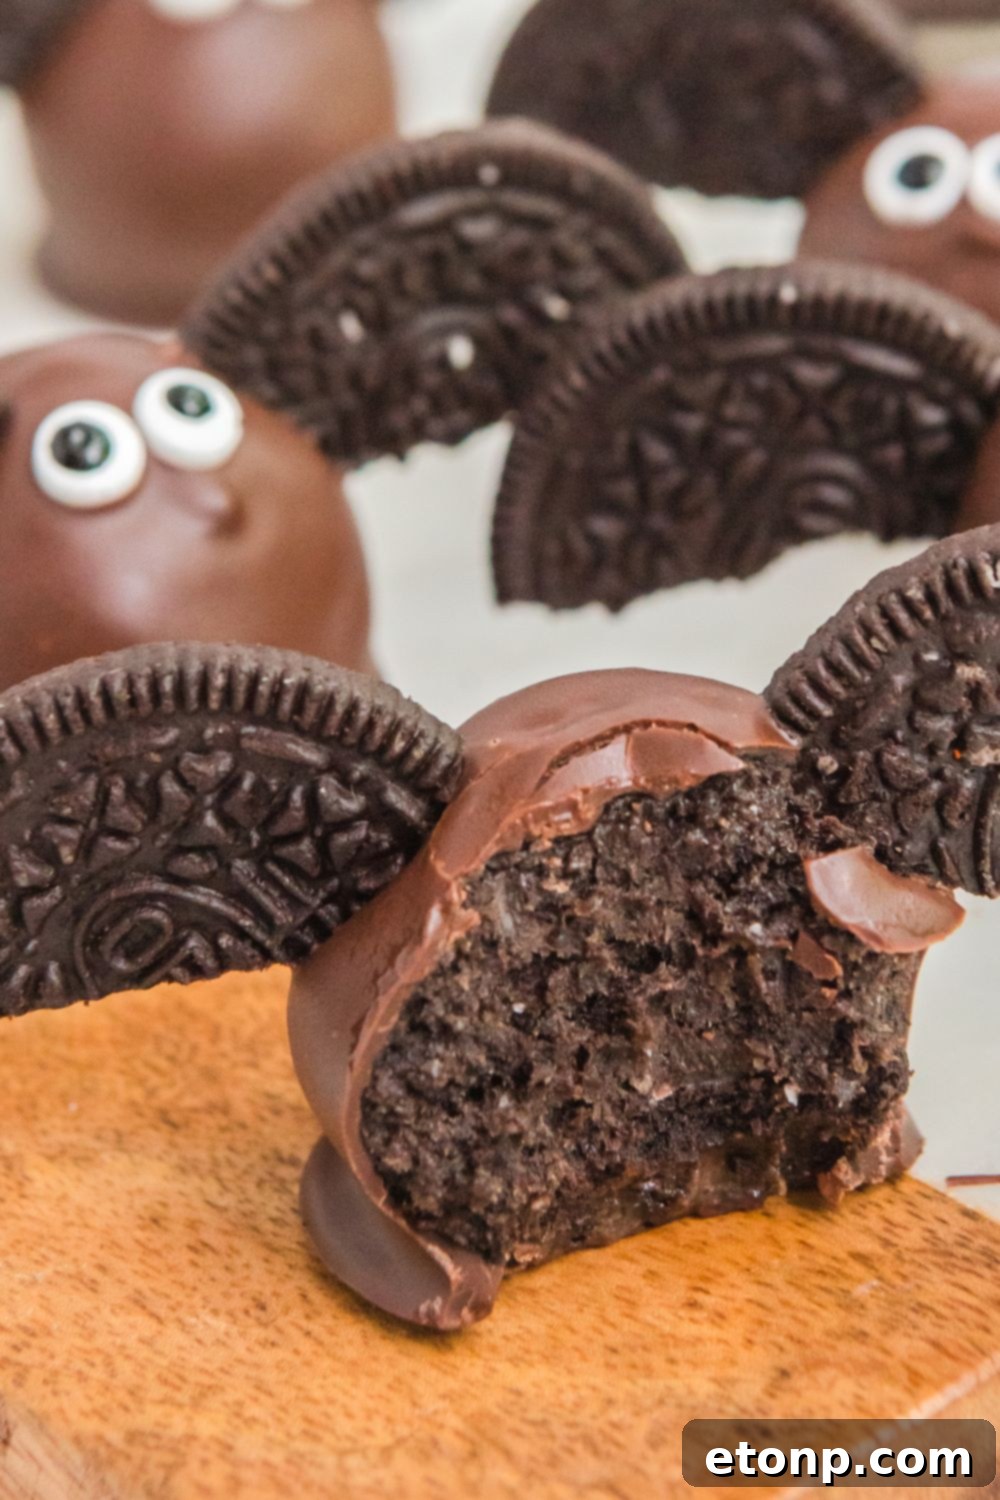
Don’t forget to elevate your serving presentation! Decorate your serving plate with some vibrant Halloween-themed sprinkles, a scattering of colorful candy corn, or even a few small plastic spiders to add an extra touch of festive flair and spooktacular ambiance. So gather your little ghouls and get ready for a truly bat-terrific treat that perfectly captures the thrilling and spooky spirit of Halloween! Enjoy every delicious bite!
More Spooky & Sweet Related Recipes
If you’re looking to expand your Halloween culinary repertoire, check out these other fantastic recipes that are sure to be a hit:
- Witch’s Hat Cupcakes: Adorable and enchanting cupcakes perfect for any witchy gathering.
- Mummy Jalapeno Bites: A savory and slightly spicy treat, dressed up as spooky mummies.
- Witch’s Brew Stew: A hearty and comforting meal to warm up after a chilly night of trick-or-treating.

Bat Oreo Truffles
Dessert
25 mins
2 hrs 55 mins
18
servings
Ingredients
-
24 Oreos finely crushed -
6 oz cream cheese softened at room temperature -
1 teaspoon vanilla extract -
2 cups chocolate melting wafers -
1 tablespoon crisco shortening -
12 Oreo wafers only cream discarded, broken in half -
Small candy eyes
Instructions
-
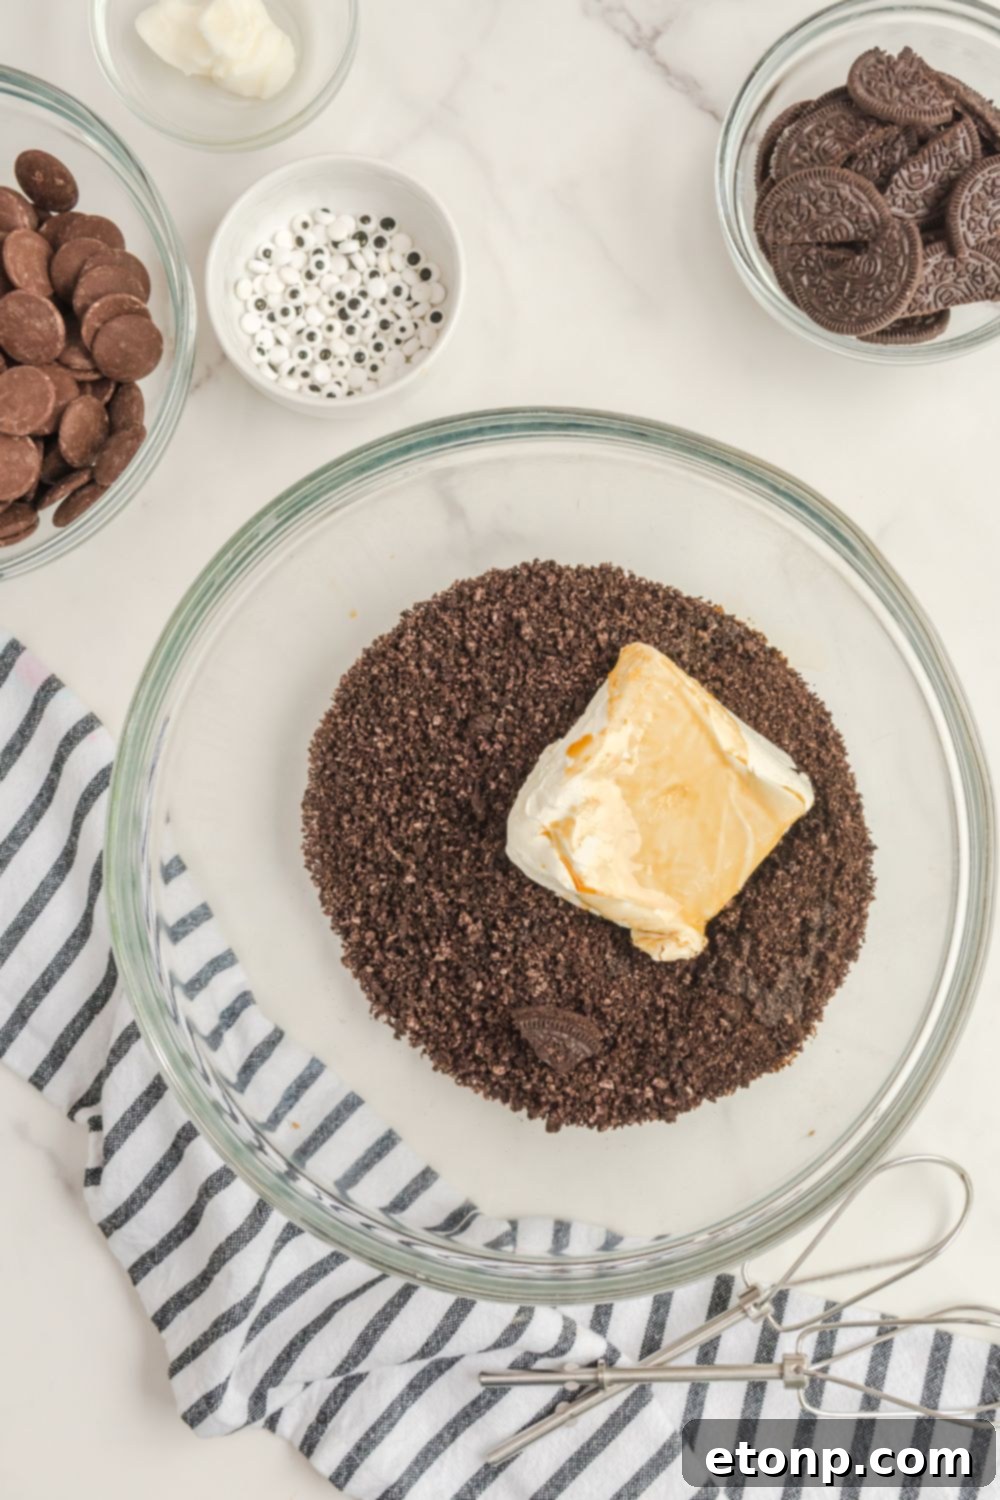
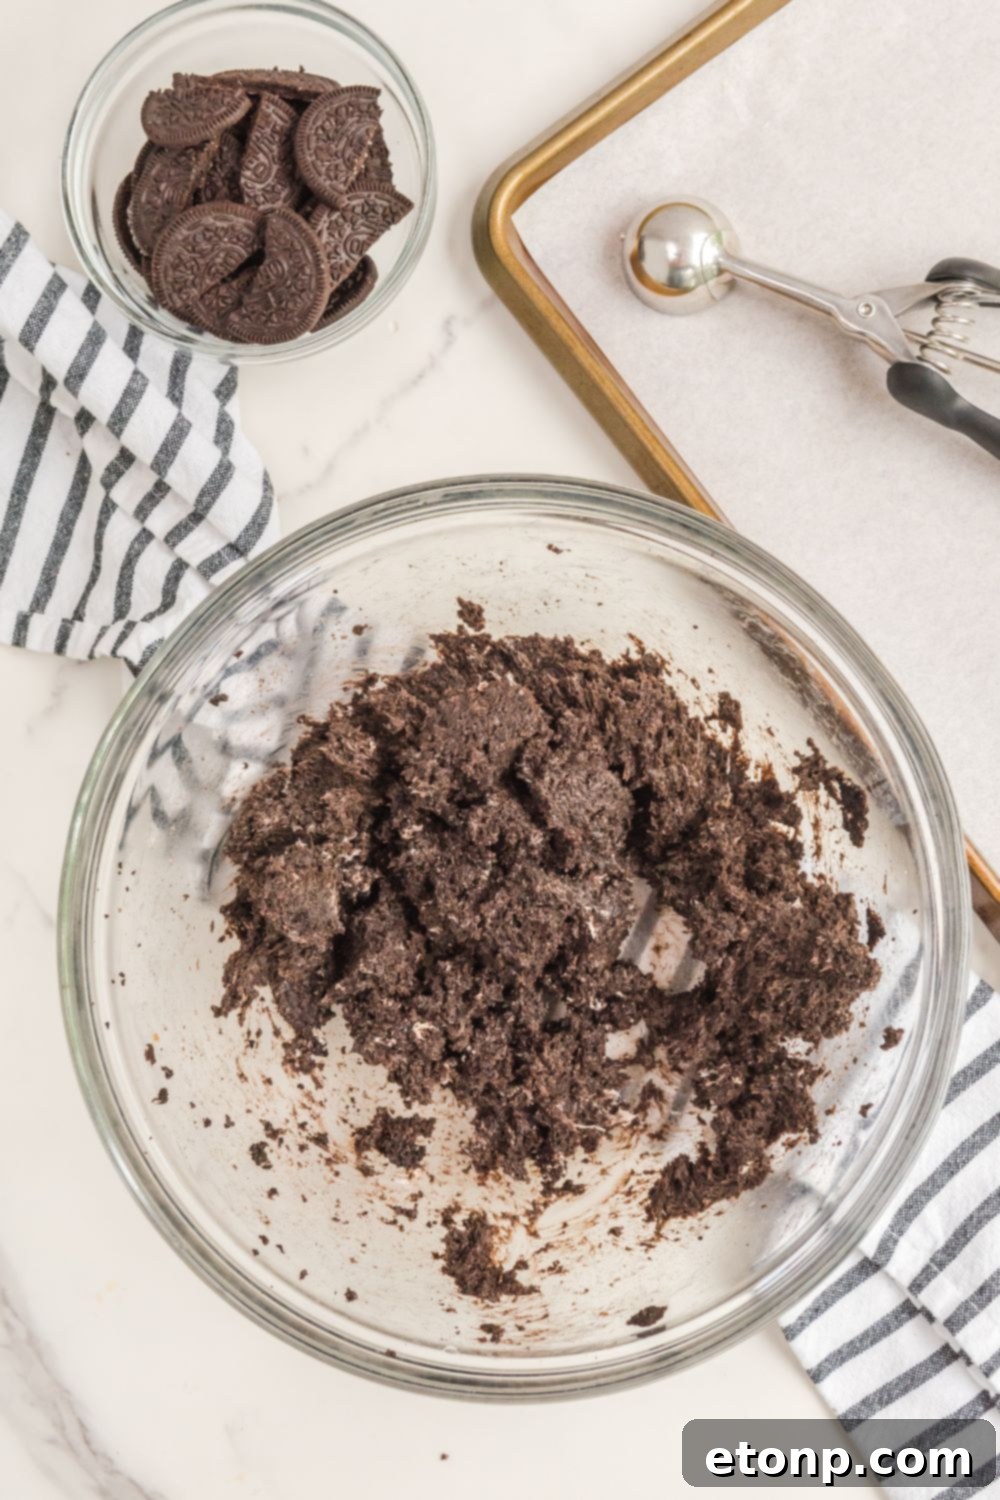
In a large mixing bowl, combine the finely crushed Oreos, softened cream cheese, and vanilla extract. Mix thoroughly with an electric hand mixer or a stand mixer for 1-2 minutes until all ingredients are fully combined and a smooth, dough-like mixture is formed. Ensure there are no lumps of cream cheese.
-
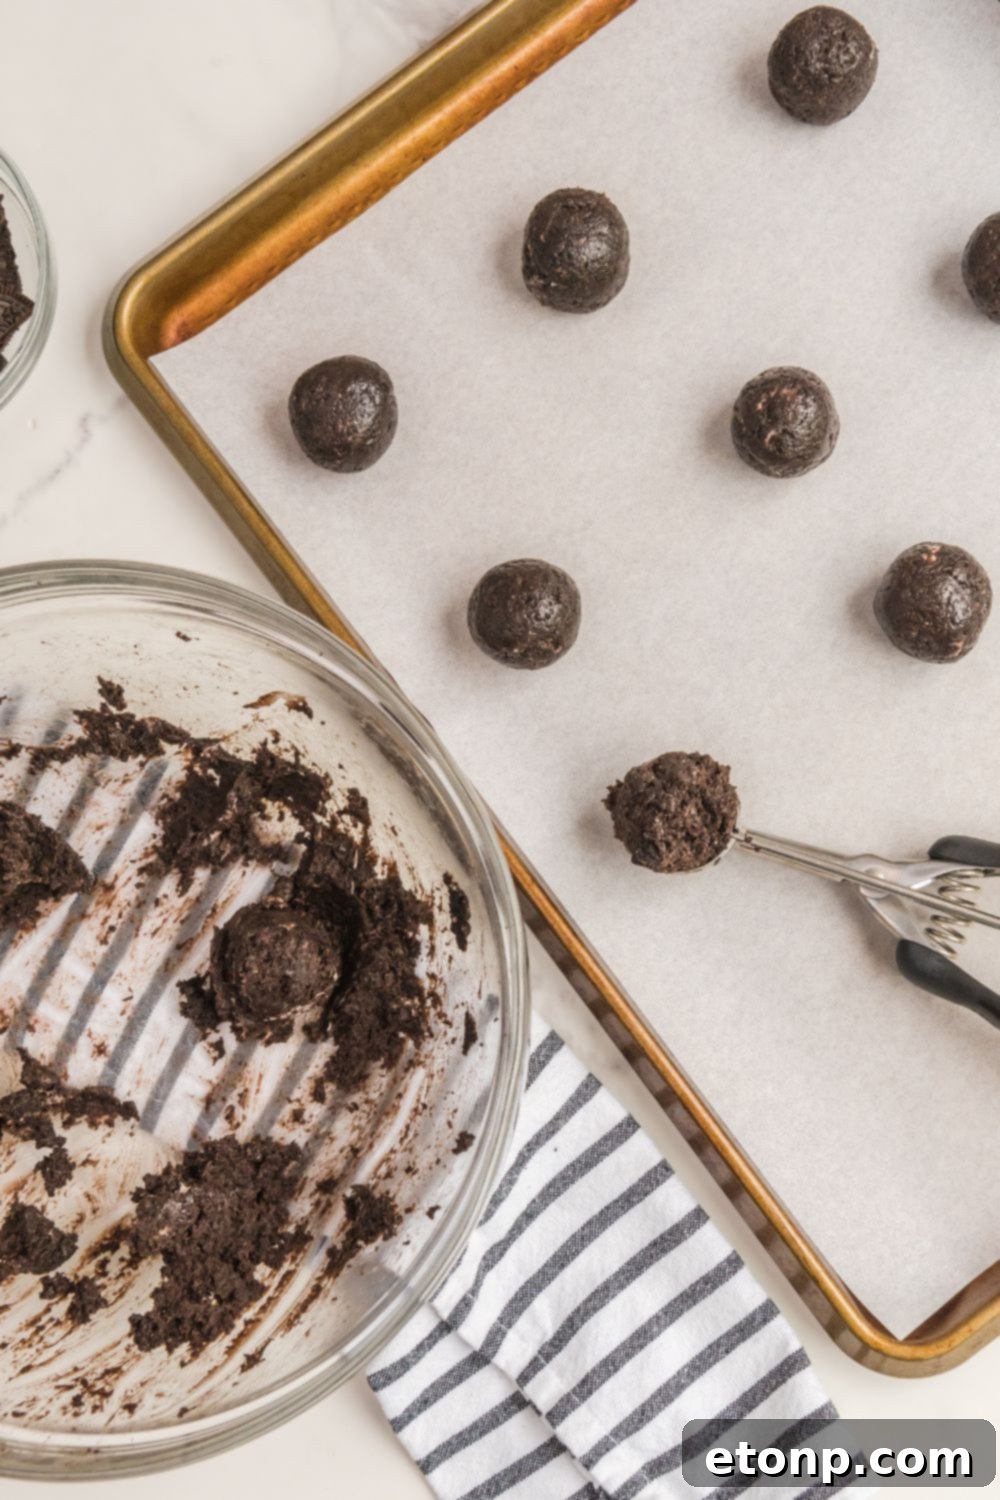
Using a 2-tablespoon cookie scoop, portion out the mixture from the bowl. Roll each portion between the palms of your hands to form an even, smooth, and round ball. Place each perfectly shaped ball onto a large cookie sheet that has been prepared with parchment paper to prevent sticking.
-
Once all the Oreo balls are formed and placed on the cookie sheet, put the sheet into the refrigerator to chill for a minimum of 2 hours. This chilling step is crucial for the balls to firm up, making them easier to dip and ensuring they hold their shape perfectly.
-
Towards the end of the chilling period, begin preparing your chocolate coating. Place the chocolate melting wafers in a microwave-safe bowl. Heat them in the microwave at 50% power (or on a defrost setting) for 1 minute. Stir well with a fork and add the Crisco shortening. Return to the microwave for additional 30-second bursts, stirring diligently in between each burst, until the chocolate is completely smooth, silky, and free of lumps. It should have a fluid consistency suitable for dipping.
-
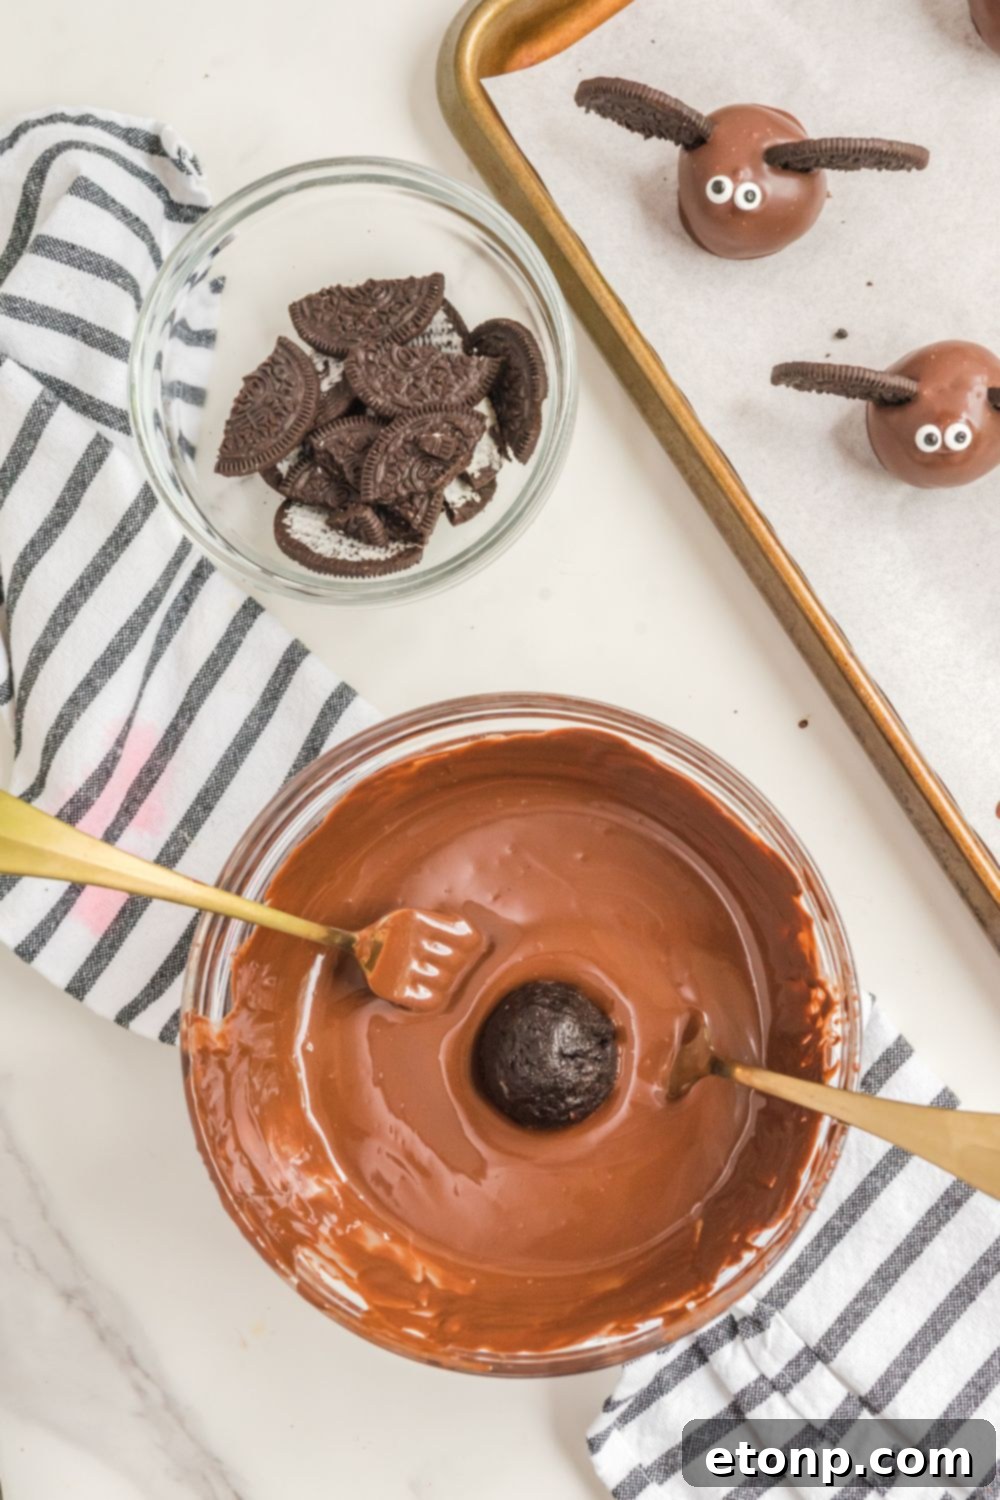
Retrieve the chilled Oreo balls from the refrigerator. Using two forks or specialized dipping tools, carefully dip each Oreo ball into the melted chocolate, ensuring it’s completely coated. Gently tap off any excess chocolate by scraping the bottom of your forks/tools against the edge of the bowl or by gently slinging the ball from side to side. Place the chocolate-covered ball back onto the parchment-lined cookie sheet.
-
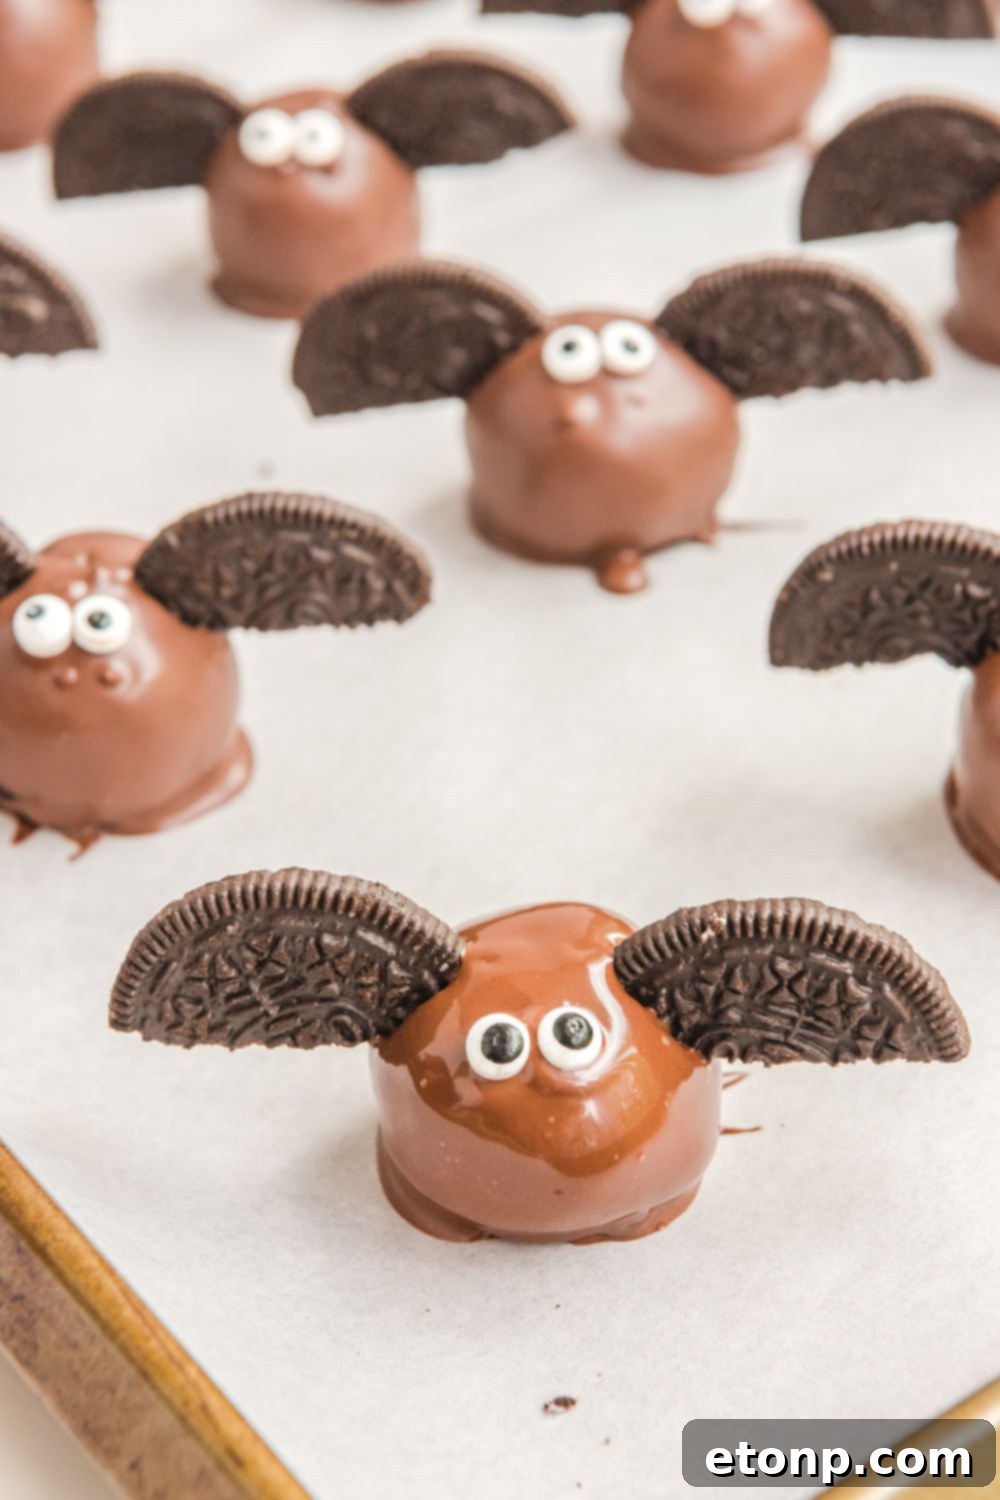
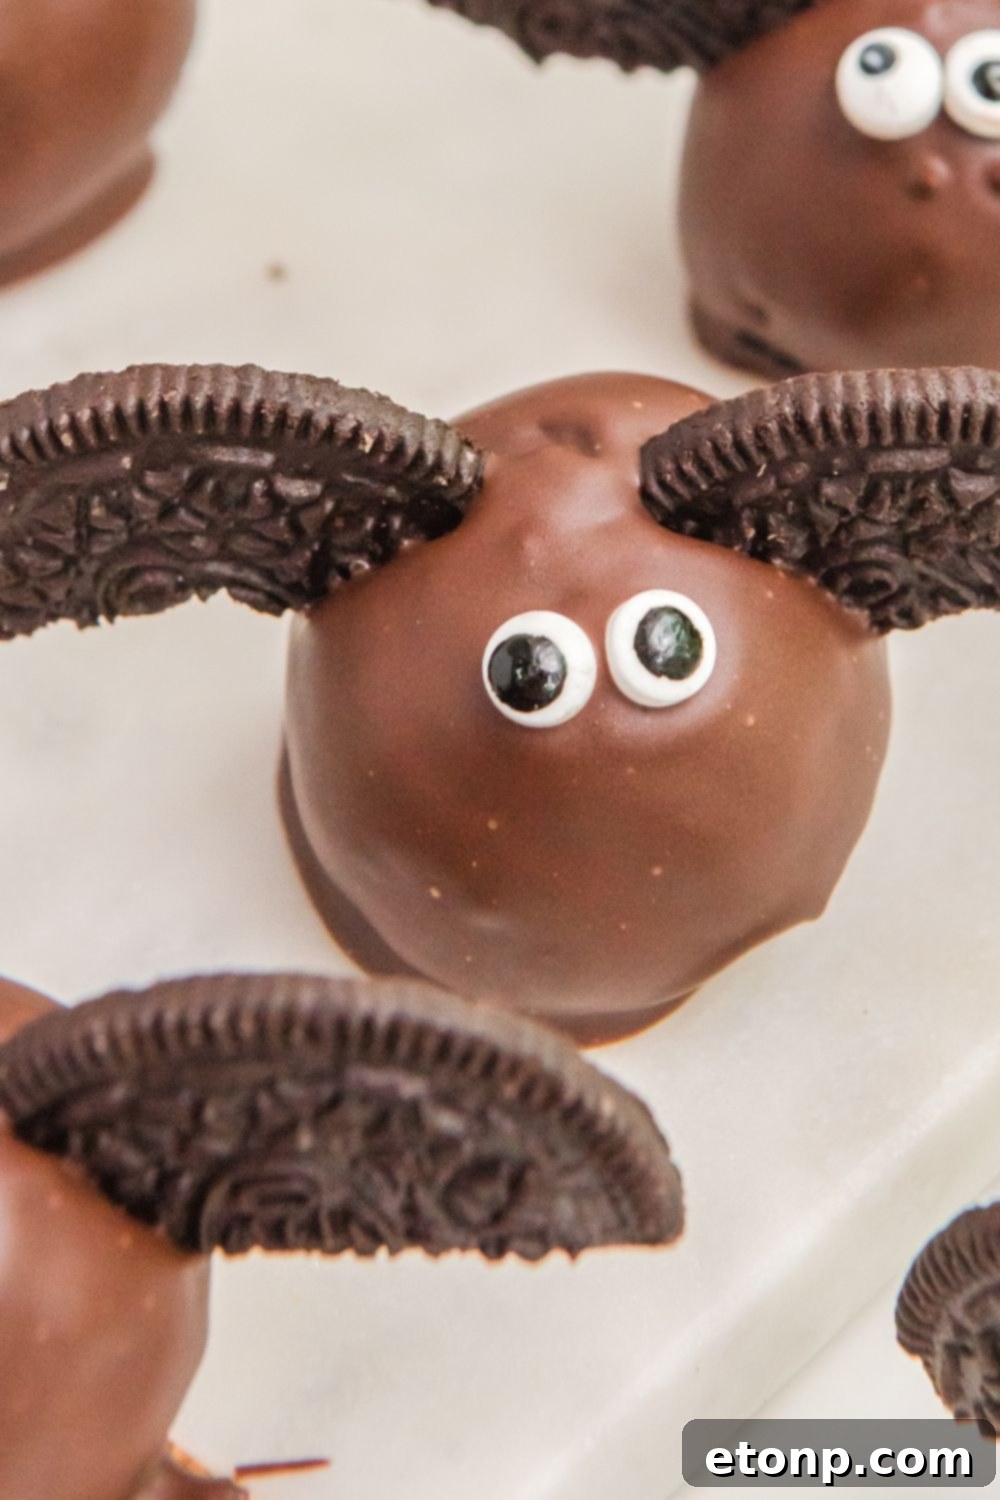
Immediately after dipping and while the chocolate is still wet, gently press two half Oreo wafers (the wings) into either side of the chocolate-covered ball. Push them in about ½ inch deep until you feel them penetrate the truffle and stand securely on their own.
-
Next, add two small candy eyes to the front of the bat’s body, pressing them gently into the still-wet chocolate. Continue this process quickly with the remaining Oreo balls, working one at a time to ensure decorations adhere before the chocolate sets.
-
Once all your bats are assembled and decorated, return the cookie sheet to the refrigerator for another 30 minutes to allow the chocolate coating to fully set and firm up before serving.
Did you make this recipe?
Make sure to follow on Pinterest for more recipes!
Pin Recipe
Share on Facebook