
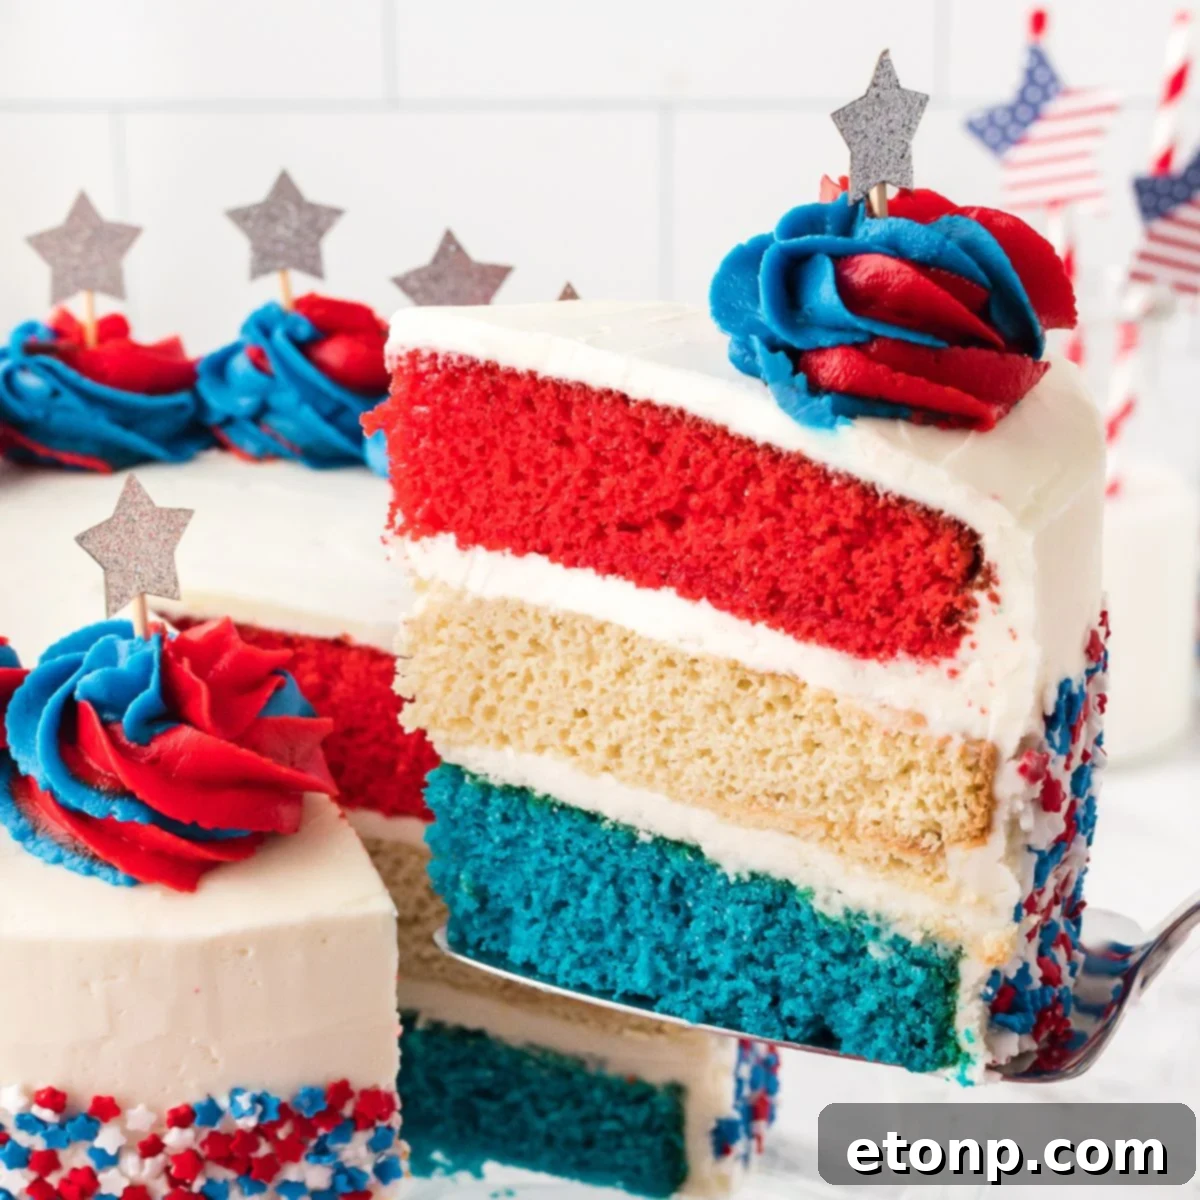
Bake the Ultimate American Flag Layered Cake: A Showstopping Patriotic Dessert
There’s something uniquely American about gathering with loved ones, firing up the grill, and celebrating under a sky full of fireworks. And what better way to cap off such a festive occasion than with a dessert that embodies the spirit of the day? Enter the American Flag Layered Cake – not just any cake, but a magnificent centerpiece designed to delight and impress. Forget those overly complicated, fussy creations; this patriotic masterpiece is all about bold colors, rich flavors, and the kind of celebratory joy that brings everyone together. Perfect for Memorial Day, the Fourth of July, Labor Day, or any event where you want to infuse a touch of classic American charm, this red, white, and blue beauty topped with gleaming stars promises to be the highlight of your celebration.
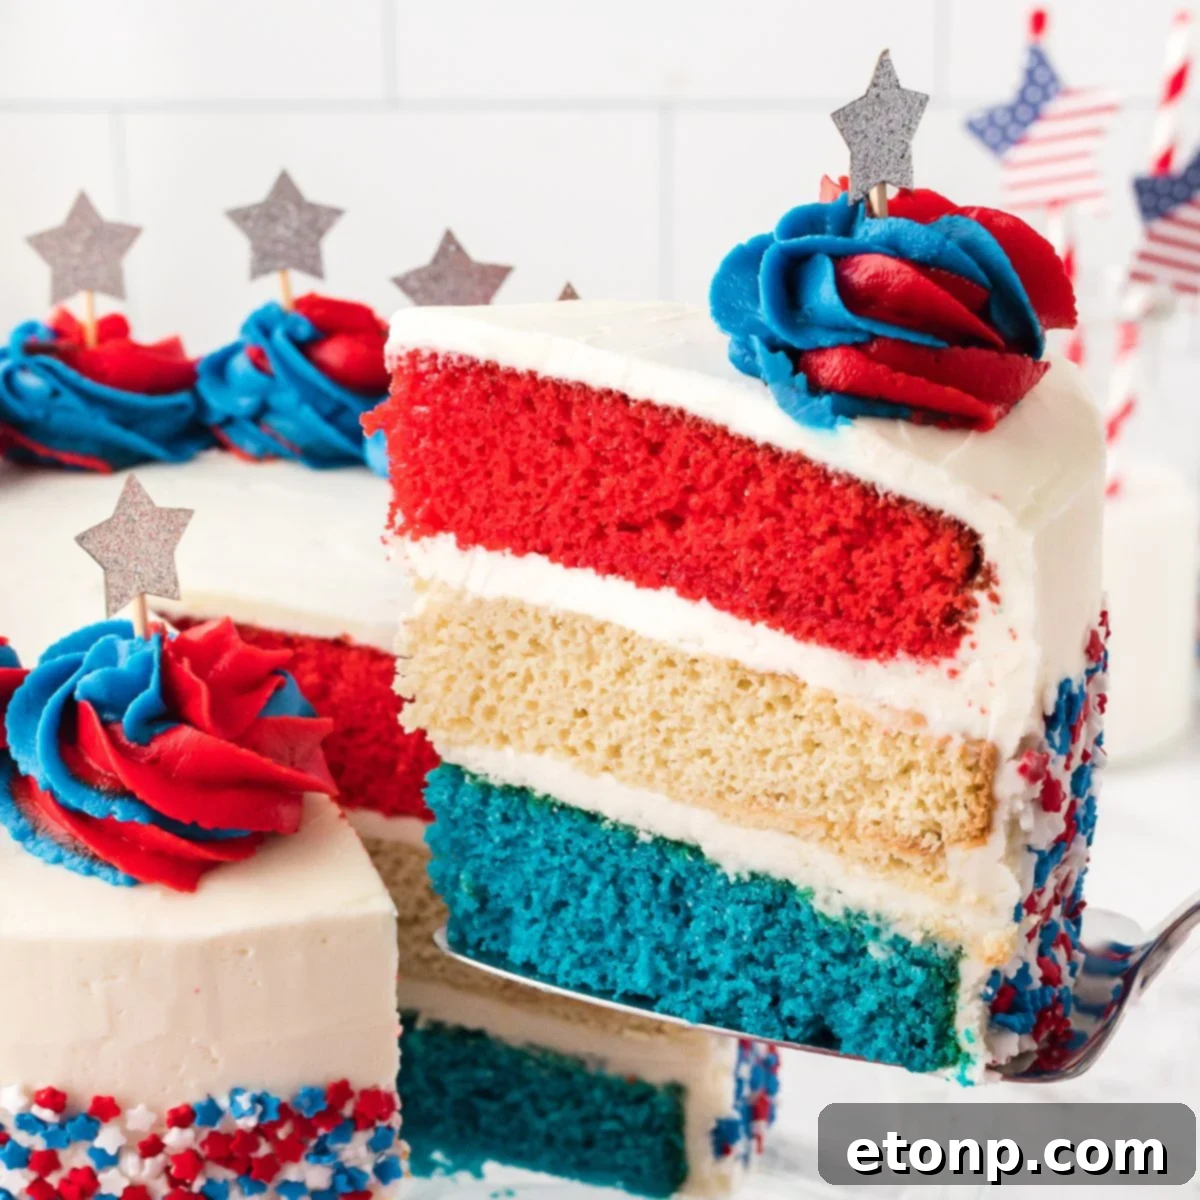
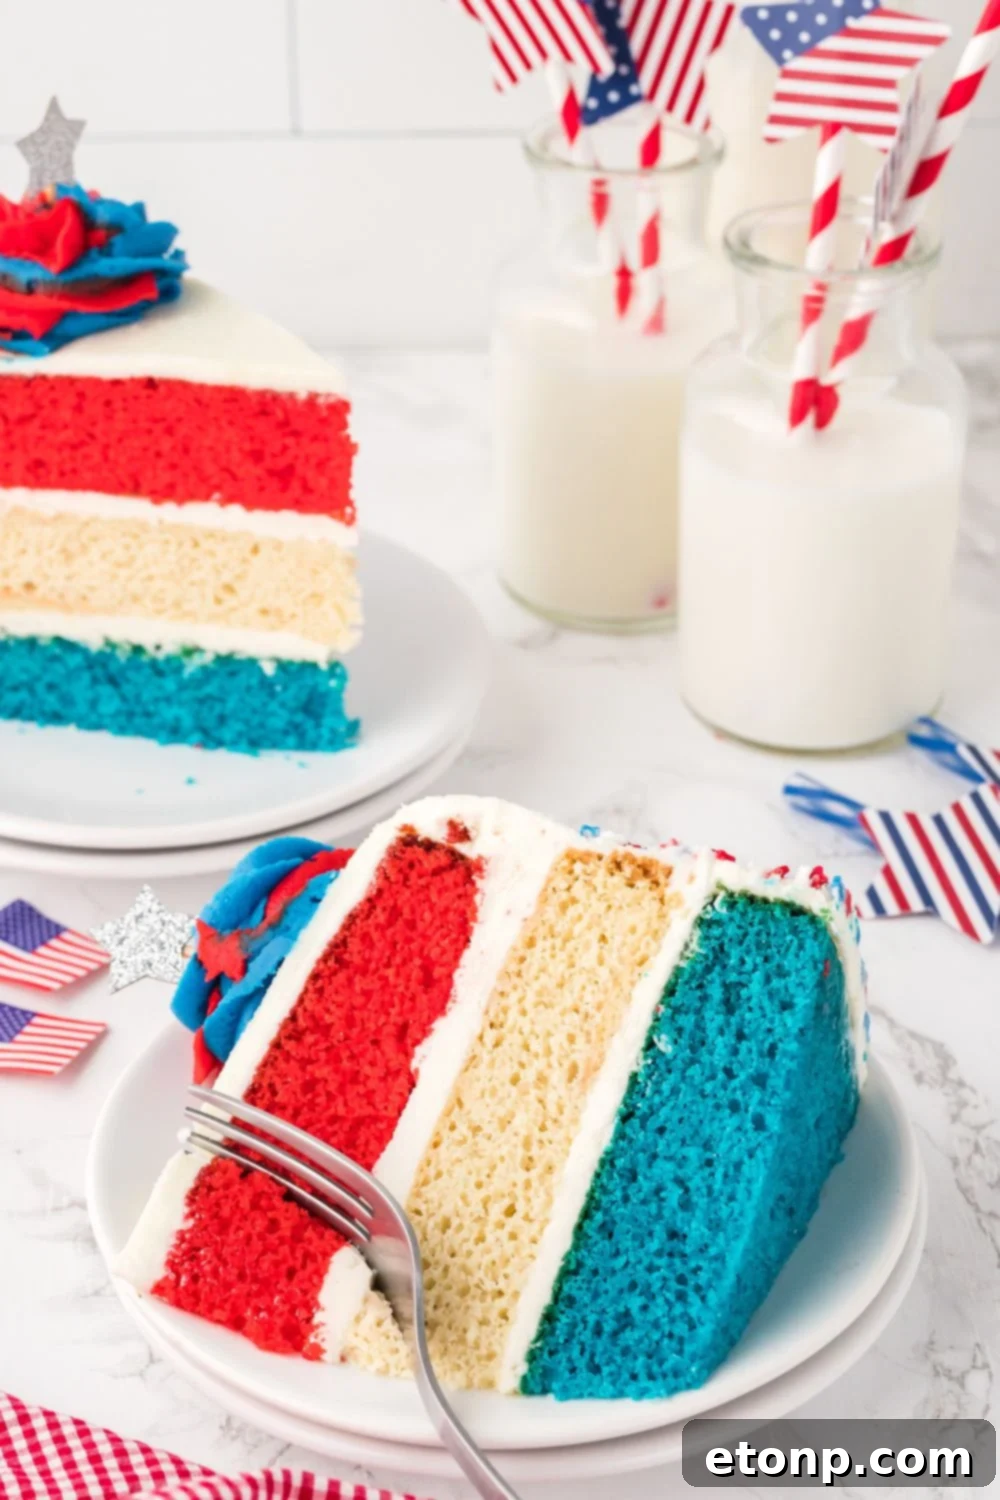
Imagine the scene: laughter echoing through the backyard, the aroma of barbecue filling the air, kids chasing sparklers, and the gentle strum of country music in the background. Then, out comes this cake. It’s a moment-stopper, a conversation starter, and an absolute crowd-pleaser. With its distinct red, white, and blue layers peeking through when sliced, it evokes a collective gasp of appreciation from the table. This isn’t just dessert; it’s a statement, a delicious homage to national pride, and a truly unforgettable part of any summer gathering. While it might look like a showstopper, and indeed it is, creating this cake is a rewarding kitchen project that’s more about love and effort than advanced pastry skills. It’s the kind of baking adventure that yields not just a dessert, but cherished memories and a profound sense of accomplishment.
Why This American Flag Cake is a Must-Bake
- Homemade Excellence: There’s an undeniable charm and superior taste that comes with a cake baked from scratch. This recipe guides you through creating tender, flavorful vanilla cake layers infused with the iconic red, white, and blue hues of the American flag. The satisfaction of presenting a truly homemade patriotic dessert is unmatched, showcasing your care and culinary skill to your guests.
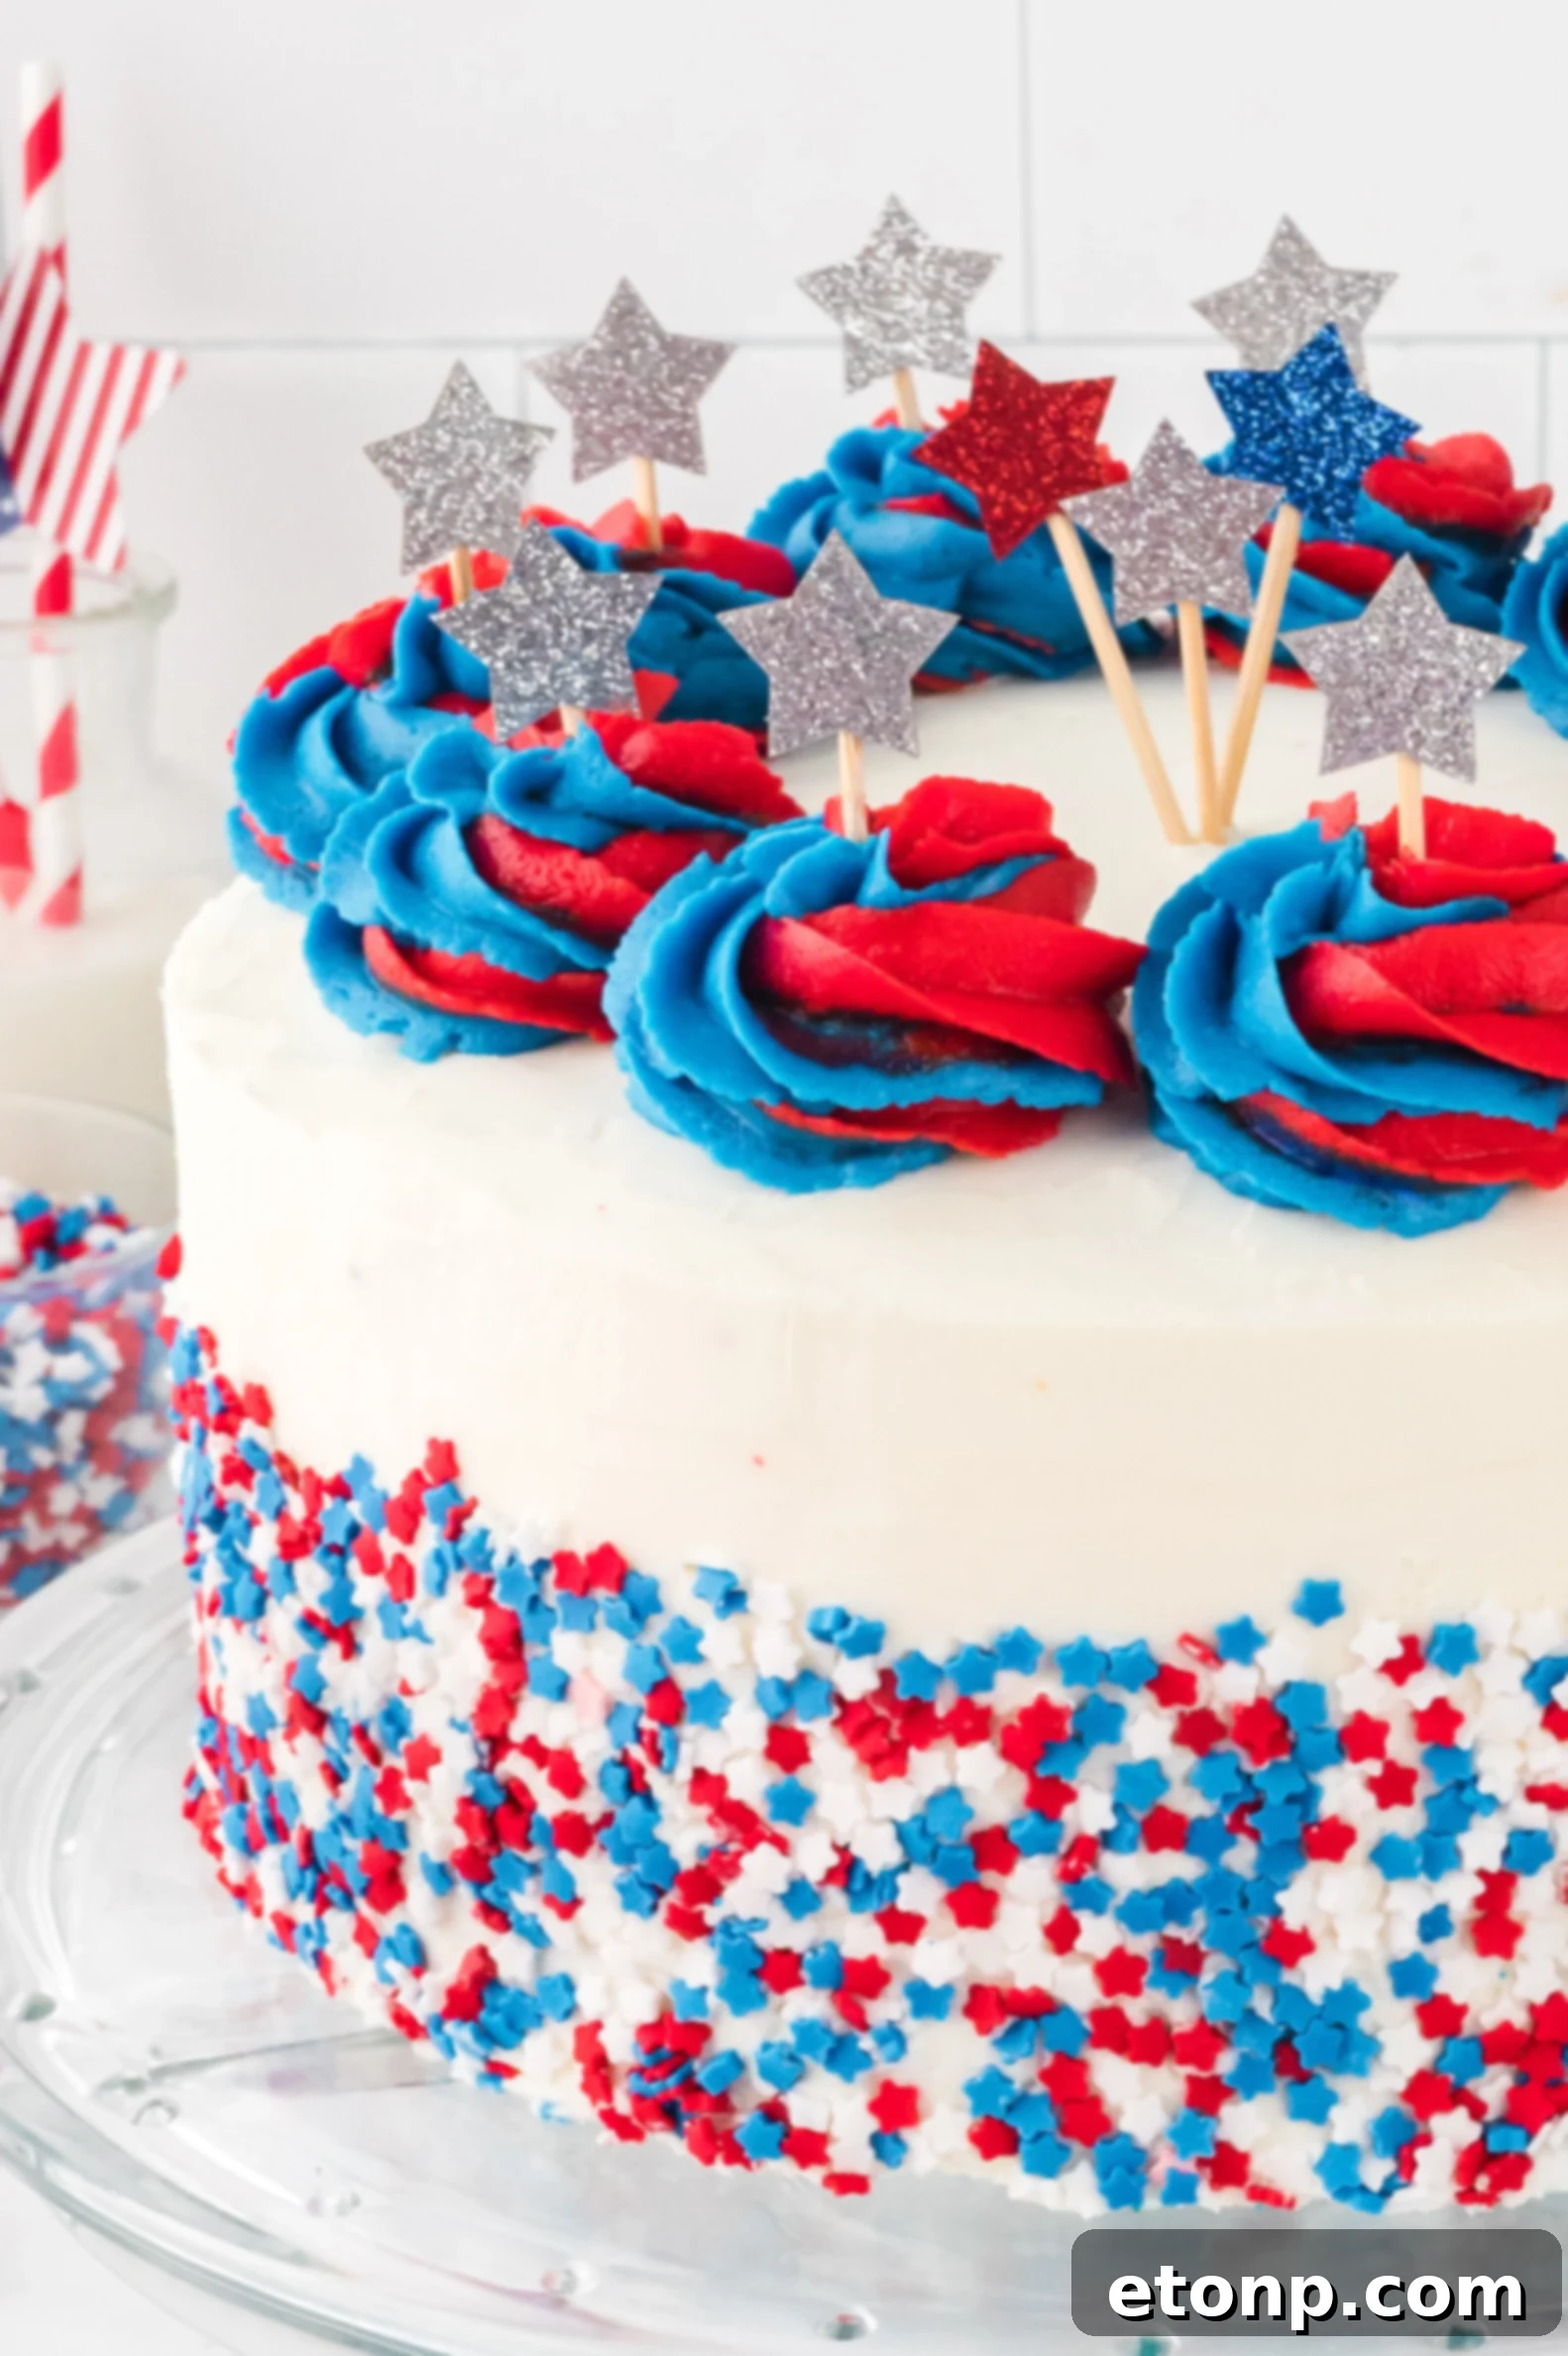
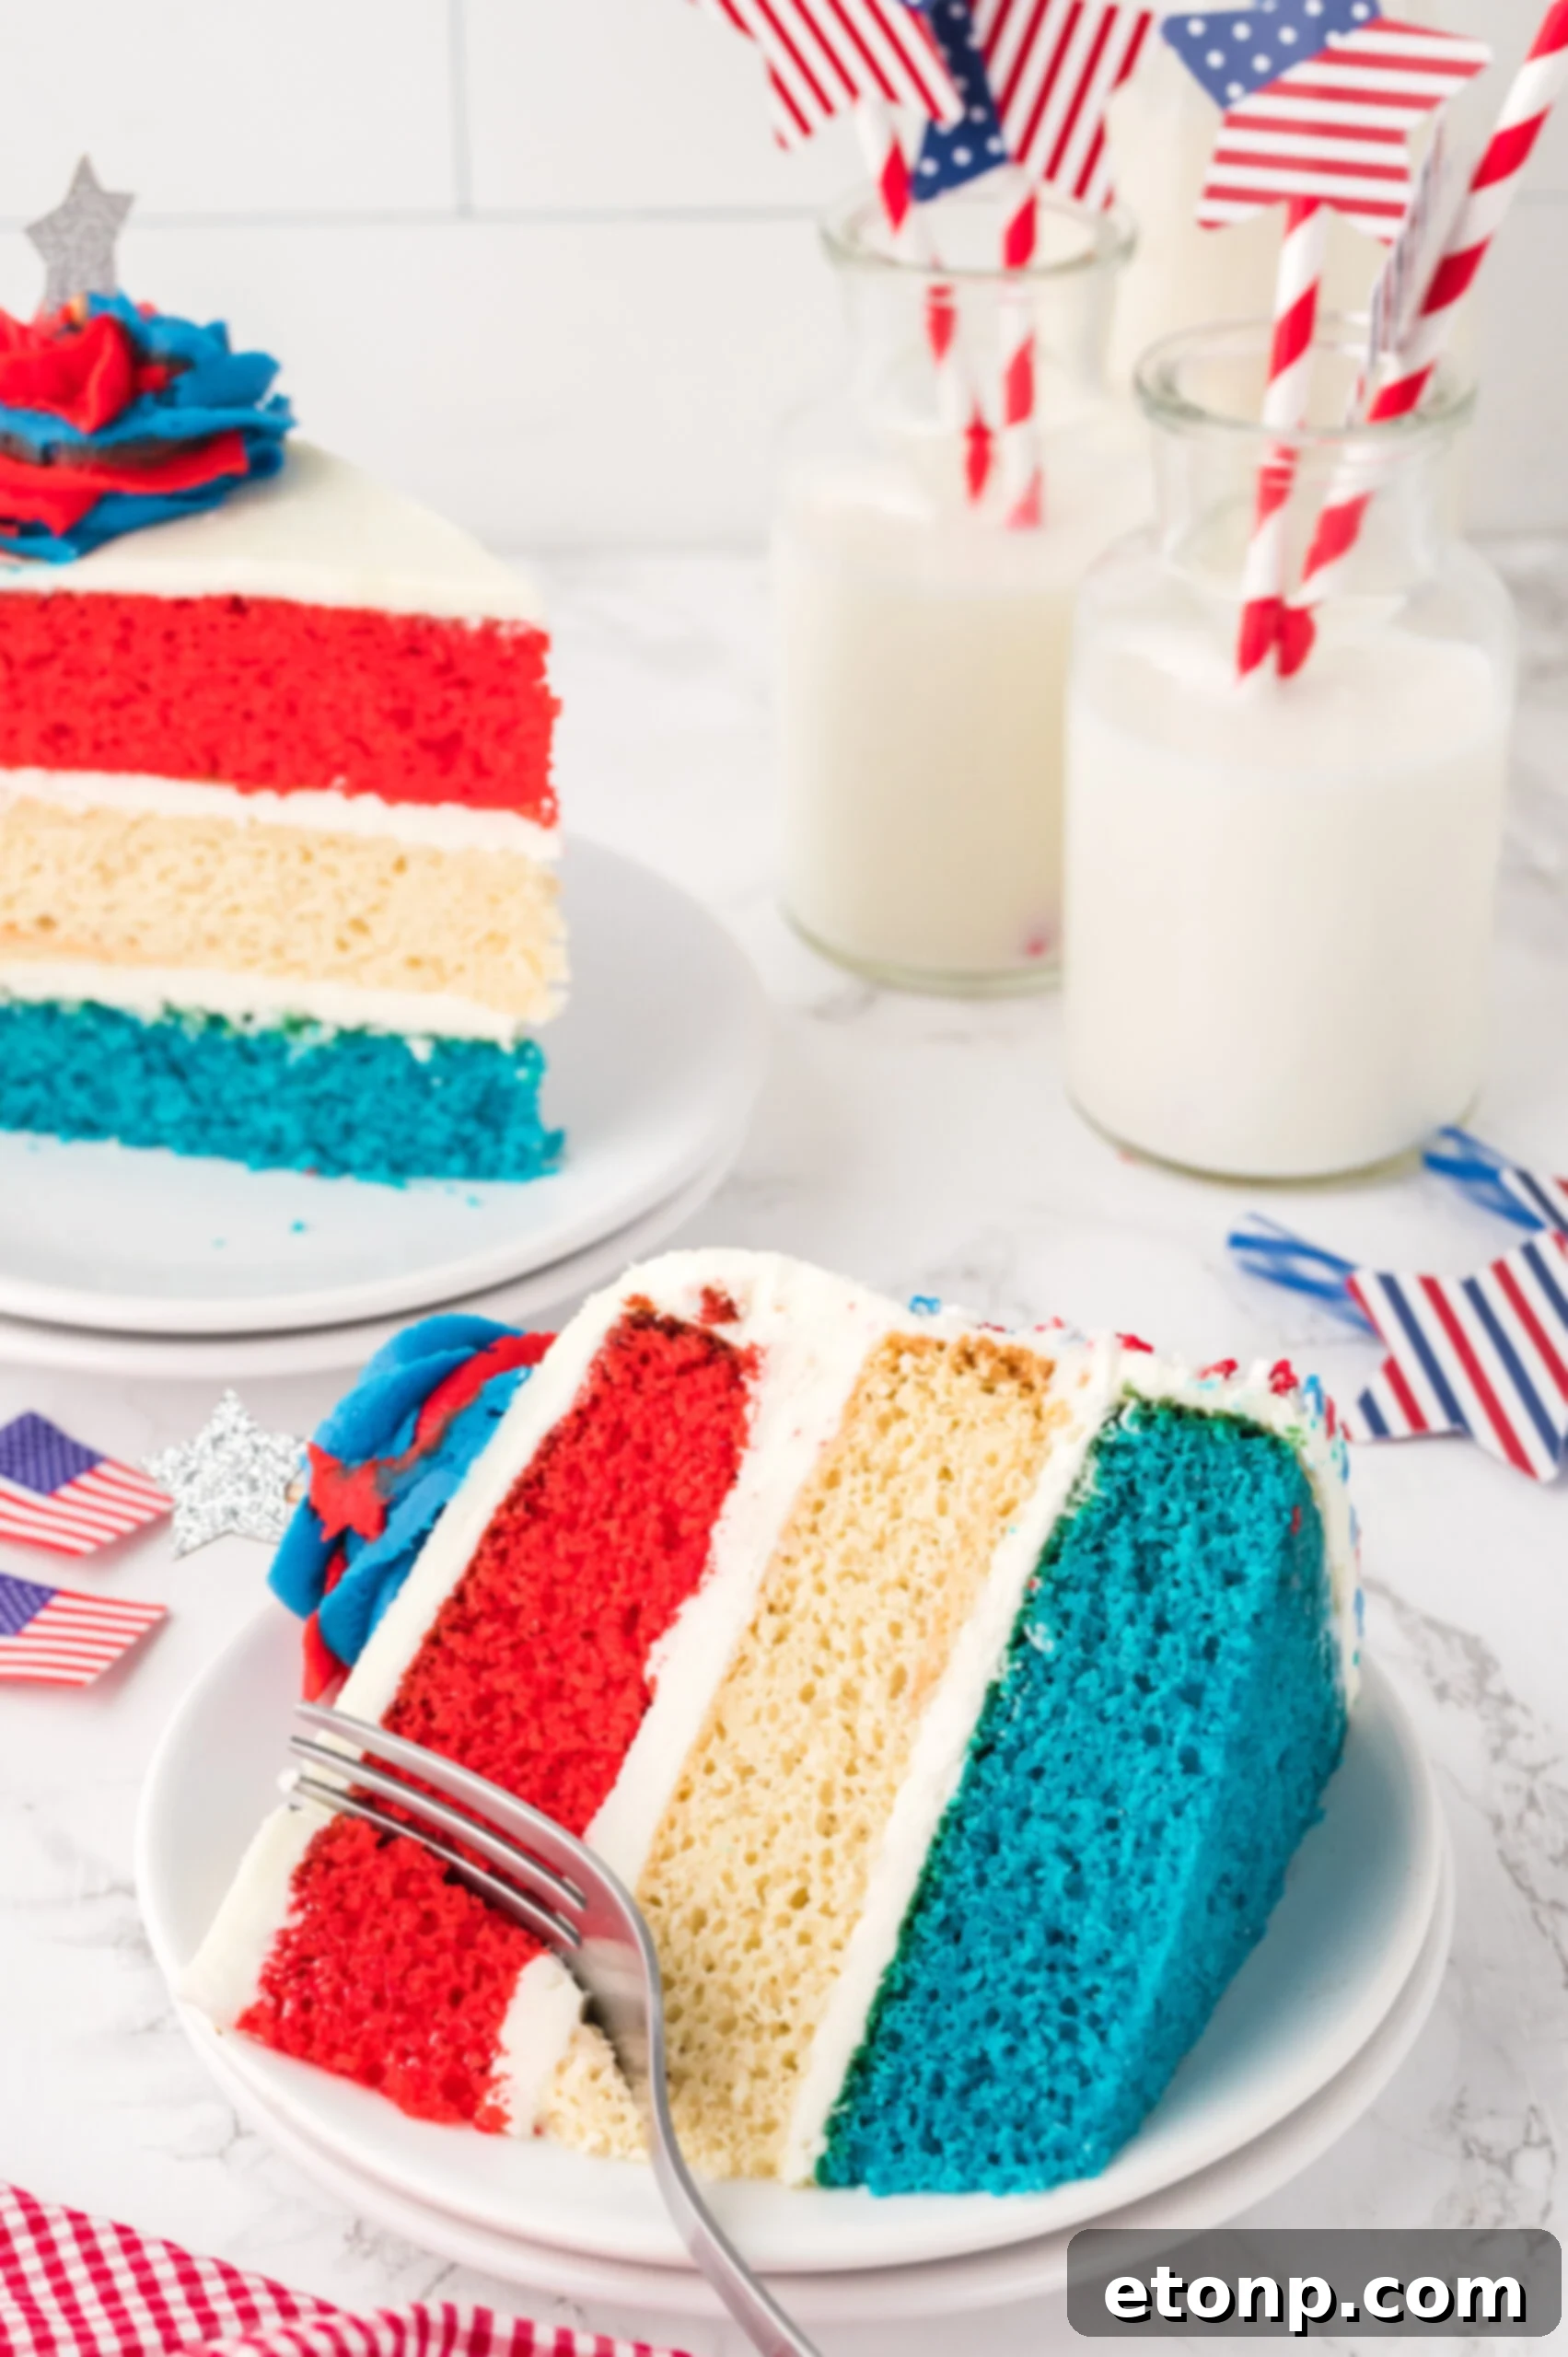
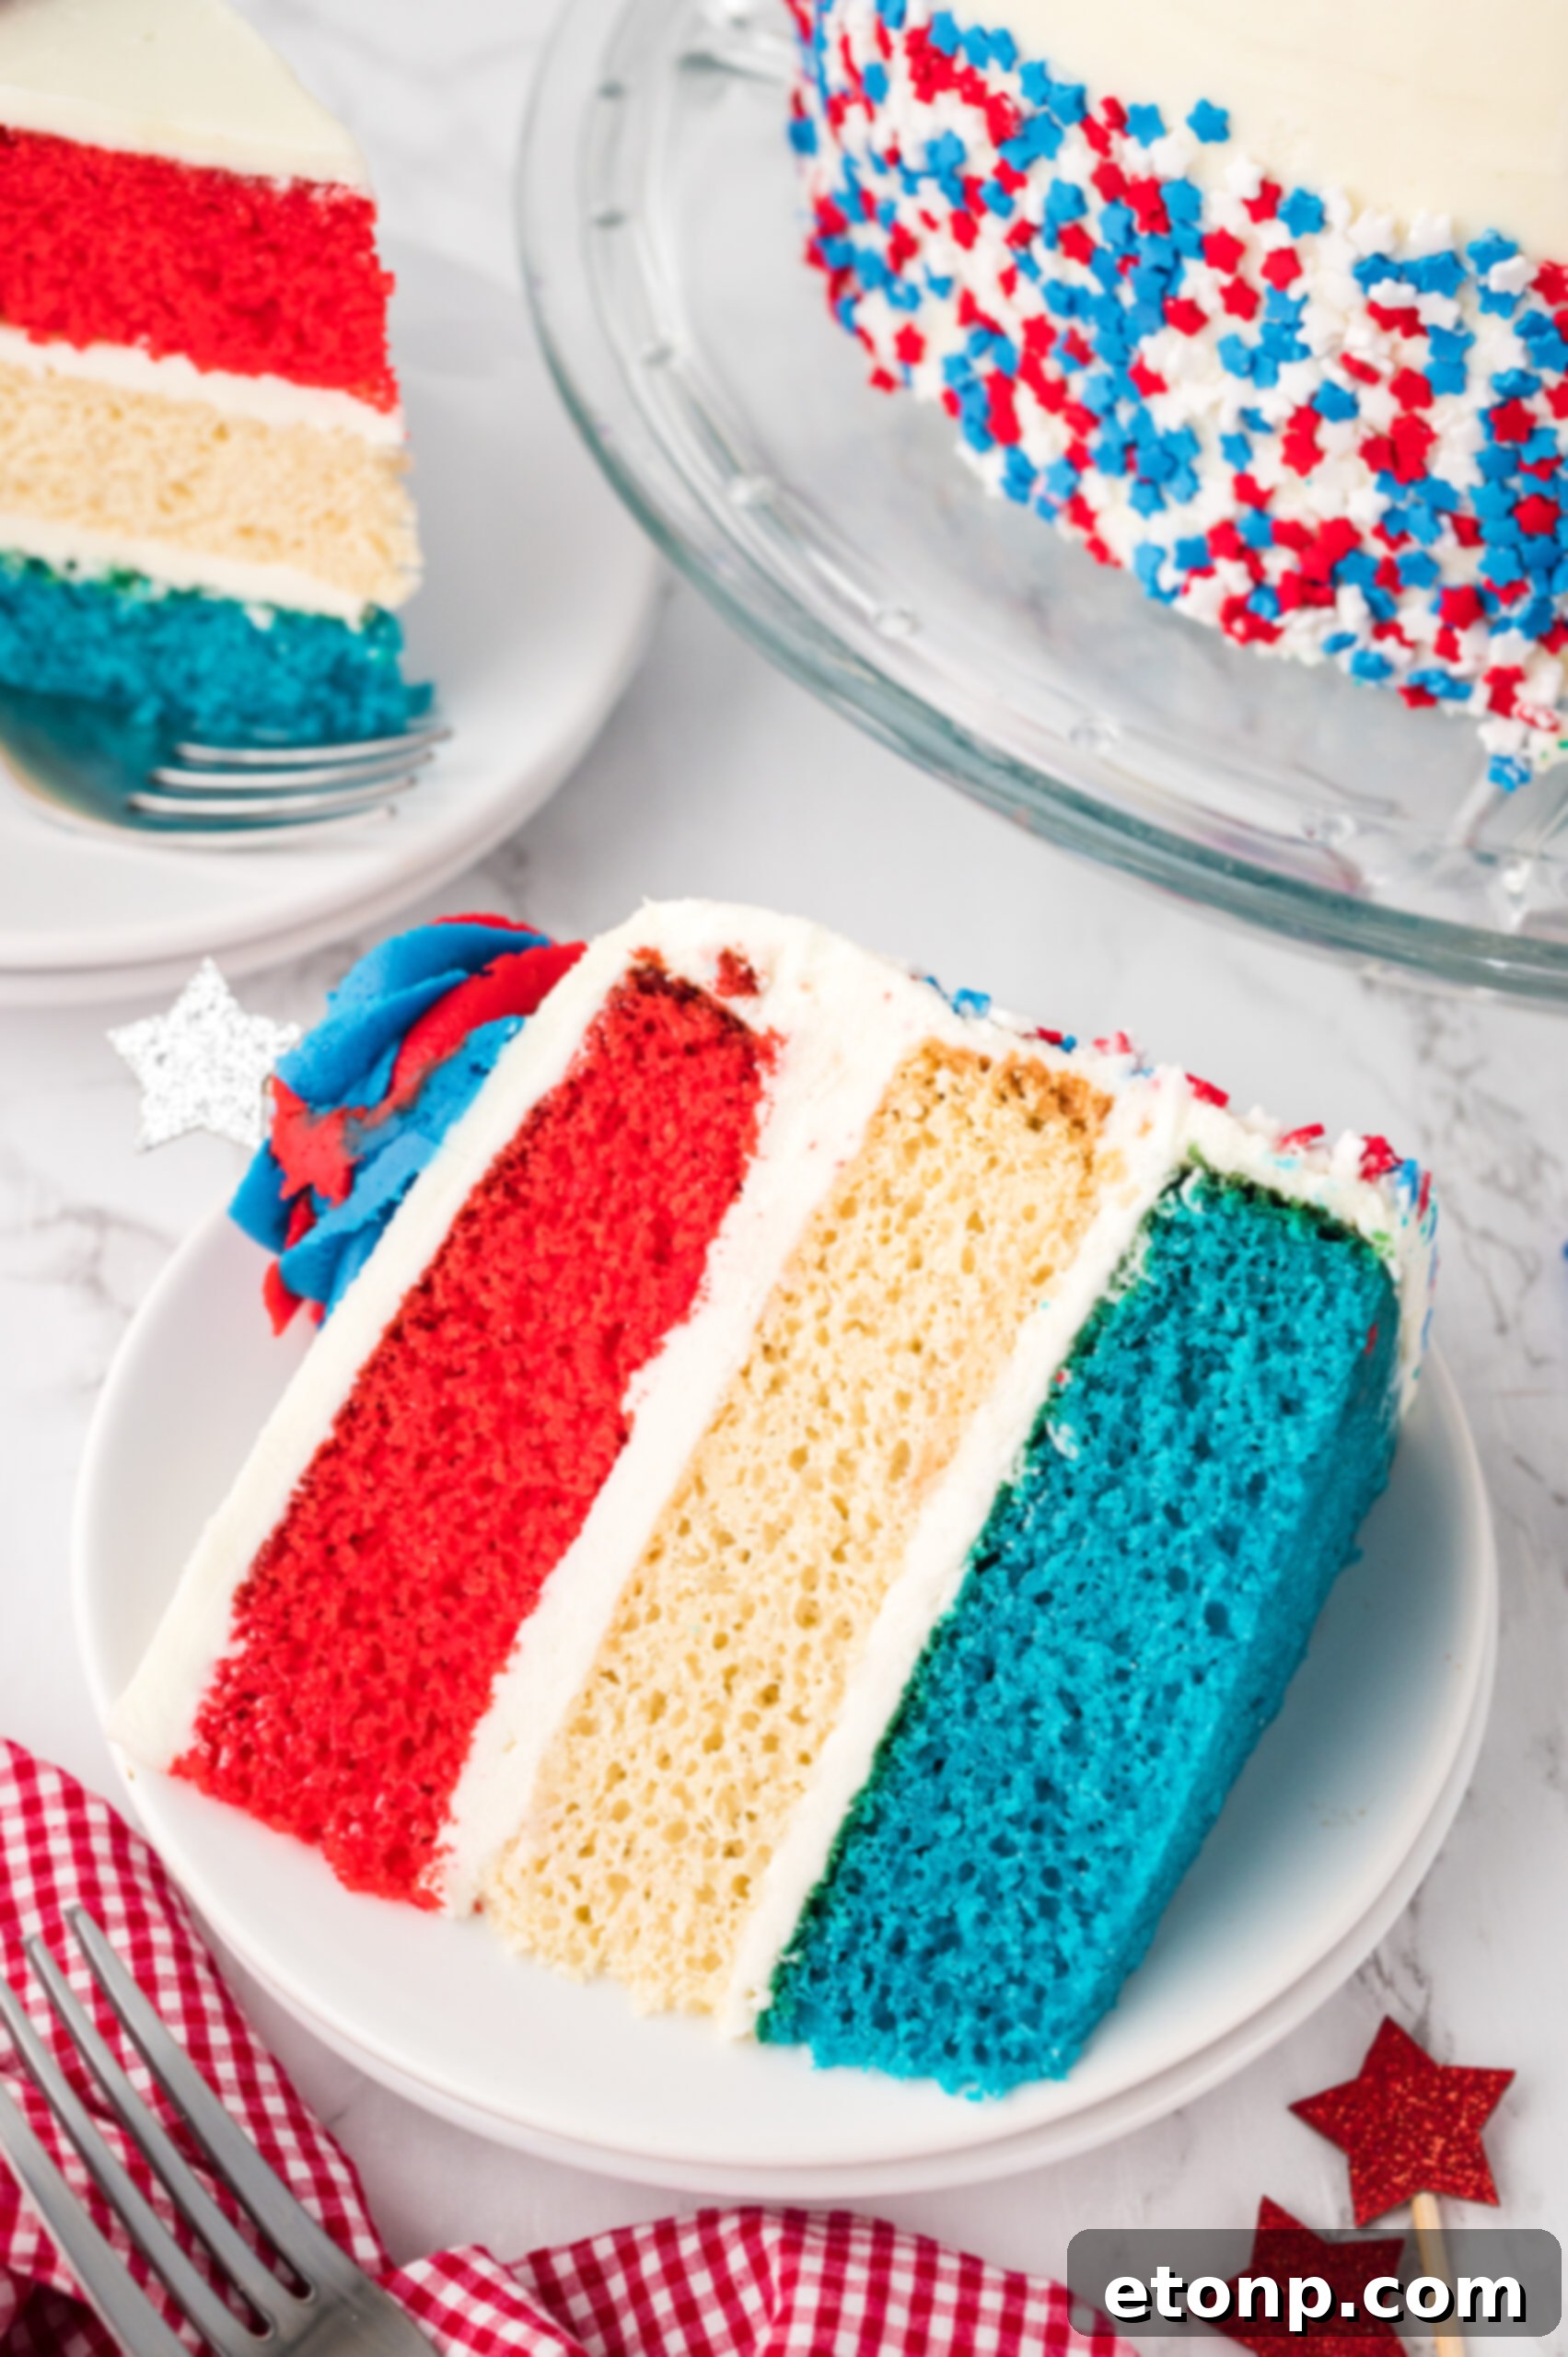
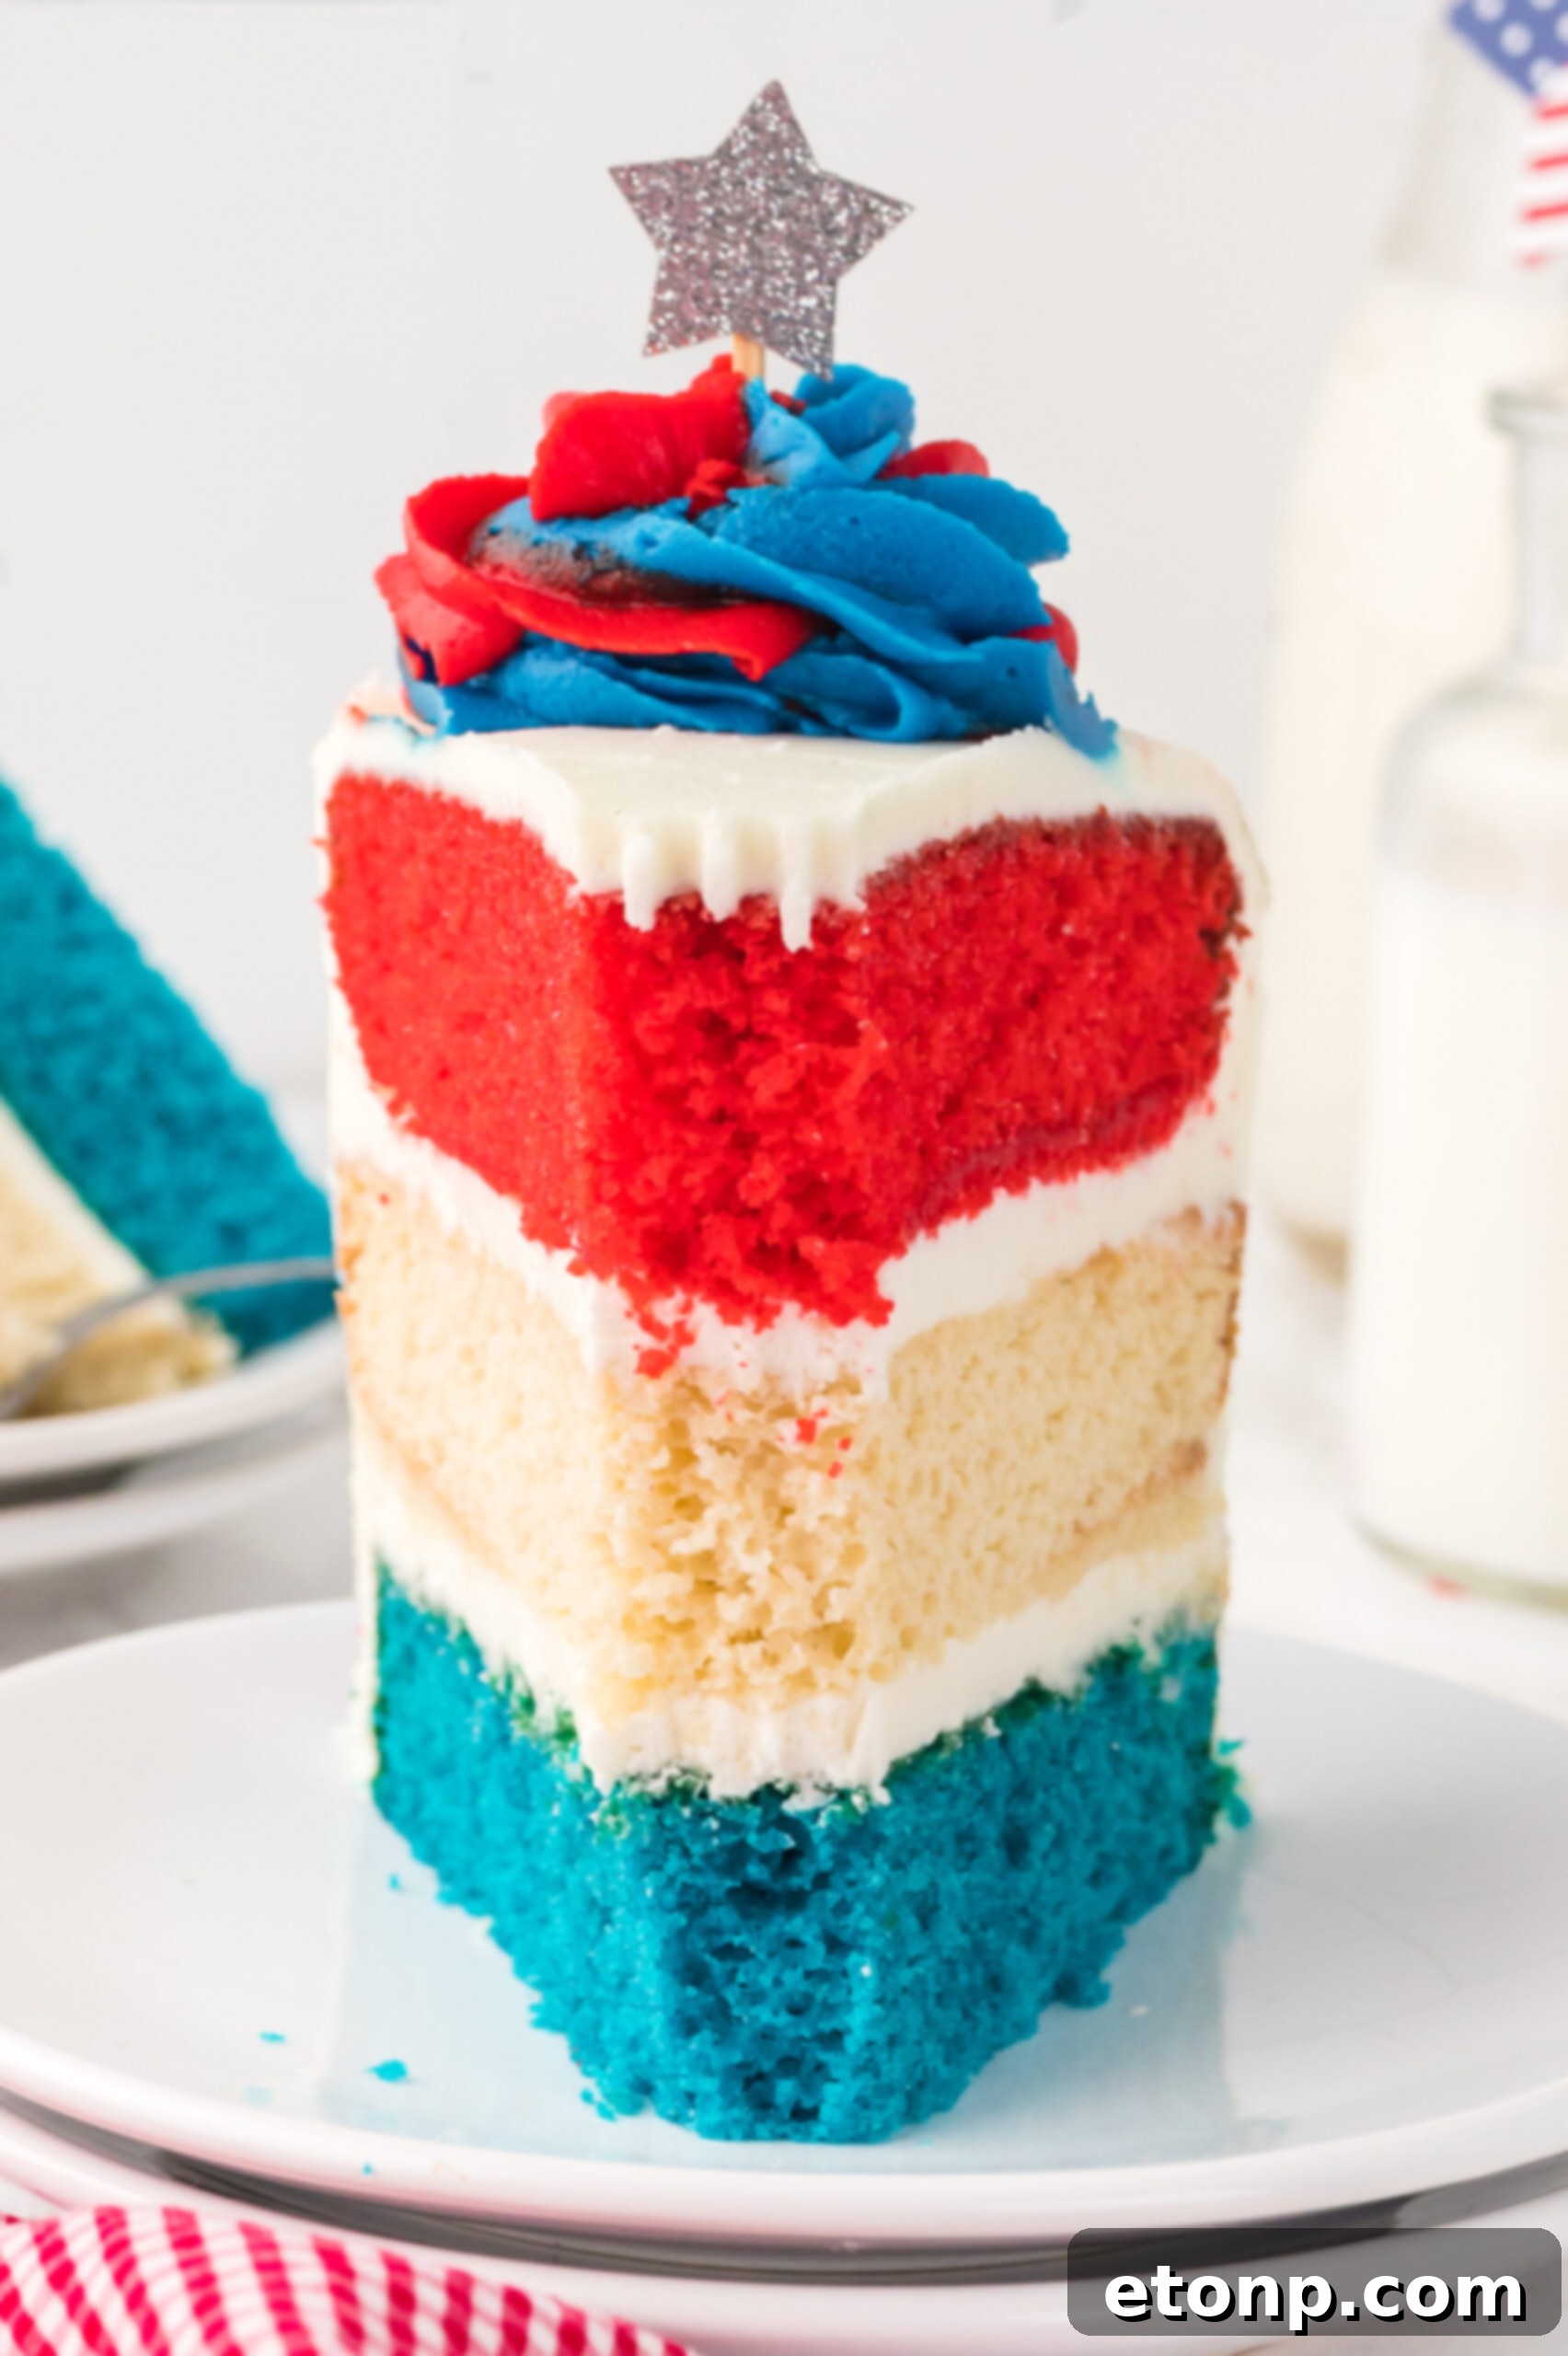
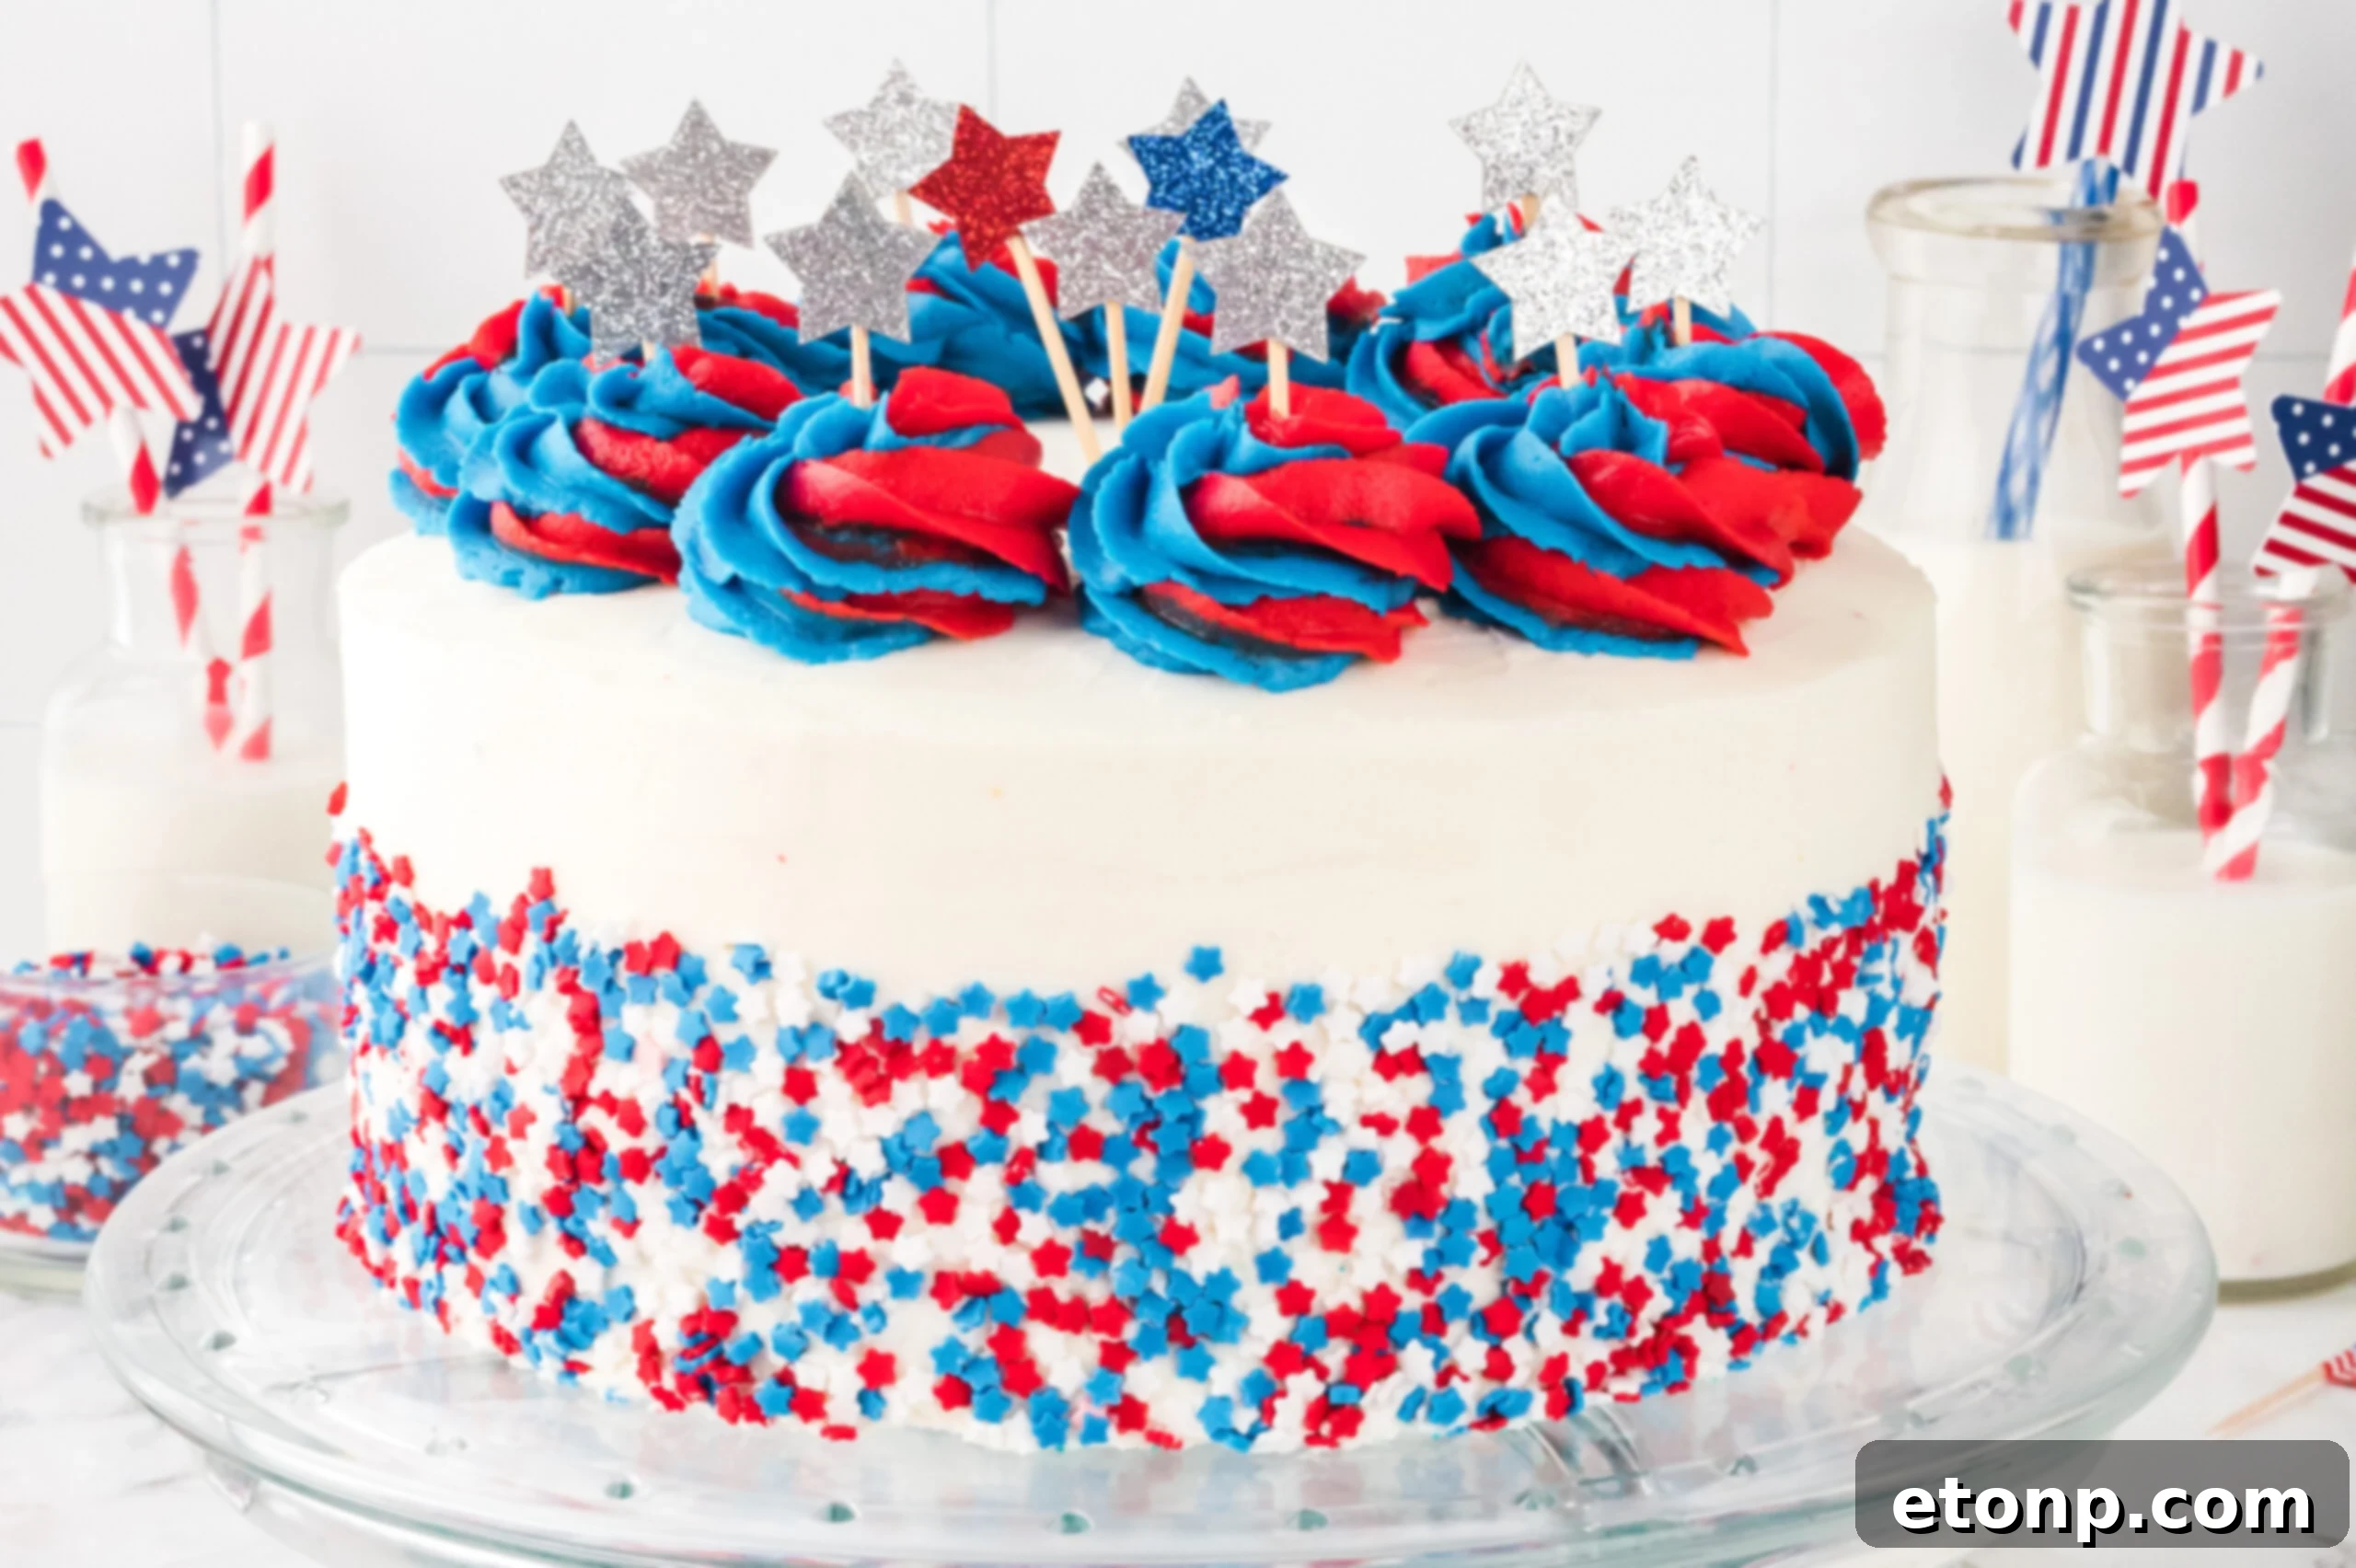
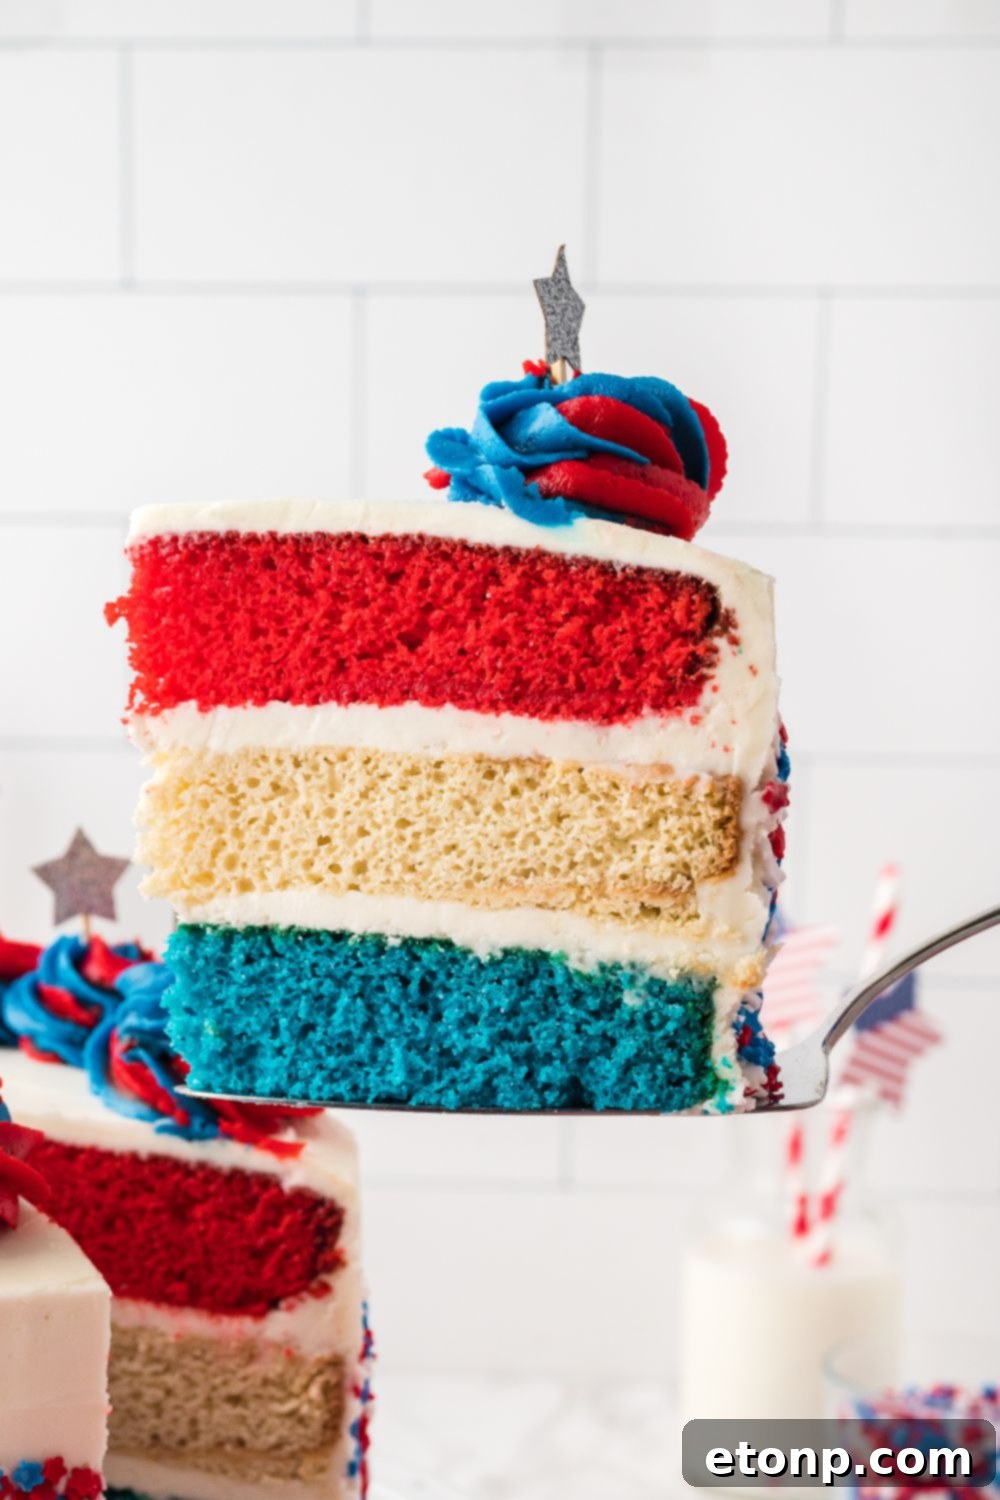
- Stunning Visual Appeal: Beyond its incredible taste, this cake is a feast for the eyes. The distinct, vibrant layers, perfectly contrasted by creamy white frosting and festive sprinkles, create a magnificent display. Its simple yet elegant design is guaranteed to impress everyone, making it the focal point of any dessert table and a prime candidate for countless celebratory photos.
- Perfect for Any Crowd: Whether you’re hosting an intimate family barbecue or a large festive gathering, this generously sized layered cake is designed to serve a crowd. Its impressive stature and rich flavors mean that even small slices are incredibly satisfying, allowing many guests to enjoy a piece of this patriotic delight. It’s the ultimate communal dessert for celebrations.
Crafting Your Festive Layers: The Heart of the Cake
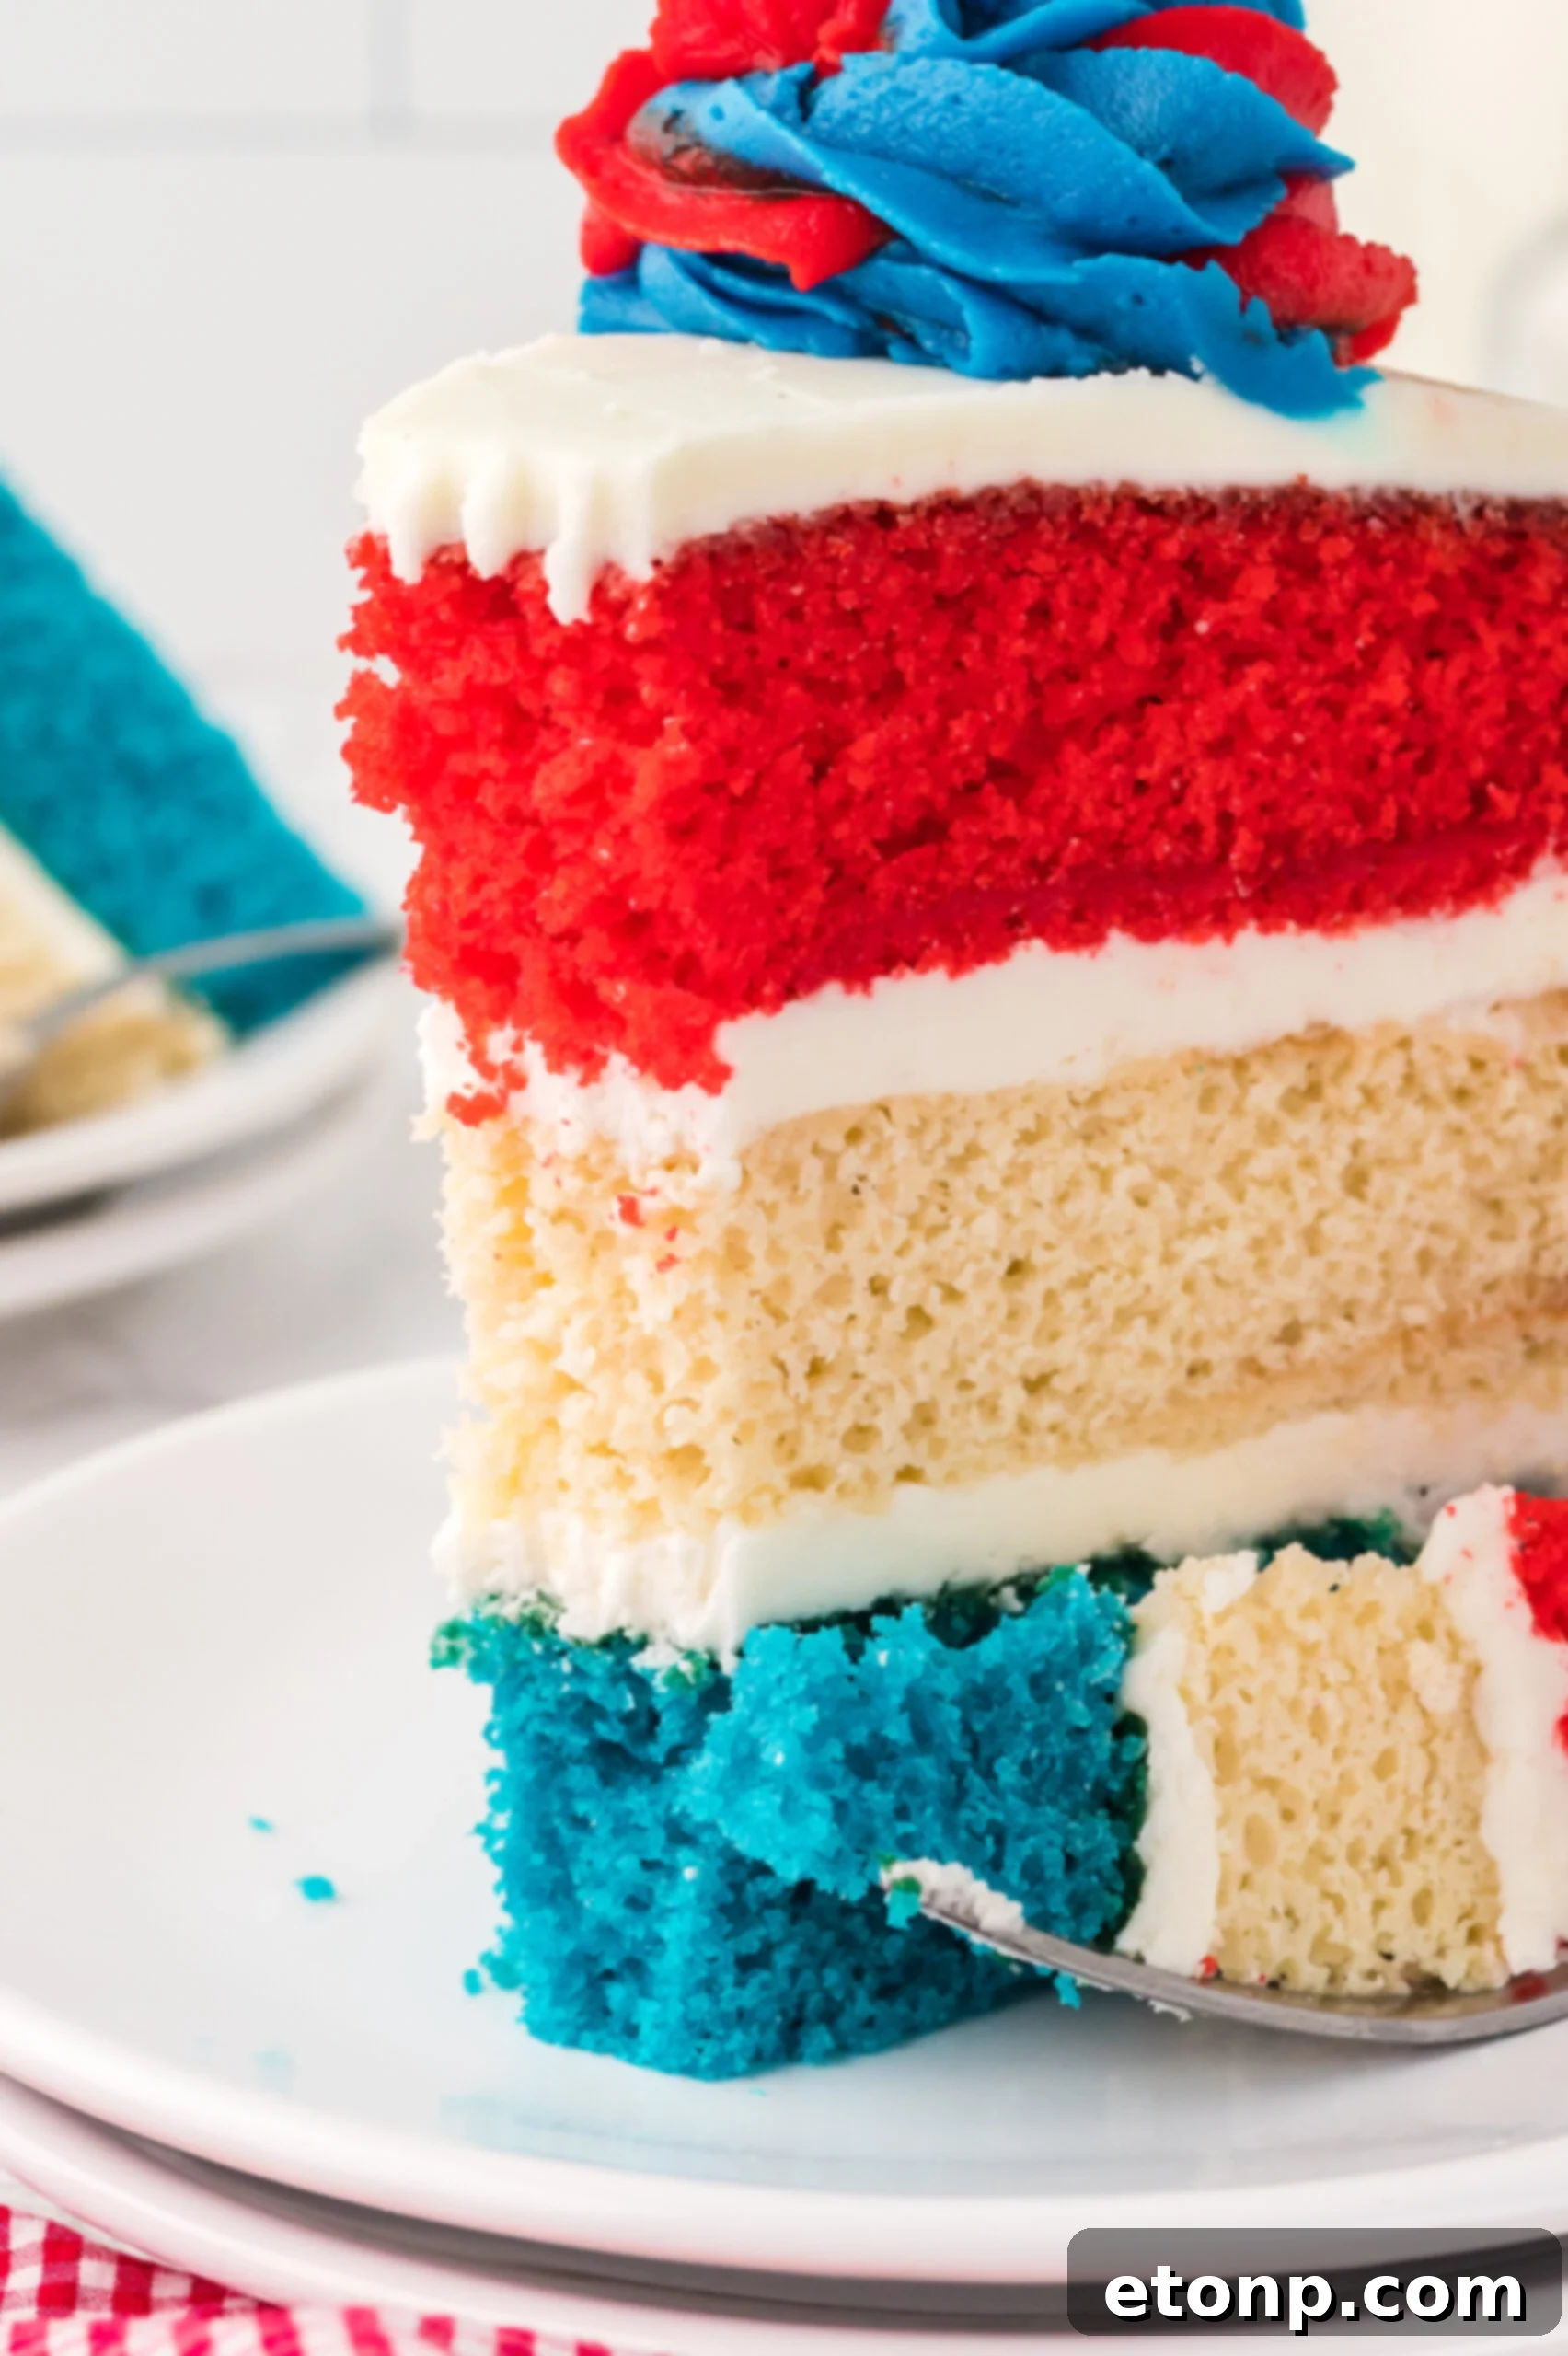
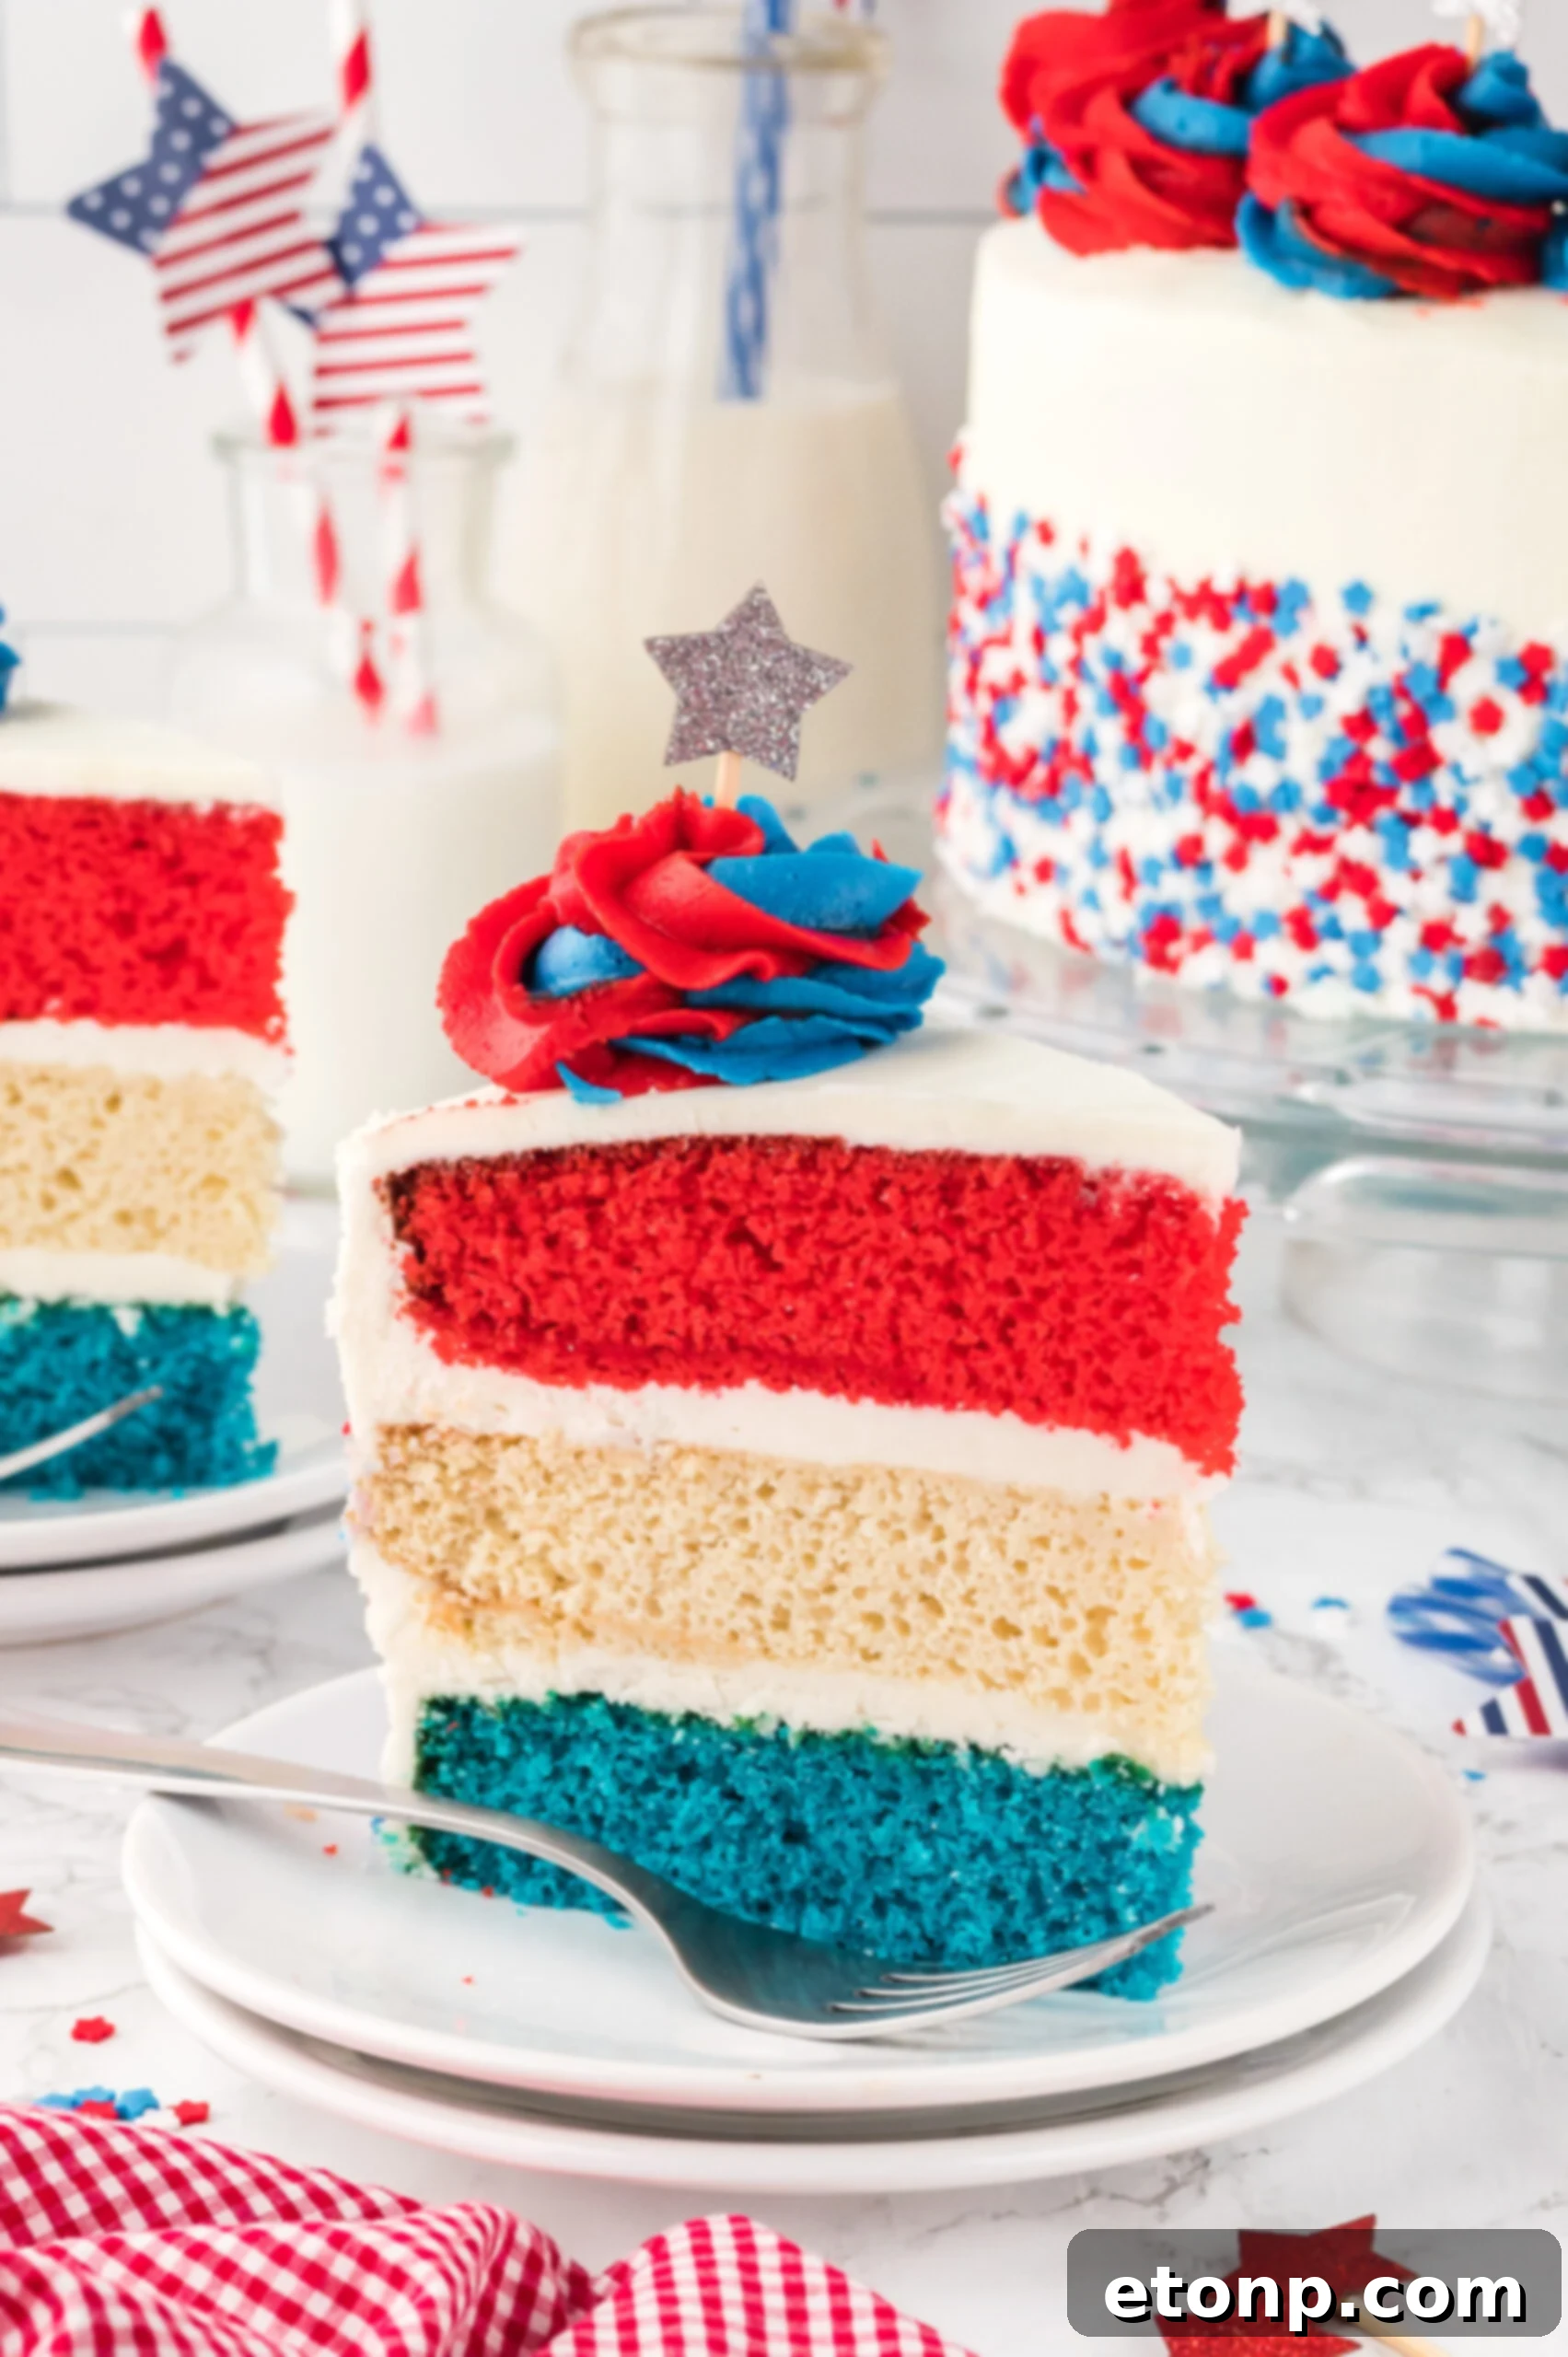
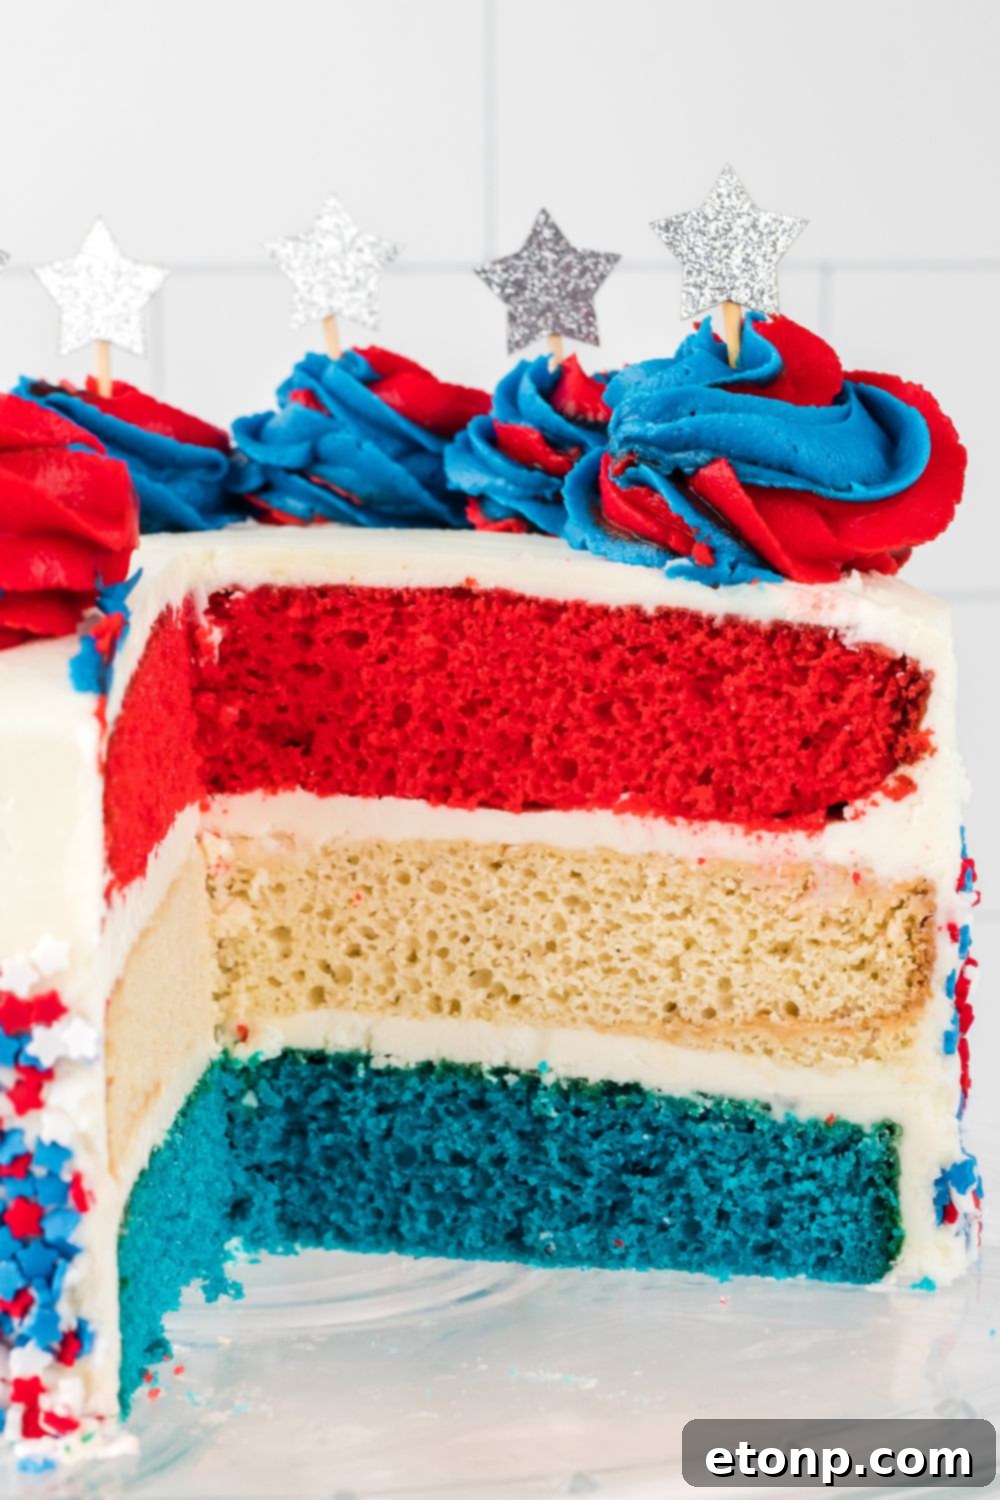
The foundation of our American Flag Layered Cake is a classic vanilla sponge – soft, buttery, and utterly delightful. This isn’t just any vanilla cake; it’s the kind that transports you back to childhood birthdays, but elevated with a sophisticated flavor and perfect texture. You’ll be baking three distinct layers: one vibrant red, one brilliant blue, and one pristine white. This thoughtful arrangement creates a striking visual when sliced, offering a subtle yet impactful tribute to the flag without resorting to overly complex techniques.
Achieving perfectly uniform layers is crucial for the cake’s aesthetic and structural integrity. This is where the art of trimming comes in. After your cakes have cooled completely (patience is key here, as a warm cake will crumble), use a serrated knife to carefully level any domed tops. Hold the knife parallel to the cake and employ a gentle sawing motion while rotating the cake. This step might seem minor, but it’s a game-changer, ensuring your layers stack evenly and your final cake has those clean, impressive edges. Don’t rush this process; precision here pays off in a beautifully structured cake that stands tall and proud.
Mastering the American Buttercream: Perfect Frosting Every Time
No patriotic cake is complete without a rich, sturdy frosting, and our American buttercream delivers exactly that. This isn’t a delicate, airy frosting; it’s thick, sweet, and robust enough to hold up beautifully, even in the warmth of a summer celebration. The secret to its remarkable texture and stability lies in the combination of both butter and vegetable shortening. The butter provides that classic, creamy flavor, while the shortening ensures the frosting maintains its shape, making it ideal for piping intricate designs and standing up to the Fourth of July humidity.
For the quintessential “white” in your red, white, and blue, achieving a truly bright, unblemished white frosting is paramount. Regular vanilla extract can impart a slight tan tint, so we opt for clear vanilla extract to preserve that pristine whiteness. However, even with clear vanilla, butter naturally has a yellow hue. Here’s a professional trick: add a tiny dot of purple or violet gel food coloring. Purple is opposite yellow on the color wheel, so it neutralizes the yellow undertones, resulting in a remarkably pure white frosting. Remember, less is more – you only need a minuscule amount to achieve this optical magic. You’re aiming for a flag-worthy white, not a buttercream beige!
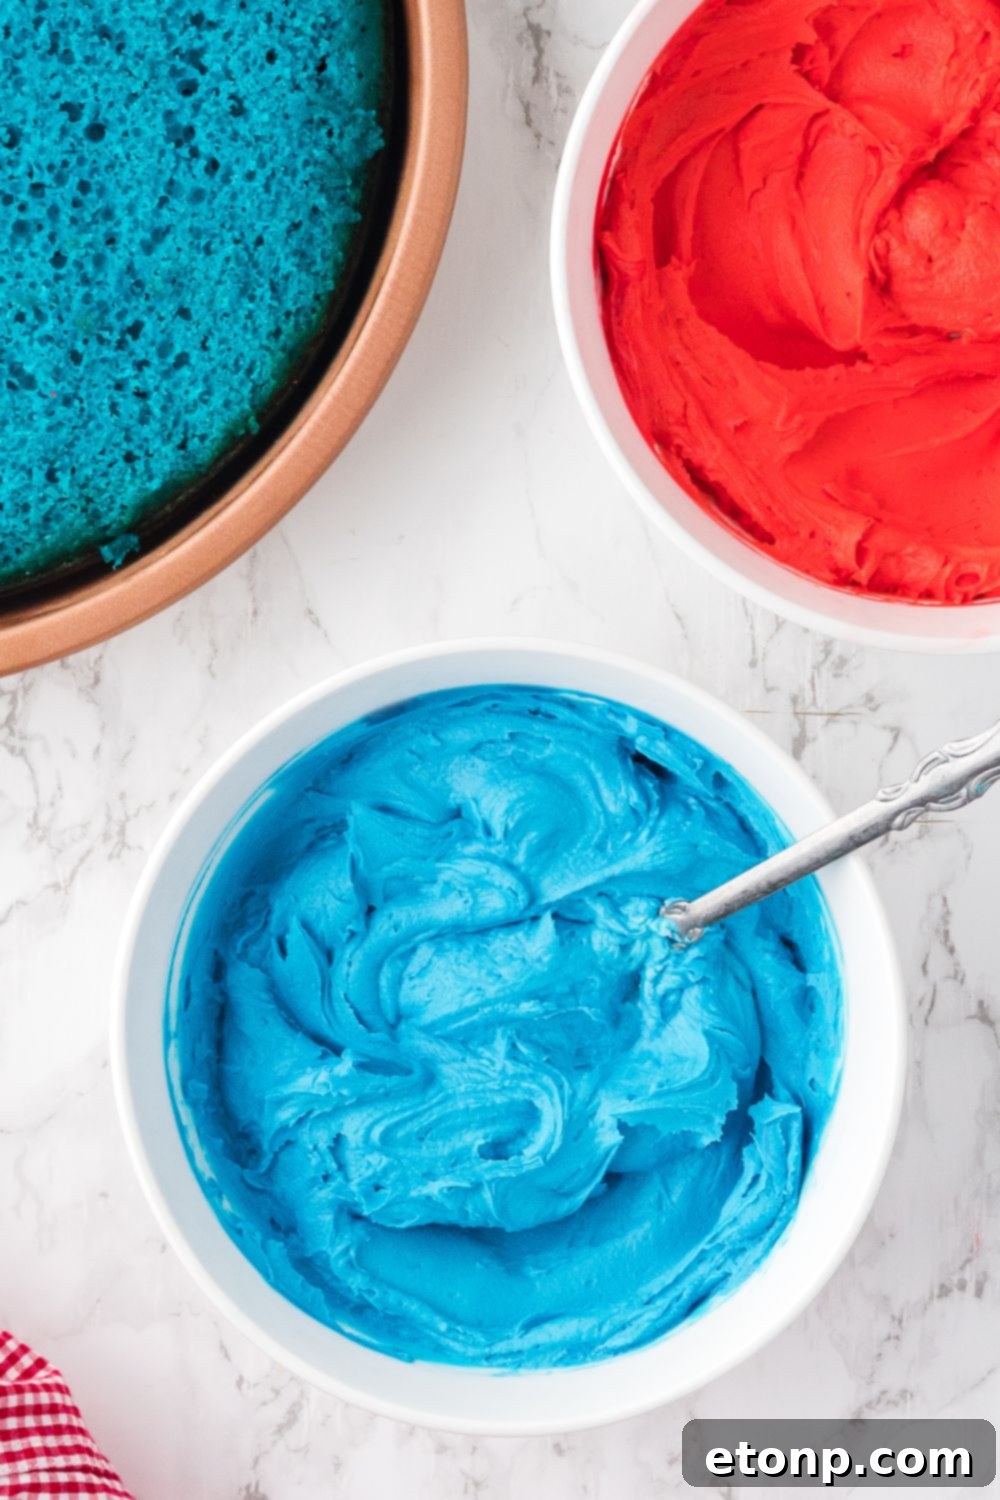
When it comes to coloring the red and blue sections of your frosting, gel food colorings are your best friend. They offer intense, vibrant colors without significantly altering the frosting’s consistency, unlike liquid food colorings. Start with small amounts, adding gradually until you achieve the desired bold, rich shades. It’s easier to add more color than to try and lighten it, so proceed with a cautious hand. The transformation of plain white frosting into these patriotic hues is surprisingly satisfying and sets the stage for a truly festive creation.
Decorating Your Patriotic Masterpiece
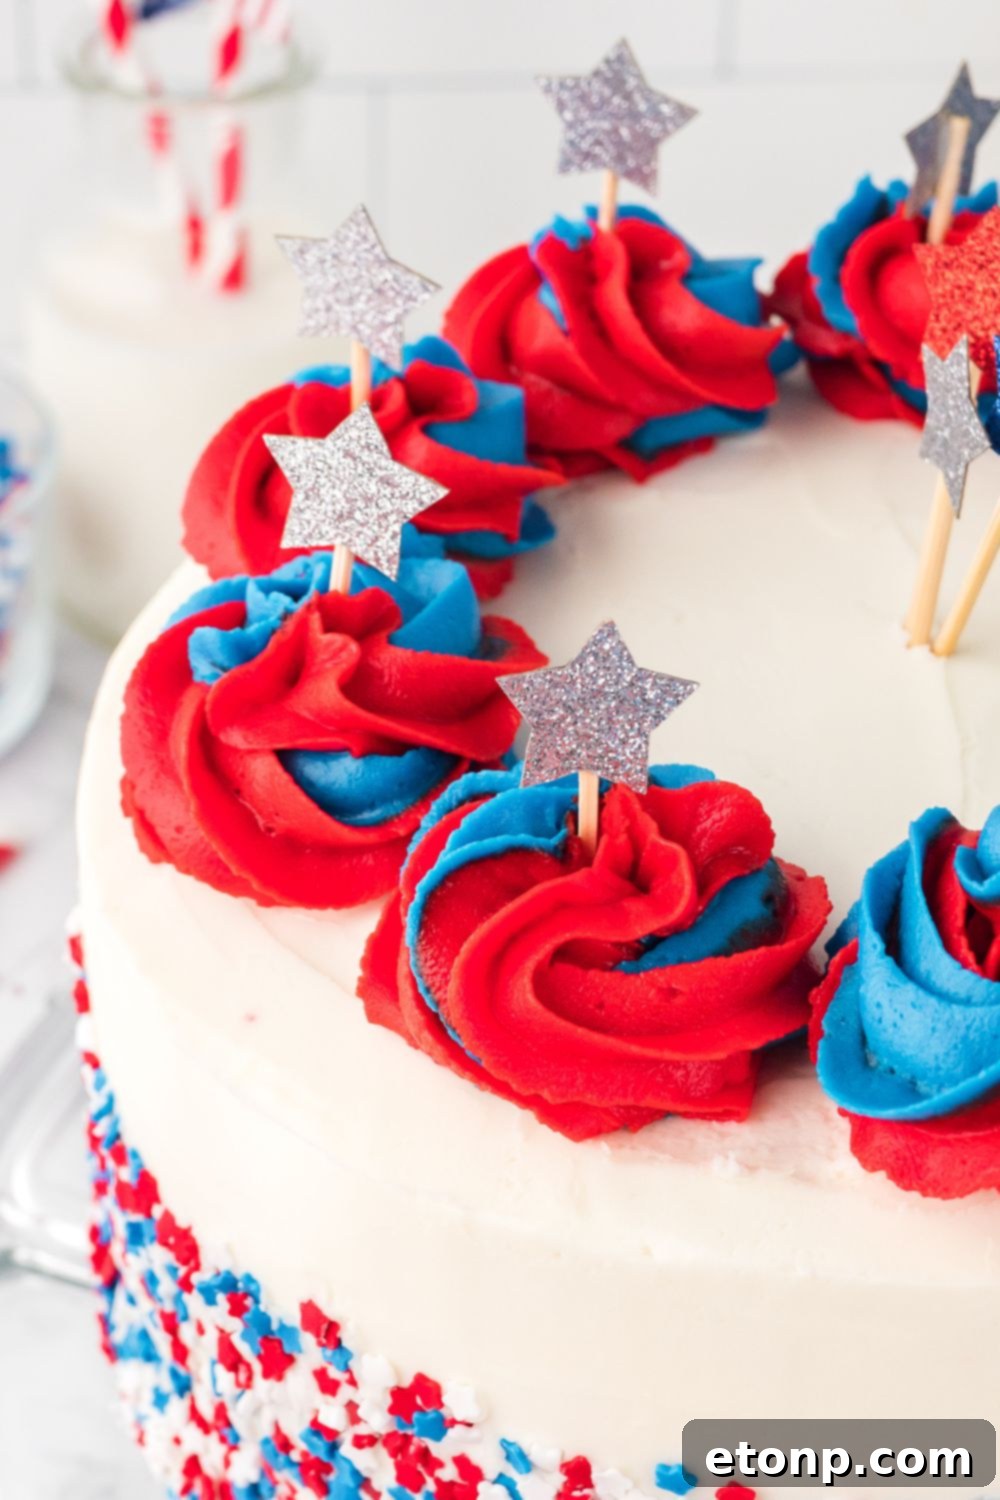
Decorating your American Flag Layered Cake should be an enjoyable process, not a stressful quest for unattainable perfection. We’re aiming for “good vibes and great frosting” here! The goal is a festive and visually appealing cake that proudly displays its colors, regardless of whether every swirl is flawless.
Start with a crucial step: the crumb coat. This is a thin layer of plain white frosting spread over the top and sides of your stacked cake. Its purpose is to trap any loose cake crumbs, preventing them from mixing into your final, pristine layer of frosting. Once applied, chill the cake in the refrigerator for at least 30 minutes. This allows the crumb coat to firm up, creating a stable, smooth base for your final decorative layer. Skipping this step often leads to a crumb-filled, messy outer frosting, so don’t be tempted to bypass it!
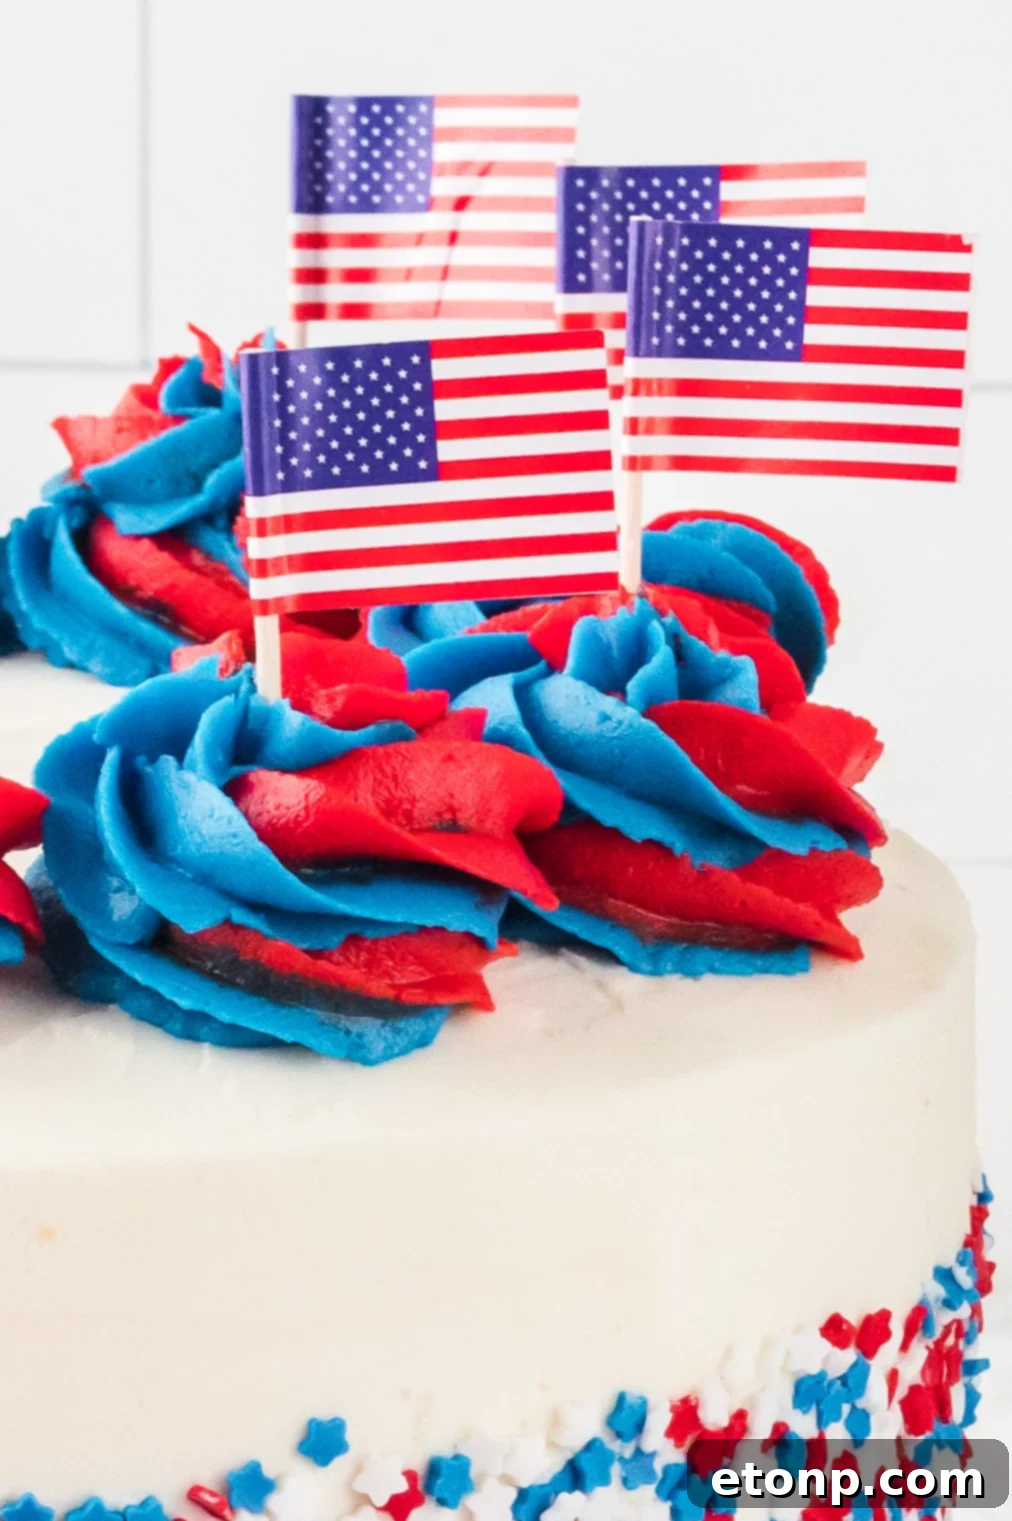
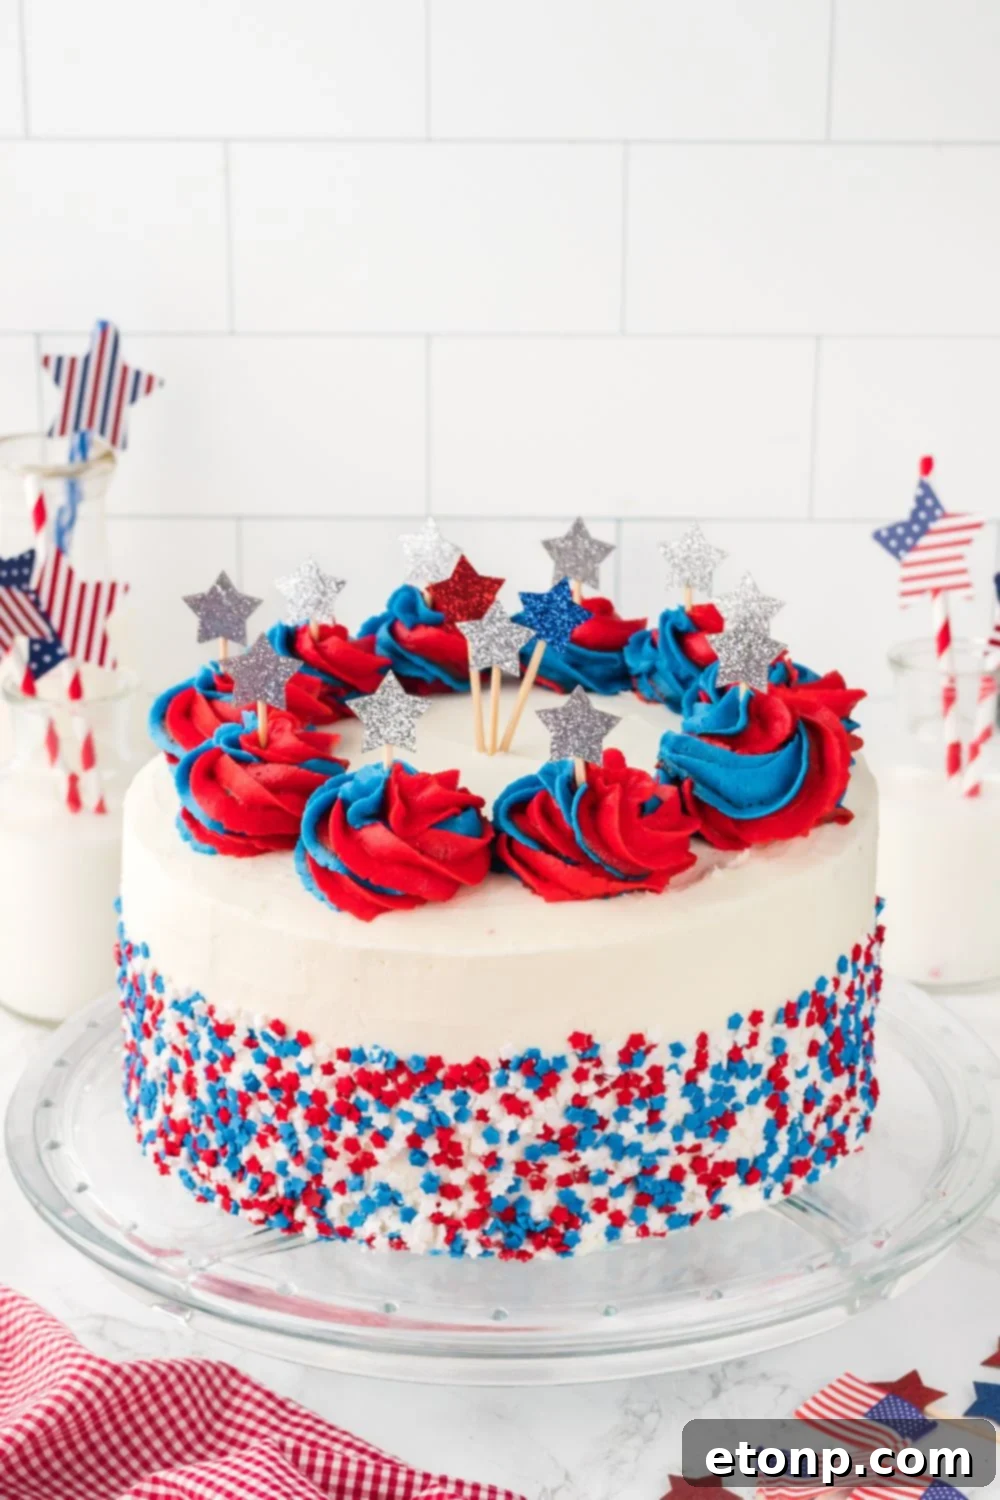
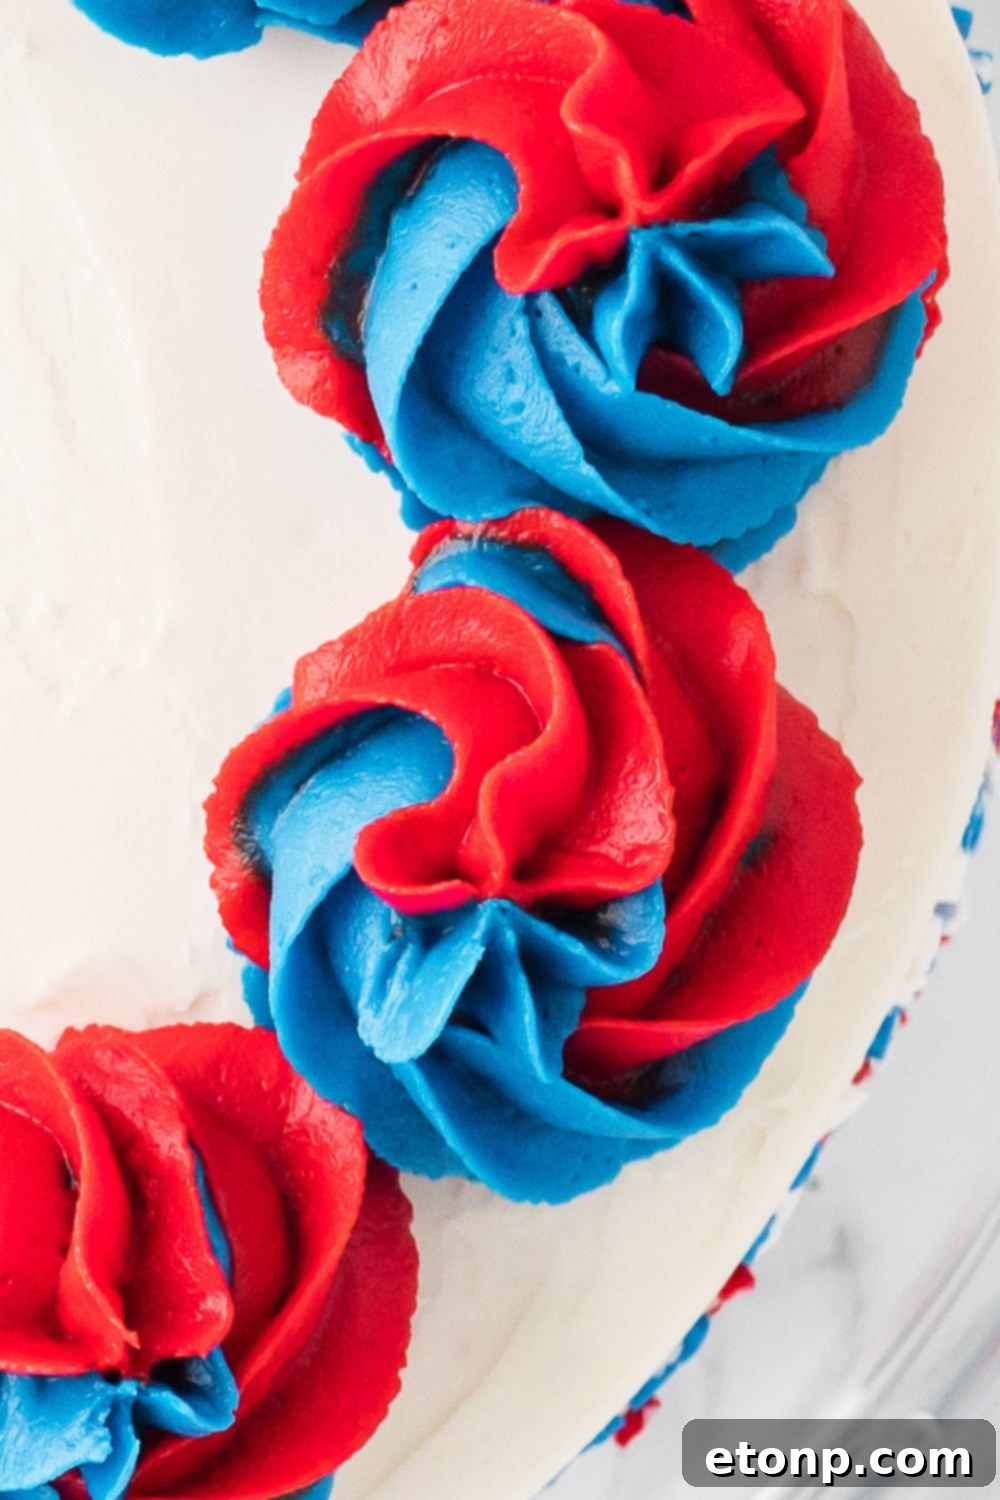
After chilling, apply your final, thicker layer of white frosting, smoothing it with a cake spatula for a polished finish. Then, it’s time for the fun part: adding the red and blue accents. If you have a Wilton color swirl decorating set, it’s fantastic for piping vibrant two or three-toned swirls on top. If not, don’t worry! You can easily “MacGyver” a solution using two separate piping bags (or even gallon-sized zip-top bags with a corner snipped off) filled with red and blue frosting, piping alternating swirls or dots. The key is to create contrast and a bit of height on top, which instantly elevates the festive look. Once your top is decorated, add a generous sprinkle of patriotic red, white, and blue sprinkles to the sides and top while the frosting is still soft, ensuring they adhere beautifully. This adds texture, sparkle, and an extra pop of color. Remember, this cake is about celebrating, so let your personality shine through in the decoration!
Essential Tips for Baking a Flawless Flag Cake
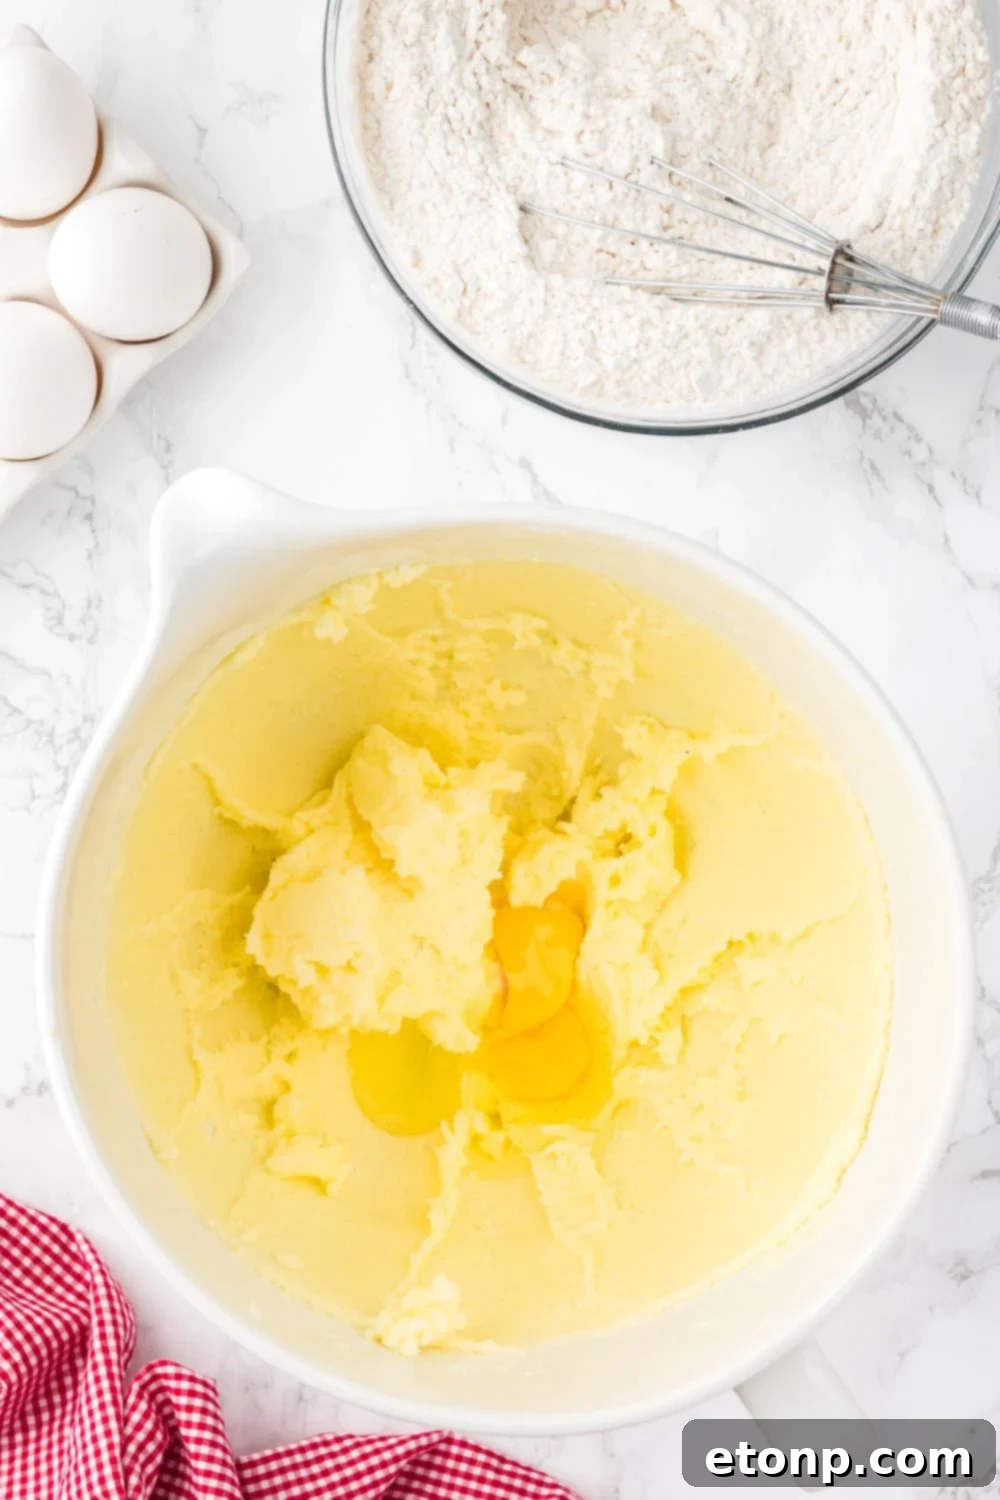
- Room Temperature Ingredients: Always start with butter, eggs, and milk at room temperature. This ensures all ingredients emulsify properly, creating a smooth, uniform batter that bakes evenly and results in a tender, moist cake.
- Avoid Overmixing: Once you add the dry ingredients to the wet, mix only until just combined. Overmixing develops the gluten in the flour, leading to a tough, dense cake.
- Precise Measurement: Especially for flour, use a kitchen scale for accuracy or the “spoon and level” method (spoon flour into a measuring cup, then level with a straight edge) to avoid compacting it, which can lead to a dry cake.
- Level Your Cakes: Don’t skip trimming the domed tops of your cake layers once they’re cool. Flat, even layers are crucial for a stable, professional-looking stacked cake. A serrated knife and a steady hand work wonders here.
- The White Frosting Trick: As mentioned, a tiny toothpick-sized dot of purple or violet food coloring, combined with clear vanilla extract, will counteract the yellow hue of butter and give you a brilliant, flag-white frosting.
- Crumb Coat is a Must: Always apply a thin crumb coat and chill the cake thoroughly (at least 30 minutes) before applying your final layer of frosting. This prevents crumbs from showing through and provides a stable surface for decoration.
- Add Sprinkles While Wet: For best adhesion, sprinkle your patriotic decorations onto the cake immediately after applying the final frosting layer, before it has a chance to set.
- Don’t Peek Too Early: Resist the urge to open the oven door frequently while baking. This can cause the cake to sink in the middle. Wait until close to the minimum baking time before checking for doneness.
- Cool Completely: Ensure cake layers are completely cooled before trimming, handling, or frosting. Warm cakes are fragile and prone to tearing or crumbling.
Frequently Asked Questions (FAQs)
Can I make this cake ahead of time?
Absolutely, and it’s often recommended to reduce stress on the day of your event. The cake layers can be baked up to two days in advance. Once fully cooled, wrap each layer tightly in plastic wrap and store them at room temperature. You can also assemble and decorate the entire cake a day ahead. Store the finished cake in the refrigerator, loosely covered, and allow it to come to room temperature for about 1-2 hours before serving for optimal flavor and texture.
I don’t have a piping set—what should I do?
No special equipment? No problem! Creativity is key in the kitchen. A sturdy gallon-sized zip-top bag with one corner snipped off (start with a small snip, you can always make it bigger) makes an excellent makeshift piping bag. You can still achieve beautiful swirls, dots, or even a rustic “swooped” top using the back of a spoon or an offset spatula. The charm of a homemade cake often lies in its unique, imperfect touches!
Can I use cake mix?
While a homemade cake offers superior flavor and structure, you certainly *can* use a boxed cake mix for convenience. Opt for a high-quality vanilla or yellow cake mix. To enhance its texture and flavor, consider adding an extra egg, a tablespoon of mayonnaise (for moisture), or substituting milk for water. Just be aware that boxed mixes might not be as dense or sturdy as a scratch-made cake, which could make layering and trimming slightly more challenging.
What if I don’t want to use food coloring?
That’s perfectly fine! You can bake all three cake layers as plain vanilla (white) and achieve the patriotic theme through decoration. Use plenty of red, white, and blue sprinkles, or arrange fresh berries like strawberries, raspberries, and blueberries on top to mimic the flag’s colors. You could also tint a portion of the frosting naturally with berry purées, though the colors won’t be as vibrant as artificial dyes.
It’s hot out—will the frosting melt?
The American buttercream, made with a combination of butter and vegetable shortening, is quite stable and more resistant to heat than an all-butter frosting. However, no frosting is entirely invincible in extreme heat. To ensure your cake remains pristine, keep it refrigerated until just before serving. Avoid direct sunlight and prolonged exposure to high temperatures. If serving outdoors, place it in a shaded area and return any leftovers to the fridge promptly.
Can I use cake flour?
Yes, you can substitute cake flour for all-purpose flour. Cake flour has a lower protein content, which will result in a lighter, more tender, and finer-crumbed cake, often preferred for delicate layered cakes. If making the swap, use the exact measurements provided in the recipe for the flour.
Can I make this gluten-free or dairy-free?
Making this cake gluten-free would require using a 1:1 gluten-free all-purpose flour blend suitable for baking. For dairy-free, you would need to use plant-based butter (sticks, not spread), a dairy-free milk alternative (like almond or soy milk), and ensure your shortening is dairy-free. Always check ingredient labels carefully when making substitutions for dietary needs.
Can I bake this in different sized pans?
Yes, but you will need to adjust baking times. For smaller pans (e.g., 6-inch), the cakes will be thicker and require more baking time. For larger pans (e.g., 10-inch), the cakes will be thinner and require less time. You might also need to adjust the batter quantity per pan to maintain three layers of similar height.
Storing Your Beautiful Creation
Proper storage is essential to maintain the freshness and moistness of your American Flag Layered Cake. At room temperature, if well-covered, the cake will remain fresh for 3-4 days. For optimal moistness and to extend its shelf life, store the cake in an airtight container in the refrigerator for 5-7 days. Always allow refrigerated cake to come to room temperature for an hour or two before serving for the best flavor and texture.
For longer storage, this cake freezes beautifully. You can freeze individual slices or the entire cake. To freeze slices, wrap each piece tightly in plastic wrap, then place them in a freezer-safe container or bag. For a whole cake, first chill until the frosting is firm, then wrap it securely in several layers of plastic wrap, followed by aluminum foil. Frozen cake will maintain its quality for 2-3 months. Thaw frozen cake in the refrigerator overnight before bringing to room temperature to serve.
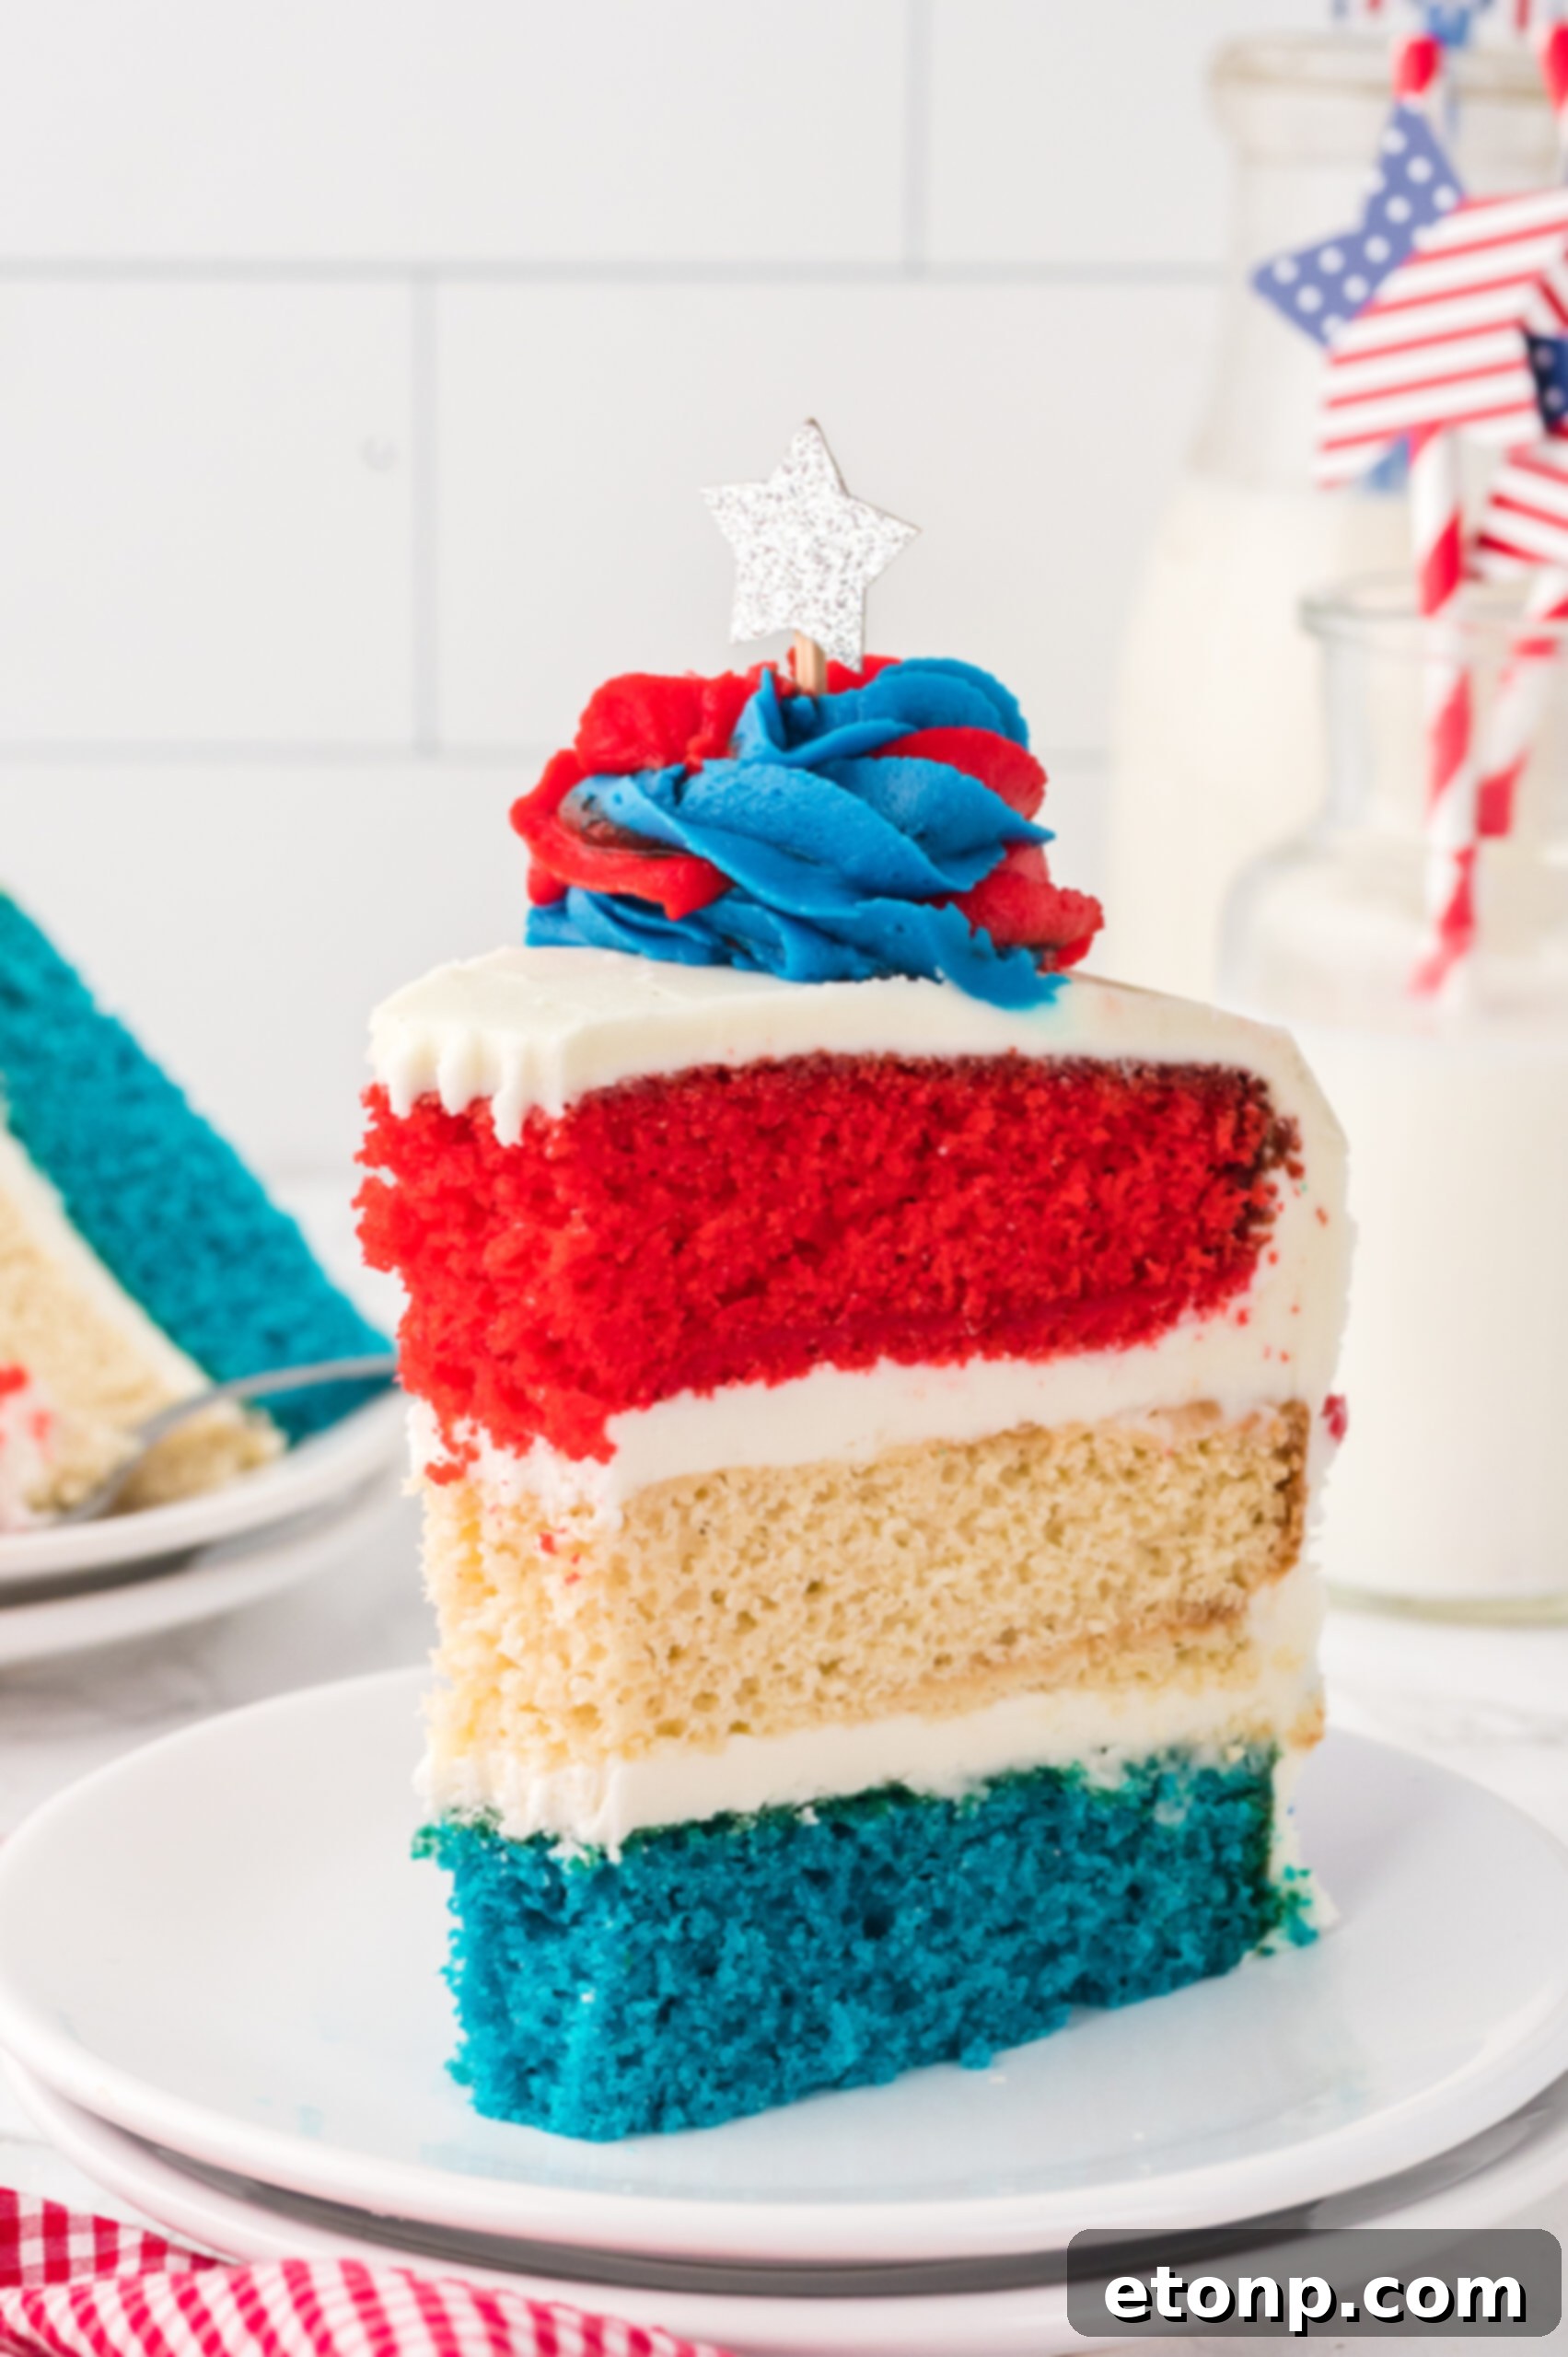
This moist and decadent three-layer cake, showcasing vibrant red, white, and blue, is guaranteed to impress your guests with every slice. Its visual appeal and delicious flavor make it an unforgettable dessert for any patriotic occasion.
More Festive Recipe Inspirations
Craving more patriotic treats for your celebration? Explore these other delightful recipes that are sure to be a hit:
- 4th of July Cake
- Patriotic Ice Cream Sandwich Cake
- This adult-only Bomb Pop Cocktail adds a fun touch!
Ingredients for Your American Flag Layered Cake
Crafting this festive cake requires a blend of common baking staples, each playing a crucial role in achieving the perfect texture and flavor. Here’s a breakdown of the key ingredients:
- Flour: All-purpose flour forms the structural base of our tender cake layers. Precise measurement is essential to prevent a dense or dry outcome.
- Baking Powder and Baking Soda: These leavening agents work in harmony to give the cake its light, airy, and fluffy crumb, ensuring a delightful texture in every bite.
- Salt: A pinch of salt acts as a flavor enhancer, balancing the sweetness and bringing out the rich profiles of all the other ingredients.
- Sugar: Granulated sugar provides sweetness and moisture to the cake batter, while superfine powdered sugar (confectioners’ sugar) is vital for creating a smooth, creamy, and stable buttercream frosting.
- Eggs: Large, room-temperature eggs are crucial for proper emulsification within the batter, contributing to the cake’s structure, richness, and moistness.
- Vanilla Extract: High-quality vanilla extract (clear for frosting, regular for cake) infuses both the cake and frosting with a warm, inviting, and classic flavor that defines this dessert.
- Milk: Whole milk is recommended for both the cake and frosting due to its higher fat content, which yields a richer flavor and helps create a wonderfully thick and luscious buttercream.
- Food Coloring: Gel food coloring (red, blue, and optionally a tiny bit of purple/violet for white frosting) is preferred for its vibrant pigment and minimal impact on batter/frosting consistency.
- Sprinkles: Festive patriotic sprinkles are not just for decoration; they add a playful texture and an extra pop of color, making the white frosting even more dynamic.
- Butter: Unsalted butter, at room temperature, is the cornerstone of both the cake’s rich flavor and the frosting’s creamy texture.
- Vegetable Shortening: This ingredient is key for stabilizing the frosting, especially in warmer climates, ensuring it holds its shape and consistency beautifully while also adding a smooth richness.
Variations To The Recipe
While the classic American Flag Layered Cake is truly special, don’t hesitate to personalize it with these delightful variations:
- Cake Flavor Exploration: If baking from scratch isn’t your preference, a good quality boxed cake mix (vanilla, funfetti, or yellow) can be a time-saver. Simply prepare the mix according to package directions, then divide and color the batter as instructed. For homemade cakes, consider flavoring the batter with different extracts like strawberry, lemon, or even a hint of coconut for a unique twist.
- Elevate with Almond Extract: For a sophisticated, “wedding cake” flavor profile, add a few drops of almond extract alongside the vanilla. This subtle addition enhances the overall taste beautifully.
- Surprise Fillings: Introduce an unexpected burst of flavor by adding a delicious filling between your cake layers. Options like chocolate ganache, fresh fruit (strawberries, blueberries), or your favorite jam can elevate each slice into a delightful culinary surprise.
- Creative Decorating: Feel free to let your artistic side shine! Beyond the piped swirls, you could frost a more literal flag design on top, create intricate patterns, or add fresh berries, mini edible stars, or even small American flags on toothpicks for extra festive flair.
- Cupcake Version: For individual servings, turn this recipe into patriotic cupcakes! Divide the colored batters into cupcake liners, bake, and then swirl the red, white, and blue frosting on top.
What Supplies Do You Need For This Layered Cake
Having the right tools makes all the difference when tackling a layered cake project. Here’s a list of essential equipment:
- Three Round 9-Inch Cake Pans: Essential for baking the individual cake layers that form the flag.
- Mixing Bowls: Several bowls will be needed for preparing the batter, dividing it for coloring, and mixing the frosting.
- Hand Mixer or Stand Mixer: Crucial for creaming butter and sugar, beating eggs, and achieving light, fluffy batter and smooth, creamy frosting.
- Wilton Color Swirl Decorating Set (Optional): A specialized tool that allows for multi-colored frosting swirls, creating an impressive effect.
- Piping Bags: Useful for precise frosting application, whether for swirls or filling between layers.
- Spatula (Offset Spatula Recommended): Ideal for spreading batter evenly in pans, leveling cake tops, and smoothing frosting on the cake.
- Cooling Rack: Allows air to circulate around baked cakes, preventing sogginess and ensuring even cooling.
- Serrated Knife: Essential for leveling cake layers cleanly.
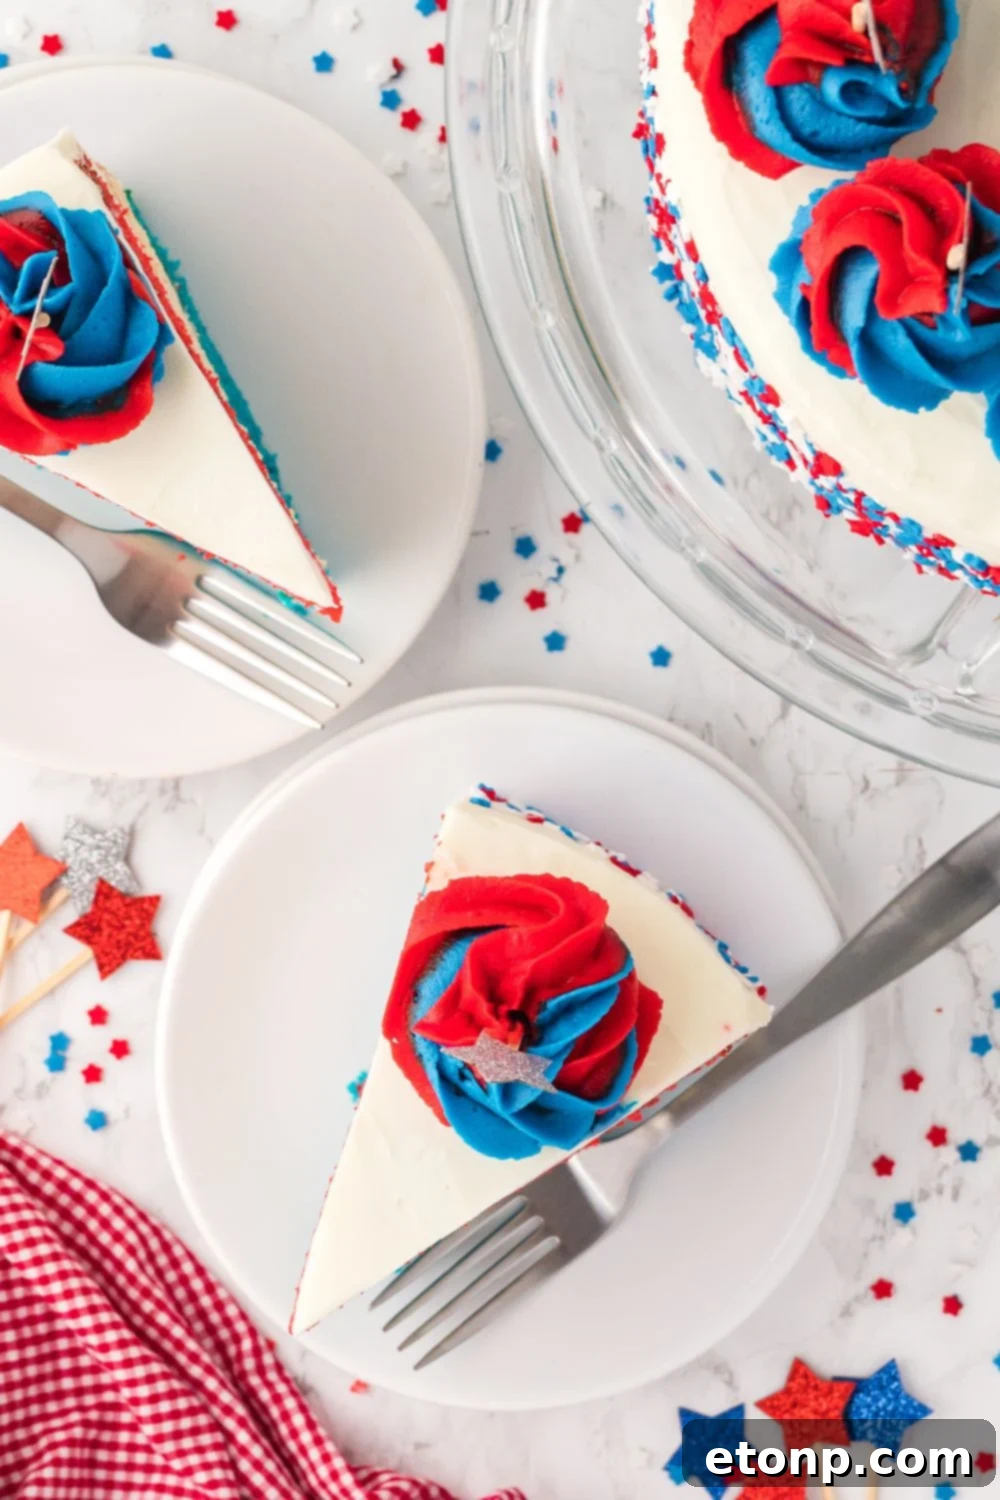
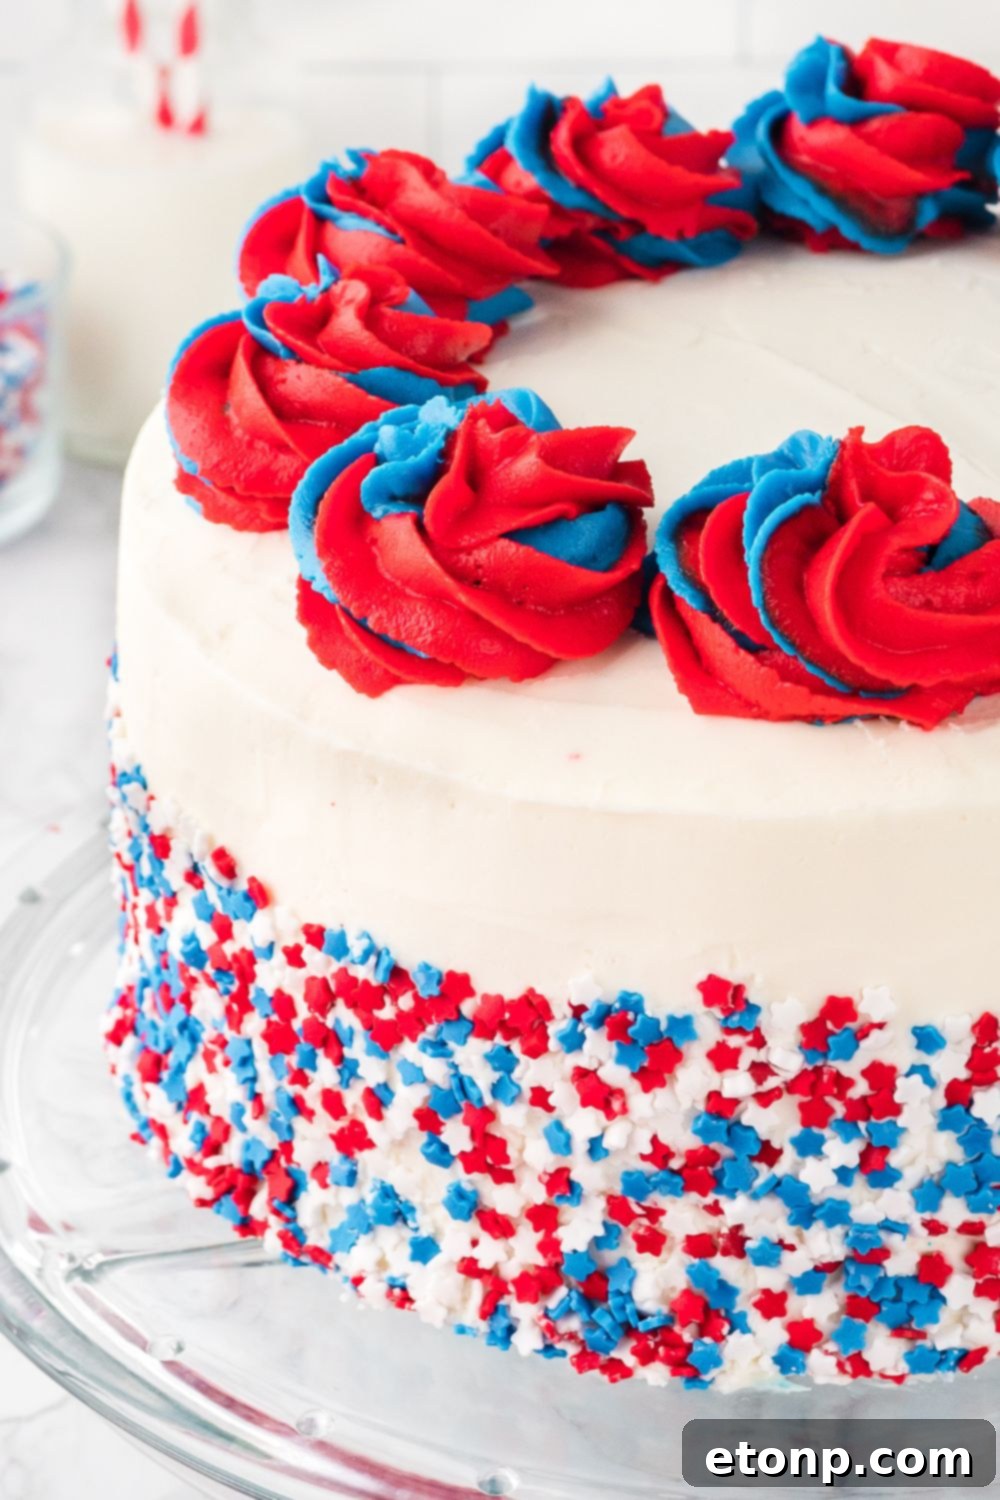
At the end of the day, this American Flag Layered Cake isn’t just about baking; it’s about celebration. It’s designed for those relaxed backyard gatherings, the impromptu potlucks, and for a crowd that simply loves a good, old-fashioned, delicious cake. It’s sweet, a little over-the-top in the best possible way, and exactly what you want to be eating as fireworks burst across the evening sky. So, take your time, embrace the small messes, frost with passion (and a good dose of patience), and remember—this isn’t about magazine-cover perfection. It’s about creating *your* cake: flag-waving, buttercream-covered, and unapologetically festive.
And yes, prepare for everyone to ask for the recipe!
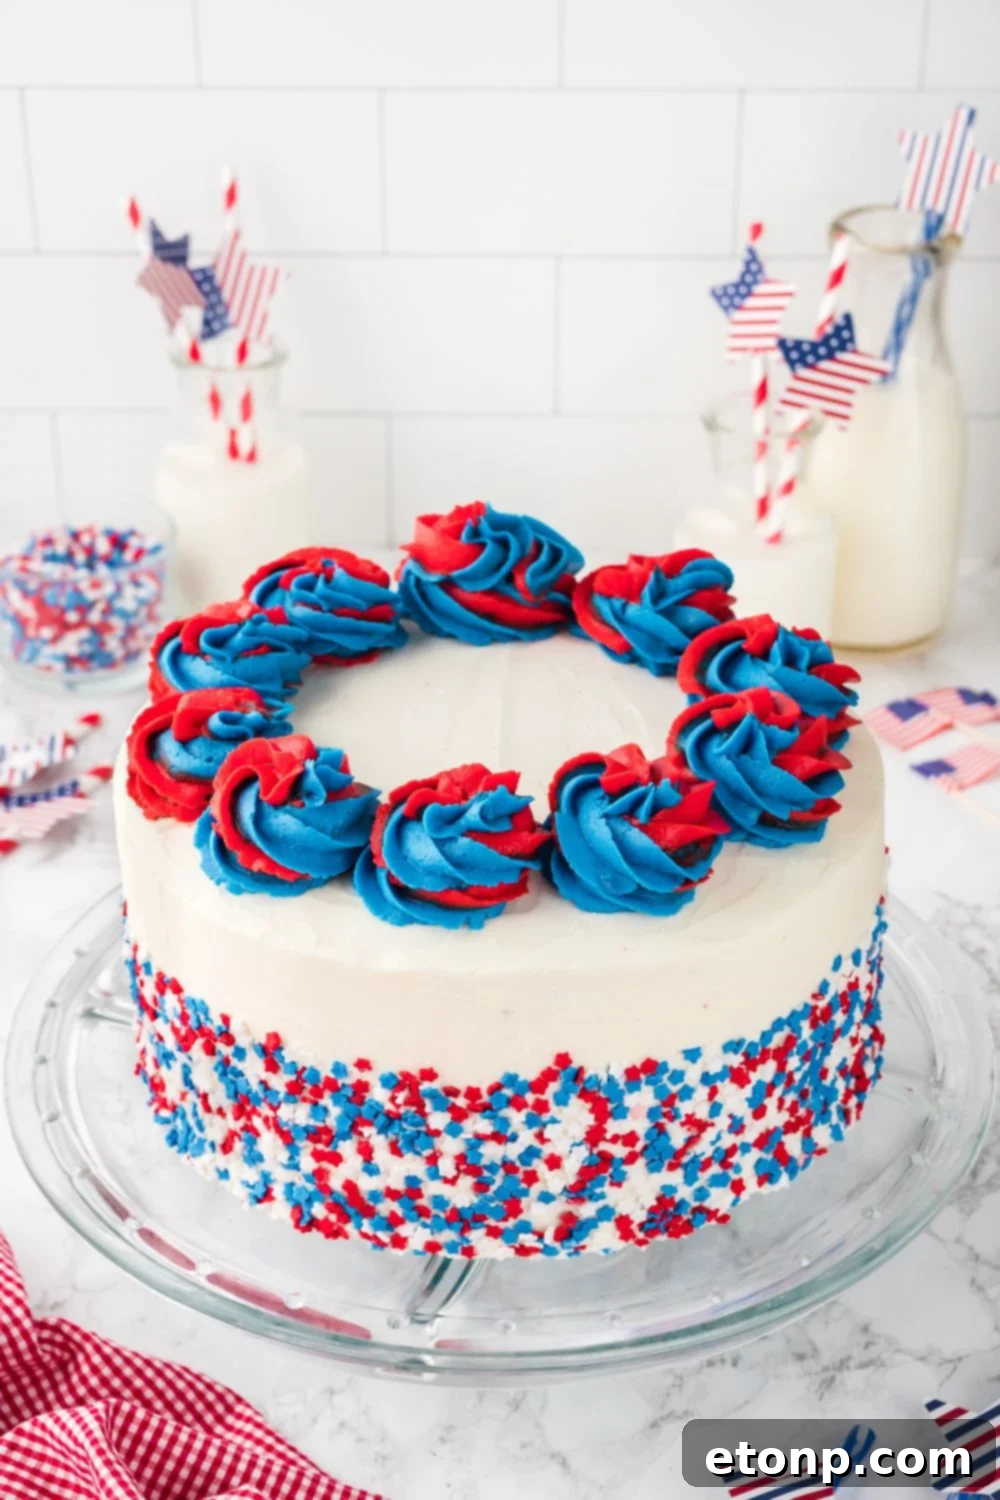
Full Recipe: American Flag Layered Cake
American Flag Layered Cake
Ingredients
- 3 cups all-purpose flour
- 3 tsp baking powder
- 3/4 tsp baking soda
- 3/4 tsp salt
Cake Batter Ingredients
- 1 1/2 cups unsalted butter at room temperature
- 2 1/4 cups granulated sugar
- 4 large eggs
- 3 tsp vanilla extract
- 1 1/2 cups whole milk
- Red and blue food coloring
- Sprinkles for decorating
Frosting Ingredients
- 2 cups of unsalted butter at room temperature
- ½ cup of vegetable shortening
- 9 cups powdered sugar
- 3 tsp clear vanilla extract
- 1/4 cup whole milk add more if it is too thick
- Red and blue food coloring
- White and purple or violet food coloring optional to help turn the plain frosting white
Instructions
-
Preheat the oven to 350°F. Grease and flour three 9-inch round cake pans.
-
In a medium bowl, whisk together the flour, baking powder, baking soda, and salt.
-
In a large mixing bowl, cream the butter and sugar together until light and fluffy. Beat in the eggs one at a time, then stir in the vanilla extract.
-
Gradually add the dry ingredients to the wet ingredients, alternating with the milk, beginning and ending with the dry ingredients.
-
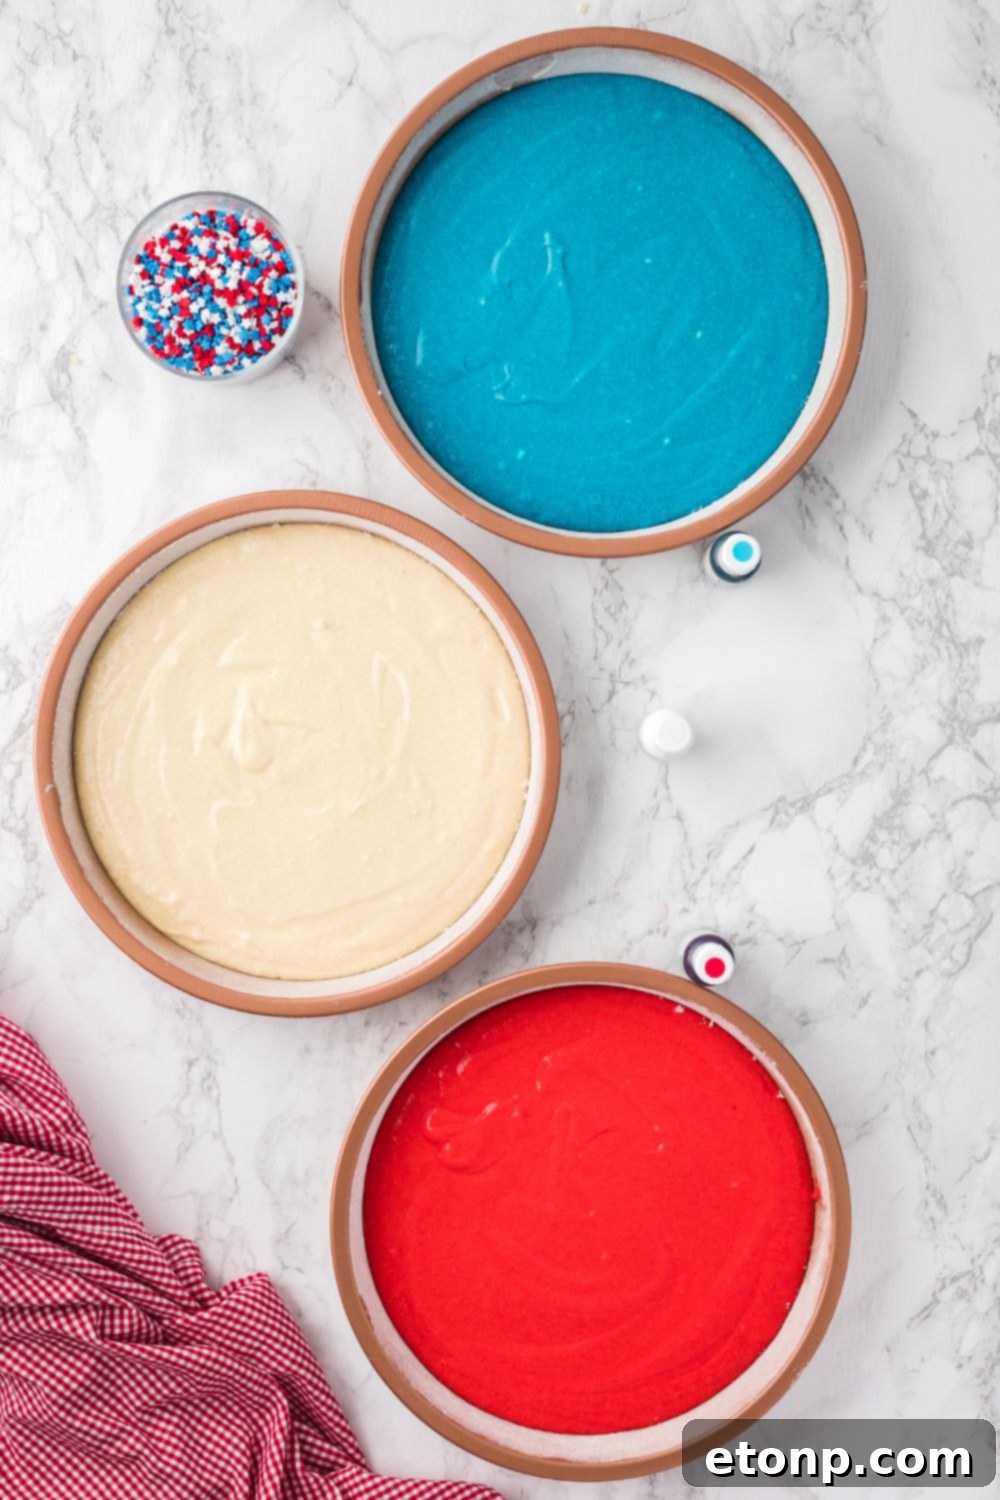
Divide the batter equally into three bowls. Leave one bowl plain, and color one bowl red and the other blue using food coloring.
-
Pour the batter into the prepared cake pans. Smooth the tops with a spatula.
-
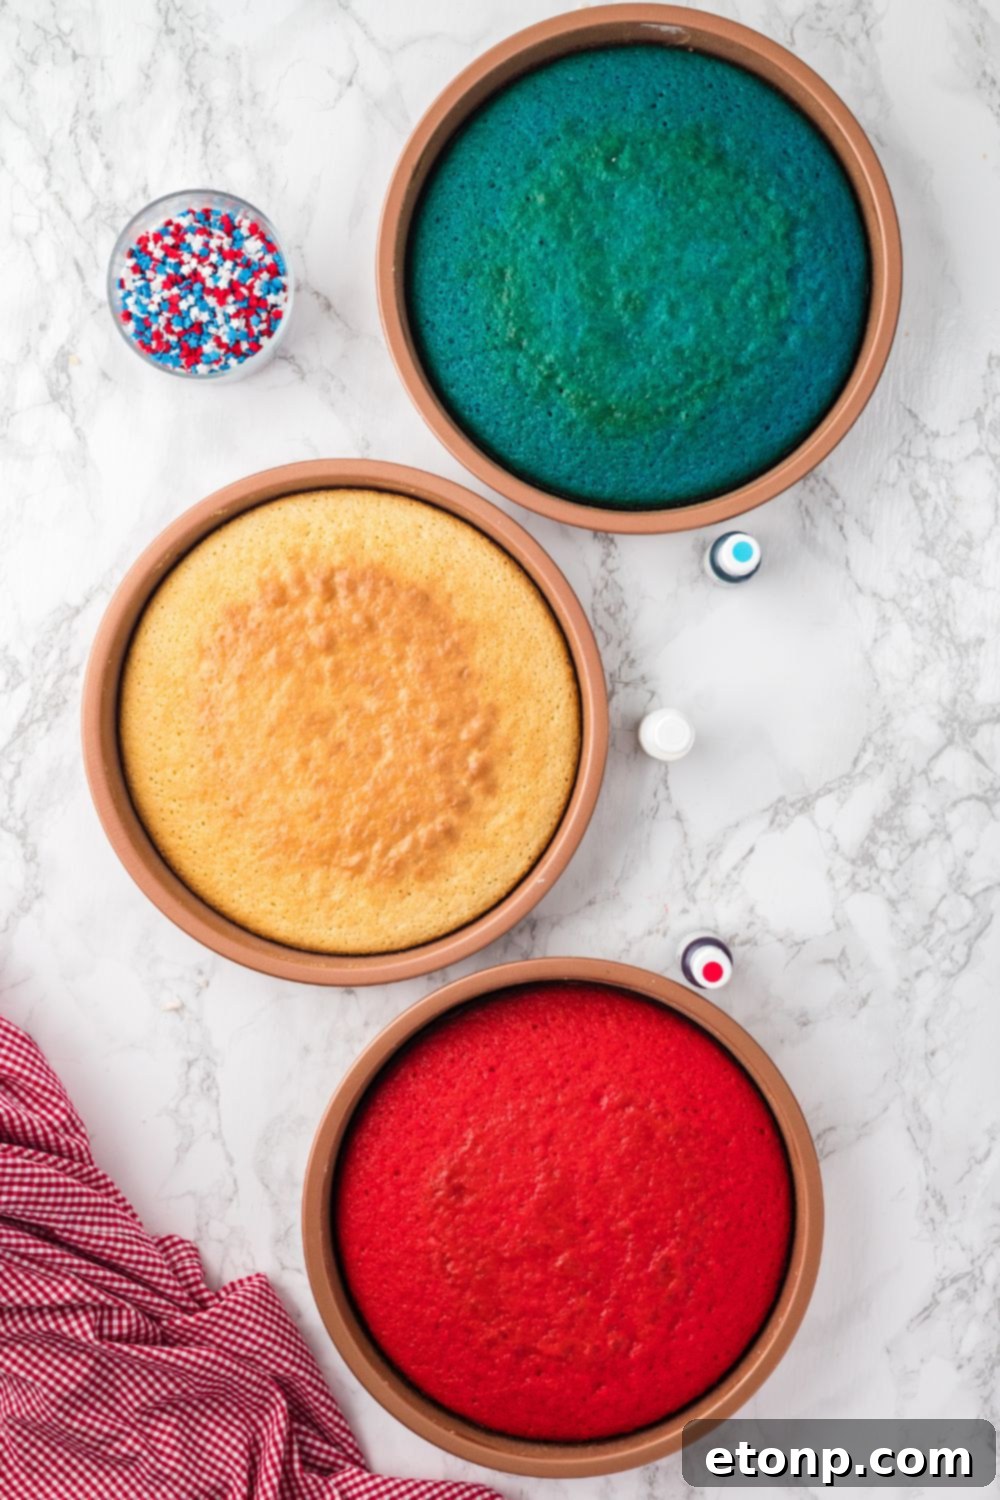
Bake for 25-30 minutes or until a toothpick inserted into the center of the cake comes out clean.
-
Remove from the oven and cool on a wire rack.
-
If the cakes are not level, wait for the cakes to cool completely. A warm cake may crumble when you cut it.
-
Use a serrated knife to trim off the domed top of the cake. Hold the knife parallel to the cake and slowly saw back and forth while rotating the cake.
-
Continue trimming until the surface of the cake is level.
-
Repeat this process with the other cake layers.
Frosting Directions
-
For the frosting, beat the butter and vegetable shortening in a large mixing bowl until creamy. Gradually beat in the powdered sugar, then add the clear vanilla extract and milk. Beat until smooth.
-
You can adjust the amount of powdered sugar in the frosting recipe to achieve your desired level of sweetness and thickness.
-
If the frosting is too thick, you can add a little more milk, a teaspoon at a time, until the desired consistency is reached.
-
Take 2 cups of frosting and split it between two bowls. (1 cup in each bowl) Color one bowl red, and one blue by mixing in small amounts of food dye until you get the desired colors.
-
With the rest of the frosting, if you feel this frosting is slightly yellow in color from the butter you can add some white food coloring along with the tiniest bit of purple or violet food coloring. Use a toothpick and dip it into the violet food coloring. Scrape that into the plain frosting. That should be enough to take the yellow color out.
-
Place a tablespoon of the white frosting in the center of a cake stand. Cut two rectangular pieces of parchment paper and put them joining together in the center on top of the frosting. This will help keep your cake stand clean and can be easily removed when you are finished decorating.
-
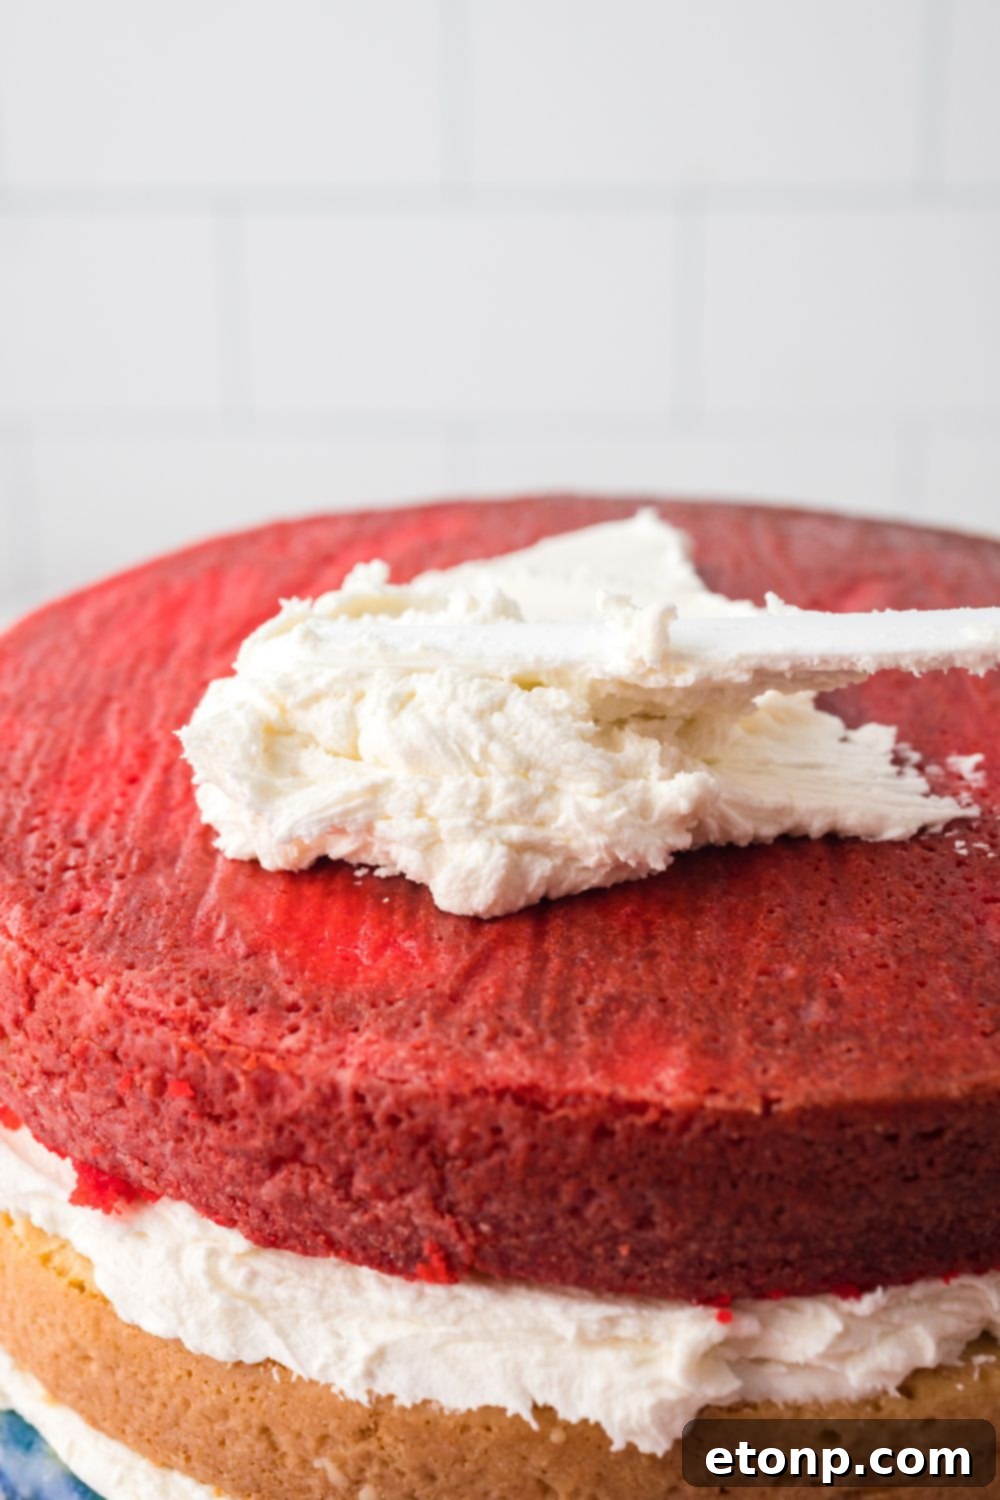
Put another small amount of frosting on top of the parchment paper and place the blue cake layer on top. Spread a layer of white frosting over the top, then place the white cake layer on top. Spread a layer of white frosting over the top, then place the red cake layer on top.
-
Spread a thin layer of plain white frosting over the top and sides of the cake. This will be the crumb layer. Put the cake into the fridge for 30 min to chill.
-
Do a final layer of white icing on top and around the sides of the cake. Smooth it as best you can with a cake spatula.
-
Decorate the sides with some sprinkles.
-
Use a Wilton color swirl decorating set to pipe swirls of red and blue frosting on top of the cake. It will allow you to do 3 colors at once but I just filled two of the bags with red and blue frosting and left the 3rd bag empty. I packed some kitchen roll down into the empty bag to prevent the frosting from coming back up into the empty bag.
Equipment
Did you make this recipe?
Make sure to follow on Pinterest for more recipes!
Pin Recipe
Share on Facebook