
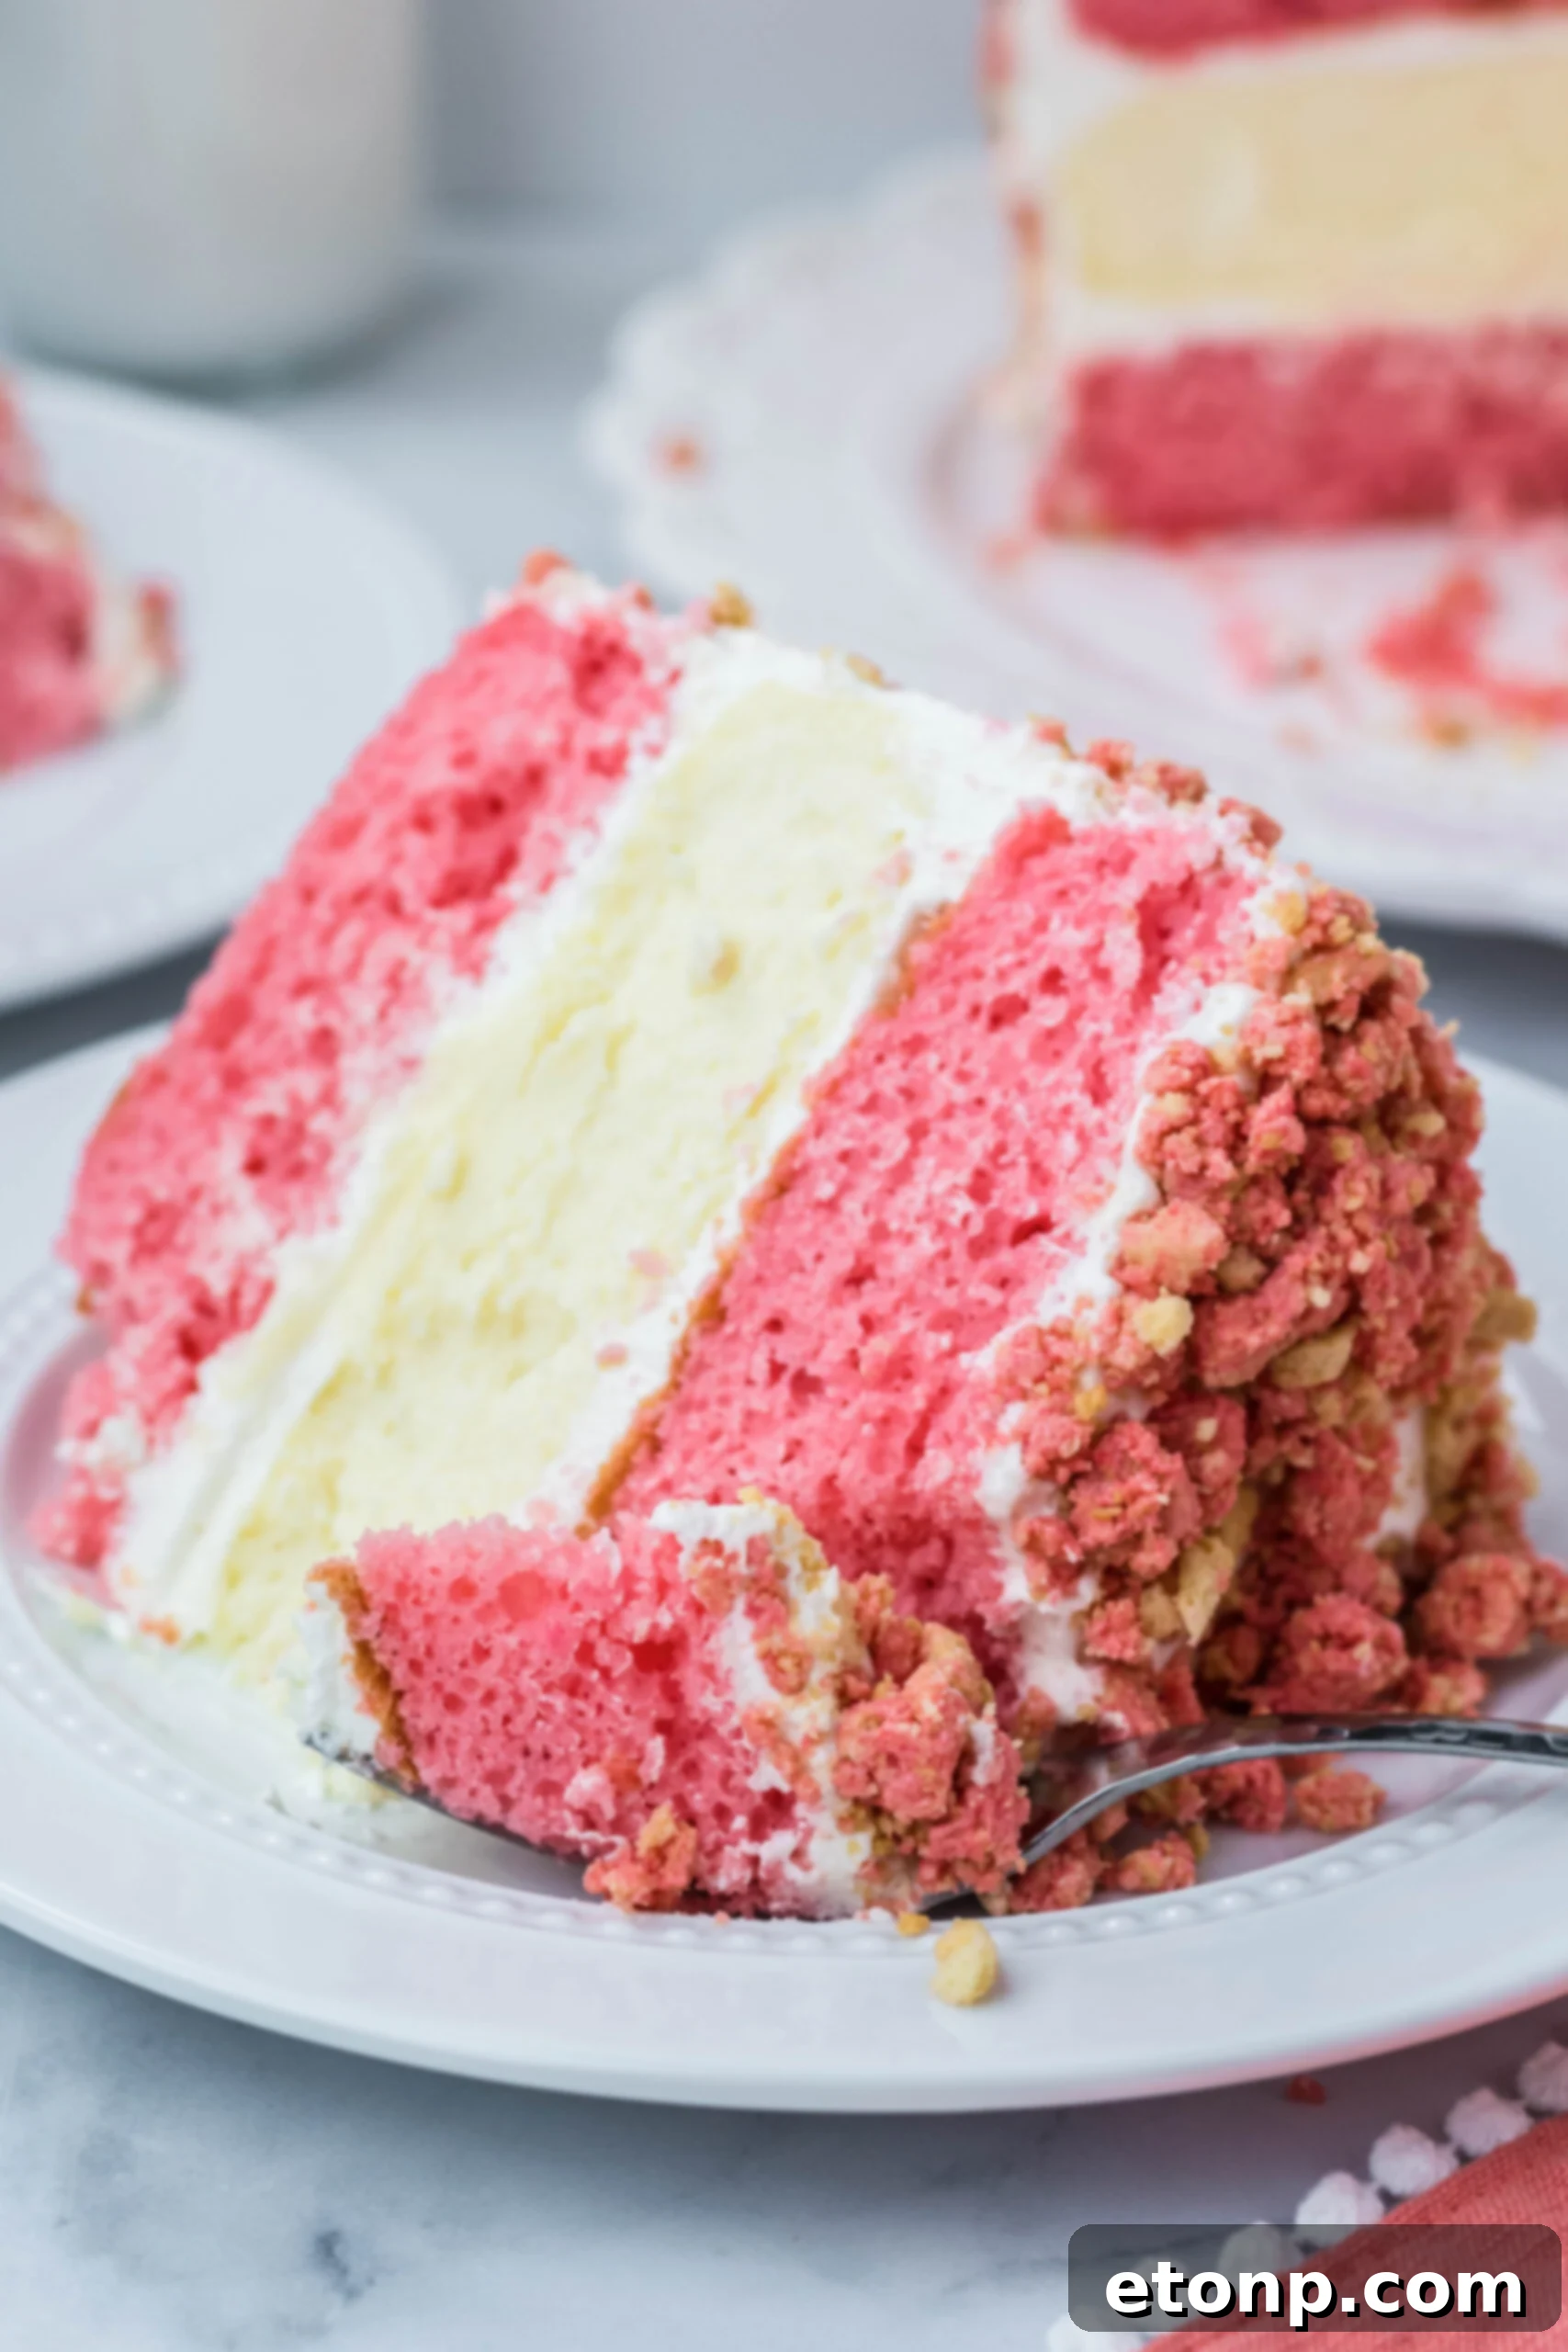
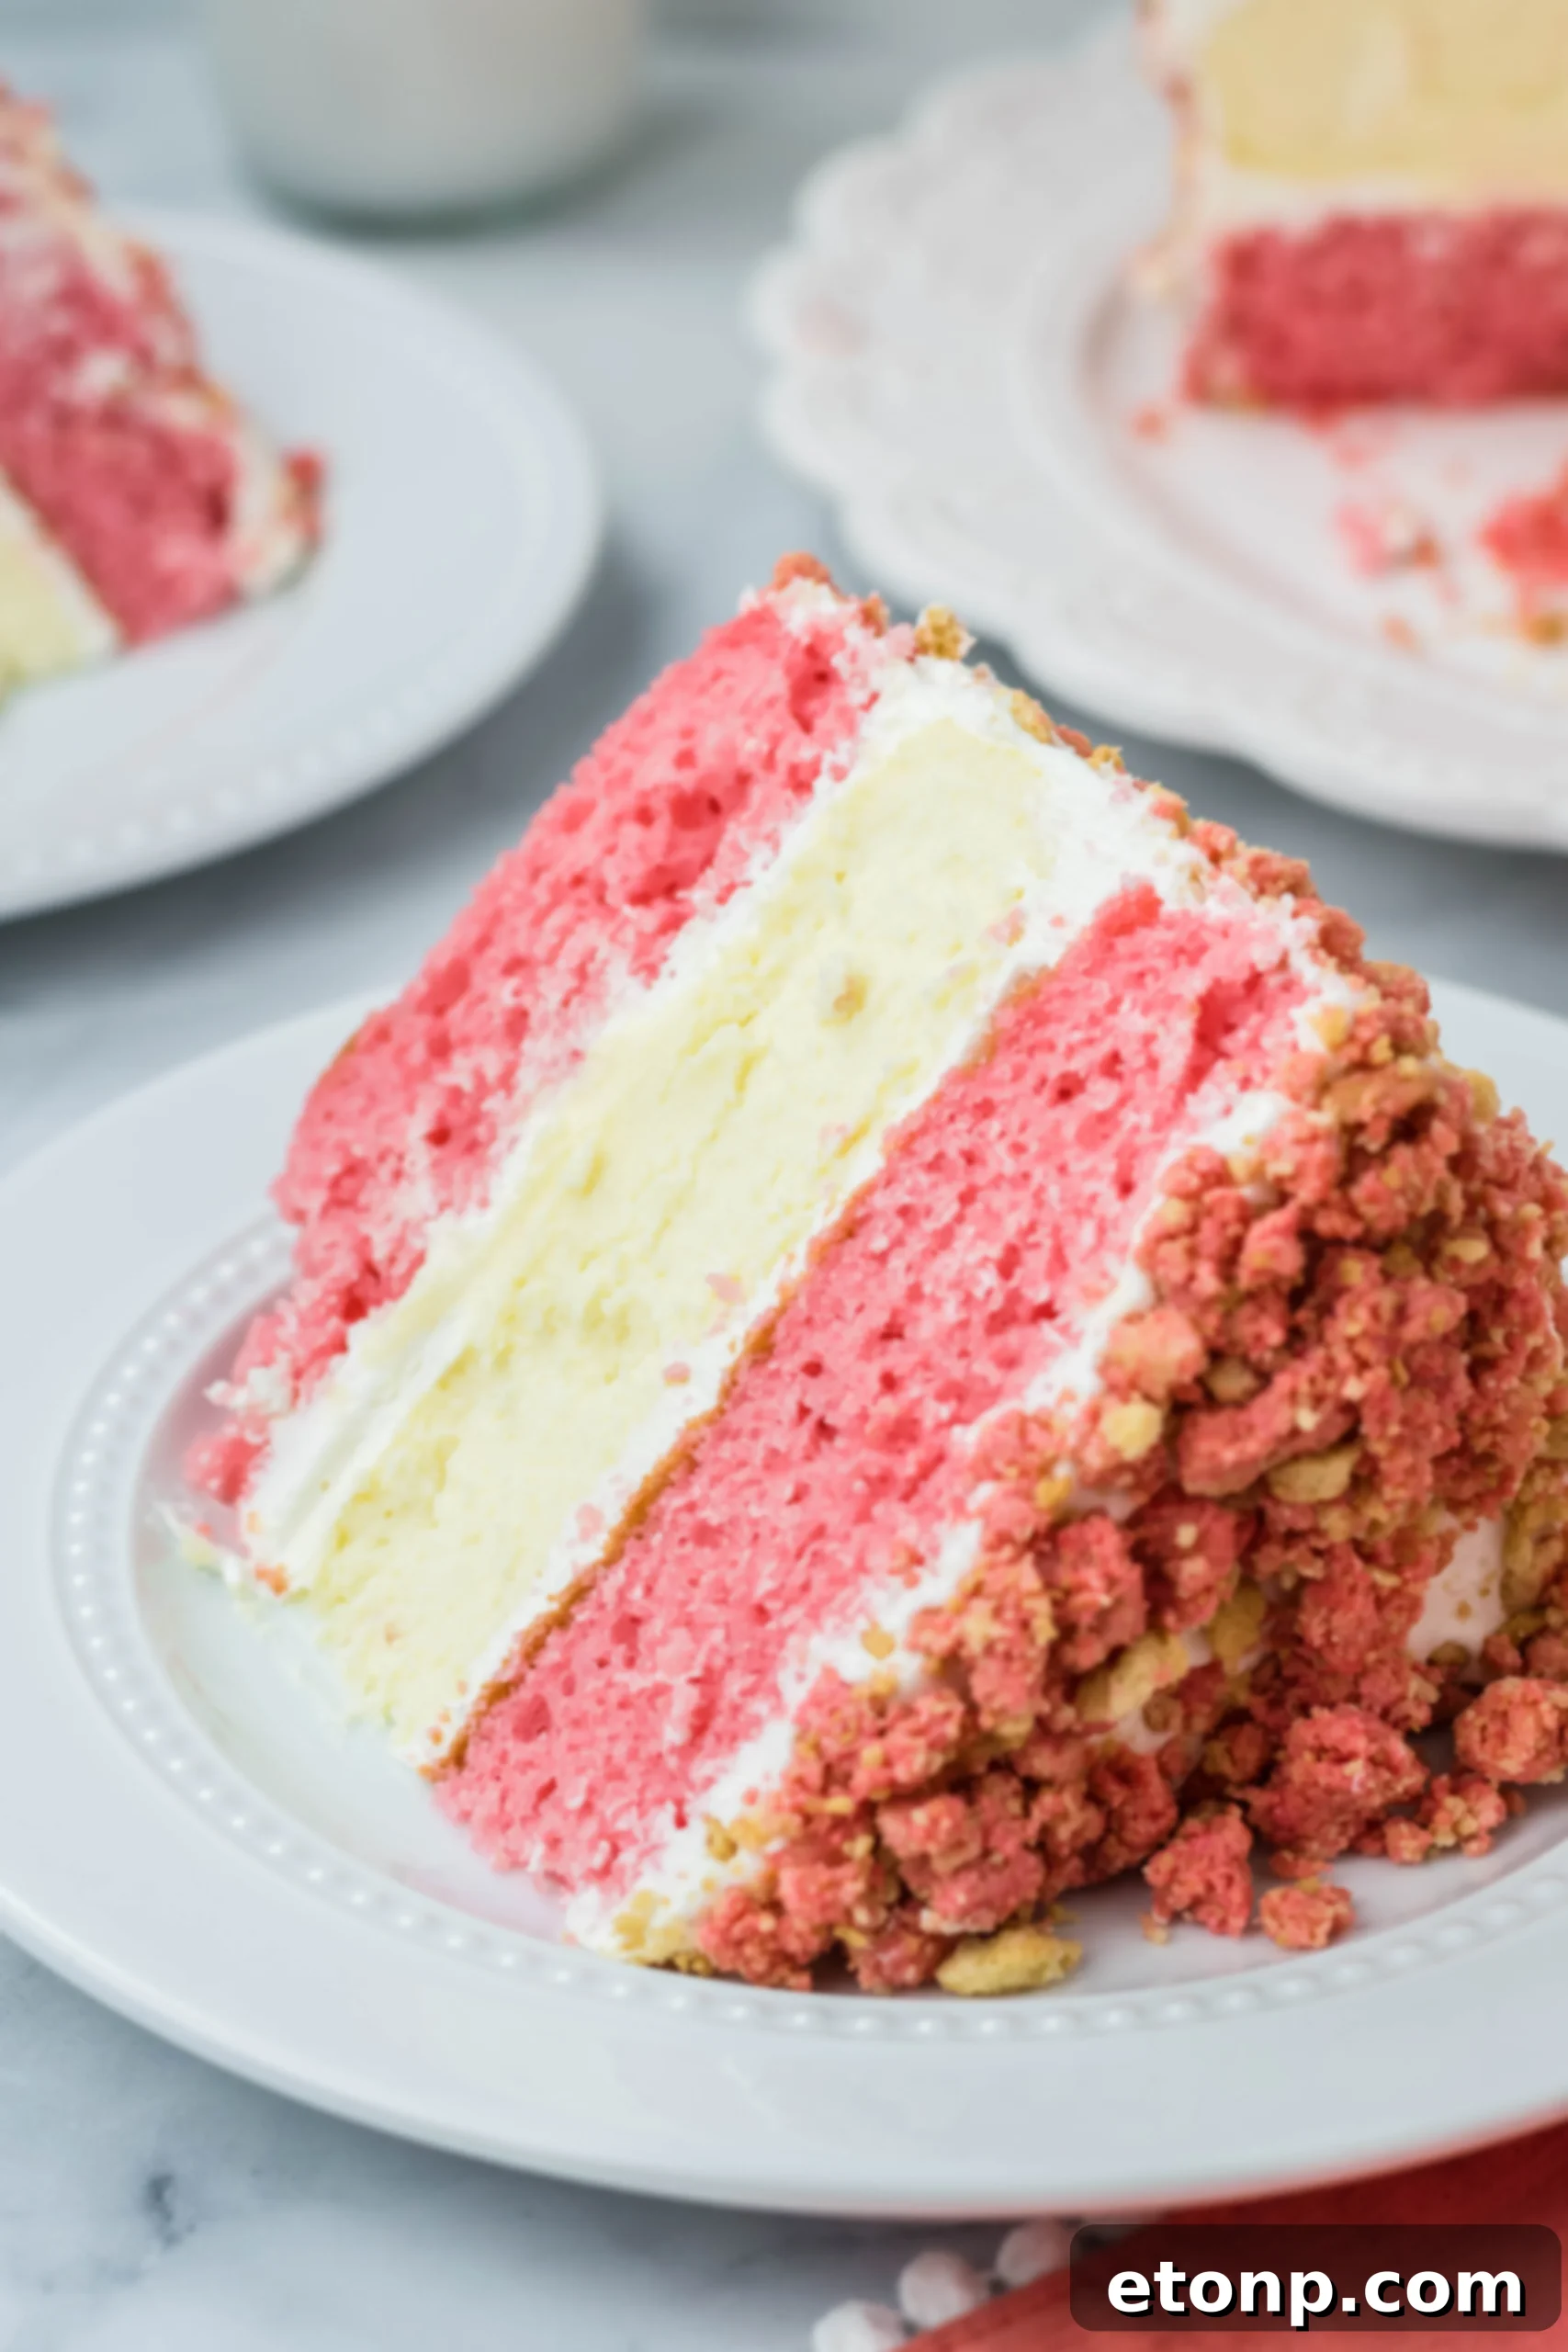
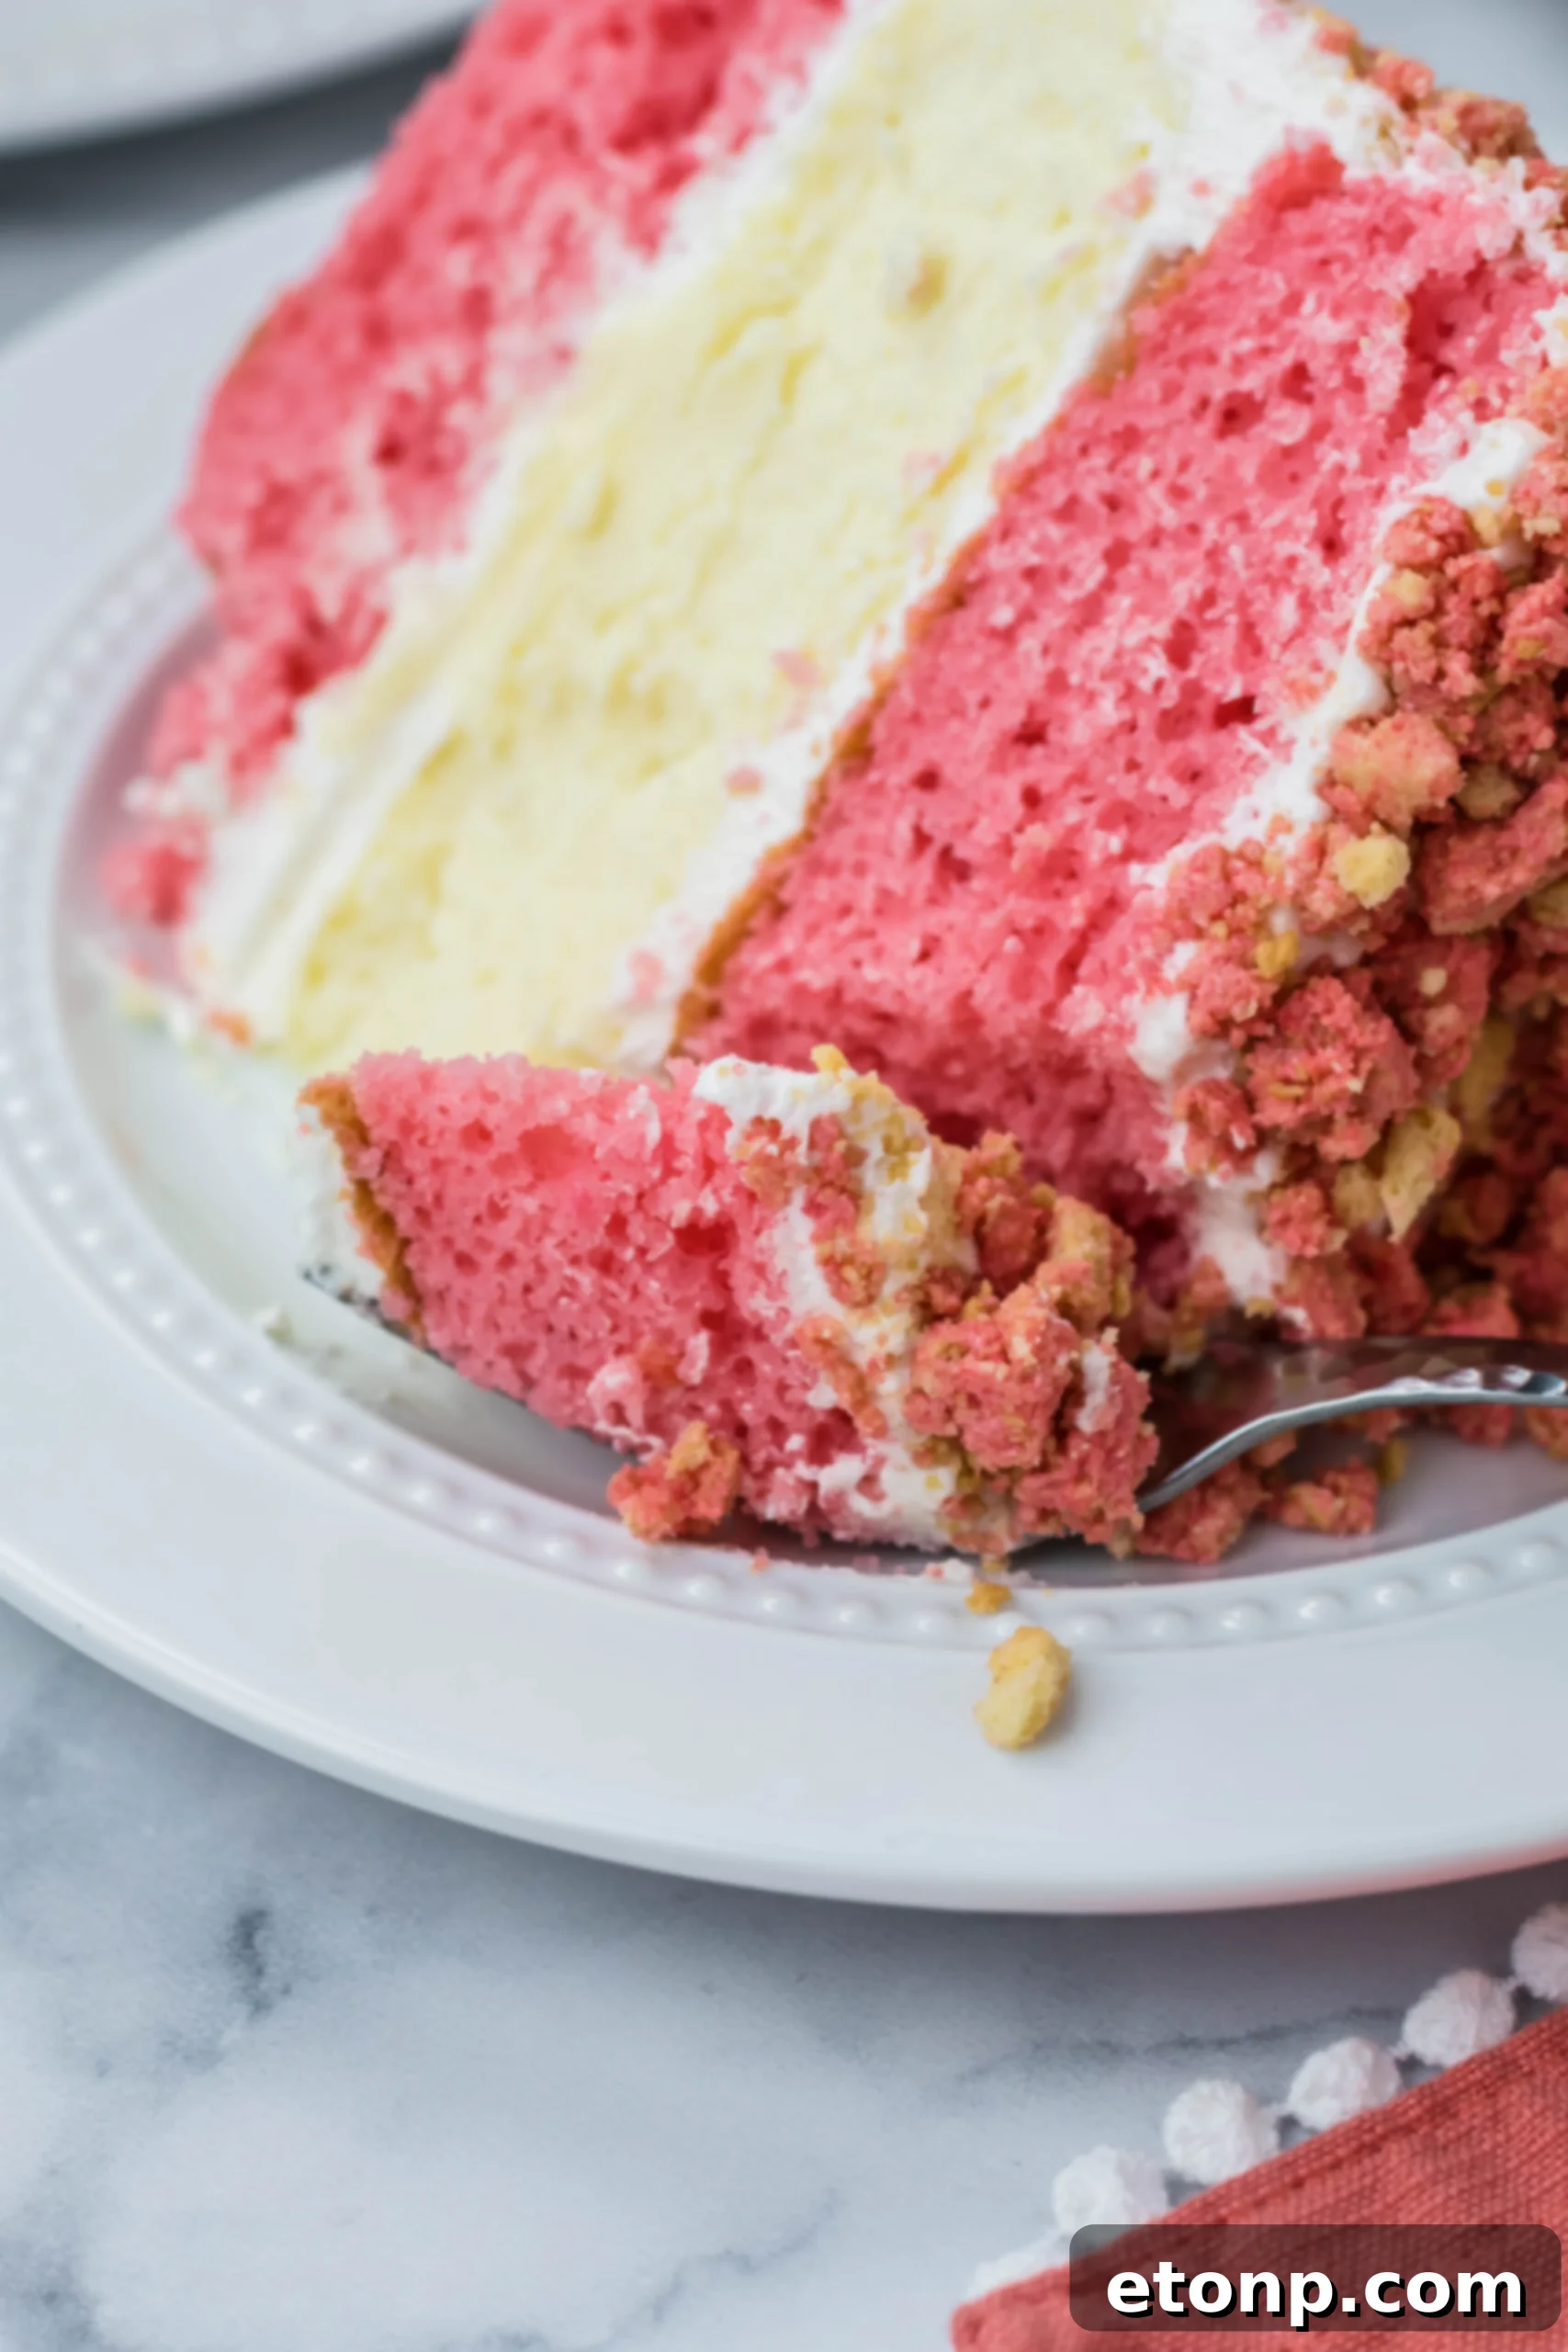
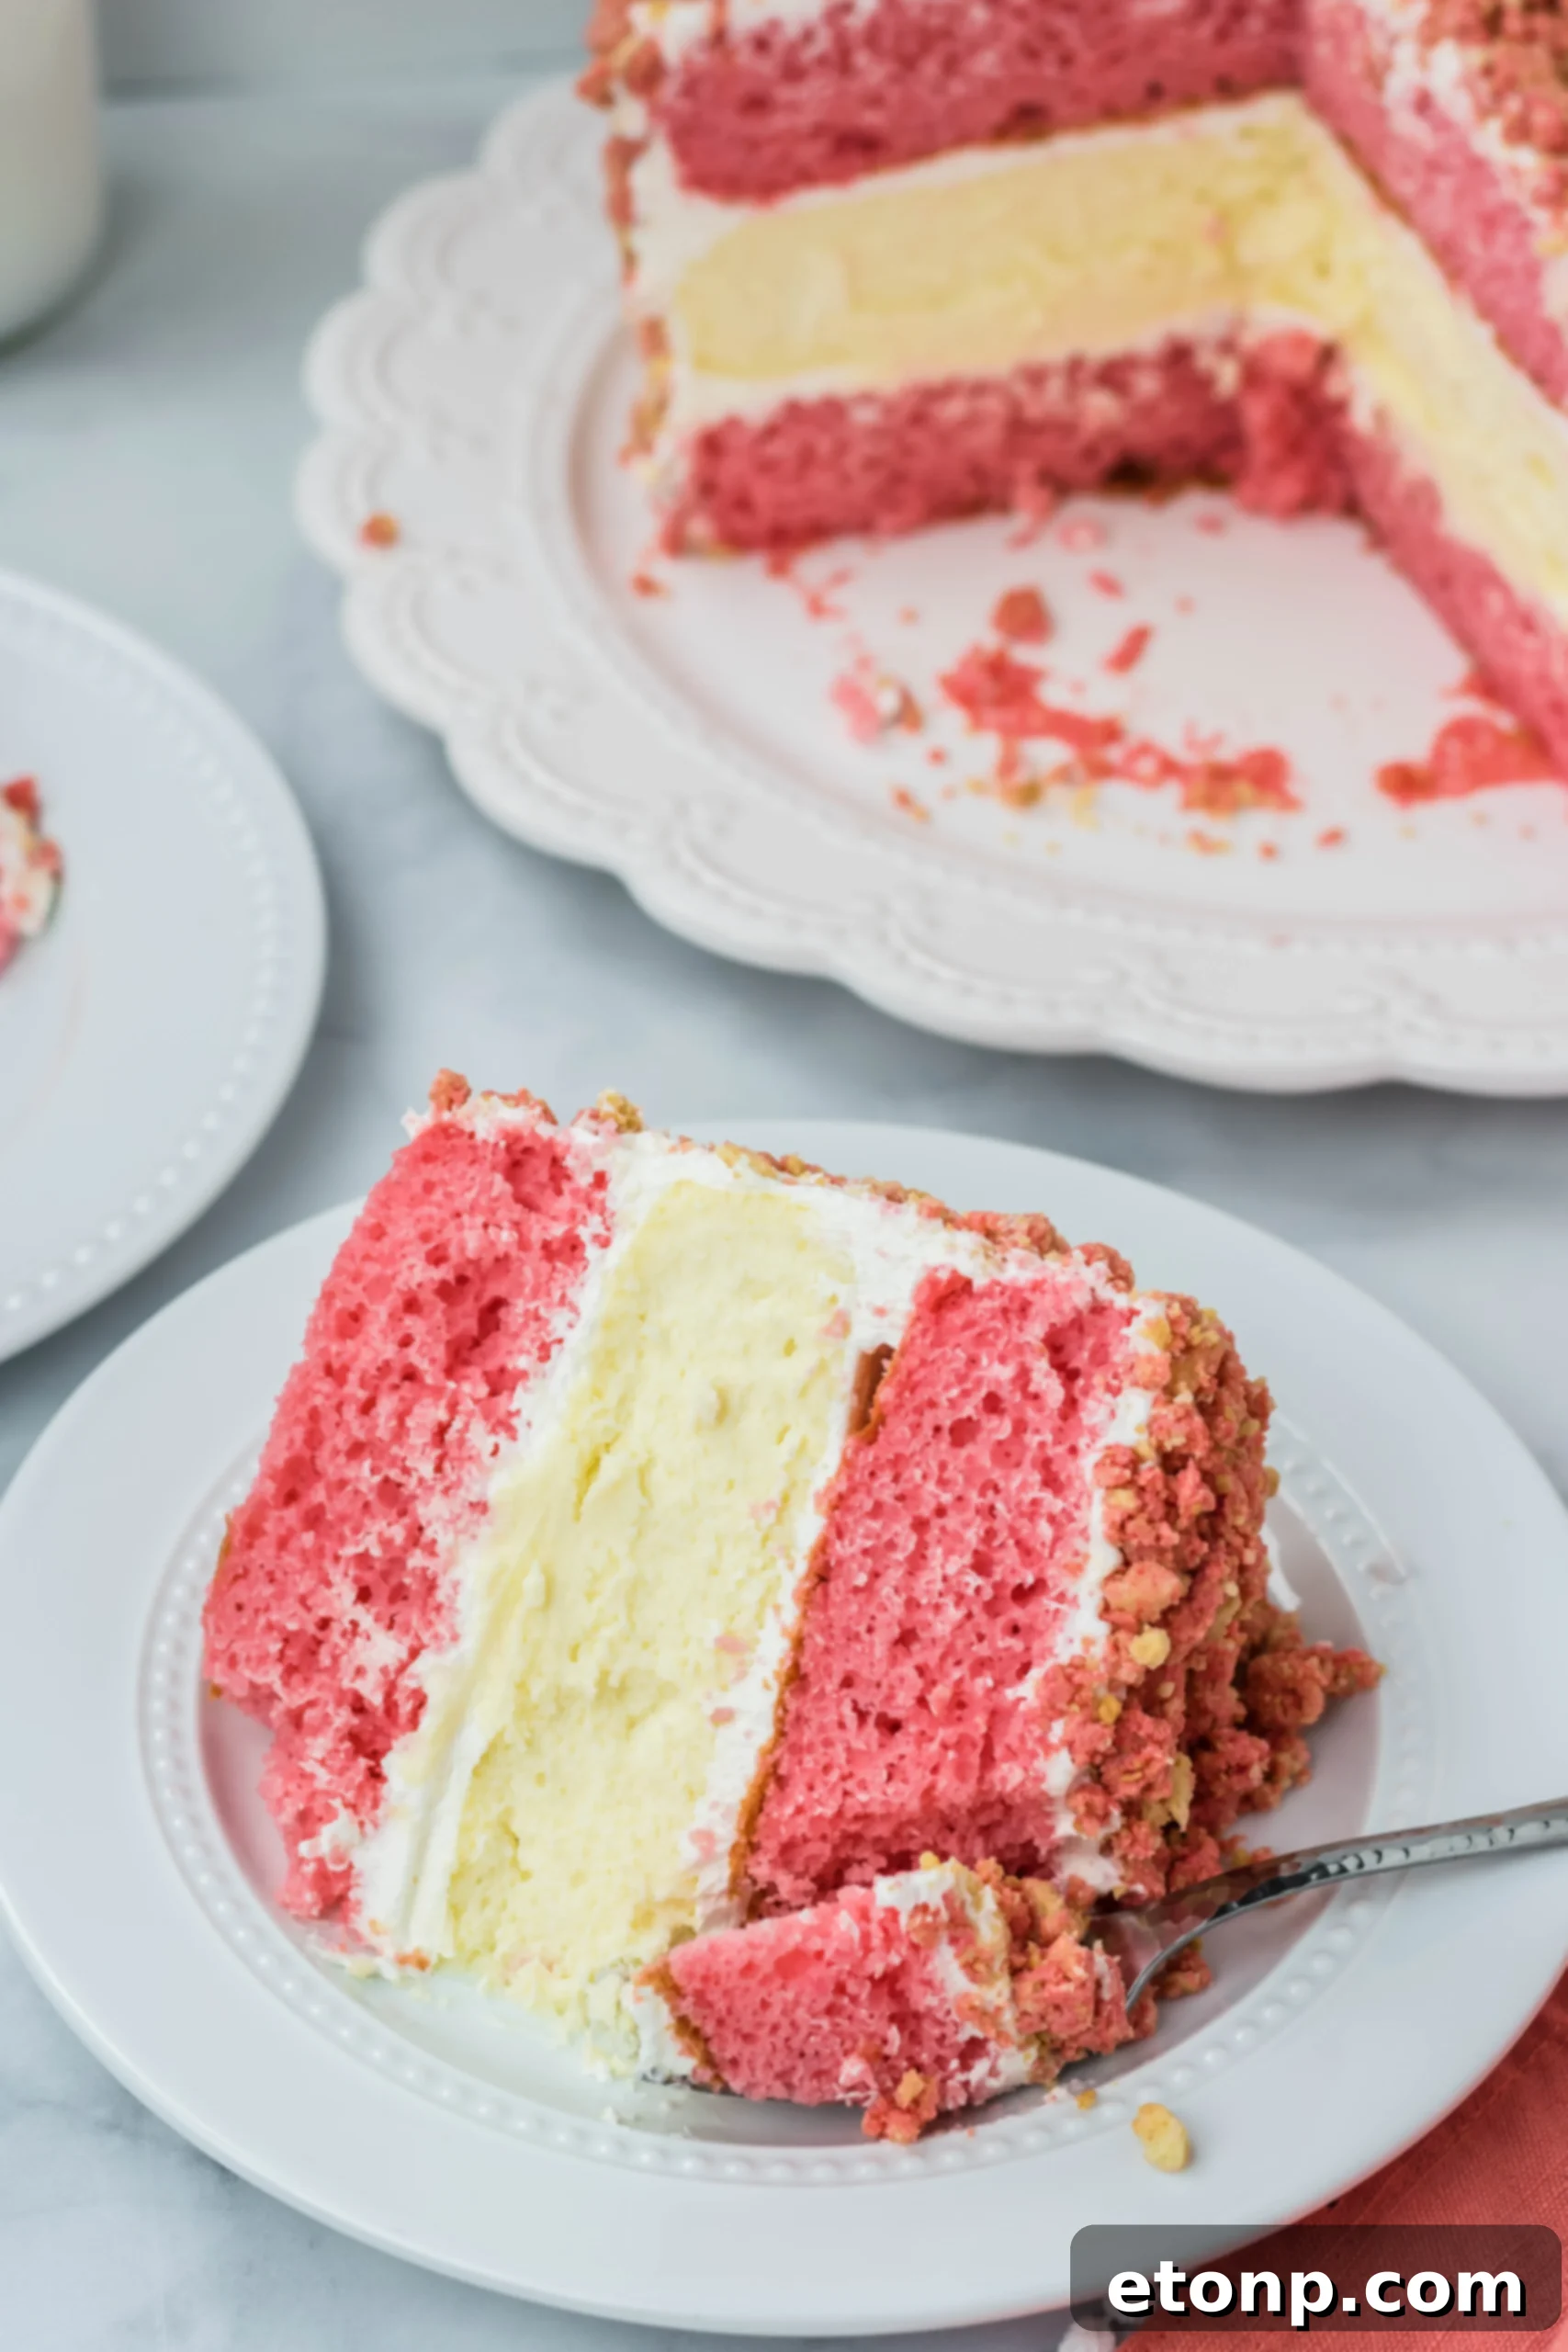
Indulge in the ultimate dessert experience with our Strawberry Shortcake Cheesecake Cake – a truly magnificent creation that’s as breathtaking to behold as it is to devour. This culinary masterpiece features a rich, homemade cheesecake nestled between delicate layers of moist vanilla cake, all crowned with that irresistible strawberry crunch crumble we adore!
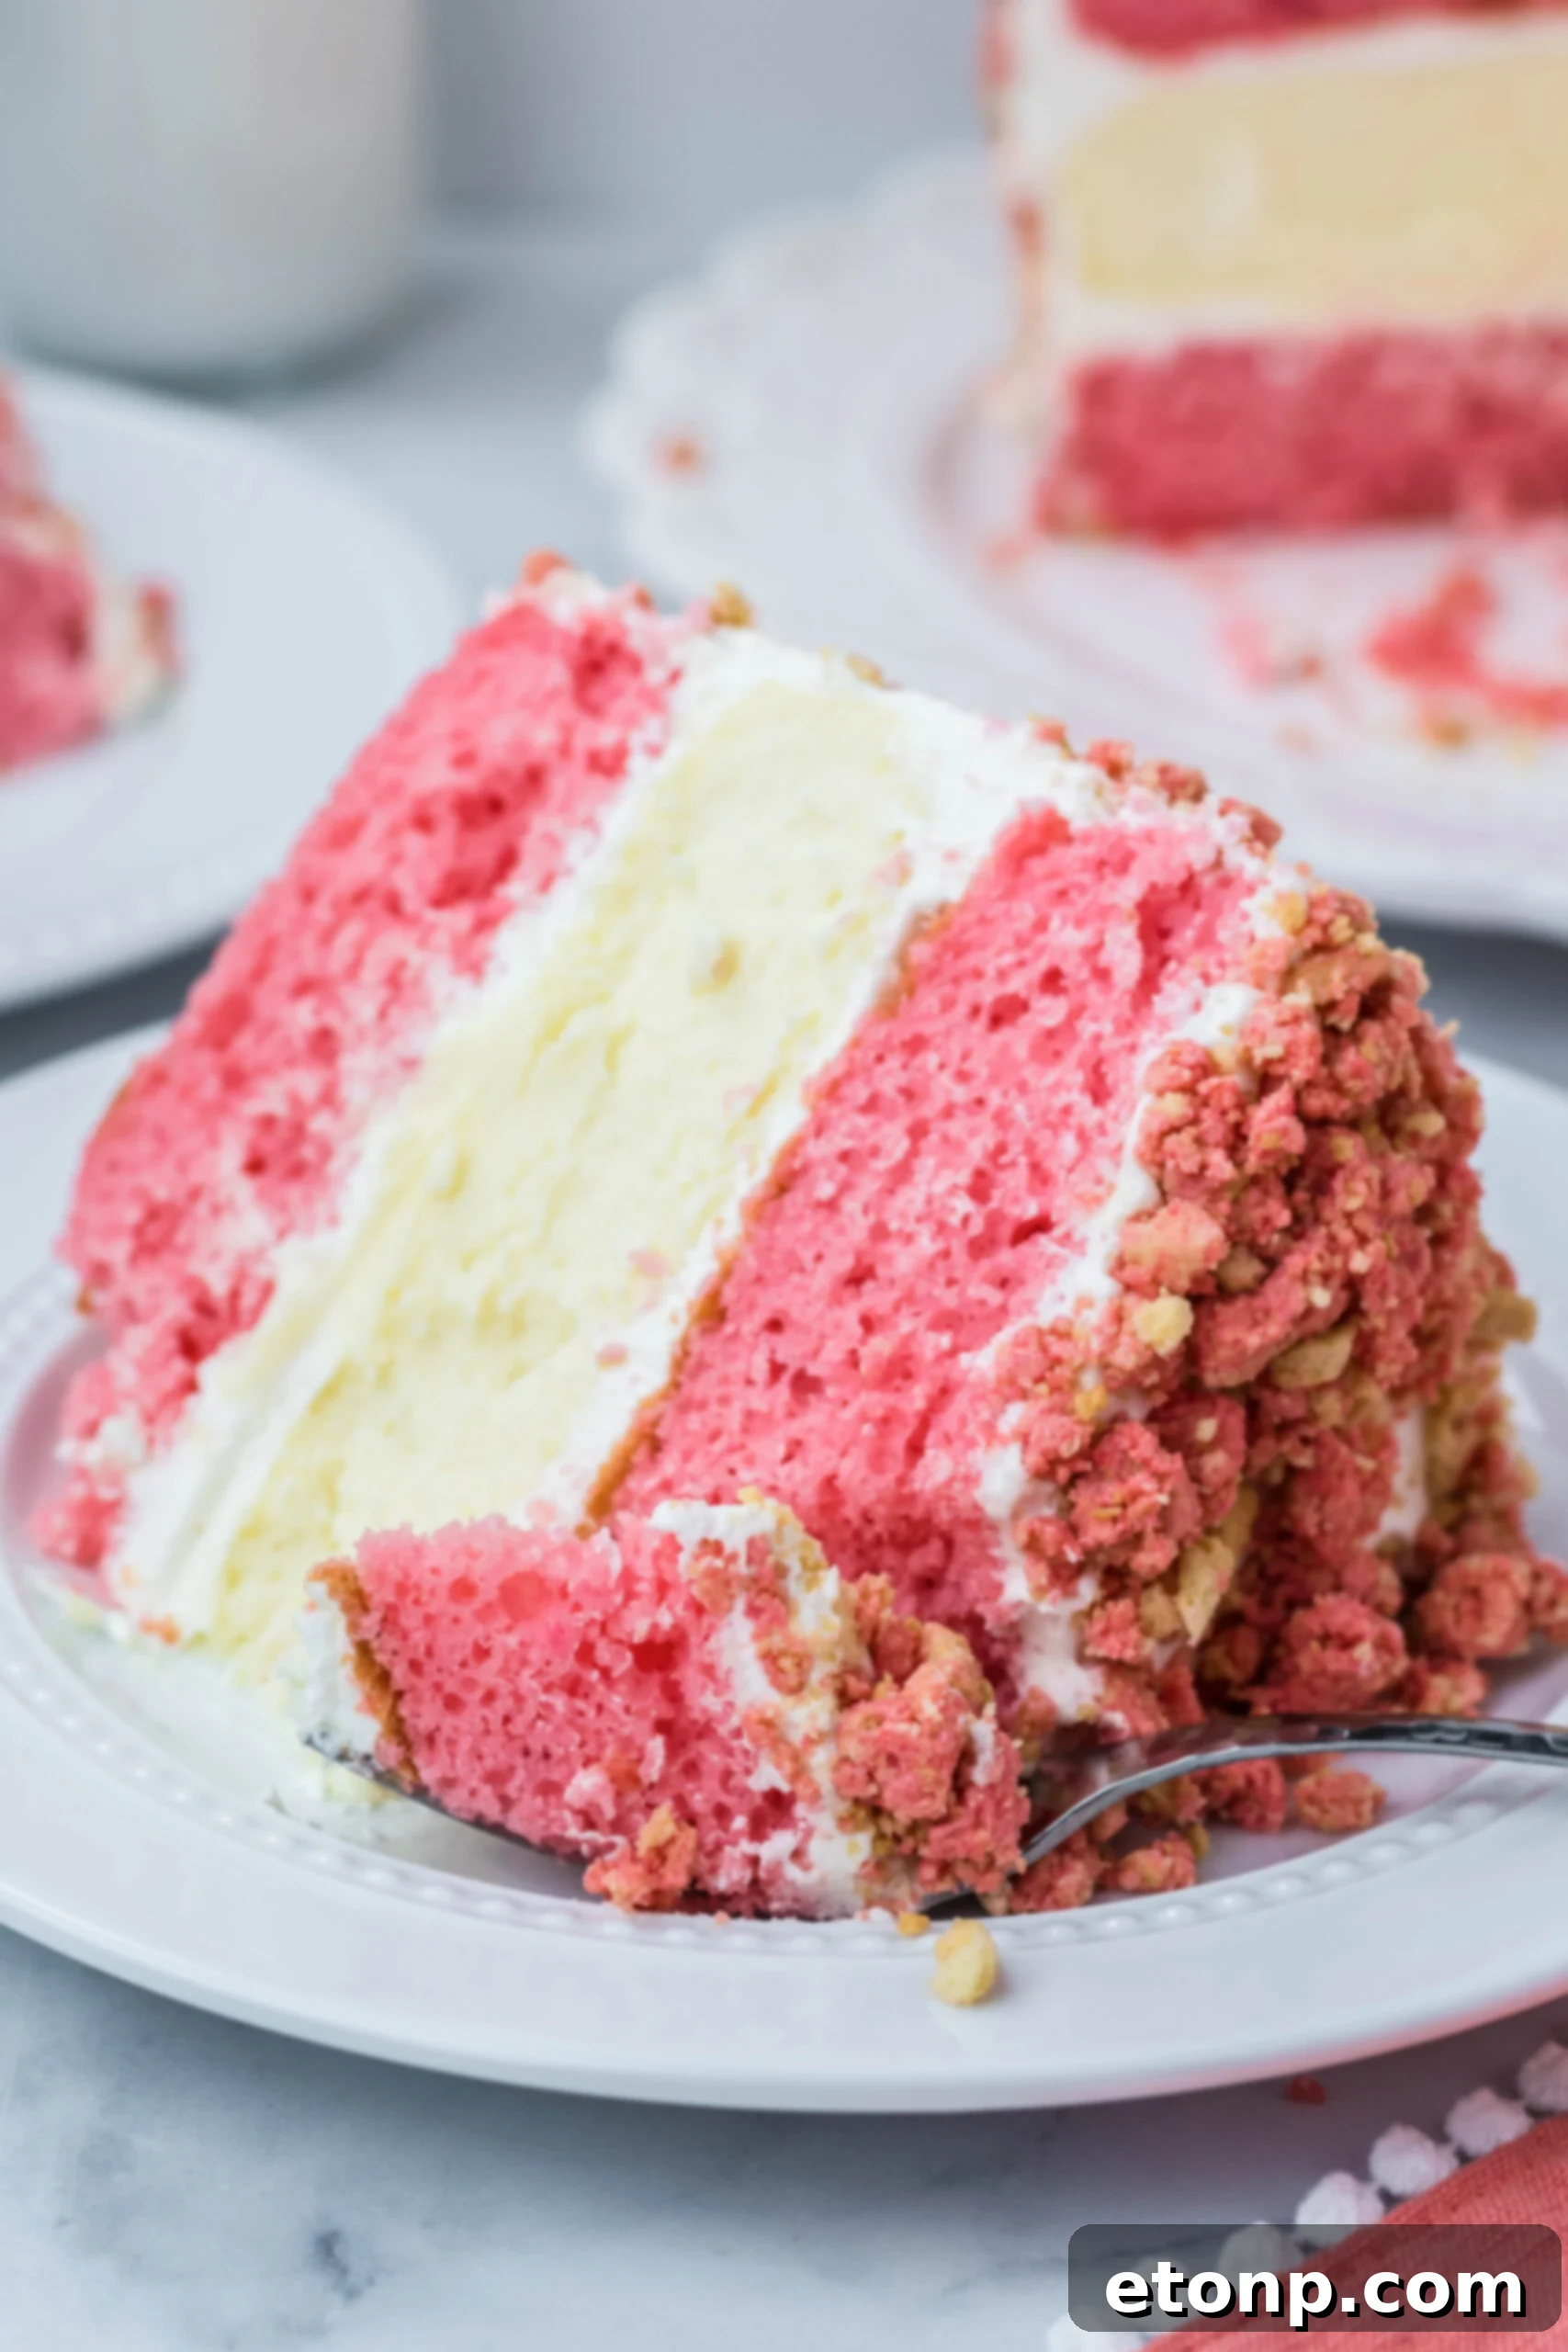
For many, the sight of this cake instantly evokes a sense of nostalgia, reminiscent of that beloved ice cream bar with its delightful strawberry crunch. Now, imagine elevating that cherished flavor profile into a luxurious cheesecake cake – an innovative dessert that promises to become an instant classic. If you’re eager to explore more cheesecake variations, be sure to try our Strawberry Crunch Cheesecake!
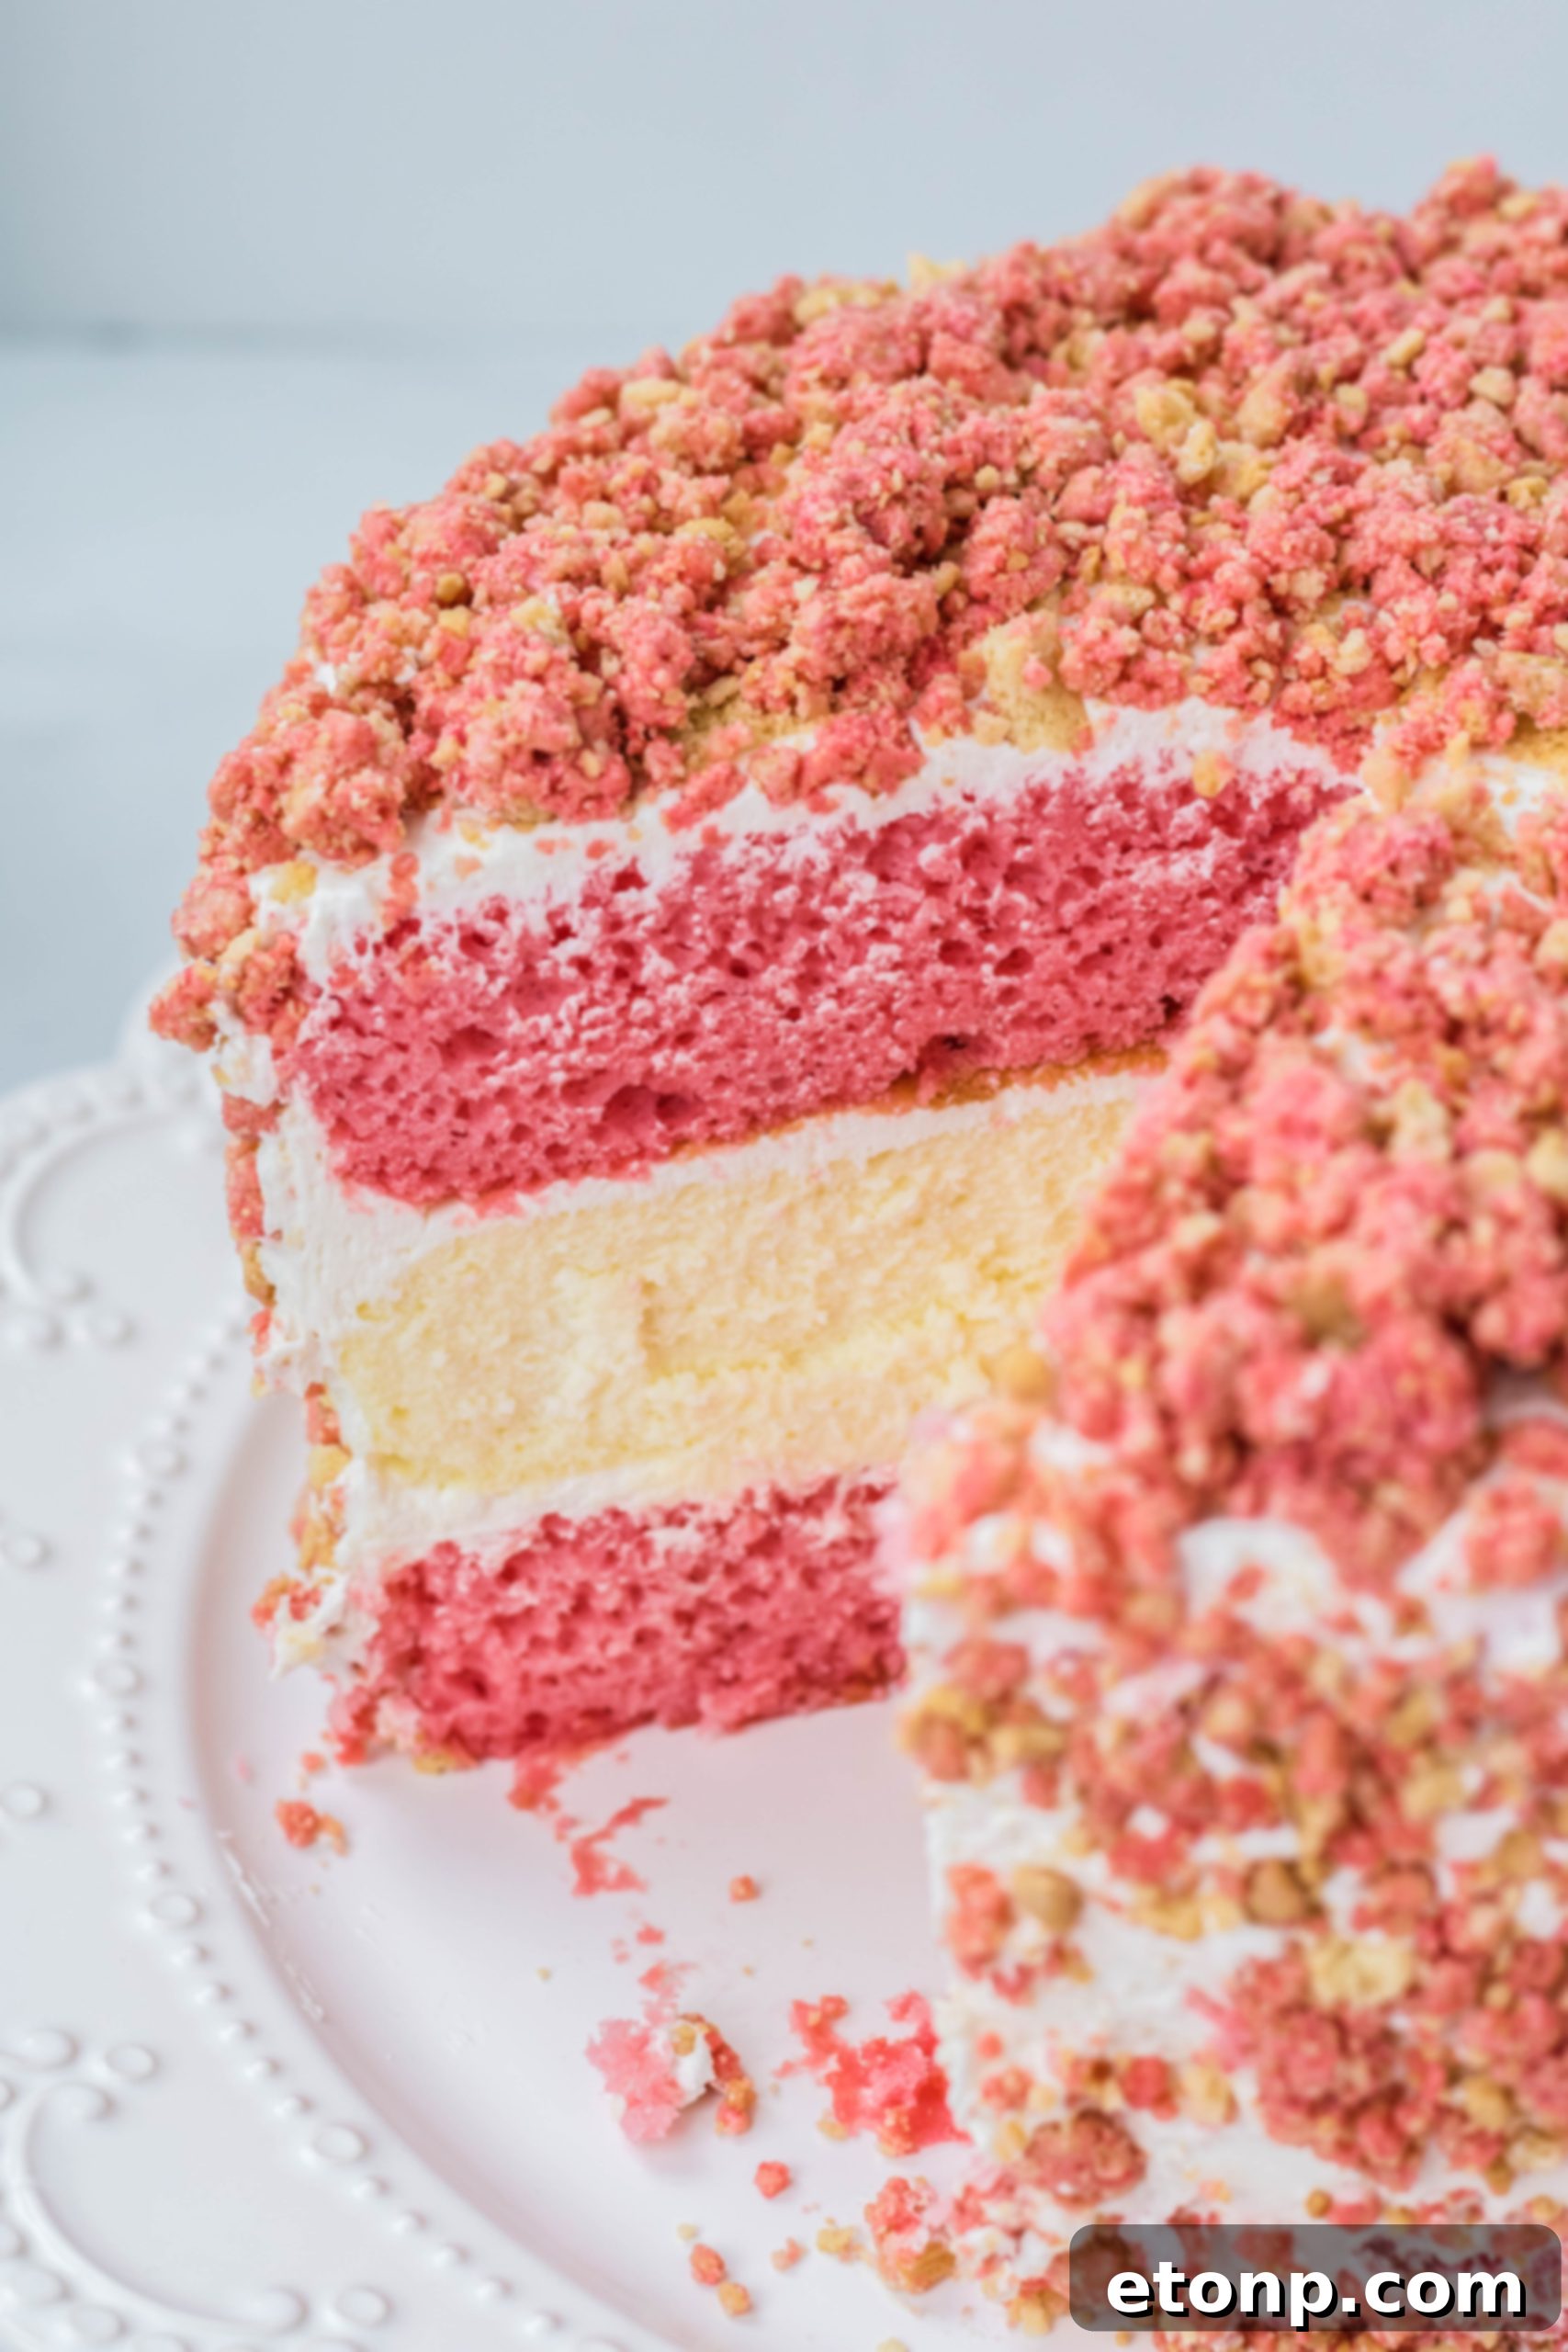
My ambition was to craft a dessert that not only captivates with its visual splendor but also delivers an explosion of flavor, perfectly capturing the essence of that delicious Good Humor bar. This cake is a celebration of textures and tastes, designed to impress and delight every single time.
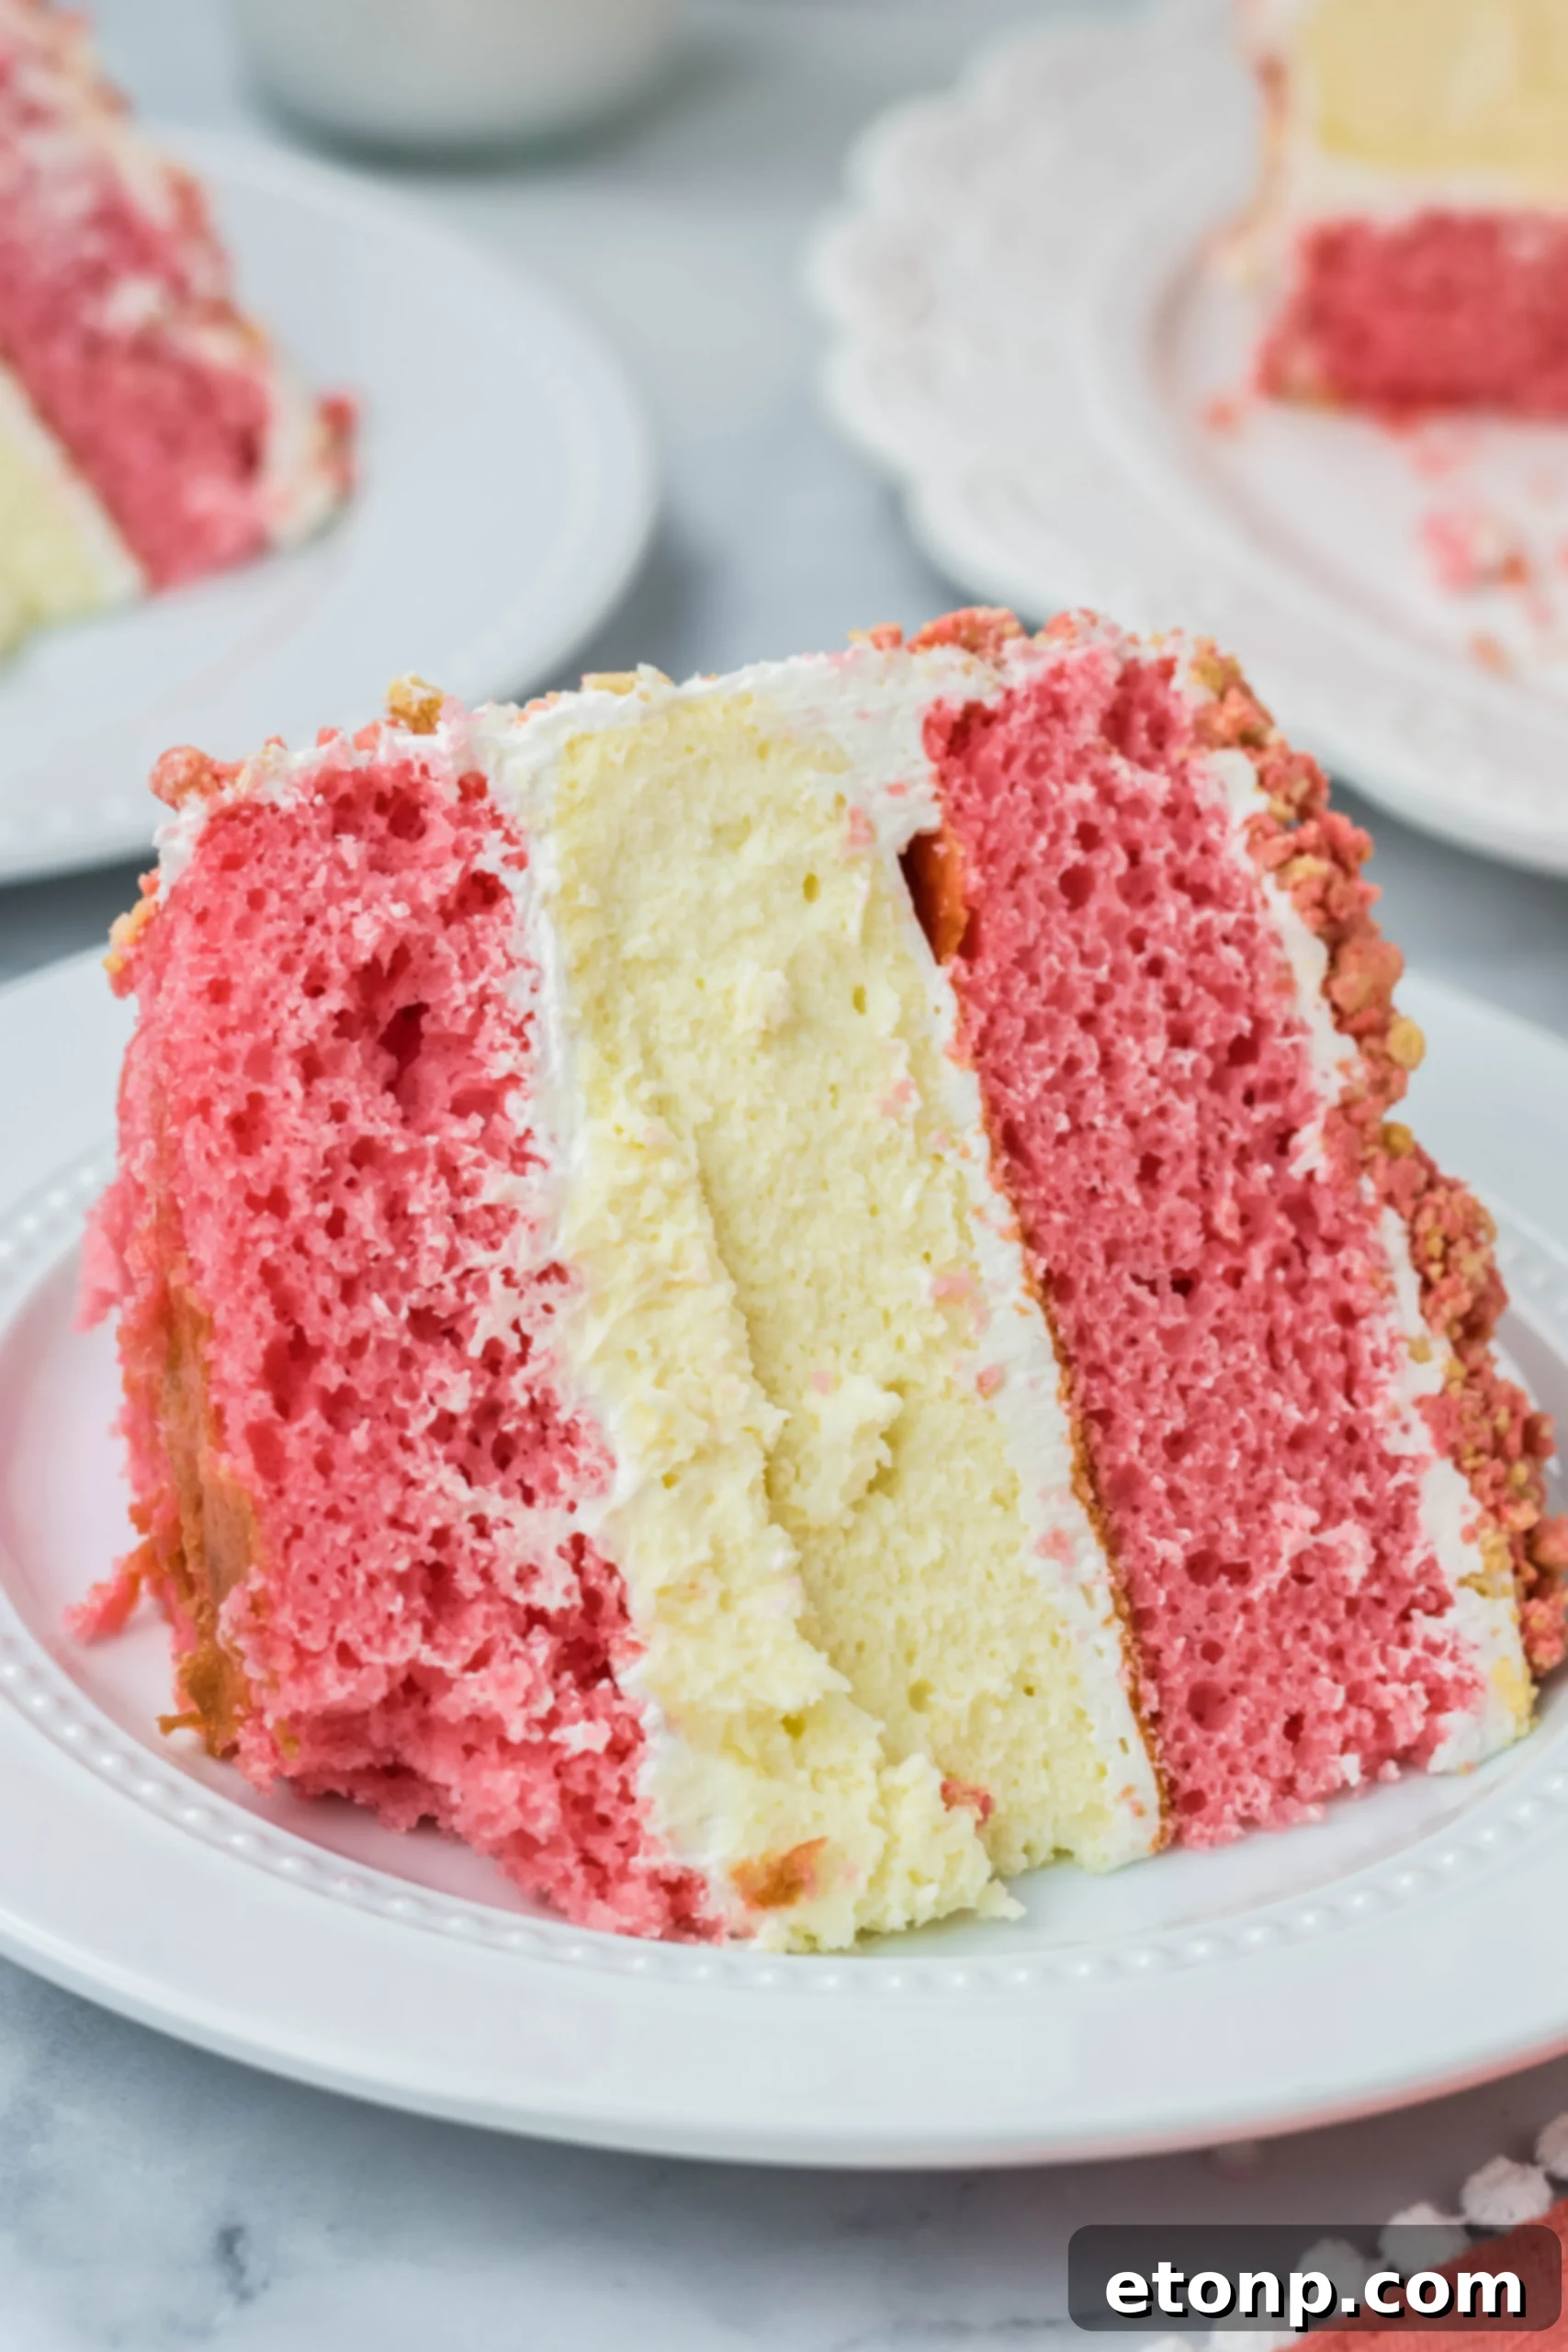
This show-stopping Strawberry Shortcake Cheesecake Cake is the quintessential dessert for any special occasion. Whether you’re planning a festive Christmas dinner, looking for an impressive bake sale contribution, bringing a standout dish to a potluck, or hosting an elegant dessert get-together, this cake is guaranteed to be the star of the show. Its vibrant colors and layers of exquisite flavor make it an unforgettable treat that guests will rave about.
Frequently Asked Questions About Strawberry Shortcake Cheesecake Cake
Q: What exactly is a Strawberry Shortcake Cheesecake Cake?
A: This incredible recipe is a sophisticated layered dessert that ingeniously fuses the best elements of a classic strawberry shortcake and a rich cheesecake. It features a soft, fluffy vanilla cake base, a luxuriously creamy, baked cheesecake layer at its heart, and is generously finished with a fresh strawberry puree and a delightful, crunchy shortbread or cookie crumble topping, evoking the iconic strawberry crunch bar. It’s truly an elevated two-in-one dessert that’s perfect for making any celebration feel extraordinary, from birthdays to summer parties.
Q: Can I use a box cake mix instead of homemade cake layers?
A: Absolutely! We understand that time can be a precious commodity. A high-quality vanilla or white boxed cake mix is a fantastic shortcut that works beautifully here. Simply prepare the mix according to the package directions to create your moist cake layers. The homemade cheesecake, fresh strawberry puree, and signature crumble will ensure your dessert still tastes completely bespoke and utterly delicious, and many find the consistent texture of a good box mix to be a real advantage.
Q: Can I make this cake ahead of time?
A: Yes, this cake is exceptionally well-suited for advance preparation, making it a stress-free option for busy hosts. You can bake the decadent cheesecake layer up to 2-3 days in advance and store it meticulously wrapped in the refrigerator. The vanilla cake layers can also be baked 1-2 days ahead and kept fresh by wrapping them tightly in plastic wrap at room temperature. Assemble the cake the day before or morning of your event, and it will keep beautifully refrigerated for up to 2 days, allowing the flavors to meld wonderfully.
Q: How do I prevent the cheesecake layer from sinking or cracking?
A: Achieving a perfect cheesecake layer requires a few key steps. First, ensure all your dairy ingredients, especially the cream cheese and eggs, are at room temperature for a smooth, uniform batter. Baking the cheesecake in a springform pan lined with parchment paper helps, and using a water bath can also contribute to even baking and prevent cracks. Crucially, allow the cheesecake to cool gradually in the turned-off oven before transferring it to a wire rack, then chill it overnight until it’s perfectly firm before you begin assembling your cake.
Q: Can I use frozen strawberries for the puree?
A: Definitely! While fresh strawberries are ideal for their vibrant flavor during peak season, frozen strawberries are a perfectly acceptable and convenient alternative, allowing you to enjoy this cake year-round. Just be sure to thaw them completely before blending, and drain any excess liquid to ensure your puree isn’t too watery. This adjustment won’t compromise the delicious strawberry flavor in your cake.
Q: What’s the best way to slice and serve this tall, layered cake neatly?
A: Given its impressive height and multiple layers, a sharp, long serrated knife, similar to a bread knife, is your best friend for clean slices. For optimal presentation, chilling the entire cake for at least an hour before slicing will help all the layers firm up, ensuring each slice is beautifully defined and bakery-worthy. Wipe the knife clean with a damp cloth between each cut for the cleanest edges.
Q: Can I freeze Strawberry Shortcake Cheesecake Cake?
A: Yes, this cake freezes surprisingly well, especially in individual slices. To freeze, wrap each slice tightly in plastic wrap, then an additional layer of aluminum foil, and store in an airtight container for up to 2 months. Thaw frozen slices in the refrigerator overnight for the best texture. While the cake and cheesecake layers hold up beautifully, for optimal freshness, it’s often best to add any whipped topping or fresh garnishes just before serving.
Q: Can I make this cake gluten-free?
A: Absolutely! Adapting this recipe for a gluten-free diet is straightforward. Replace the all-purpose flour (or regular boxed cake mix) with your favorite gluten-free baking blend that includes xanthan gum. For the signature crunch topping, simply use gluten-free golden sandwich cookies or shortbread cookies. The cheesecake layer itself is naturally gluten-free, so these simple swaps are all you need to enjoy a delicious gluten-free version.
Q: How do I know when the cheesecake is fully baked?
A: The perfect cheesecake should have edges that appear set, but the very center should still exhibit a slight jiggle when gently nudged. Don’t overbake it, as it will continue to set as it cools. If baked until completely firm in the oven, it risks becoming dry and cracked. For absolute precision, an internal thermometer inserted into the center should read between 150-155°F (65-68°C).
Making parts of this cake in advance can significantly streamline your baking process! I often prepare the cheesecake layer the night before, allowing it ample time to chill and firm up, which saves me valuable time on the day of assembly. The next day, I bake the cake layers. Then, just before I’m ready to display this magnificent beauty, I whip up the luscious frosting and the delightful crumble topping, then meticulously assemble the entire cake. This phased approach ensures a fresh, perfectly structured dessert without the last-minute rush.
For even greater flexibility, you can prepare the cheesecake layer even further in advance and store it in the freezer. Simply wrap it tightly once cooled and chilled, and place it in your freezer until you’re ready to use it. Thaw it in the refrigerator overnight before proceeding with assembly.
No matter the occasion you choose to grace with this exceptional cake, it is undeniably destined to be a resounding success and the focal point of every conversation. Prepare for endless compliments and requests for the recipe!
Ready to Bake? Get the Full Recipe Below!
Please remember to SHARE on Facebook and PIN IT!
FOLLOW ME ONPINTERESTBY CLICKING HERE <——
Strawberry Shortcake Cheesecake Cake!
Servings: 8-10
Prep Time: 20 minutes
Bake Time: 80-90 minutes
Ingredients
Cake:
- 1 cup strawberries, chopped
- 2 tablespoons granulated sugar
- ¼ cup water
- 1 ½ teaspoons vanilla extract
- 2 ½ cups all-purpose flour
- 1 cup granulated sugar
- 2 teaspoons baking powder
- ½ teaspoon baking soda
- 1 cup butter, softened and cut into 1 tablespoon pieces
- 1 cup sour cream
- 3 eggs
- 1 cup strawberry puree, cooled
- Multiple drops pink food coloring (optional, to achieve desired color)
- 1 (3 oz) box of strawberry jello powder
Cheesecake Layer:
- 2 packages cream cheese, softened
- ½ cup granulated sugar
- 2 tablespoons flour
- 2 eggs
- 1 teaspoon vanilla extract
- ¼ cup heavy cream
Frosting:
- 2 sticks butter, softened
- 1 package cream cheese, softened
- 2 teaspoons vanilla extract
- 3 Tablespoons heavy whipping cream
- 3-4 cups powdered sugar
Crunch Topping:
- 24 golden Oreos, coarsely crushed
- ¼ cup whipped topping, thawed
- 3 Tablespoons strawberry gelatin powder
Instructions
Cheesecake:
- Preheat your oven to 350°F (175°C). Prepare an 8-inch springform pan by lining the bottom with parchment paper and spraying the sides with non-stick spray. Set aside.
- To prepare the cheesecake layer, add the softened cream cheese to the bowl of a stand mixer fitted with a paddle attachment. Cream for 5-6 minutes or until light and fluffy. Scrape the sides and bottom of the bowl thoroughly.
- With the mixer on low speed, gradually add the granulated sugar and flour. Once the sugar is combined, increase to medium speed and mix for an additional 2-3 minutes.
- Reduce the mixer to low speed and add the eggs one at a time, mixing until each is fully incorporated. Scrape the sides of the bowl again and add the vanilla extract. Mix for an additional 1-2 minutes.
- Finally, add the heavy whipping cream. Start the mixer on low speed and slowly increase to high, mixing for 2-3 minutes until the batter is smooth and well combined.
- Pour the prepared cheesecake batter into the prepared springform pan. Gently tap the pan on the counter a few times to release any trapped air bubbles.
- Bake at 350°F (175°C) for 10 minutes. Without opening the oven door, reduce the heat to 200°F (95°C) and bake for an additional 55-60 minutes, or until the edges are set and the center still has a slight jiggle.
- Turn off the oven and allow the cheesecake to cool inside for 15 minutes before carefully removing it.
- Allow the cheesecake to cool completely on a wire rack at room temperature, then place it in the refrigerator for at least 2 hours, or ideally overnight, to chill and firm up completely.
Cake:
- To prepare the strawberry puree, combine chopped strawberries, 2 tablespoons sugar, strawberry jello powder, and ¼ cup water in a small saucepan. Bring to a boil, then let it simmer for 2-3 minutes, or until the strawberries are softened and the sugar has dissolved. Pour the mixture into a food processor and blend until smooth. Set aside to cool.
- In the bowl of a stand mixer fitted with a paddle attachment, combine the all-purpose flour, 1 cup granulated sugar, baking soda, and baking powder.
- With the mixer on low speed, slowly add the softened butter pieces into the dry flour mixture until it resembles coarse crumbs.
- In a separate medium bowl, whisk together the sour cream, eggs, and the cooled strawberry puree until well combined.
- Gradually add the wet ingredients into the flour mixture in the stand mixer, mixing until just combined and smooth. Be careful not to overmix.
- If desired, add a few drops of pink food coloring to achieve your preferred shade of pink. Scrape down the sides of the bowl and mix on high speed for 2-3 minutes to incorporate air and lighten the batter.
- Evenly divide the cake batter between two greased and floured 8-inch round cake pans. Bake for 20-25 minutes, or until a wooden skewer inserted into the center of each cake comes out clean.
- Allow the cake layers to cool in their pans for about 10 minutes before inverting them onto a wire rack to cool completely.
Frosting:
- In the bowl of a stand mixer fitted with a paddle attachment, combine the softened cream cheese and butter. Cream for 2-3 minutes until the mixture is light and fluffy. Add the vanilla extract and mix until just combined.
- With the mixer on low speed, gradually add the powdered sugar, one cup at a time, scraping down the sides and bottom of the bowl after each addition.
- Add the heavy whipping cream. Start the mixer on low speed, then slowly increase to high, mixing for 2-3 minutes until the frosting is light, fluffy, and smooth.
Crumble:
- Add the golden Oreo cookies to a food processor and pulse until you achieve a coarse crumb texture. Remove approximately half of the crumbs and set them aside.
- To the remaining crumbs in the food processor, add the thawed whipped topping and strawberry gelatin powder. Using a fork (or your hands, which often works better), mix the crumbs until they are evenly coated and clumped slightly.
- Combine this coated crumb mixture with the plain cookie crumbs you set aside. Lightly toss them together to evenly distribute both textures.
Assembly:
- Place one cooled cake layer face-down onto your chosen cake stand or serving plate. Spread about ¾ cup of frosting generously and evenly over this layer.
- Carefully remove the springform pan ring from the chilled cheesecake. Gently invert the cheesecake onto the frosted cake layer, then slowly remove the bottom of the springform pan and the parchment paper. Generously top the cheesecake layer with another portion of frosting, spreading it smoothly.
- Place the last cake layer on top. Apply the remaining frosting to generously coat the entire cake, smoothing the sides and top for a polished finish.
- Using your hands, gently press the prepared crunch crumble mixture around the sides and over the top of the cake, ensuring an even coating.
Pro Tip: Use a large baking sheet placed under the cake during assembly to catch any stray crumbs, making cleanup a breeze!
- Store the finished Strawberry Shortcake Cheesecake Cake in the refrigerator. For best results, keep it in an airtight container or tightly covered with plastic wrap to maintain freshness.
Did you make this recipe?
Make sure to follow on Pinterest for more recipes and share your delicious creations!
Pin Recipe
Share on Facebook