
Step into the festive spirit this holiday season with our enchanting Candy Cane Cookies! These delightful treats are more than just cookies; they’re edible works of art, featuring a mesmerizing swirl of vibrant red and pristine white vanilla dough, meticulously shaped into the iconic candy cane. Imagine the joy these beautiful, soft-baked cookies will bring to your family gatherings, holiday parties, or as a charming gift for friends. They are not merely delicious; they are a visual feast that will undoubtedly elevate your holiday baking game and become the star attraction on any dessert platter.

While classic vanilla provides a comforting and universally loved flavor, these versatile cookies can easily be transformed into exquisite peppermint candy cane cookies. A simple addition of peppermint extract infuses them with a cool, refreshing minty zest that many adore during Christmas. This Christmas candy cane cookie recipe isn’t just another baking project; it’s a tradition in the making. Once you experience the ease of preparation and the irresistible taste of these homemade swirls of sweetness, you’ll find yourself eagerly returning to this recipe year after year, cementing its place as a cherished holiday staple.
For those eager to expand their holiday cookie repertoire, consider exploring other incredible festive ideas. You might love the rich and nutty goodness of my Peanut Butter Christmas Cookies, the buttery elegance of Cherry Shortbread Cookies, or even the whimsical charm of these Grinch Snowball Cookies. Each recipe offers a unique flavor and texture, promising to add a delightful variety to your holiday cookie collection. All are fantastic Christmas cookie ideas that are sure to impress and satisfy.

Why You Will Absolutely Adore These Candy Cane Cookies
There are countless reasons why these candy cane cookies are destined to become your go-to Christmas treat. From their stunning appearance to their delightful taste, every aspect is designed to bring joy to your holiday celebrations.
- Festive and Visually Stunning: These cookies aren’t just tasty; they’re a true spectacle. The iconic red and white swirl, shaped like a candy cane, makes them an incredibly gorgeous and festive addition to any holiday table. They effortlessly capture the spirit of Christmas, making them perfect for gifting or serving at special occasions.
- Perfect for Any Holiday Occasion: Whether you’re hosting an elaborate Christmas party, contributing to a school bake sale, attending a cozy family gathering, or simply want a sweet treat for your household, these cookies fit every bill. Their charming appearance and delightful flavor make them universally appealing and suitable for a wide range of events.
- A Swirl of Sweet Goodness in Every Bite: Each cookie offers a harmonious blend of two distinct doughs, twisted together to create a delightful texture and a balanced sweetness. The soft, tender bite of these cookies, often enhanced with a dusting of sugar, provides a truly satisfying experience that is both comforting and indulgent.
- Homemade with Simple Pantry Ingredients: You don’t need exotic ingredients to create something extraordinary. This recipe relies on everyday pantry staples, making it accessible and easy for any home baker. Crafting these cookies from scratch fills your home with the wonderful aroma of fresh baking and the warmth of homemade goodness.
- Soft-Baked with a Hint of Crunch: We aim for perfection in texture – a wonderfully soft-baked cookie interior that practically melts in your mouth, complemented by a delicate crunch from the coarse sugar dusting on top. This textural contrast adds another layer of enjoyment to these already irresistible treats.
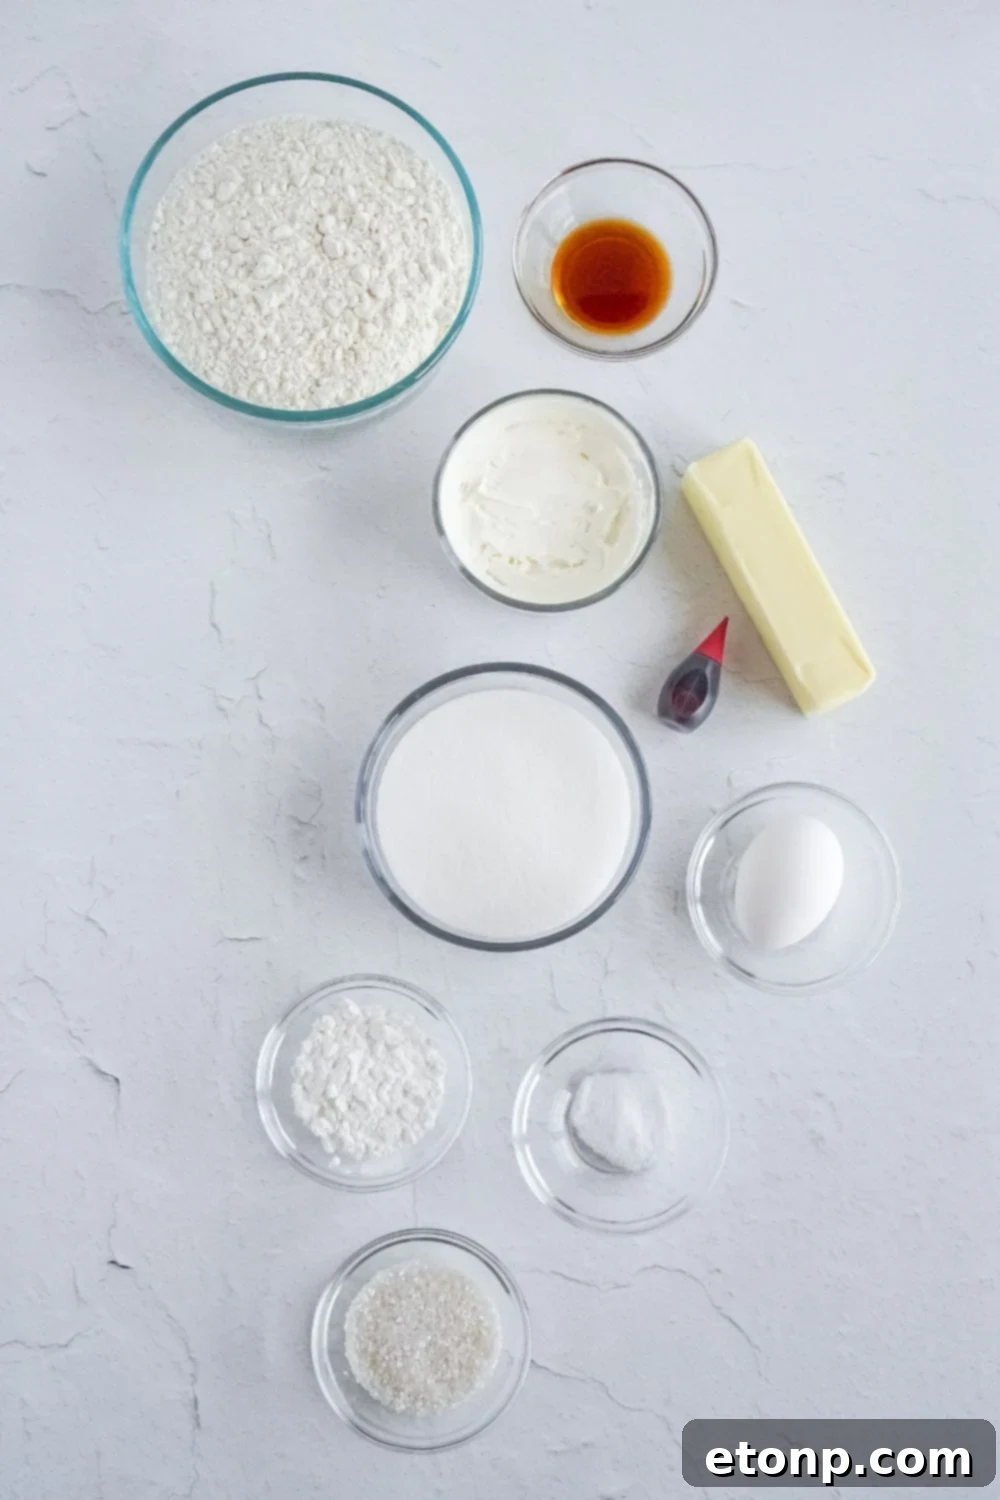
Essential Ingredients for Your Perfect Candy Cane Cookies
Creating these beautiful and delicious candy cane cookies starts with selecting the right ingredients and understanding their role in the overall texture and flavor profile. Here’s a closer look at what you’ll need and why each component is crucial:
Unsalted Butter: We recommend using unsalted butter, softened to room temperature. This allows you to control the exact amount of salt in your recipe. If you only have salted butter, simply omit the additional salt called for in the recipe to prevent your cookies from becoming too salty. Softened butter creams beautifully, incorporating air for a lighter cookie.
Cream Cheese: Softened full-fat cream cheese is a secret ingredient that lends an incredible richness, tenderness, and slight tang to these cookies. It contributes to a wonderfully soft and fluffy texture, making your cookies exceptionally delightful and unique compared to standard sugar cookies.
Granulated Sugar: This is the primary sweetener and plays a vital role in the cookie’s structure. Granulated sugar creates a perfectly sweet base, and when creamed with butter and cream cheese, it helps achieve that desirable light and airy texture.
Egg: A single large egg acts as the essential binder in our cookie recipe. It provides structure, moisture, and helps to emulsify the ingredients, ensuring a cohesive and well-formed dough that bakes up beautifully.
Vanilla Extract: Vanilla extract is indispensable for flavoring these cookies, especially if you’re keeping them a classic vanilla flavor. It enhances the sweetness and adds a warm, aromatic depth that is truly comforting and inviting. For peppermint variation, you can swap or combine it with peppermint extract.
Unbleached All-Purpose Flour: Unbleached flour is preferred for its consistent quality and texture. When measuring, always scoop the flour into your measuring cup and level it off with a straight edge rather than scooping directly from the bag. This prevents over-packing and ensures you use the correct amount, leading to perfectly textured cookies.
Cornstarch: This unassuming ingredient is a game-changer! Adding cornstarch to your cookie dough is a fantastic trick to achieve an unbelievably soft and tender crumb. It helps to weaken the gluten in the flour, preventing tough cookies and ensuring a melt-in-your-mouth experience.
Salt: A small amount of table salt is crucial for balancing and enhancing all the wonderful flavors in the cookies. It prevents the cookies from tasting bland and brings out the nuances of the vanilla, butter, and cream cheese.
Red Food Coloring: To achieve the classic candy cane look, vibrant red food coloring is used for one half of the dough. Gel food coloring is often recommended as it provides intense color without adding excess liquid, which can alter dough consistency.
Coarse Sugar or Sprinkles: For the perfect finishing touch, a generous dusting of coarse sugar on top of the baked cookies adds a lovely sparkle and a pleasant textural crunch. Alternatively, festive Christmas sprinkles can be used to add an extra pop of color and holiday cheer.


Creative Variations to Personalize Your Candy Cane Cookies
One of the joys of baking is the ability to customize recipes to suit your taste and creativity. These candy cane cookies offer a fantastic canvas for various modifications. Here are a handful of ways to change up the recipe, allowing you to craft your truly perfect and unique candy cane cookies for any occasion.
- Experiment with Flavor Extracts: While vanilla is classic, don’t hesitate to use other flavored extracts to totally transform your cookies. Peppermint extract is a natural choice for a minty, refreshing cookie, perfectly aligning with the candy cane theme. Almond, lemon, or even a hint of rum extract could also create delightful and unexpected flavor profiles.
- Play with Food Coloring: The traditional red and white are iconic, but feel free to unleash your creativity with colors! Imagine festive green and red swirls for a different Christmas vibe, or blue and white for a frosty winter wonderland theme. You could even use pastels for a spring or Easter celebration, making these cookies versatile year-round.
- Introduce More Colors for a Bigger Impact: Why stop at two colors? For an even more impressive and vibrant cookie, divide the dough into three or even four portions and color them differently. Twist multiple colored ropes together to create a bolder, more dynamic swirl that will truly stand out on your cookie platter.
- Customize the Topping: The coarse sugar or sprinkles add a wonderful sparkle and crunch, but they’re entirely optional. You could skip the topping for a simpler look, or instead, consider using powdered sugar after baking to mimic a snowy effect, or even finely crushed candy canes for an extra peppermint kick.
- Drizzle or Dip in Chocolate: Elevate these cookies to gourmet status by adding chocolate. Once the baked cookies have cooled completely, drizzle them with melted white chocolate, milk chocolate, or dark chocolate. For an even more decadent treat, dip one end or the bottom portion of the cookies into melted chocolate and let it set on parchment paper.
- Adjust Cookie Size for Different Needs: The beauty of homemade cookies is the control you have over their size. While a medium size works beautifully to mimic a traditional candy cane, you can make them smaller for bite-sized treats, which are ideal for serving a large crowd or for a mini-dessert bar. Remember to adjust the baking time accordingly – smaller cookies will bake faster. Larger cookies will require a slightly longer baking time.

Expert Tips for Candy Cane Cookie Success
Achieving perfectly shaped and delicious candy cane cookies is easier than you think with these helpful tips and tricks. Follow these guidelines to ensure your holiday baking is smooth, enjoyable, and yields professional-looking results every time.
The Power of a Stand Mixer
For best results, I highly recommend using a stand mixer with a paddle attachment for whipping up this cookie dough. Its consistent power ensures that the butter, cream cheese, and sugar are thoroughly creamed, incorporating sufficient air to create a light and fluffy base. This also guarantees all ingredients are perfectly incorporated, leading to a uniform dough texture. If you don’t have a stand mixer, a reliable hand mixer will also work wonderfully, just be sure to scrape down the sides of the bowl frequently.

Strategic Dough Division for Vibrant Colors
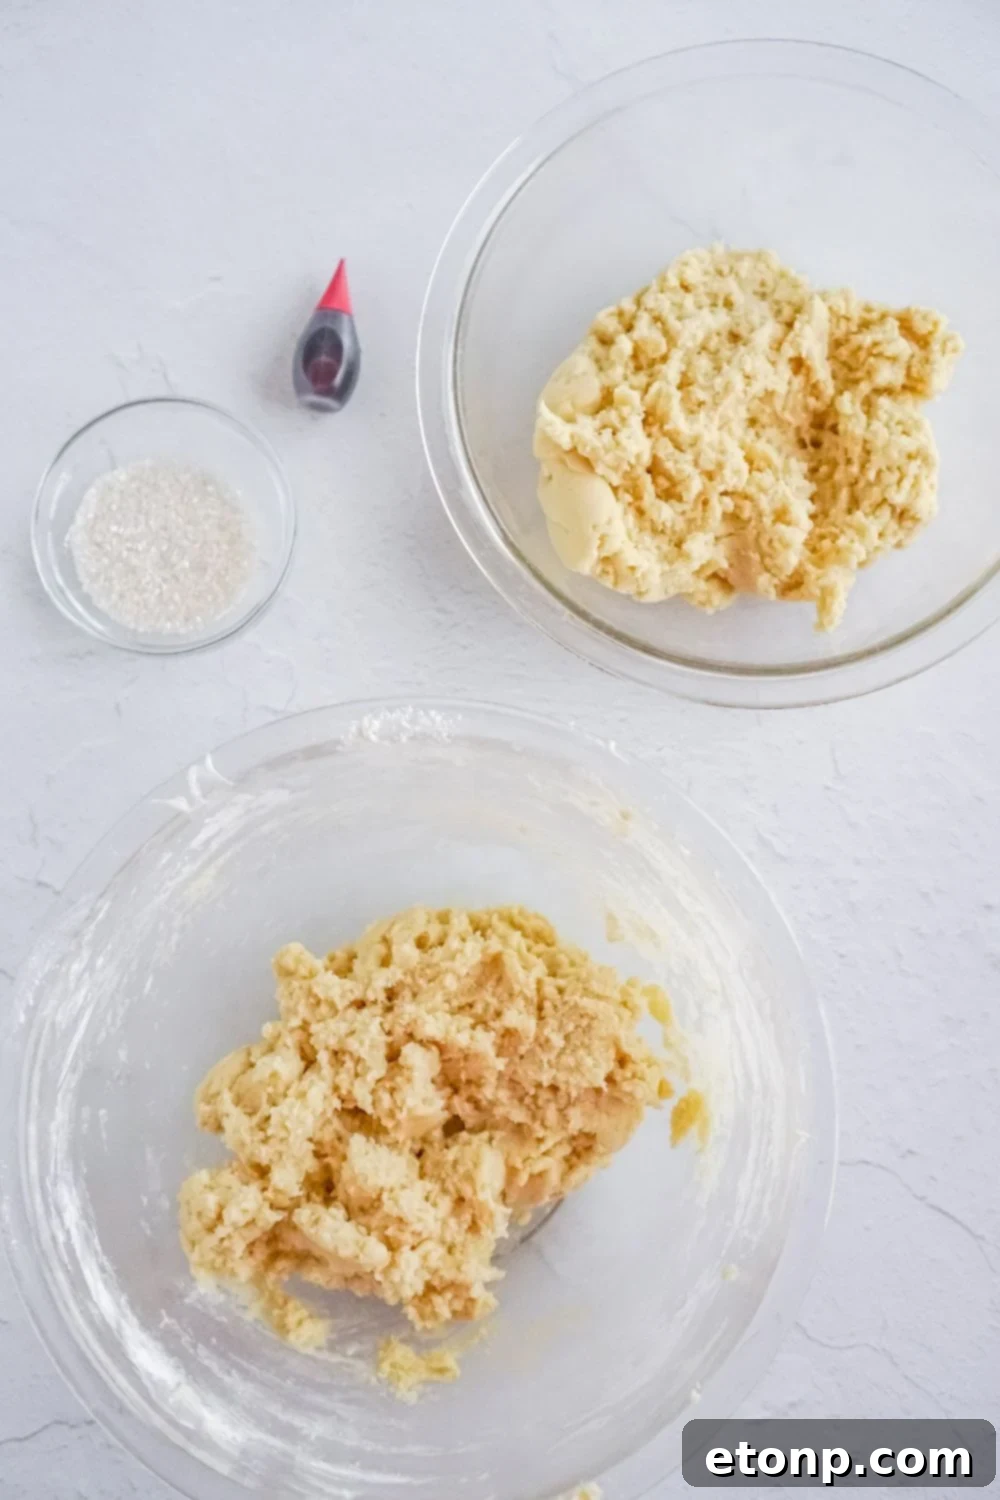
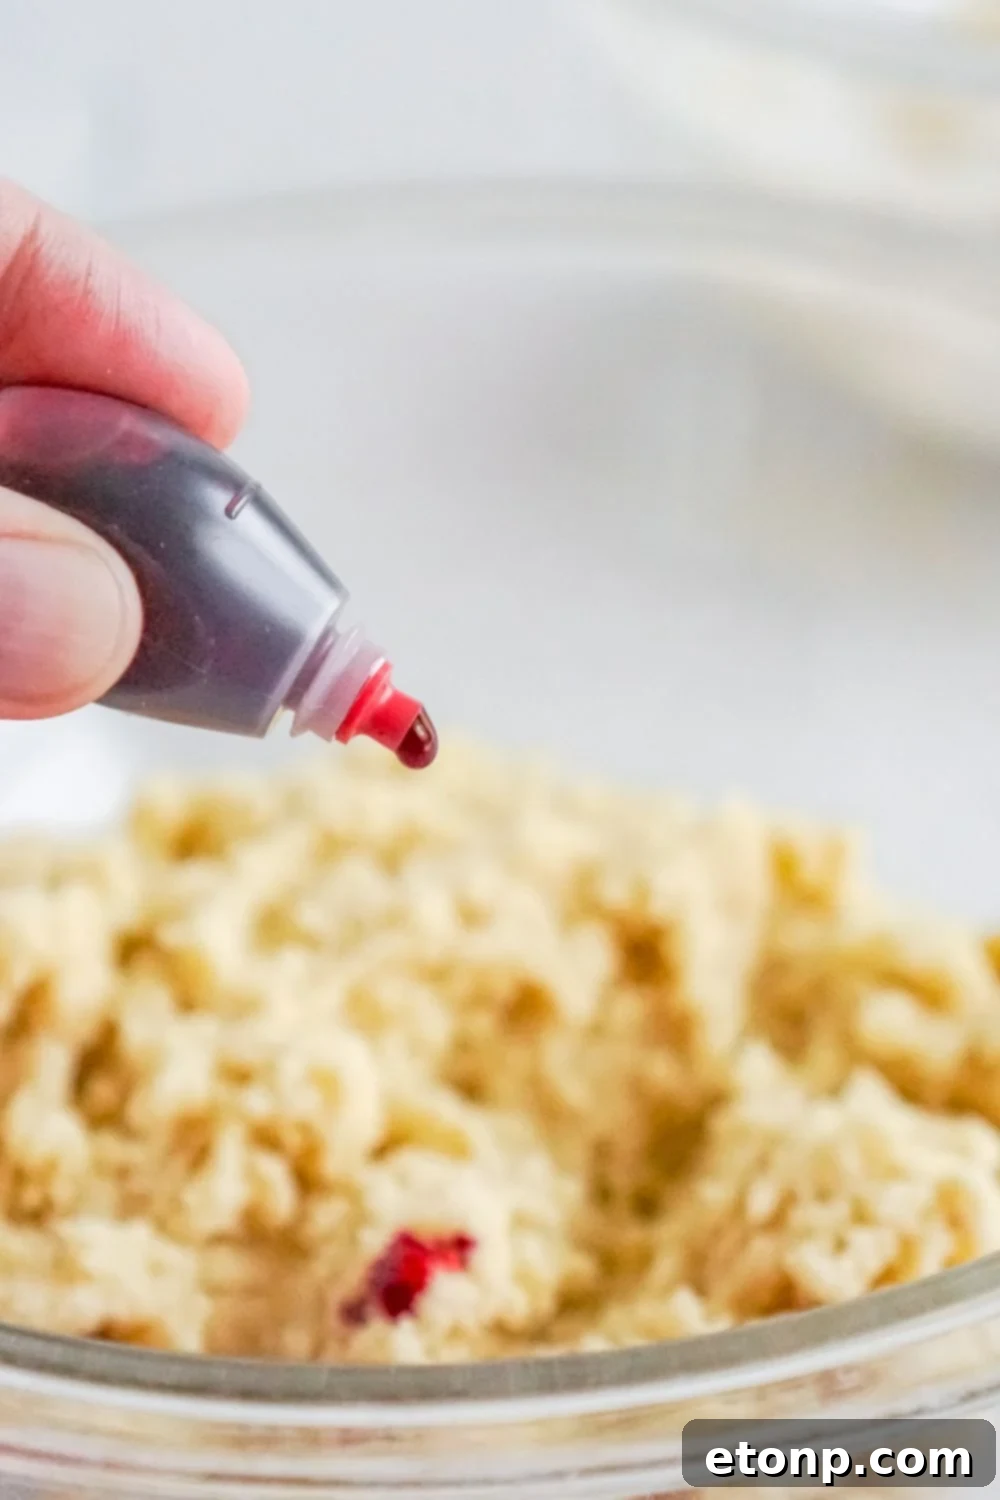
Once your vanilla cookie dough is mixed, it’s essential to divide it precisely in half before adding any coloring. Place one half into a separate bowl and then thoroughly mix in your red food coloring. Keep mixing until the color is completely uniform and vibrant, with no streaks of white. This careful separation ensures you have a crisp contrast between your white and colored dough, which is key to the candy cane’s visual appeal.
Utilize a Fork as a Shaping Guide
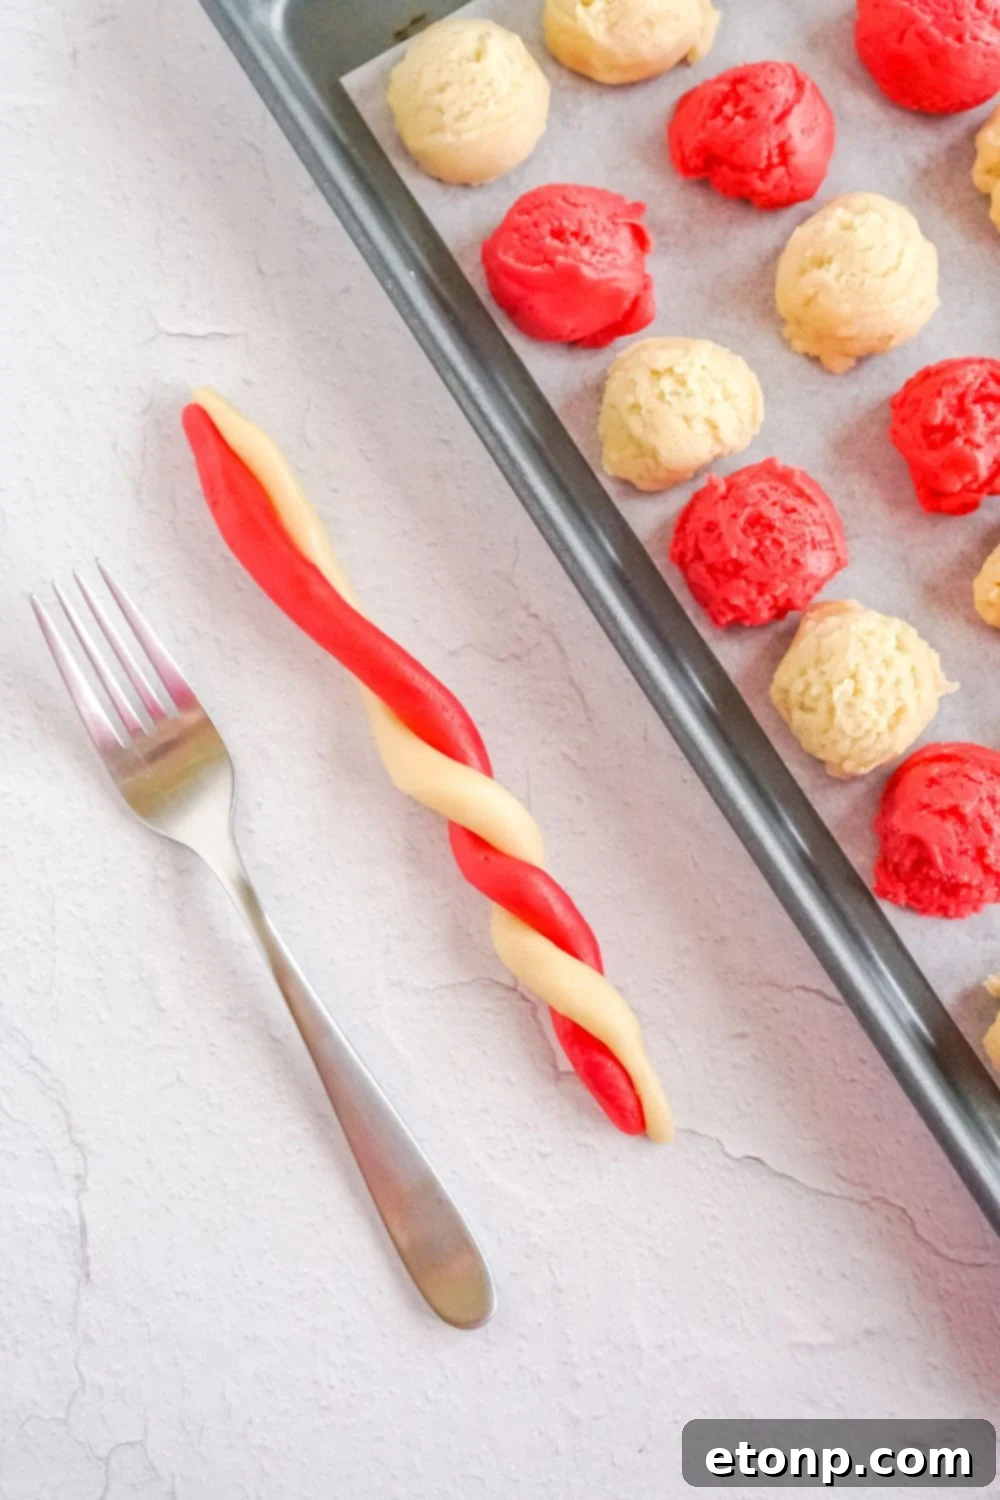
To ensure consistent size and shape for each candy cane, try a clever trick: use a common kitchen fork as your guide. When rolling out your dough into ropes, aim for a length roughly equal to that of a dinner fork (typically around 7 inches). This helps maintain uniformity across all your cookies. Furthermore, you can use the fork’s tines to gently press the two dough ropes together at the start before twisting, ensuring they adhere well and create a beautiful, even swirl.

Proper Baking Sheet Preparation
Never underestimate the importance of a well-prepped baking sheet. For these delicate cookies, lining your tray with parchment paper or using a silicone baking mat is paramount. These materials create a non-stick surface, preventing your candy cane cookies from adhering to the pan and ensuring they maintain their beautiful shape when removed. This small step guarantees those perfectly formed cookies that won’t fall apart or stick, making transfer a breeze.

Cooling Patience is a Virtue
Once your cookies are out of the oven, resist the urge to immediately transfer them. Allowing the cookies to cool on the baking pan for at least 5-10 minutes is crucial. This brief cooling period allows them to firm up slightly, preventing breakage or distortion of their delicate candy cane shape when you move them to a wire rack. Patience here ensures you present guests with perfectly intact and appealing cookies. As a bonus, reusable silicone baking mats are excellent for preventing sticking and are easy to clean.

The Art of Finishing Touches
Even without elaborate decorations, these candy cane cookies are stunning on their own. However, for a touch of extra sparkle and flavor, consider a final dusting. Coarse sugar crystals add a beautiful glint and a delightful crunch, which is my personal favorite. Alternatively, a light sifting of powdered sugar can elegantly mimic a fresh dusting of snow, adding to the festive aesthetic and a delicate sweetness.

Storing Your Delicious Candy Cane Cookies
Ensuring your candy cane cookies remain fresh and delicious for as long as possible is key, especially when you’ve baked a large batch for the holidays. Proper storage methods will help preserve their delightful texture and flavor.
Room Temperature Storage: If you find yourself with leftover cookies, store them in an airtight container at room temperature. Placed on your kitchen counter, these cookies will maintain their freshness and soft texture for approximately 4-5 days. Beyond this period, they might start to dry out slightly. However, a quick 10-20 second warm-up in the microwave can often refresh them, bringing back some of their original tenderness.
Freezer Storage: For longer preservation, these cookies freeze beautifully. Once completely cooled, arrange them in a single layer in a freezer-safe container or freezer bag, separated by parchment paper if stacking. They can be frozen for up to 4-5 months without significant loss of quality. When you’re ready to enjoy them, simply thaw them on the counter at room temperature. This makes them a perfect make-ahead option for busy holiday seasons.

Frequently Asked Questions About Candy Cane Cookies
Here are some common questions and helpful answers to guide you in making the best candy cane cookies possible, addressing potential queries from bakers of all experience levels.
Can I use store-bought cookie dough for candy cane cookies?
Absolutely! If you’re short on time or prefer a simpler approach, using store-bought sugar cookie or shortbread cookie dough is a fantastic shortcut. Simply divide the pre-made dough in half, incorporate red food coloring into one portion, and then proceed with shaping and baking as directed in the recipe. This allows you to achieve the festive look with minimal effort.

How do I prevent my candy cane cookies from spreading during baking?
The most crucial step to prevent spreading is adequately chilling your cookie dough. After shaping the dough balls and before forming the candy canes, make sure to refrigerate the dough for at least 30 minutes to an hour. This ensures the butter and fats are firm, allowing the cookies to hold their shape in the oven rather than spreading excessively like warm dough would. Additionally, avoid over-greasing your baking sheet if not using parchment paper.
Can I make candy cane cookies without peppermint flavoring?
Yes, absolutely! The base recipe for these candy cane cookies uses vanilla extract, providing a classic, sweet flavor without any mint. If you prefer peppermint-flavored cookies, simply add a few drops (start with 1/4 to 1/2 teaspoon, then taste) of peppermint extract to the cookie dough along with the vanilla. Mix it in well to ensure even distribution. Remember, a little bit of mint extract goes a long way!

Can I use other colors for the stripes instead of red and white?
Definitely! While the classic red and white combination instantly brings to mind candy canes and Christmas, you are free to customize the colors to match any theme or personal preference. Consider green and red for a more traditional Christmas palette, blue and white for a winter theme, or even fun pastel colors for other occasions. This adaptability allows for endless creative possibilities with this festive cookie recipe.

What size should I make my candy cane cookies?
The size of your candy cane cookies is entirely up to your preference and how you intend to serve them. I typically opt for a medium-sized cookie, which beautifully mimics the look and feel of a traditional candy cane. However, feel free to make smaller, more delicate candy canes for a tea party or larger ones for a statement treat. Just remember to adjust your baking time accordingly; smaller cookies will require less time in the oven, while larger ones may need a few extra minutes.

More Delicious Christmas Recipes to Try
- Festive Pinwheel Christmas Cookies
- Whimsical Christmas Tree Cake
- Addictive Reindeer Crack Snack
Classic Candy Cane Cookies

These delightful Candy Cane Cookies are a homemade Christmas classic, shaped with elegant red and white swirls. Perfect for holiday gatherings, bake sales, or simply enjoying with a warm cup of cocoa, they bring festive cheer to any occasion.
Course: Dessert
Prep Time: 1 hour
Cook Time: 8 minutes
Total Time: 2 hours 8 minutes
Servings: 24 cookies
Ingredients
- 1/2 cup unsalted butter, softened
- 4 ounces full-fat cream cheese, softened
- 1 cup white granulated sugar
- 1 large egg
- 2 teaspoons vanilla extract
- 2 3/4 cups unbleached all-purpose flour
- 2 tablespoons cornstarch
- 1/2 teaspoon salt
- 40-50 drops red food coloring (gel food coloring recommended for vibrant color)
- Coarse sugar or festive sprinkles for topping
Instructions
- In a large mixing bowl, gently heat the butter until just softened. This usually takes about 30-60 seconds in the microwave, depending on its initial temperature.
- Add the softened cream cheese to the butter and heat again for another 15-20 seconds to ensure it’s pliable without melting.
- Using a stand mixer with the paddle attachment or a hand mixer, cream the softened butter and cream cheese together until thoroughly combined and smooth, creating a creamy base.
- Gradually add the granulated sugar and beat on medium to medium-high speed for 3 minutes. Continue beating until the mixture is light, fluffy, and noticeably pale.
- Incorporate the large egg and vanilla extract, mixing until just combined. Be careful not to overmix at this stage.
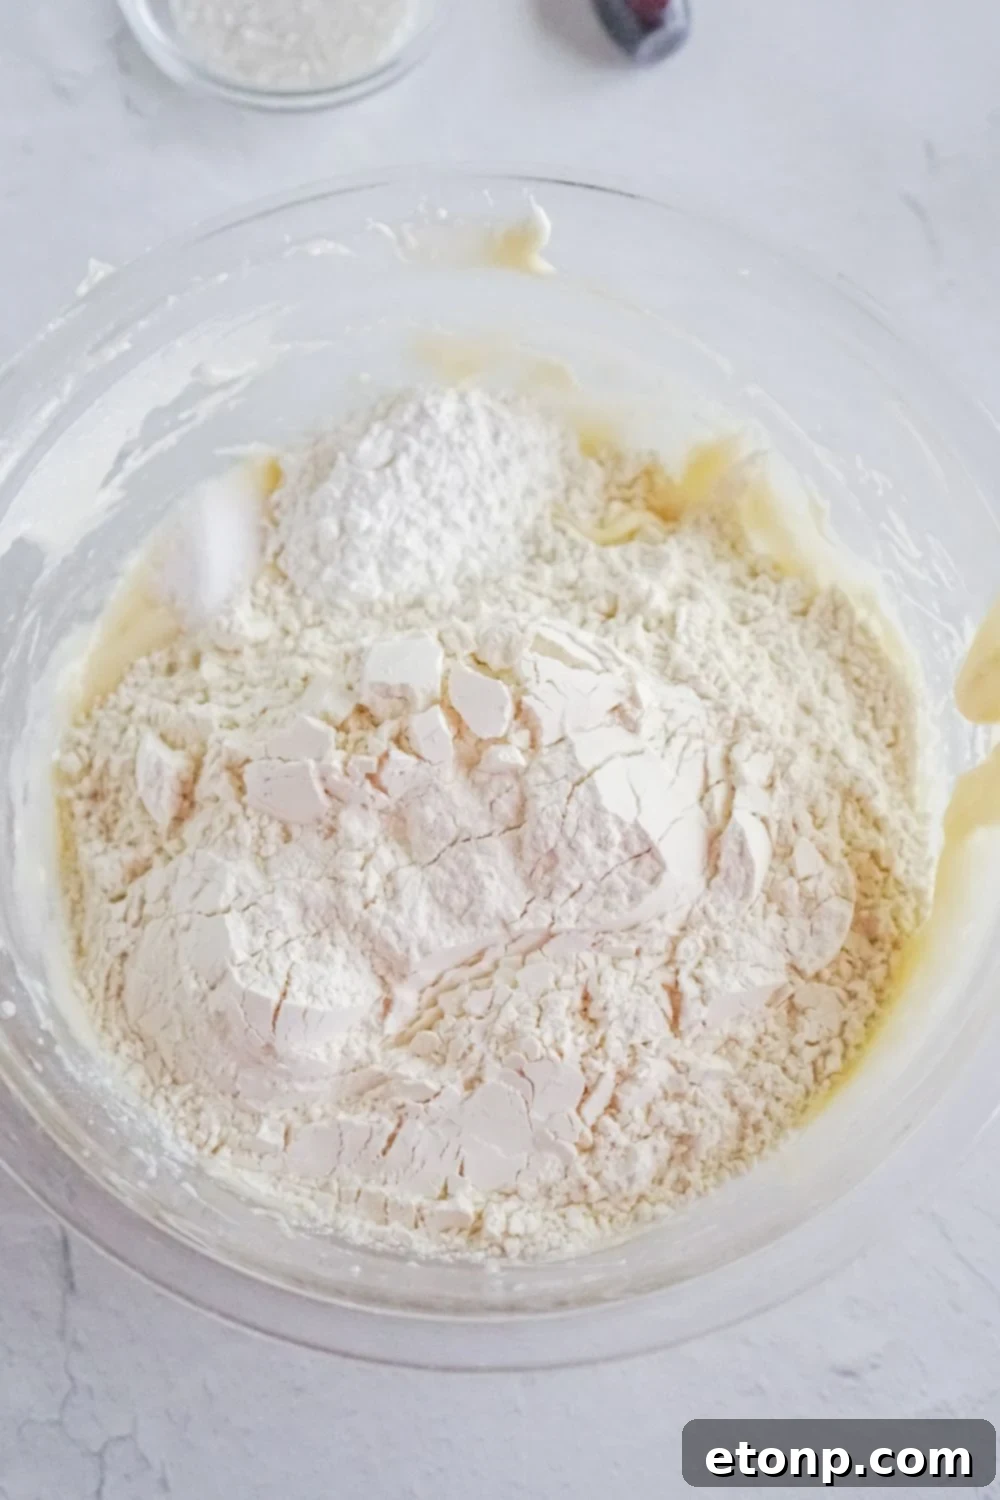
- Next, in a separate small bowl, whisk together the dry ingredients: unbleached flour, cornstarch, and salt, ensuring they are well combined.
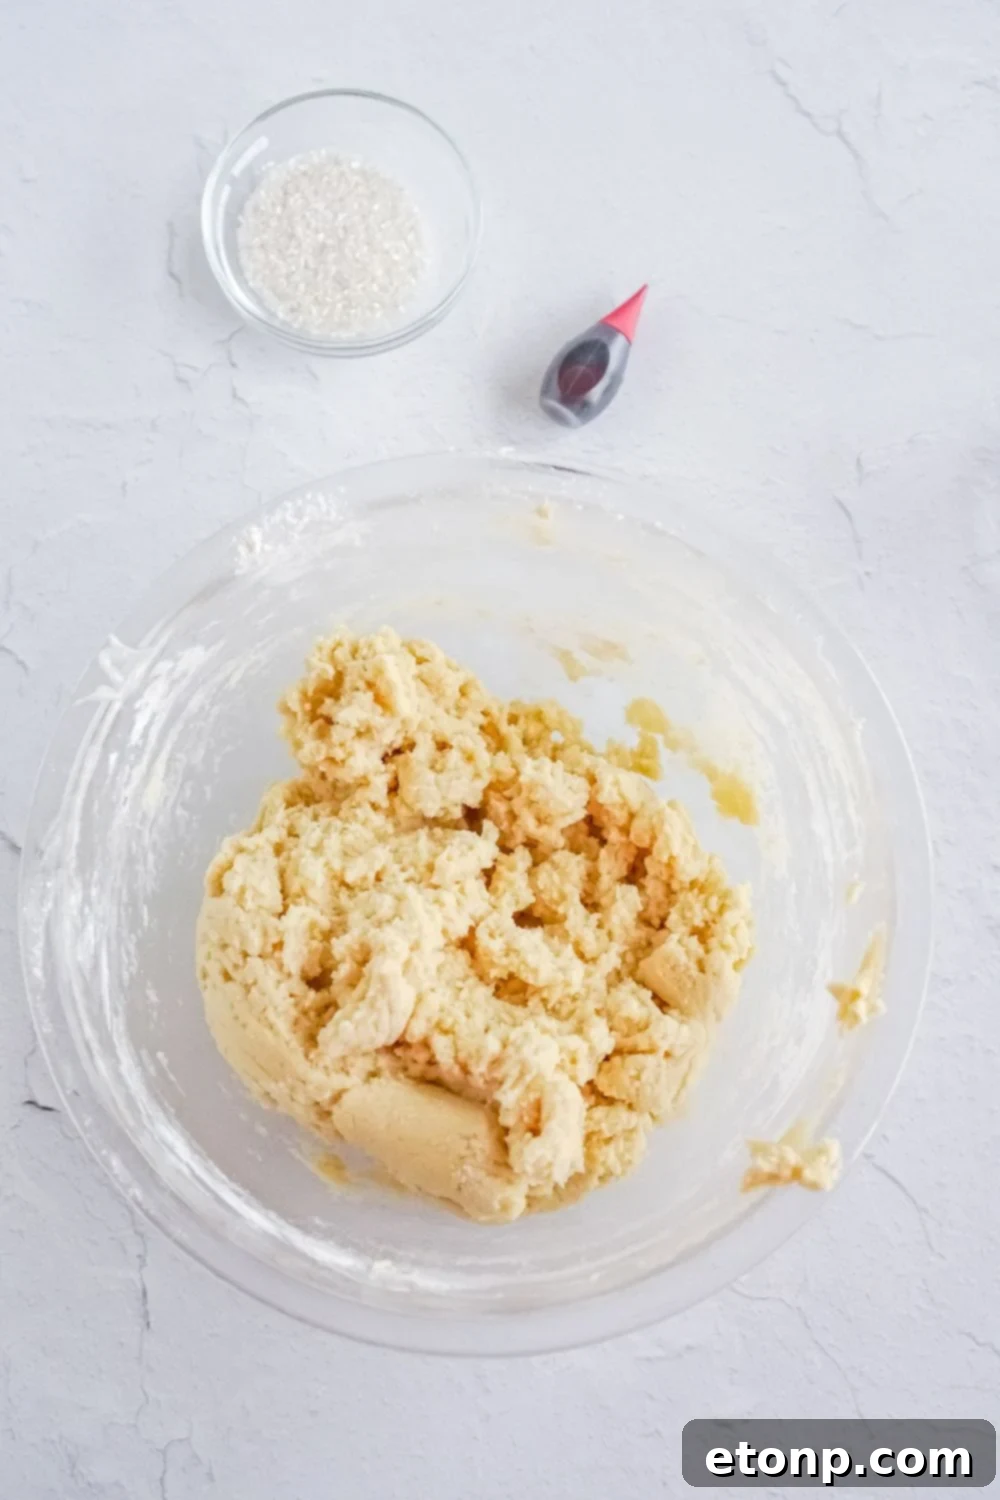
- Gradually add the dry ingredients to the wet cookie batter in the mixer. Mix on low speed until the ingredients are just combined and a cohesive dough forms. Avoid overmixing, as this can develop the gluten and make the cookies tough.
- Divide the cookie dough evenly into two separate bowls. Add 40-50 drops of red food coloring to one bowl and mix thoroughly until the color is vibrant and uniformly distributed throughout the dough. Leave the other half white.
- Using a 1-tablespoon cookie scoop, portion out small balls of both the red and white dough. Place these scooped dough balls onto a baking sheet.
- Cover the baking sheet with plastic wrap and refrigerate all the cookie dough balls for at least 30 minutes to 1 hour. Chilling the dough is essential to prevent the cookies from spreading too much during baking.
- Preheat your oven to 350°F (175°C). Line a baking sheet with parchment paper or a silicone baking mat to prevent sticking.
- Remove a few dough balls (one red, one white) from the refrigerator at a time to keep the rest chilled. Roll each ball into a thin rope, approximately 7 inches long, aiming for uniform thickness. Using a fork as a length guide can be helpful.
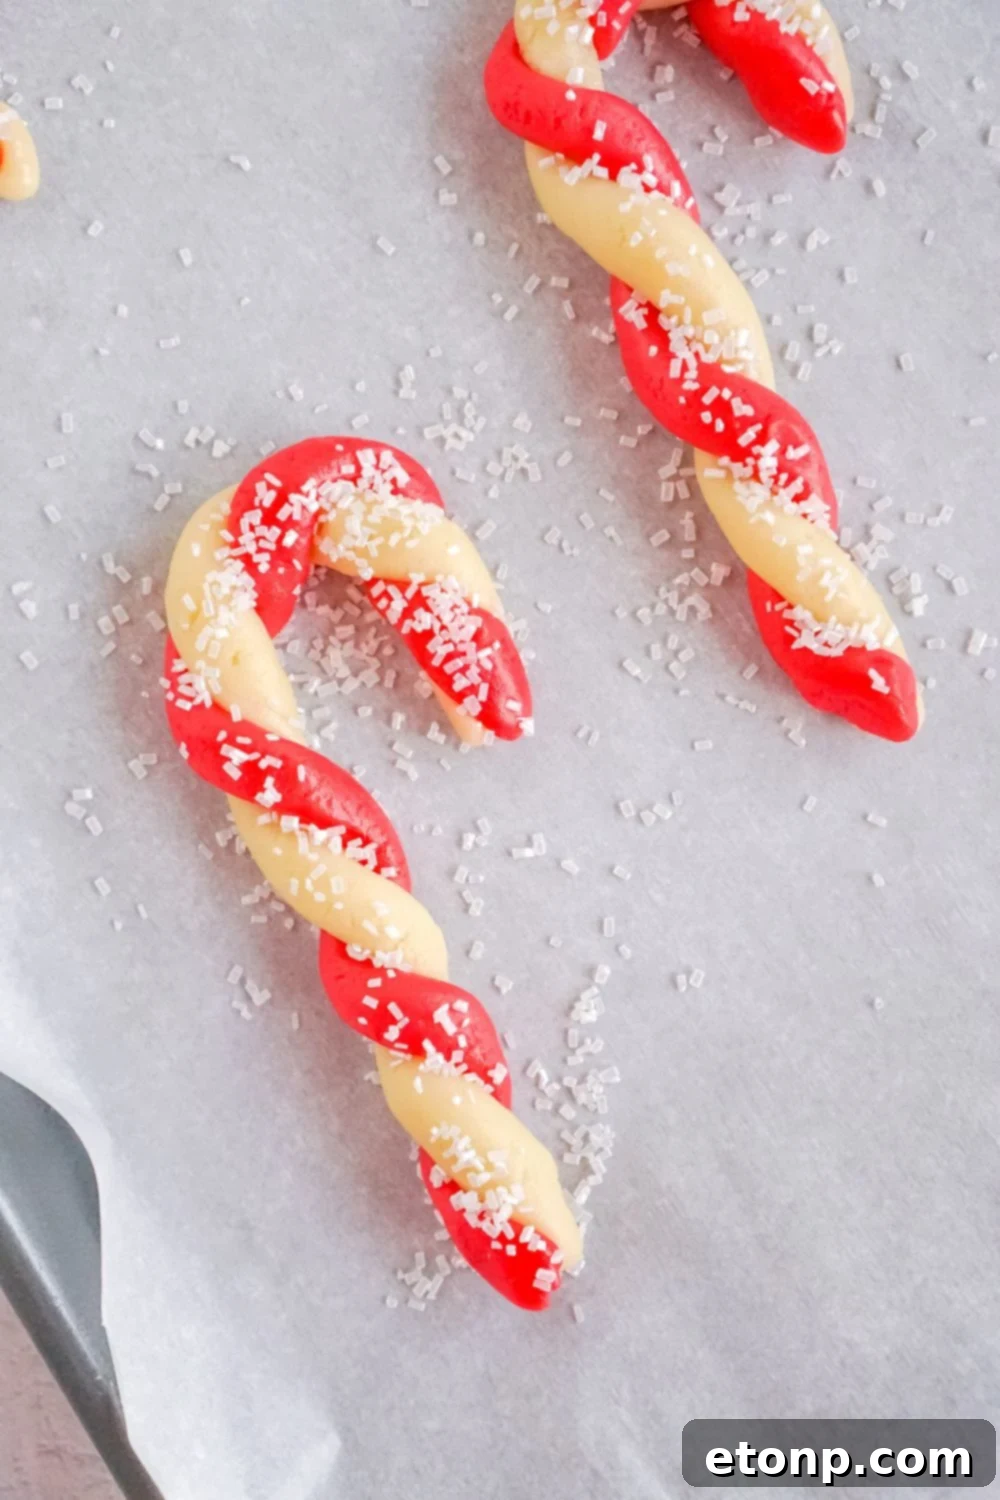
- Place one white dough rope and one red dough rope side-by-side on your work surface. Gently pinch the ends together at one side. Then, carefully twist the two ropes around each other to create the classic striped candy cane effect. Finally, curve the top end to form the iconic “hook” of the candy cane.
- Carefully transfer the shaped candy cane cookies to the prepared baking sheet, ensuring there’s about 2 inches of space between each. If desired, lightly sprinkle the top of each cookie with coarse sugar or festive sprinkles before baking.
- Bake for 8-10 minutes, or until the edges are very lightly golden and the centers appear set. Baking time can vary based on your oven’s calibration and the thickness of your cookies.
- Allow the freshly baked cookies to cool on the baking pan for 5-10 minutes before carefully transferring them to a wire rack to cool completely. This cooling period on the pan helps them firm up and prevents breakage or shape alteration. Let them cool fully before enjoying or storing.
We hope you thoroughly enjoy baking and sharing these classic candy cane cookies! They are truly a highlight of the holiday season.