
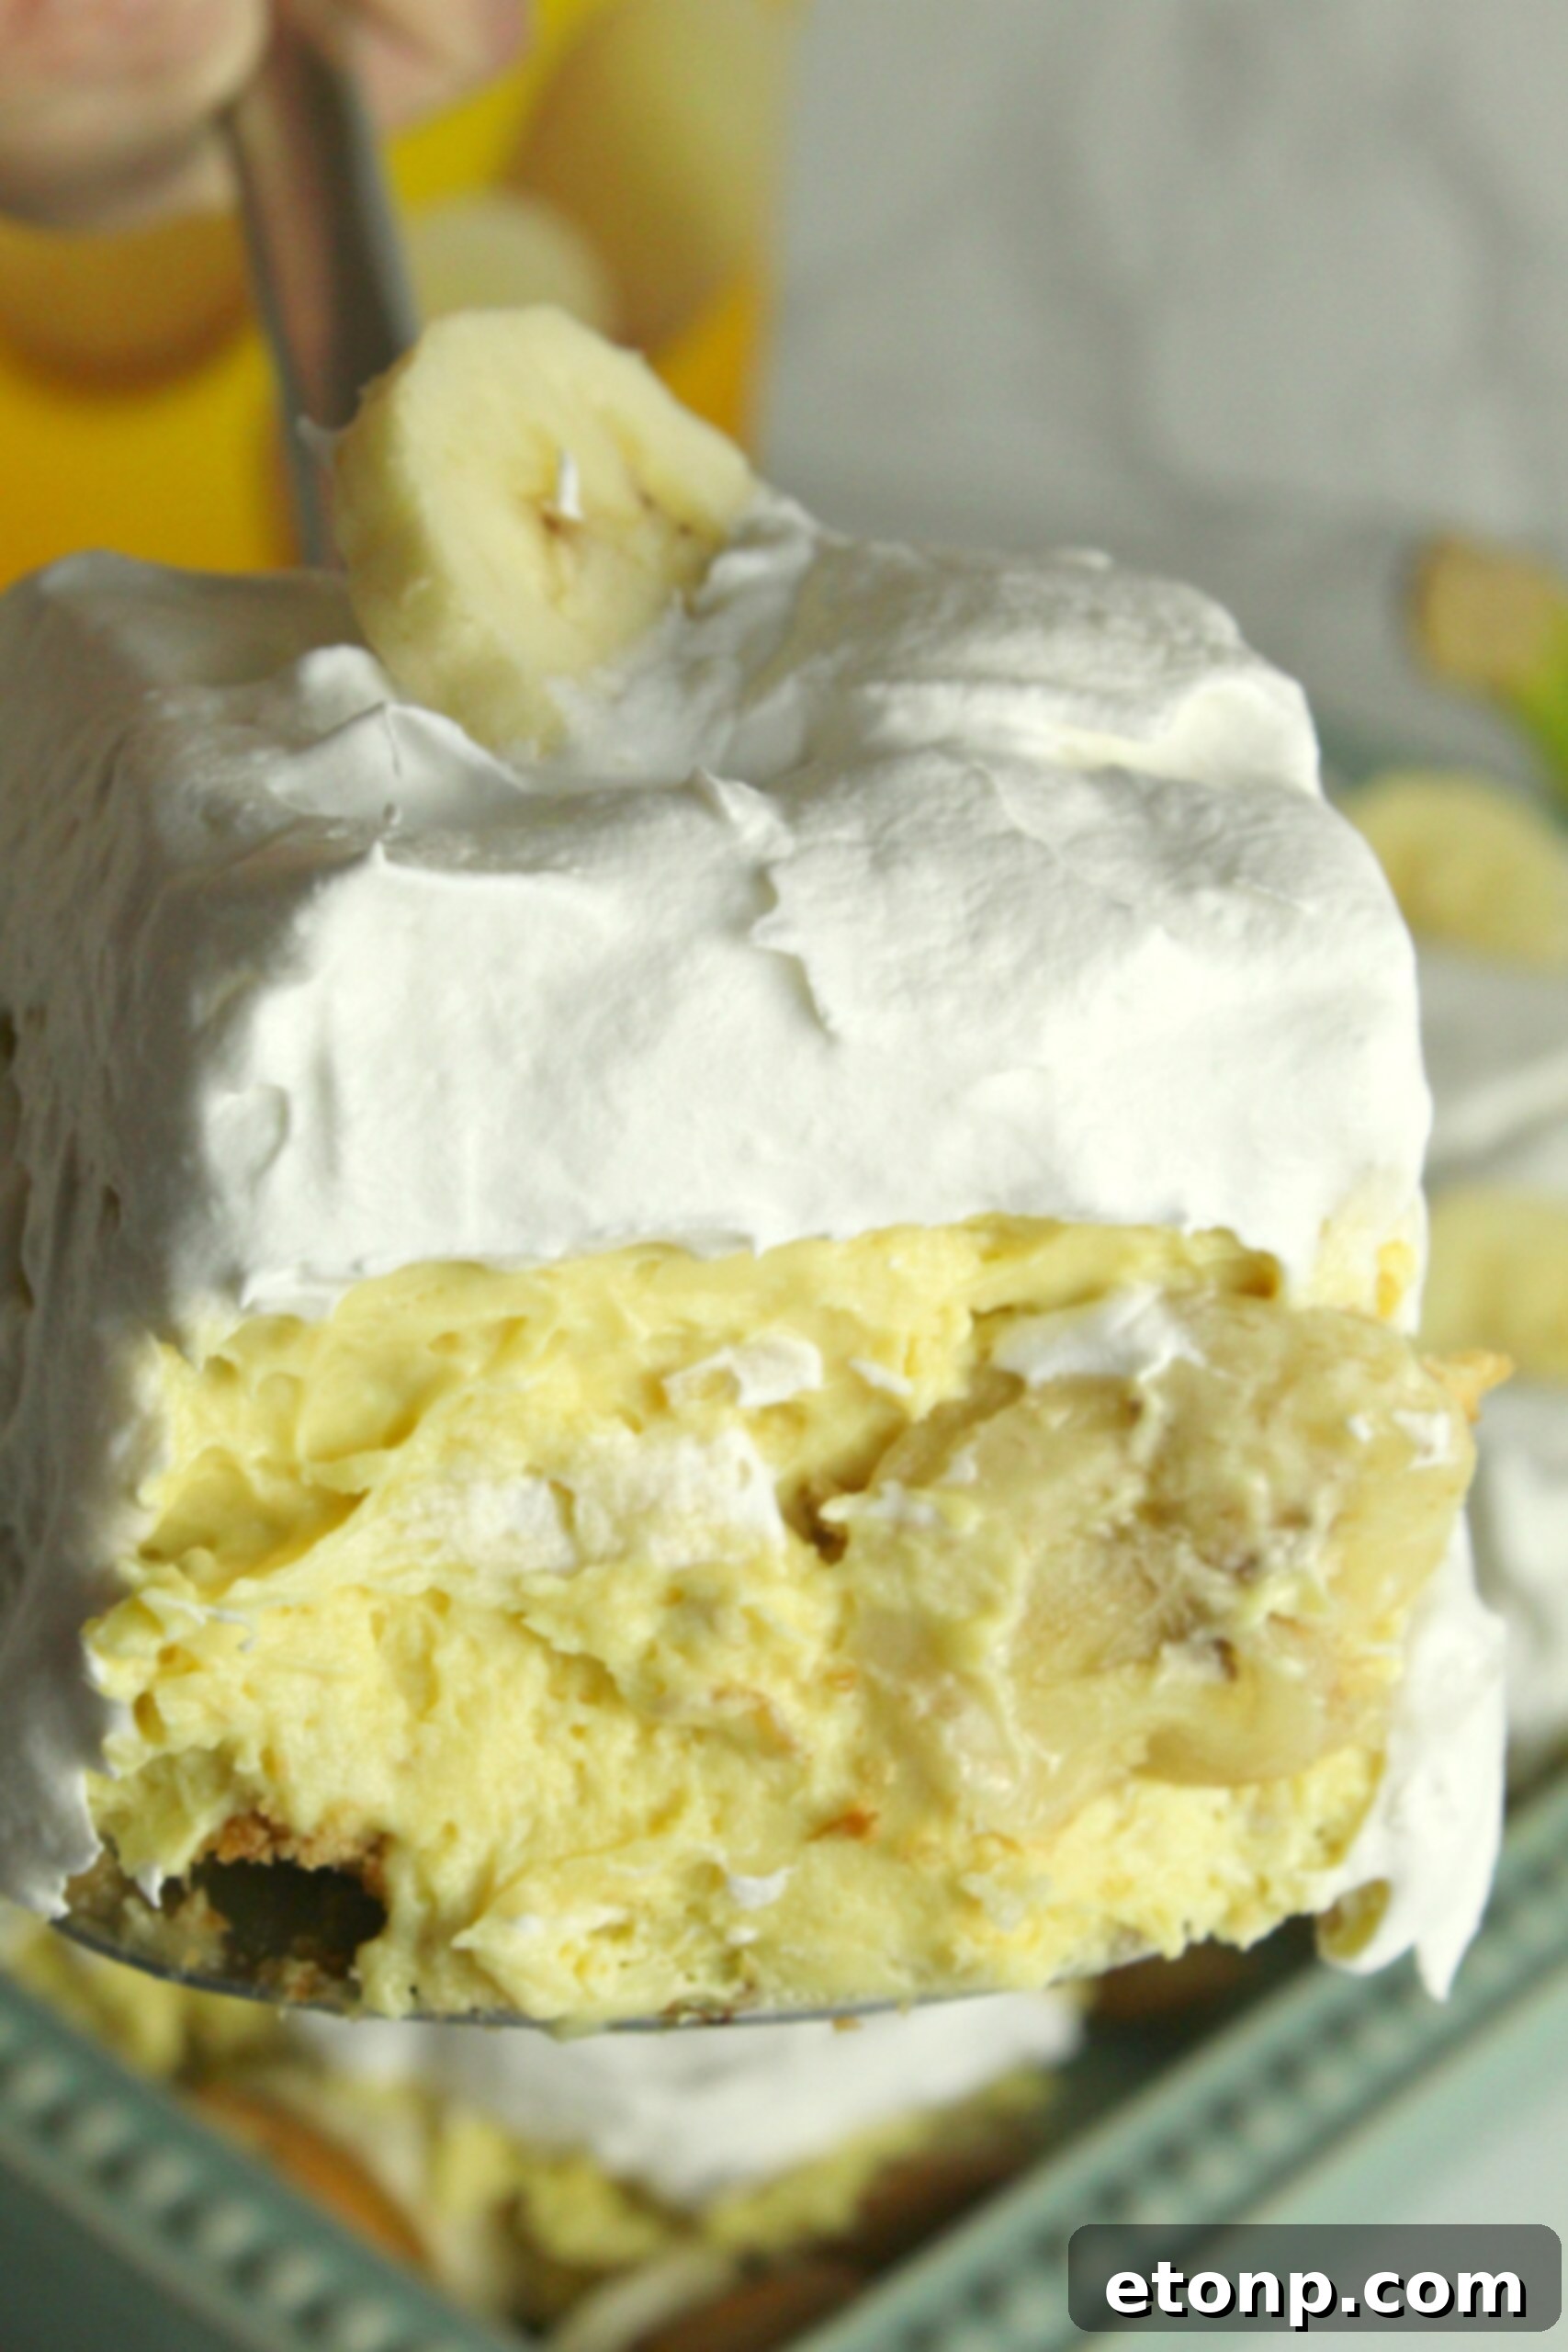
Effortless No-Bake Banana Pudding: A Simple, Crowd-Pleasing Dessert
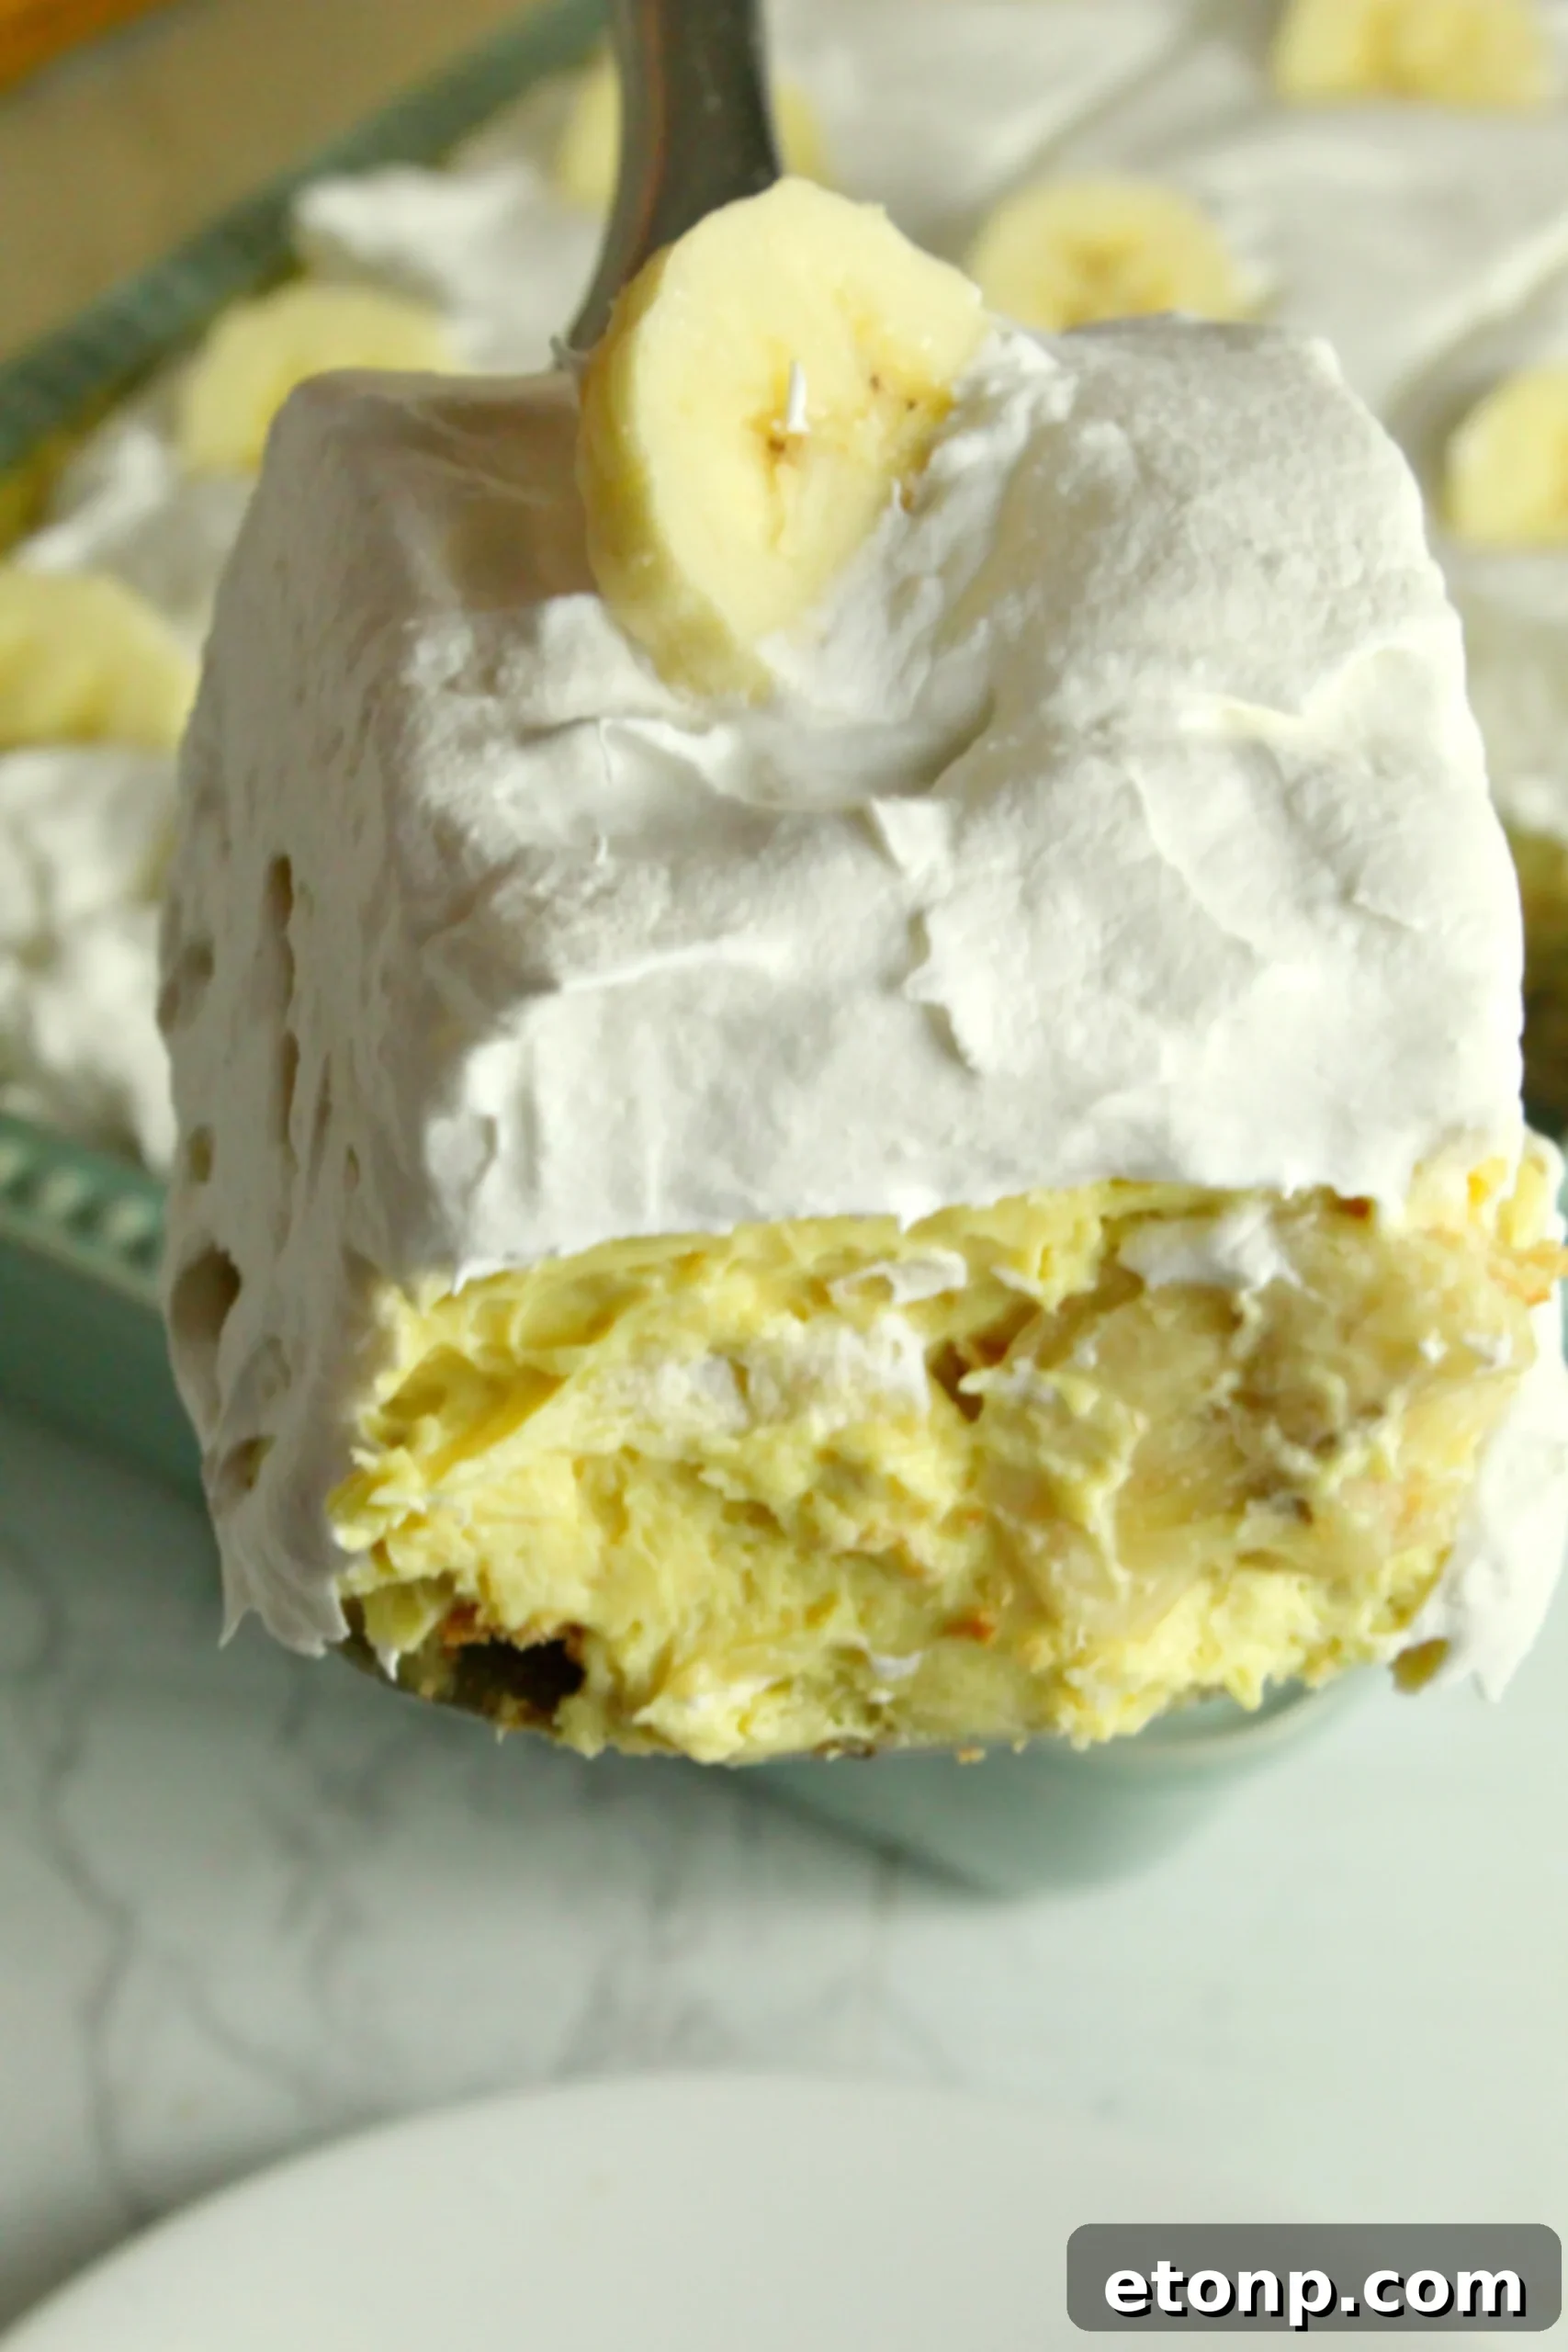
Indulge in a classic, sweet banana-flavored dessert with this incredibly easy no-bake banana pudding recipe. It’s a comforting and nostalgic treat that beautifully combines crunchy vanilla wafers with fresh, ripe bananas and a rich, creamy pudding base. Perfect for any occasion, this dessert comes together in mere minutes!
Why This Easy No-Bake Banana Pudding is a Must-Try
When you’re craving a delectable, flavorful dessert that feels homemade but requires no oven time, this Easy Banana Pudding Recipe is your ultimate solution. Far from a heavy cake or pie, this refreshing treat is surprisingly light and brimming with the natural sweetness of fresh bananas. It combines smooth milk, rich cream cheese, aromatic vanilla, and other delightful ingredients to create a truly irresistible pudding. What sets this recipe apart is its incredible simplicity and the perfectly balanced textures it offers. The gentle crunch of vanilla wafer cookies complements the soft banana slices and velvety pudding, creating a symphony of flavors and textures in every spoonful.
Once you experience the ease and superior taste of this homemade banana pudding, you’ll undoubtedly ditch store-bought versions for good. Preparing it from scratch is not only straightforward but also incredibly rewarding, ensuring a fresh, vibrant dessert that everyone will adore. This recipe is designed for maximum flavor with minimal effort, making it ideal for busy weeknights, special gatherings, or whenever a sweet craving strikes.
The Appeal of a No-Bake Dessert
No-bake desserts like this banana pudding are a dream come true for many home cooks. They eliminate the need to preheat an oven, monitor baking times, or worry about cracked crusts. This makes them perfect for summer months when you want to keep your kitchen cool, or for holidays when oven space is a precious commodity. The “no-bake” aspect doesn’t mean compromising on flavor; instead, it highlights fresh ingredients and rich, creamy textures that stand on their own. Our easy banana pudding capitalizes on this convenience, allowing you to whip up a show-stopping dessert with just a few simple steps and some chilling time.
Choosing the Perfect Vanilla Wafers for Your Pudding
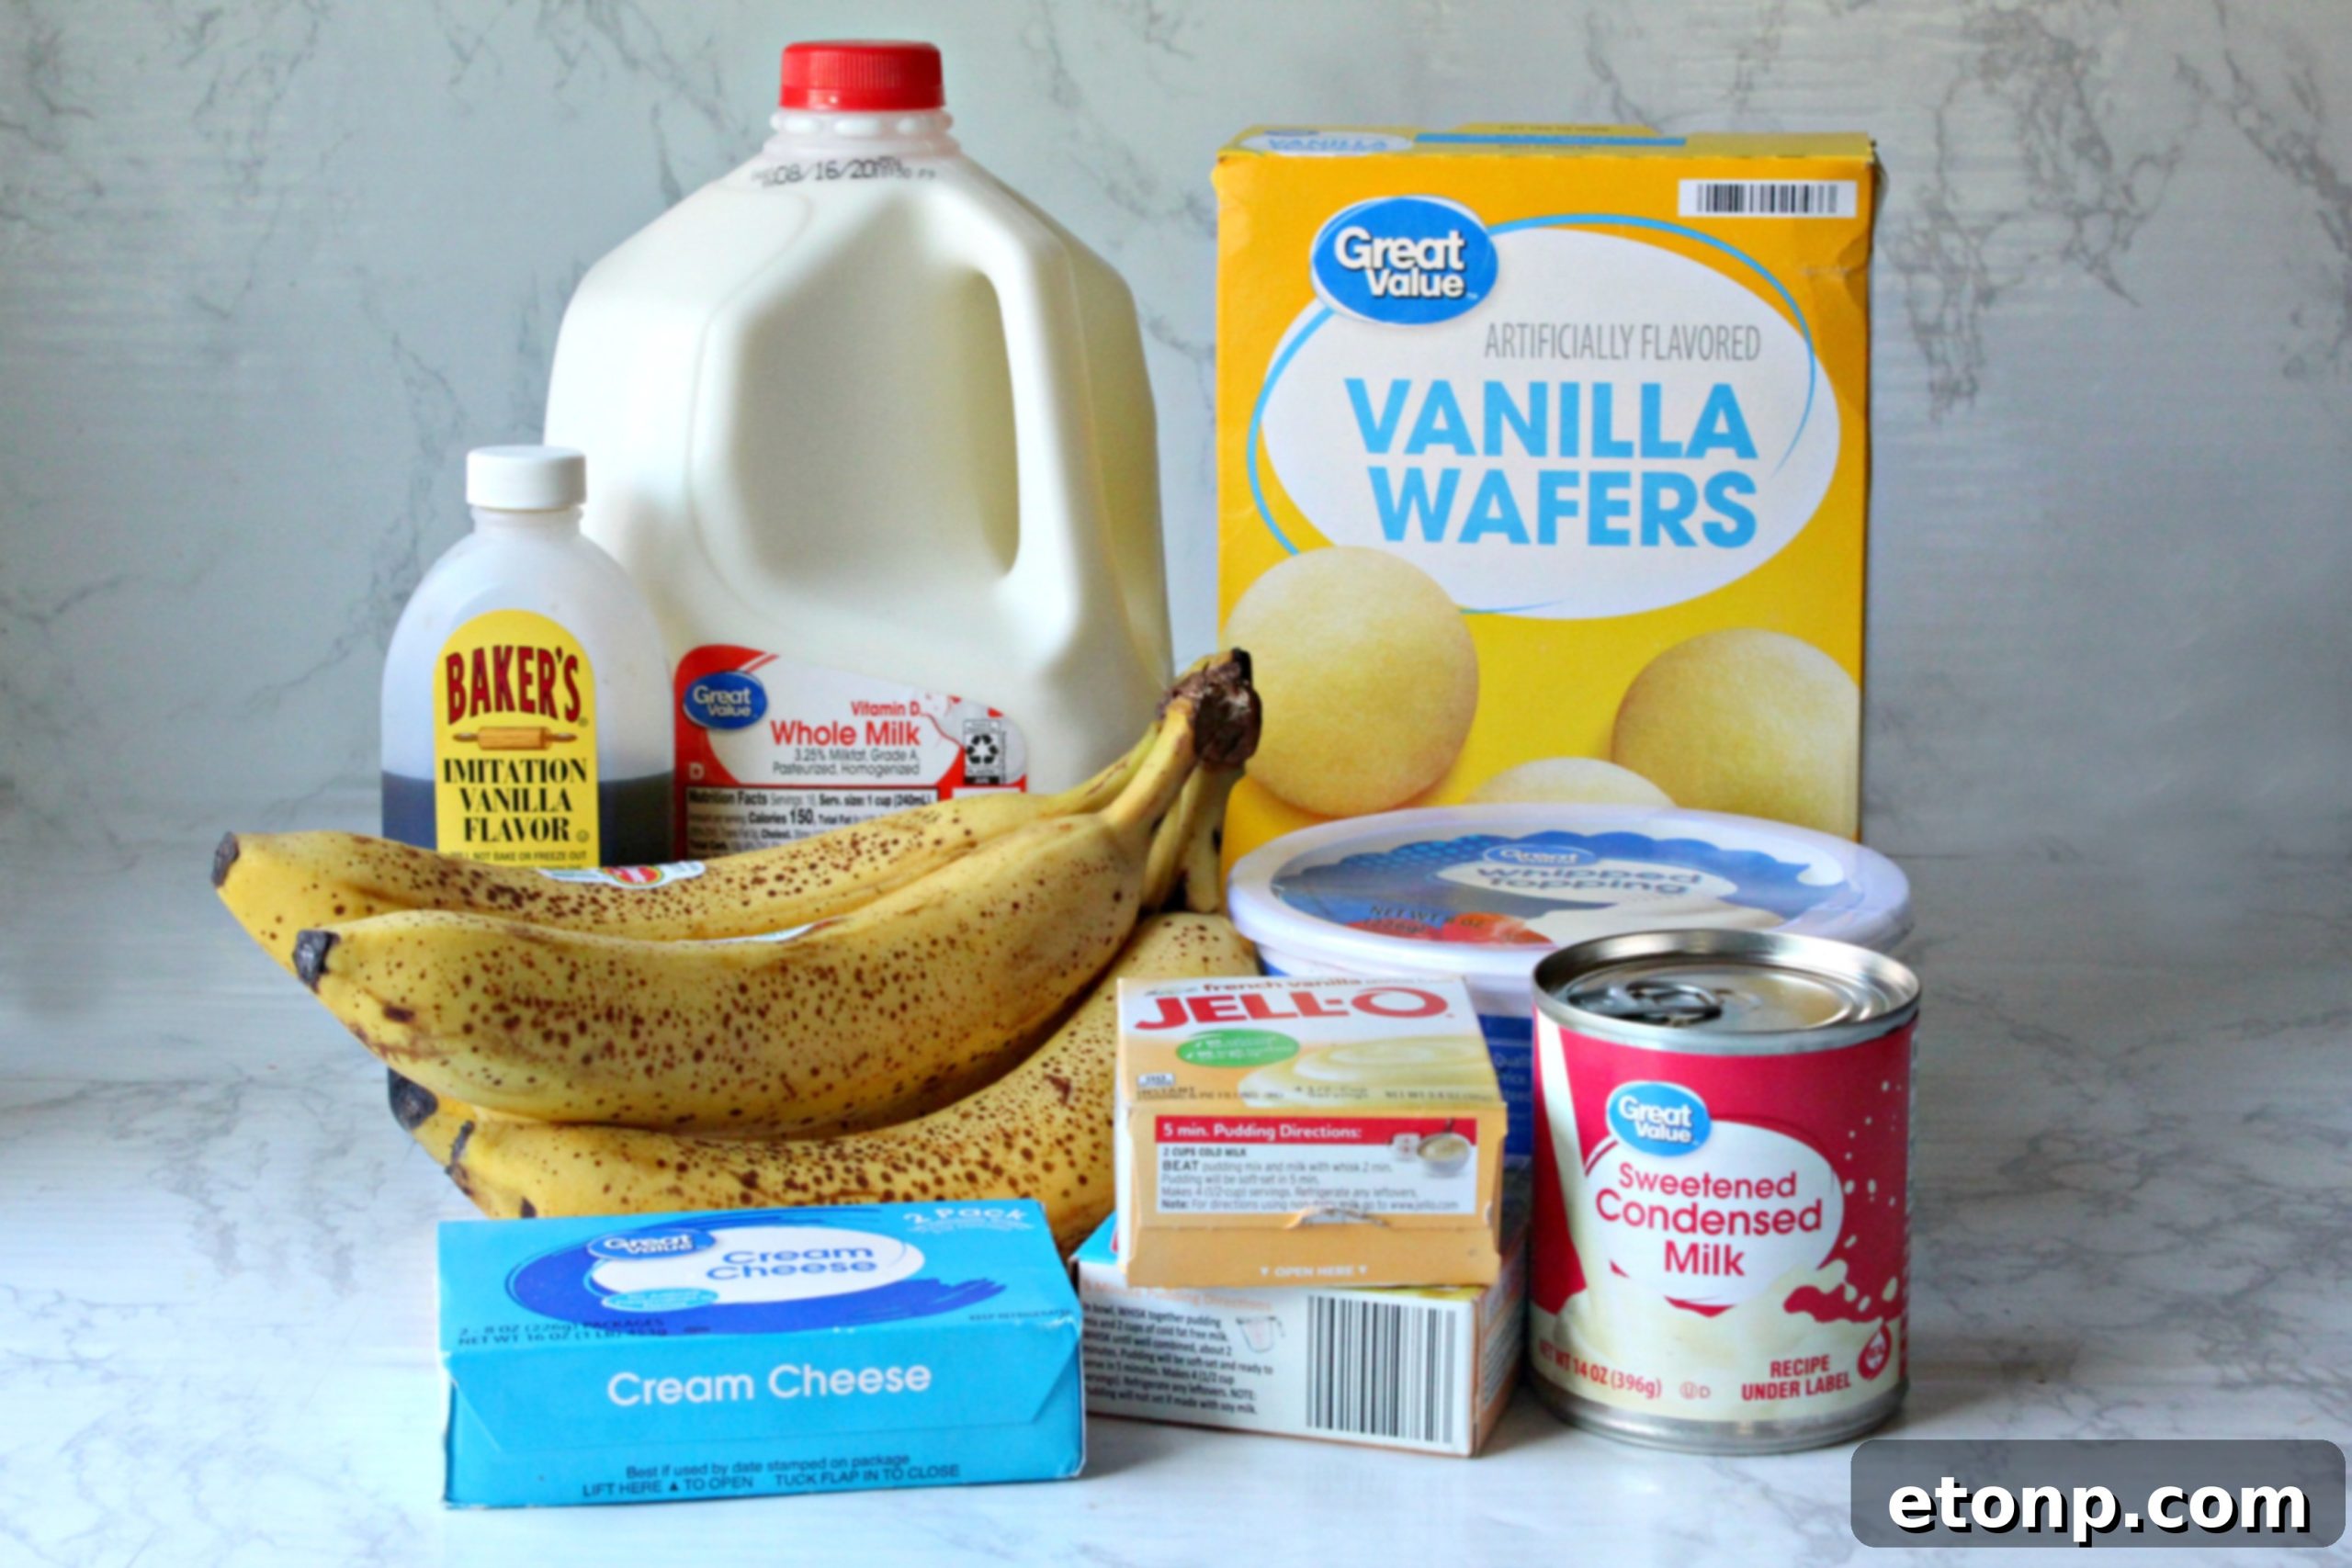
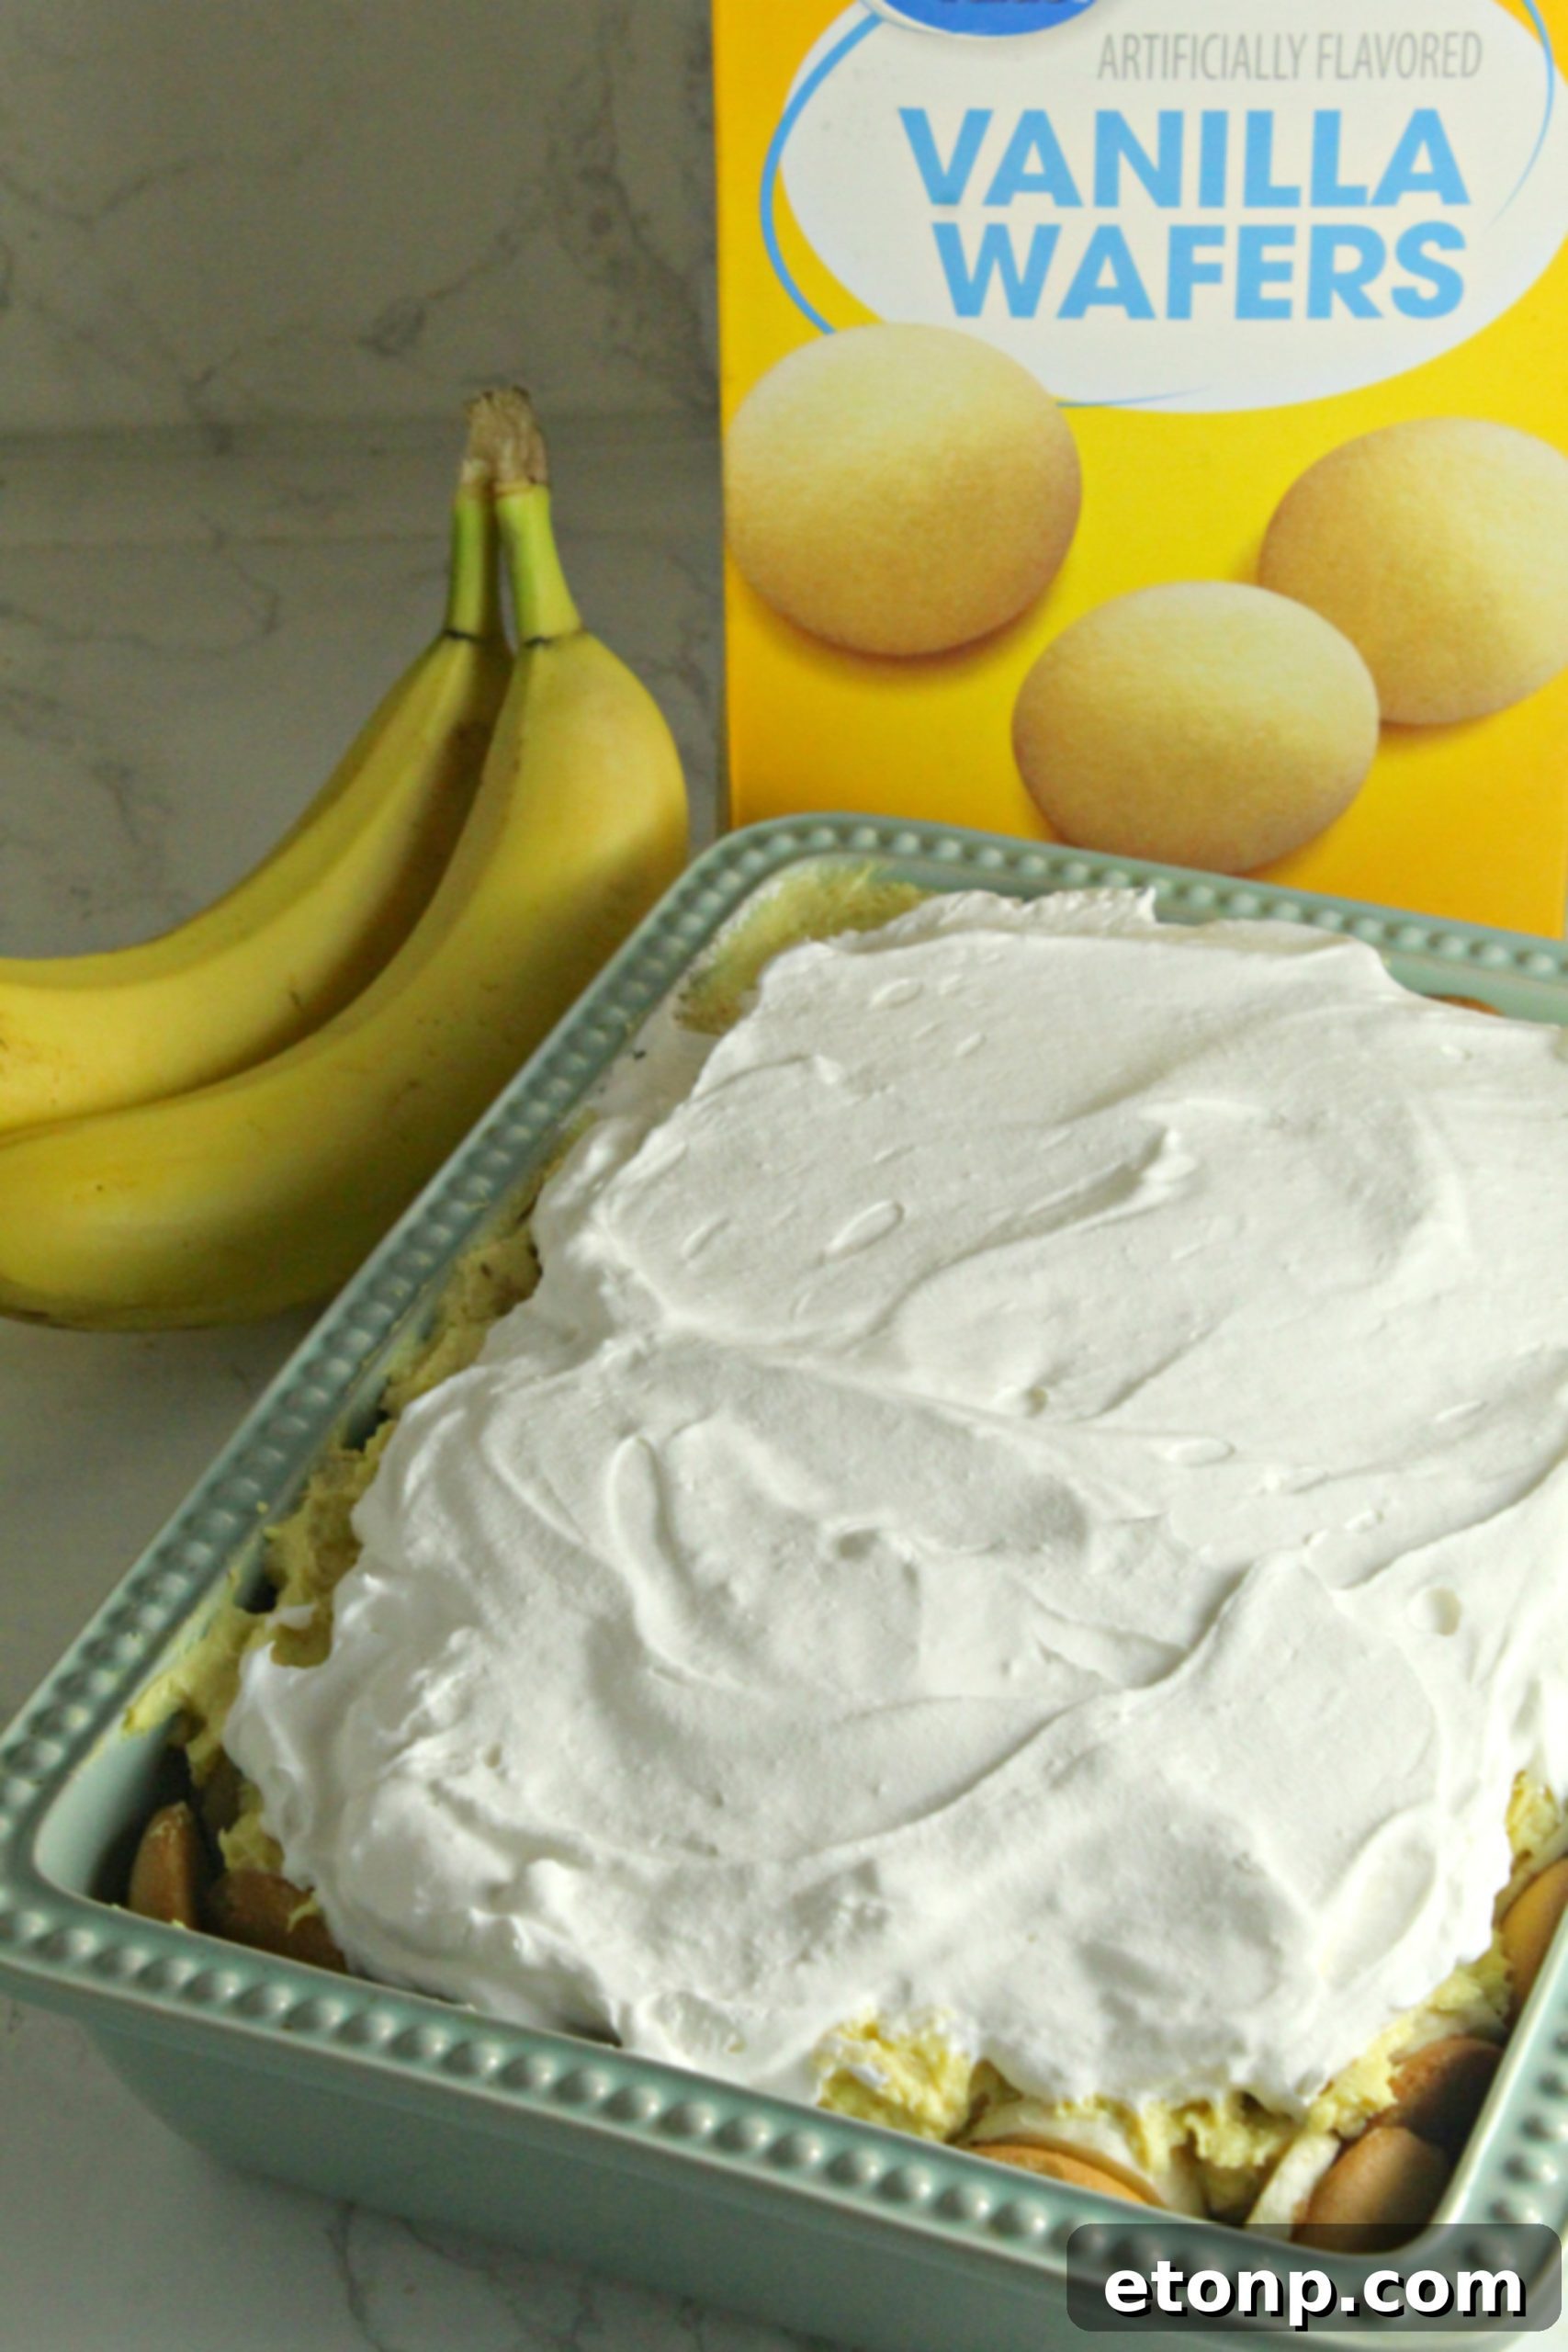
The vanilla wafer cookies are an integral part of classic banana pudding, offering a delightful texture contrast and a subtle sweetness that pairs perfectly with the bananas. While Nilla Wafers are the quintessential choice for many, you have the flexibility to use any brand of vanilla wafer cookie available to you. Most grocery stores stock their own generic or store-brand versions of these cookies, which often taste just as fantastic and can be a more budget-friendly option without sacrificing quality or flavor. Look for crisp, lightly sweet wafers that will soften slightly as they absorb the creamy pudding, creating a melt-in-your-mouth experience.
For an extra touch, some enthusiasts even experiment with different cookie varieties, though vanilla wafers remain the gold standard for authentic banana pudding flavor and texture. Feel free to use what you love, ensuring your easy banana pudding truly reflects your taste.
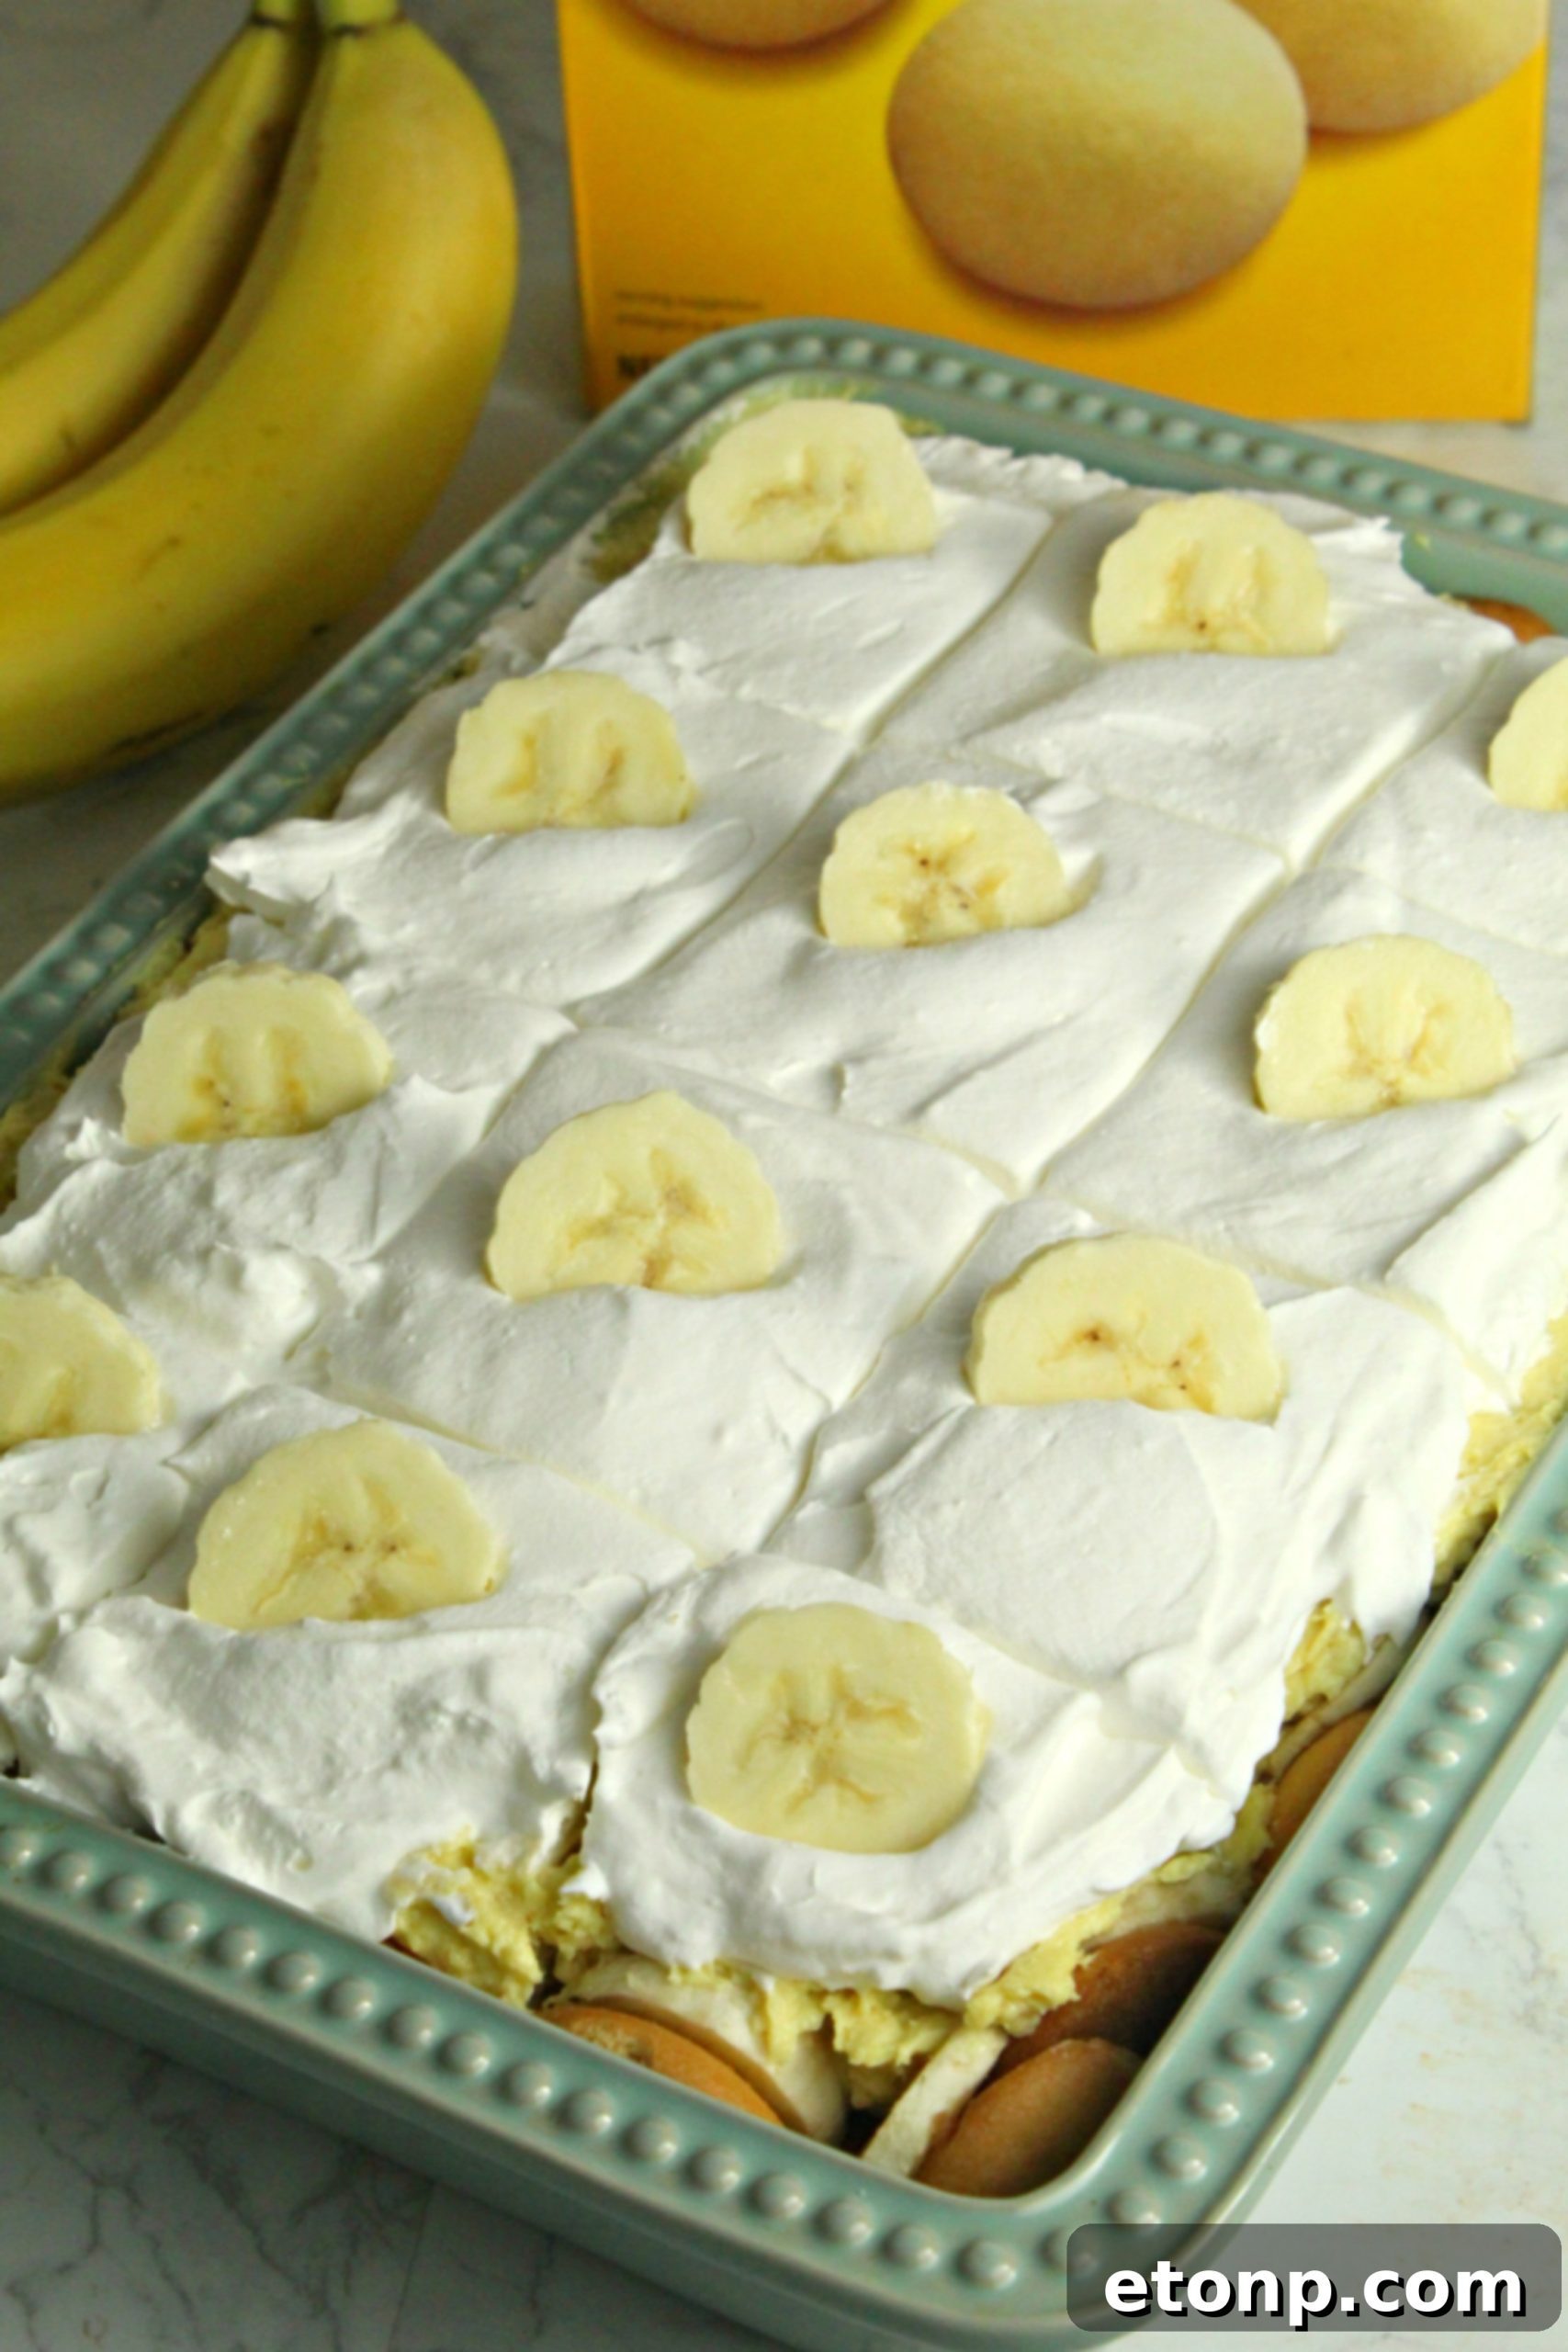
Sweetened Condensed Milk: A Key Ingredient and a Homemade Alternative
Sweetened condensed milk is a powerhouse ingredient in this no-bake banana pudding, contributing significant sweetness and a rich, creamy consistency that is hard to replicate. Its thickness helps bind the pudding together, giving it that luxurious, velvety texture we all love. If you find yourself without a can of sweetened condensed milk, don’t fret! You might already have the necessary ingredients in your pantry to make a homemade version. To prepare sweetened condensed milk from scratch, you’ll typically need whole milk, salted butter, vanilla extract, and maple syrup. While it requires a bit more time on the stovetop, this homemade substitute works wonderfully and ensures you can still enjoy your delicious banana pudding without an extra trip to the store.
This flexibility makes our easy banana pudding recipe even more accessible, allowing you to create this delightful dessert even with limited ingredients on hand. The richness it imparts is truly irreplaceable in achieving that authentic banana pudding taste.
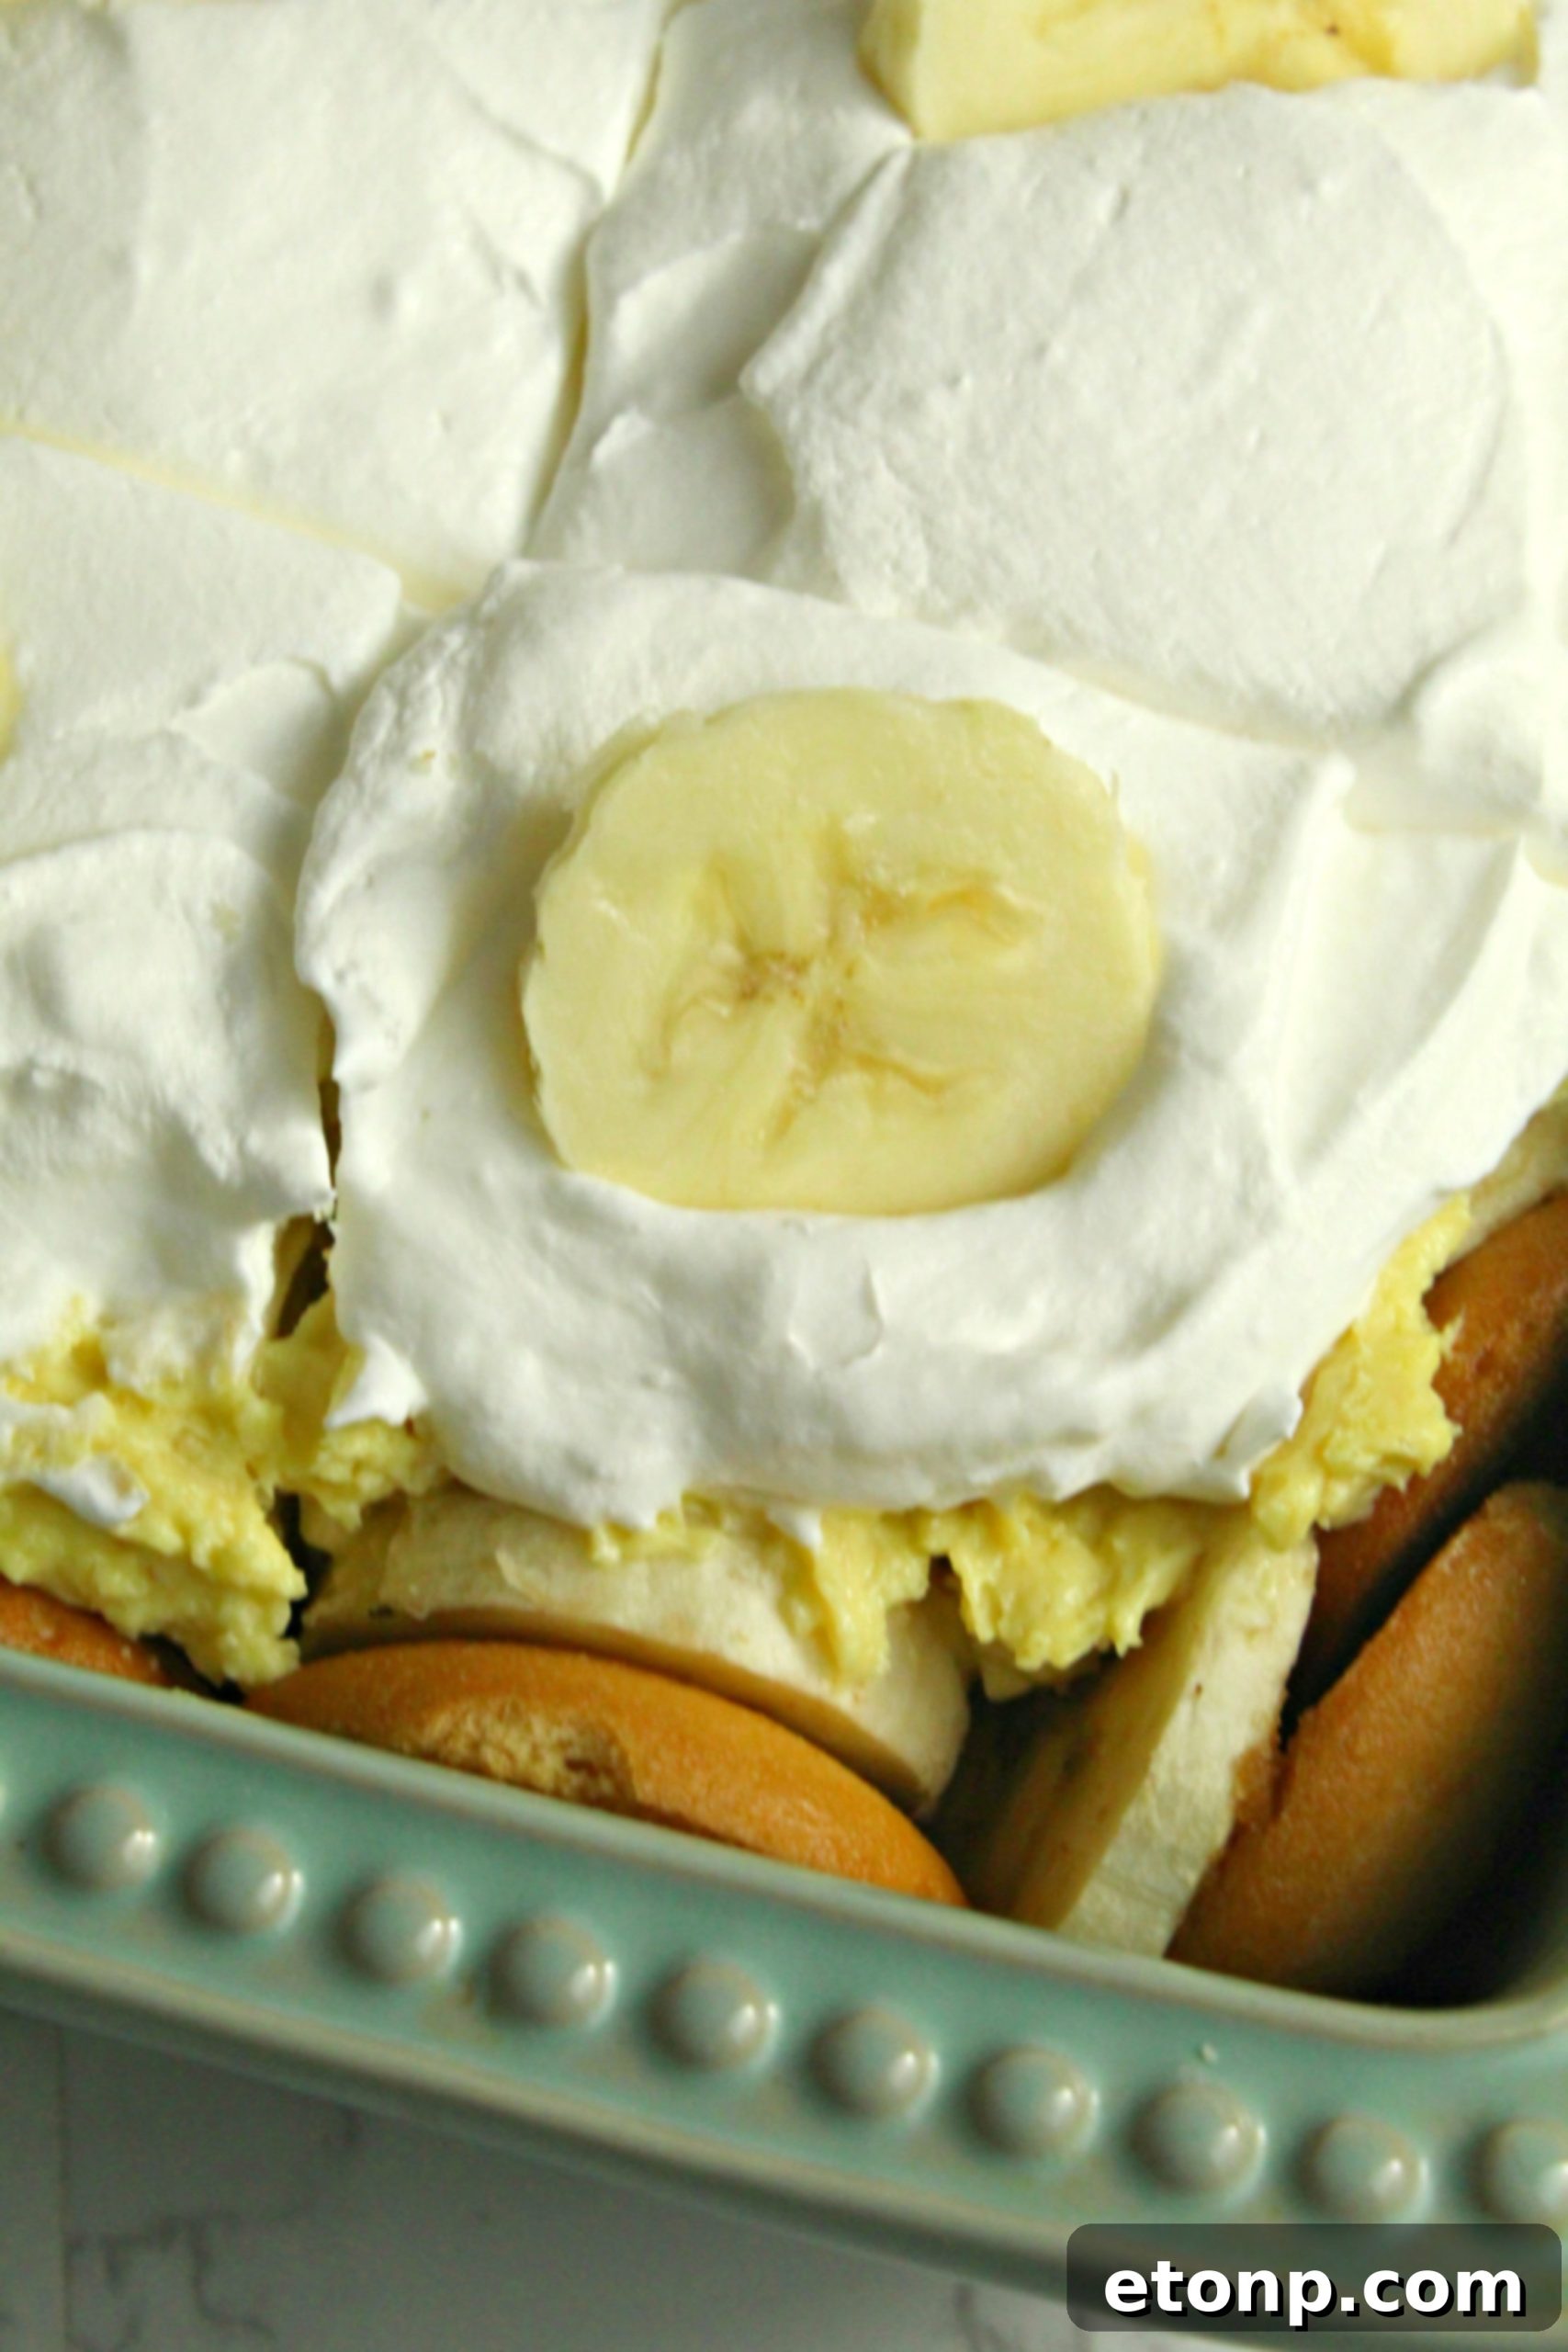
Choosing Your Instant Pudding Mix
The instant pudding mix is a vital component for the speed and simplicity of this no-bake recipe. It provides the thick, creamy base with minimal effort. While the Jell-O brand of instant vanilla pudding is a popular and widely recognized choice, feel free to use any brand of instant pudding that you have readily available. There’s absolutely nothing wrong with opting for a generic or store-brand version for this recipe! They typically deliver the same great flavor and thickening properties, making your easy banana pudding just as delicious. You can choose vanilla pudding for a classic taste, or even a banana-flavored instant pudding if you want to intensify the banana profile even further. The convenience of instant pudding is a cornerstone of this quick and simple dessert.
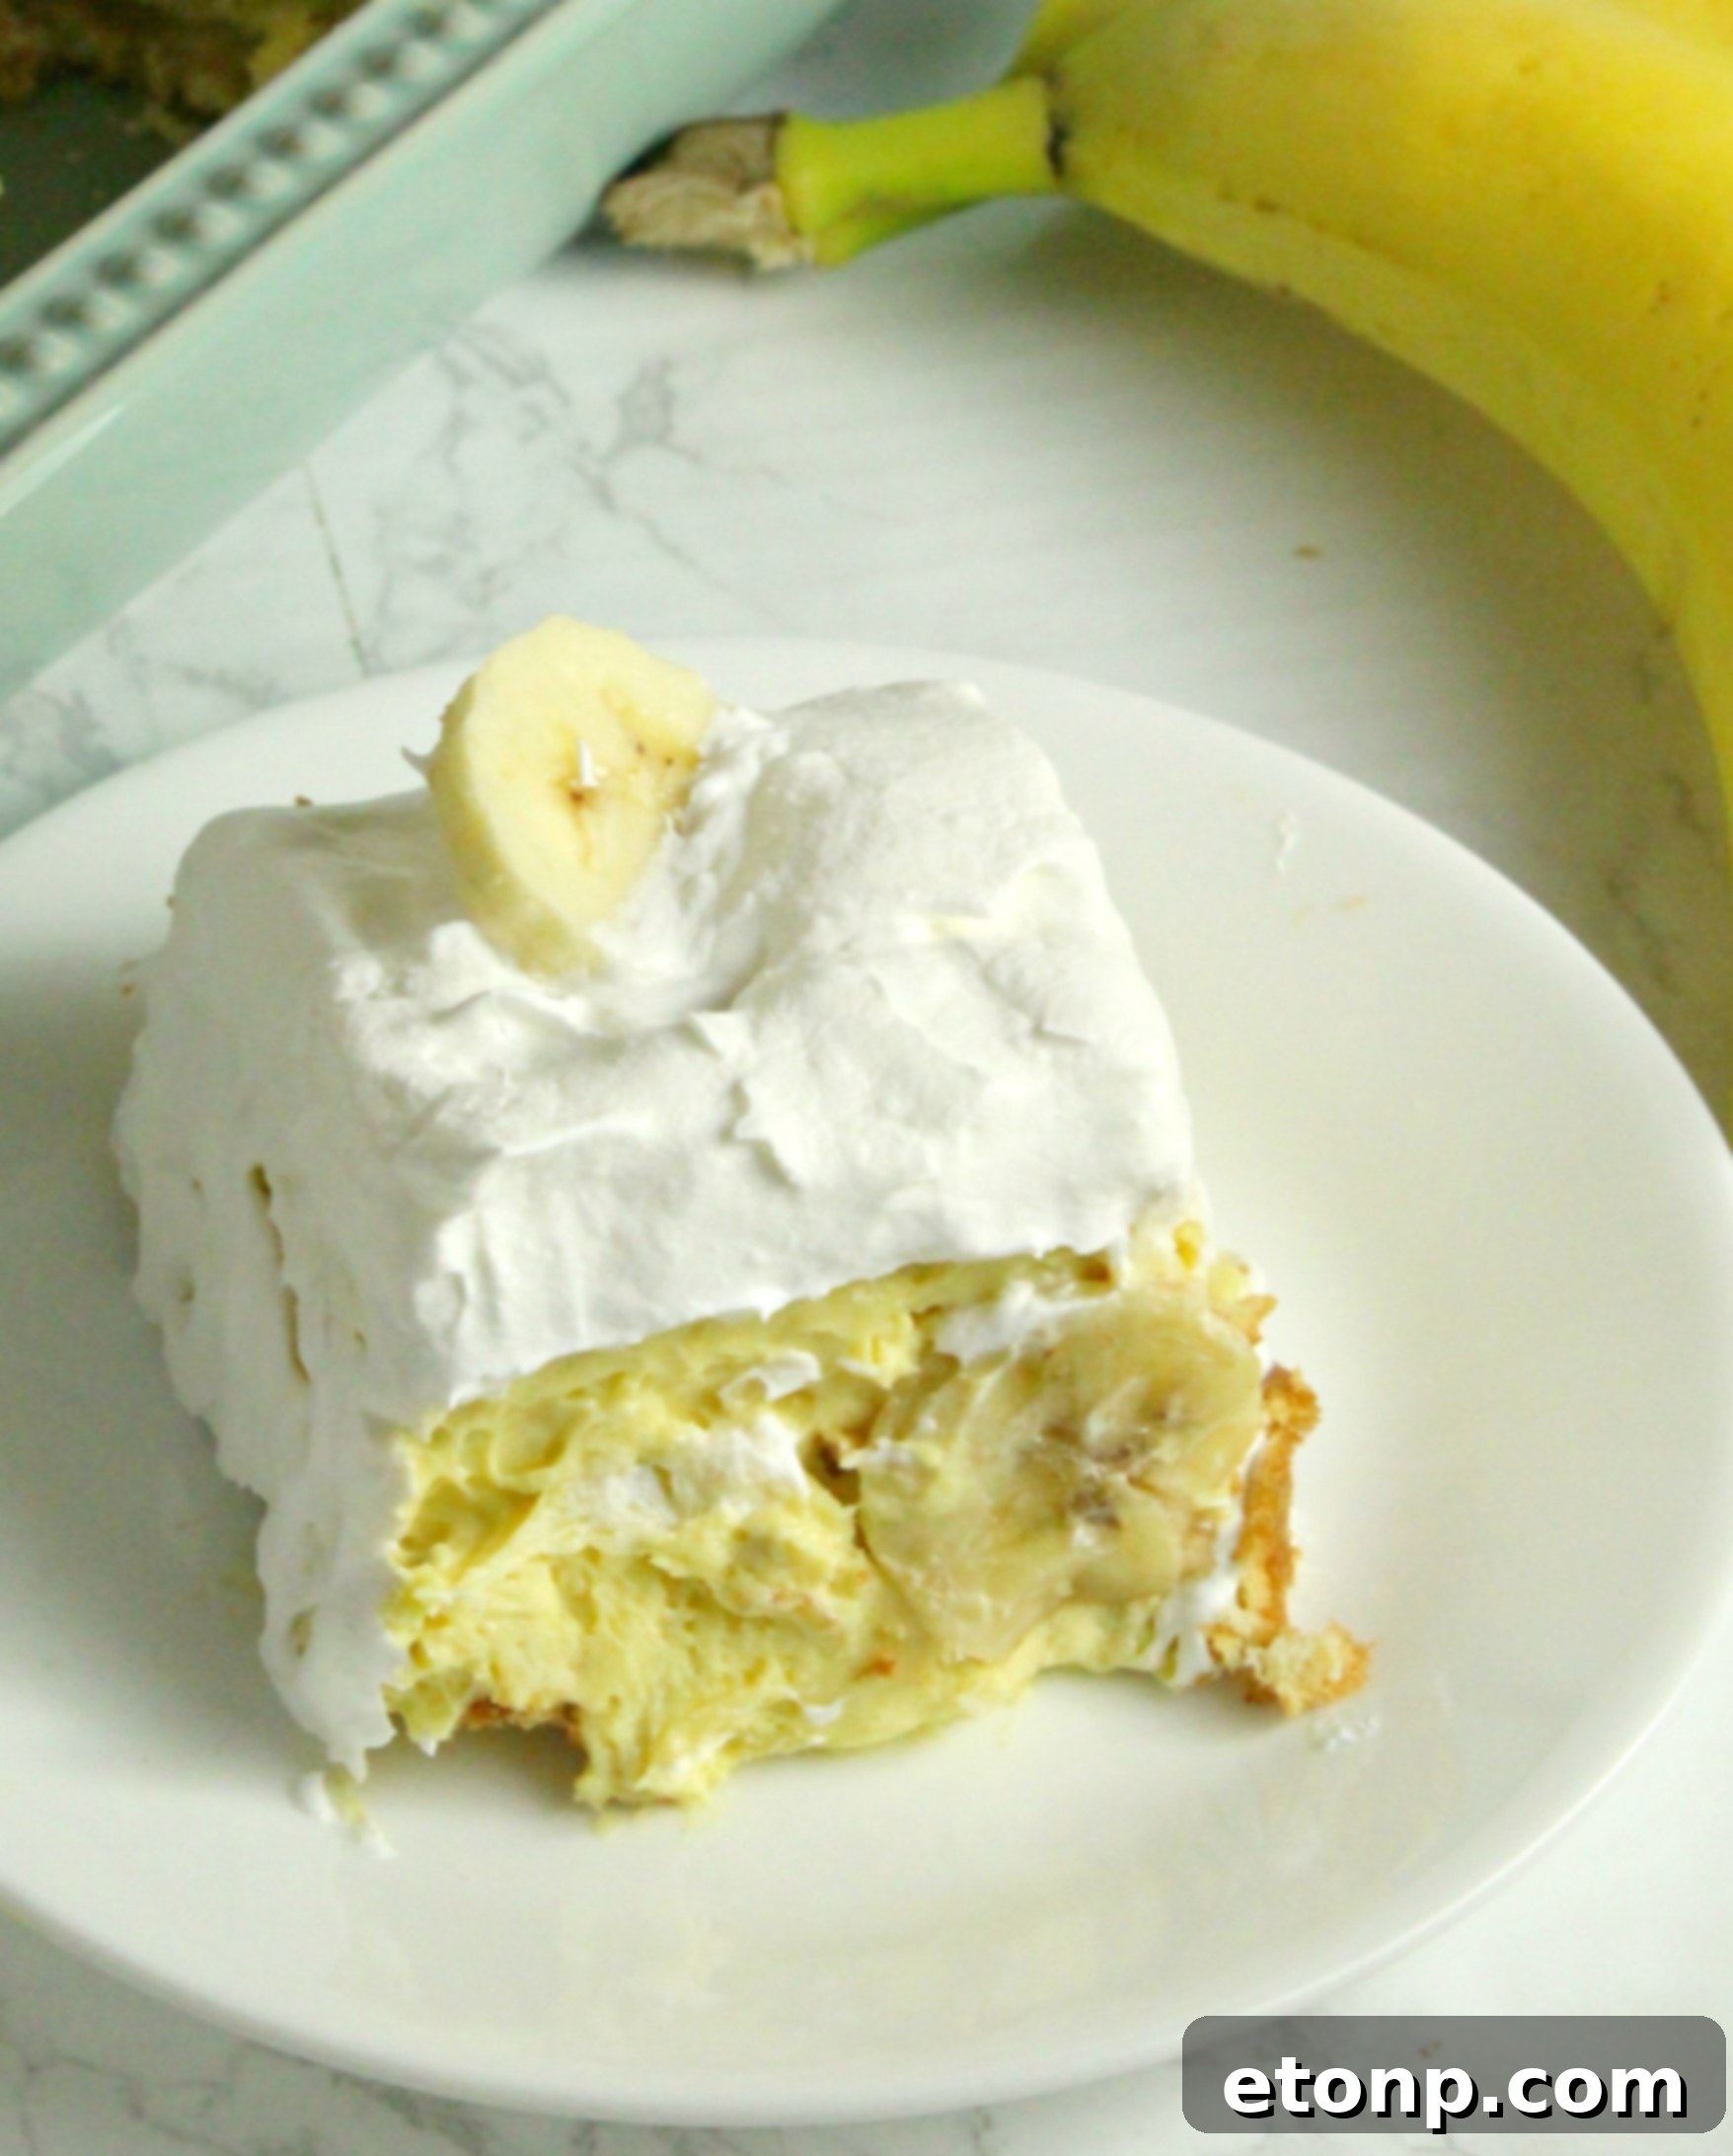
Homemade vs. Store-Bought Whipped Topping
The whipped topping provides a light, airy finish to your banana pudding, adding another layer of creamy texture and subtle sweetness. You have the flexibility to use either a convenient store-bought whipped topping, such as Cool Whip, or to create a homemade whipped topping from scratch. If you opt for the homemade route, you’ll need just a few basic ingredients: heavy whipping cream, powdered sugar, and a touch of vanilla extract. Homemade whipped cream offers a fresher, richer flavor that many prefer, while store-bought options provide unparalleled convenience. Both will yield excellent results, so choose the option that best suits your time and preferences. Using fresh, cold ingredients for homemade whipped topping ensures it whips up beautifully and holds its shape.
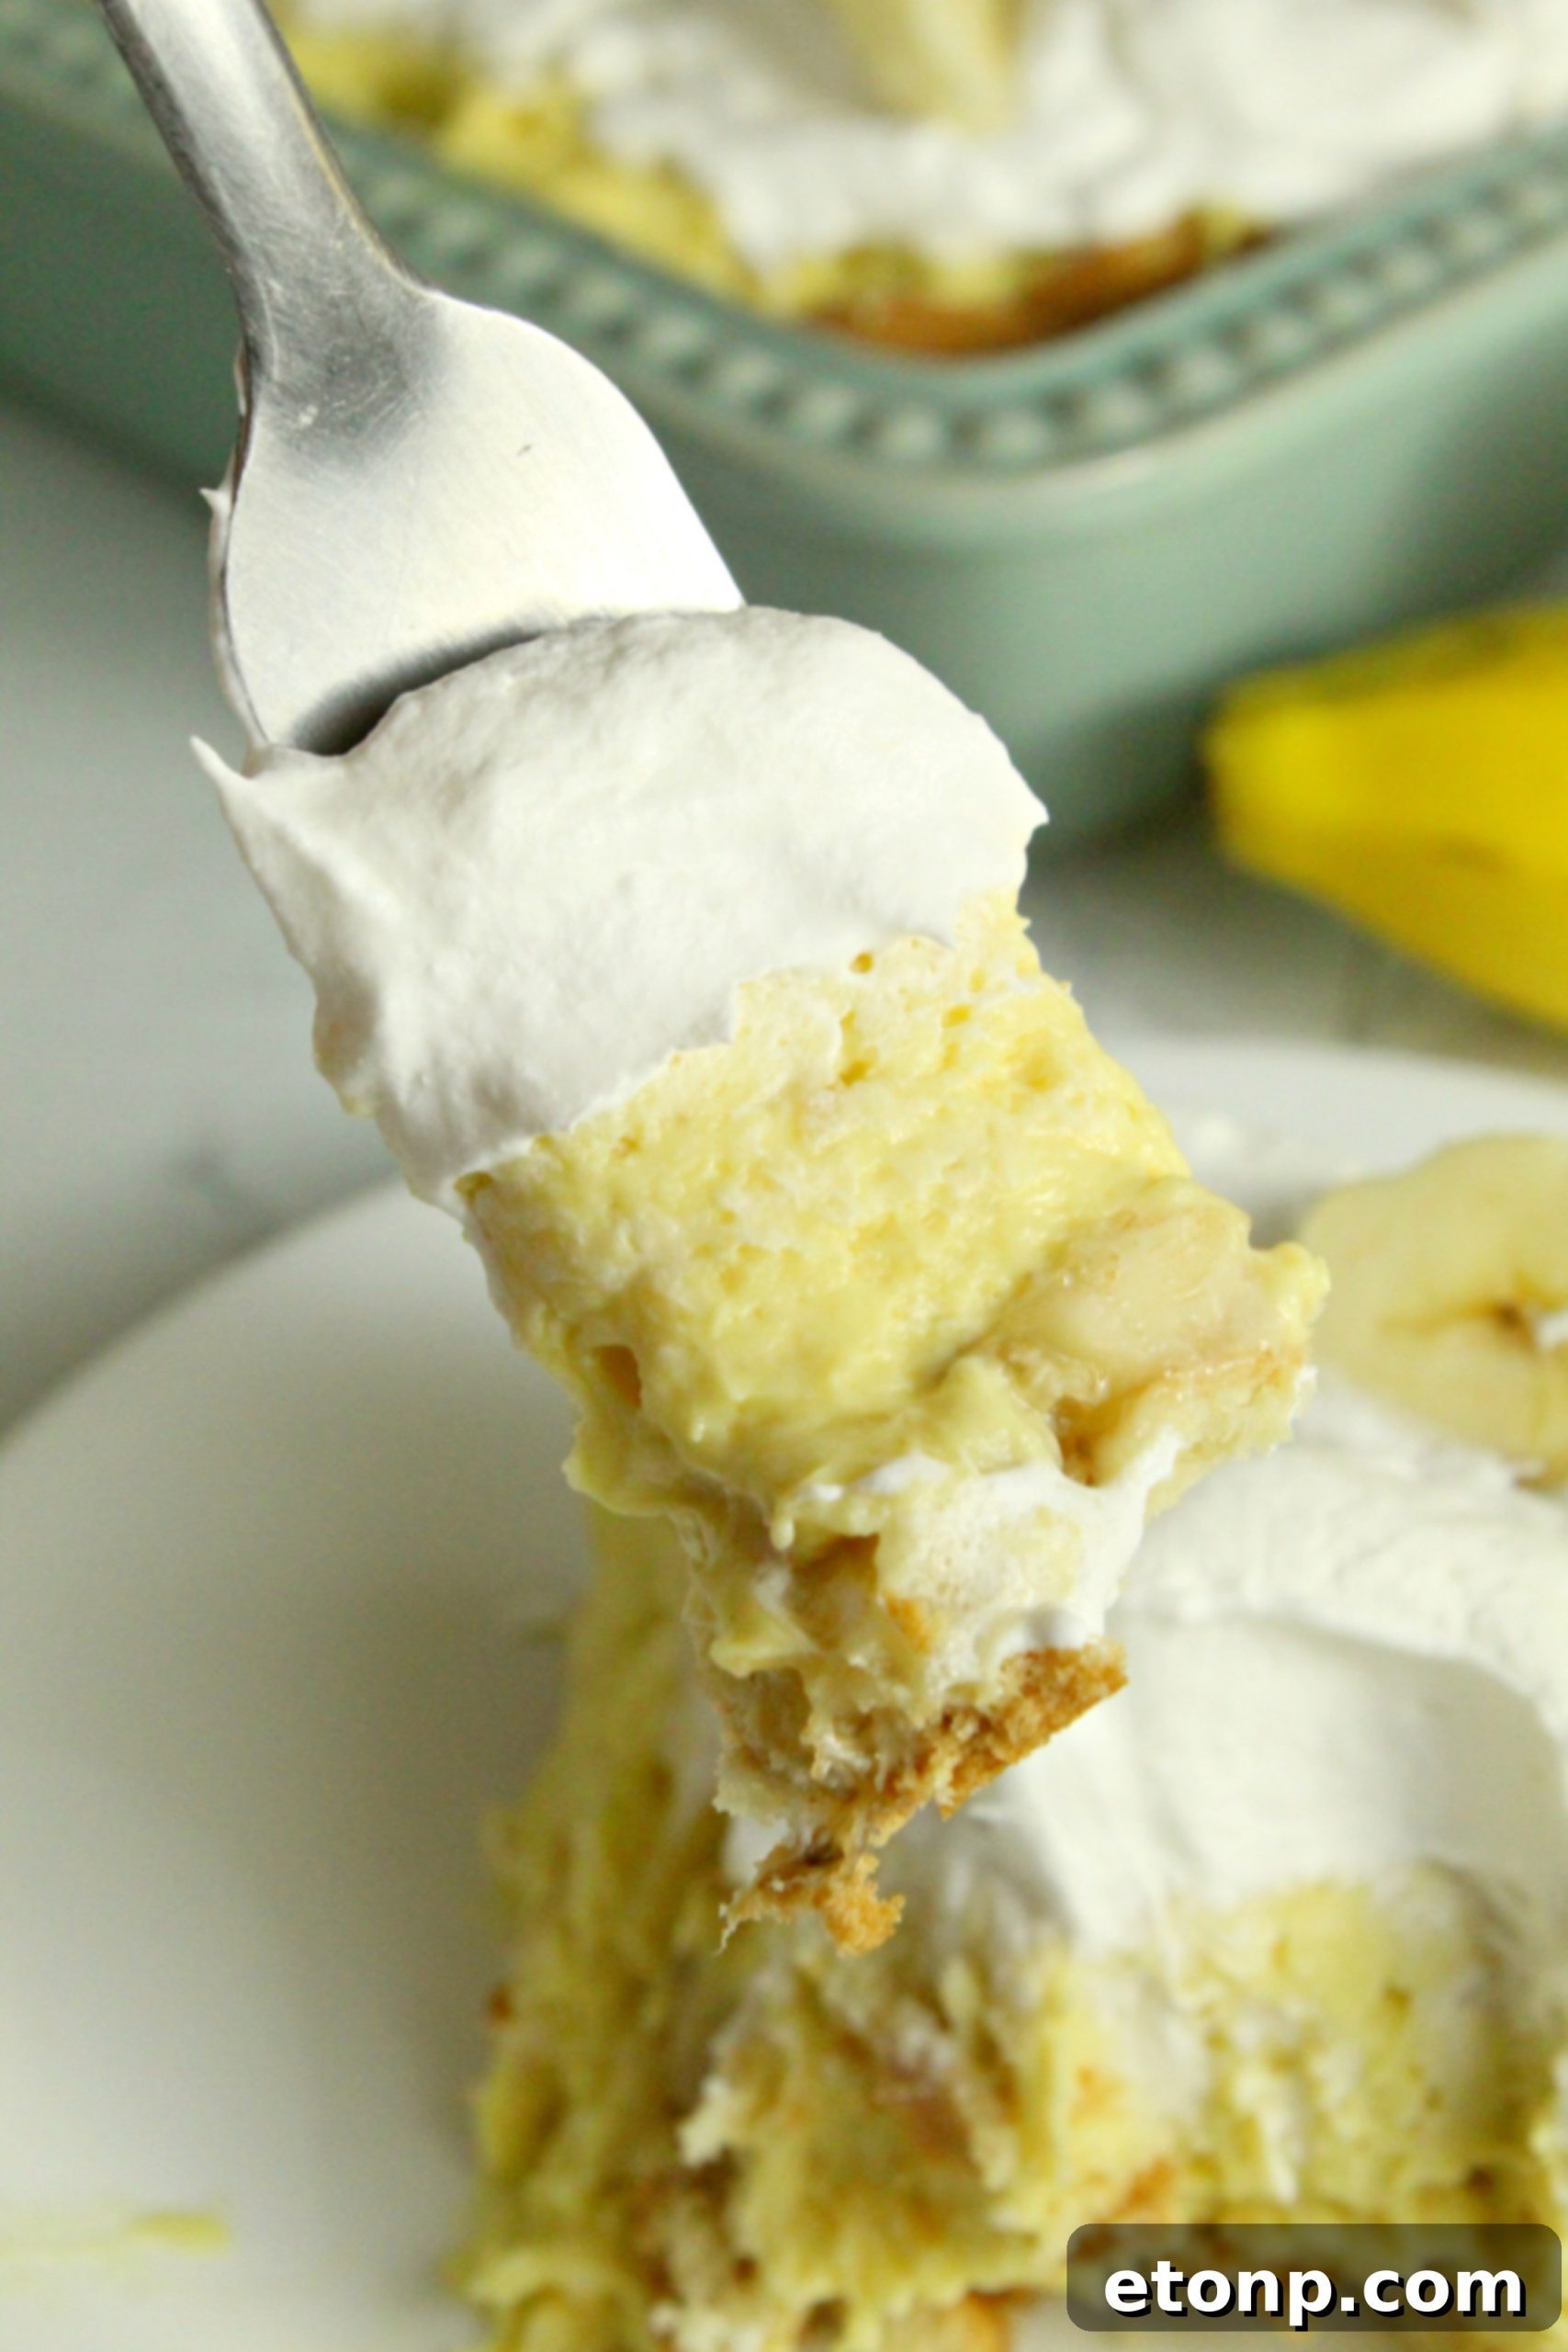
Optimal Chilling Time for Perfect Banana Pudding
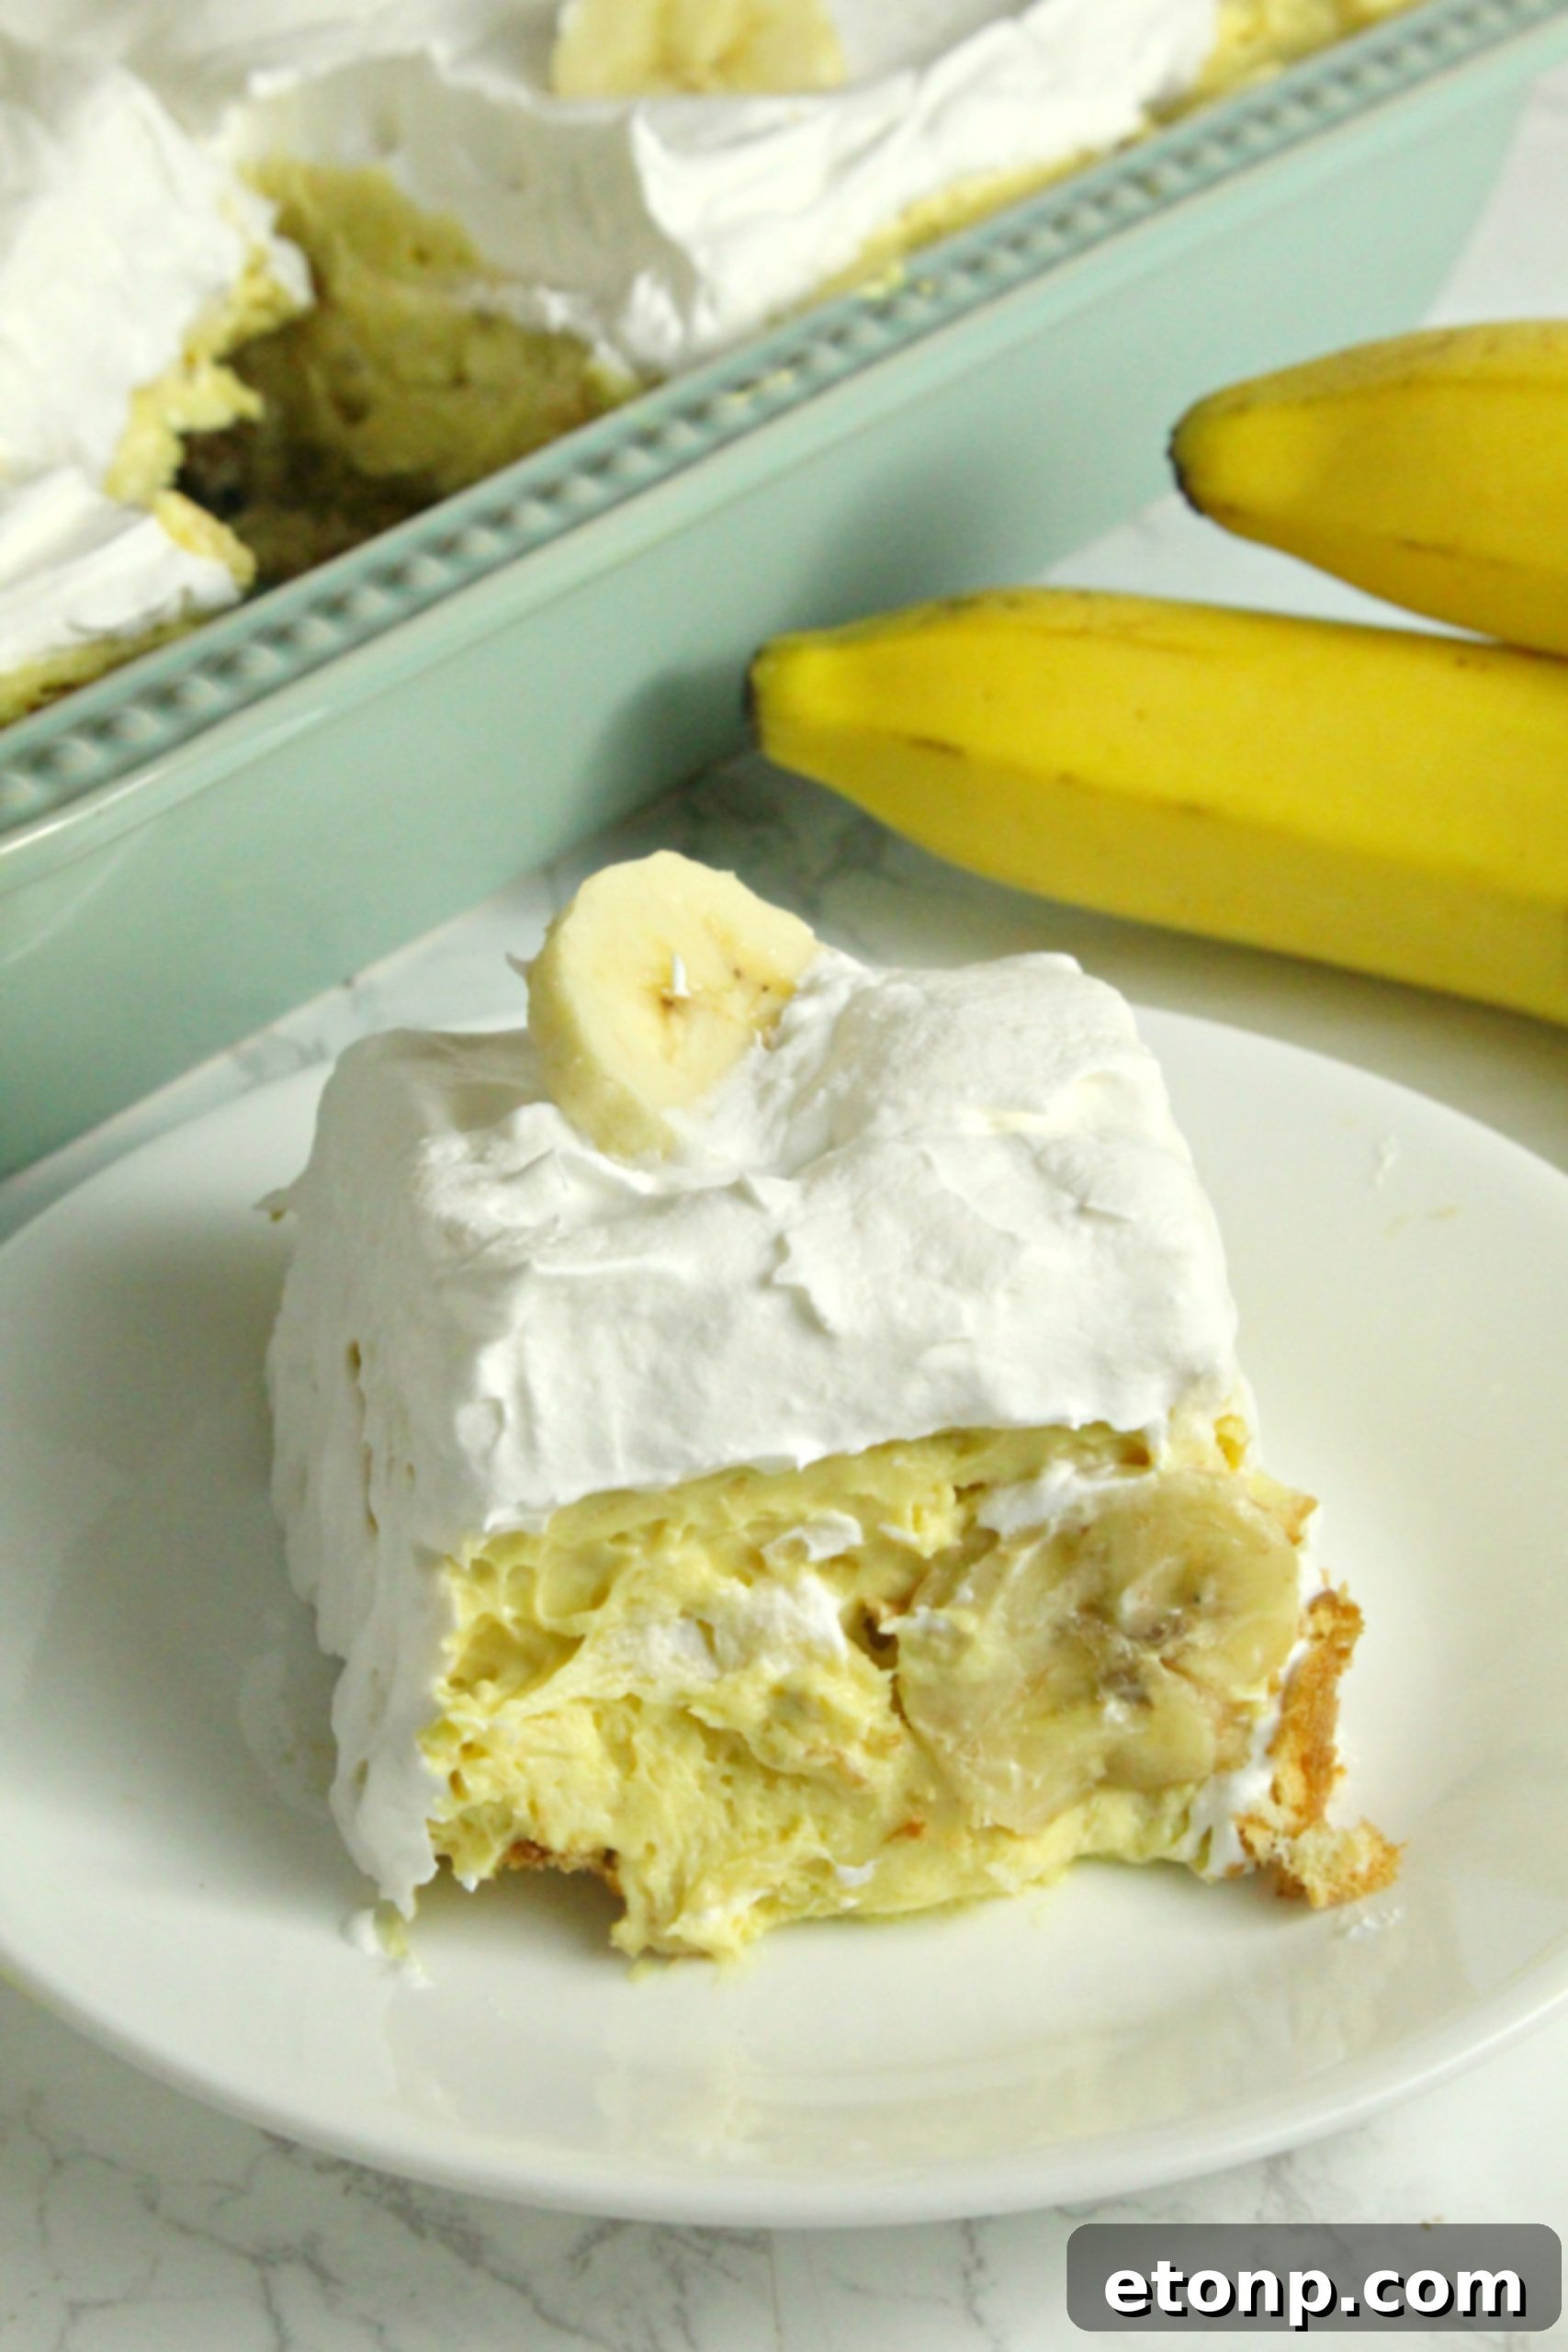
After assembling your Easy Banana Pudding, patience is key to achieving the best possible taste and texture. It needs time to set and for the flavors to meld beautifully. Allow it to chill in the refrigerator for a minimum of four hours. This essential chilling period allows the pudding to thicken properly and the vanilla wafers to soften slightly, absorbing the rich flavors of the banana and cream mixture. For an truly exceptional experience, this dessert tastes absolutely best when it has had ample time to get thoroughly cold. If your schedule permits, aim for eight or more hours of refrigeration, or even better, prepare it the night before and let it chill overnight. The flavors will deepen, and the textures will reach their optimal balance, creating a truly irresistible dessert.
Proper Storage for Freshness
To keep your delicious no-bake banana pudding fresh and delightful, proper storage is crucial. Once prepared and chilled, transfer any leftovers into a food storage container with a tight-fitting lid. It is essential to keep the pudding cold in the refrigerator to maintain its freshness and prevent spoilage. If you are preparing this classic dessert for guests or a potluck, individual servings can be placed into smaller plastic containers and covered with a plastic lid, aluminum foil, or plastic wrap. This ensures easy transport and serving, keeping each portion fresh until it’s ready to be enjoyed. Always store your banana pudding promptly after serving to maximize its shelf life.
Can You Freeze Banana Pudding?
Yes, you can absolutely freeze this Easy Banana Pudding to extend its freshness for longer periods, making it a fantastic make-ahead dessert. To freeze, transfer the prepared pudding into a freezer-safe food storage container. For best results, cover the surface of the pudding directly with plastic wrap before securing an airtight lid on top. This prevents freezer burn and helps maintain the pudding’s creamy texture. You can preserve your banana pudding in the freezer for up to three months. When you’re ready to enjoy it, simply transfer the container to the refrigerator and allow it to thaw slowly overnight. This gradual thawing ensures the pudding retains its smooth consistency and delicious flavor, making it just as good as fresh.
The Art of Adding Bananas to Your Pudding
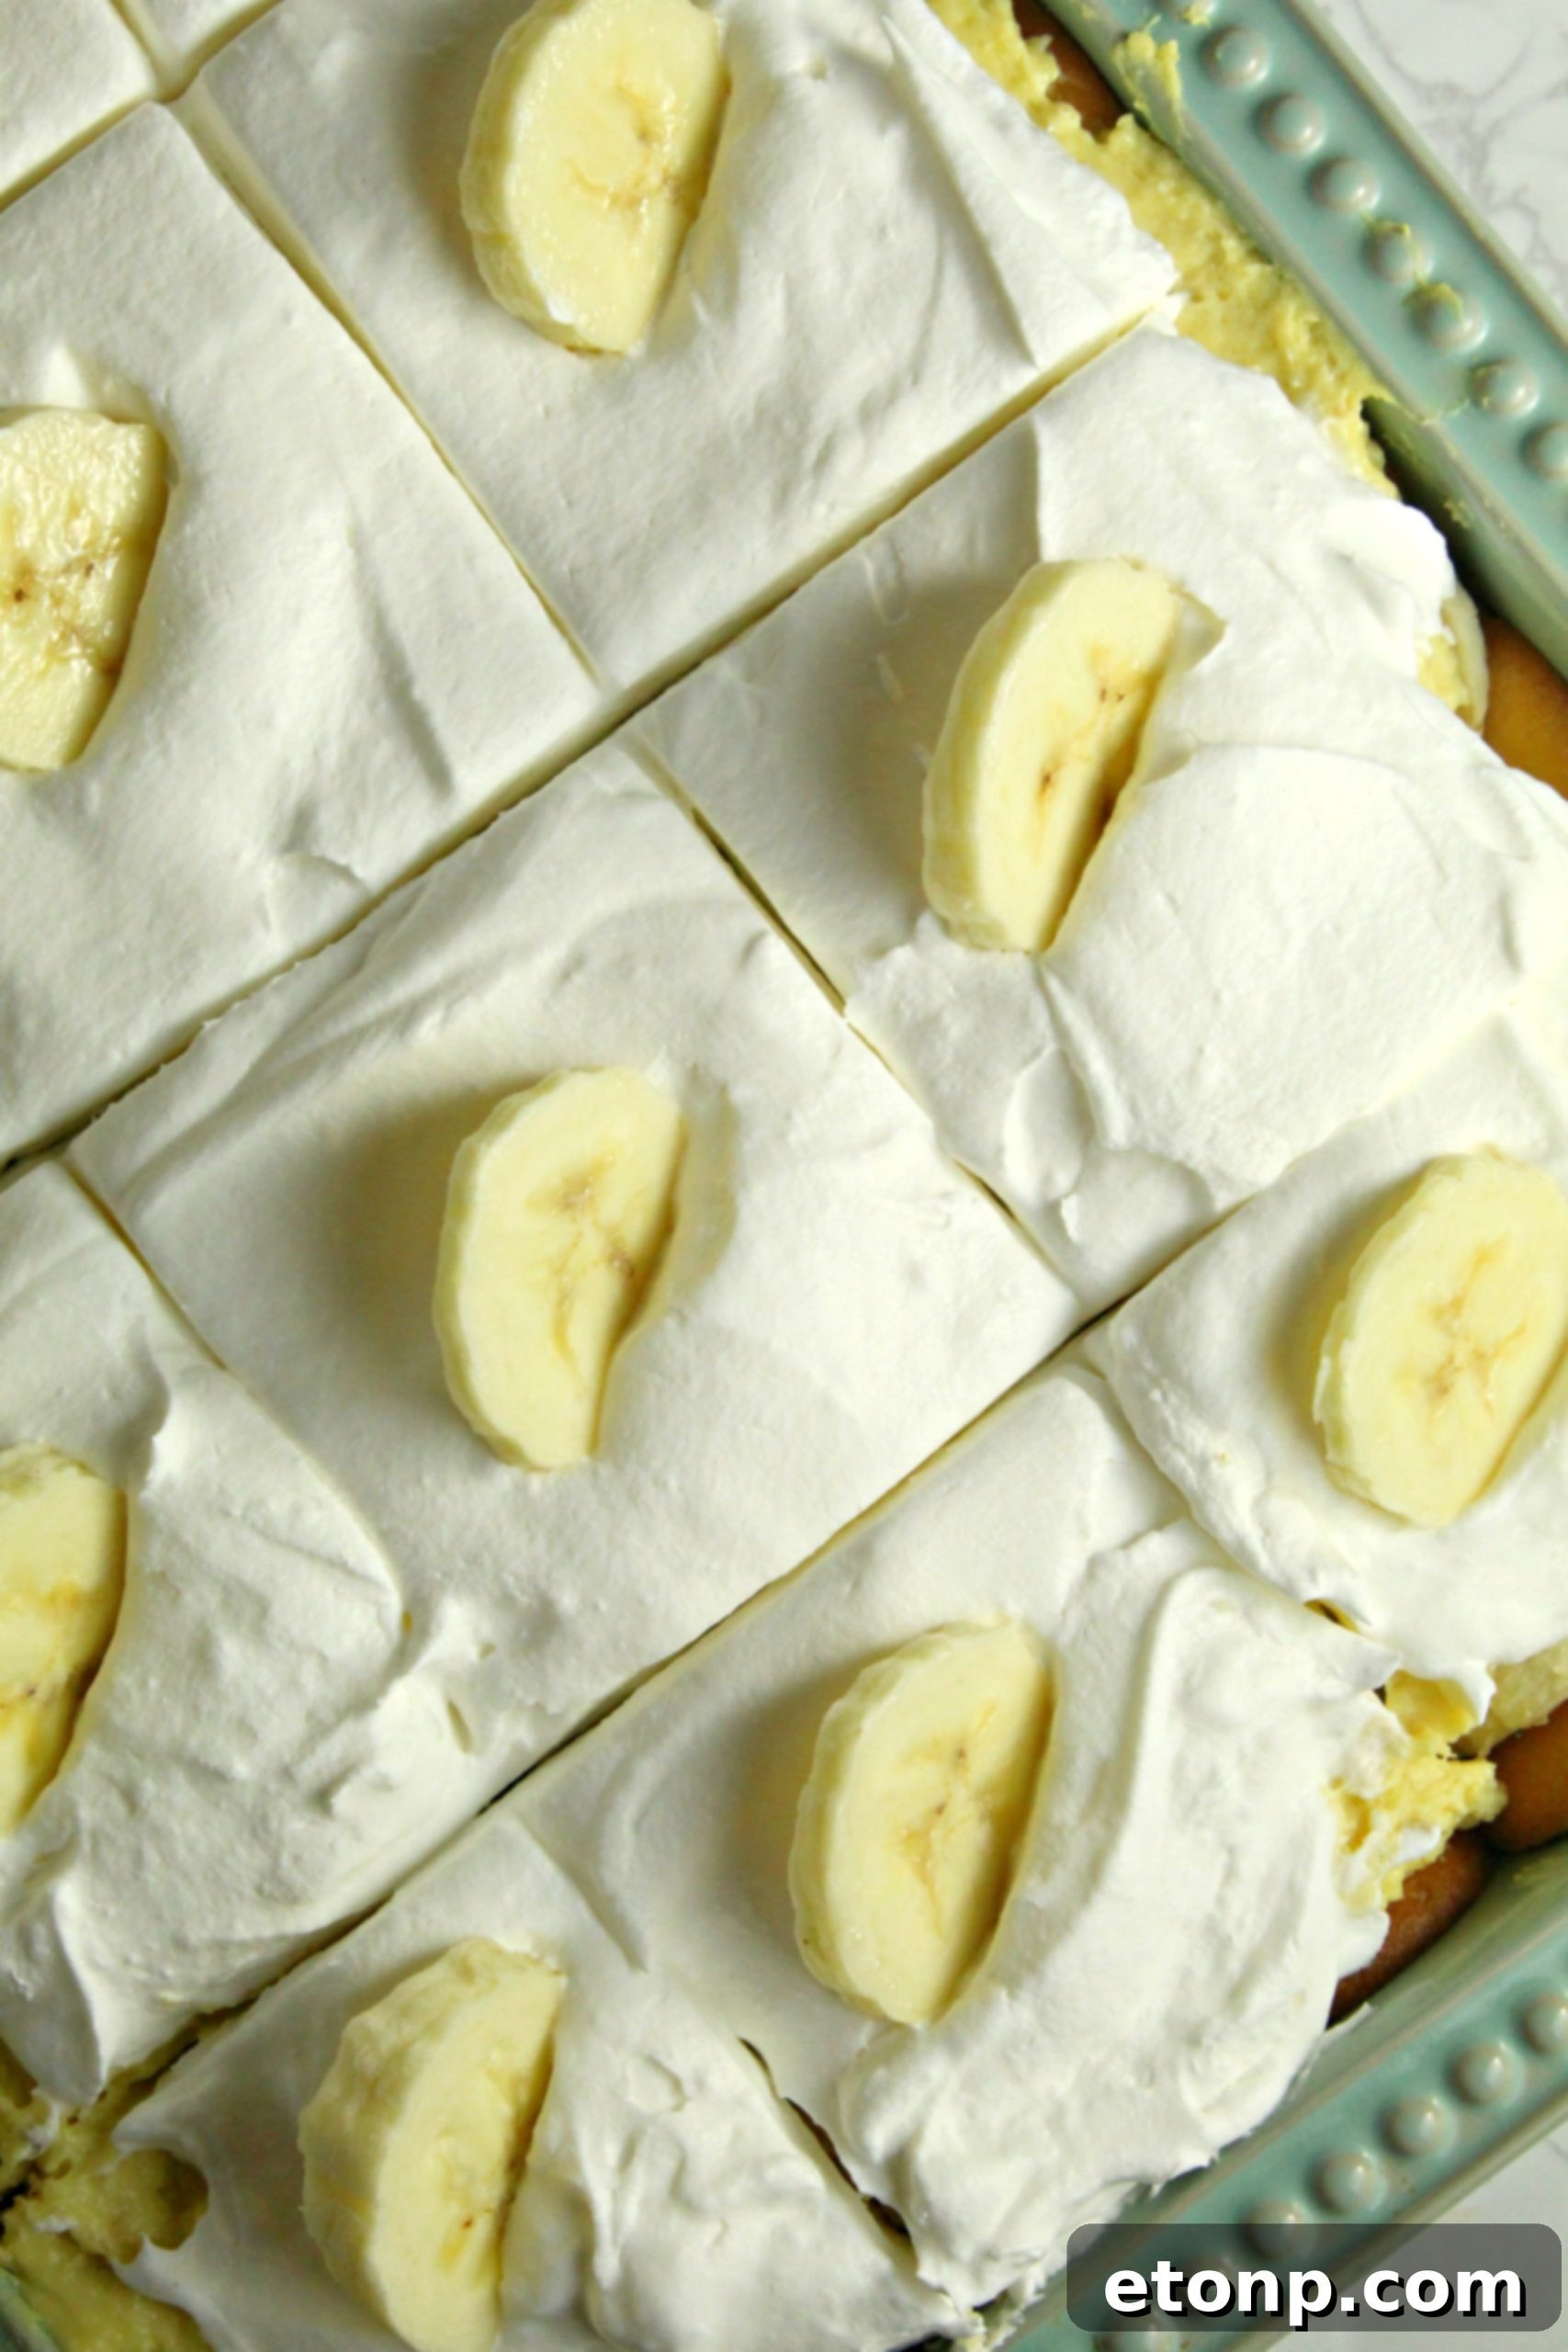
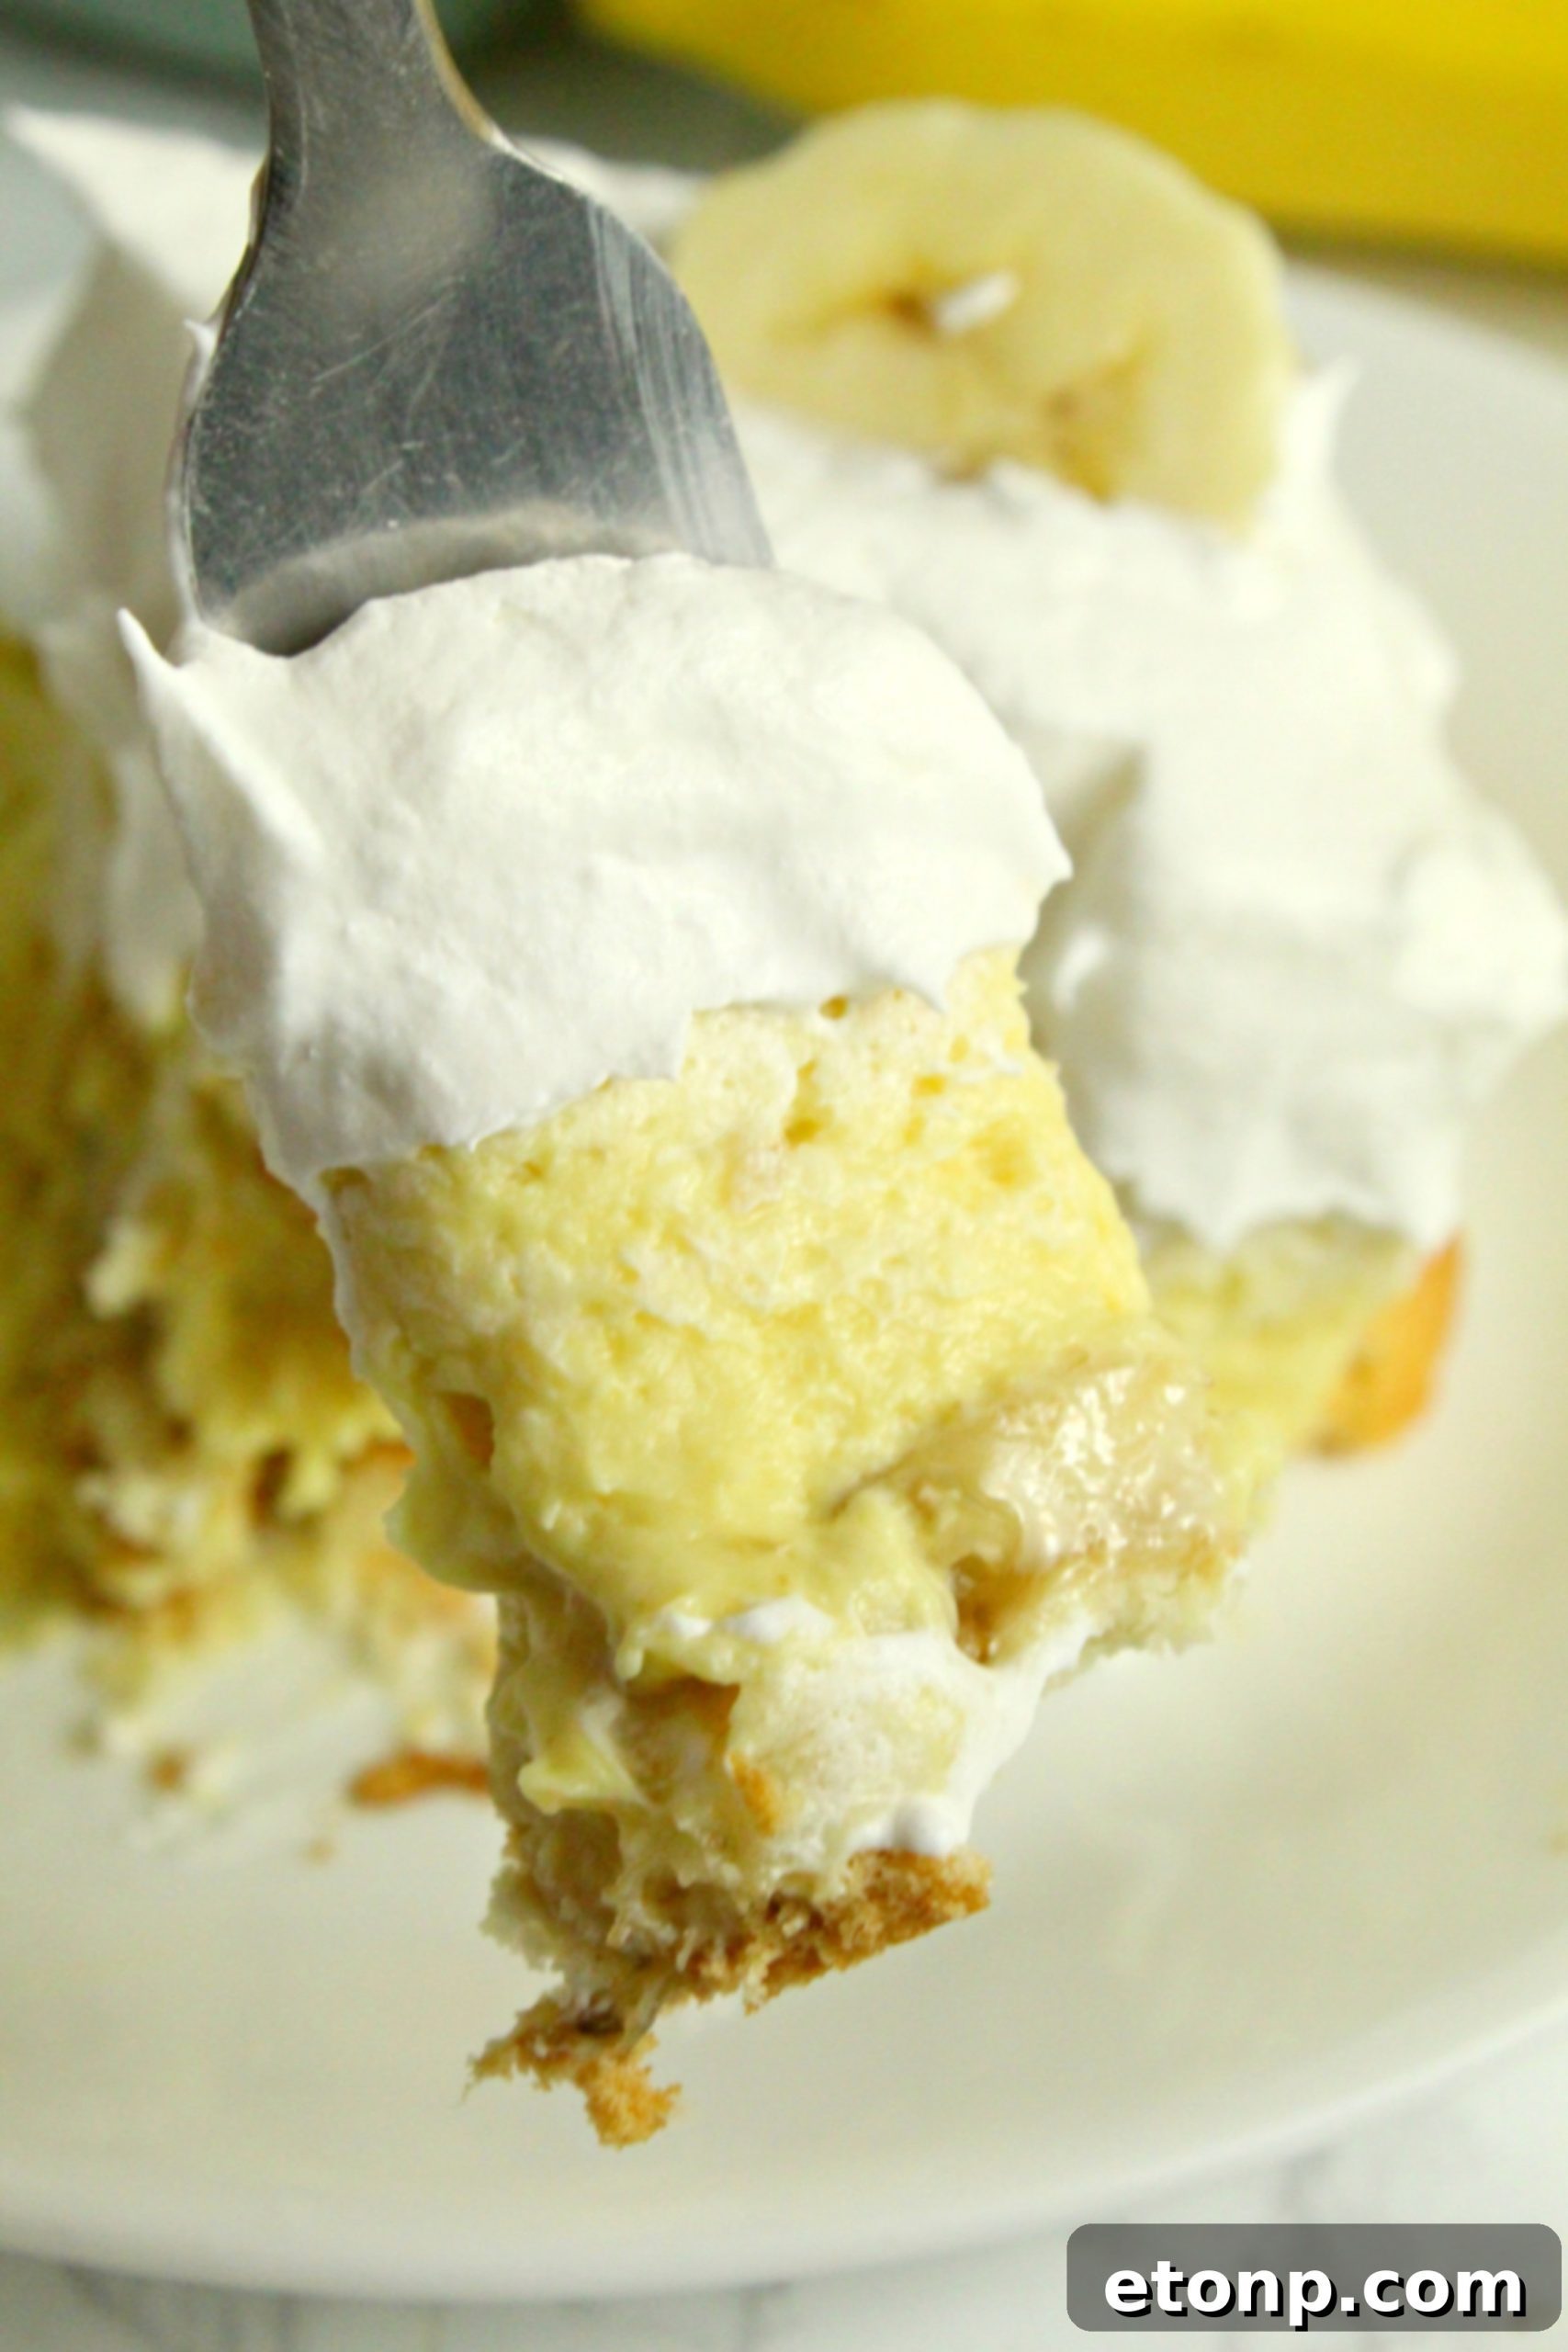
The key to perfect banana pudding lies in how and when you incorporate the bananas. You won’t add all the bananas at once, but rather in strategic stages for optimal flavor and presentation. Begin by placing some banana slices on the sides and bottom of your baking dish, over the layer of vanilla wafers. Additionally, one ripe, mashed banana should be incorporated directly into your pudding mix, contributing a deep, natural banana flavor throughout the creamy base. The remaining banana slices are reserved for garnishing the pudding just before serving.
It is crucial to add the decorative slices of banana to the top of the pudding *only* when you are ready to serve it, rather than beforehand. If you add the slices too soon and the dessert isn’t served immediately, those delicate pieces of banana may begin to turn brown due to oxidation, affecting the pudding’s visual appeal. A little lemon juice brushed on the slices can help prevent this if you must add them earlier, but for the freshest look, add them right before presenting this delightful dessert.
How Long Does It Take to Make This Easy Banana Pudding?
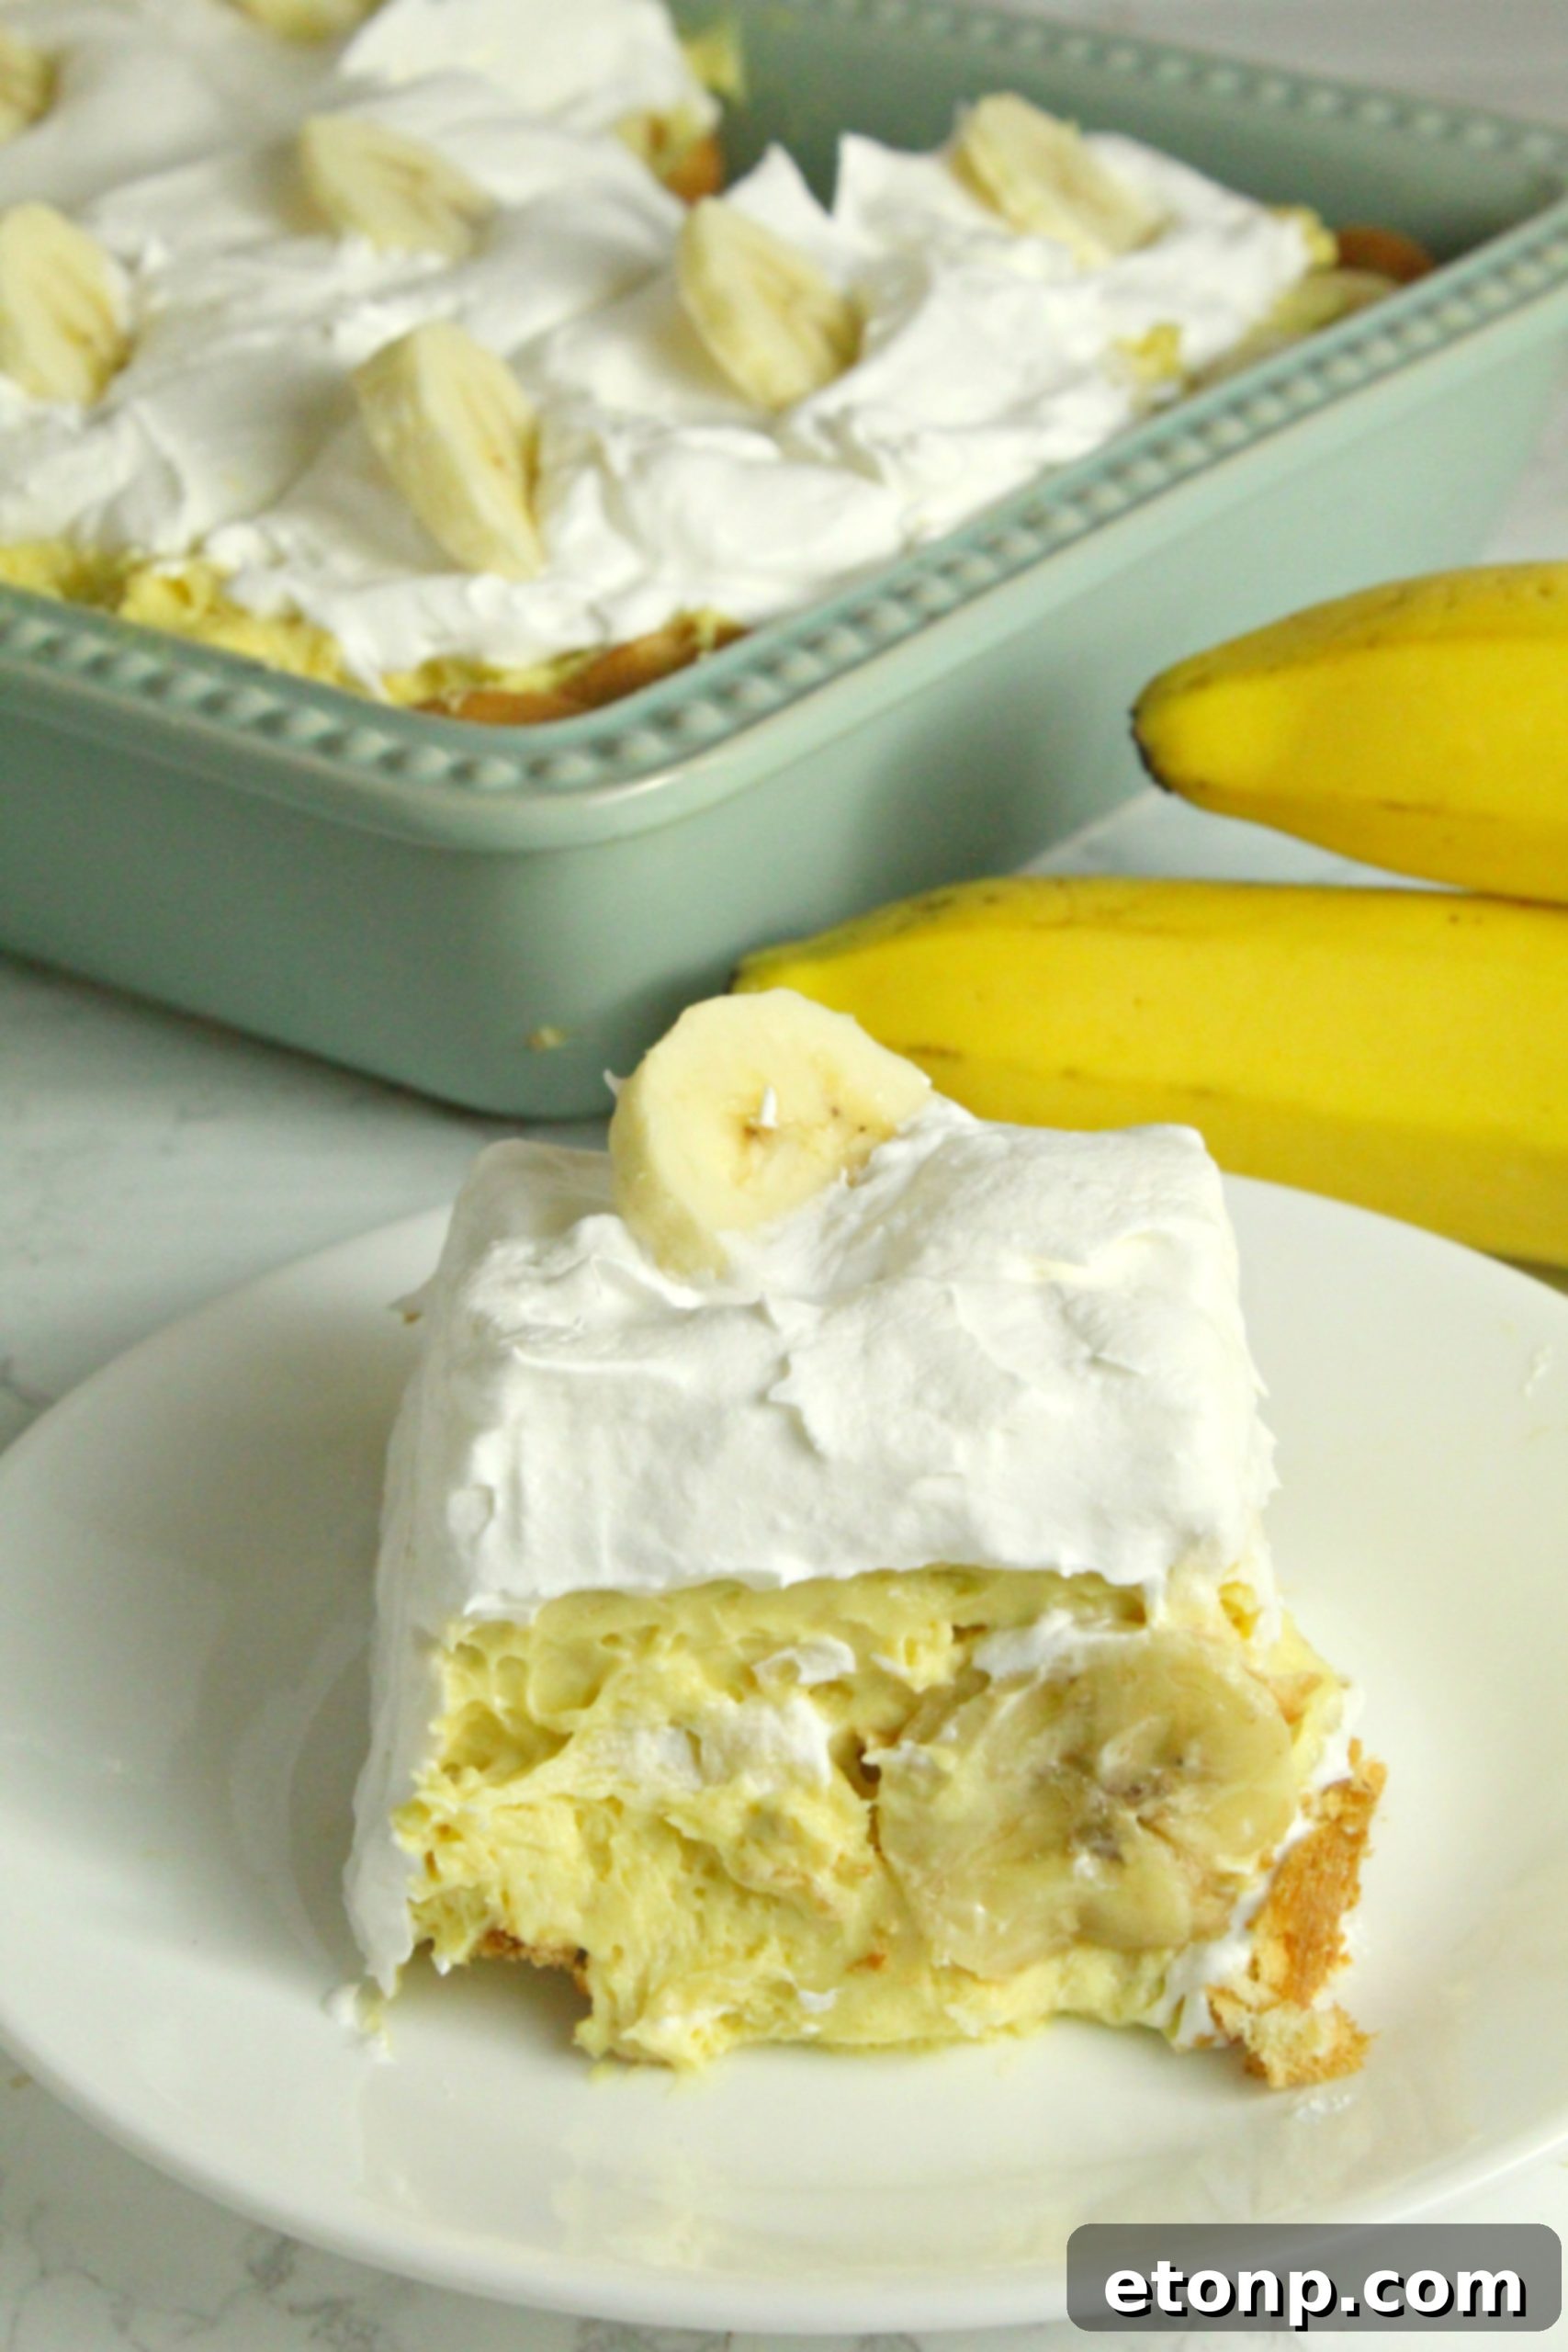
One of the best features of this no-bake banana pudding recipe is its incredibly quick preparation time. You can typically whip up this delicious dessert in about 15 minutes or even less! The hands-on time for gathering your ingredients and combining them to create the rich, creamy pudding is remarkably short. However, it’s vital to remember that while the preparation is fast, the pudding does require significant time to chill in the refrigerator. This chilling period is essential for the pudding to properly set and for all the flavors to meld beautifully. If you plan to serve it as dessert after dinner, we recommend making it at least four or five hours before you anticipate eating. For the absolute best results, preparing it the night before and allowing it to chill overnight will yield a perfectly set, flavorful, and refreshing banana pudding that your family and friends will rave about.
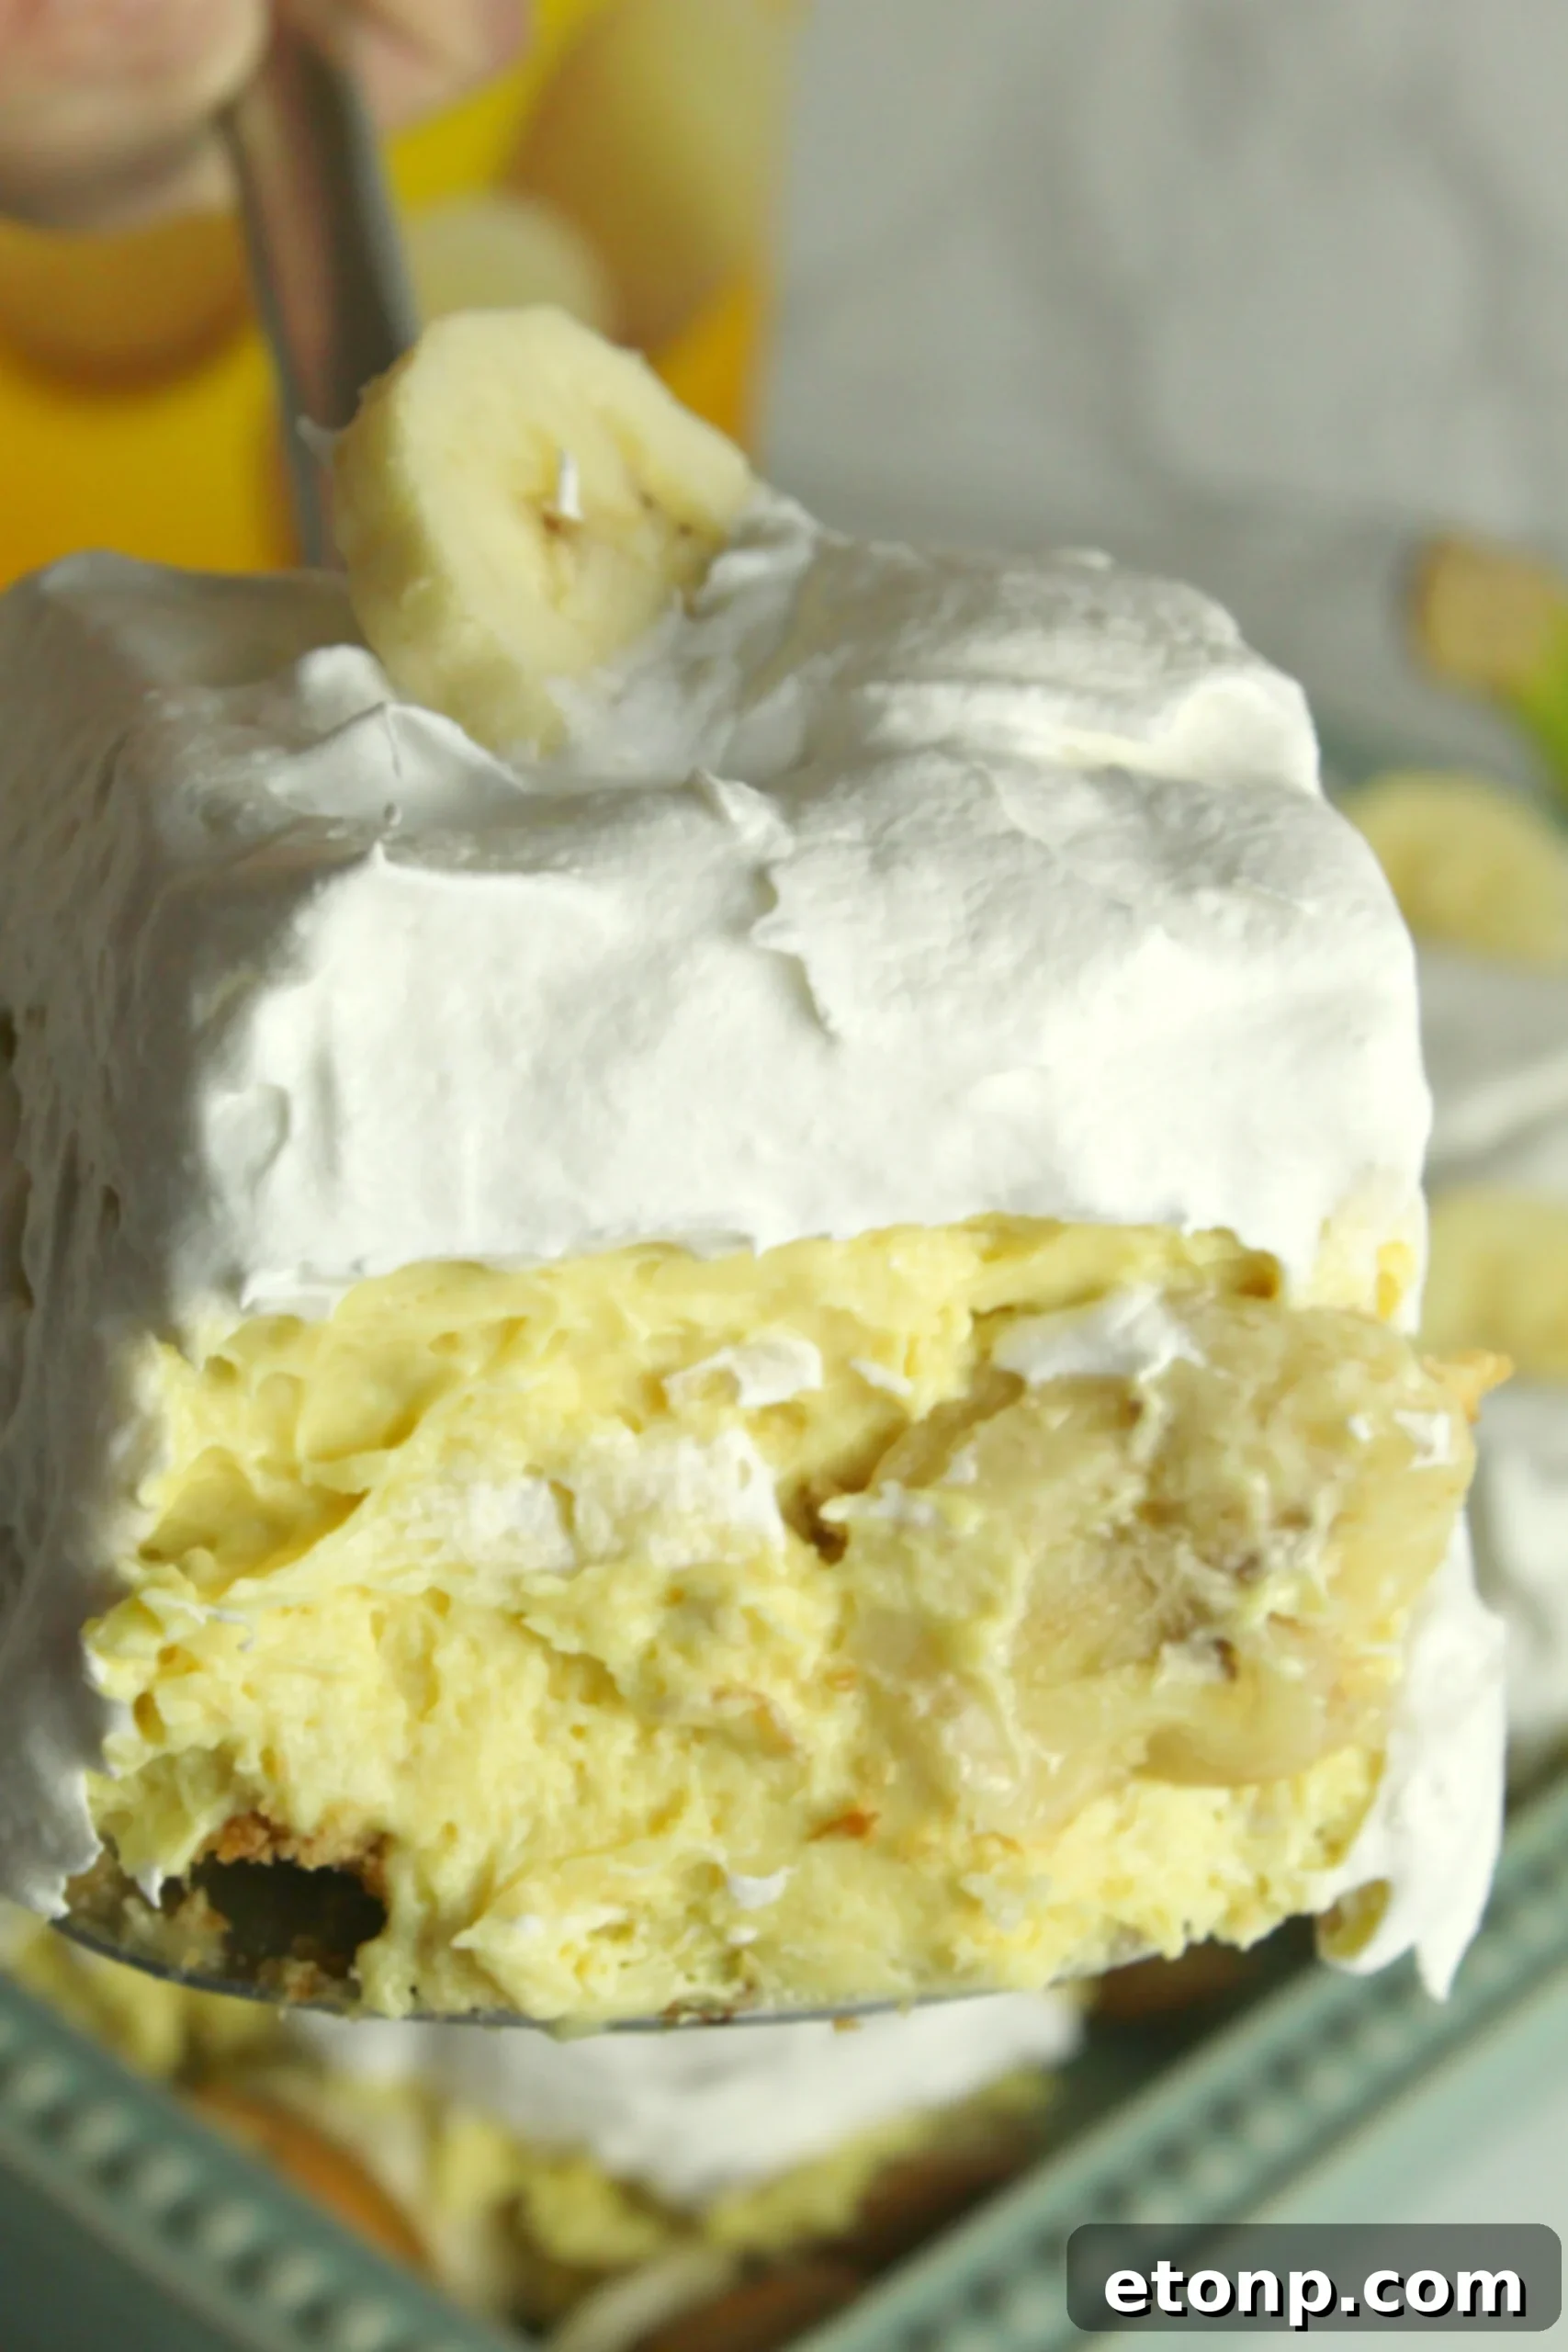
Enjoy this incredibly easy and delicious No-Bake Banana Pudding. Don’t forget to SHARE on Facebook and PIN IT!
FOLLOW ME ONPINTERESTBY CLICKING HERE <——
Easy Banana Pudding
Ingredients
- 10 oz vanilla wafers
- 1 ripe banana mashed
- 5 ripe bananas sliced divided
- 8 oz softened cream cheese
- 1 14 oz can sweetened condensed milk
- 1 5.1 oz box instant vanilla pudding
- 2 cup cold milk
- 1 tsp vanilla
- 12 oz whipped topping divided
Instructions
-
Line a 9×13″ baking dish with vanilla wafers on the bottom and sides. This forms the foundational layer of your pudding.
-
Place a slice of banana on each wafer on the bottom layer of the dish (you’ll use approximately 3 and 1/2 bananas for this step). Set the dish aside.
-
In a large mixing bowl, beat the softened cream cheese until it is light and fluffy. This ensures a smooth pudding base. Add the mashed banana, vanilla extract, and sweetened condensed milk to the bowl.
-
Mix these ingredients thoroughly until they are well combined and smooth. Next, pour in the cold milk and add the instant pudding mix. Continue to beat the mixture for at least 3 minutes, allowing it ample time to thicken properly into a rich pudding consistency.
-
Gently fold in 4 oz of the whipped topping into the pudding mixture. This adds an airy lightness and extra creaminess.
-
Carefully spread the prepared pudding mixture evenly over the vanilla wafers and banana slices in your baking dish. Then, generously top the pudding with the remaining whipped topping, creating a beautiful, fluffy crown.
-
Refrigerate the banana pudding for at least 4 hours. For the best flavor and texture, chilling it overnight is highly recommended.
-
Just before serving, arrange the remaining fresh banana slices on top of the pudding for a beautiful presentation and fresh banana flavor.
Did you make this recipe?
Make sure to follow on Pinterest for more recipes!
Pin Recipe
Share on Facebook