
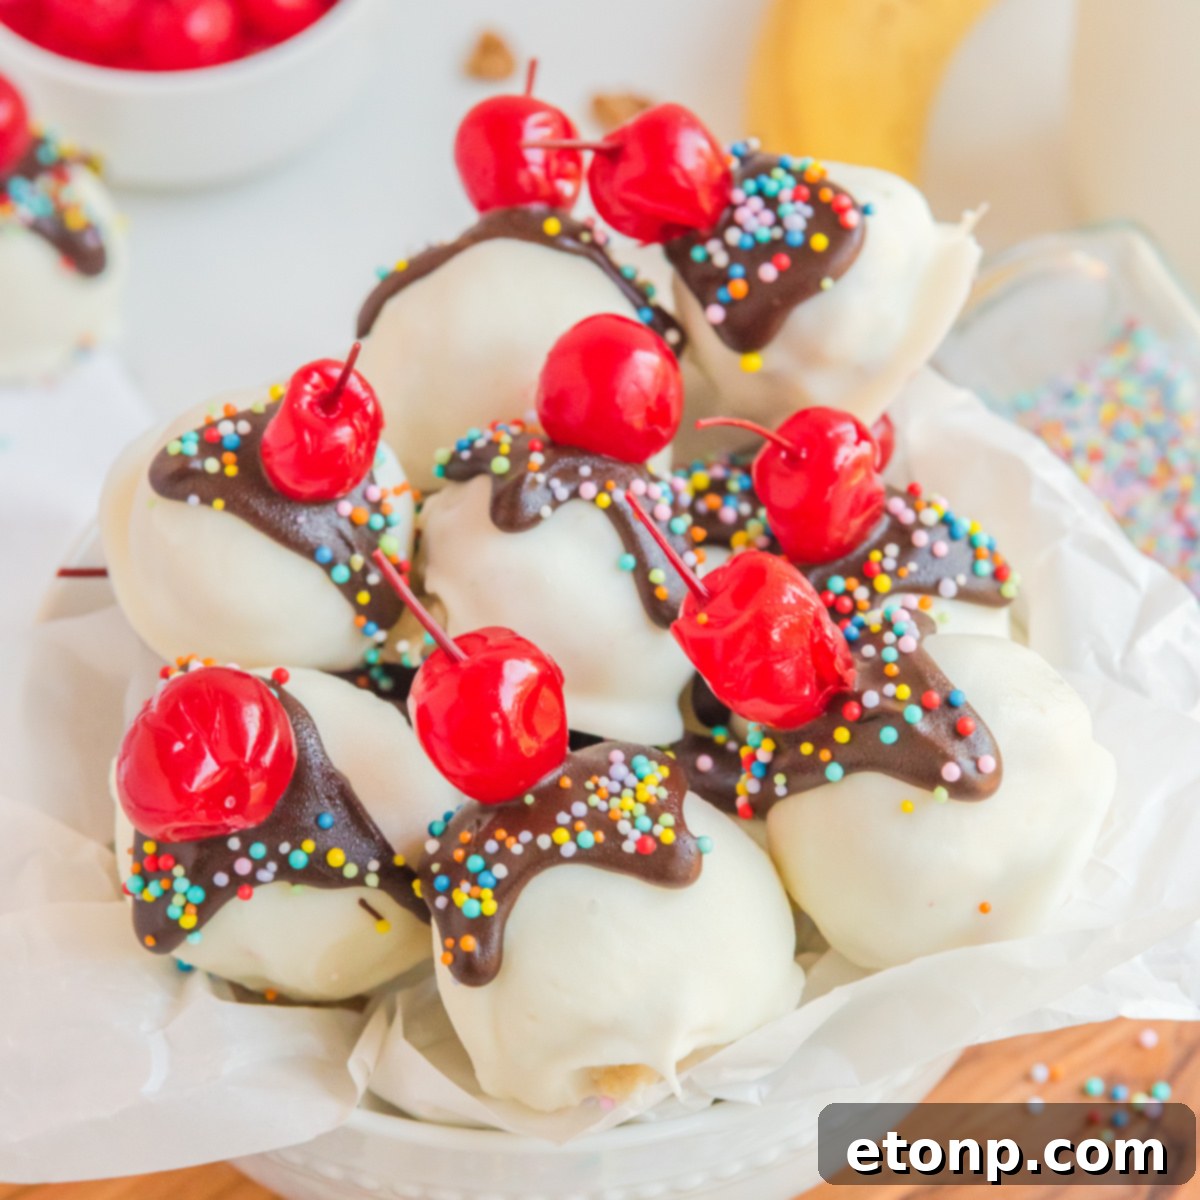
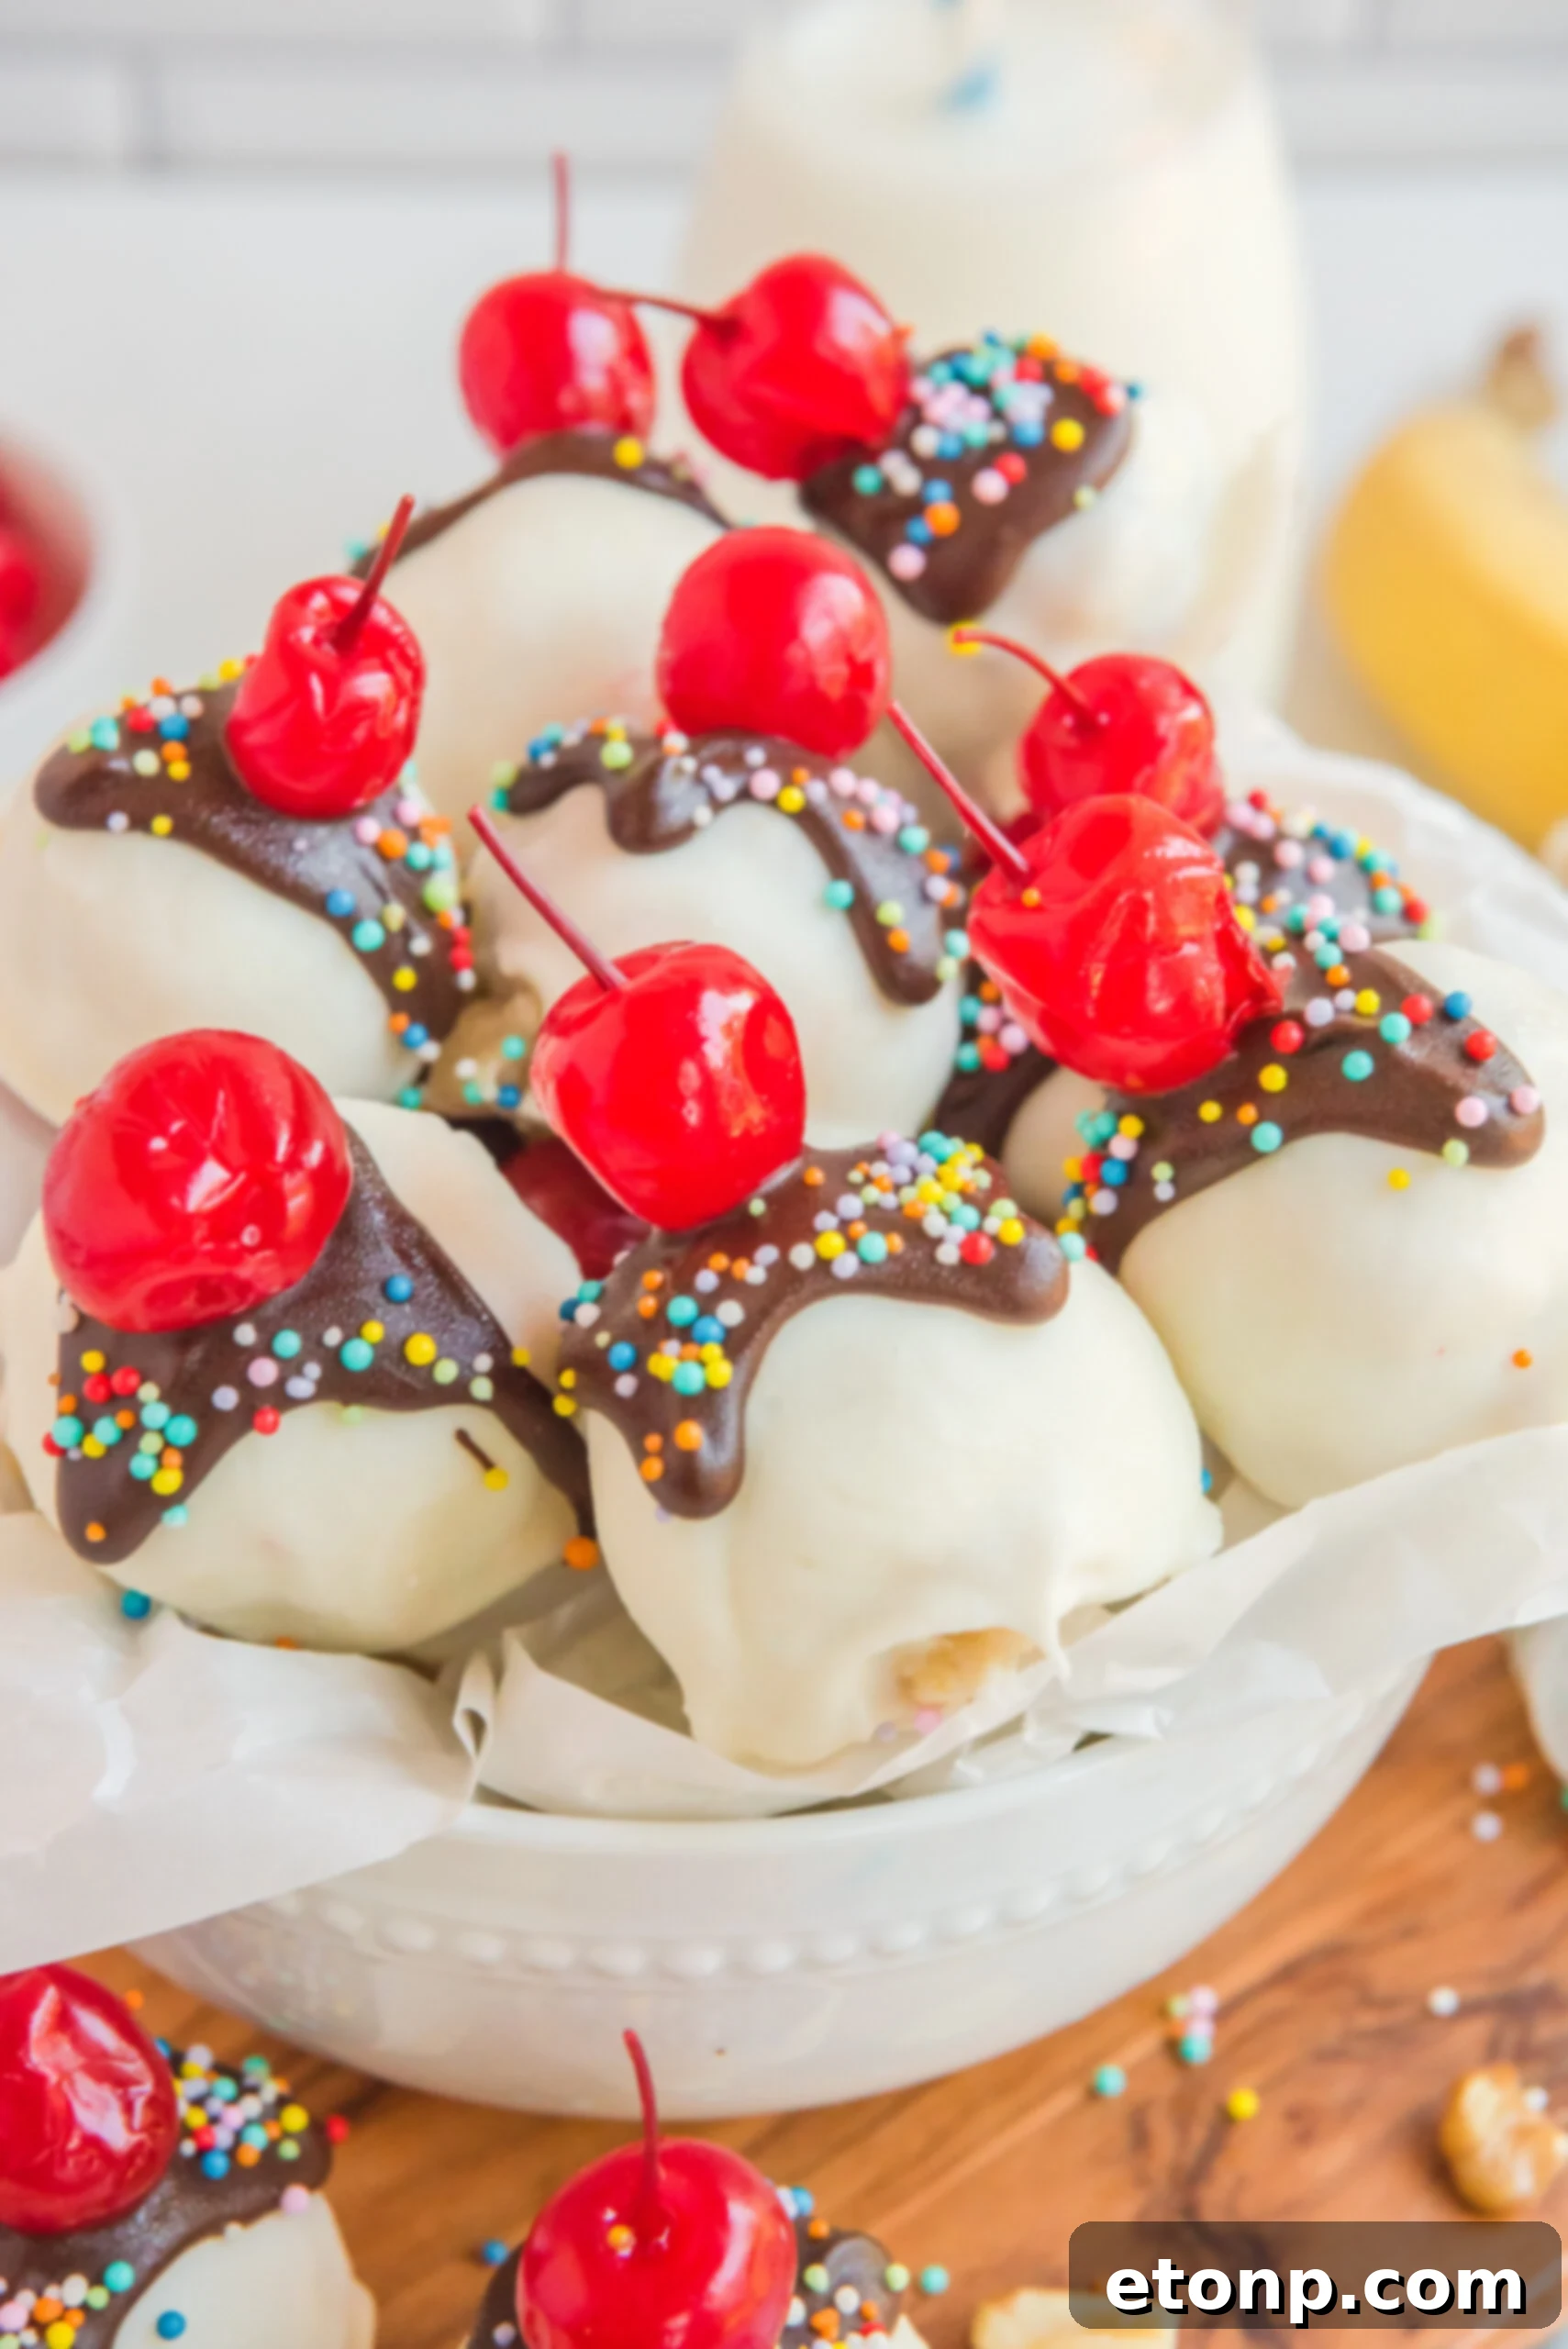
Prepare to embark on a delightful culinary journey with these extraordinary Banana Split Truffles! Imagine taking all the cherished flavors of a classic banana split – the creamy fruit, luscious chocolate, and a hint of something sweet – and transforming them into elegant, bite-sized delights. These exquisite truffles are more than just a dessert; they are a celebration of flavor and texture, promising to captivate your taste buds and leave you yearning for another.
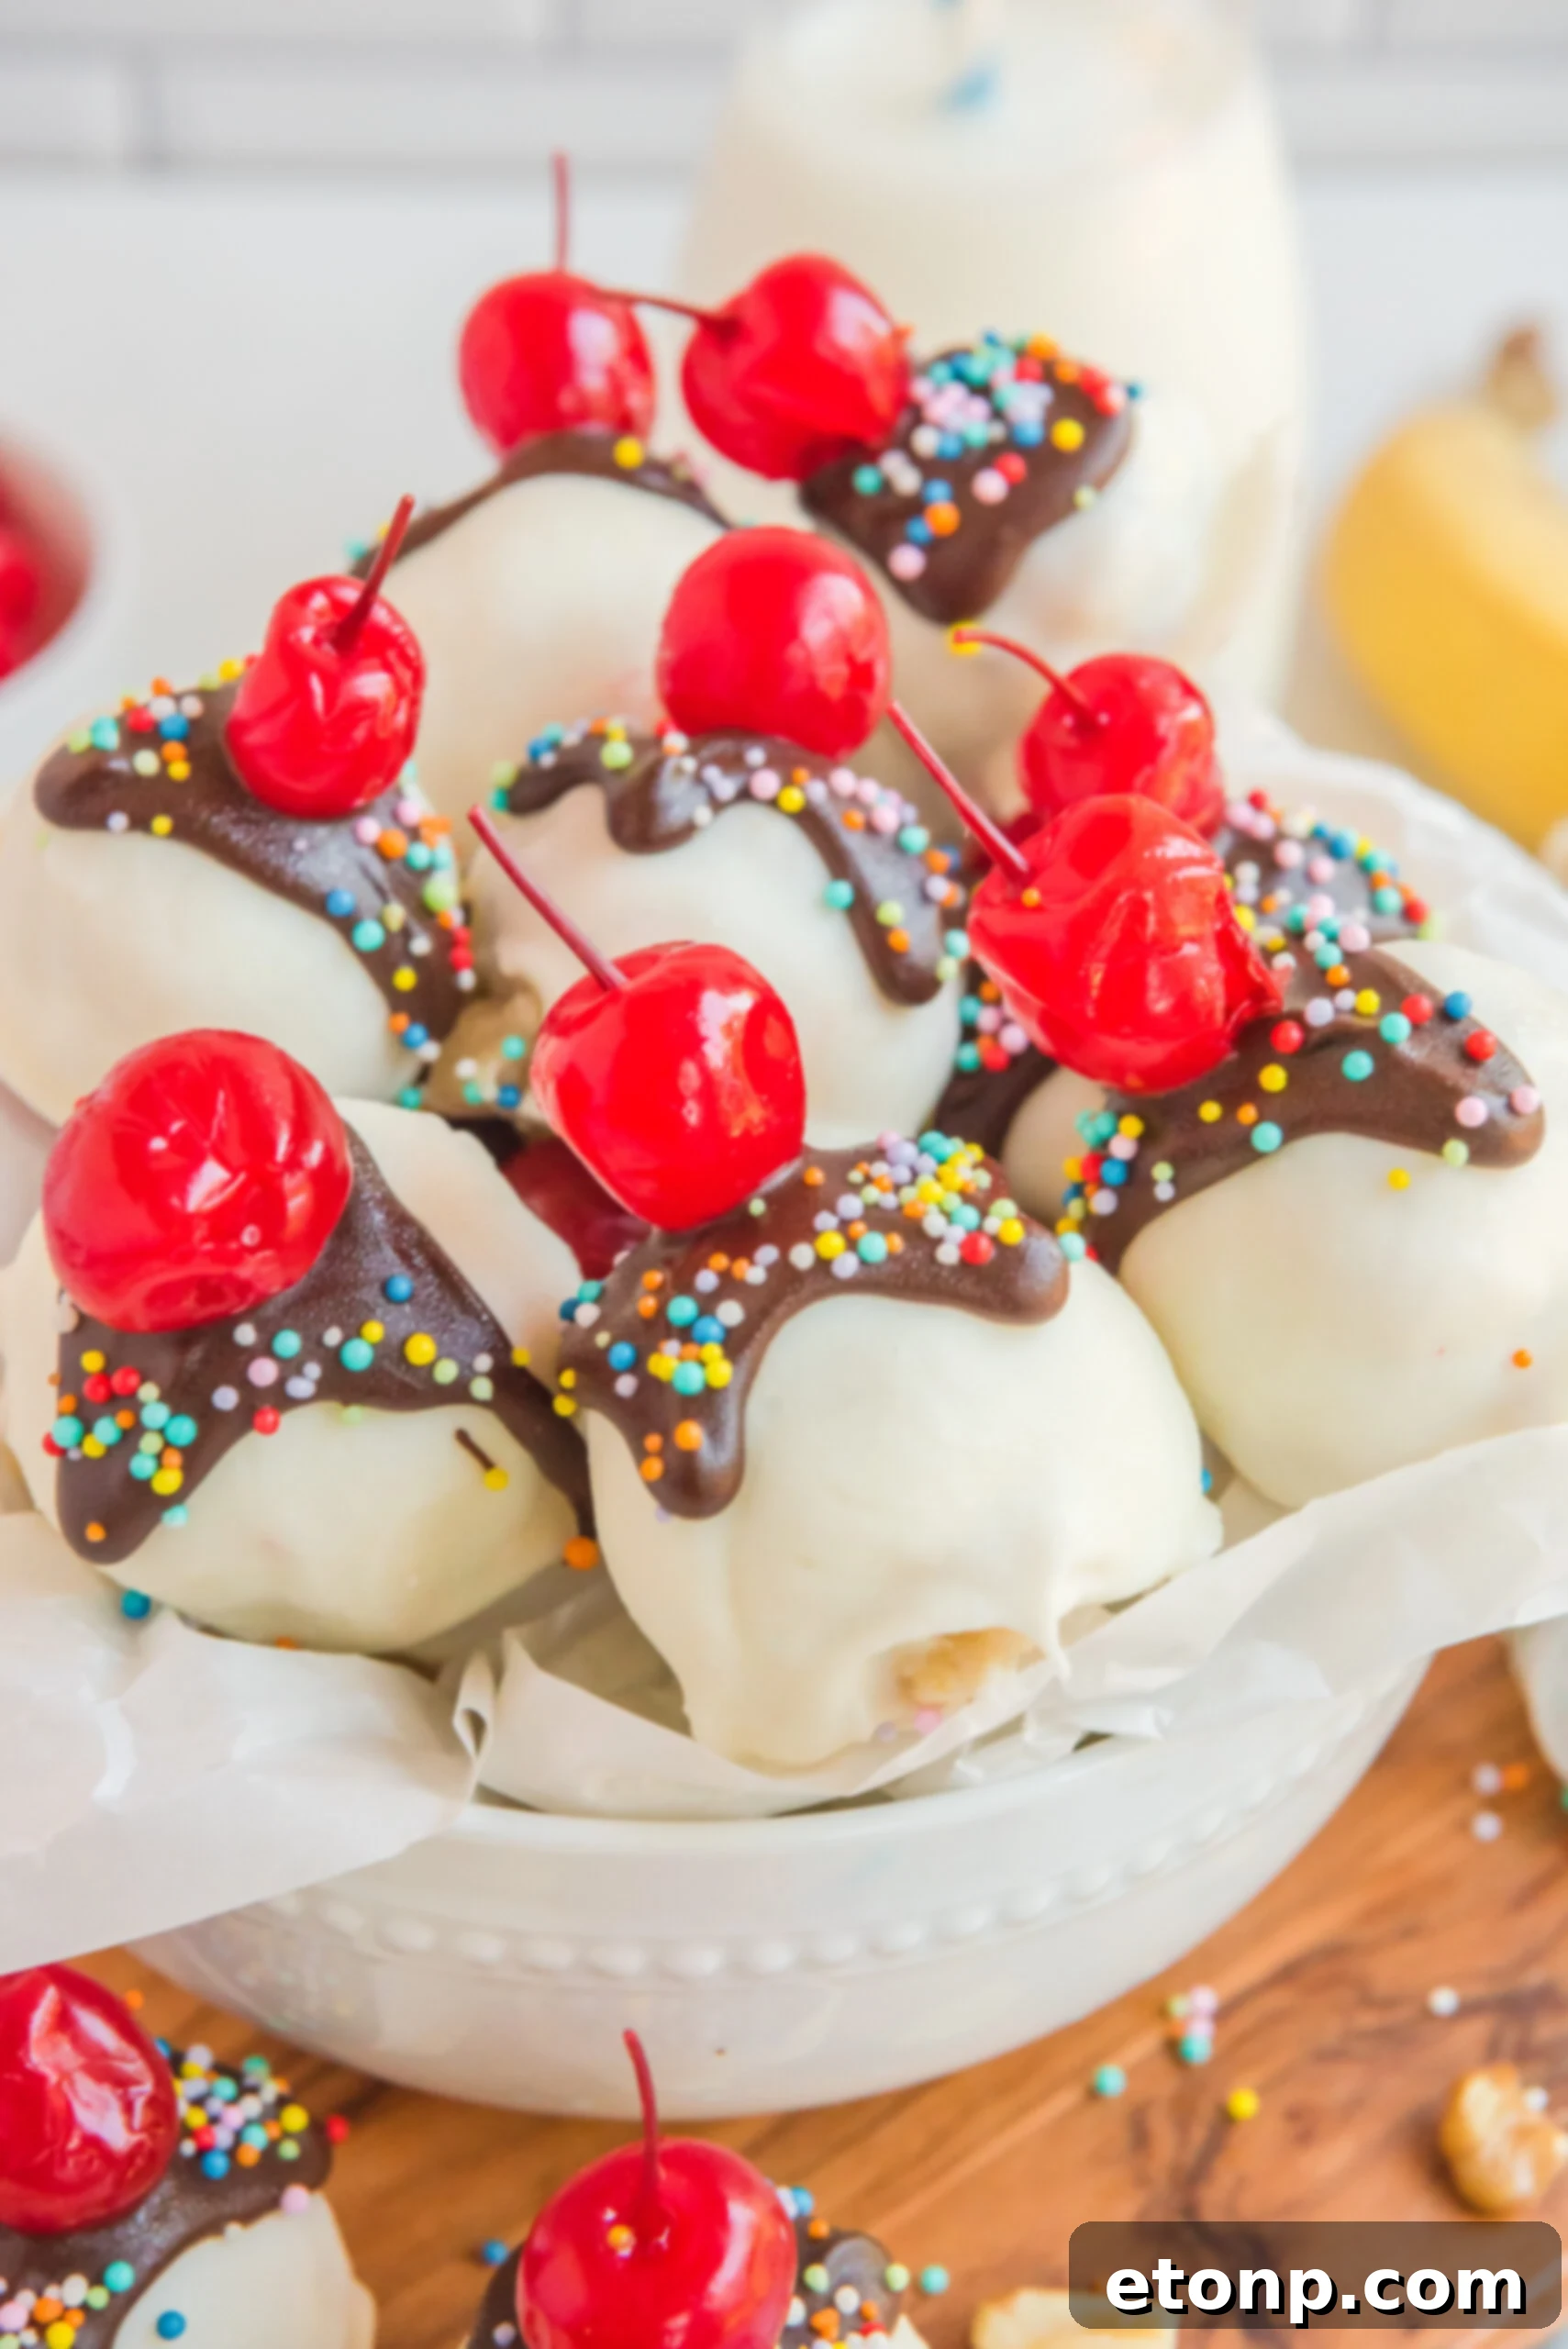
Whether it’s a casual get-together or a festive celebration, these Banana Split Truffles consistently steal the show. Their undeniable popularity stems from their enchanting flavor profile, combining the familiar comfort of a banana split with the sophistication of a gourmet truffle, all while being surprisingly simple to prepare. Each truffle boasts a smooth, decadent chocolate shell that encases a creamy, flavorful banana center. This harmonious fusion of fruity sweetness, rich chocolate, and a subtle tang creates an irresistible symphony of tastes, making it nearly impossible to stop at just one.
Banana Split Truffles are the quintessential dessert for any and every occasion. Their delightful creaminess and beautiful, artful presentation make them an ideal choice for impressing guests and family alike. Beyond their stunning appearance and incredible taste, their simplicity in preparation is a huge advantage, requiring only a handful of readily available ingredients and a minimal time commitment. These attributes make them perfect for busy hosts or anyone looking to create a memorable dessert without extensive effort.
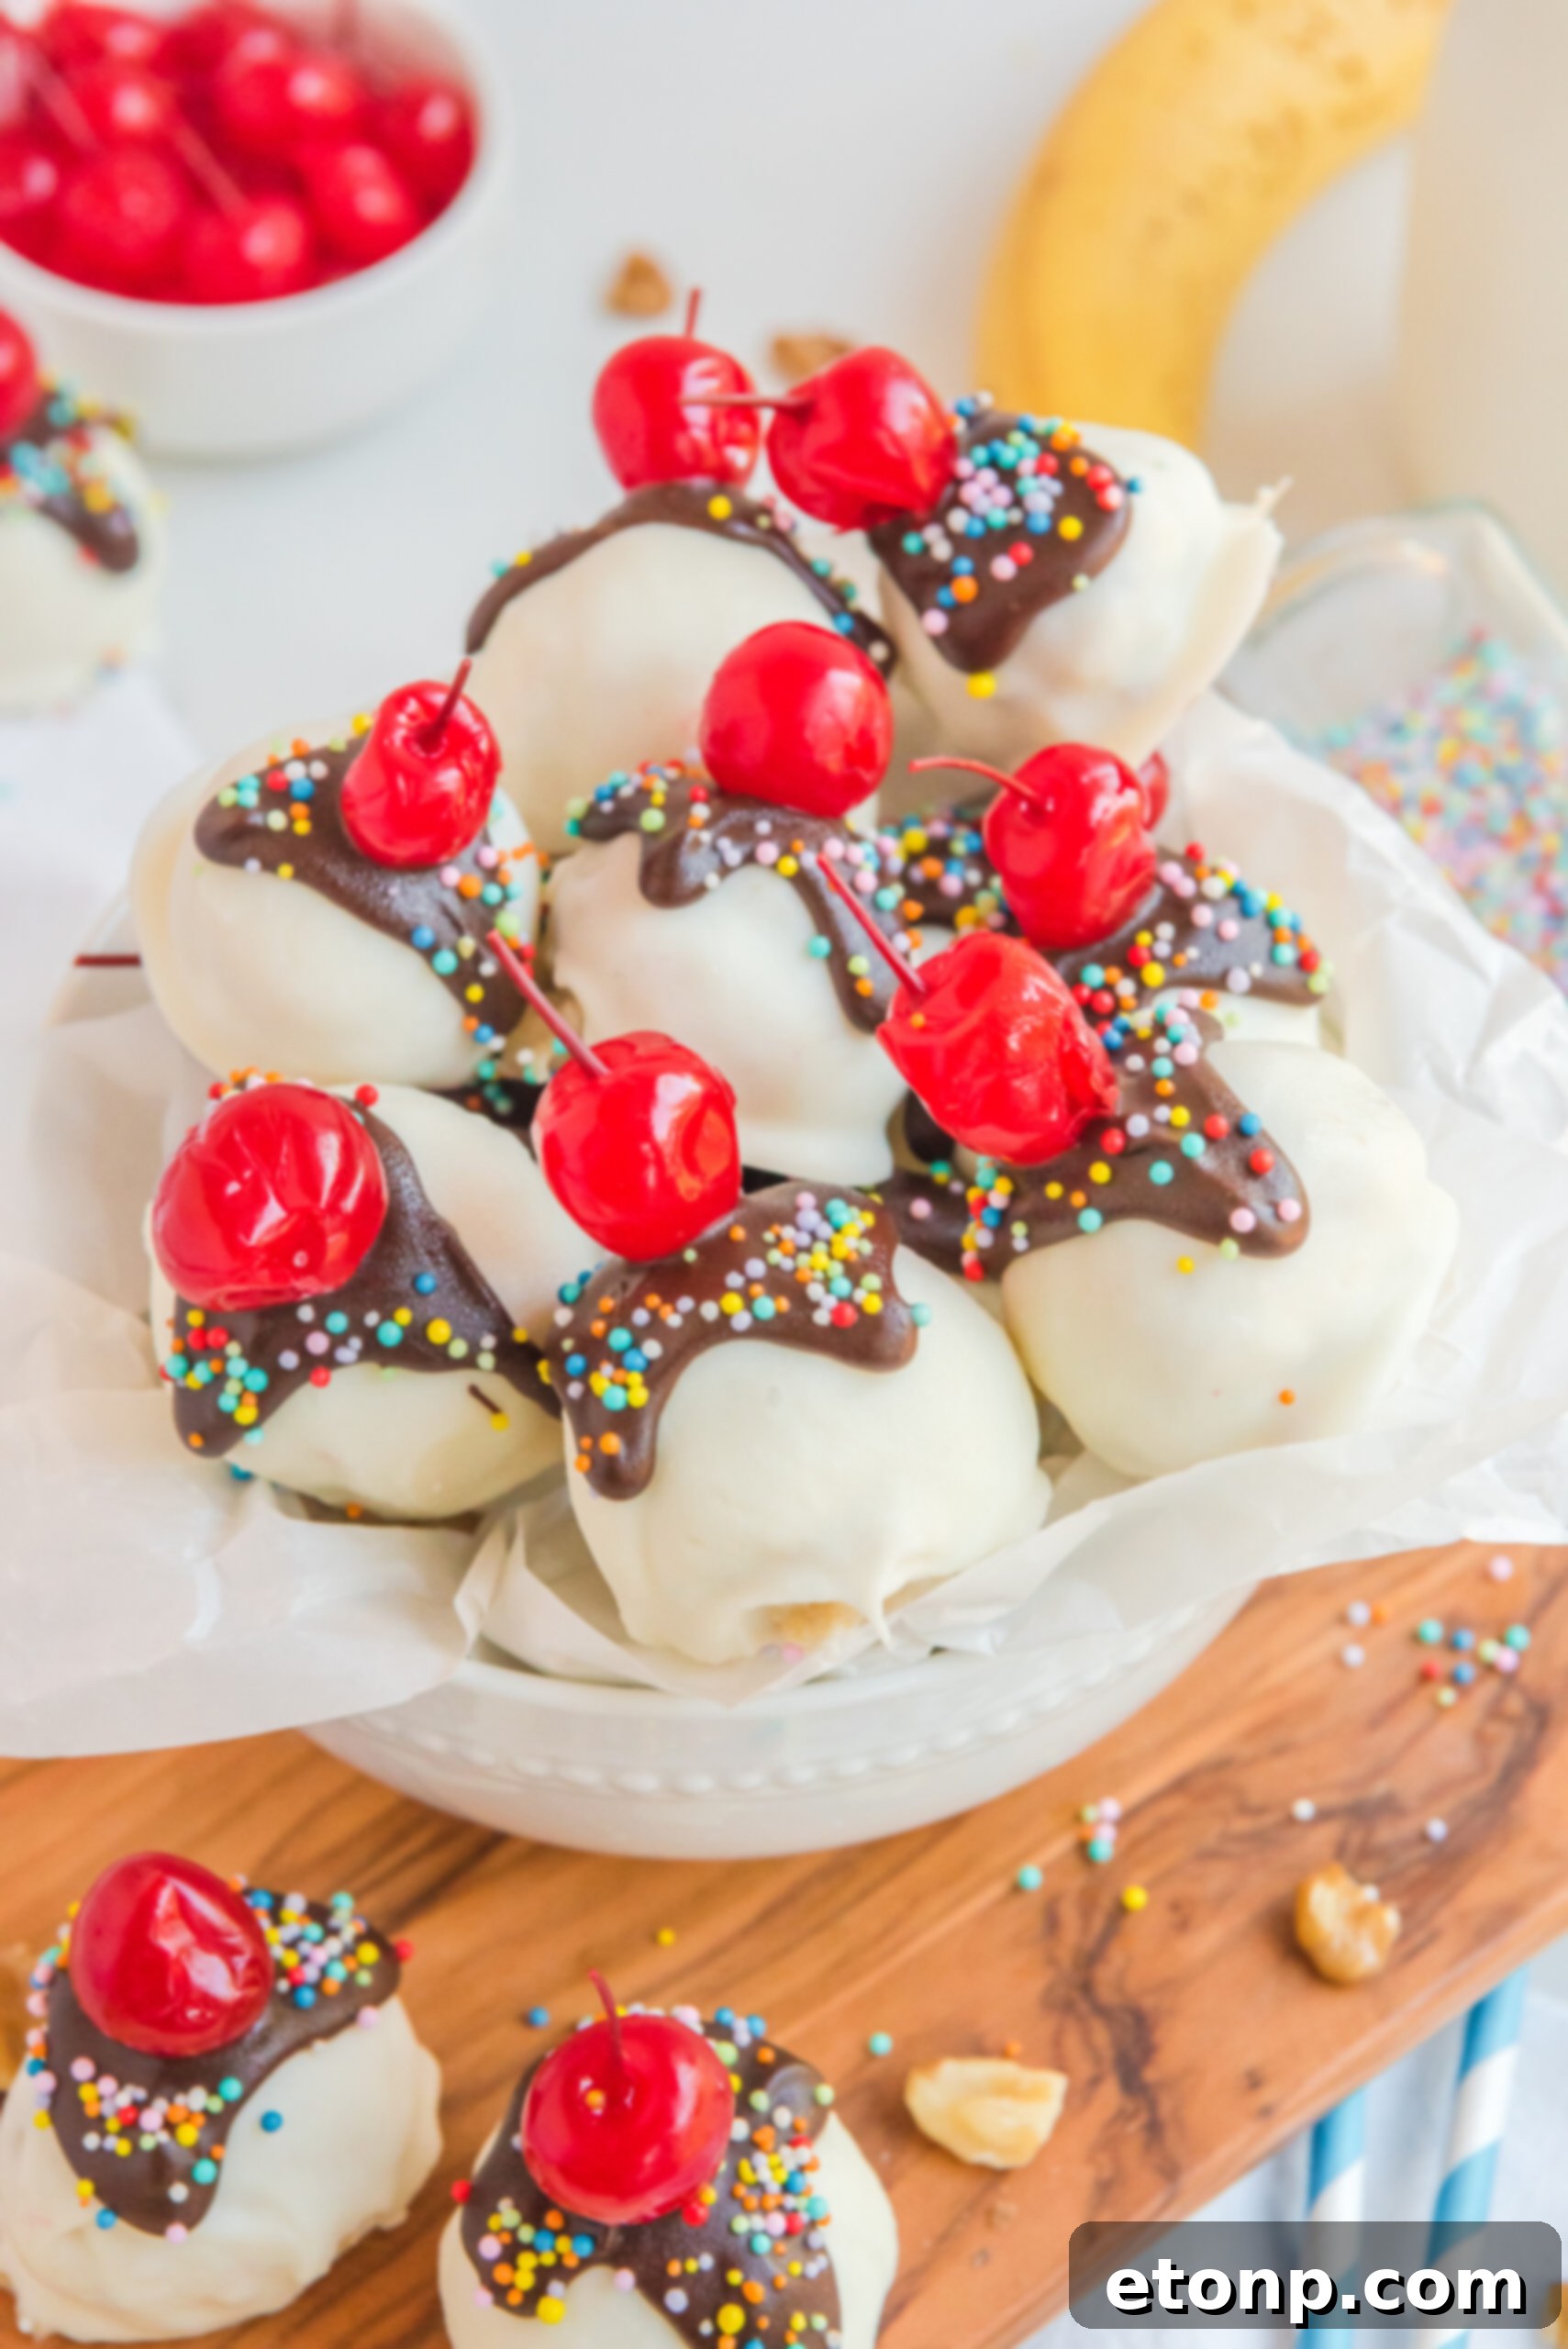
Understanding Truffles: A Confectionary Delight
The term “truffle” often conjures images of luxurious candies, and in the culinary world, it primarily refers to a rich, spherical chocolate confection. These delightful treats are traditionally made from a ganache — a mixture of melted chocolate and cream — which is then rolled into balls and dusted with cocoa powder, nuts, or other toppings. However, it’s worth noting that the word “truffle” also applies to prized subterranean fungi used in savory European cuisine, highlighting the duality of its usage. As a dessert, chocolate truffles offer incredible versatility. They can be served perfectly chilled for a refreshing bite or at room temperature to allow their complex flavors to fully bloom. They are frequently adorned with an array of colorful sprinkles, finely chopped nuts, or elegant drizzles, transforming them into miniature edible works of art that are as pleasing to the eye as they are to the palate.
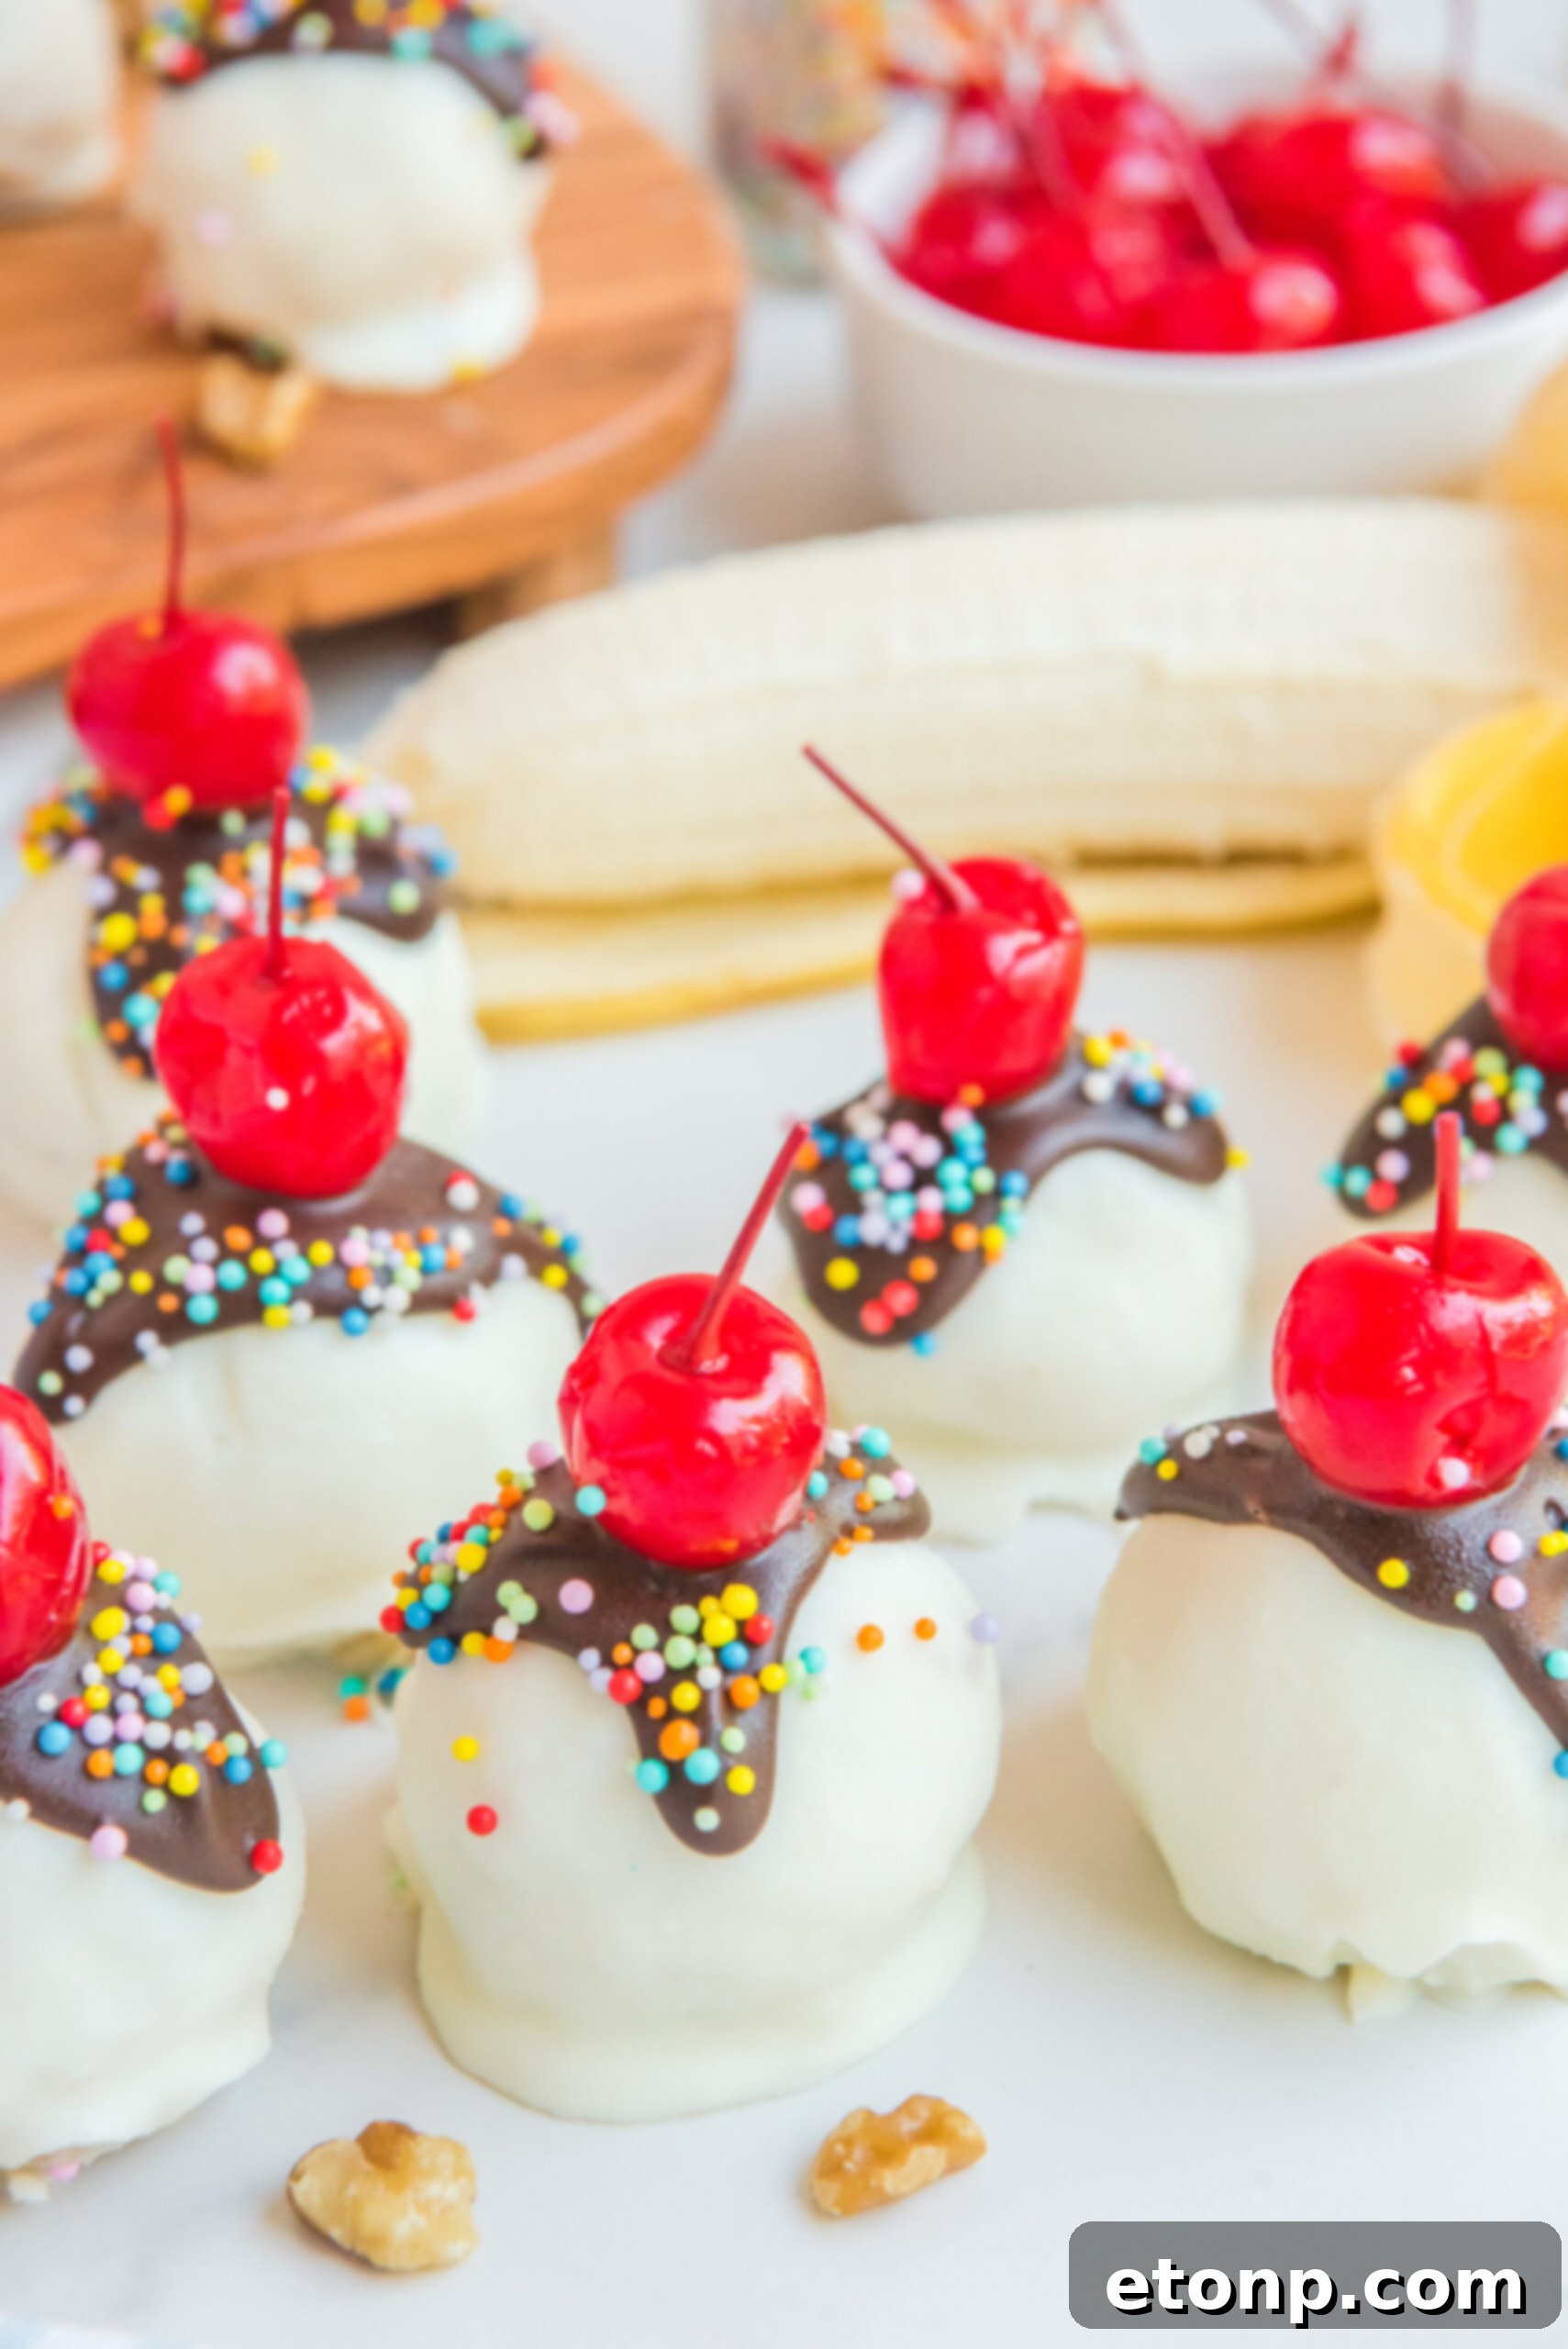
Crafting Your Truffles: Essential Ingredients for Banana Split Bliss
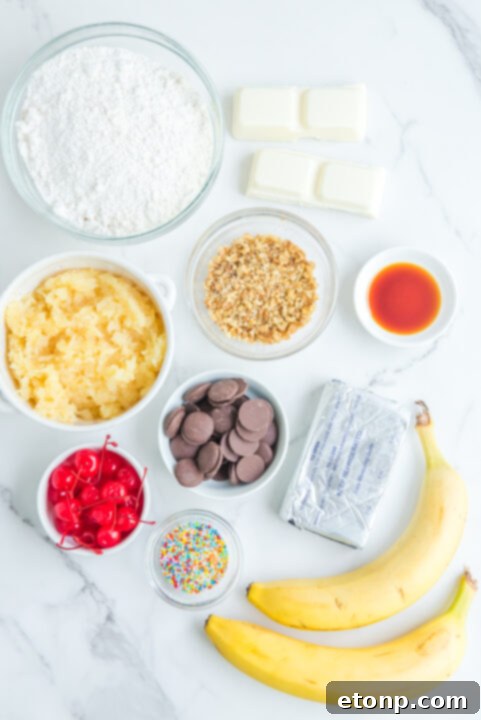
Creating these heavenly Banana Split Truffles requires a few key components, each playing a vital role in achieving their signature taste and texture. Always ensure you have your ingredients ready and at the appropriate temperature before you begin. For precise measurements and step-by-step instructions, please refer to the detailed recipe card below.
- Cream Cheese: This ingredient is the foundation of our truffles’ incredibly rich and smooth texture. Opt for a high-quality, full-fat block of cream cheese, ensuring it is softened to room temperature. This allows it to blend seamlessly with other ingredients, creating a velvety, lump-free base that is essential for the truffle’s interior.
- Box White Cake Mix: Beyond providing a delightful cake-like flavor, the cake mix serves as a crucial dry binder for our truffle mixture. It contributes to the overall sweetness and provides a tender crumb-like texture once combined. Remember to heat treat the cake mix prior to use to ensure food safety, as detailed in the section below.
- Crushed Pineapple: Whether sourced from a can (thoroughly drained) or freshly crushed, pineapple is indispensable. It infuses the truffles with a tropical sweetness and a subtle tang that perfectly complements the banana flavor. Moreover, the moisture from the pineapple aids in binding the mixture, helping the truffles to set beautifully once chilled.
- White Candy Coating: Also known as white confectionery coating or candy wafers, this ingredient forms the smooth, sweet exterior of our truffles. Its primary function is to provide a durable, melt-in-your-mouth shell that sets firmly and offers a pleasing snap. Its neutral flavor also allows the vibrant banana and pineapple notes to shine through.
- Chocolate Melting Wafers: These wafers, sometimes referred to as chocolate chips or discs, are primarily used for the iconic chocolate drizzle that mimics the “chocolate syrup” of a traditional banana split. They melt smoothly and provide a contrasting rich chocolate flavor and an attractive visual element to the finished truffles.
- Fresh Banana Slices: The star of our show, fresh banana slices are folded into the truffle mixture, providing bursts of authentic banana flavor and a soft, yielding texture within each bite. Choose ripe, but firm, bananas for the best results.
- Chopped Walnuts: Adding a delightful textural contrast, chopped walnuts contribute a pleasant crunch and a subtle nutty flavor that enhances the overall complexity of the truffle.
- Vanilla Extract: A touch of vanilla extract elevates all the other flavors, adding a warm, aromatic depth that rounds out the sweetness and richness of the truffles.
Important Step: Heat Treating Cake Mix for Food Safety
When using raw cake mix in no-bake recipes like these Banana Split Truffles, it is crucial to heat treat the flour component to eliminate any potential bacteria. This simple step ensures your truffles are safe and delicious to consume. There are two straightforward methods you can employ:
Using the microwave for heat treating the cake mix: To heat treat the cake mix, transfer the entire contents of the box white cake mix into a microwave-safe bowl. Microwave the cake mix for two 30-second intervals, ensuring you stir it thoroughly in between each interval. This helps to evenly distribute the heat. After microwaving, allow the cake mix to cool completely to room temperature before incorporating it into your truffle mixture. This prevents it from melting the cream cheese.
Using the oven for heat treating the cake mix: Alternatively, you can heat treat your cake mix in the oven. Begin by spreading the cake mix evenly across a large cookie sheet lined with parchment paper. Ensure the layer is relatively thin for consistent heating. Bake the cake mix in a preheated oven at 350 degrees Fahrenheit (175 degrees Celsius) for exactly 5 minutes. Once baked, remove it from the oven and let it cool completely to room temperature before using it in your recipe. Both methods effectively sanitize the cake mix, making your no-bake truffles perfectly safe to enjoy.
Expert Tips for Crafting Perfect Banana Split Truffles
Achieving bakery-quality Banana Split Truffles is simple with these expert tips:
- Choose Quality Chocolate: The foundation of any excellent truffle lies in its chocolate. For both the candy coating and the melting wafers, select high-quality chocolate with a rich, inviting flavor. This choice will significantly impact the overall taste and luxuriousness of your finished truffles.
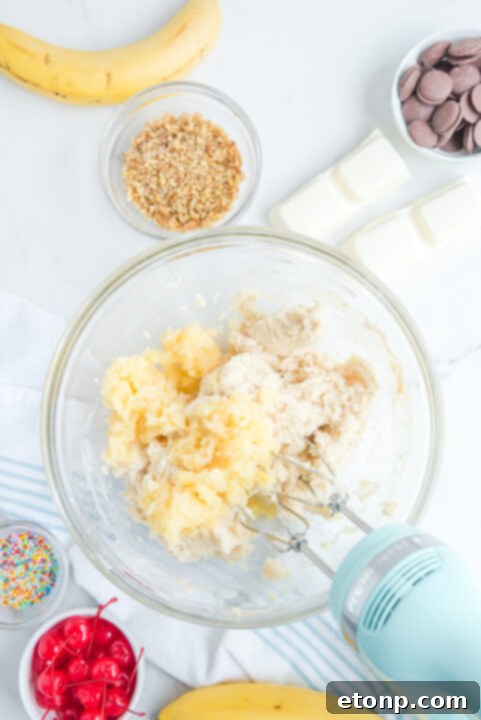
- Optimal Filling Texture: Ensure your cream cheese is thoroughly softened to room temperature before mixing. Combine it with the heat-treated cake mix, vanilla, pineapple, and banana until the mixture is uniform and has a dough-like consistency. This creates a sweet, creamy, and pliable filling that’s easy to roll.
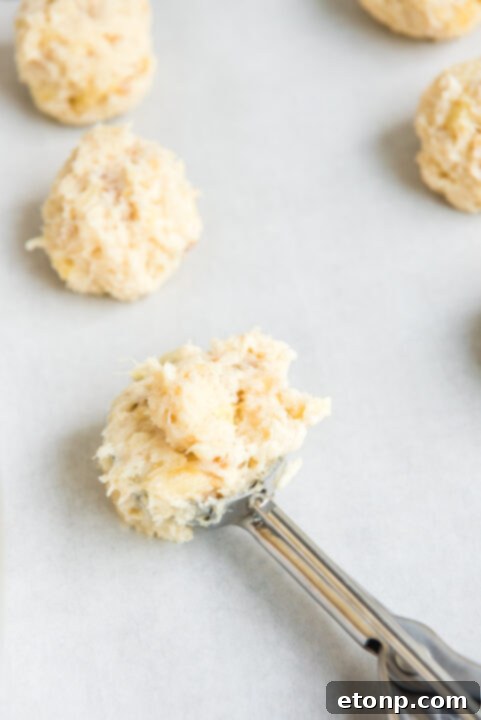
- Uniform Rolling: When forming your truffle balls, use a small cookie scoop to ensure consistent sizing. After scooping, gently roll the mixture between the palms of your hands. For perfectly round and smooth truffles, remove them from the refrigerator about halfway through their initial chilling time (around 30 minutes). At this semi-chilled stage, the mixture is firm enough to re-roll and smooth out any imperfections, resulting in a flawless finish.
- Creative Topping Ideas: Don’t limit yourself to just cherries and sprinkles! Enhance your truffles with a variety of toppings. Consider rolling them in finely shredded coconut for a tropical twist, crushed pecans or peanuts for added crunch, or even finely chopped freeze-dried strawberries for a burst of fruity tartness.
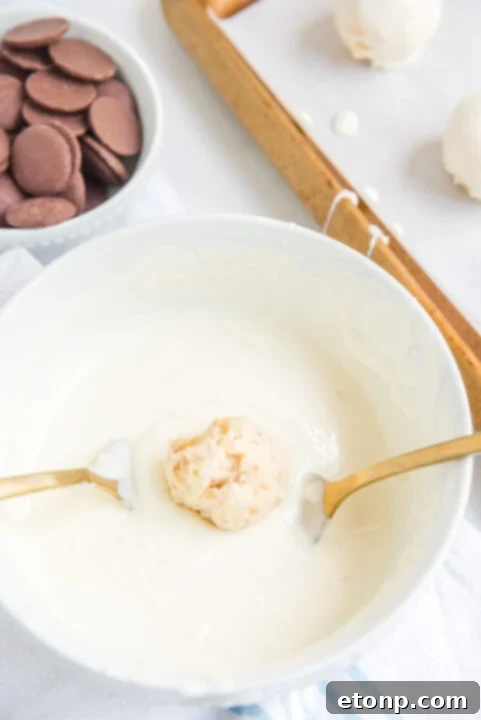
- Mastering the Chocolate Dip: When melting your candy coating and chocolate wafers, do so slowly and carefully. Use a double boiler or microwave in short intervals, stirring frequently, to prevent scorching and ensure a silky-smooth consistency. This smooth chocolate is essential for an even, glossy coat. For easier dipping, use two forks or specialized dipping tools. Allow excess chocolate to drip off before placing truffles back on parchment paper.
- Serving Temperature Matters: Truffles can be enjoyed both chilled and at room temperature. For a firmer, more refreshing treat, serve them directly from the refrigerator. If you prefer a slightly softer, melt-in-your-mouth experience where the flavors are more pronounced, allow them to sit out at room temperature for at least 30 minutes to an hour before serving.
- Proper Storage for Freshness: These truffles can be stored in an airtight container in the refrigerator for several days. If you plan to make them well in advance or want to extend their shelf life, they freeze beautifully for up to two months. Simply thaw them at room temperature for a few hours before indulging.
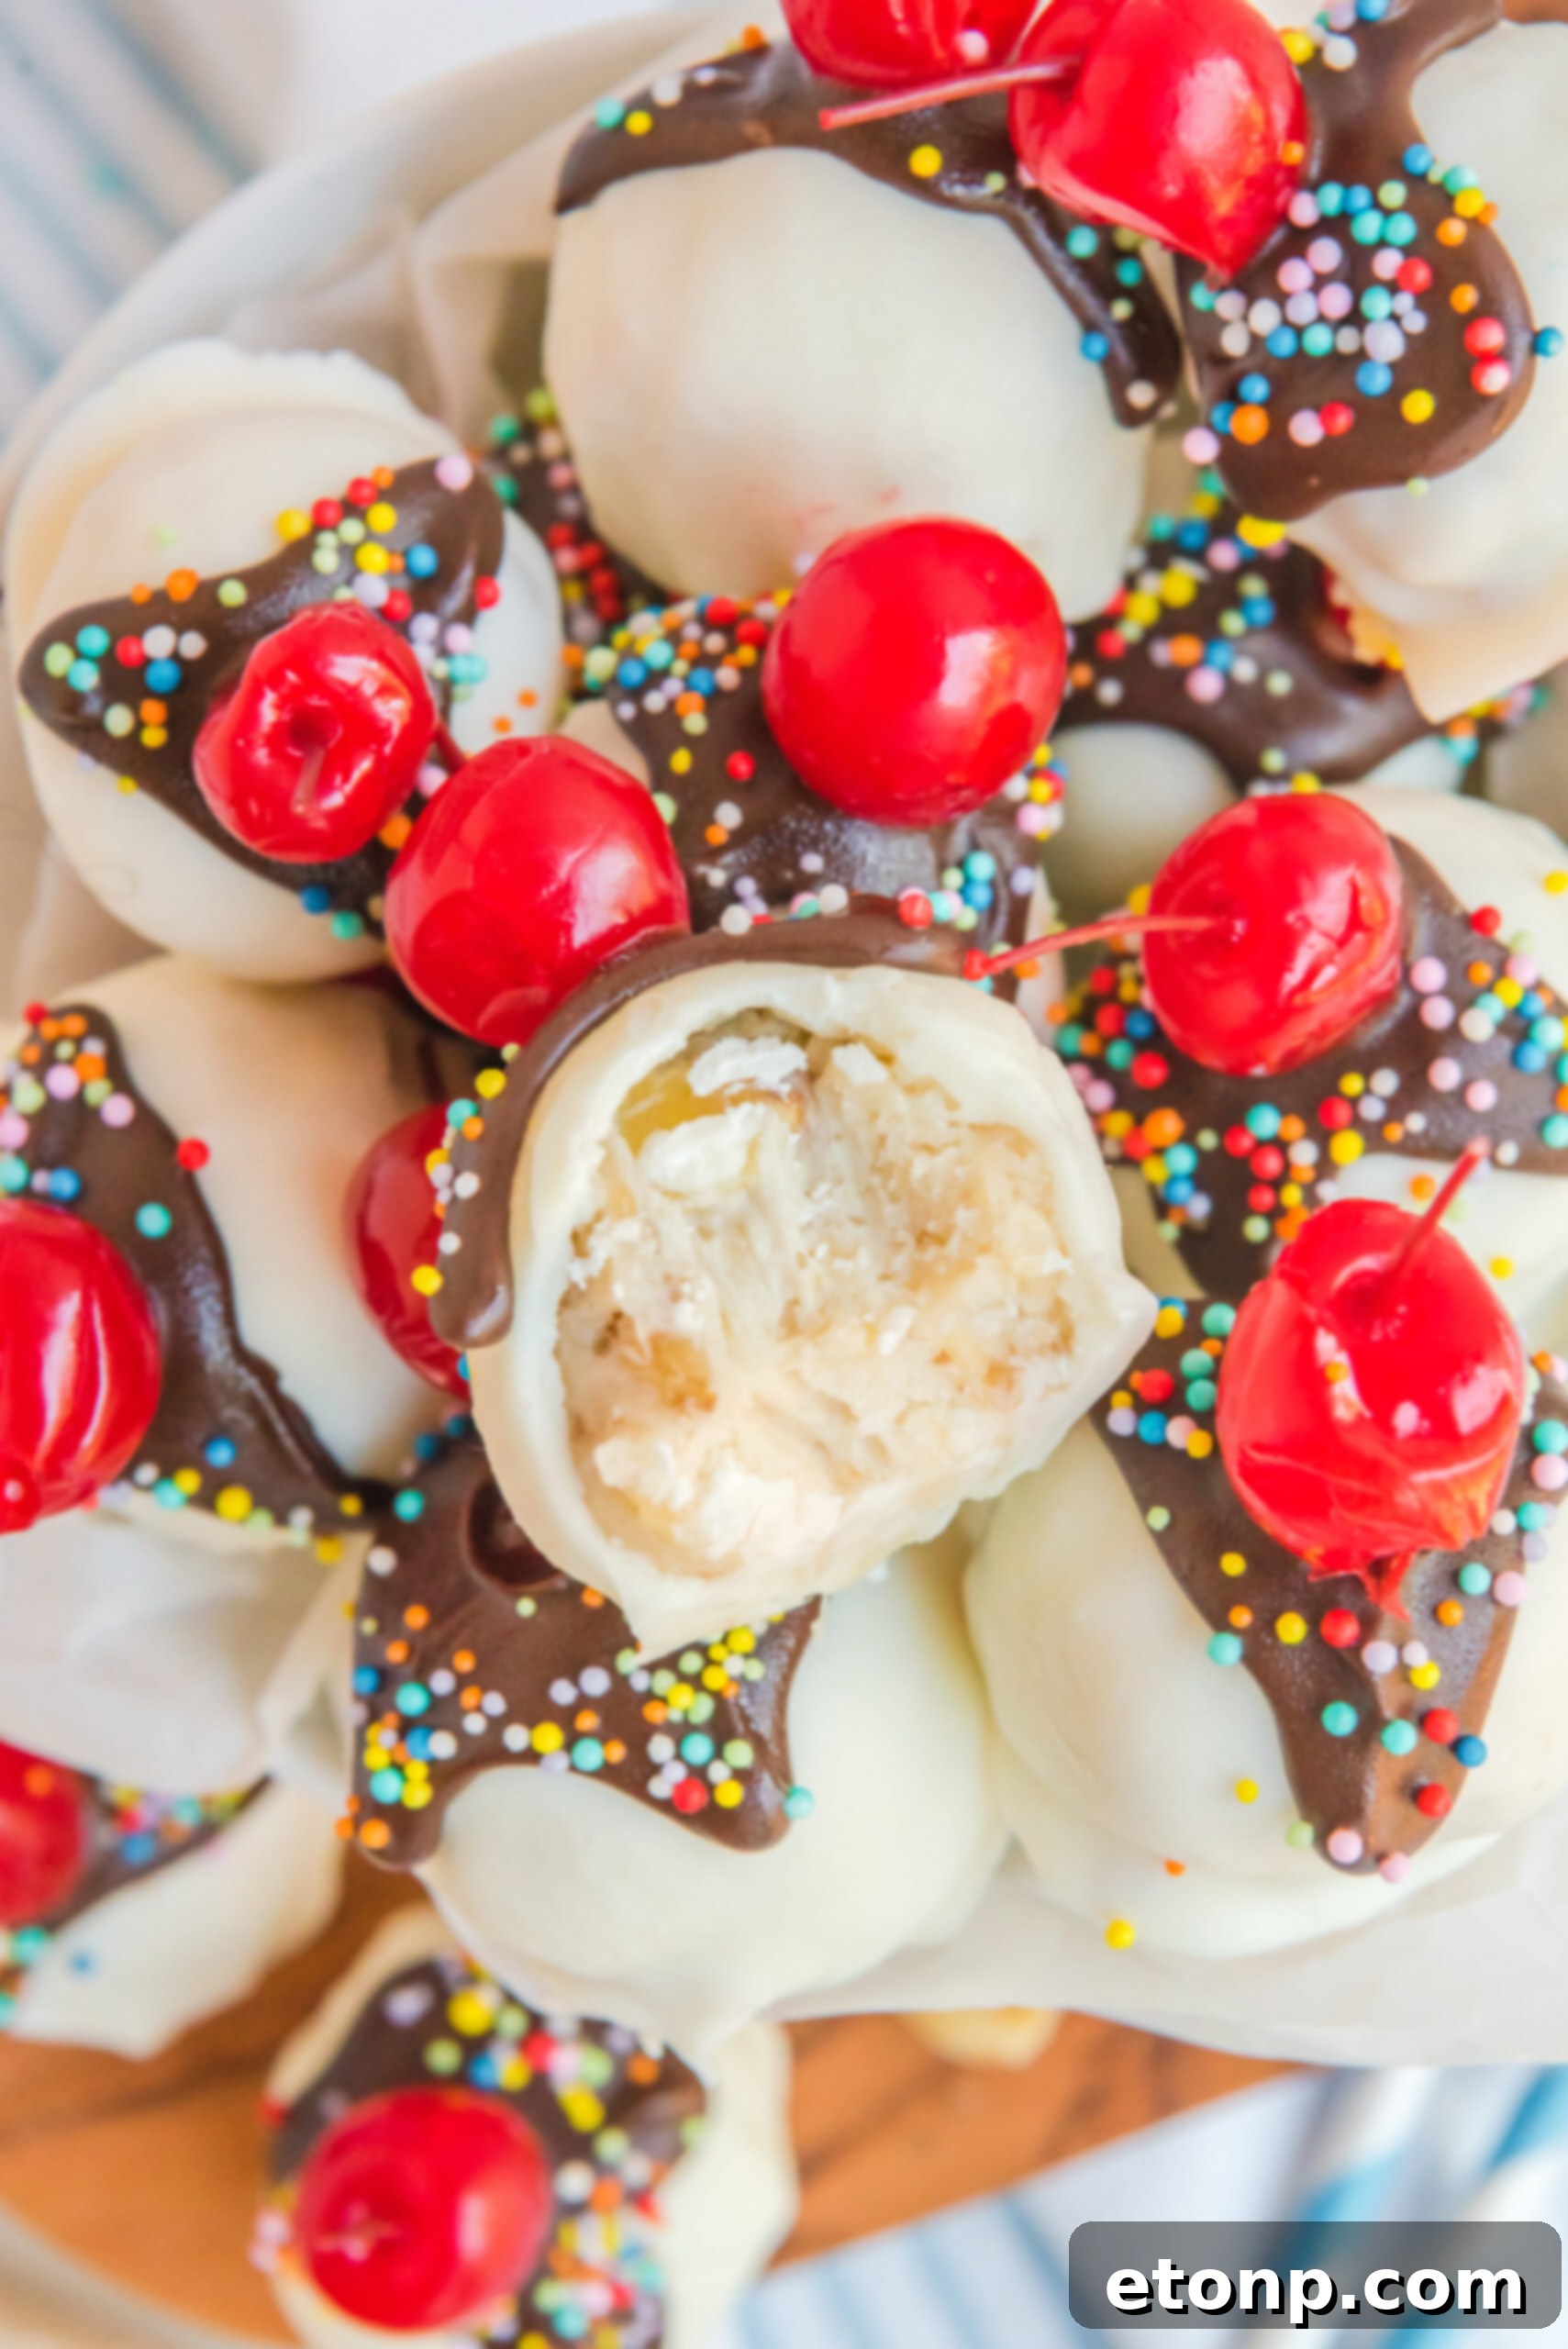
While your impeccably formed truffles are chilling to perfection, seize the opportunity to prepare an exciting array of toppings! Unleash your creativity by setting up a vibrant toppings bar. Imagine bowls overflowing with crunchy crushed peanuts, cheerful rainbow sprinkles, or even jewel-toned diced maraschino cherries. The possibilities are truly boundless, allowing everyone to customize their banana split truffle experience to their heart’s desire. This interactive element not only adds to the fun but also elevates the presentation of these already stunning treats.
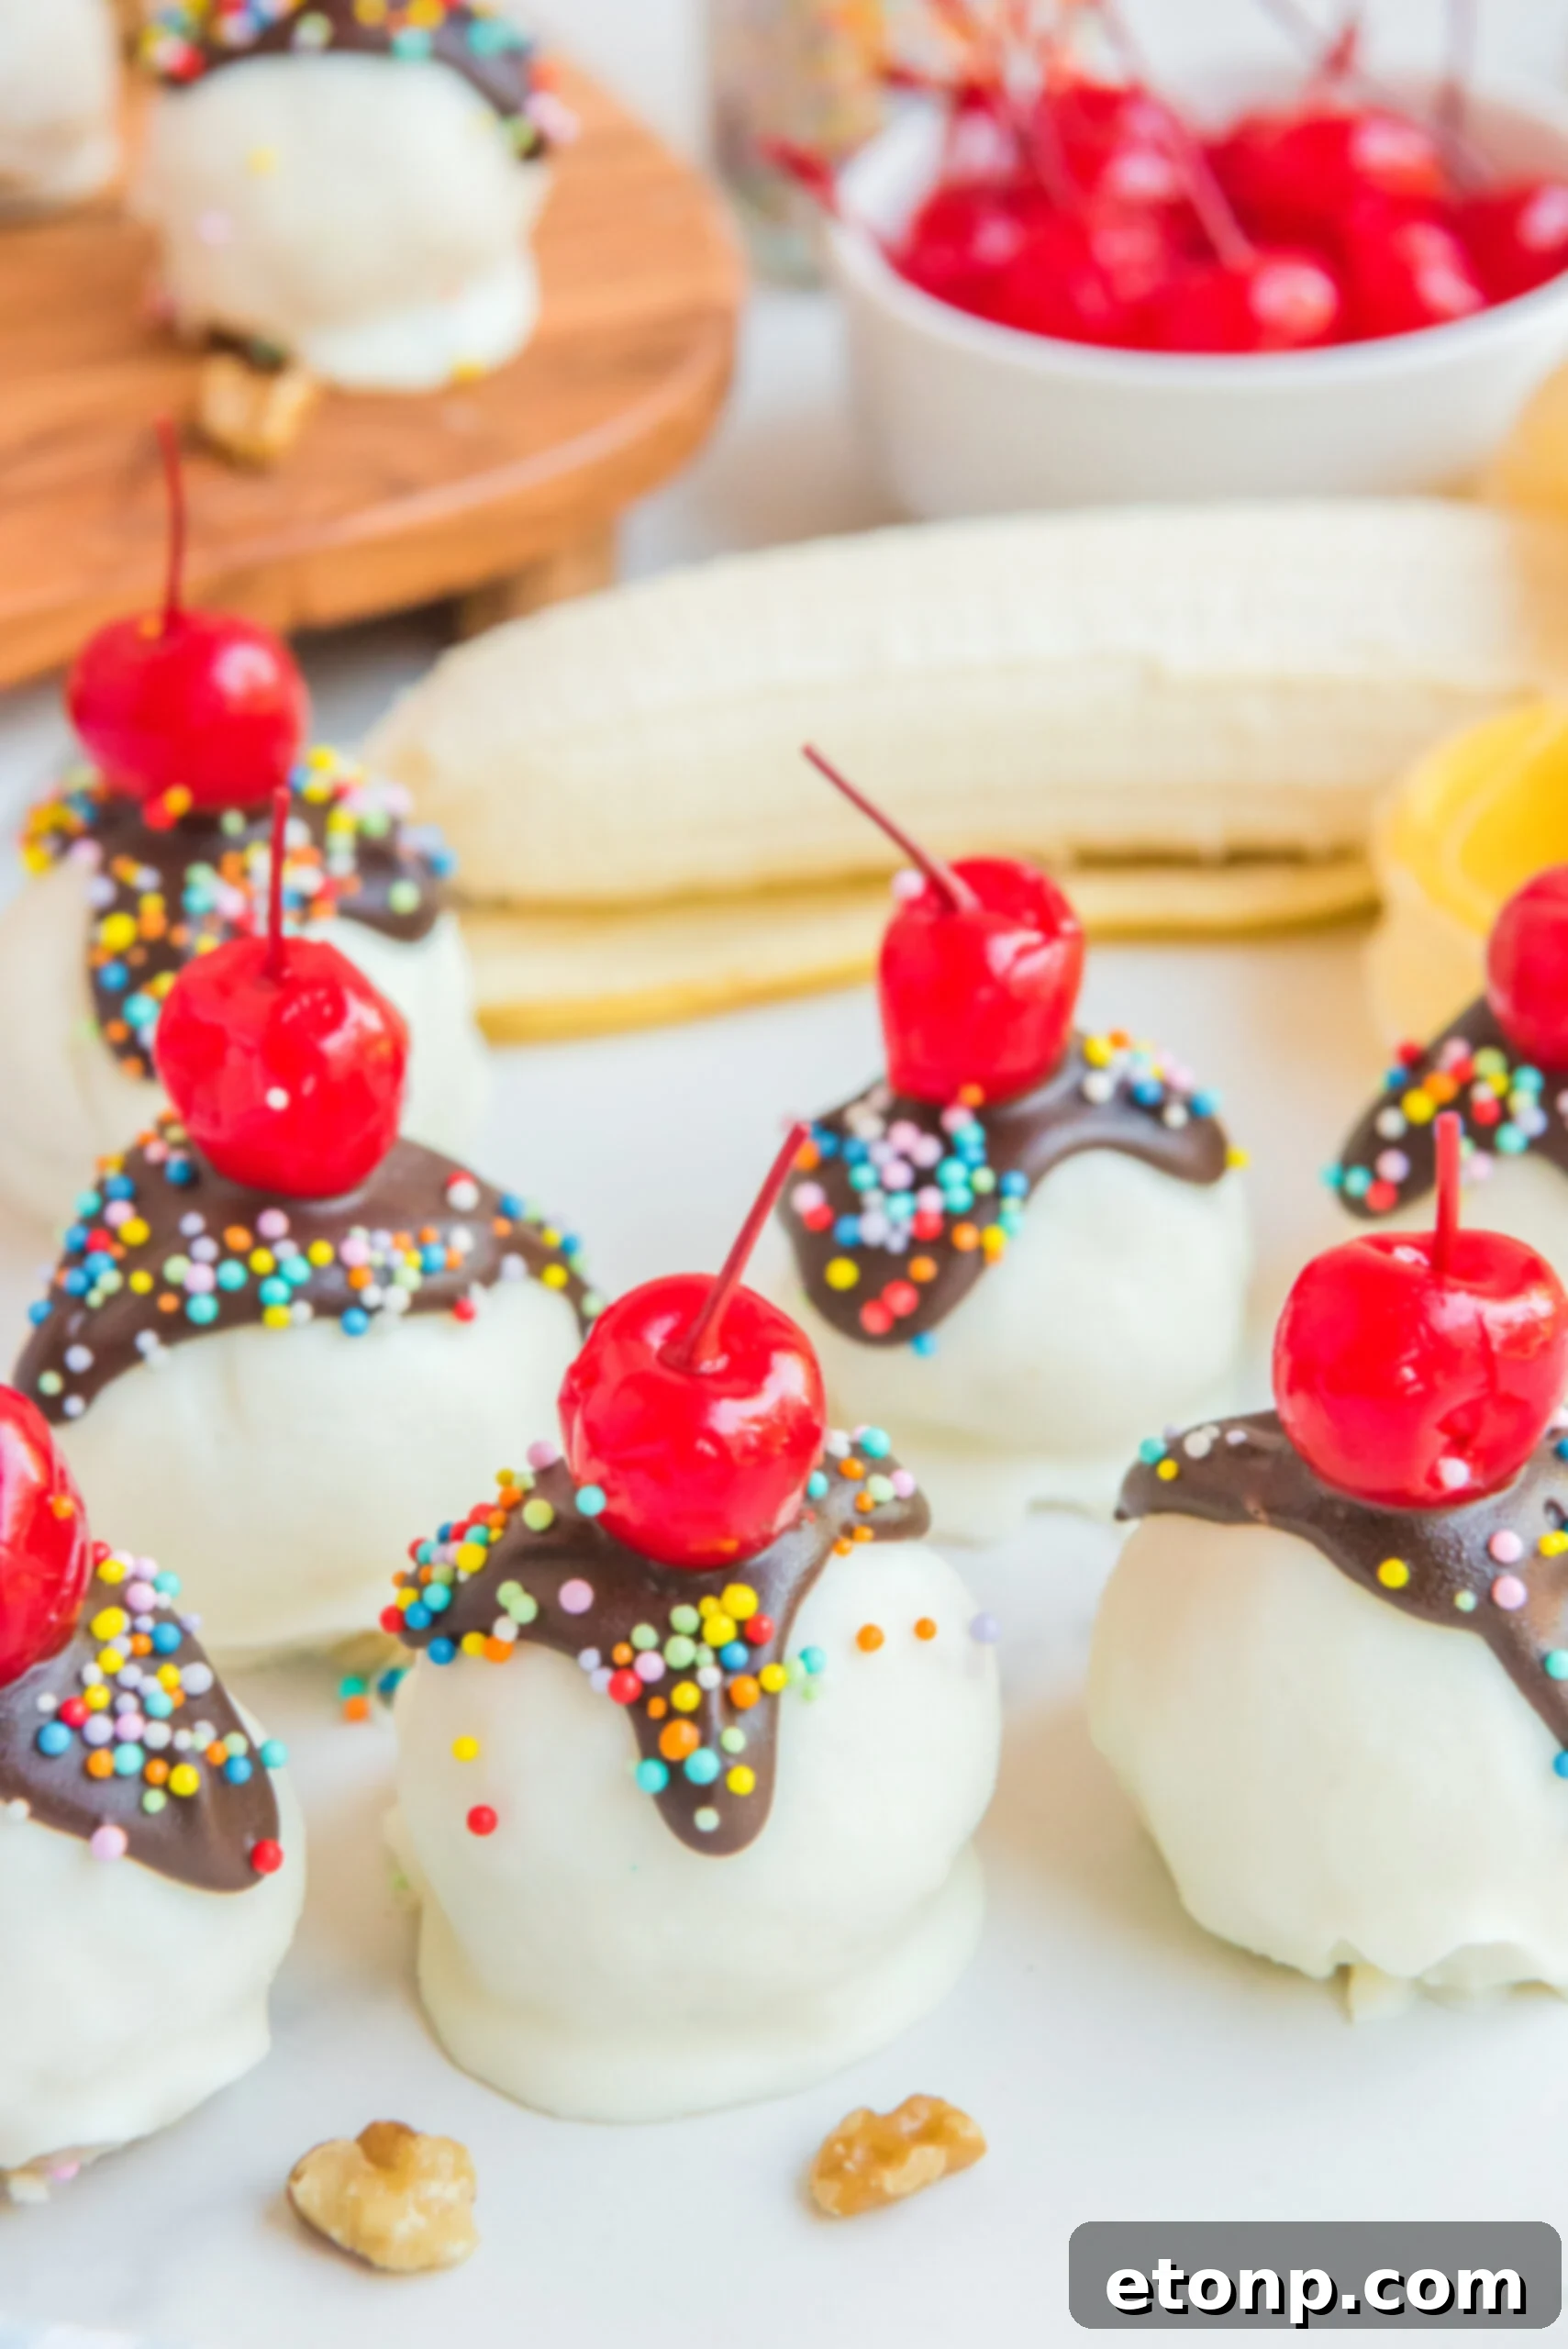
Take that first glorious bite of these delectable Banana Split Truffles and allow the exquisite flavors to transport you. Picture a warm, sunny summer day, perhaps at your most cherished ice cream parlor, where every spoonful was pure bliss. The velvety, fruity banana center, intertwined with subtle hints of rich chocolate and the satisfying crunch of nuts, creates a symphony of sensations that will undoubtedly leave you craving more. These truffles don’t just mimic a banana split; they encapsulate its very essence, offering a concentrated burst of joy in every mouthful.
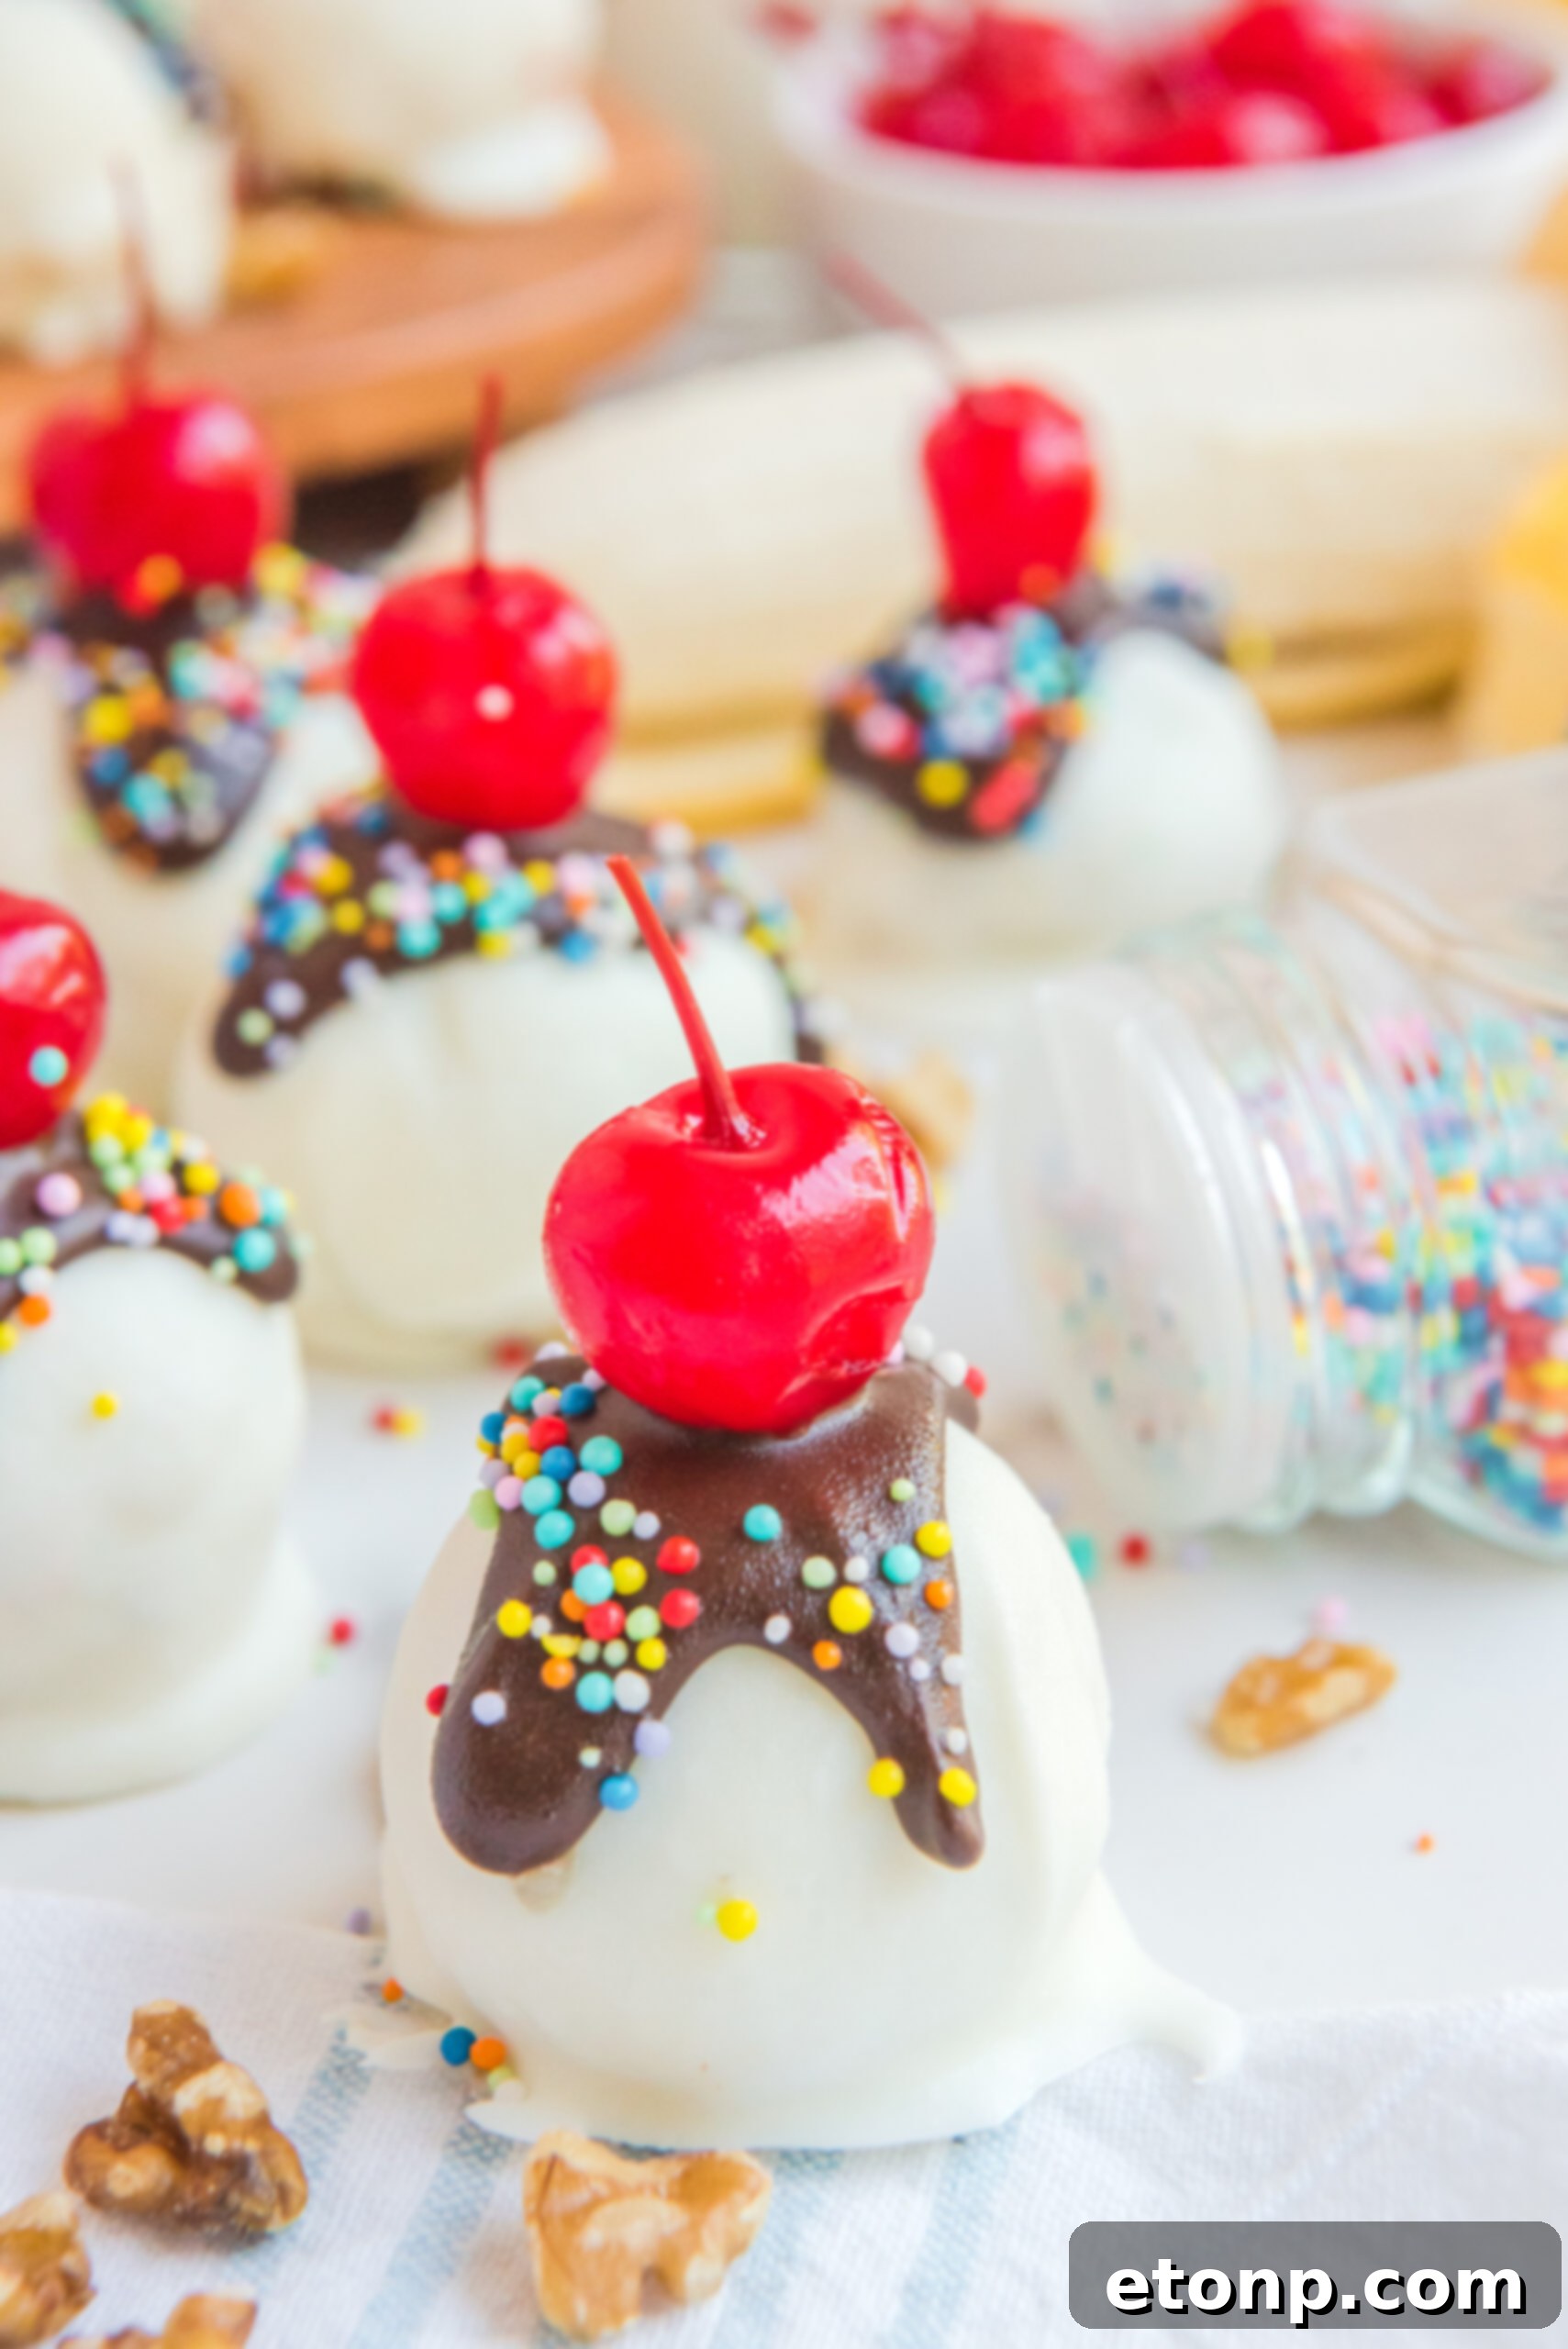
These truffles aren’t just for summer; they are also a fantastic addition to your upcoming holiday celebrations! I personally adore including cute, homemade truffles on my cookie trays, and these Banana Split Truffles are guaranteed to be an enormous hit. Their unique blend of flavors offers a refreshing change from traditional holiday sweets, providing the perfect combination of familiar comfort and festive indulgence. They’re a surefire way to bring a smile to anyone’s face!
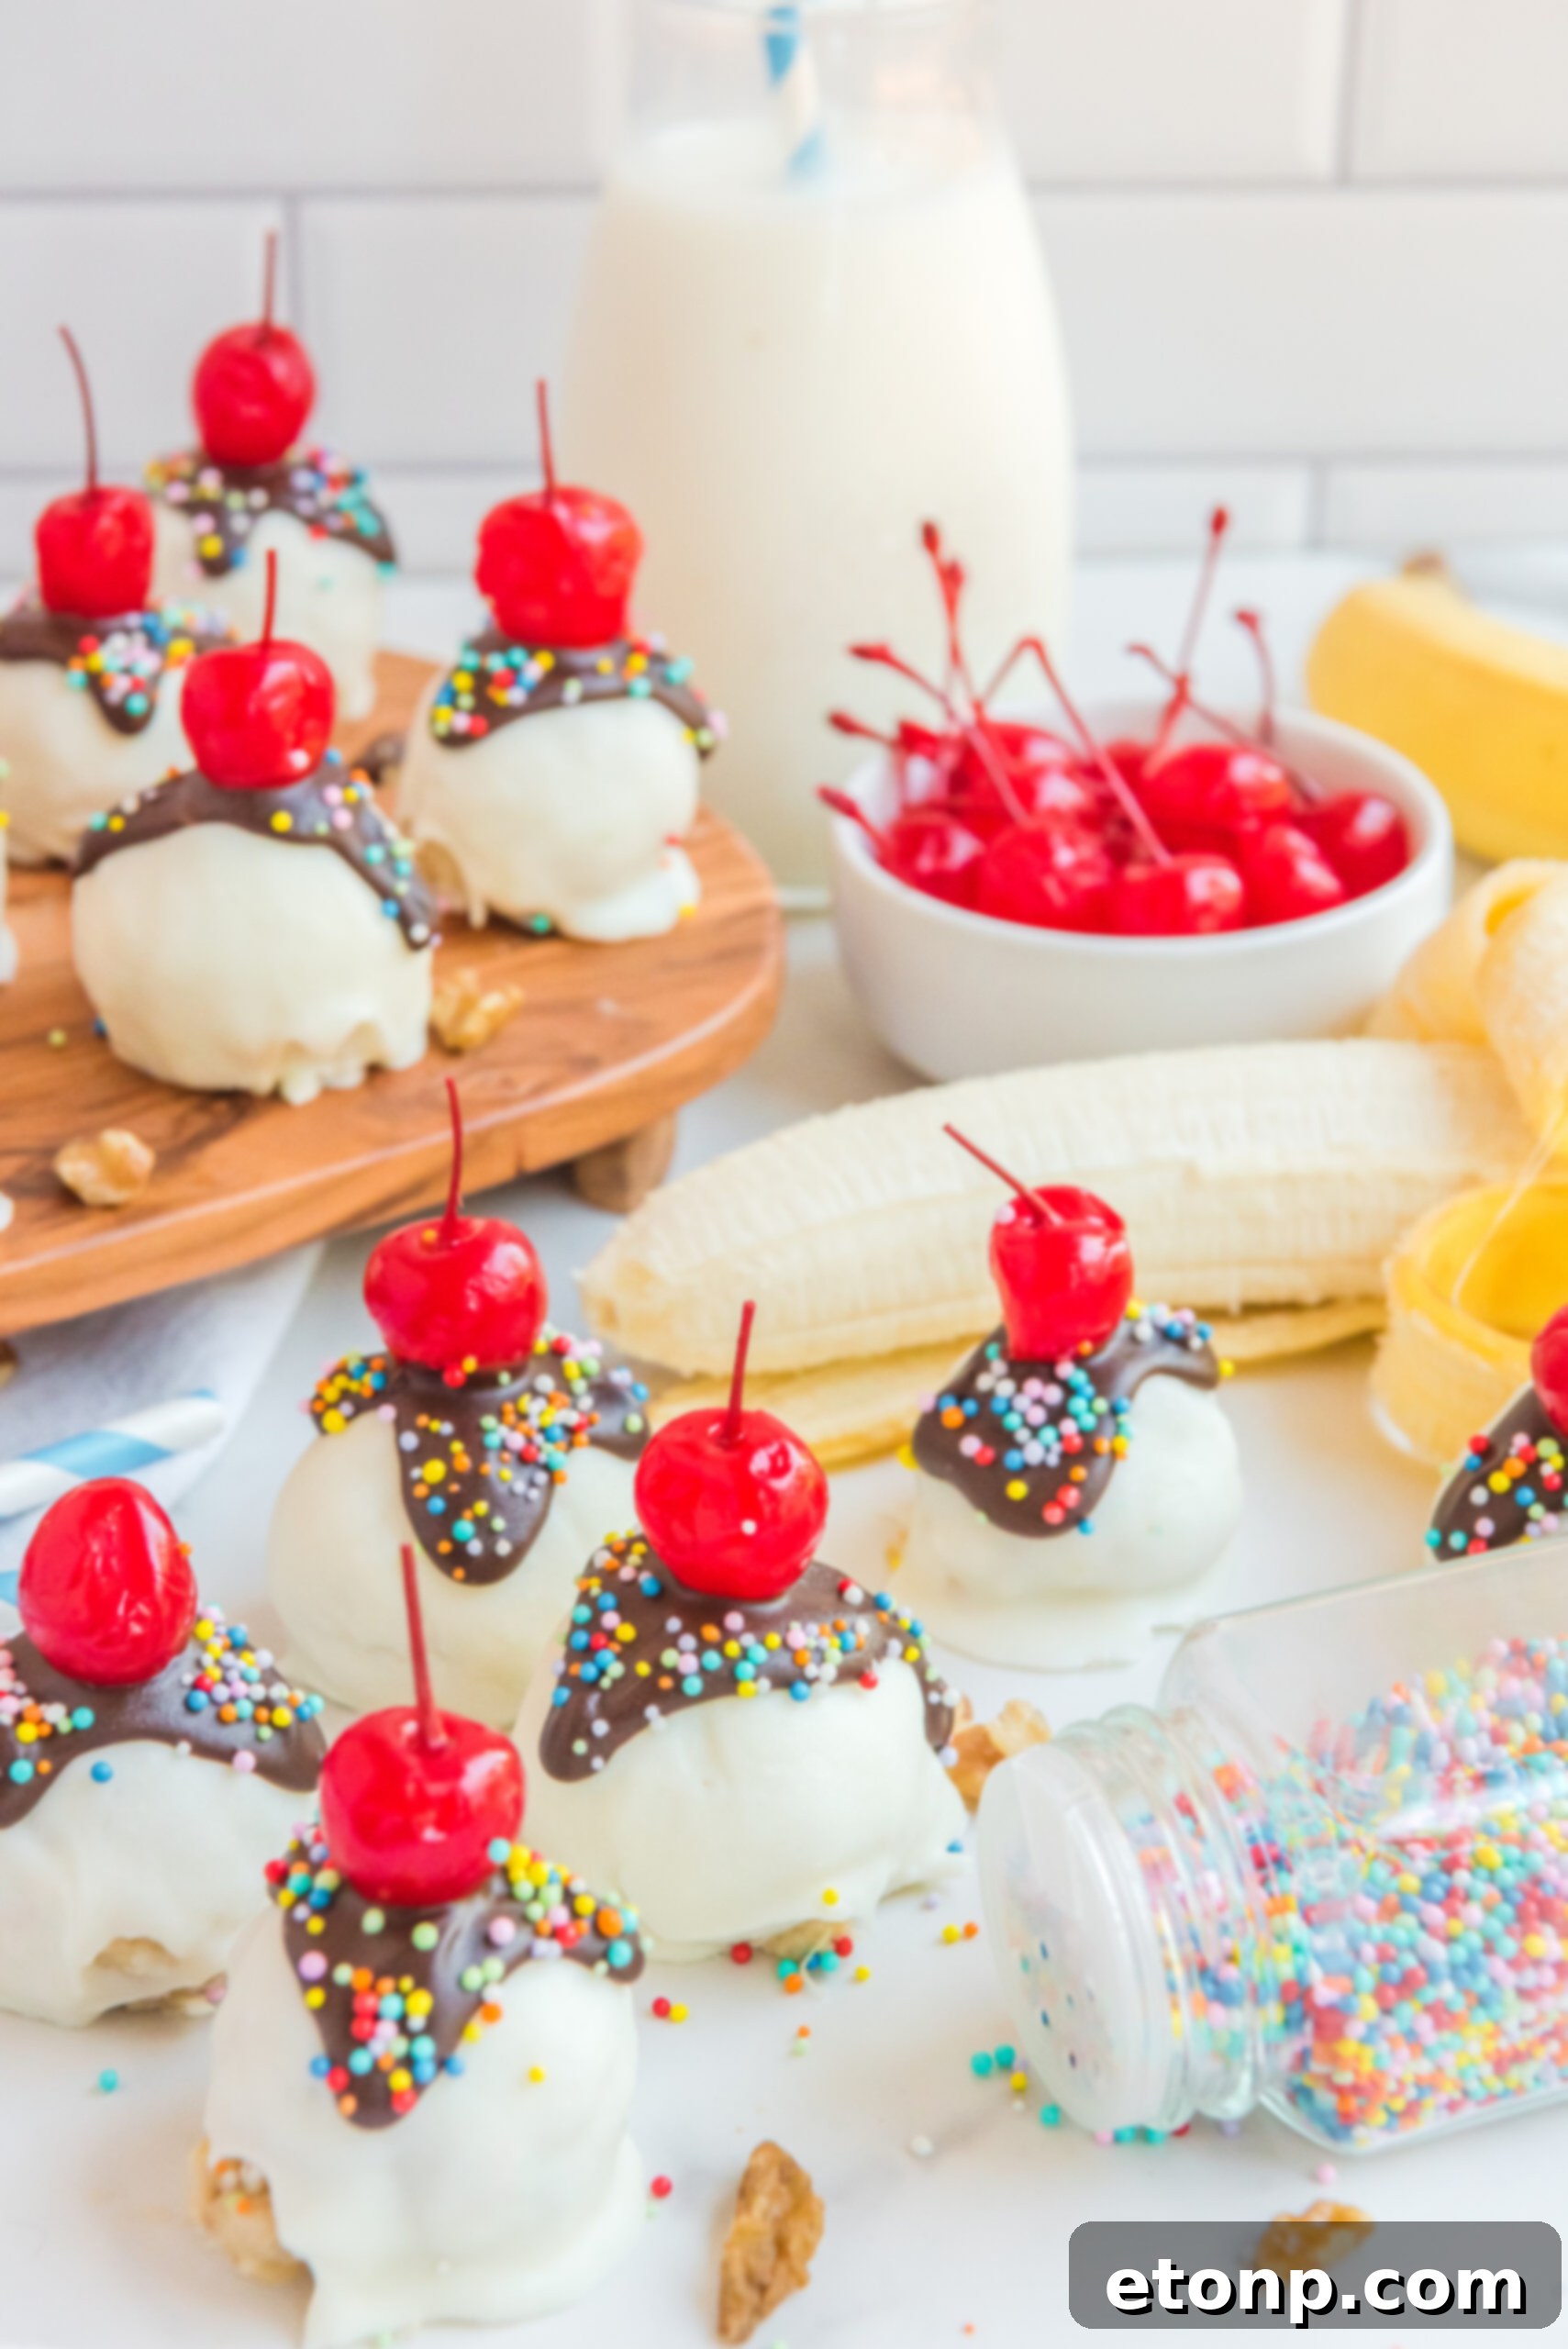
The Irresistible Allure of Banana Split Truffles: Why You’ll Love Them
There are numerous compelling reasons why these Banana Split Truffles are destined to become your new favorite dessert:
- Unique and Nostalgic Flavors: These truffles masterfully capture the beloved essence of a classic banana split, blending the distinct tastes of ripe banana, creamy vanilla (from the cake mix), and rich chocolate. This delightful combination offers a truly unique taste experience, while simultaneously evoking a comforting sense of nostalgia and cherished childhood memories for many.
- Luxurious Creamy Texture: Truffles are celebrated for their melt-in-your-mouth quality, and these banana split variations are no exception. They feature an exceptionally creamy and smooth interior, encased in a satisfyingly firm chocolate shell, enhancing their overall indulgence and luxurious appeal.
- Perfect for Any Occasion: Their elegant, bite-sized format makes them ideal for entertaining, holiday gatherings, or simply as a special treat for your family. They are easy to serve, require no plates or cutlery, and are always a crowd-pleaser, adding a touch of gourmet sophistication to any event.
- Simple to Make, Impressive Results: Despite their sophisticated appearance and complex flavor, these truffles are remarkably easy to prepare. The straightforward process, combined with readily available ingredients, ensures that even novice bakers can achieve stunning and delicious results, making you look like a culinary genius.
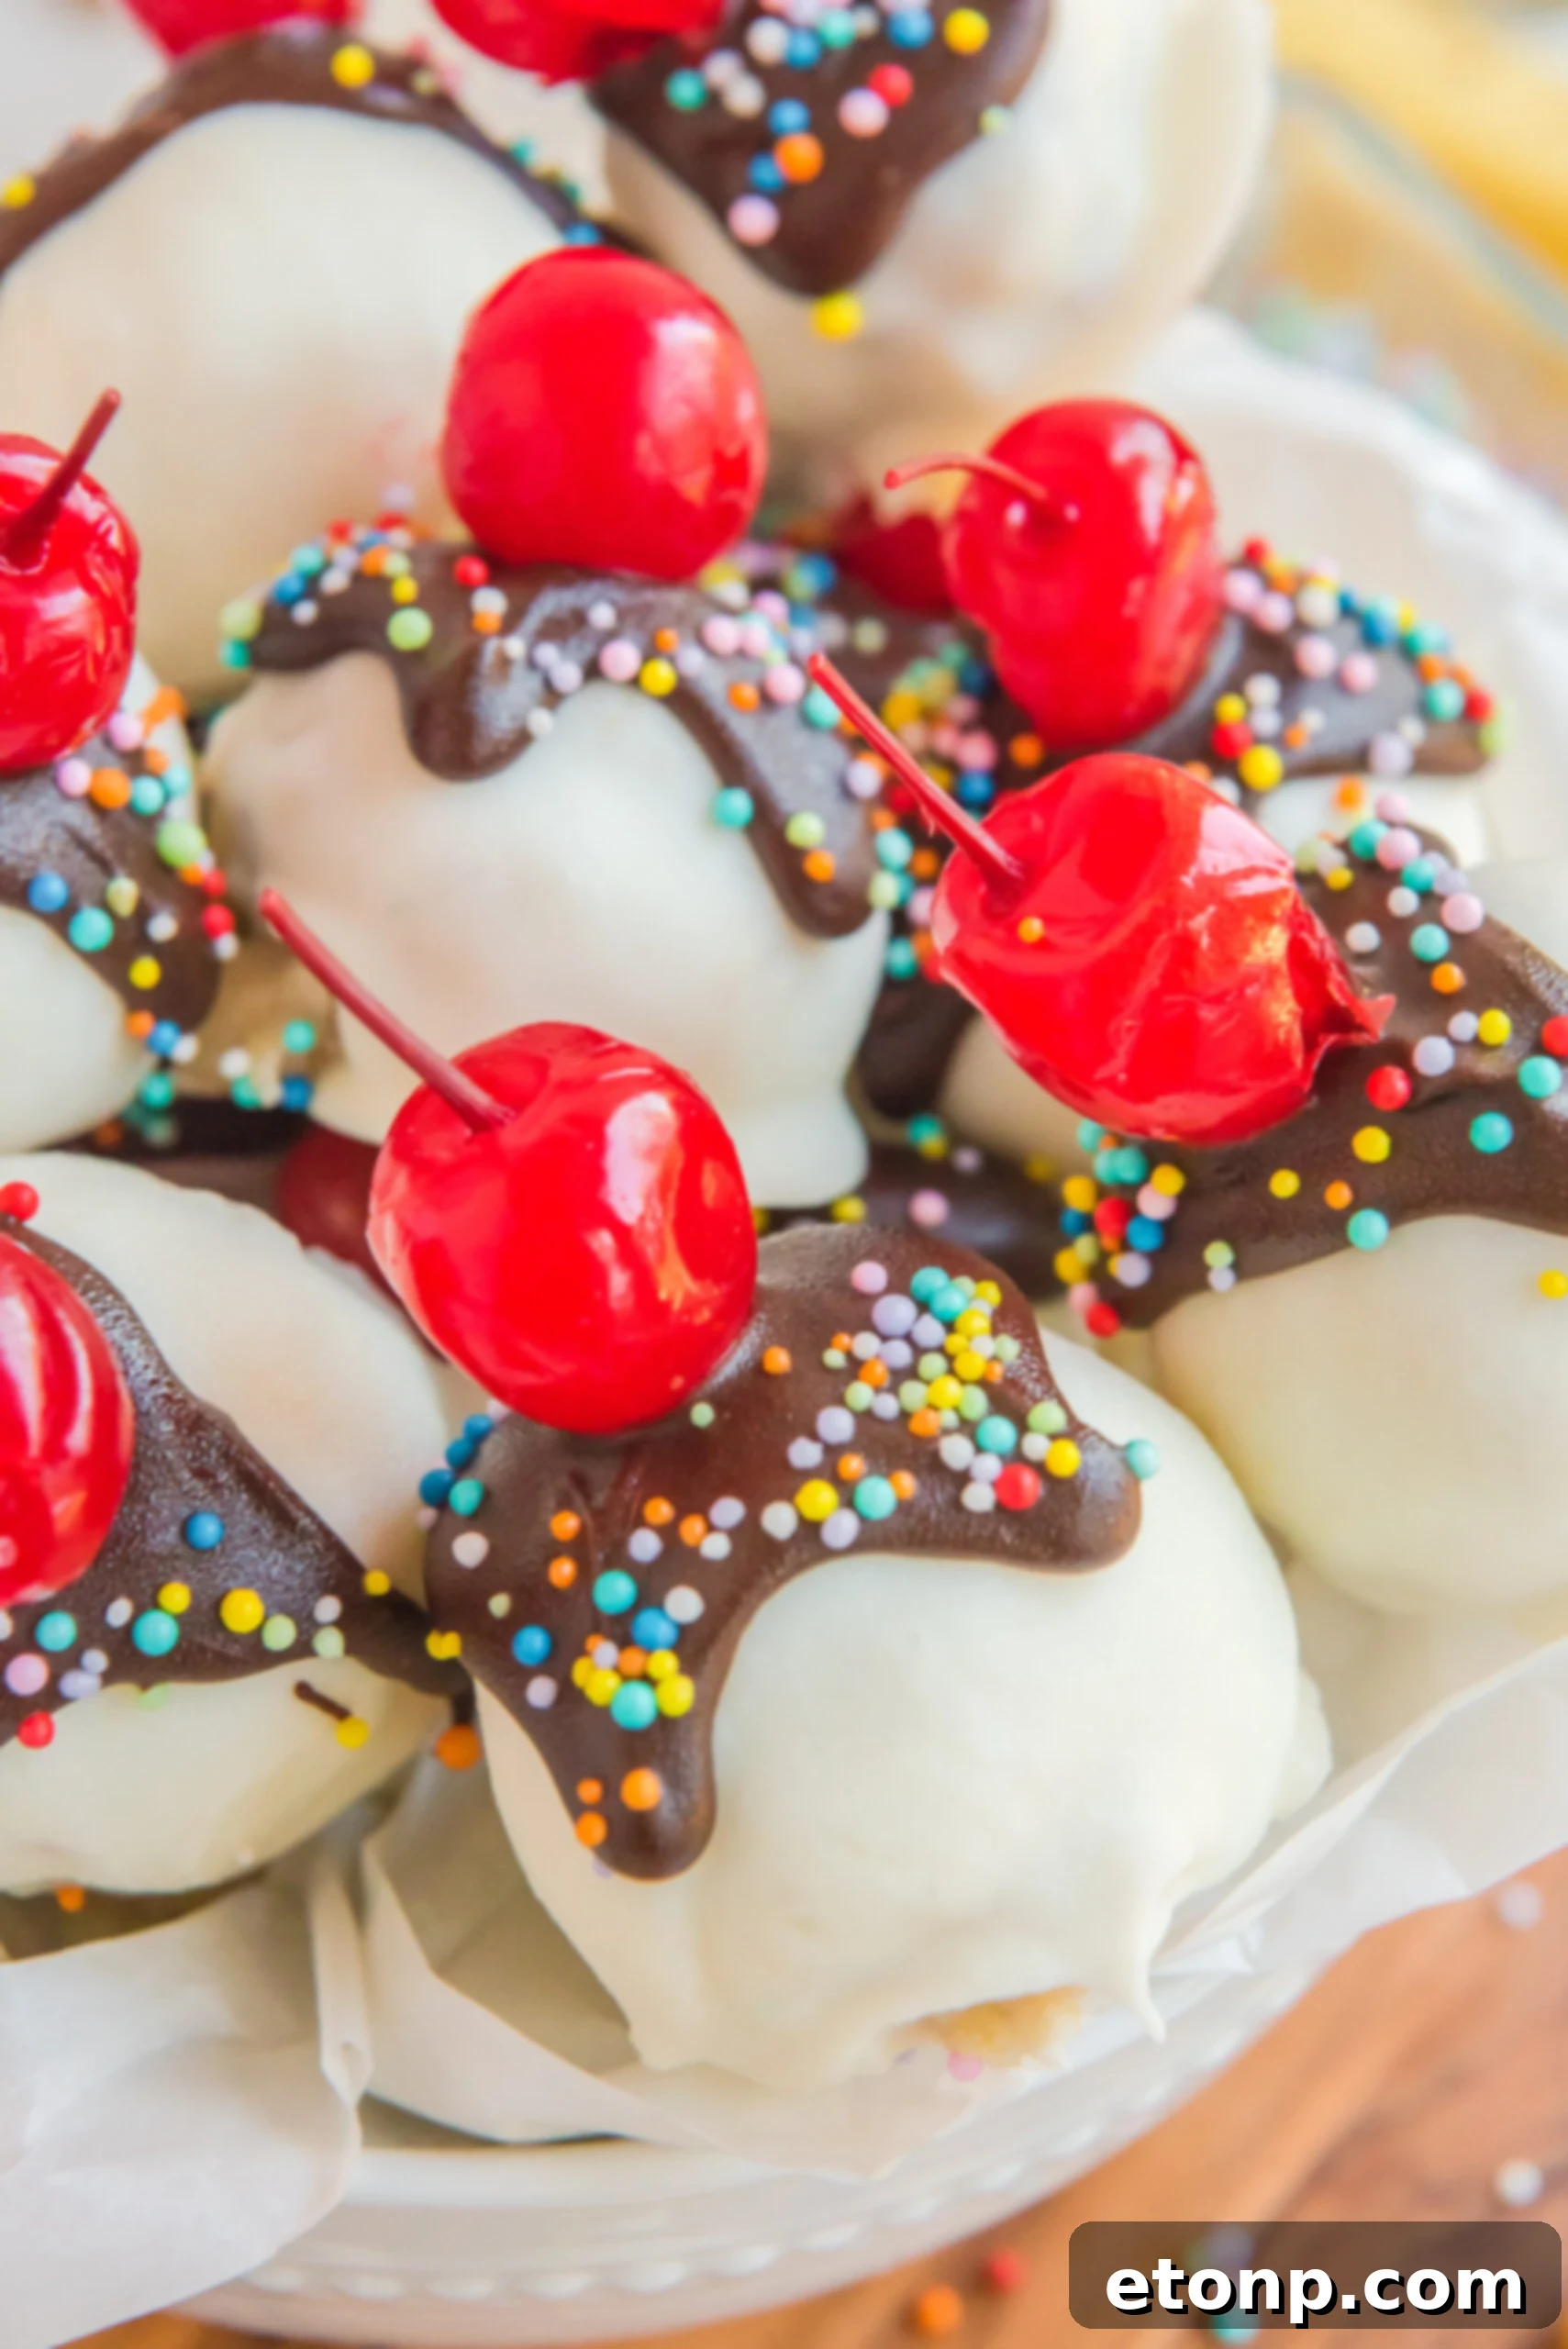
Perfect for upcoming holiday parties, intimate special gatherings, or simply to surprise your family with a decadent homemade dessert, these truffles never fail to delight. Their versatility means you can enjoy them simply as they are, letting their core flavors shine, or dress them up with elaborate decorations that make them truly stand out from any other sweet treat. What makes these truffles even more appealing is their accessibility – they are easy enough for anyone to make, regardless of their baking experience. So, don’t hesitate; whip up a batch today and create an unforgettable treat that will be talked about long after the last bite.
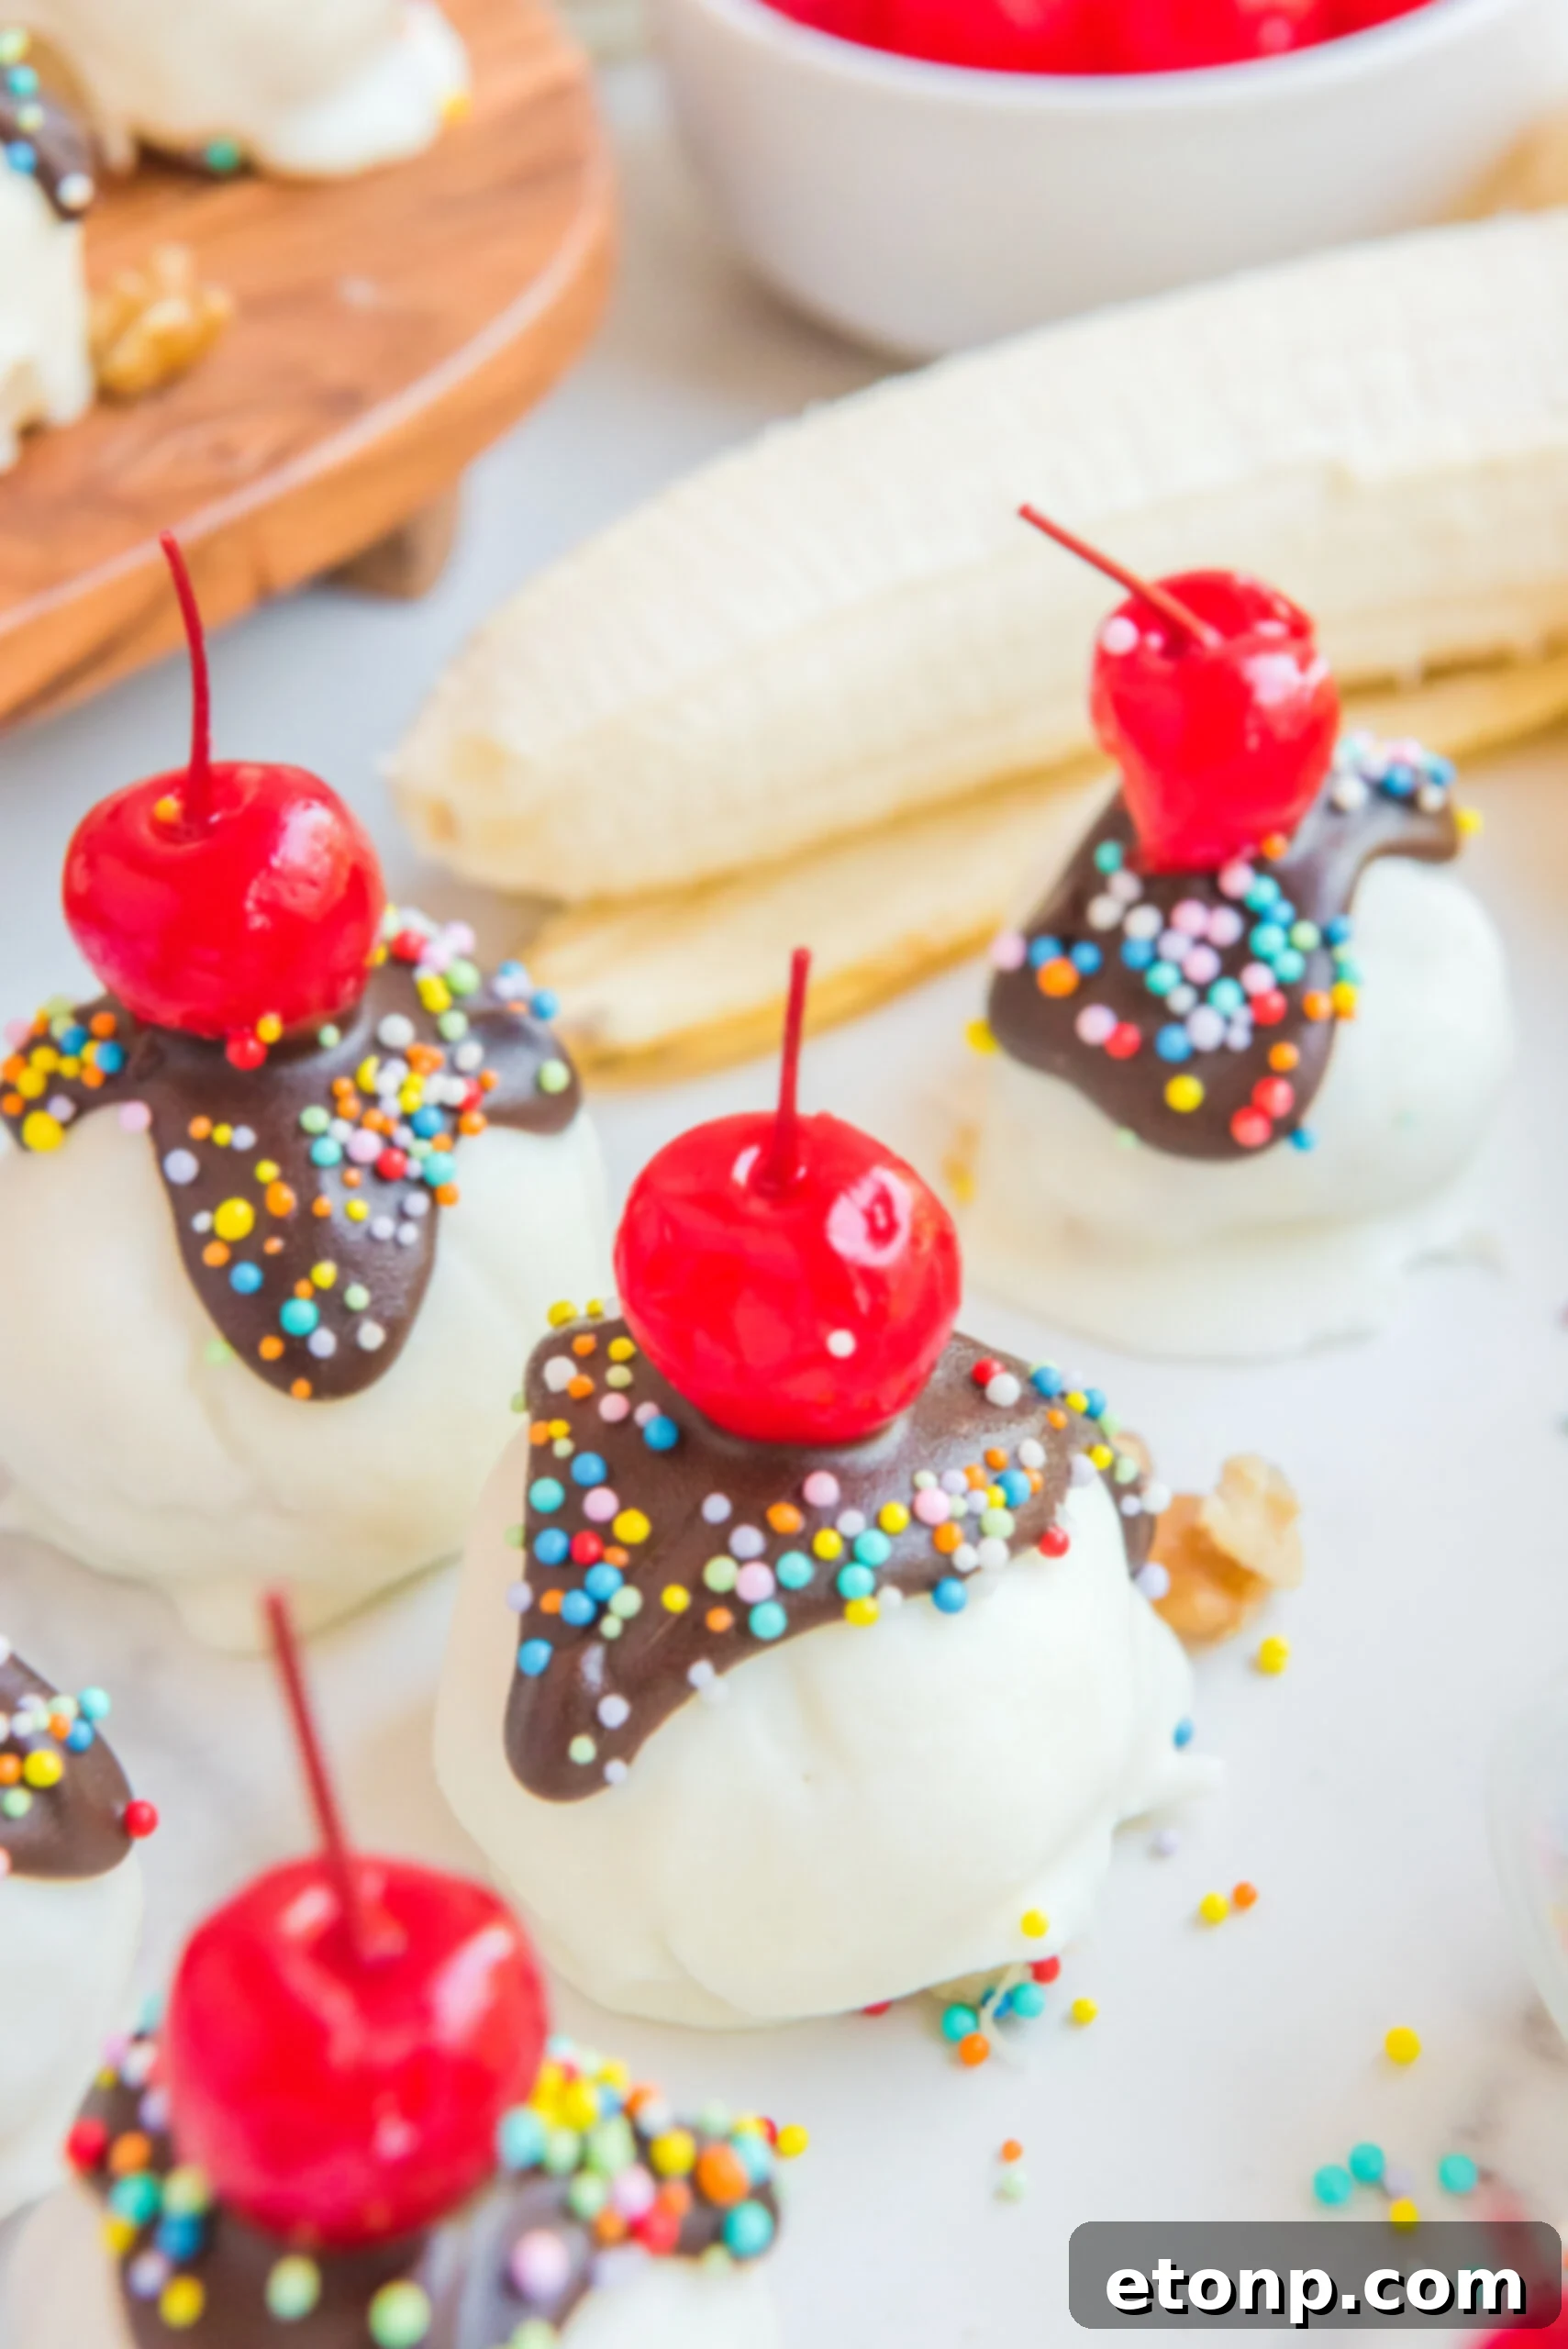
If you’re on the hunt for an irresistible treat that will perfectly satisfy your sweet cravings, then these mouthwatering Banana Split Truffles are precisely what you need! These delectable bites seamlessly combine the wholesome goodness of creamy bananas with the comforting richness of white cake, all exquisitely topped with a luscious chocolate coating. The result is a dessert that is not only heavenly in taste but also wonderfully addictive, making it a perfect indulgence for any time of day.
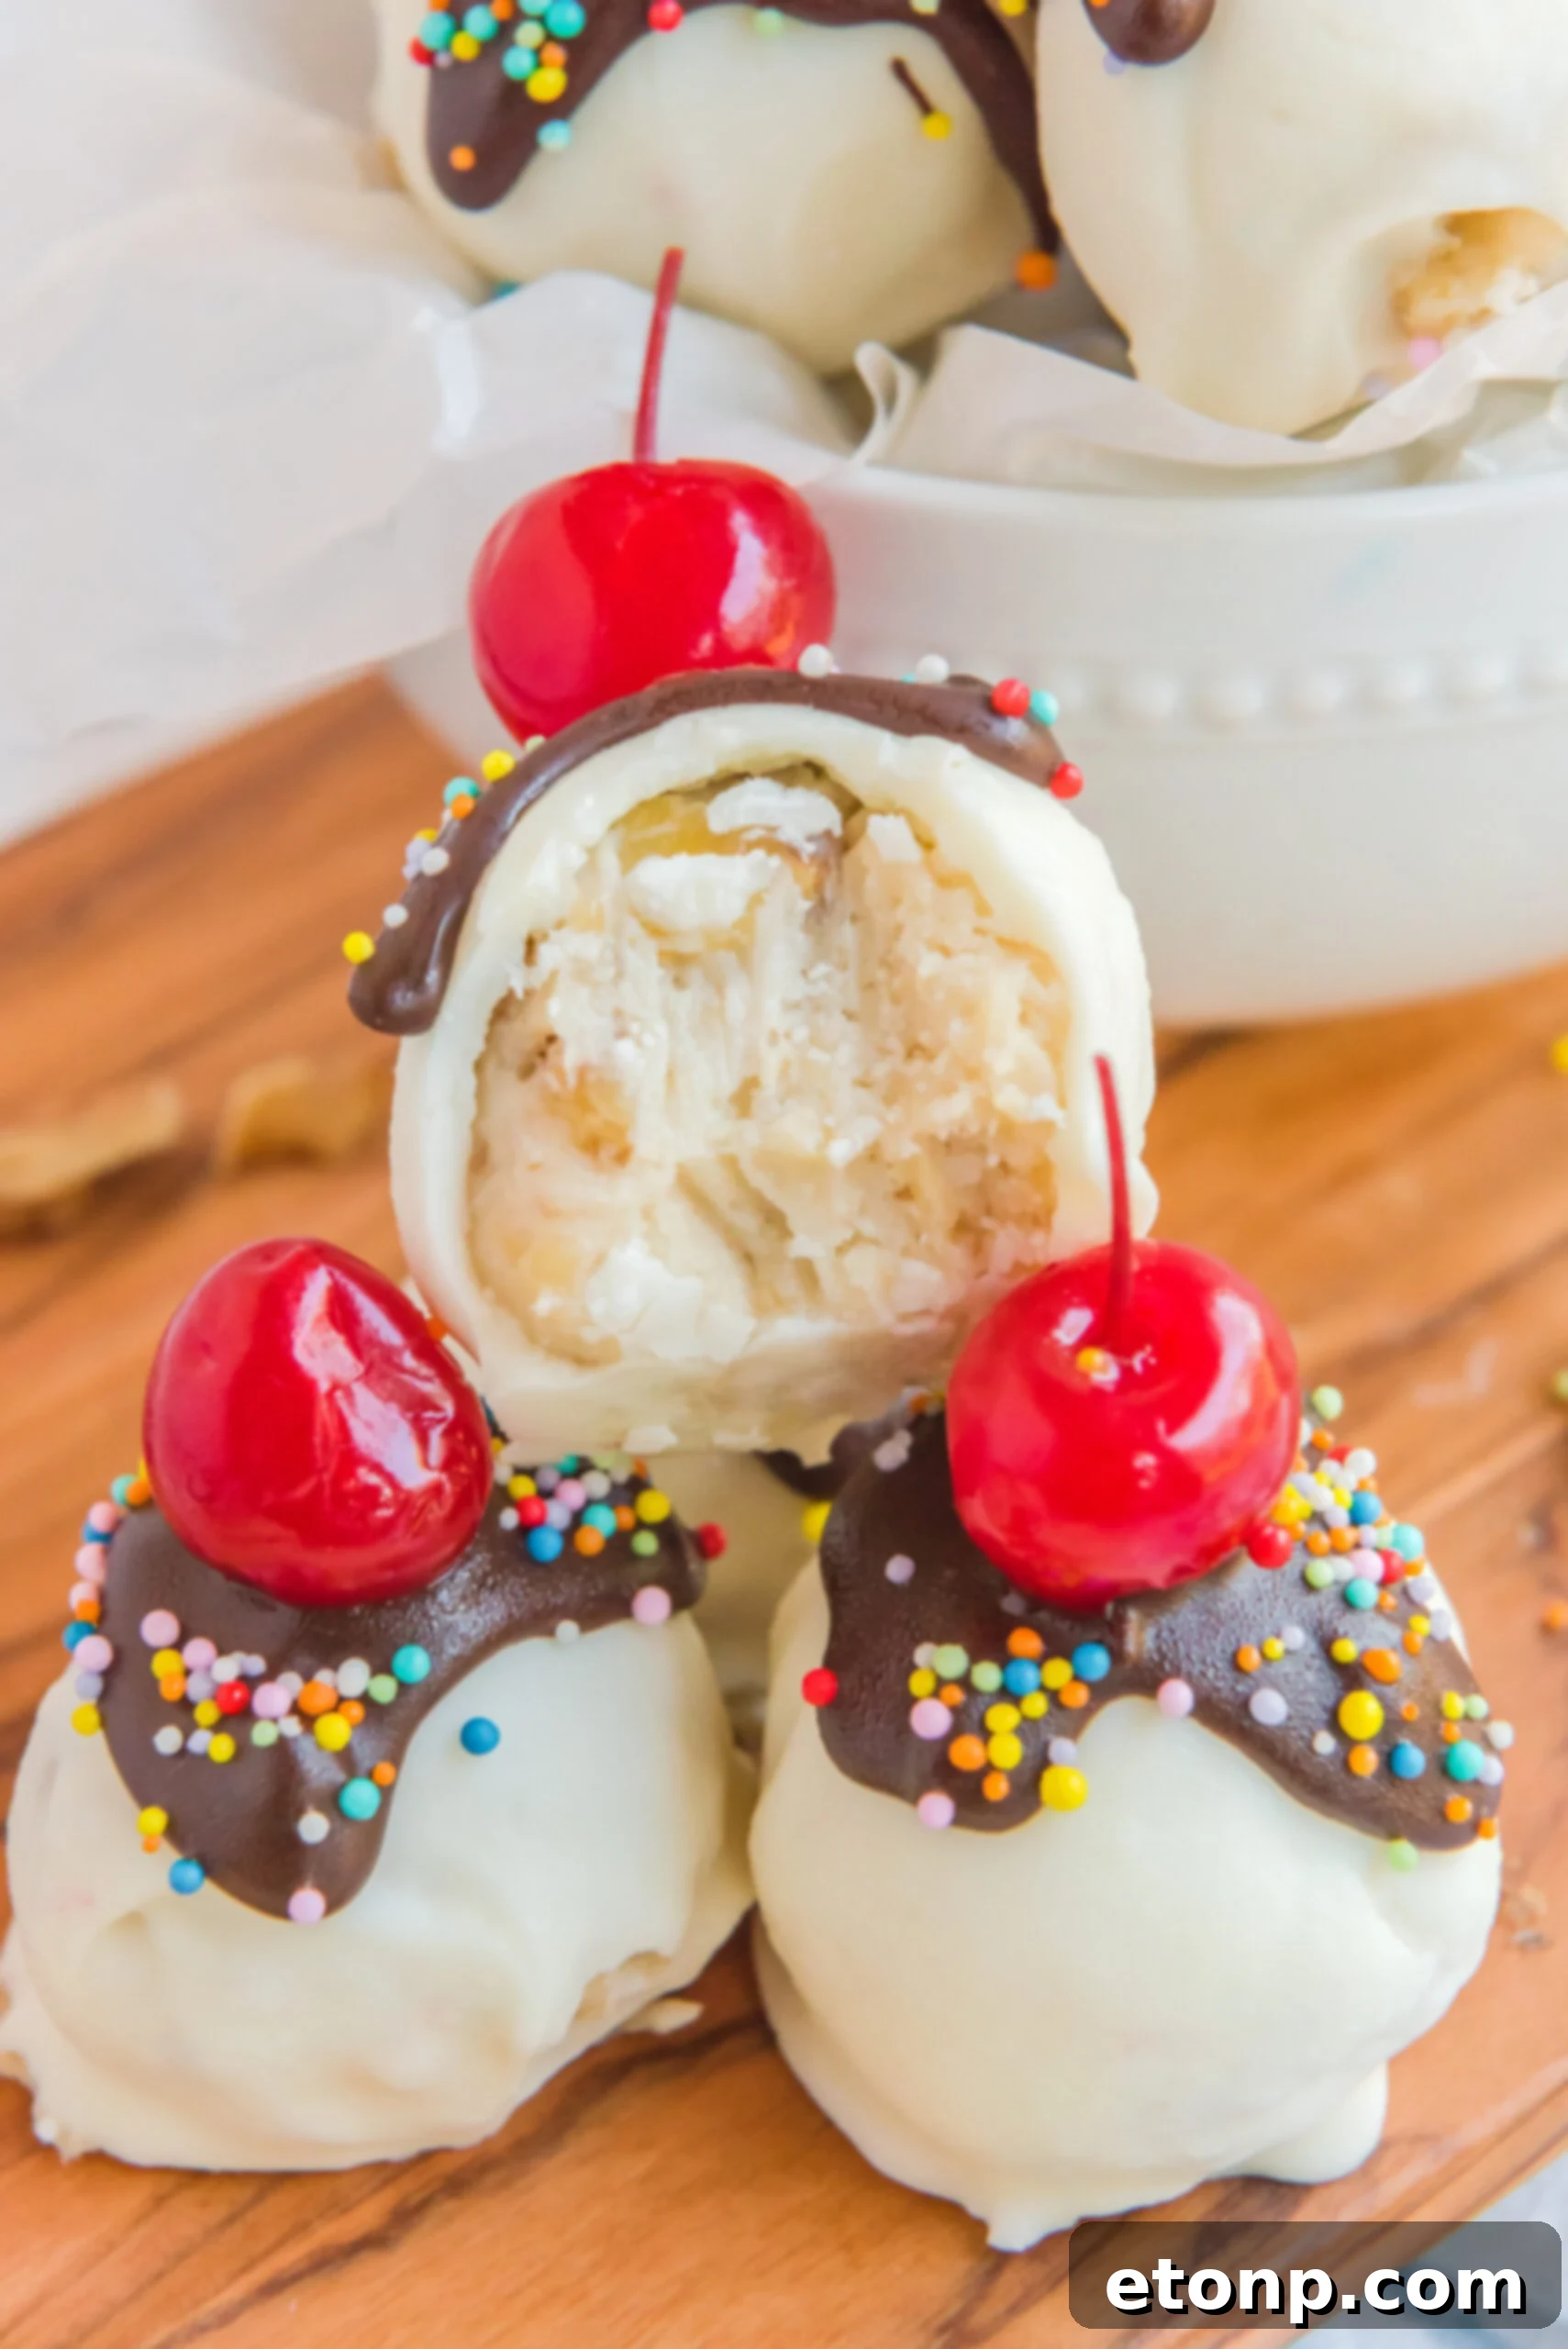
How to Store Your Delicious Banana Split Truffles
Proper storage is key to maintaining the freshness and exquisite texture of your Banana Split Truffles. To prevent them from becoming too soft or melting prematurely at room temperature, it is best to store them in an airtight container within the refrigerator. This method will keep them perfectly firm and delightful for enjoyment over several days.
For those who love to plan ahead or wish to extend the shelf life of these wonderful treats, freezing is an excellent option. You can comfortably freeze your banana truffles for up to 2 months. When you’re ready to indulge, simply transfer the frozen truffles from the freezer to room temperature and allow them to thaw for a few hours. Once fully defrosted, they will be ready to serve and savor, offering the same incredible taste and texture as freshly made truffles.
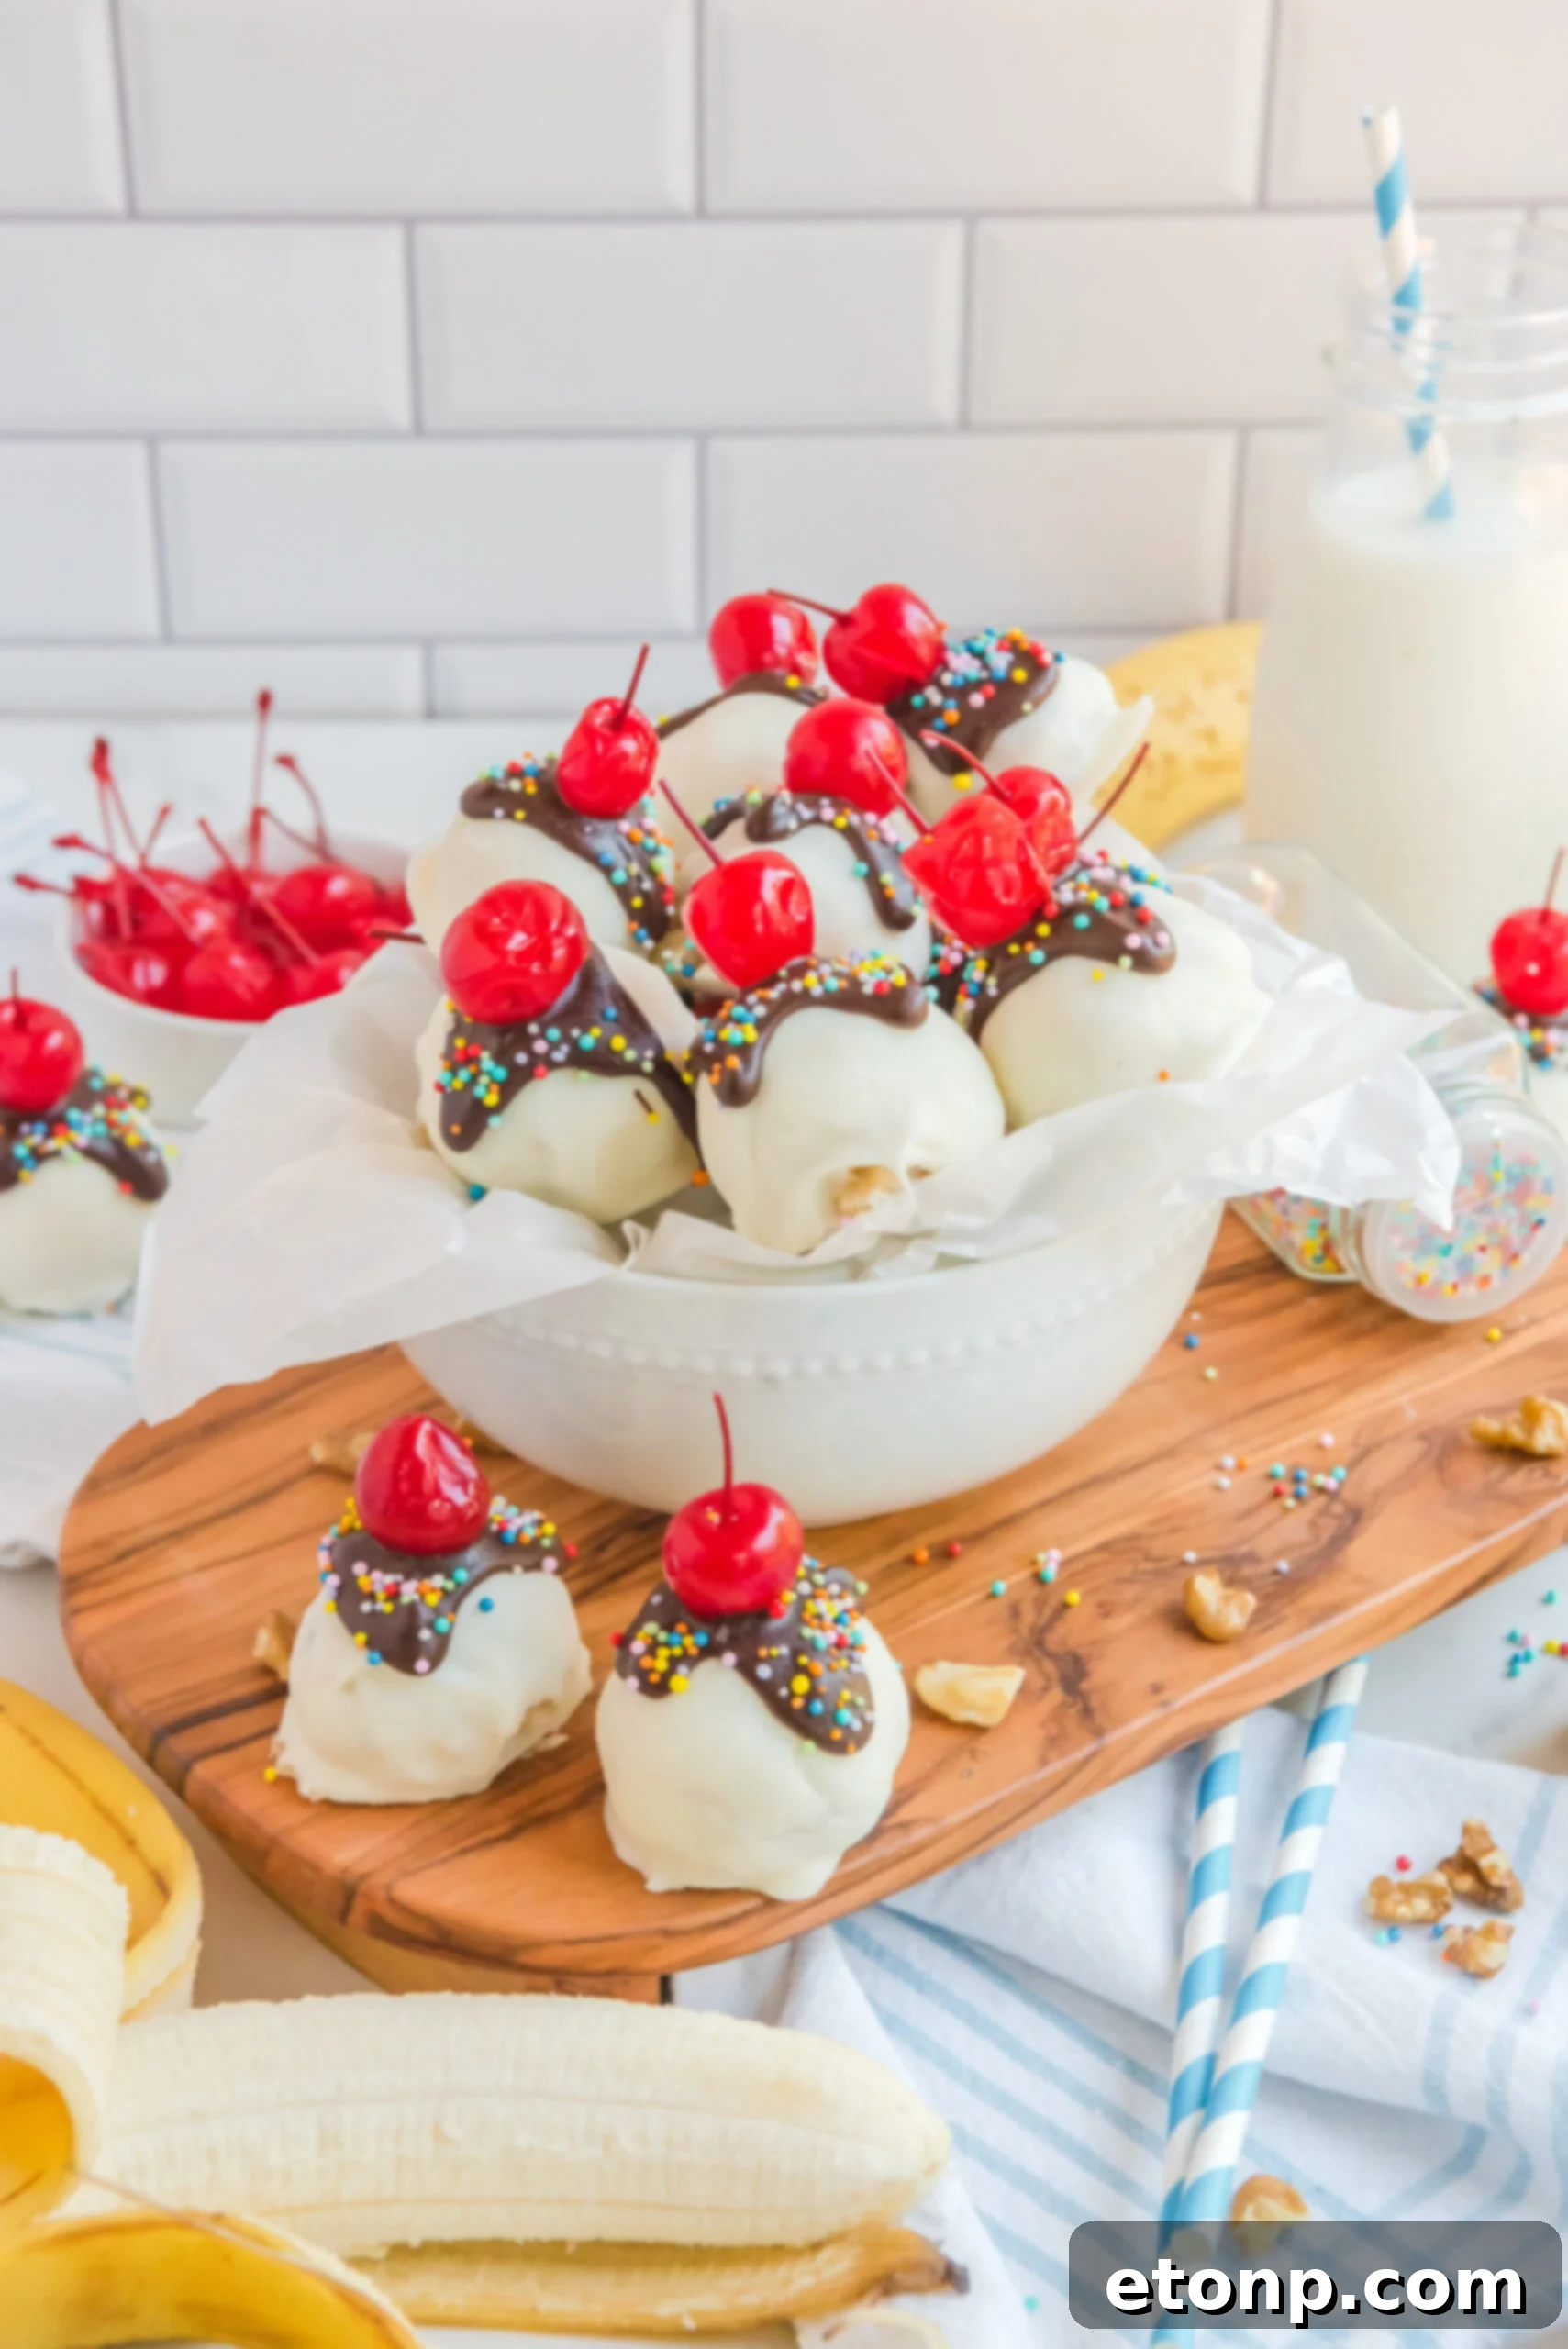
More Irresistible Recipes You Will Love!
If you enjoyed making these delightful Banana Split Truffles, you’ll surely love exploring more of our incredible dessert creations. Here are a few more recipes that promise to tantalize your taste buds and inspire your next baking adventure:
Strawberry Cheesecake Truffles
Banana Split Bites
No Bake Banana Cream Pie Dip

Banana Truffles Recipe
Course: Dessert
Prep Time: 25 mins
Total Time: 2 hrs 25 mins
Servings: 18 Truffles
Summary
These Banana Truffles are always the biggest hit of the party. These delicious truffles are simple to make and full of delightful ingredients, perfect for any occasion.
Ingredients
- 15.25 oz box white cake mix (heat treated – See notes)
- 8 oz block of cream cheese, softened to room temperature
- 1 teaspoon vanilla extract
- ½ cup crushed pineapple, very well drained
- ¾ cup chopped walnuts
- 1 banana, sliced
- 8 oz of white candy coating
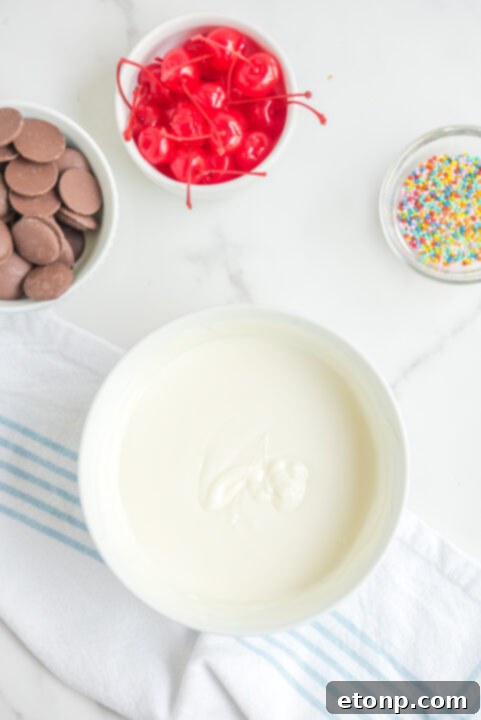
- ½ cup chocolate melting wafers
- Rainbow sprinkles and stemmed maraschino cherries for garnishing
Instructions
- Prepare a large cookie sheet with parchment paper and set aside.
- In a medium mixing bowl, cream together the heat-treated cake mix, softened cream cheese, and vanilla extract until fully combined and “dough-like.”
- Gently fold in the very well-drained crushed pineapple, chopped walnuts, and banana slices. Mix until all ingredients are equally distributed throughout the mixture.
- Using a 1 to 2-inch cookie scoop, portion the mixture and roll it into 1 to 1½-inch balls. Use the palms of your hands to smooth and round each ball to your desired shape. Continue this process until all of the mixture has been used. Refer to the “Expert Tips” section for additional guidance on achieving perfectly round truffles.
- Place each formed truffle ball onto the prepared sheet of parchment paper and refrigerate for 1 hour to allow them to firm up.
- Approximately 5-10 minutes before the chilling time is complete, begin to prepare your white candy coating. Place the candy coating into a microwave-safe bowl. Heat on 50% power for 1 minute, then stir thoroughly. Return to the microwave for additional 30-second intervals on 50% power, stirring meticulously between each turn, until the candy coating is silky smooth and completely melted.
- Using two forks or specialized dipping tools, carefully dip each chilled truffle ball into the melted white candy coating, ensuring it is completely covered. Gently roll the ball in the chocolate to achieve an even coat and allow any excess chocolate to drip off.
- Place each chocolate-covered truffle back onto the parchment paper-lined cookie sheet and repeat the dipping process for all remaining truffles.
- Return the baking sheet with the dipped truffles to the refrigerator and allow them to cool and set for an additional 30 minutes.
- Once the truffles have almost finished their second chilling, repeat step 6 for the chocolate melting wafers until they are also silky smooth and melted.
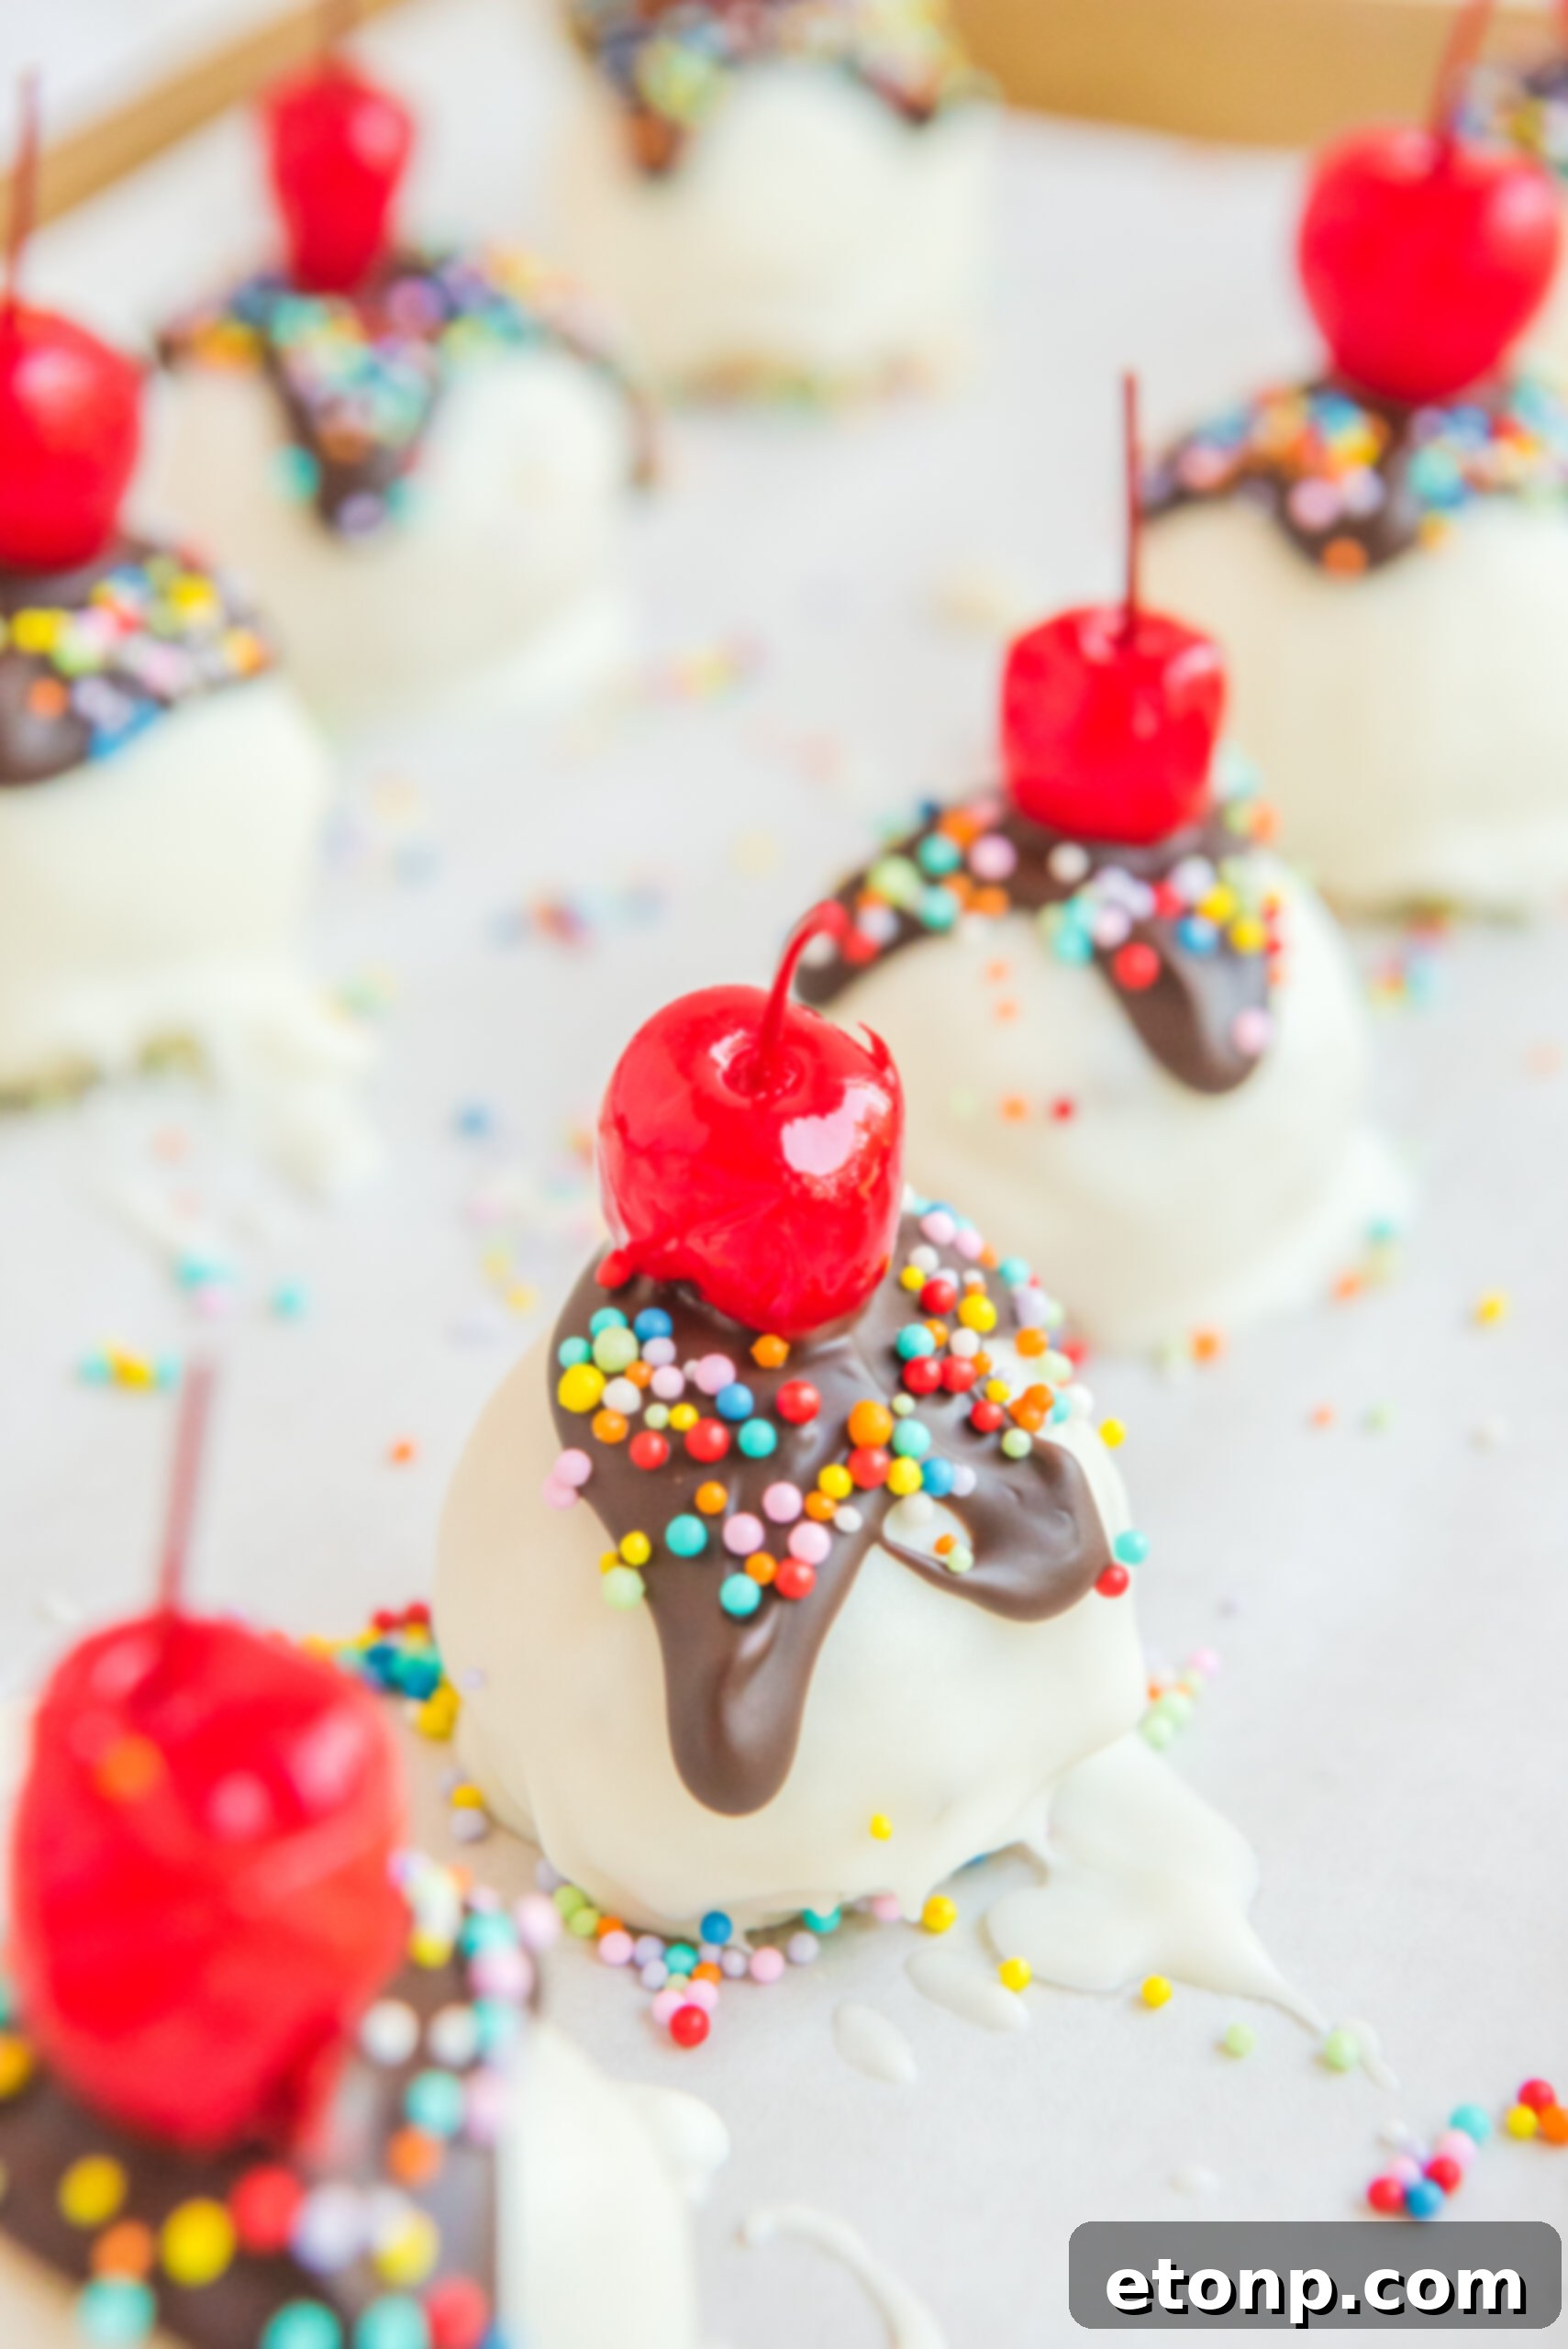
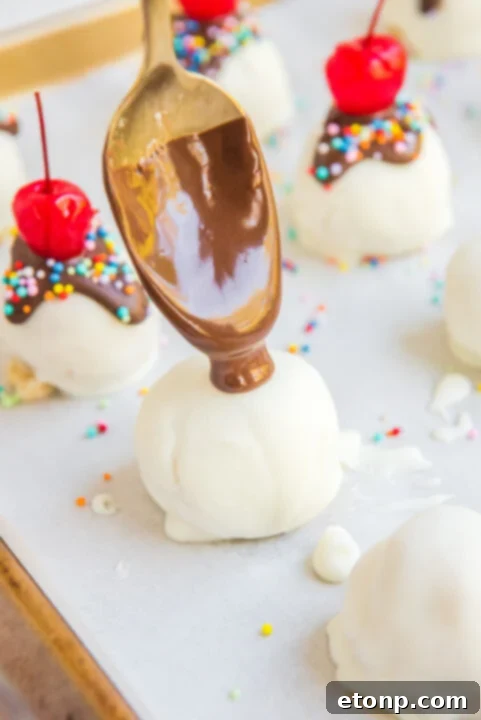
- Using a small spoon, artfully drizzle a small dollop of the melted chocolate melting wafers over the top of each truffle, creating the “chocolate syrup” effect. Refer to the “Expert Tips” section for additional drizzling techniques.
- Immediately after drizzling, place a stemmed maraschino cherry on top of the melted chocolate and hold it gently for a few seconds until the chocolate begins to firm and secure the cherry. Top with rainbow sprinkles and repeat this garnishing process for each individual truffle, working one at a time to ensure the decorations adhere before the chocolate sets.
- Return the garnished baking sheet to the refrigerator and allow the truffles to chill for an additional 30 minutes before serving, ensuring all coatings are fully set.
Notes
MICROWAVE INSTRUCTIONS for heat treating cake mix: To heat treat the cake mix, microwave the cake mix in a microwave-safe bowl for (2) 30-second intervals, stirring in between. Allow the cake mix to come to room temperature before using.
OVEN INSTRUCTIONS for heat treating cake mix: Place cake mix on a large cookie sheet prepared with parchment paper. Evenly spread your cake mix out to cover the entire sheet. Cook cake mix at 350 degrees Fahrenheit (175 degrees Celsius) for 5 minutes and allow it to come to room temperature before use.
Did you make this recipe?
Share your creations and follow us on Pinterest for more amazing recipes!
Pin Recipe |
Share on Facebook