
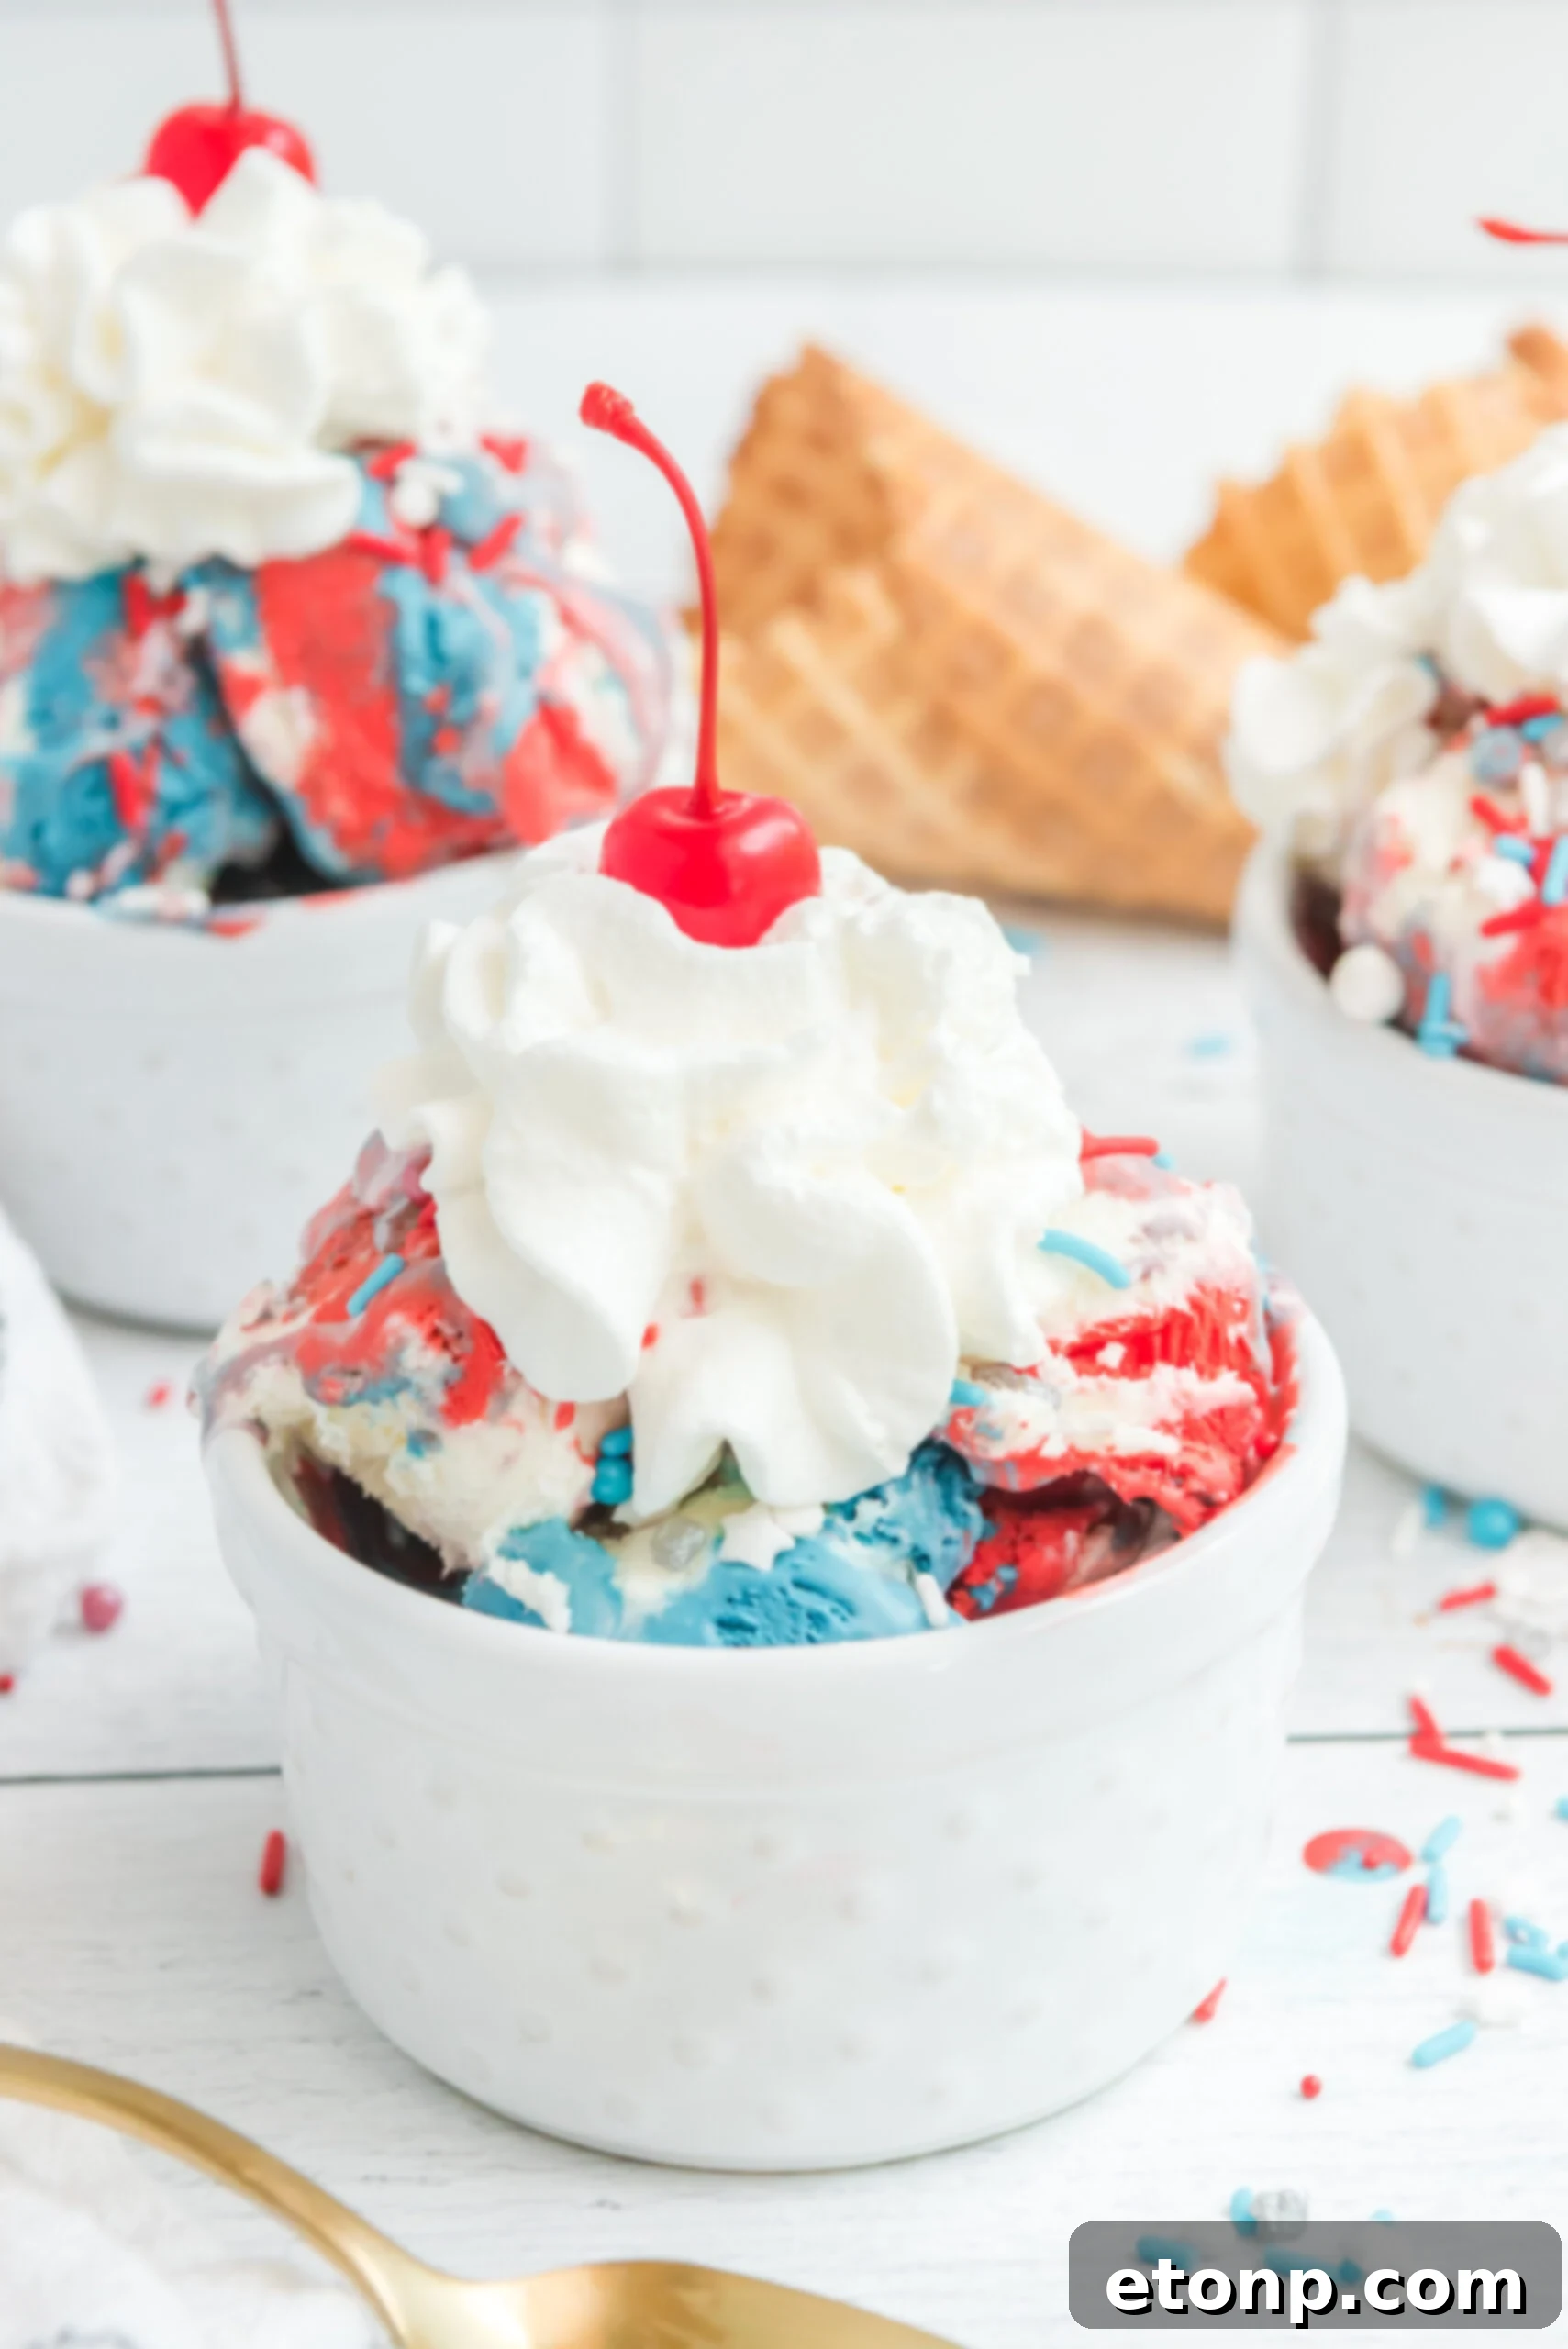
This Independence Day, elevate your celebration with a vibrant Red, White & Blue No-Churn Ice Cream! Requiring just a few simple ingredients, this effortlessly delicious recipe creates stunning layers of patriotic colors, making it the ultimate dessert for any Fourth of July gathering.
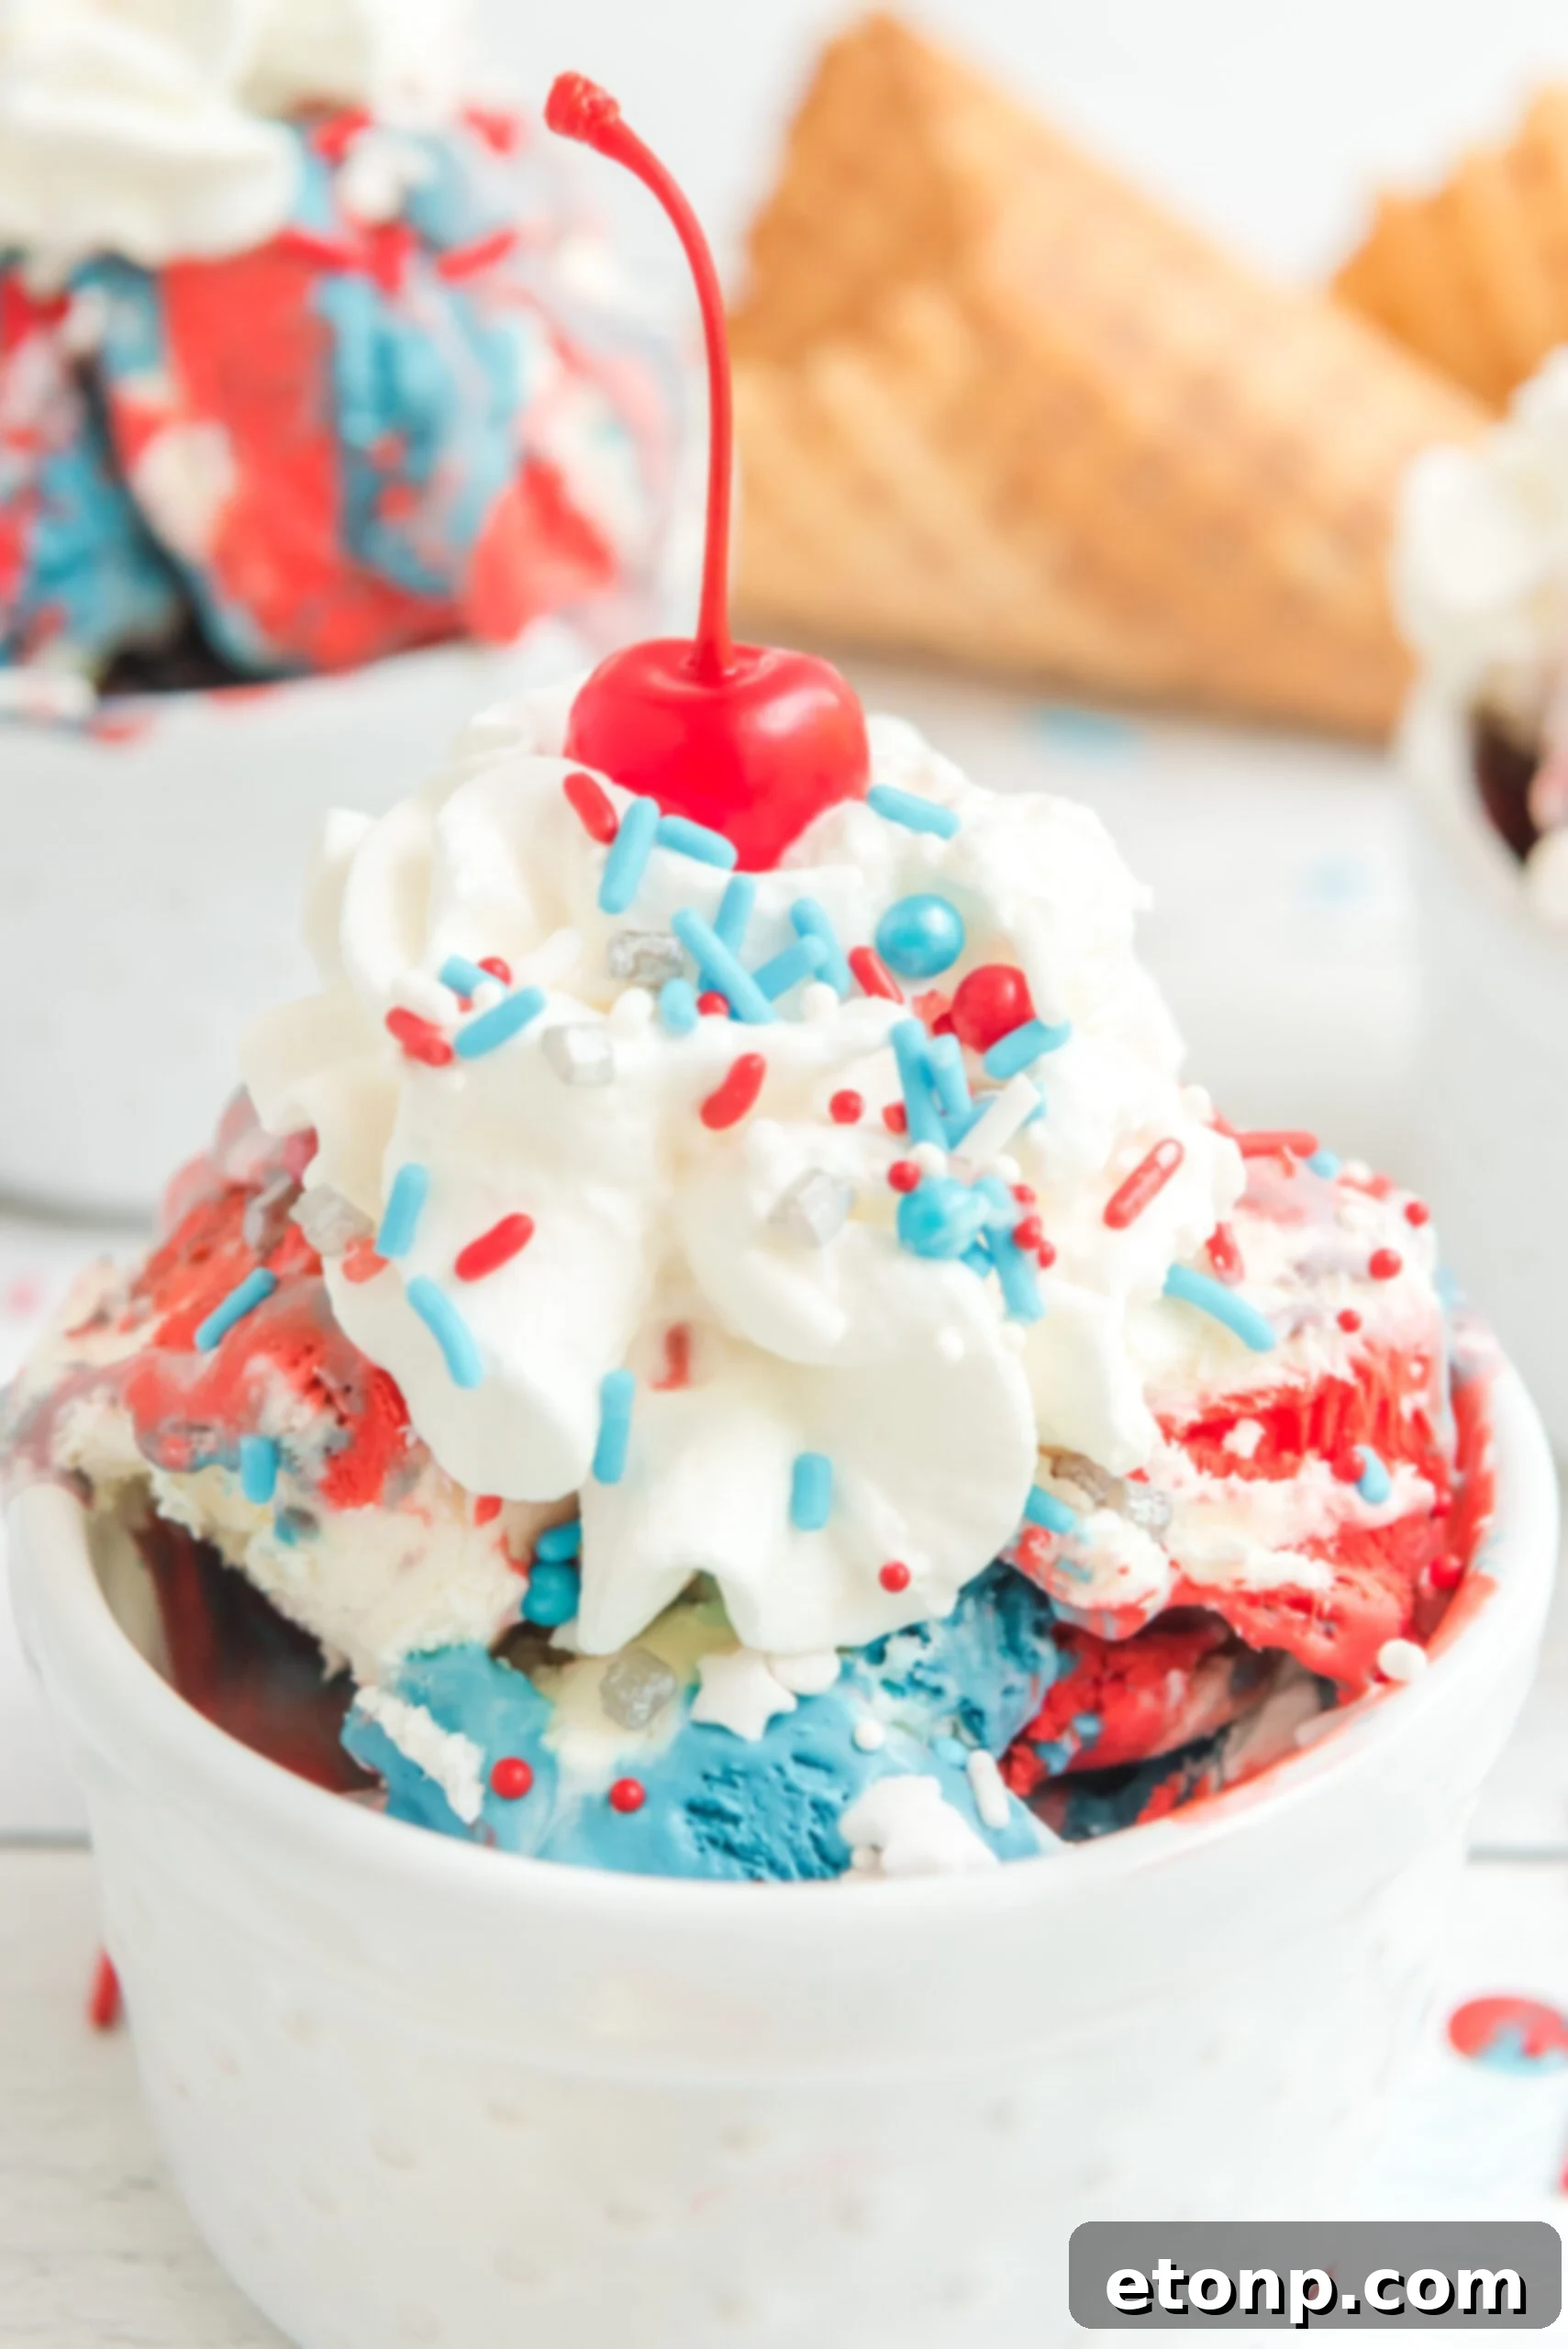
The Fourth of July is synonymous with fireworks, parades, and delicious food. This year, make it extra special with our incredibly easy Red, White & Blue Ice Cream recipe! Forget the fuss of an ice cream maker – this no-churn method is a game-changer, delivering a rich, creamy, and undeniably festive treat. If you’re searching for a dessert that’s both impressive and simple to prepare, look no further. Why settle for store-bought when you can craft your own homemade masterpiece that tastes infinitely better?
Creating a Festive Red, White & Blue Ice Cream Experience
Are you on the hunt for a dessert recipe that perfectly blends festivity with utter simplicity? This red, white, and blue ice cream is truly ideal for any celebration honoring the USA. Its vibrant hues instantly evoke a sense of patriotism, making it a star attraction at your Fourth of July barbecue, Memorial Day picnic, or Labor Day gathering. What’s more, this recipe isn’t limited to just American holidays! By simply adjusting the food coloring, you can customize this delightful no-churn ice cream for any party or occasion. Imagine green and red for Christmas, pastels for Easter, or your favorite sports team’s colors for game day! The versatility is unmatched. Trust us, once you taste this homemade version, you’ll find it far superior to any store-bought alternative, so don’t miss out on the joy of making it yourself!
Super simple to prepare, this recipe consistently creates the most beautiful and irresistibly edible ice cream you will ever serve for the 4th of July or any patriotic event! Its homemade charm and vibrant appeal will impress all your guests.
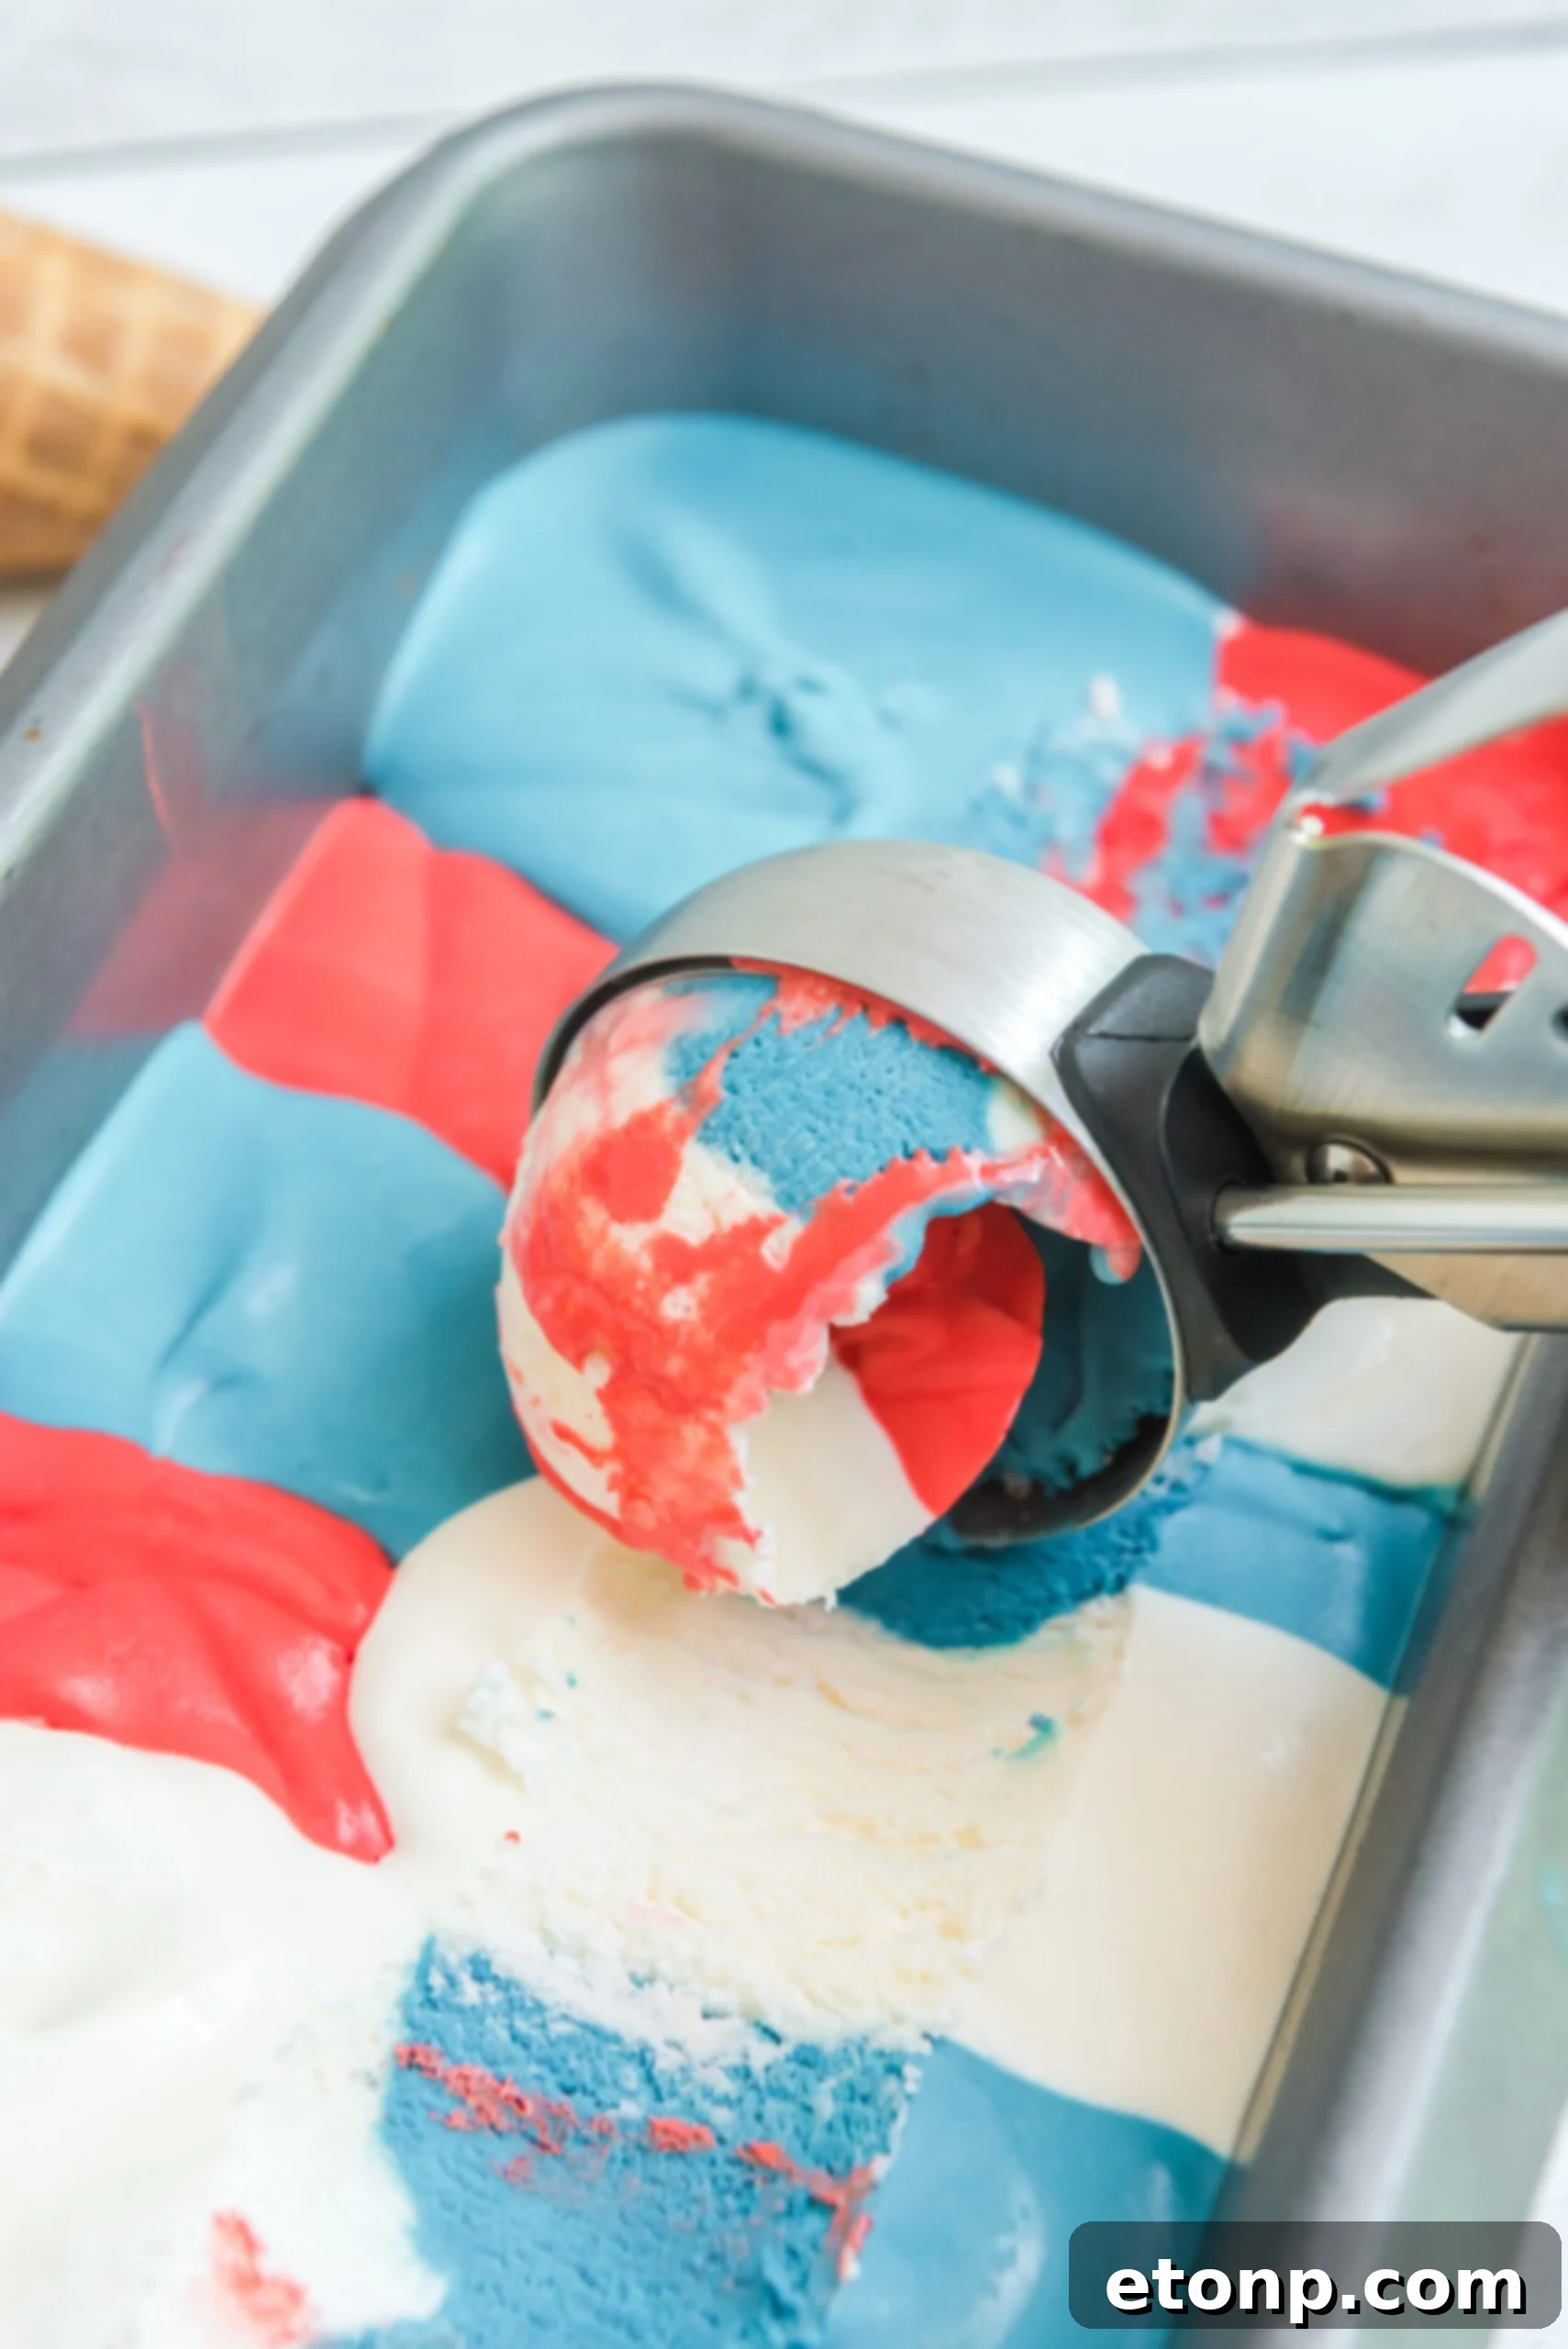
Minimal Ingredients for Maximum Flavor: Your Fourth of July Ice Cream Essentials
One of the many reasons this no-churn ice cream recipe has become a household favorite is its incredibly short and recognizable ingredient list. Unlike many store-bought ice creams that often contain a bewildering array of artificial flavors, stabilizers, and unpronounceable chemicals, our homemade version relies on just a handful of pantry staples. You’ll be amazed at the rich, creamy texture and delightful flavor achieved with such simplicity. Let’s take a closer look at the key components that make this patriotic treat so special:
-
Heavy Whipping Cream – This is the foundation of our no-churn ice cream, providing its luxurious, rich, and impossibly creamy texture. When whipped, it incorporates air, creating a light and airy base that mimics traditional churned ice cream. Ensure it’s very cold for optimal whipping.
- Sweetened Condensed Milk – The magical ingredient that eliminates the need for an ice cream maker! Sweetened condensed milk not only adds the perfect amount of sweetness but also prevents ice crystal formation, resulting in that smooth, delightful consistency we all crave in ice cream. It’s a key binding agent and flavor enhancer.
- Pure Vanilla Extract – A dash of high-quality pure vanilla extract elevates all the other flavors, adding a classic, comforting sweetness and aroma. Don’t skimp on this – it makes a noticeable difference in the overall taste profile.
- Red Food Coloring – To achieve that iconic patriotic red layer, you’ll need a good quality gel or liquid food coloring. Gel food coloring often provides a more concentrated and vibrant hue, requiring fewer drops.
- Blue Food Coloring – Completing the patriotic trio, blue food coloring creates a stunning contrast. As with the red, opting for a gel-based coloring can give you a more intense and true blue shade.
These simple ingredients come together to form an incredible dessert that’s free from artificial additives and bursting with fresh, homemade flavor.
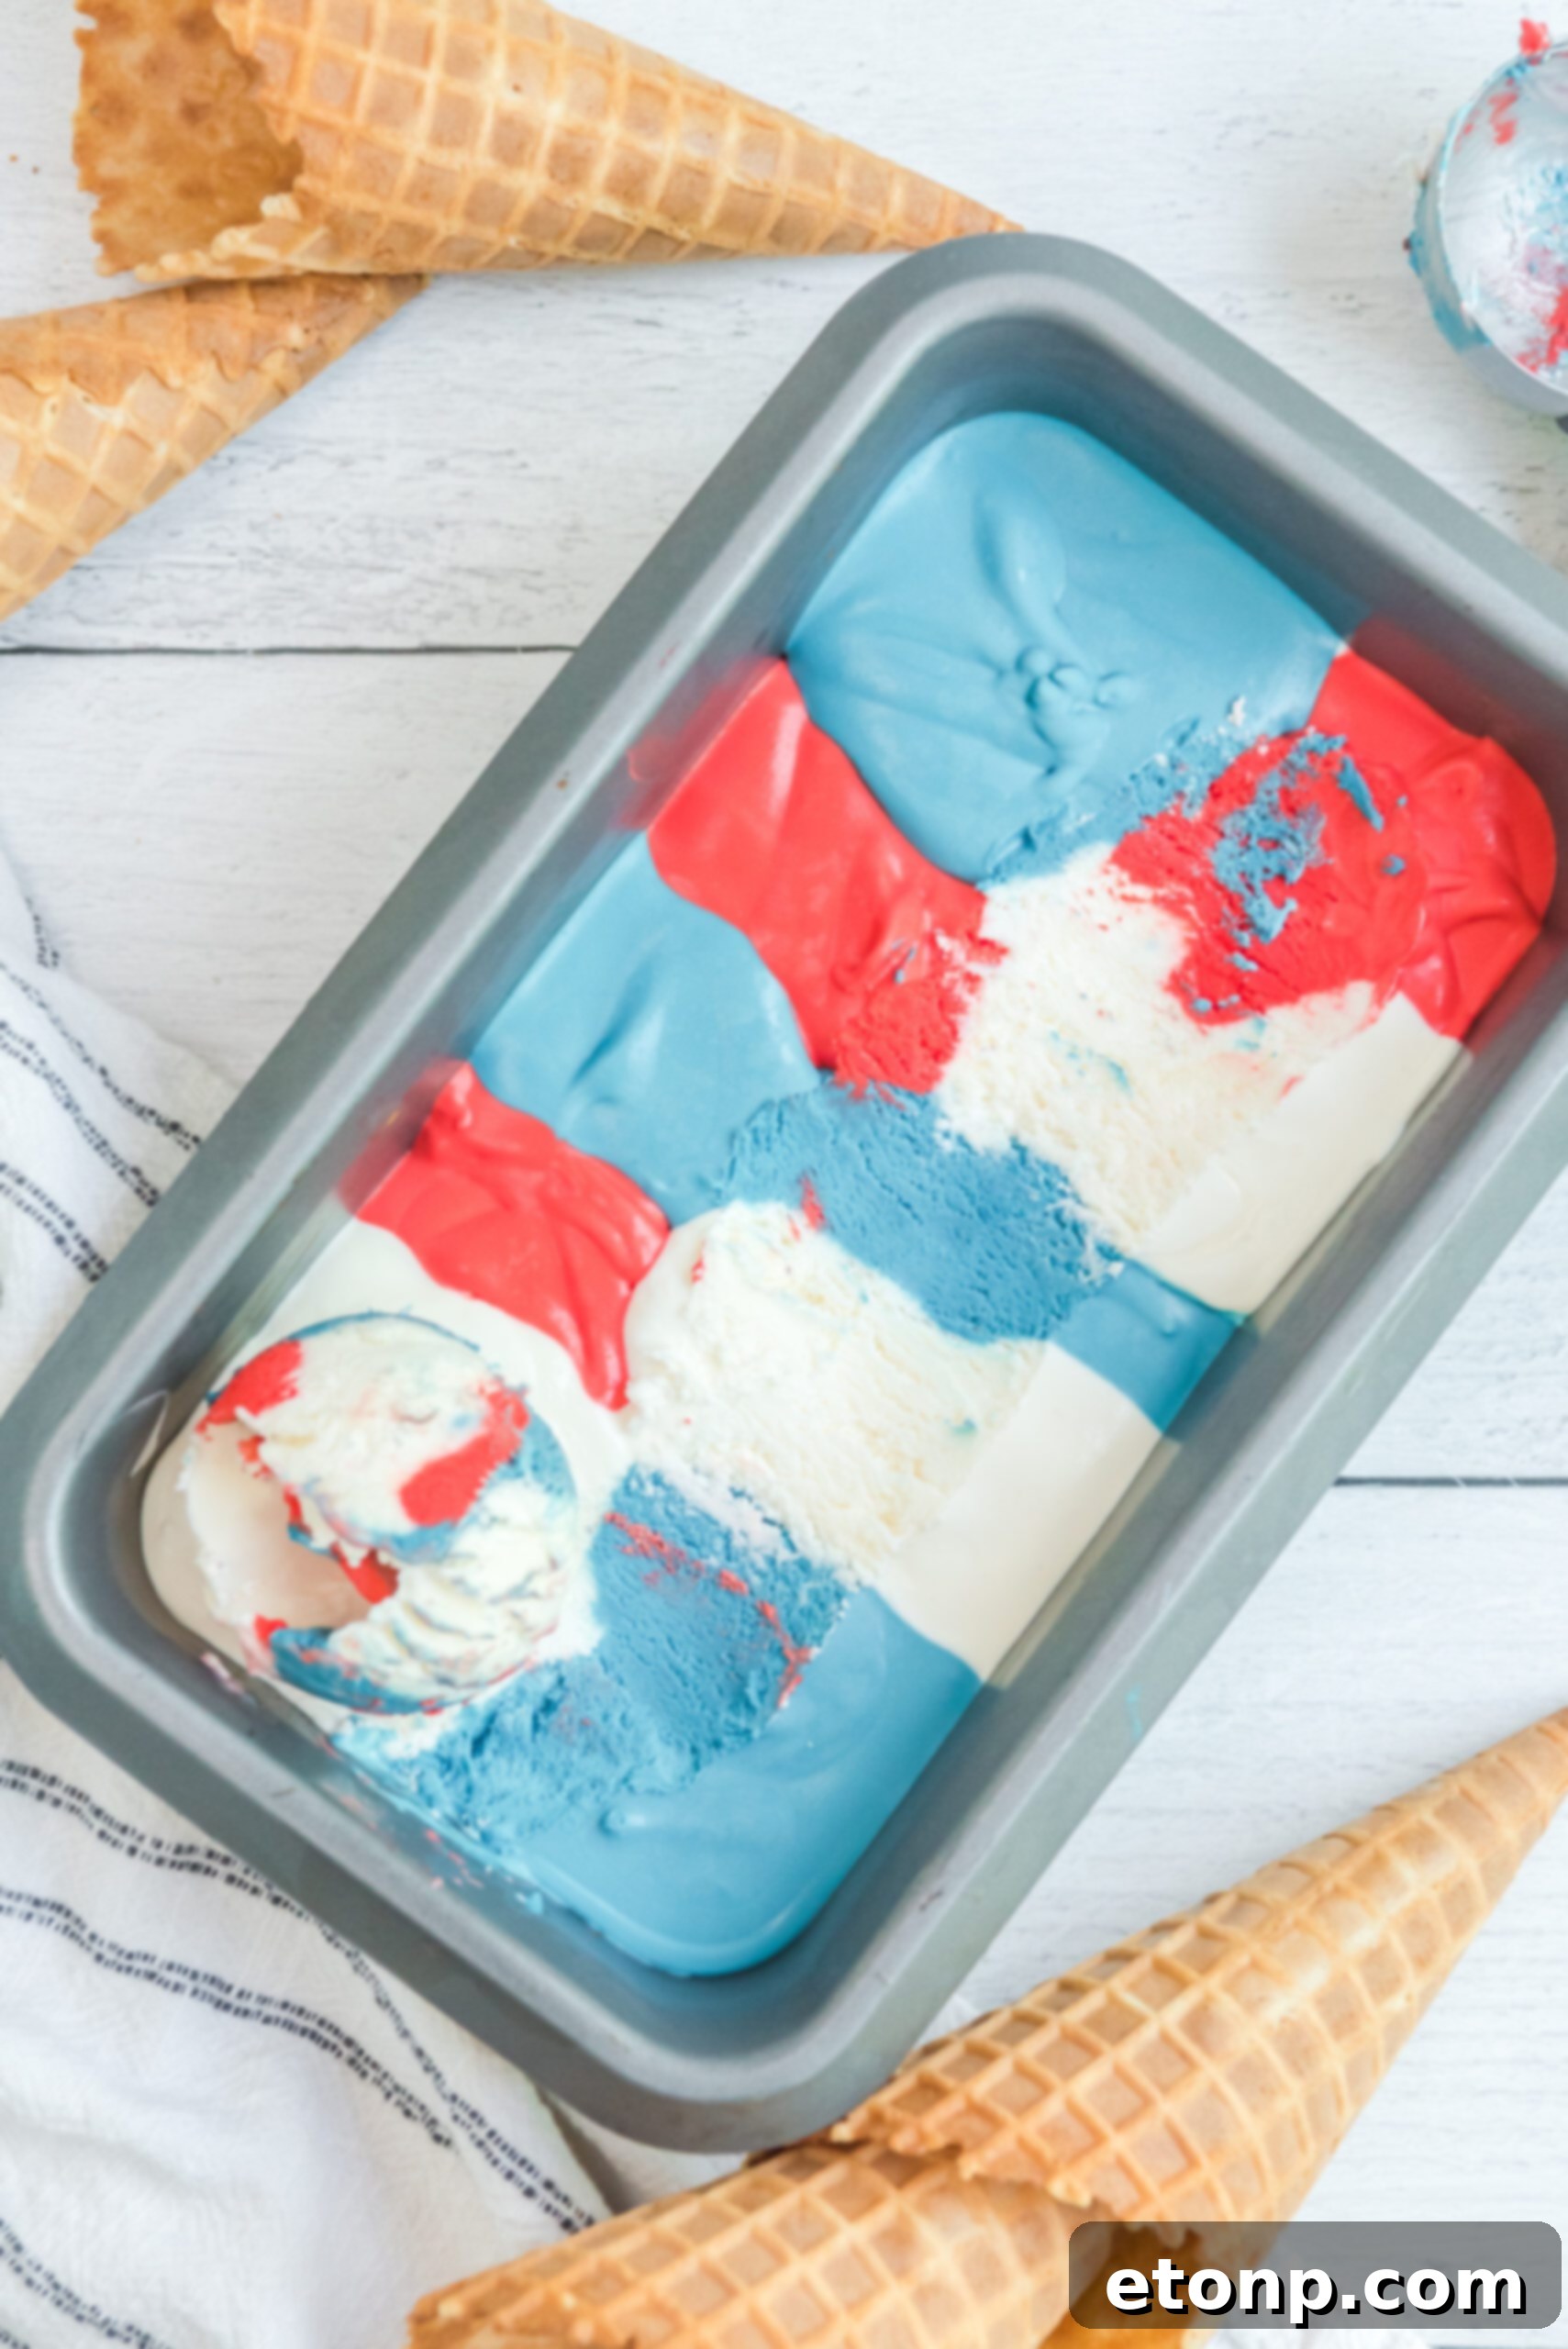
Effortless Creation: Your Guide to Making Fourth of July Ice Cream
The beauty of this red, white, and blue ice cream recipe lies in its sheer simplicity. You’ll be surprised at how quickly you can assemble this impressive dessert! Follow these straightforward steps to create your own patriotic masterpiece:
-
Begin by thoroughly chilling a large mixing bowl and your whisk attachments for an electric mixer. This small step makes a significant difference in how quickly and effectively your cream whips up. Pour the very cold heavy whipping cream into the chilled bowl. Using an electric mixer, whip the cream on high speed until stiff peaks form. Stiff peaks mean that when you lift the whisk, the cream holds its shape firmly. This step is crucial for the ice cream’s airy texture.
- In a separate, smaller bowl, combine the sweetened condensed milk and pure vanilla extract. Stir this mixture well until the vanilla is fully incorporated. Gently fold this condensed milk mixture into your whipped heavy cream using a spatula. Be careful not to deflate the whipped cream; the goal is to combine them smoothly while maintaining as much air as possible.
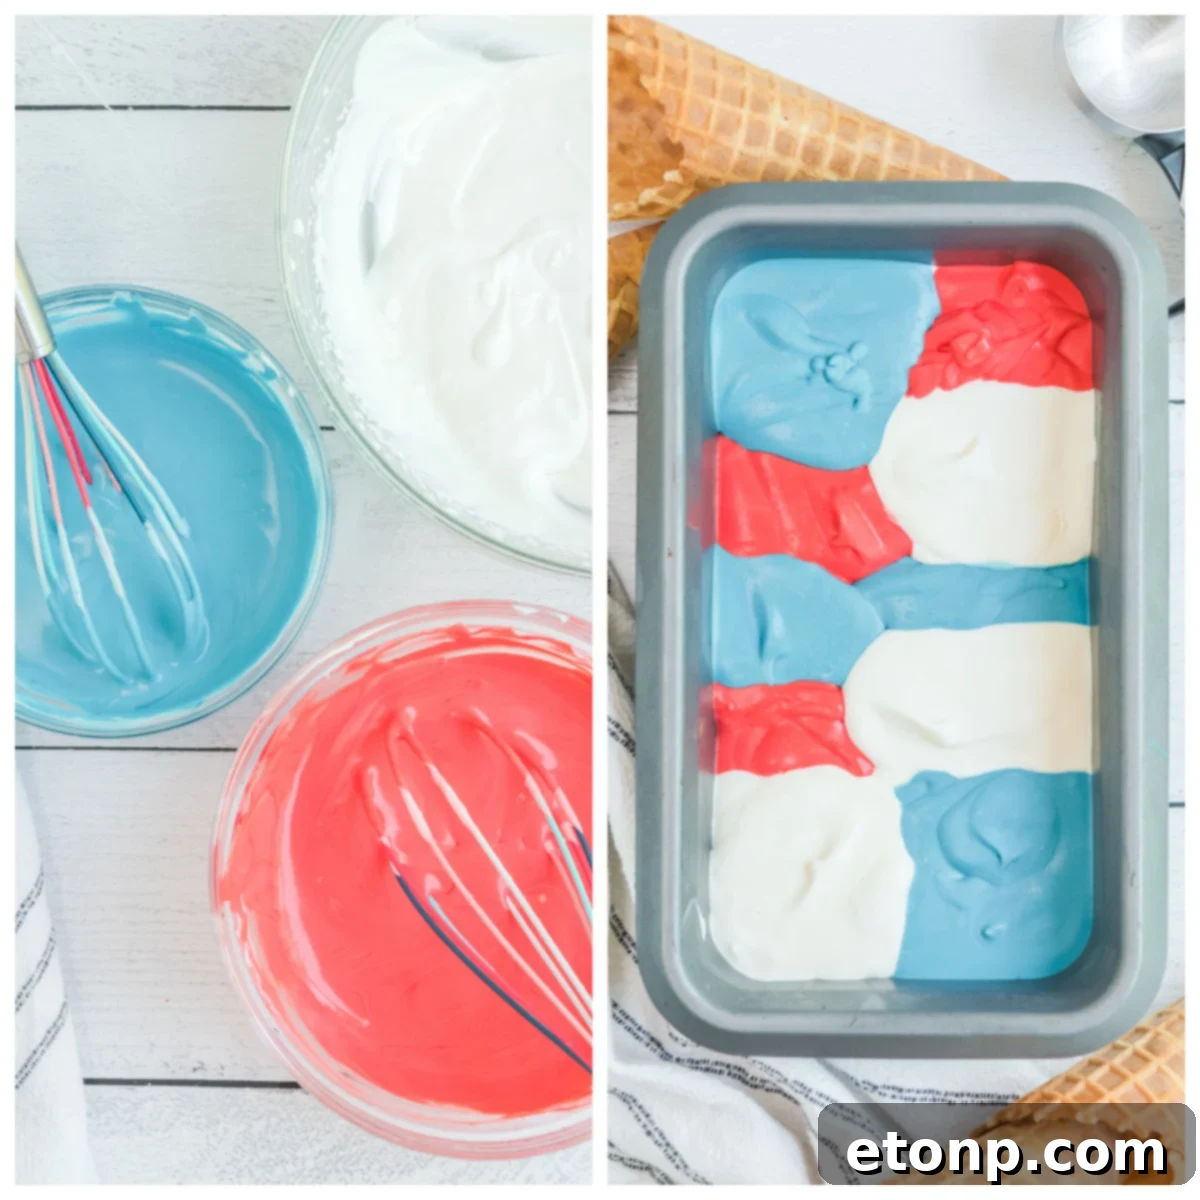
- Now for the vibrant colors! Divide your combined ice cream base into three separate bowls, aiming for roughly equal portions. Leave one portion as is for the white layer. To the first of the remaining two portions, add a few drops of red food coloring. Start with 5-7 drops and stir gently until the desired shade of red is achieved. Remember, you can always add more a drop at a time to deepen the color, but you can’t take it away! For the second portion, repeat this process with blue food coloring, adding drops gradually until you reach a beautiful blue hue.
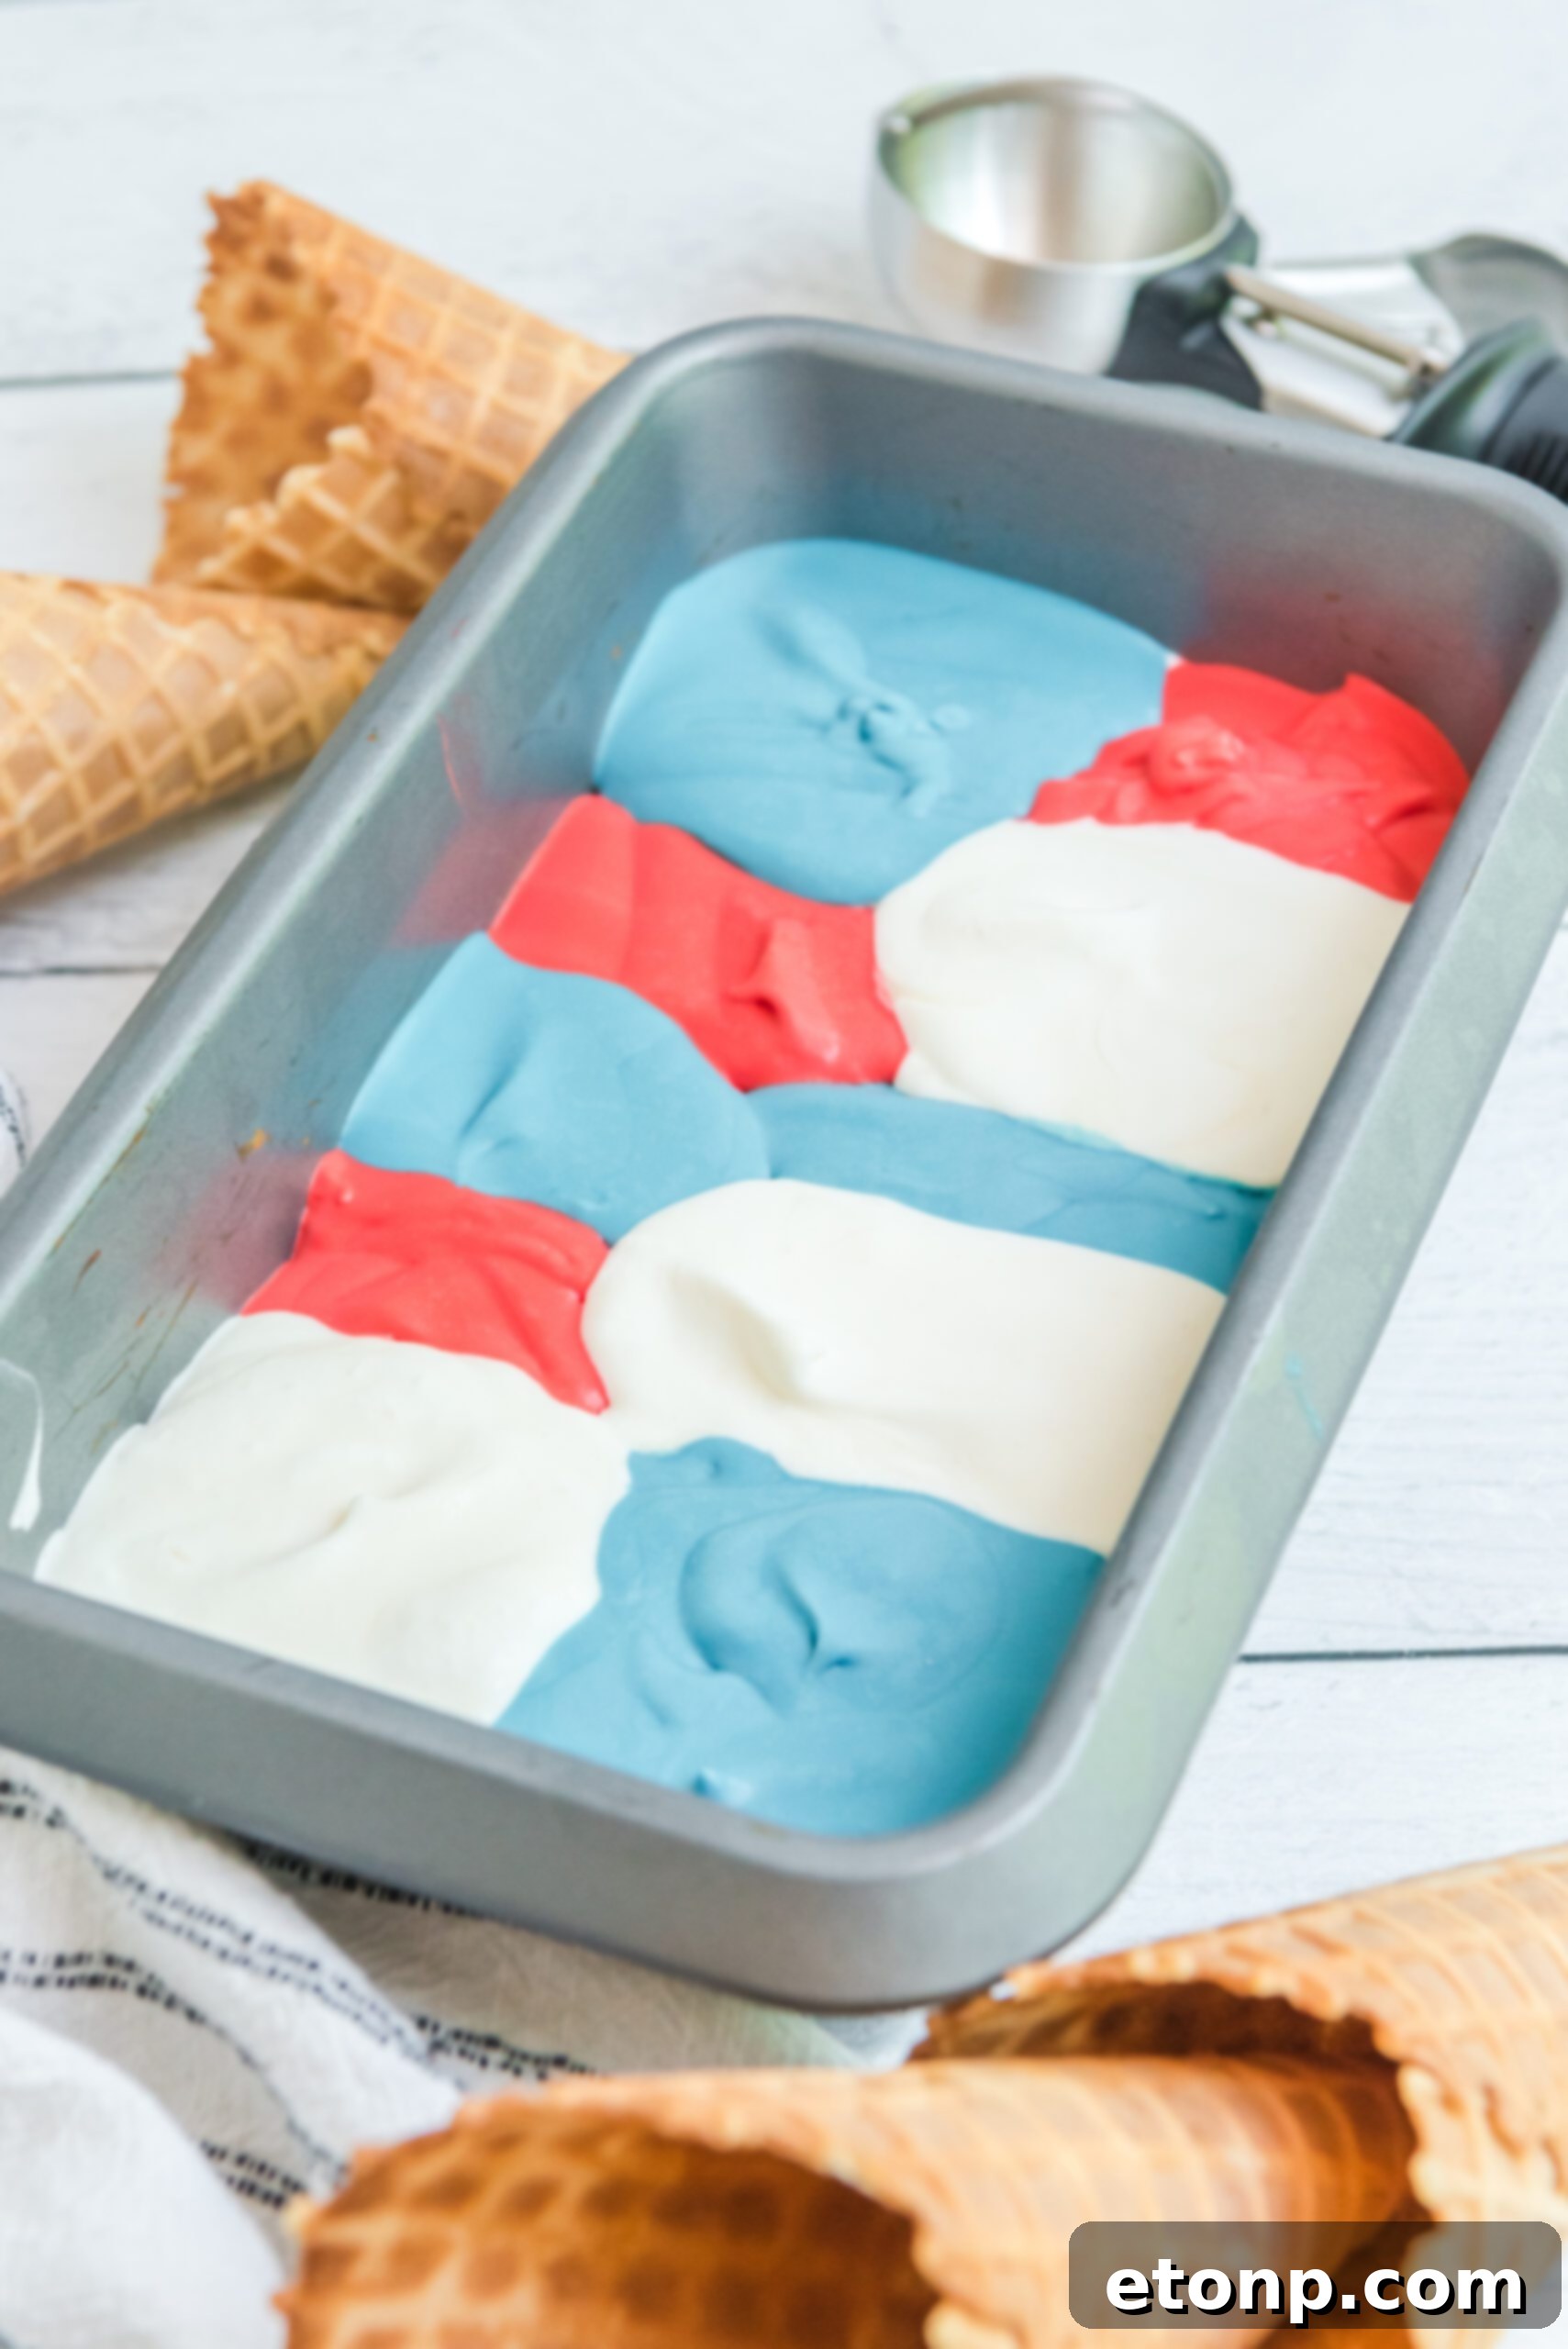
- Once your colors are ready, it’s time to layer! Grab a 9×5-inch loaf pan or a similar freezer-safe container. Using separate spoons or spatulas for each color, carefully scoop alternating layers of red, white, and blue ice cream mixture into the pan. You can dollop spoonfuls of each color randomly for a marbled effect or gently spread each color in distinct layers for a more defined stripe. Repeat this layering process until all three bowls are empty.
- Cover the loaf pan tightly with plastic wrap or aluminum foil to prevent freezer burn. Place the ice cream into the freezer and allow it to freeze overnight, or for a minimum of 6-8 hours, until it is completely firm. This extended chill time ensures the perfect scoopable consistency.
-
Once fully frozen, your stunning red, white & blue ice cream is ready to be enjoyed! This recipe is truly perfect for any patriotic party, family gathering, or simply as a refreshing summer treat.
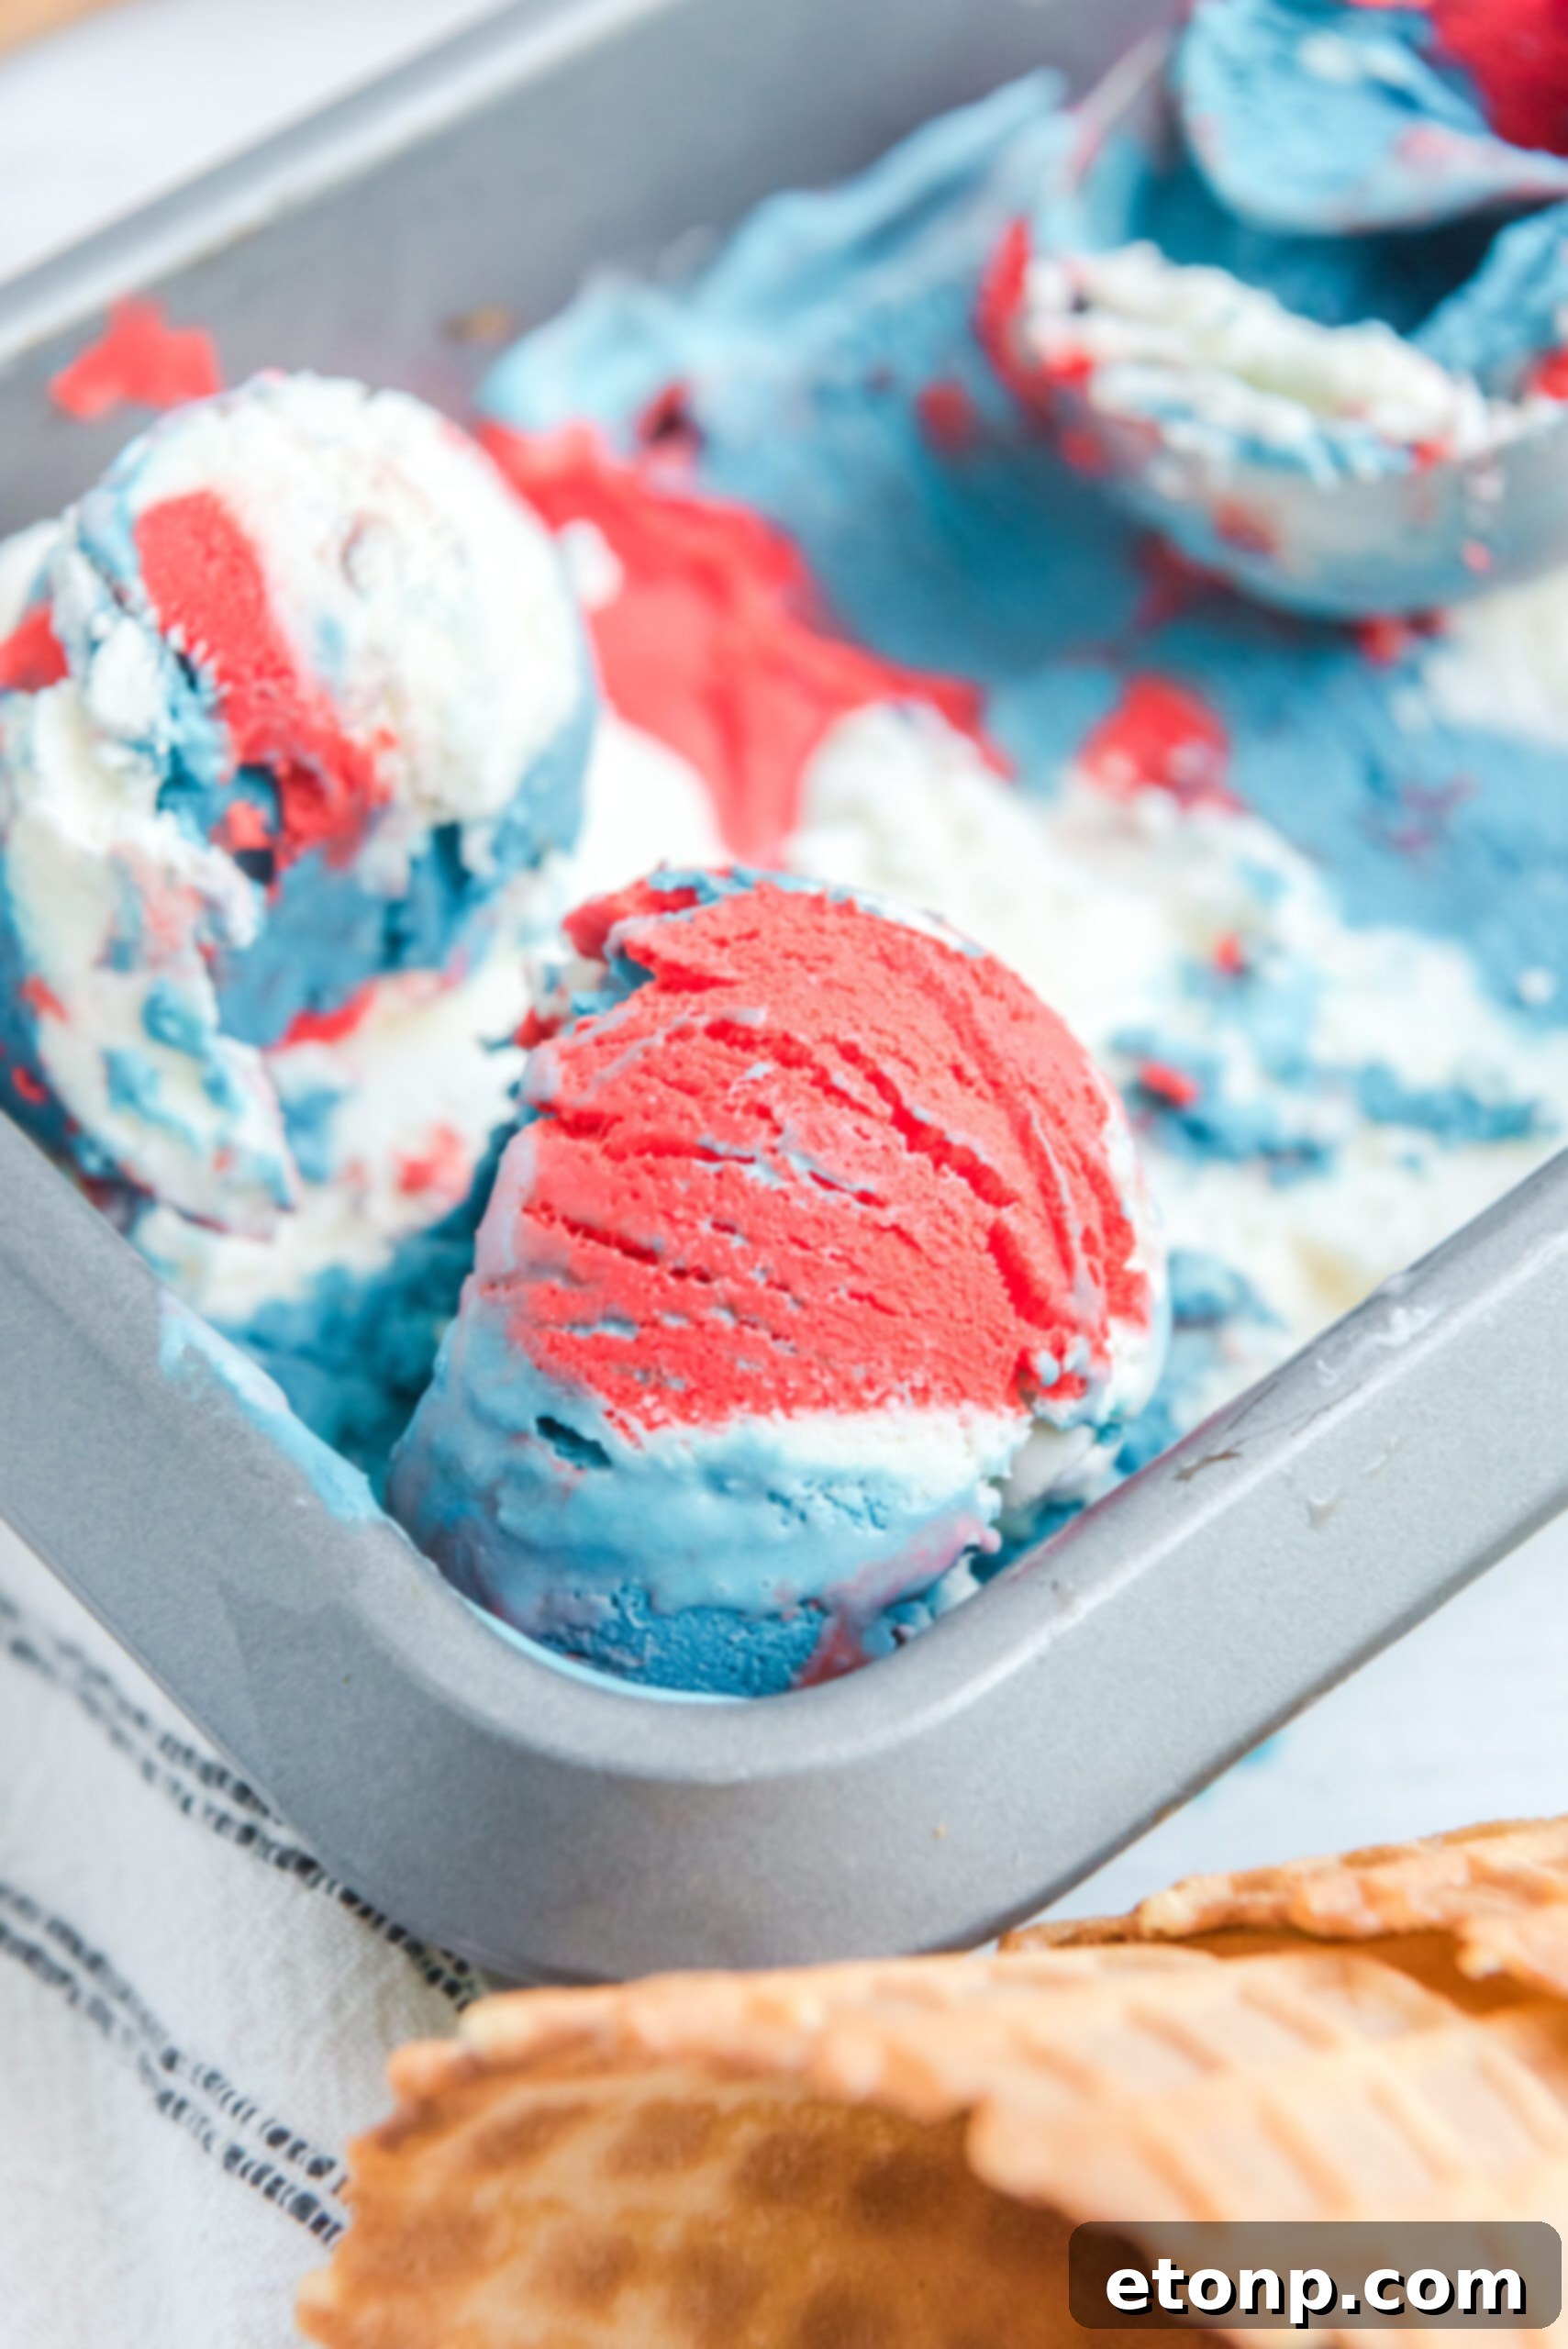
Tips and Tricks for a Perfect Red, White, and Blue Ice Cream
One of the most appealing aspects of this no-churn ice cream recipe is its incredible versatility. It serves as a fantastic base for customization, allowing you to truly make it your own by incorporating your favorite mix-ins, toppings, and even flavor variations. Don’t be afraid to get creative and have some fun experimenting!
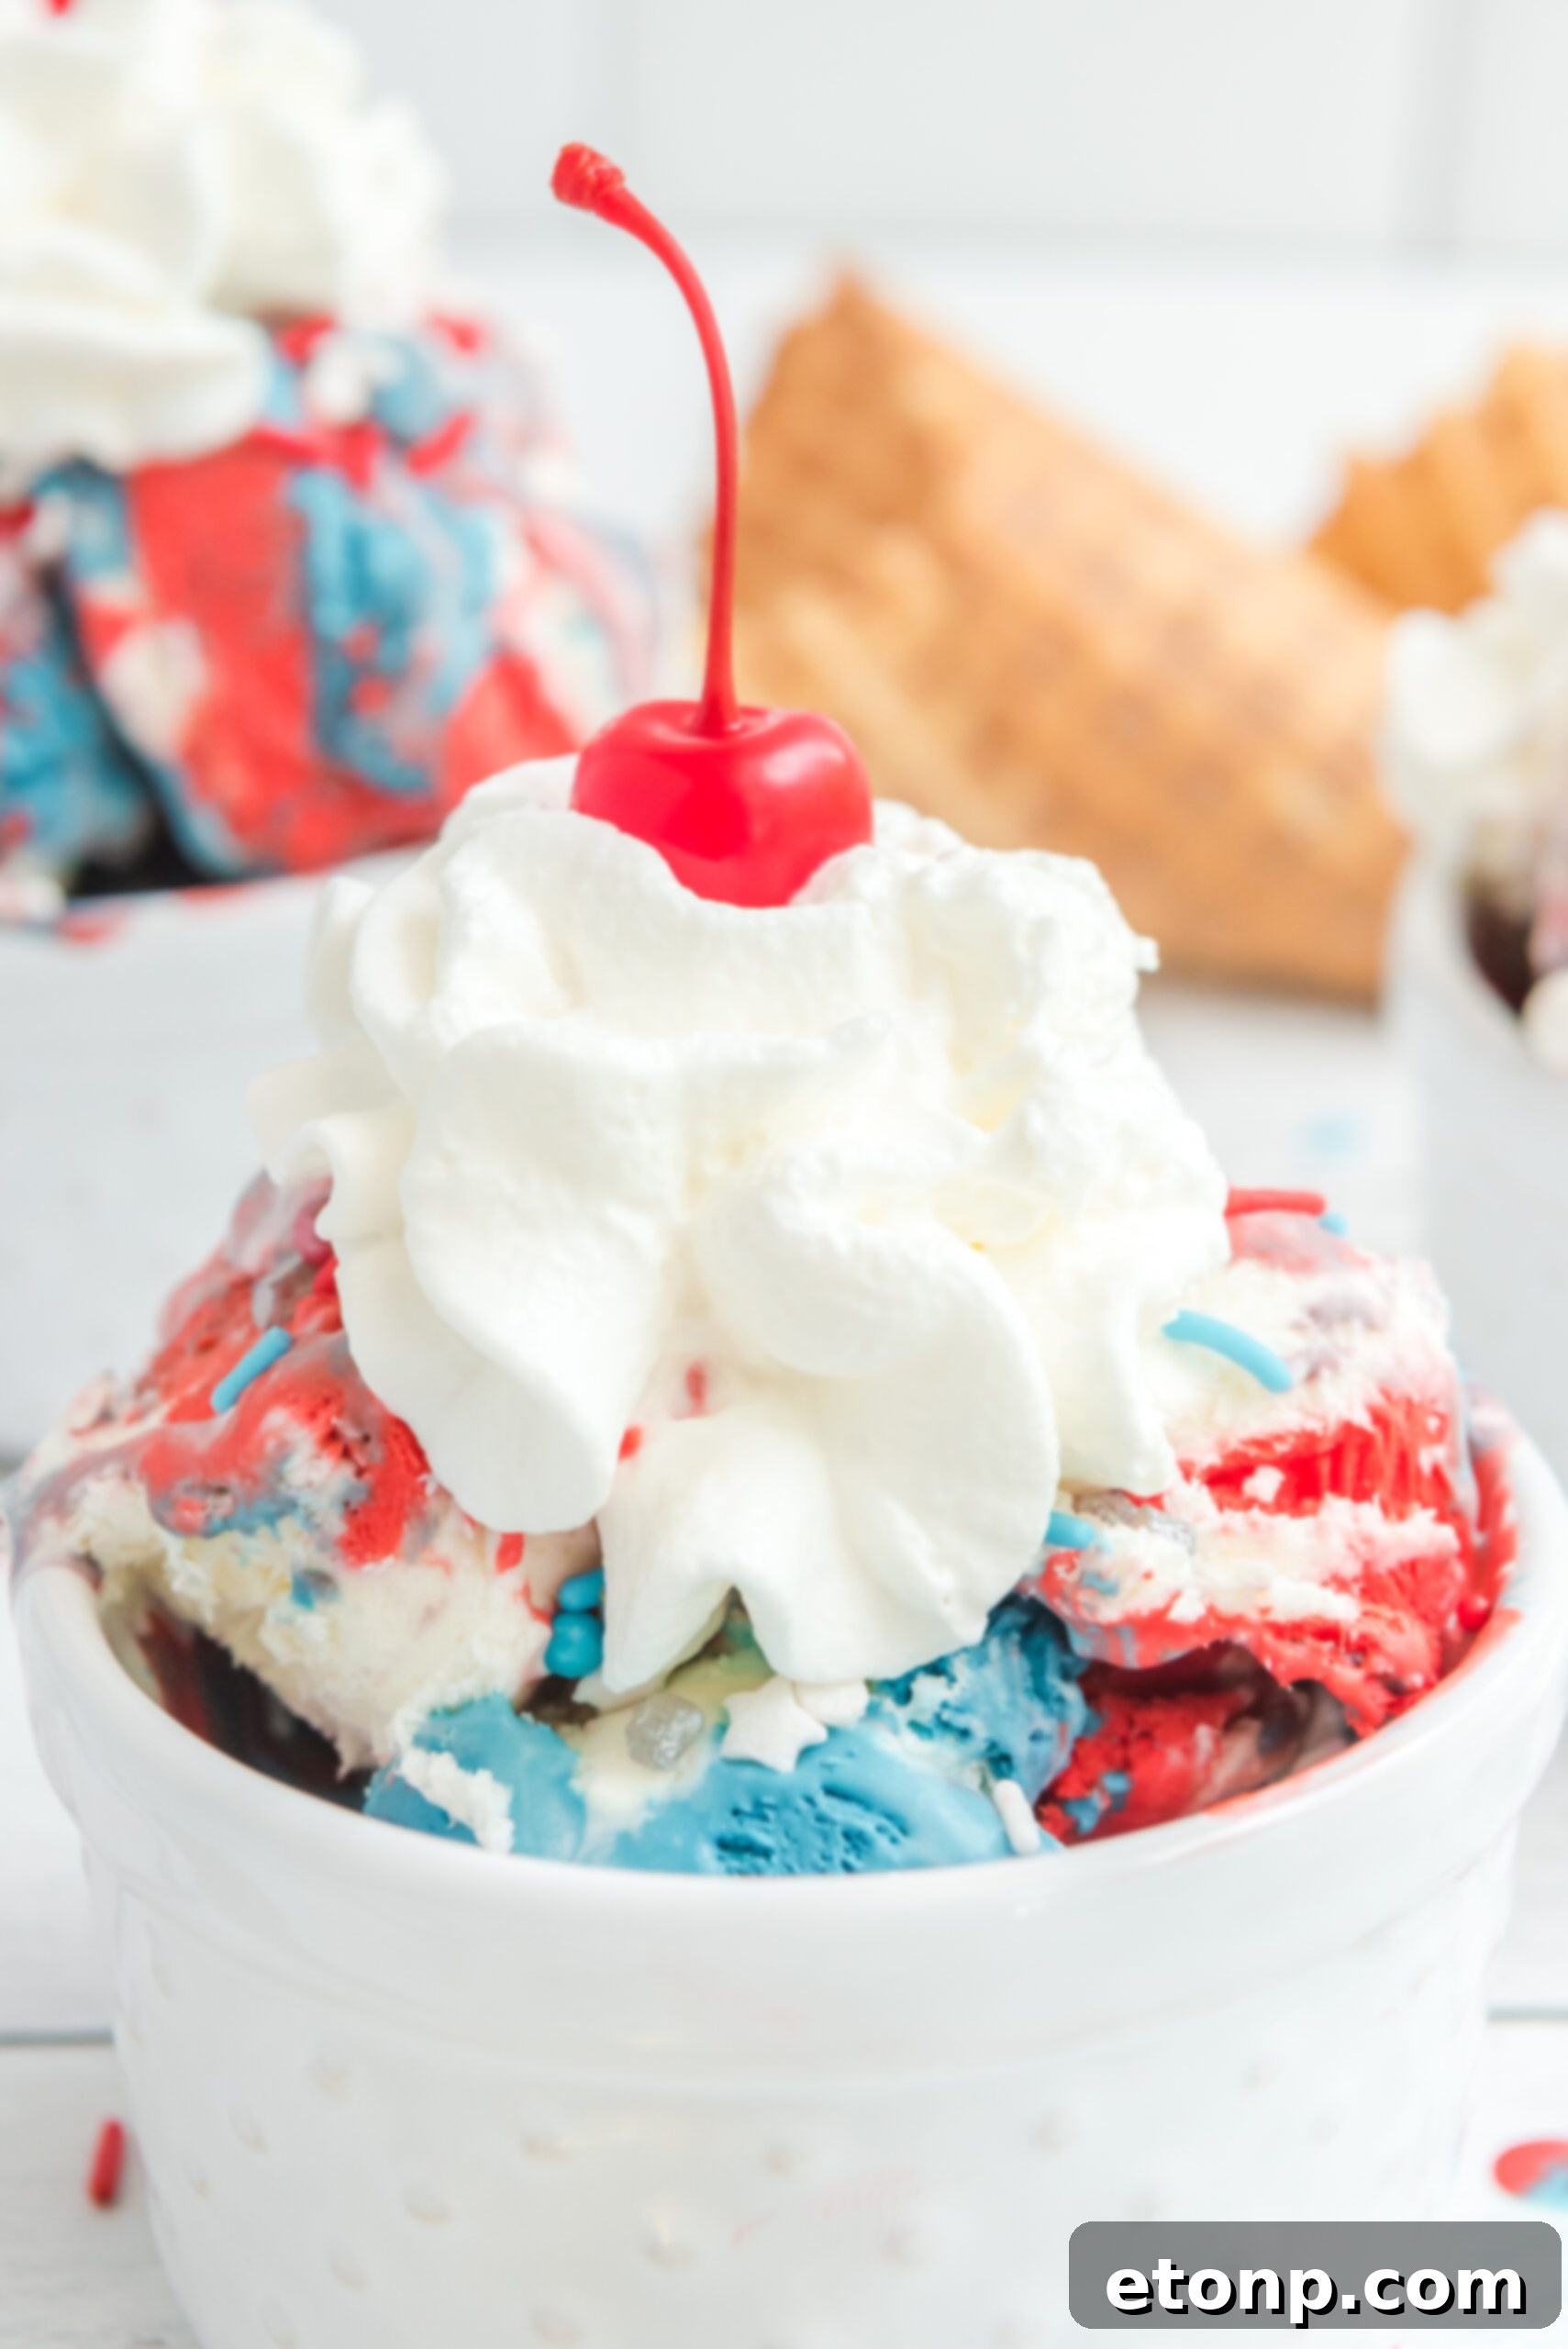
Here are a few ideas to inspire your ice cream creations:
-
Fruity Freshness: For a delightful fruity twist, consider folding in some chopped fresh strawberries, raspberries, or blueberries into their respective colored layers. These additions will not only enhance the flavor but also add another layer of texture and natural color.
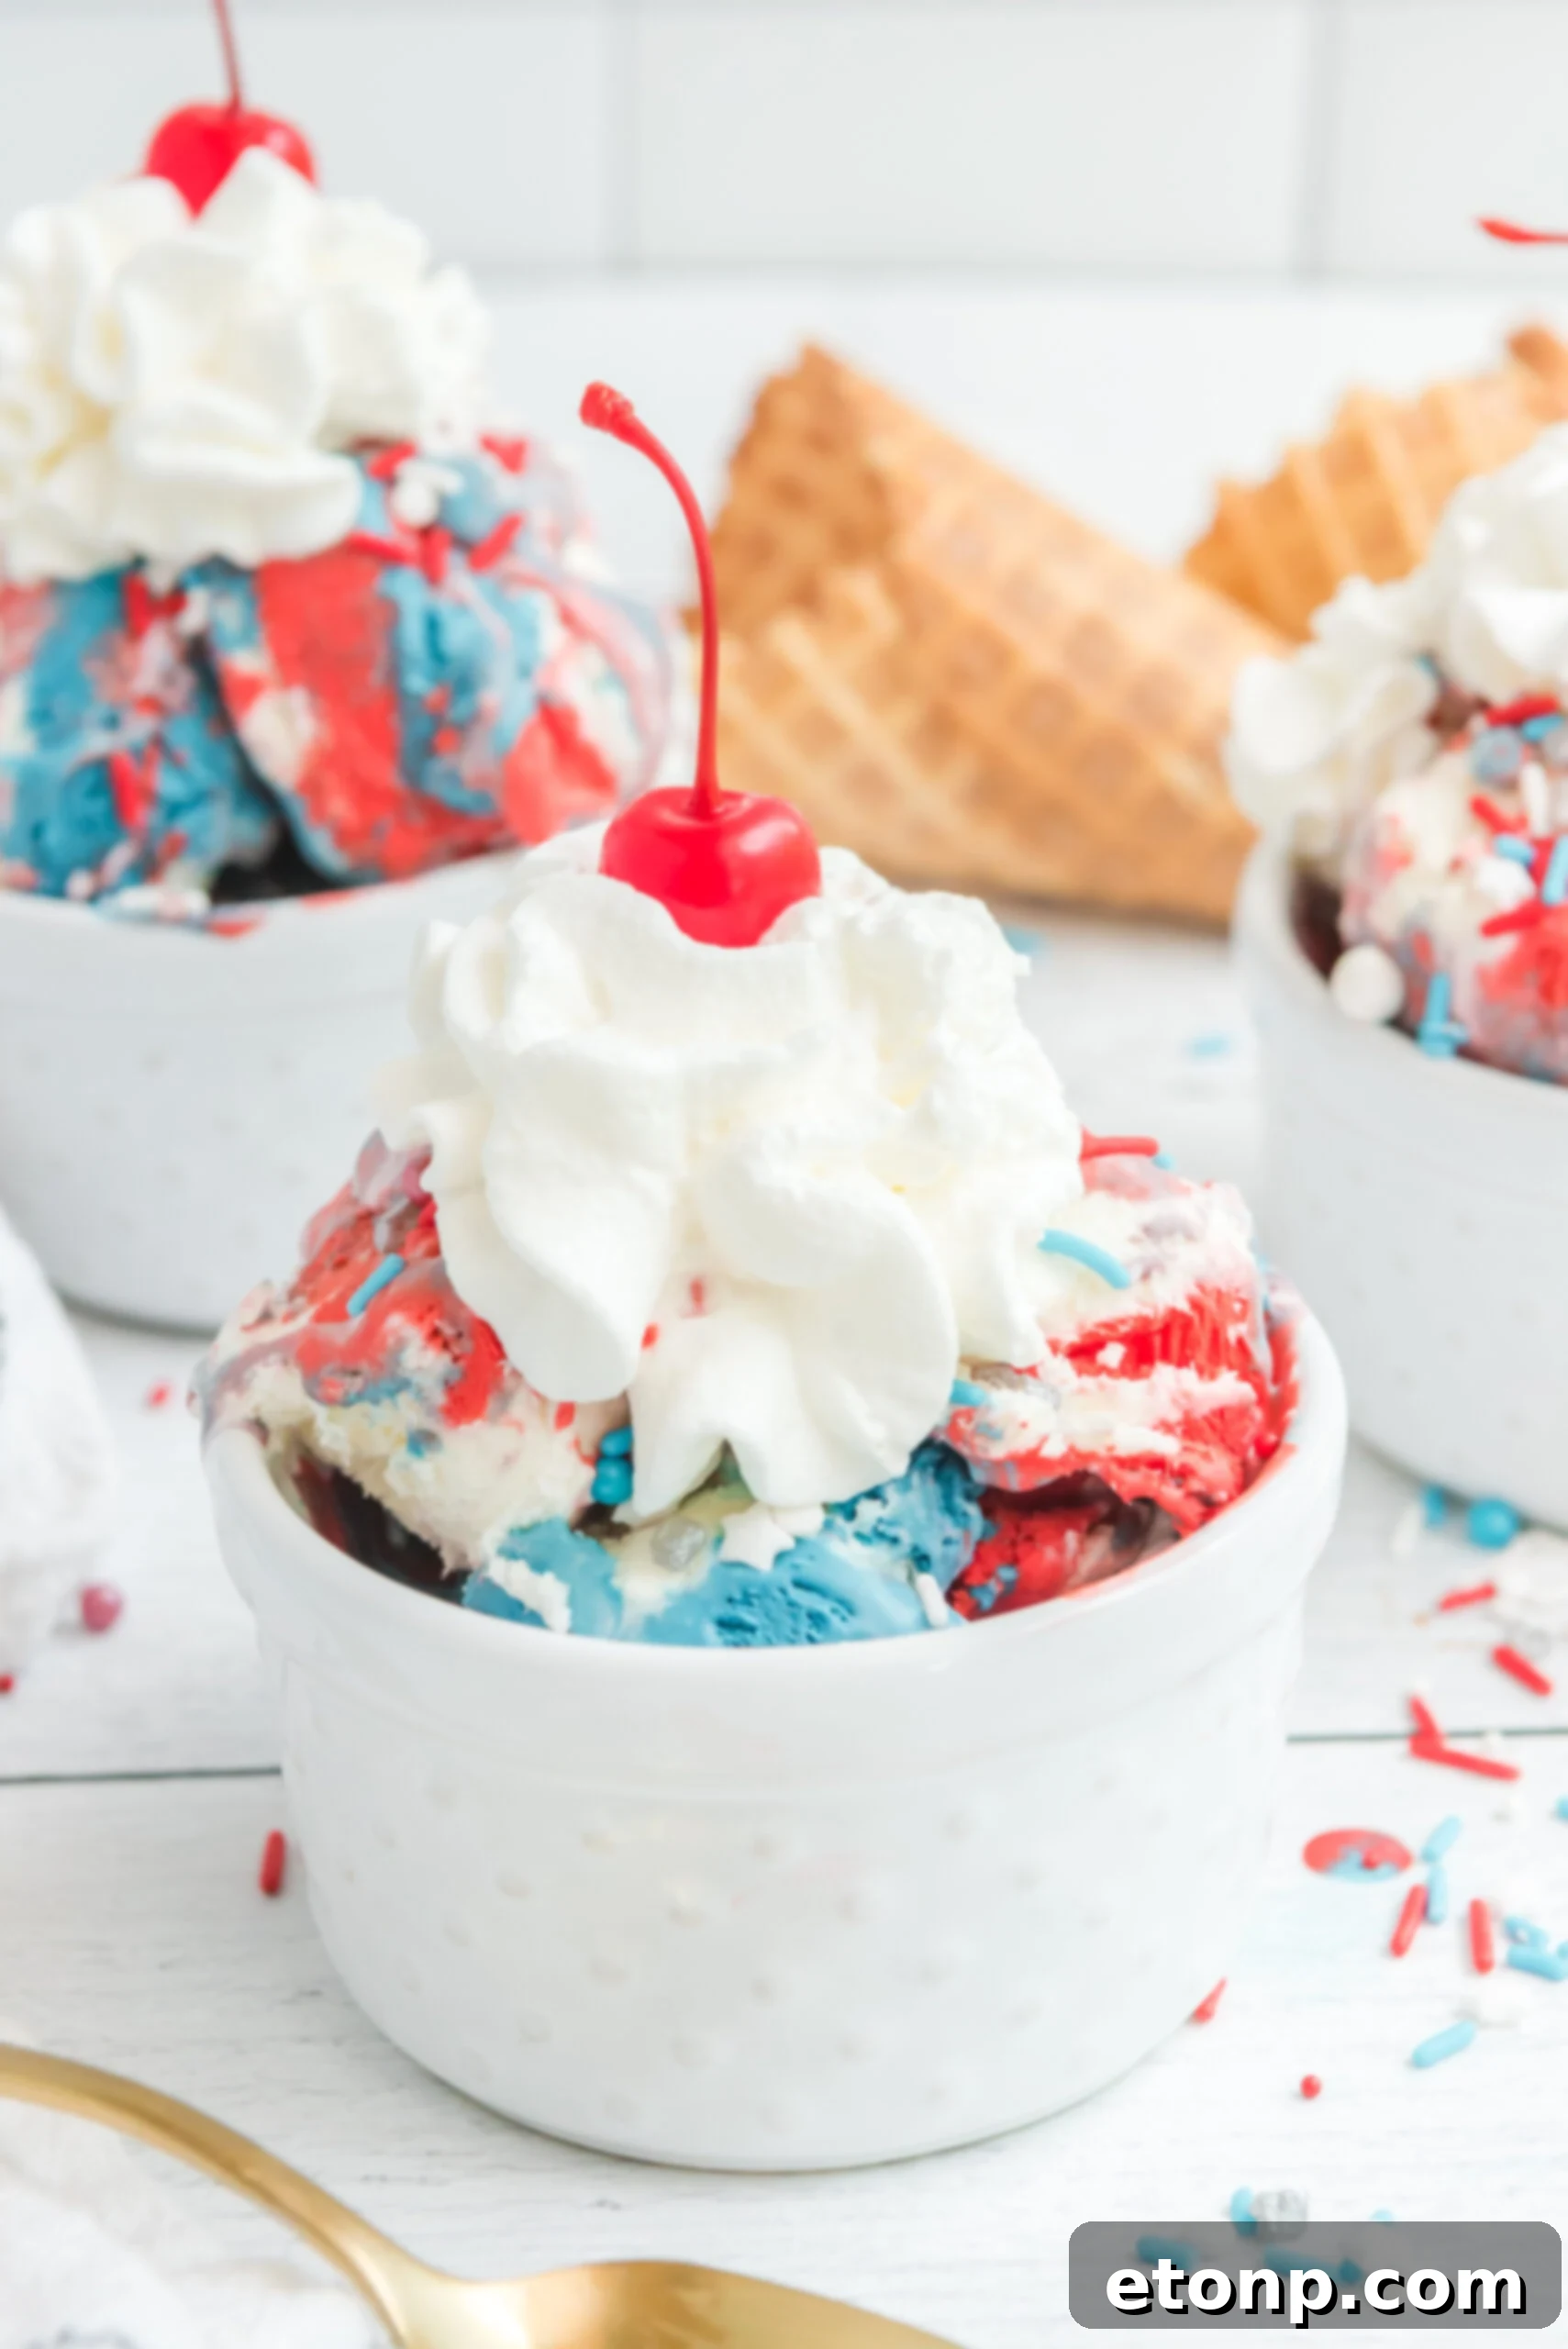
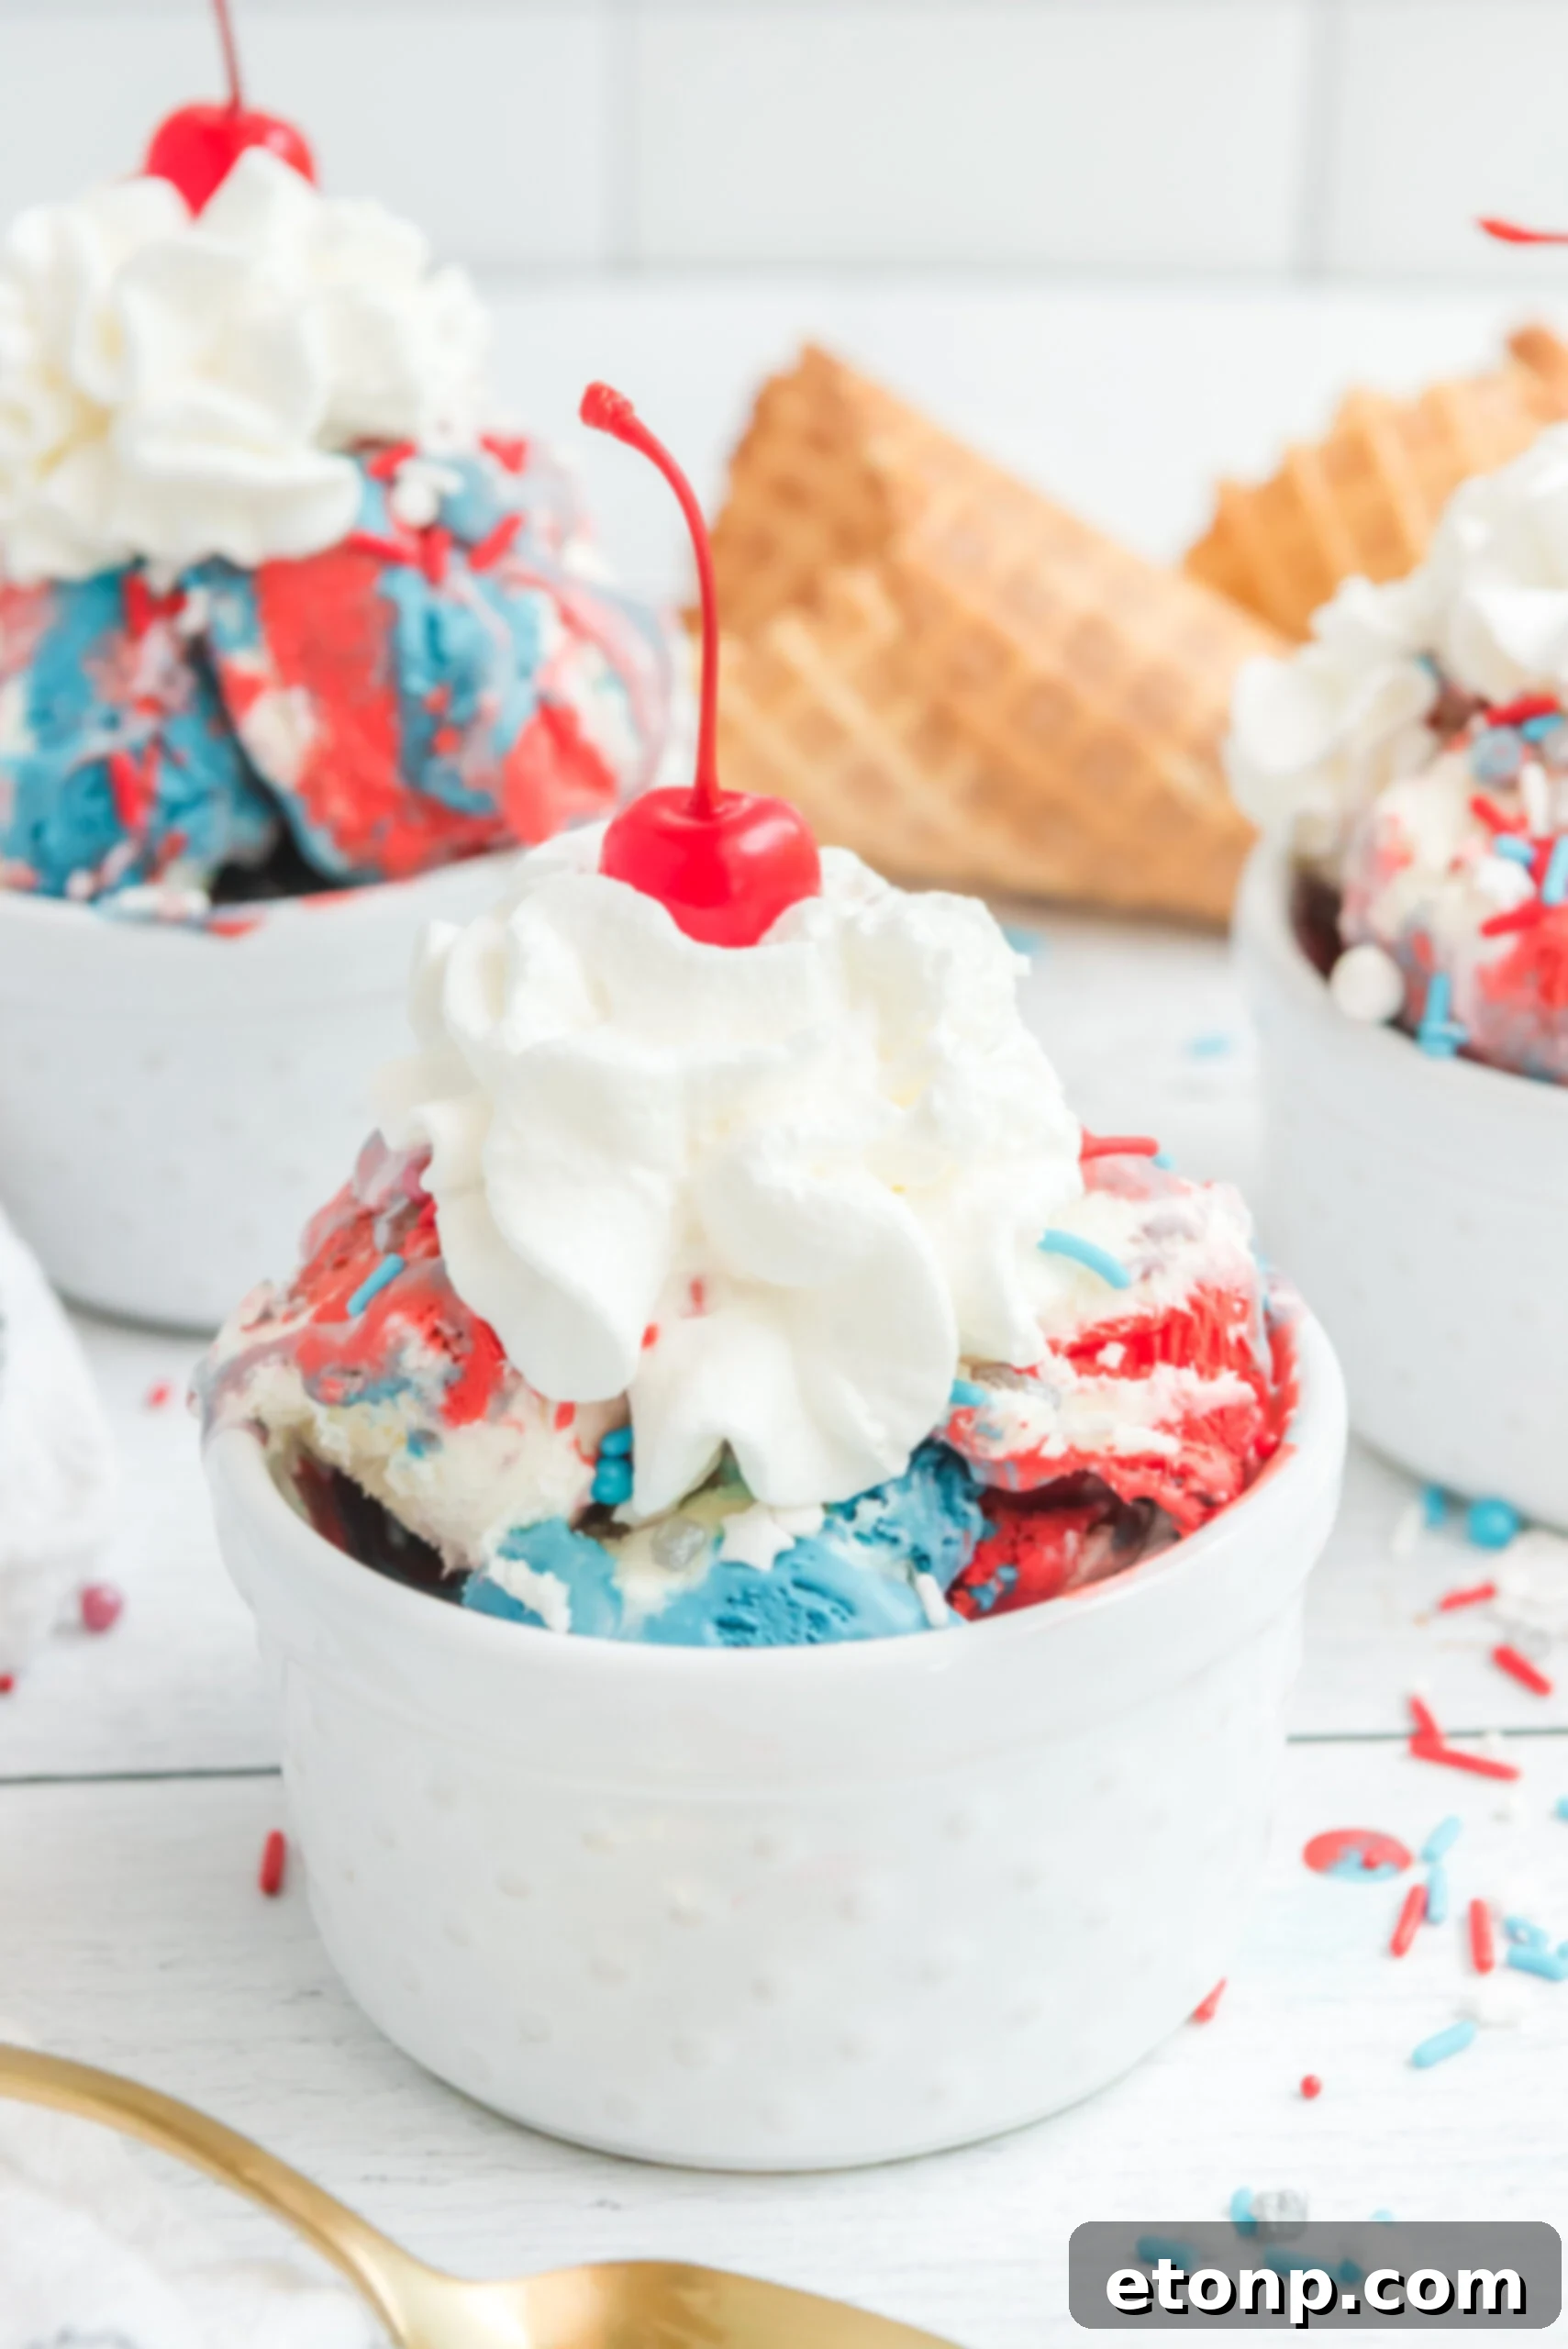
- Decadent Toppings: Elevate your serving presentation with classic ice cream toppings. A generous dollop of freshly whipped cream, a maraschino cherry on top, and a drizzle of chocolate or strawberry sauce will make each scoop feel like a gourmet treat.
-
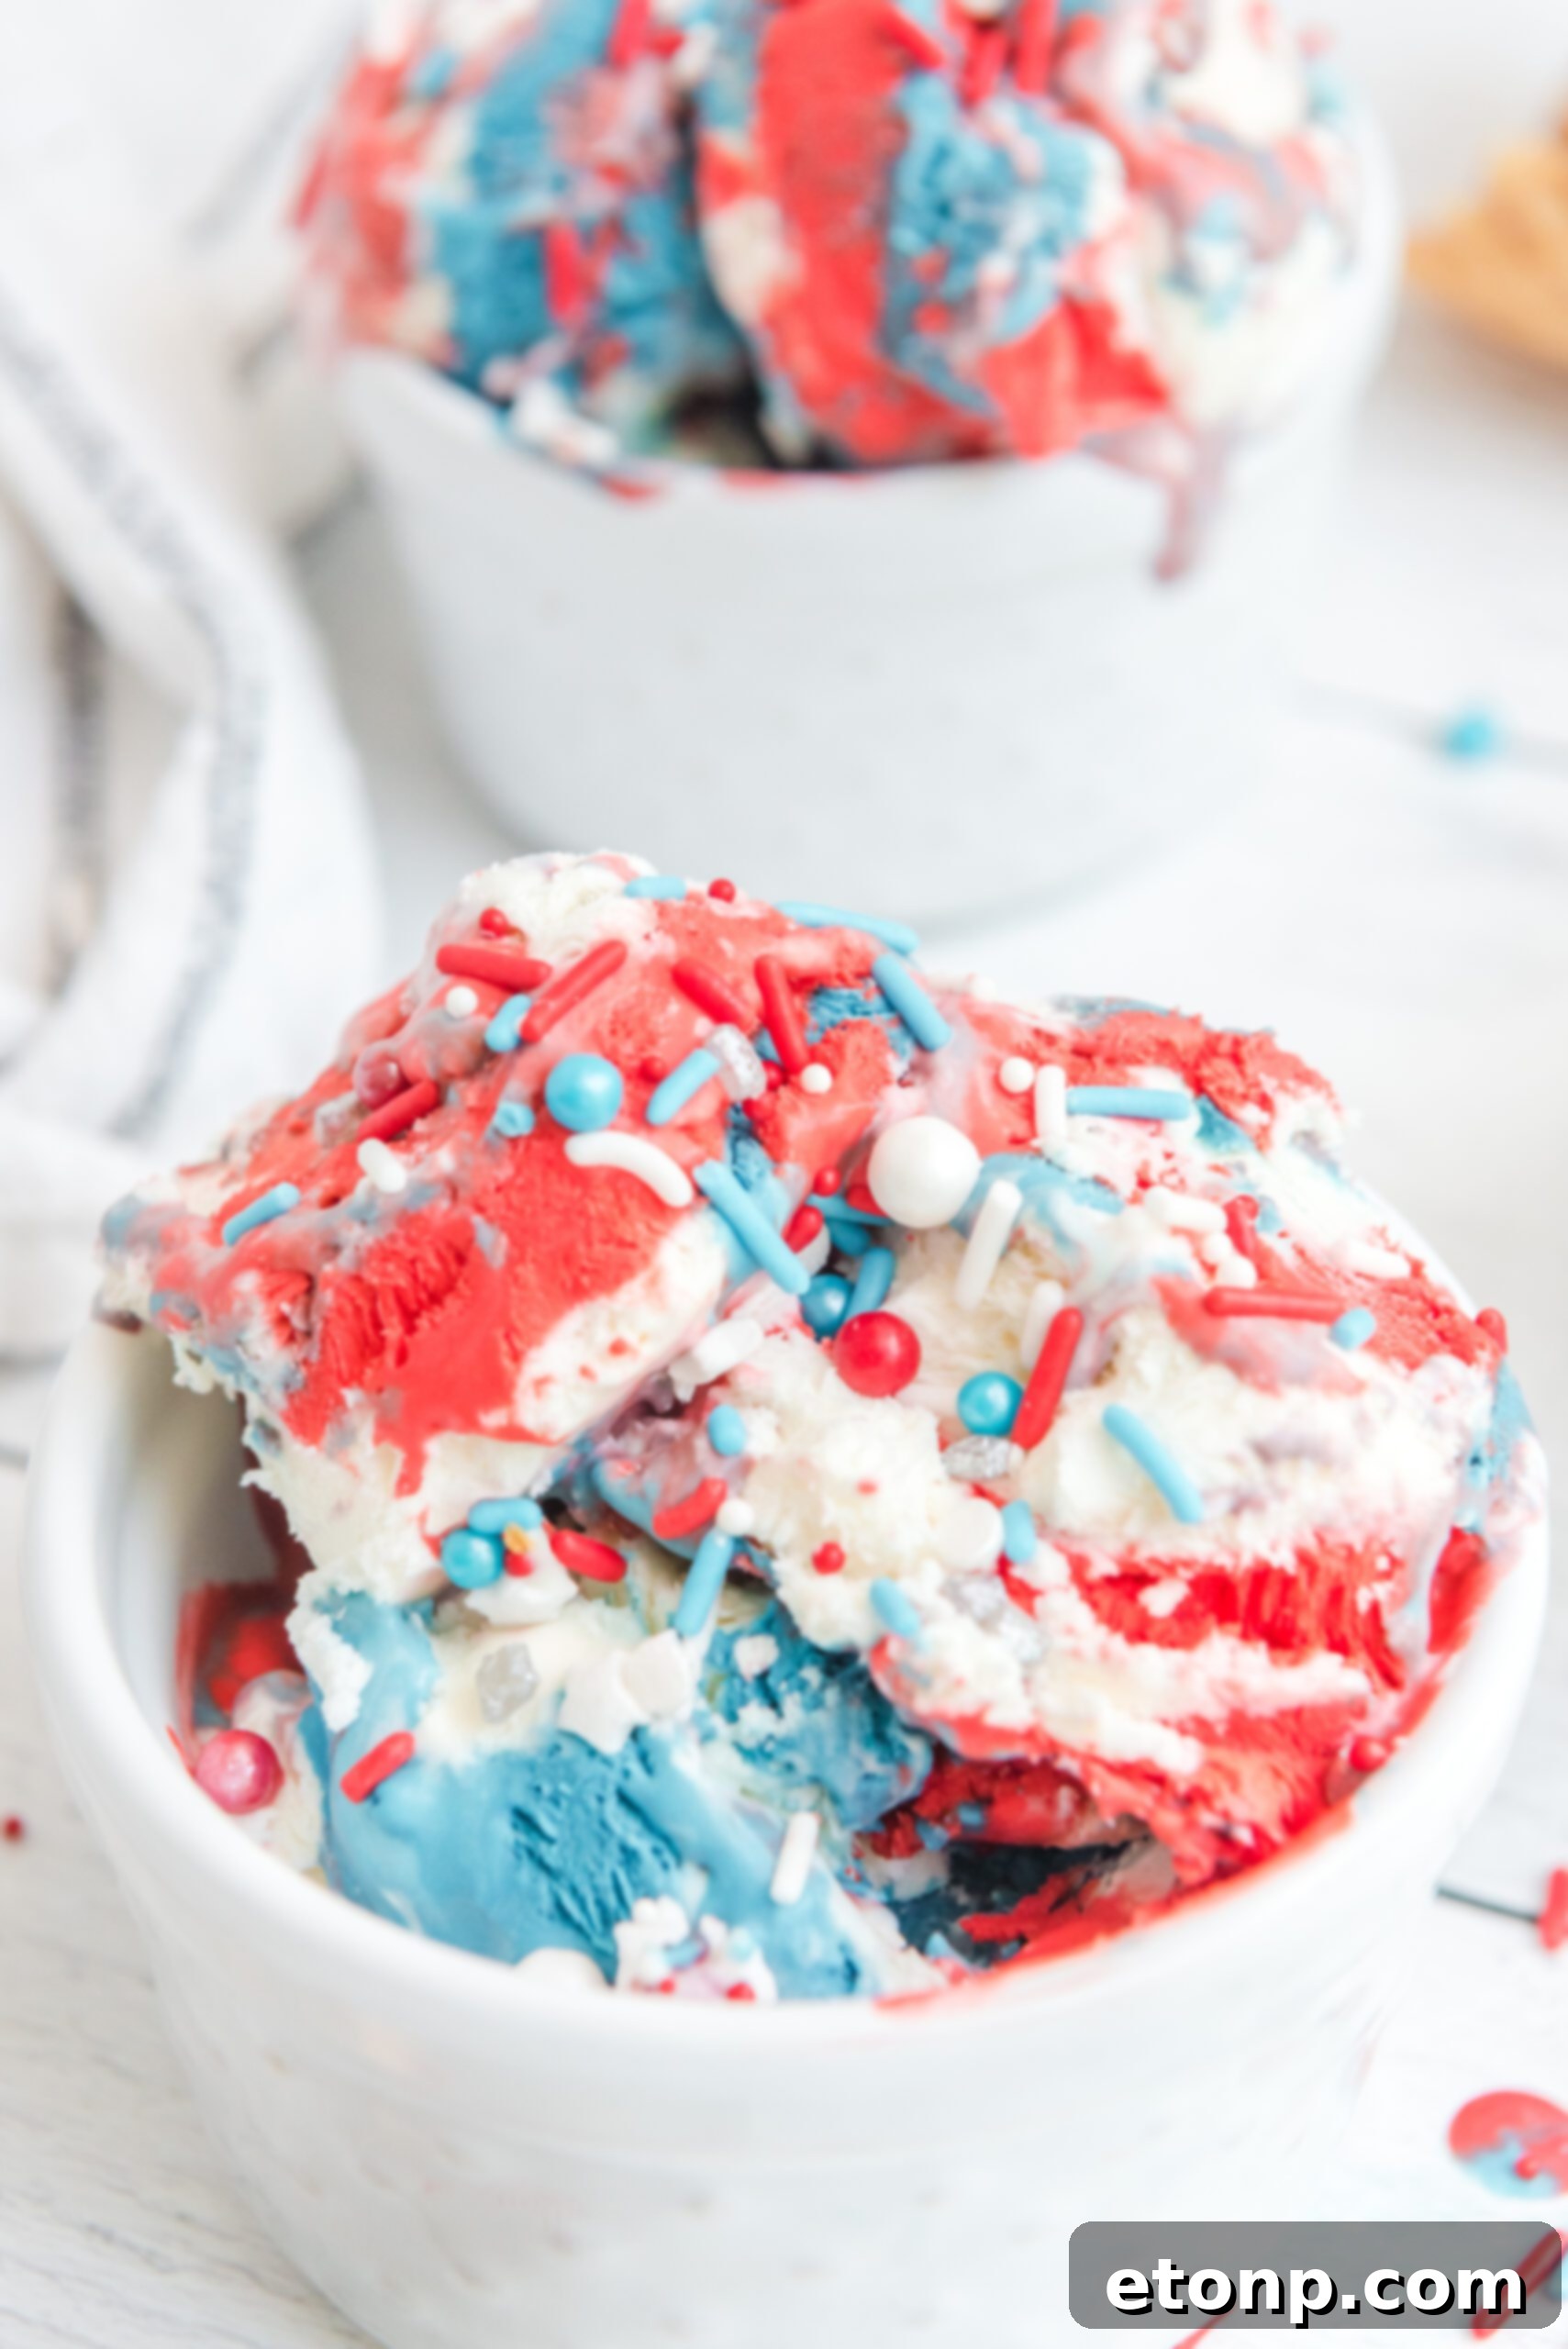
Sparkling Sprinkles: If you’re feeling extra adventurous and want to amplify the festive spirit, stir in a handful of patriotic sprinkles (red, white, and blue) into each color section before freezing, or simply sprinkle them generously over the top just before serving. This adds a playful crunch and an extra visual pop.
-
Chocolatey Chunks: For chocolate lovers, mini chocolate chips or chopped white chocolate pieces can be folded into the white layer, adding a delightful contrast in flavor and texture.
-
Flavor Enhancements: While vanilla is classic, you could experiment with other extracts. A hint of almond extract or even a touch of peppermint (for a winter holiday version!) could transform the flavor profile entirely.
The possibilities are truly endless when it comes to customizing this recipe, so have fun with it and create a dessert that truly reflects your taste and the occasion!
Frequently Asked Questions About Your Patriotic No-Churn Ice Cream
Can I make this Red, White & Blue Ice Cream ahead of time?
Absolutely! This no-churn ice cream is an excellent make-ahead dessert, perfect for stress-free party planning. Once fully frozen, simply ensure it is stored in an airtight container in the freezer. When properly stored, it will maintain its delicious flavor and creamy texture for up to 2 months. This allows you to prepare it well in advance, freeing up your time on the day of your celebration.
How do I thicken my ice cream if it seems too thin?
If, for any reason, your ice cream mixture appears too thin before freezing (this usually indicates that the heavy cream wasn’t whipped to stiff enough peaks), you can try a couple of adjustments. You can gently fold in a little extra, very cold heavy whipping cream that has been separately whipped to stiff peaks. Alternatively, a small amount of additional sweetened condensed milk can also help thicken the base, though be mindful of adding too much sweetness. The key to a thick, creamy no-churn ice cream lies in the vigorously whipped heavy cream providing the necessary structure.
My ice cream is too sweet, what can I do to balance the flavor?
If you find your finished ice cream to be a little too sweet for your preference, there are a few ways to temper the sweetness. The simplest method is to serve it alongside or topped with something that offers a contrasting flavor. Fresh, tart berries (like raspberries or blackberries) are an excellent choice, as their natural acidity cuts through the sweetness beautifully. You could also serve it with unsweetened whipped cream or a dusting of unsweetened cocoa powder to add depth and reduce the perceived sweetness. For future batches, you might consider slightly reducing the amount of sweetened condensed milk, or adding a pinch of salt to the heavy cream before whipping, which can help balance the sweet notes.
Perfect Pairings: What to Serve with This Red, White & Blue Ice Cream?
This vibrantly patriotic no-churn ice cream is a versatile dessert that pairs wonderfully with a variety of accompaniments, making it perfect for any celebratory spread. Its creamy texture and sweet flavor provide a delightful finish to any meal.
-
Classic Combinations: Serve it alongside freshly baked cookies – chocolate chip, sugar, or even patriotic-themed cookies would be fantastic. A warm slice of pound cake or angel food cake also makes a superb canvas for a scoop of this colorful ice cream.
- Fruity Delights: For a lighter and refreshing option, pair it with a vibrant fruit salad or a platter of fresh, seasonal berries like strawberries, blueberries, and raspberries. The tartness of the fruit will perfectly complement the ice cream’s sweetness.
- Creative Servings: Turn it into a festive ice cream float by adding a scoop to a glass of lemon-lime soda or cream soda. You could also use it as a filling for homemade ice cream sandwiches with soft cookies.
- Dessert Bar Star: Set up an ice cream bar with various toppings – extra whipped cream, cherries, chocolate syrup, caramel sauce, nuts, and of course, plenty of red, white, and blue sprinkles – and let your guests customize their own scoops!
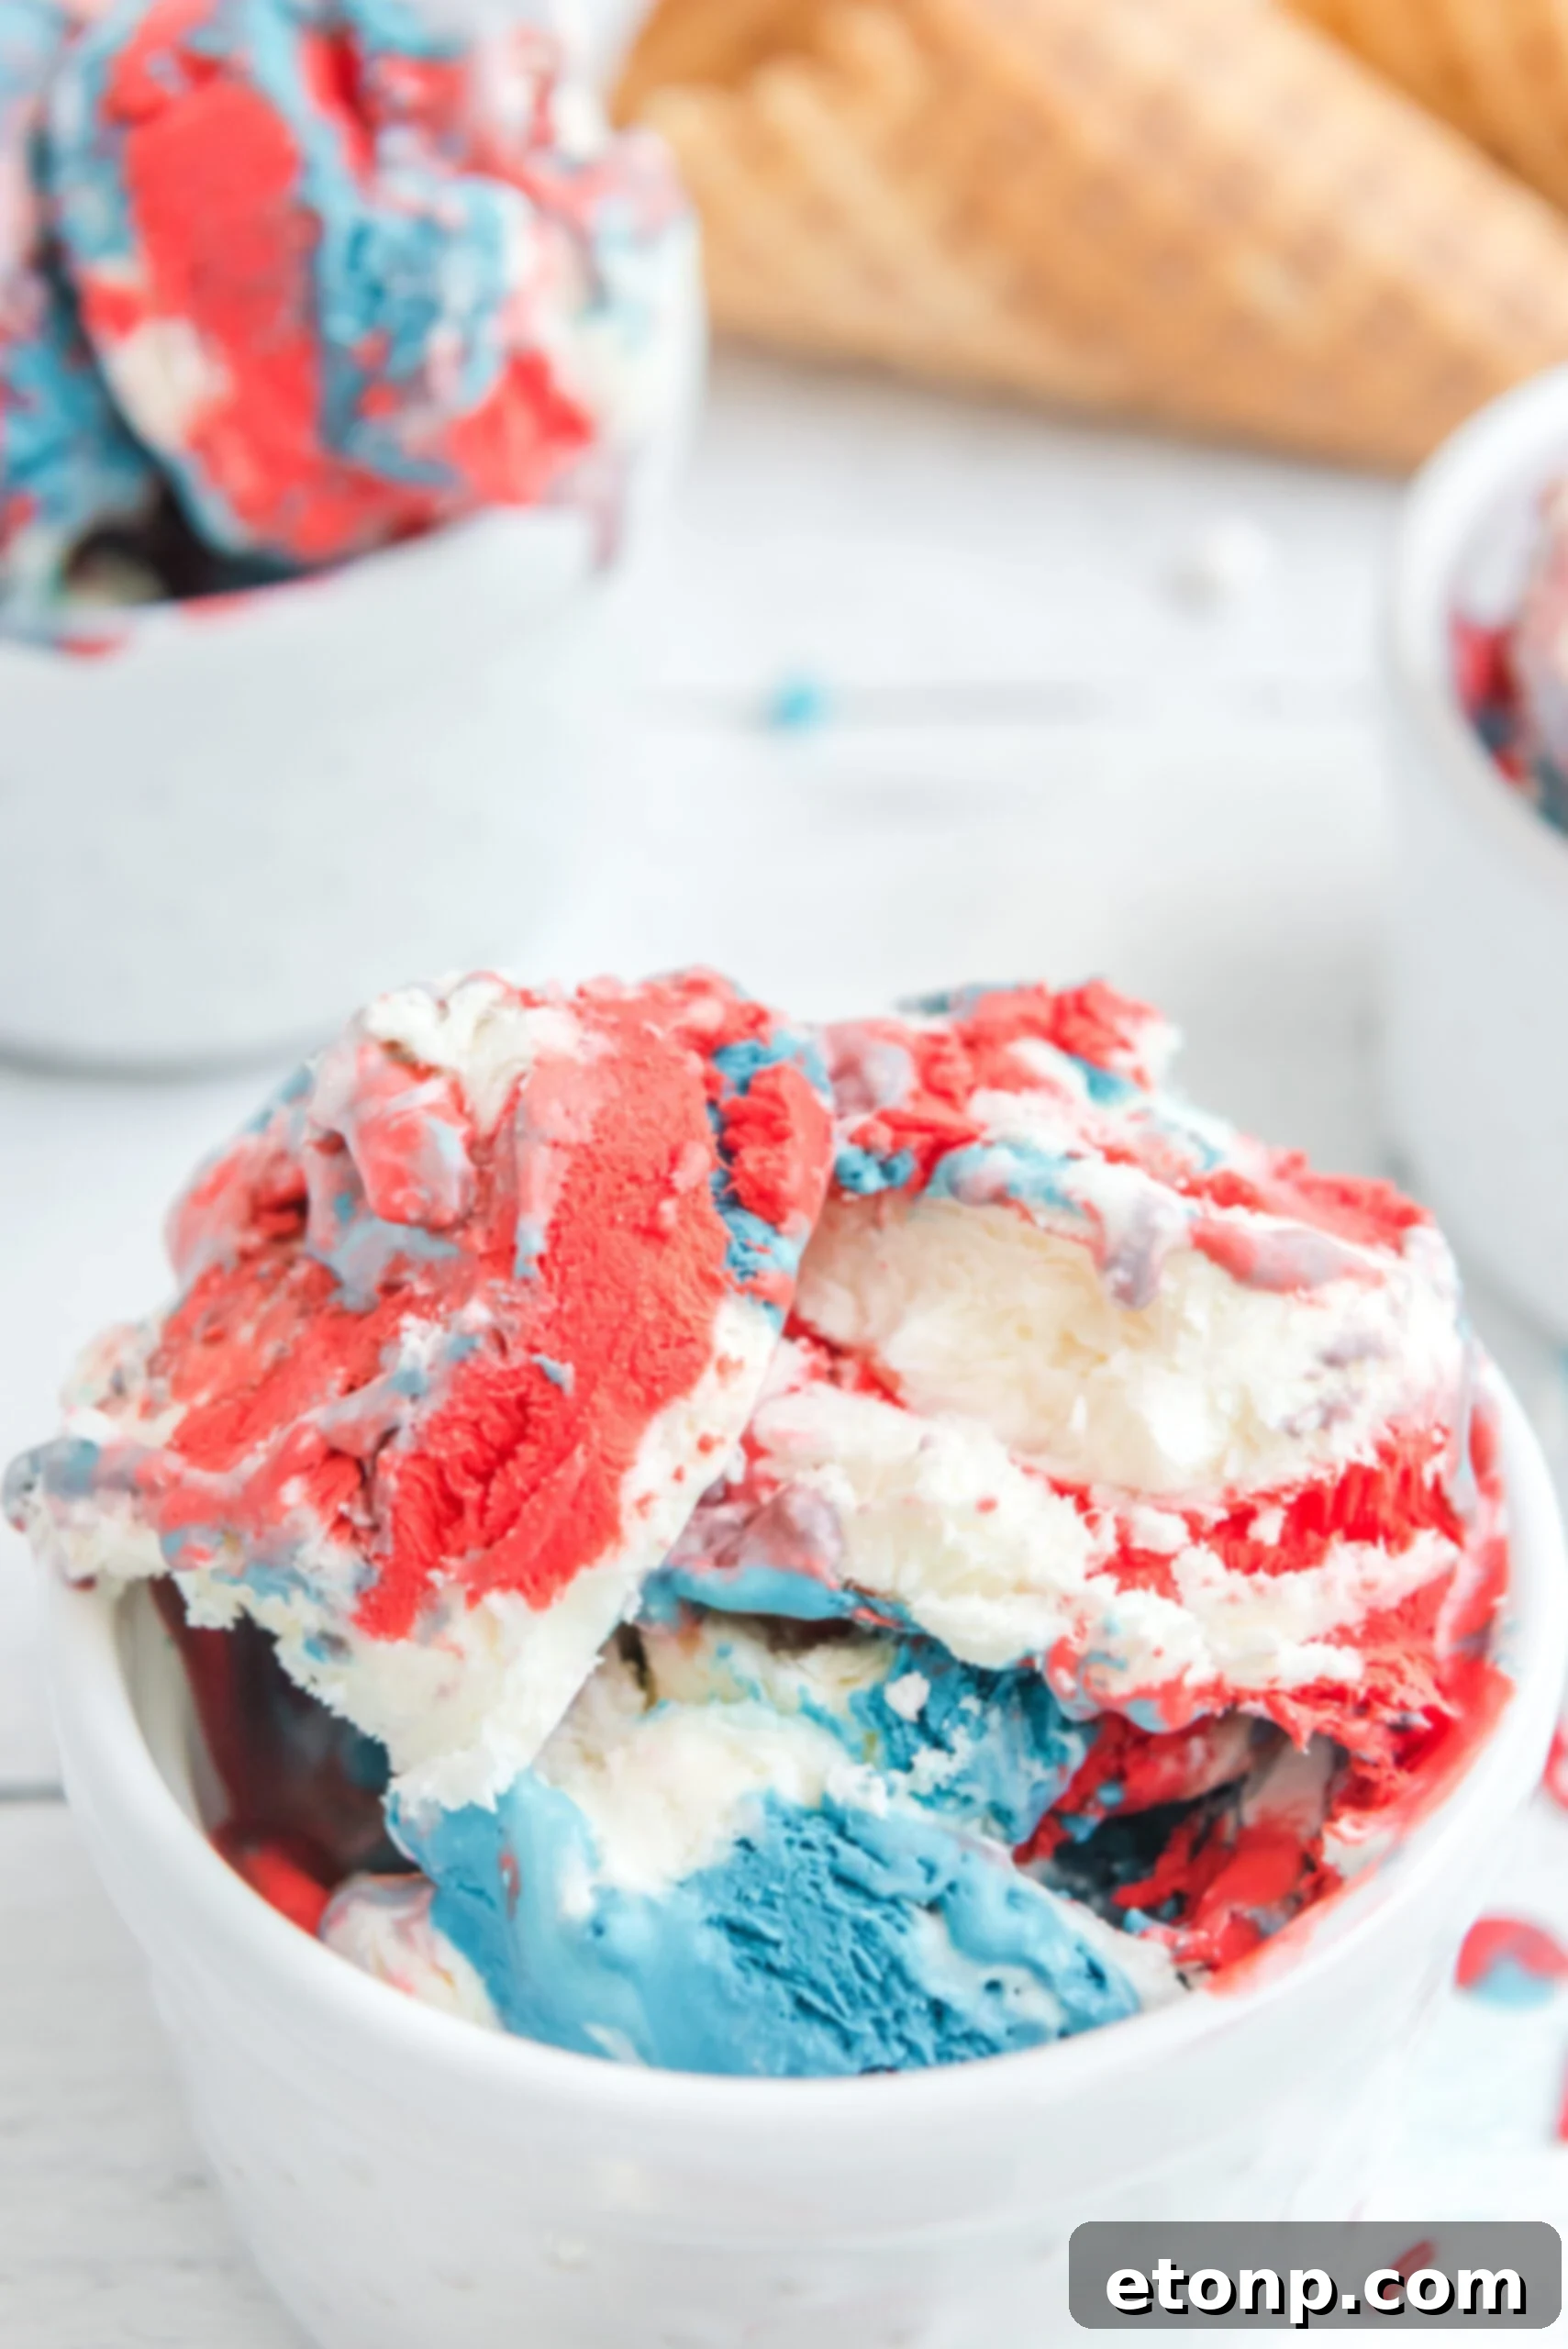
No matter how you choose to serve it, this homemade Red, White & Blue Ice Cream recipe is guaranteed to be a spectacular hit at your next gathering. It’s truly a celebration in every scoop! There is only one thing left to do now – indulge in this delightful homemade ice cream!
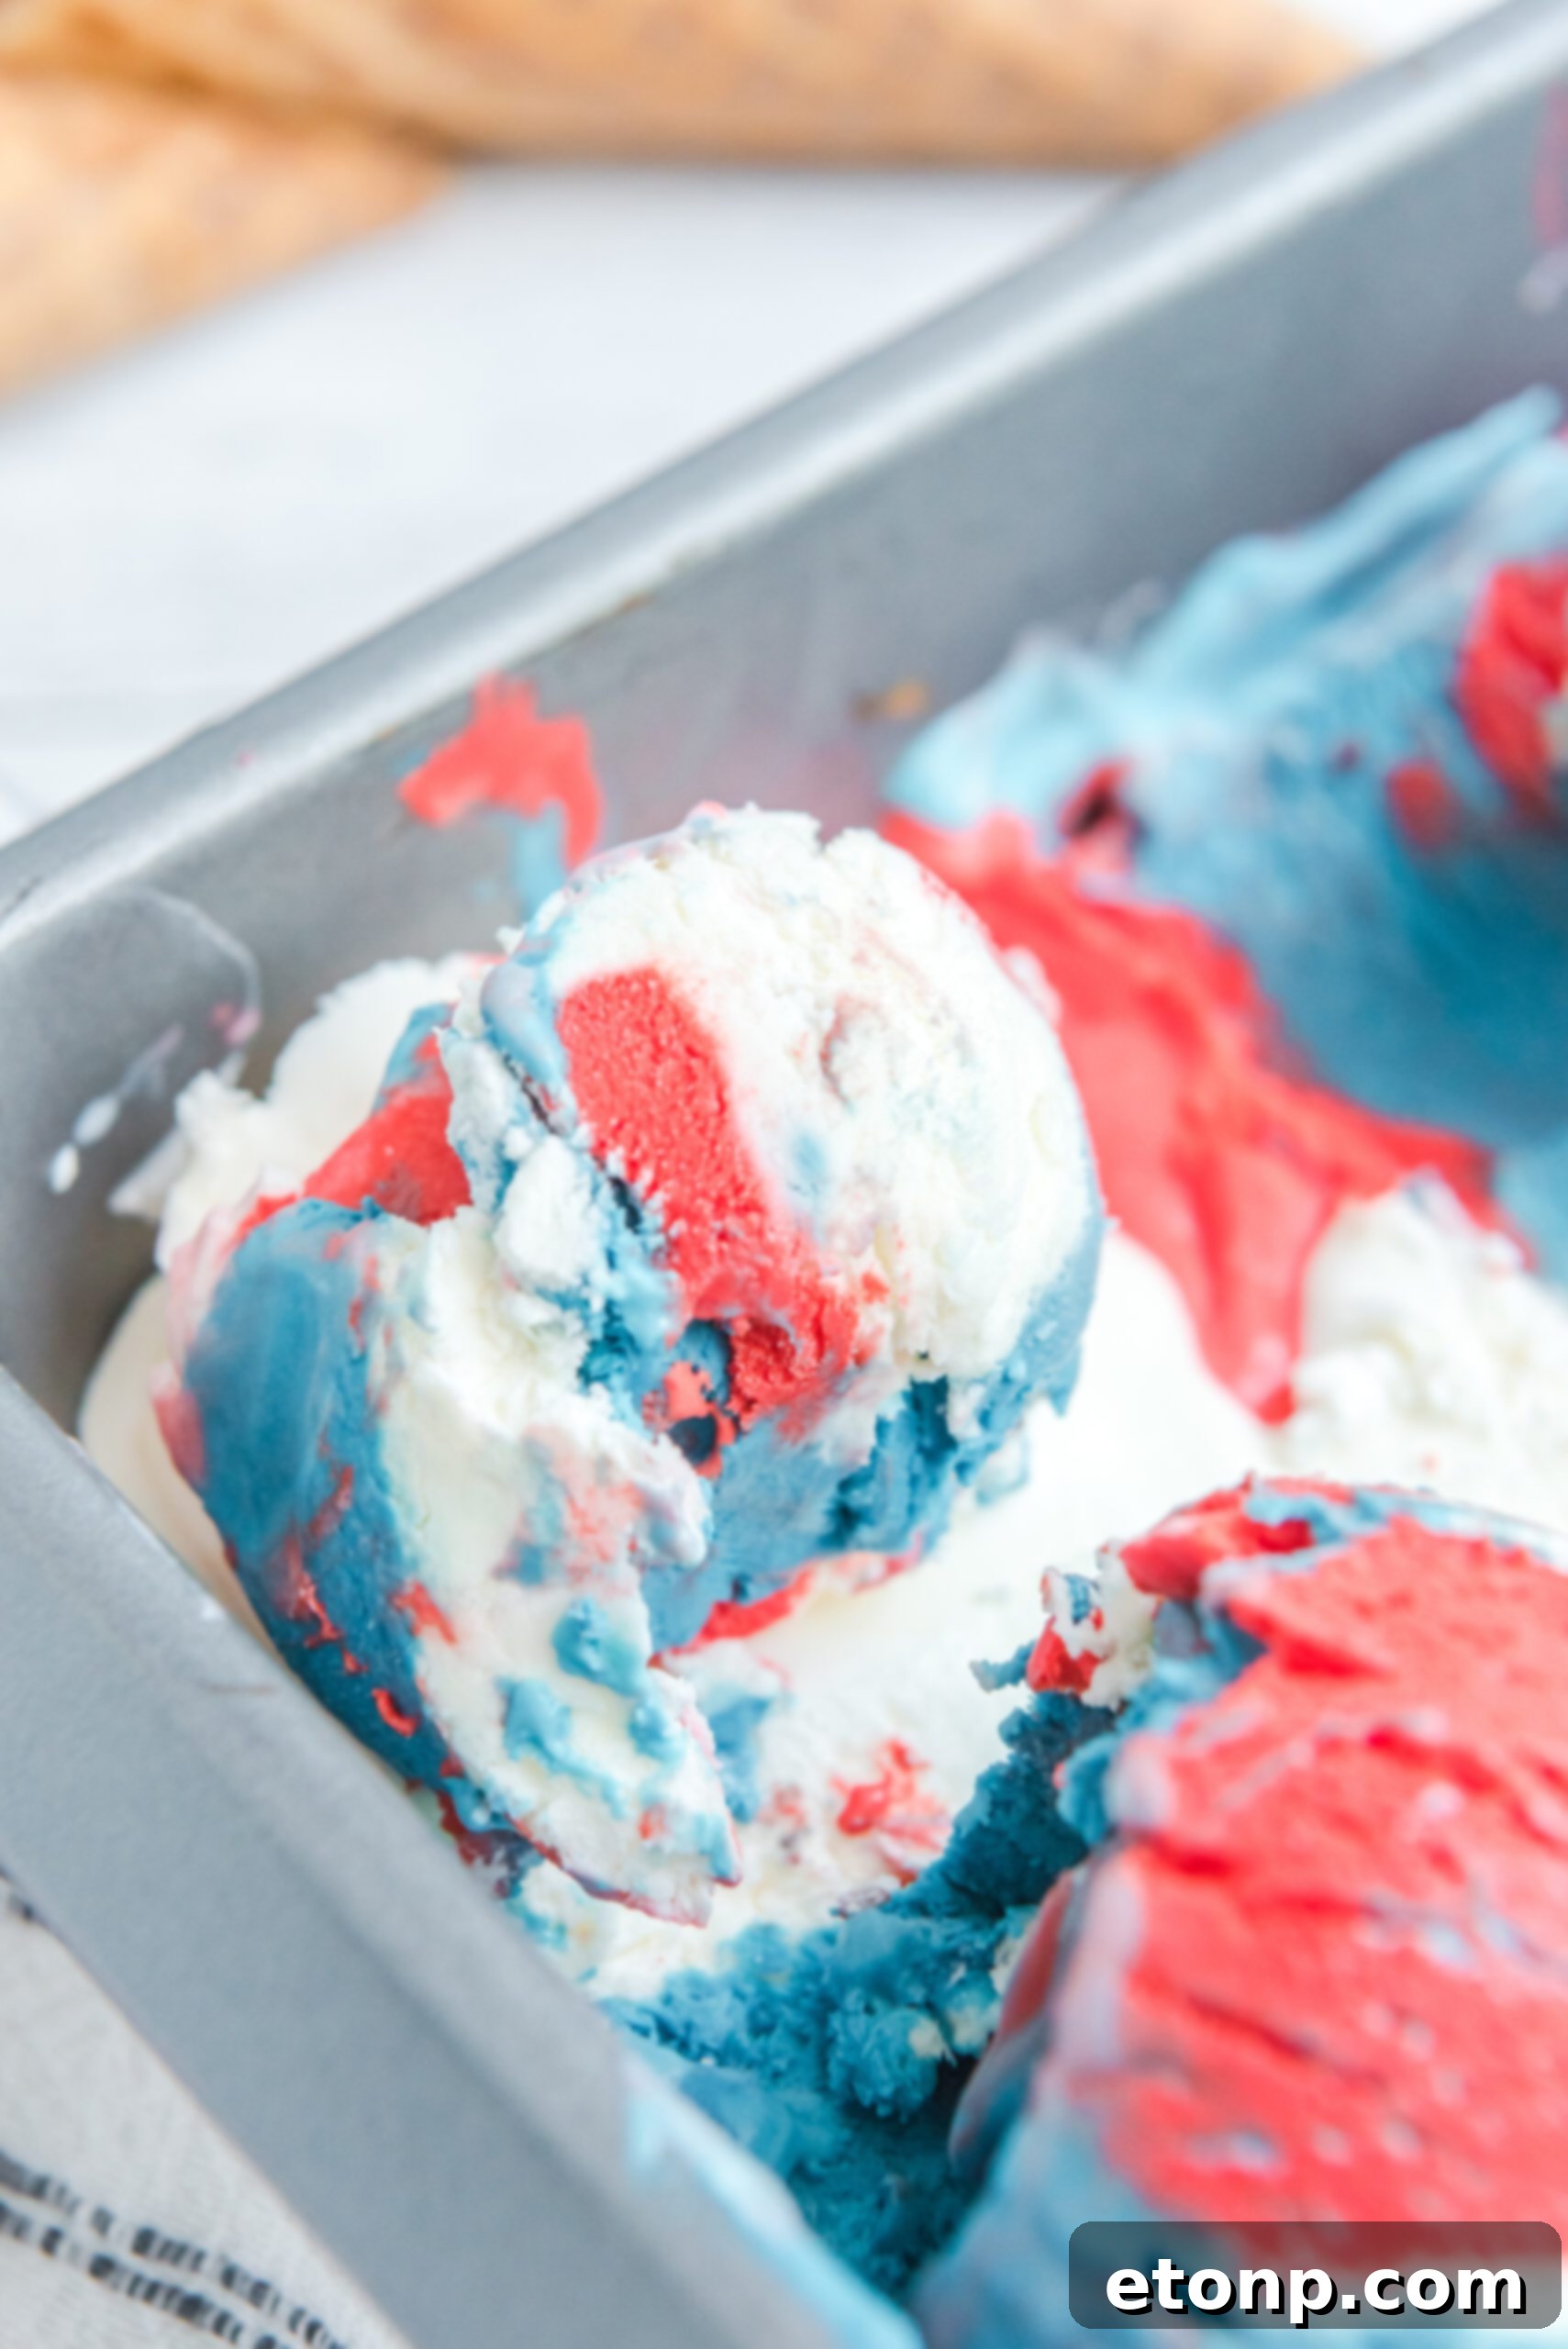
Exciting news: I have about 15 more delicious homemade ice cream recipes coming soon to the blog, so be sure to check back this month for more frozen dessert inspiration!
Extra Notes and Expert Tips for No-Churn Success:
To ensure the best results for your Red, White & Blue Ice Cream, keep these crucial tips in mind:
– Always keep your heavy whipping cream in the fridge until just before you’re ready to use it. Warm cream will not whip to the desired consistency, which is vital for this no-churn method.
– A professional trick for achieving beautifully fluffy and stable whipped cream is to chill your mixing bowl (preferably a metal one) and whisk attachments in the freezer for about 10-15 minutes before whipping. This helps the cream stay cold and incorporate air more efficiently.
– For the recipe pictured, approximately 7 drops of blue food coloring and 13 drops of red food coloring were used. Keep in mind that food coloring intensity can vary by brand. For a deeper, true red that avoids looking pink, you may need to add a few more drops of red food coloring. Always add gradually and mix thoroughly before deciding if more is needed.
– It is extremely important for this recipe that the heavy whipping cream is fully whipped to stiff peaks. If the cream isn’t adequately whipped, the entire mixture won’t be thick enough. This can lead to a less creamy, more icy texture and, most noticeably, the distinct red and blue colors will bleed together within the loaf pan, losing their beautiful layered effect.
– To truly emphasize your red, white, and blue theme, garnish your scoops of ice cream with a generous sprinkle of patriotic-themed sprinkles just before serving. It adds a festive crunch and a final visual flourish!
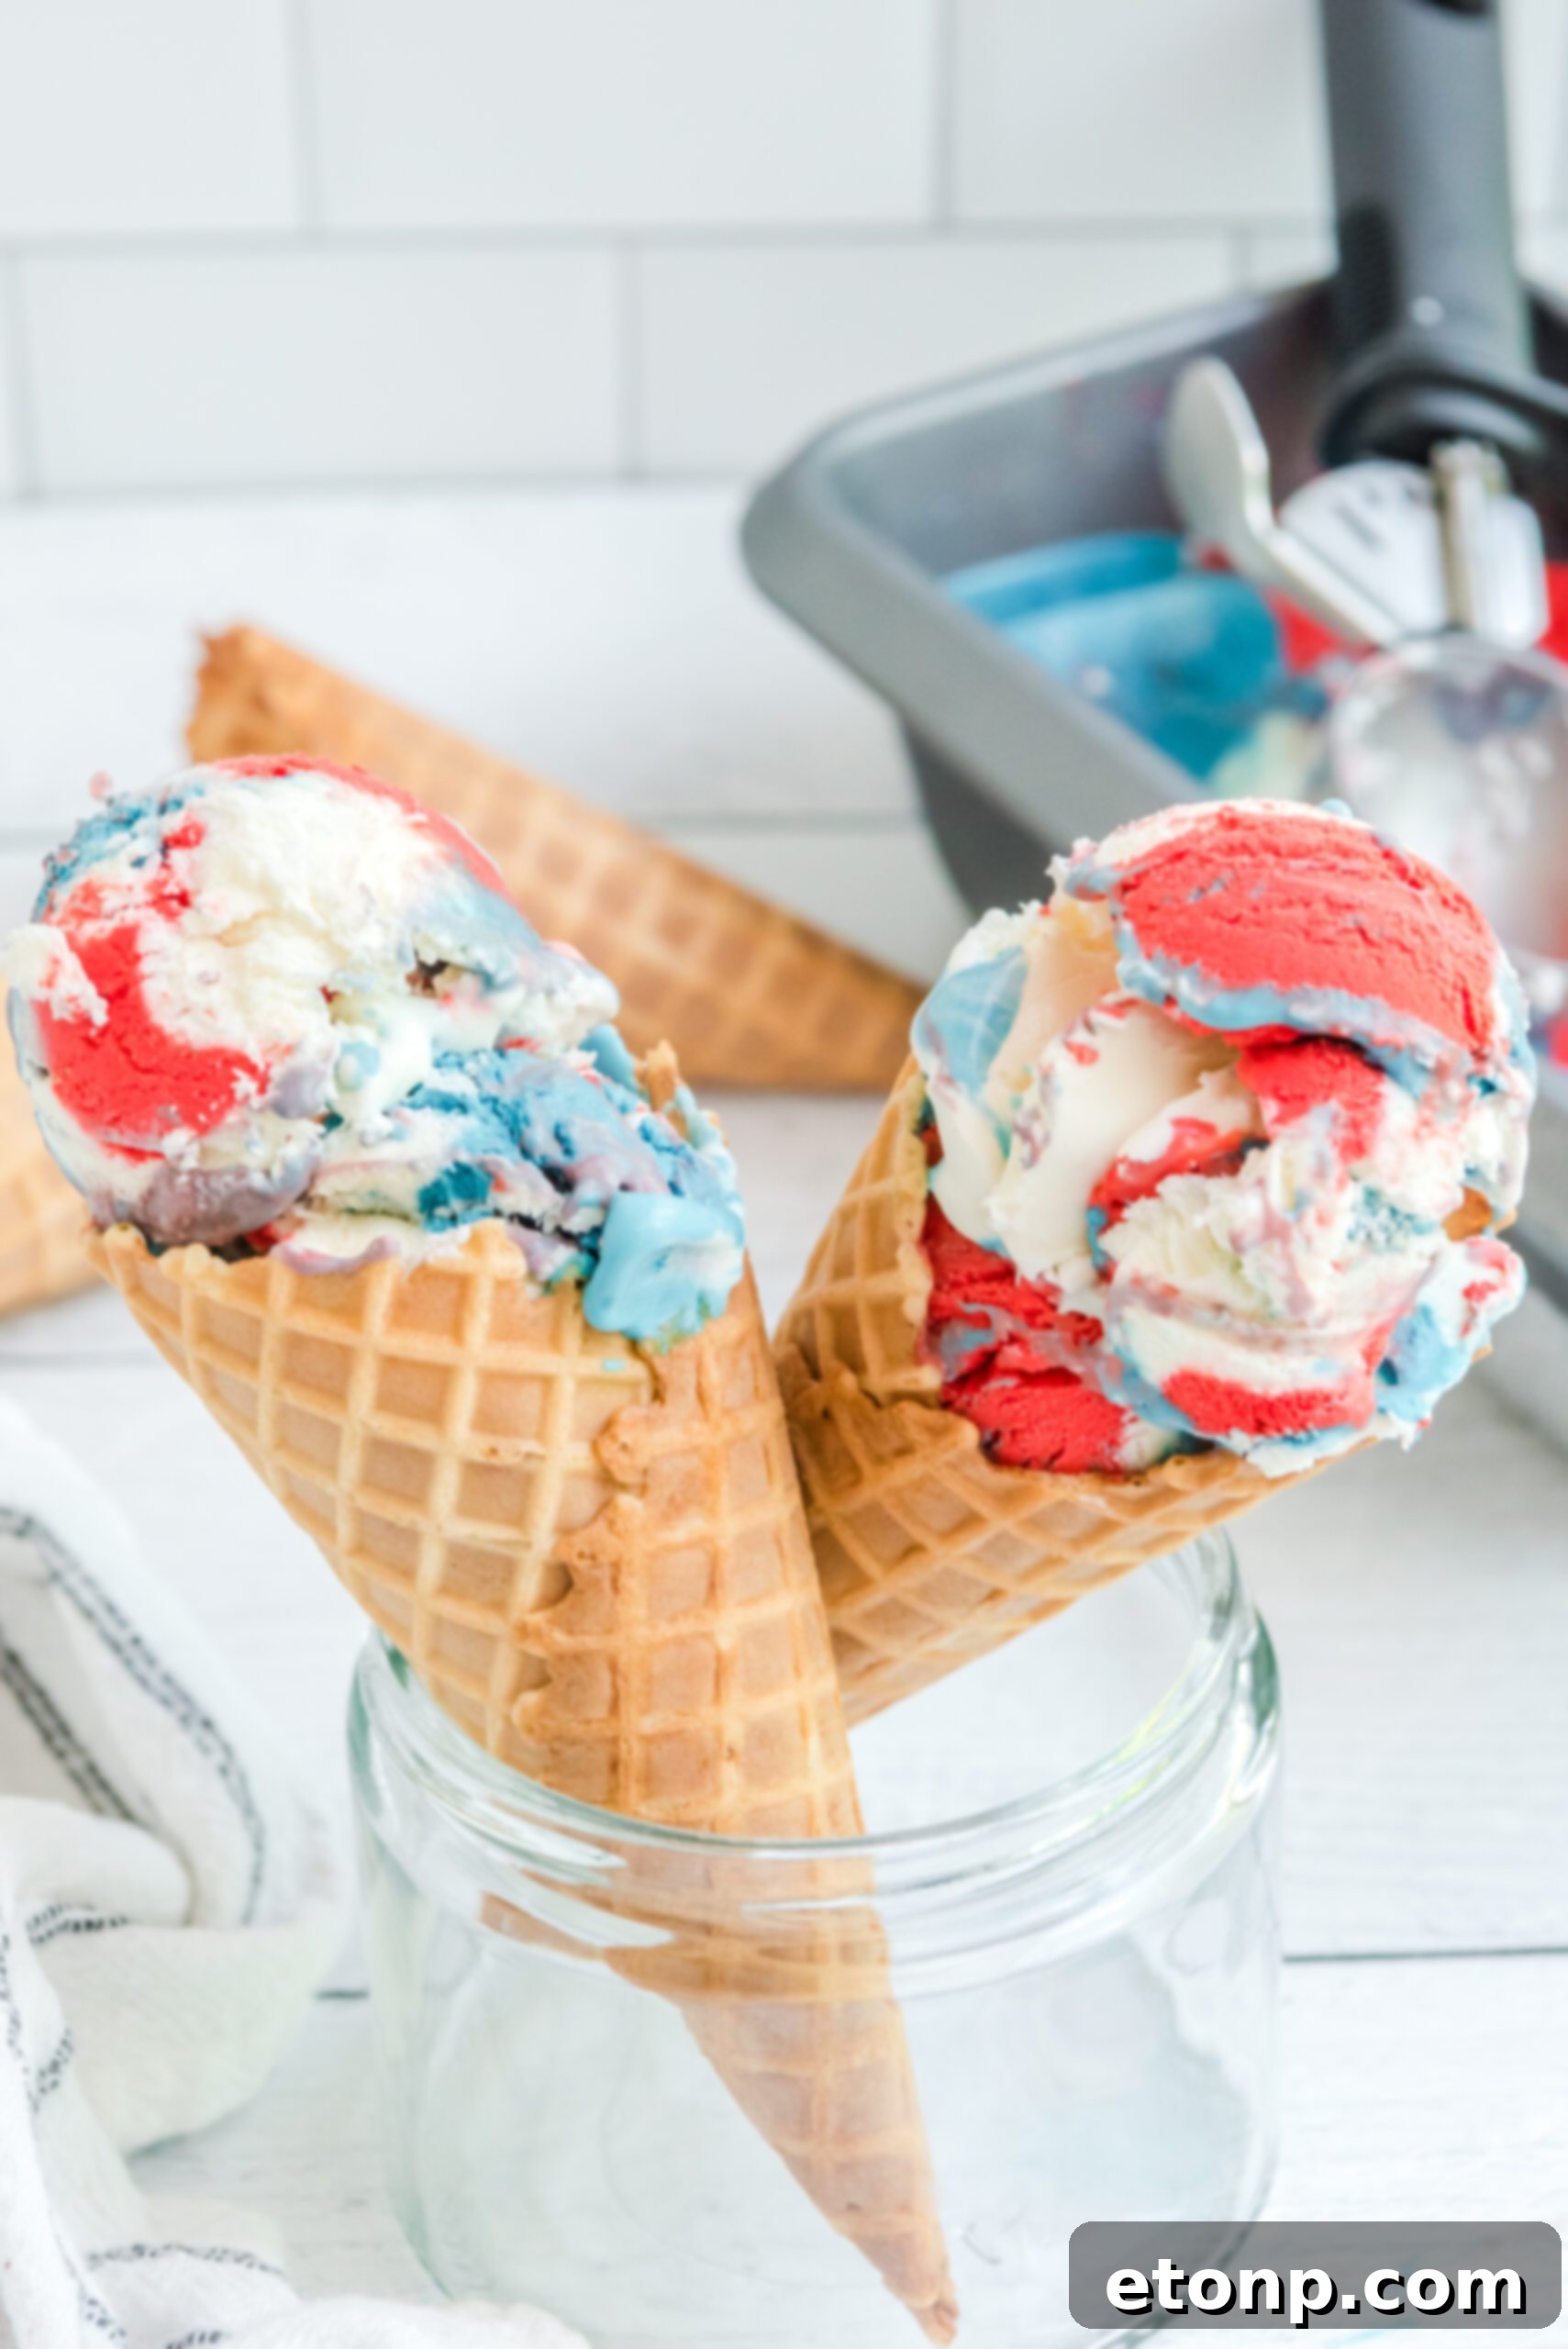
Please remember to SHARE on Facebook and PIN IT!
FOLLOW ME ONPINTERESTBY CLICKING HERE <——
Red, White & Blue No-Churn Ice Cream
Prep Time: 10 minutes
Chill Time: 6+ hours (preferably overnight)
Yields: Approximately 4-5 cups
Ingredients
- 2 cups heavy whipping cream (very cold)
- 14 oz can sweetened condensed milk
- 1 teaspoon pure vanilla extract
- Red food coloring (gel recommended for vibrant color)
- Blue food coloring (gel recommended for vibrant color)
Instructions
- In a separate mixing bowl, combine the sweetened condensed milk and vanilla extract. Whisk well until fully incorporated. Set aside.
- In a large, chilled mixing bowl, use an electric hand mixer to whip the very cold heavy whipping cream on high speed for approximately 4-5 minutes, or until it reaches a fluffy, stiff-peak consistency (similar to softened butter).
- Gently fold the condensed milk mixture into the fully whipped cream using a spatula, being careful not to deflate the cream. Mix until just combined and still thick.
- Divide the ice cream base into three more-or-less equal portions in separate bowls. One portion will remain white.
- In one bowl, add 5-7 drops of blue food coloring (or more, gradually, to achieve desired depth). Mix well with a hand whisk until the color is even.
- In another bowl, add red food coloring (start with 10-15 drops for a deep red, adjusting as needed). Mix thoroughly until desired red shade is reached, ensuring it doesn’t appear pink.
- Using three separate spoons, scoop alternating dollops of the red, white, and blue ice cream mixtures into a 9×5-inch loaf pan. Repeat this process, layering the colors, until all mixtures are used.
- Cover the loaf pan tightly and place it into the freezer. Freeze for at least 6 hours, or preferably overnight, until firm.
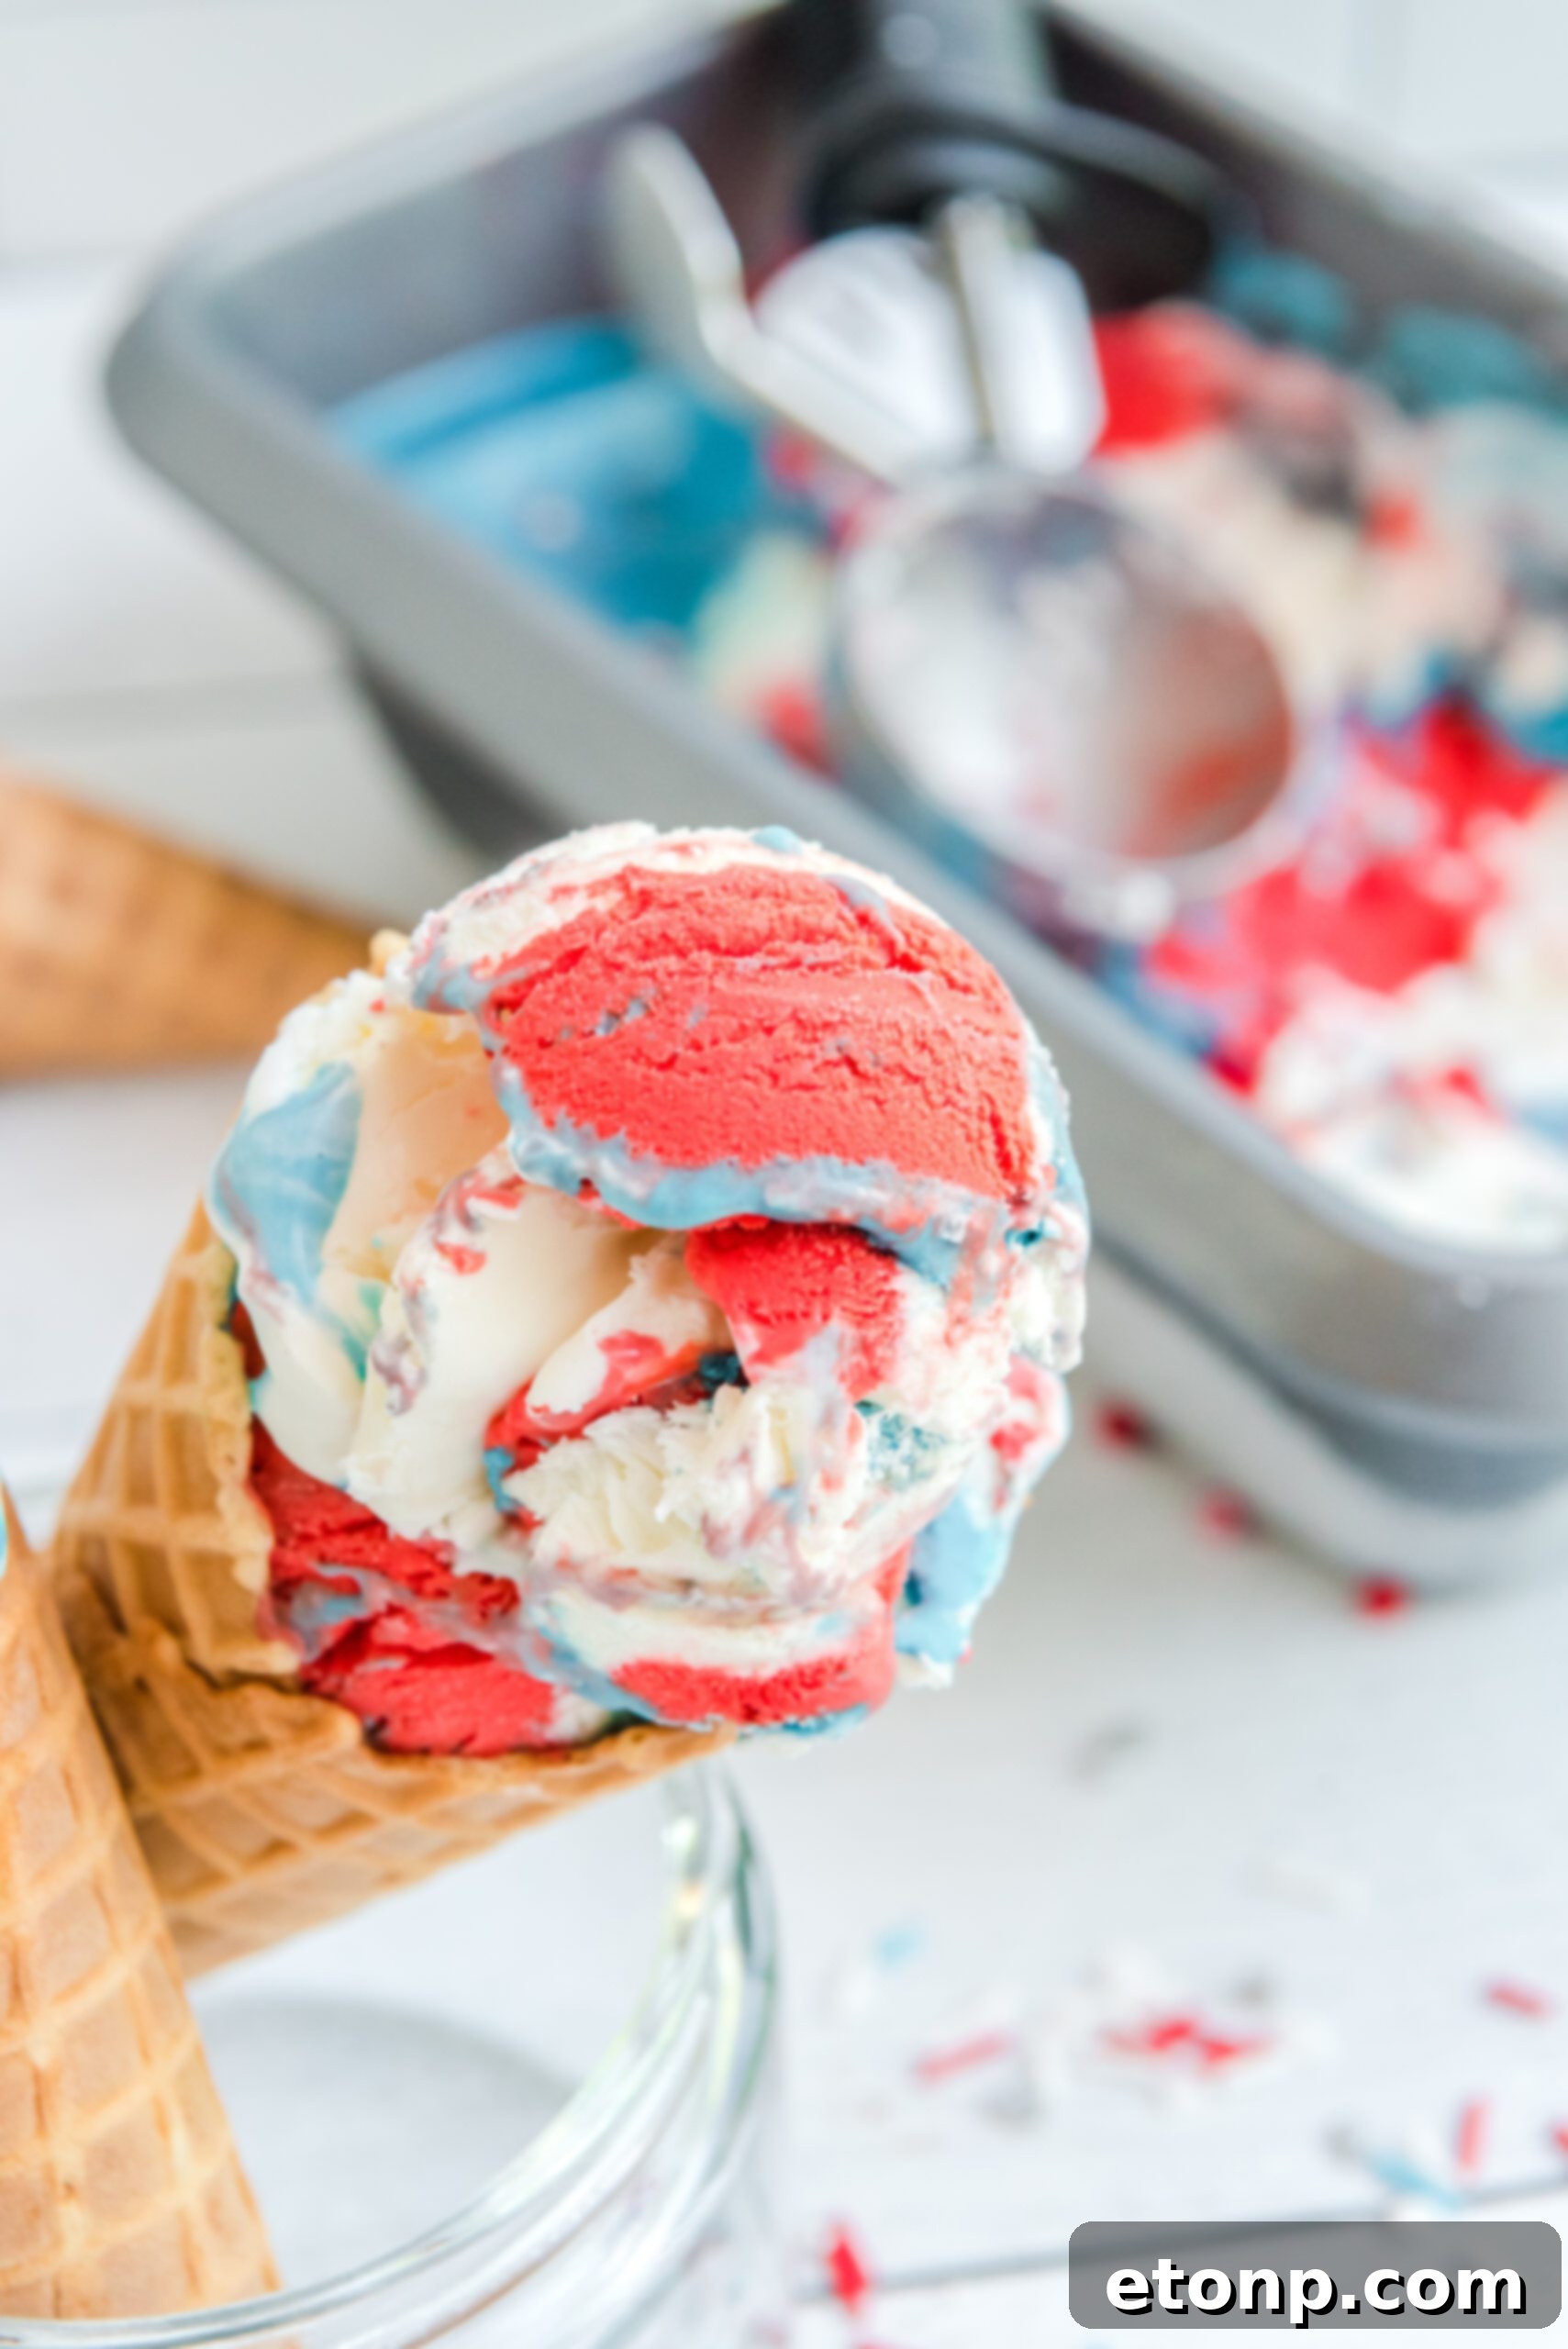
- Once fully chilled, remove from the freezer and serve your homemade Red, White & Blue Ice Cream in waffle cones, bowls, or with your favorite toppings.
- Add fixings like cherries, whipped cream, patriotic sprinkles, chocolate sauce, or fresh berries as you wish!
- ENJOY your festive and delicious creation!
Did you make this recipe?
Make sure to follow on Pinterest for more recipes and tag us with your creation!
Pin Recipe
Share on Facebook