
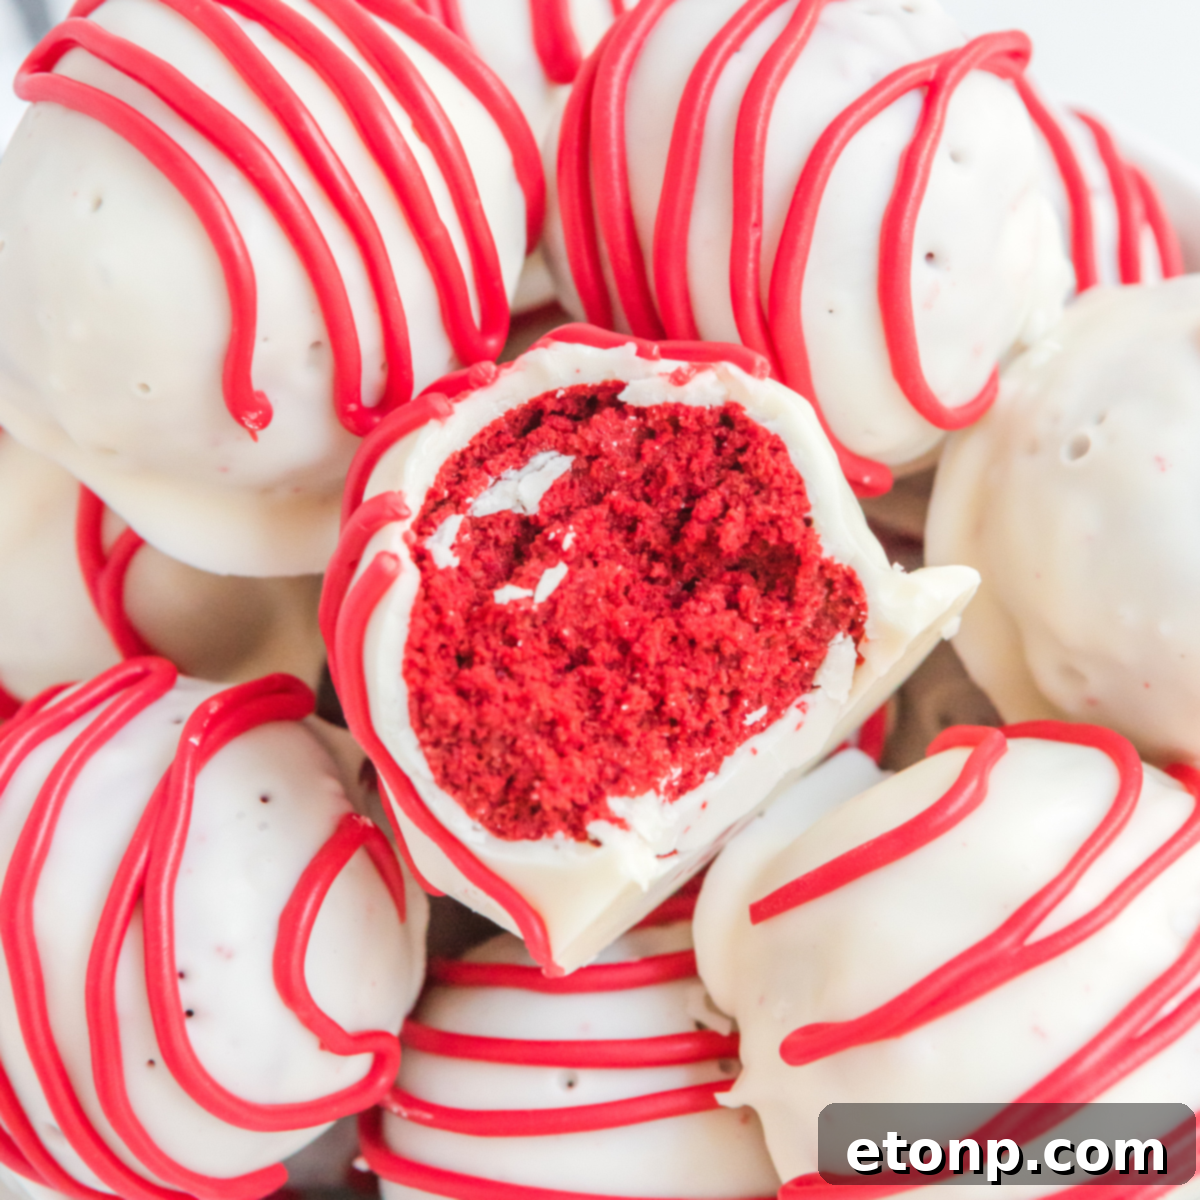
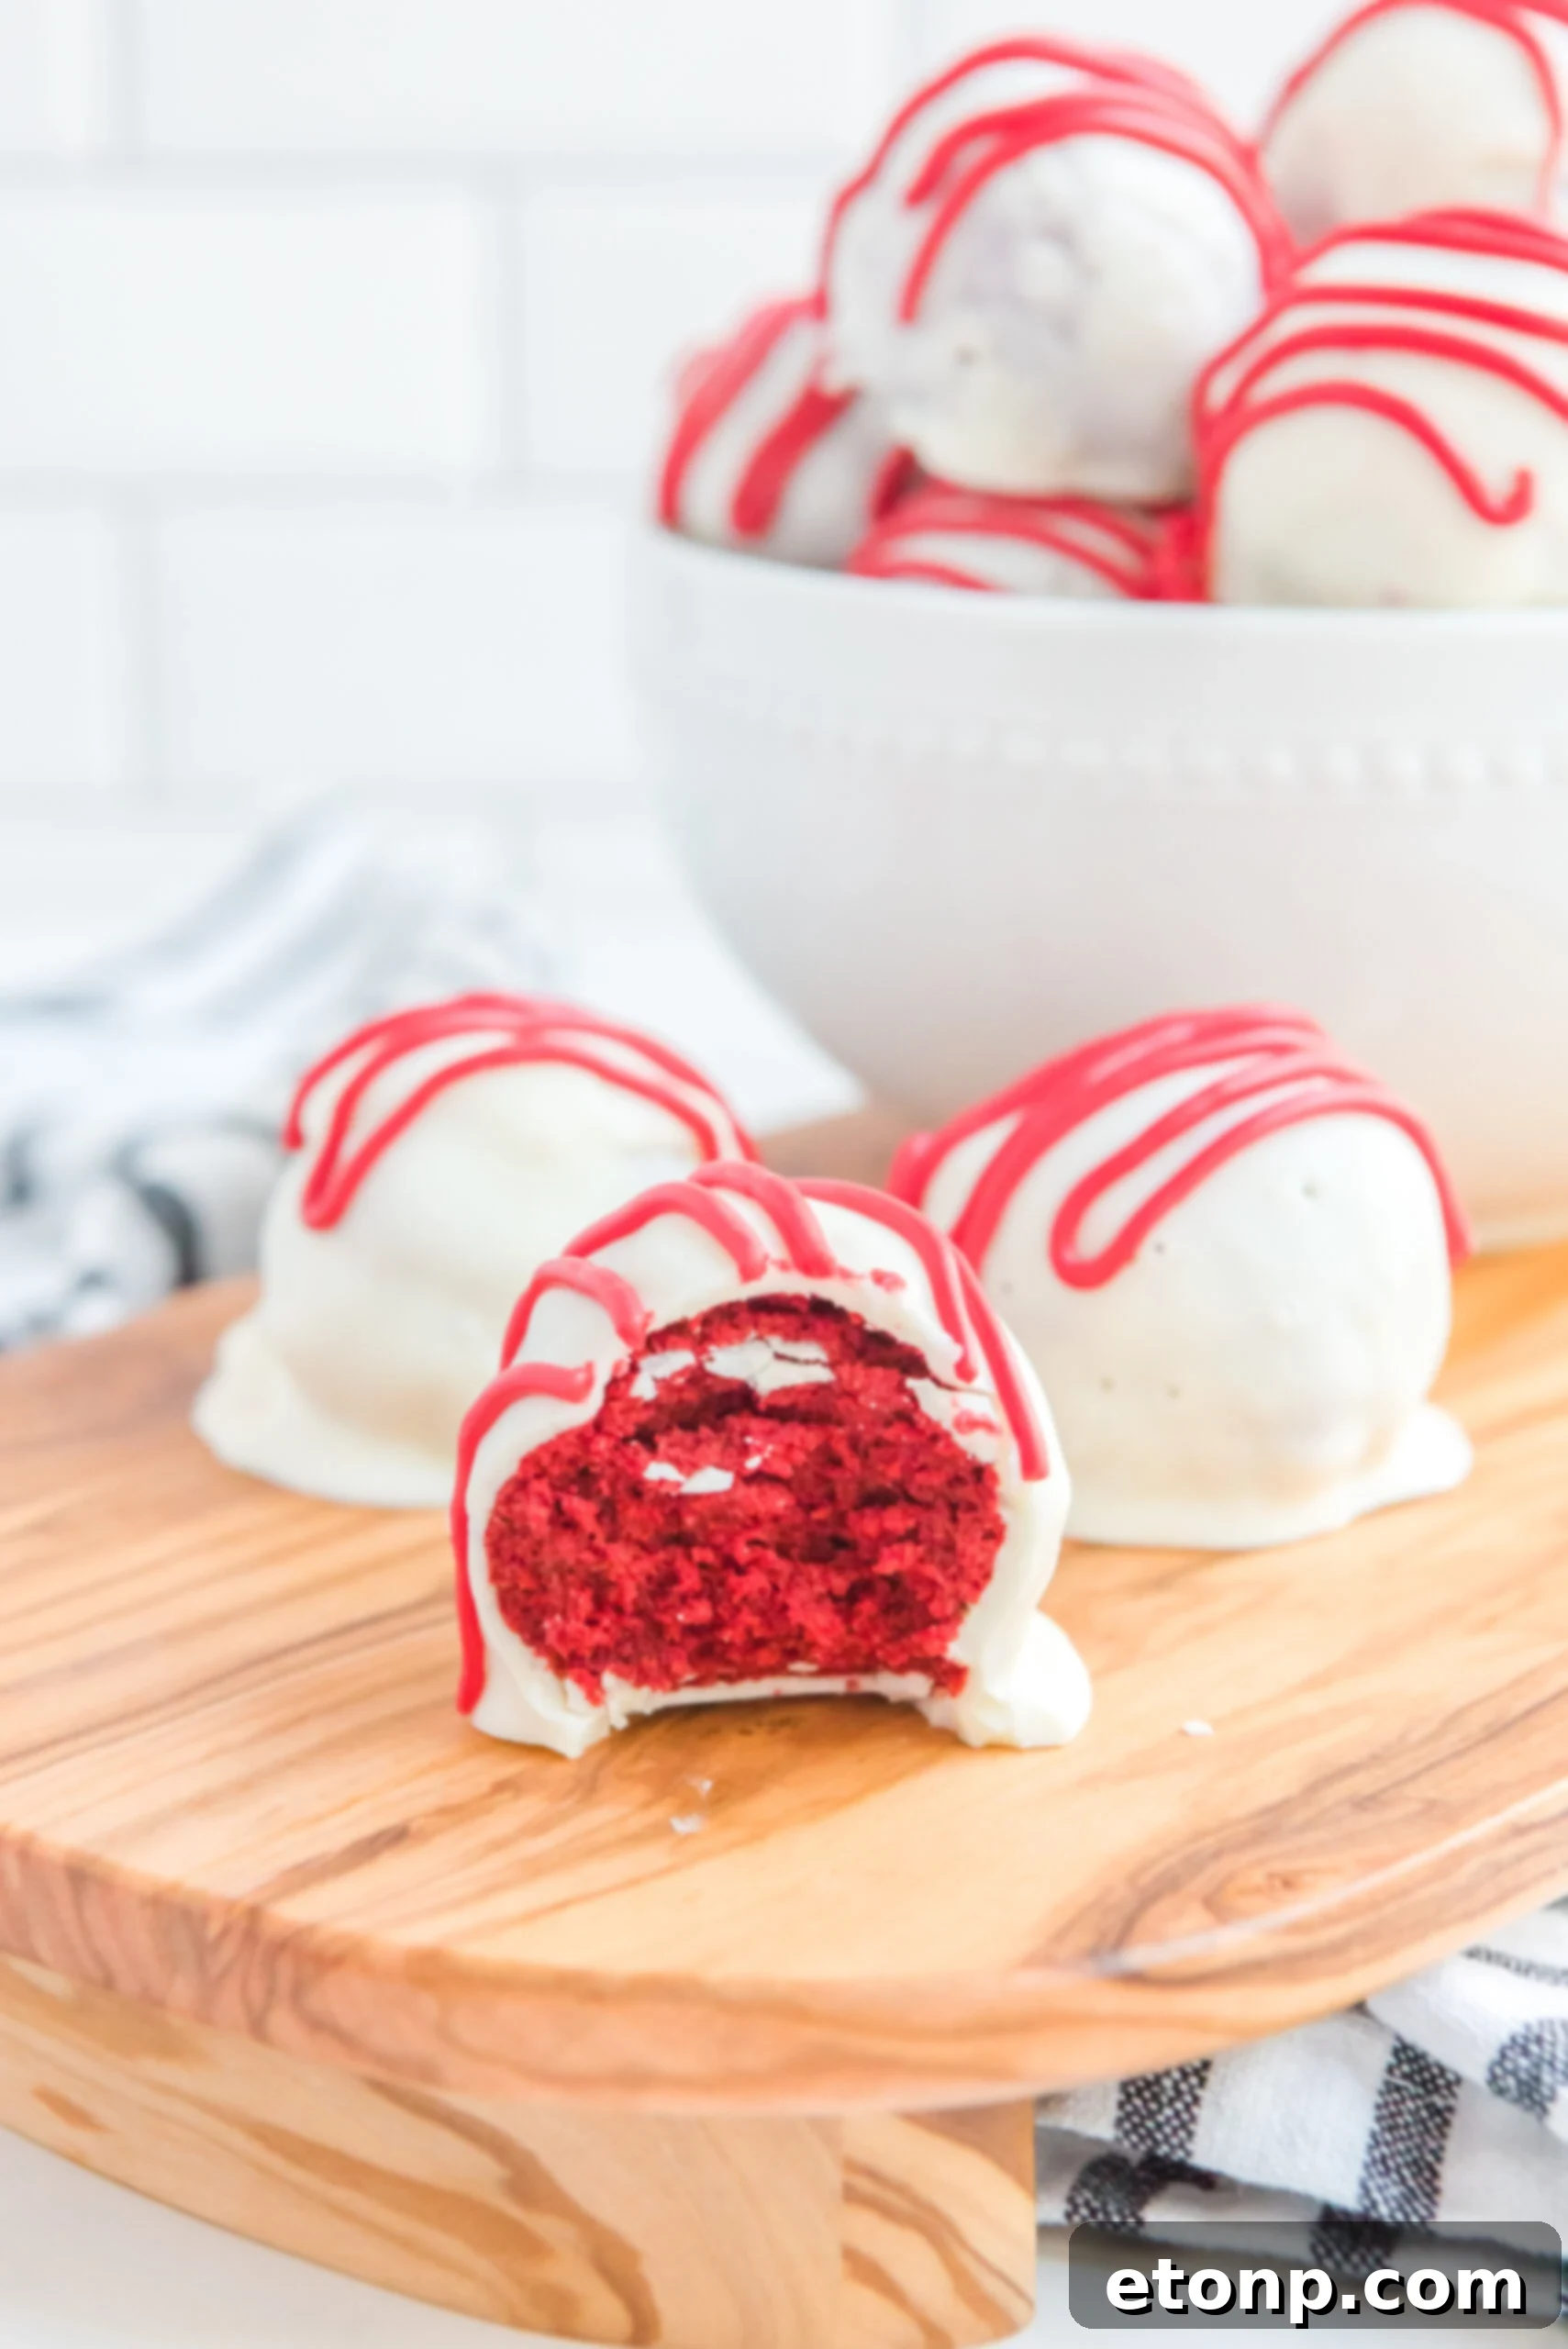
Transform any gathering into an extraordinary event with these delightful **Red Velvet Cake Balls**. Effortlessly prepared with a simple no-bake method, these indulgent treats boast a superior flavor combination that promises to captivate every palate. Whether you’re planning for a special holiday, a casual get-together, or simply craving a luxurious snack, these bite-sized wonders are the perfect choice.
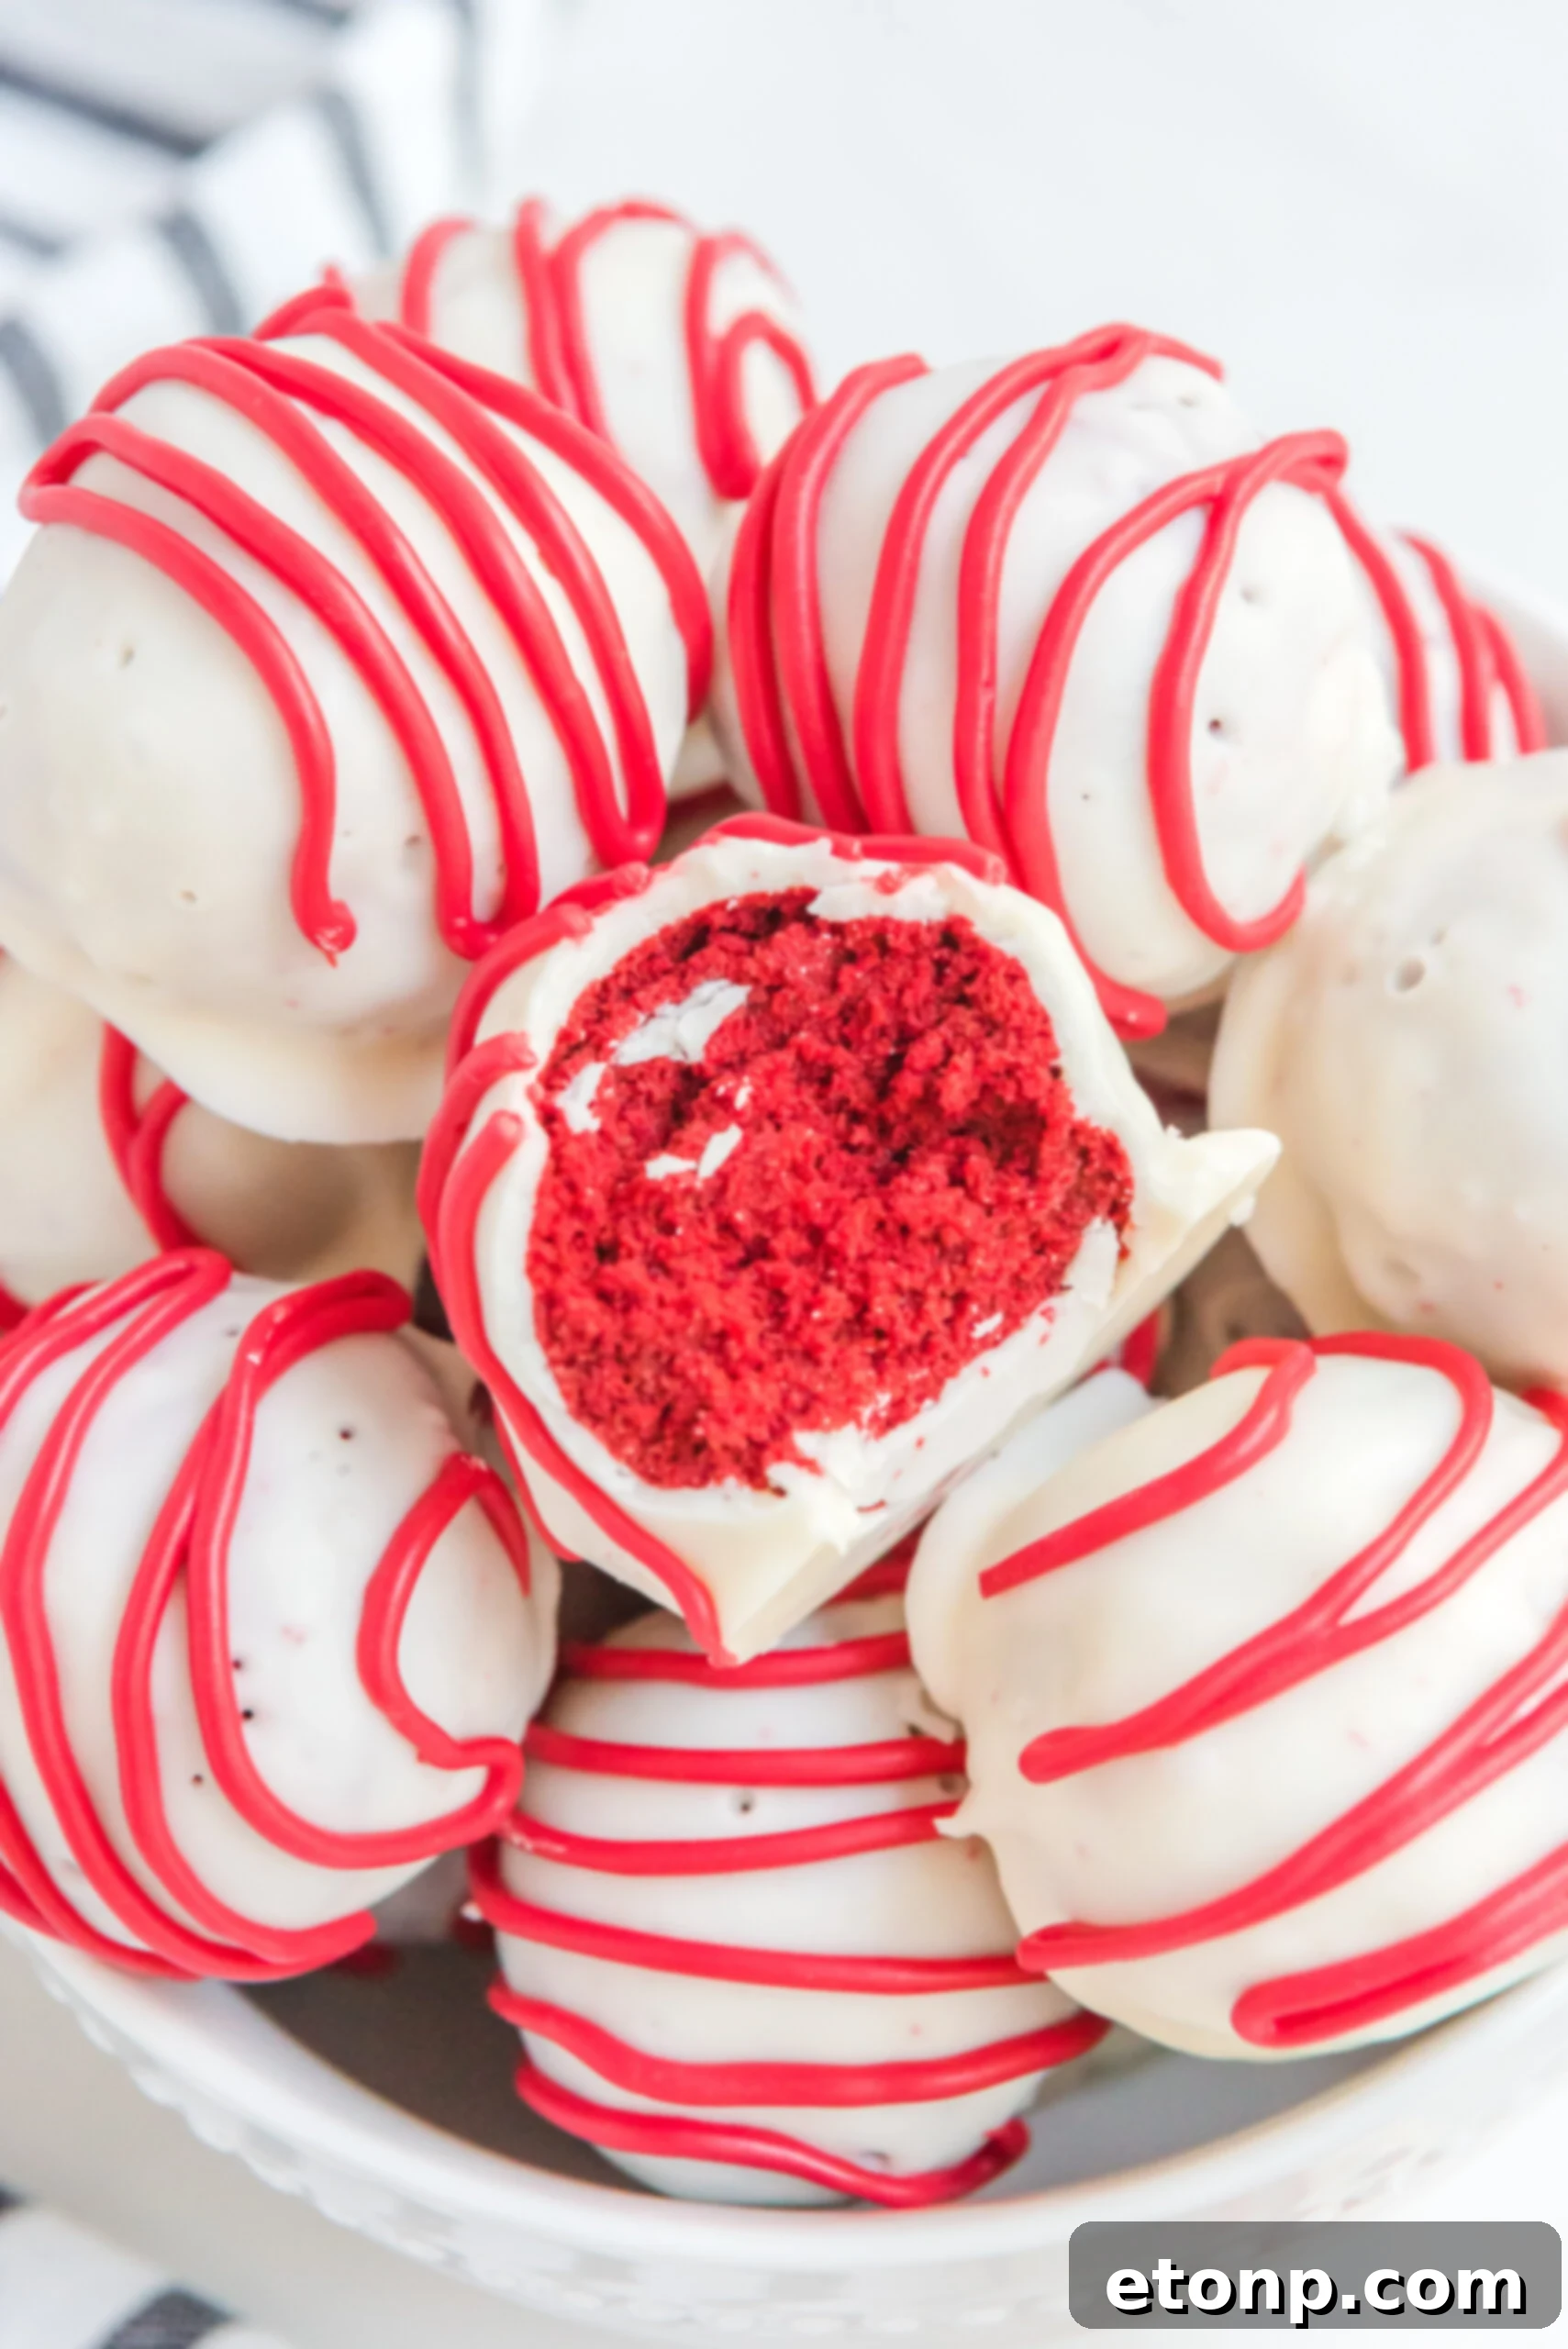
Our **Red Velvet Cake Balls** are the ultimate expression of sweet decadence, designed to satisfy your deepest dessert desires, especially around festive seasons like Valentine’s Day. If you’re seeking a unique and exciting twist on the traditional red velvet cake, these compact, flavorful creations are guaranteed to impress and enchant. Each bite delivers a harmonious blend of textures and tastes, making them an unforgettable addition to your dessert repertoire.
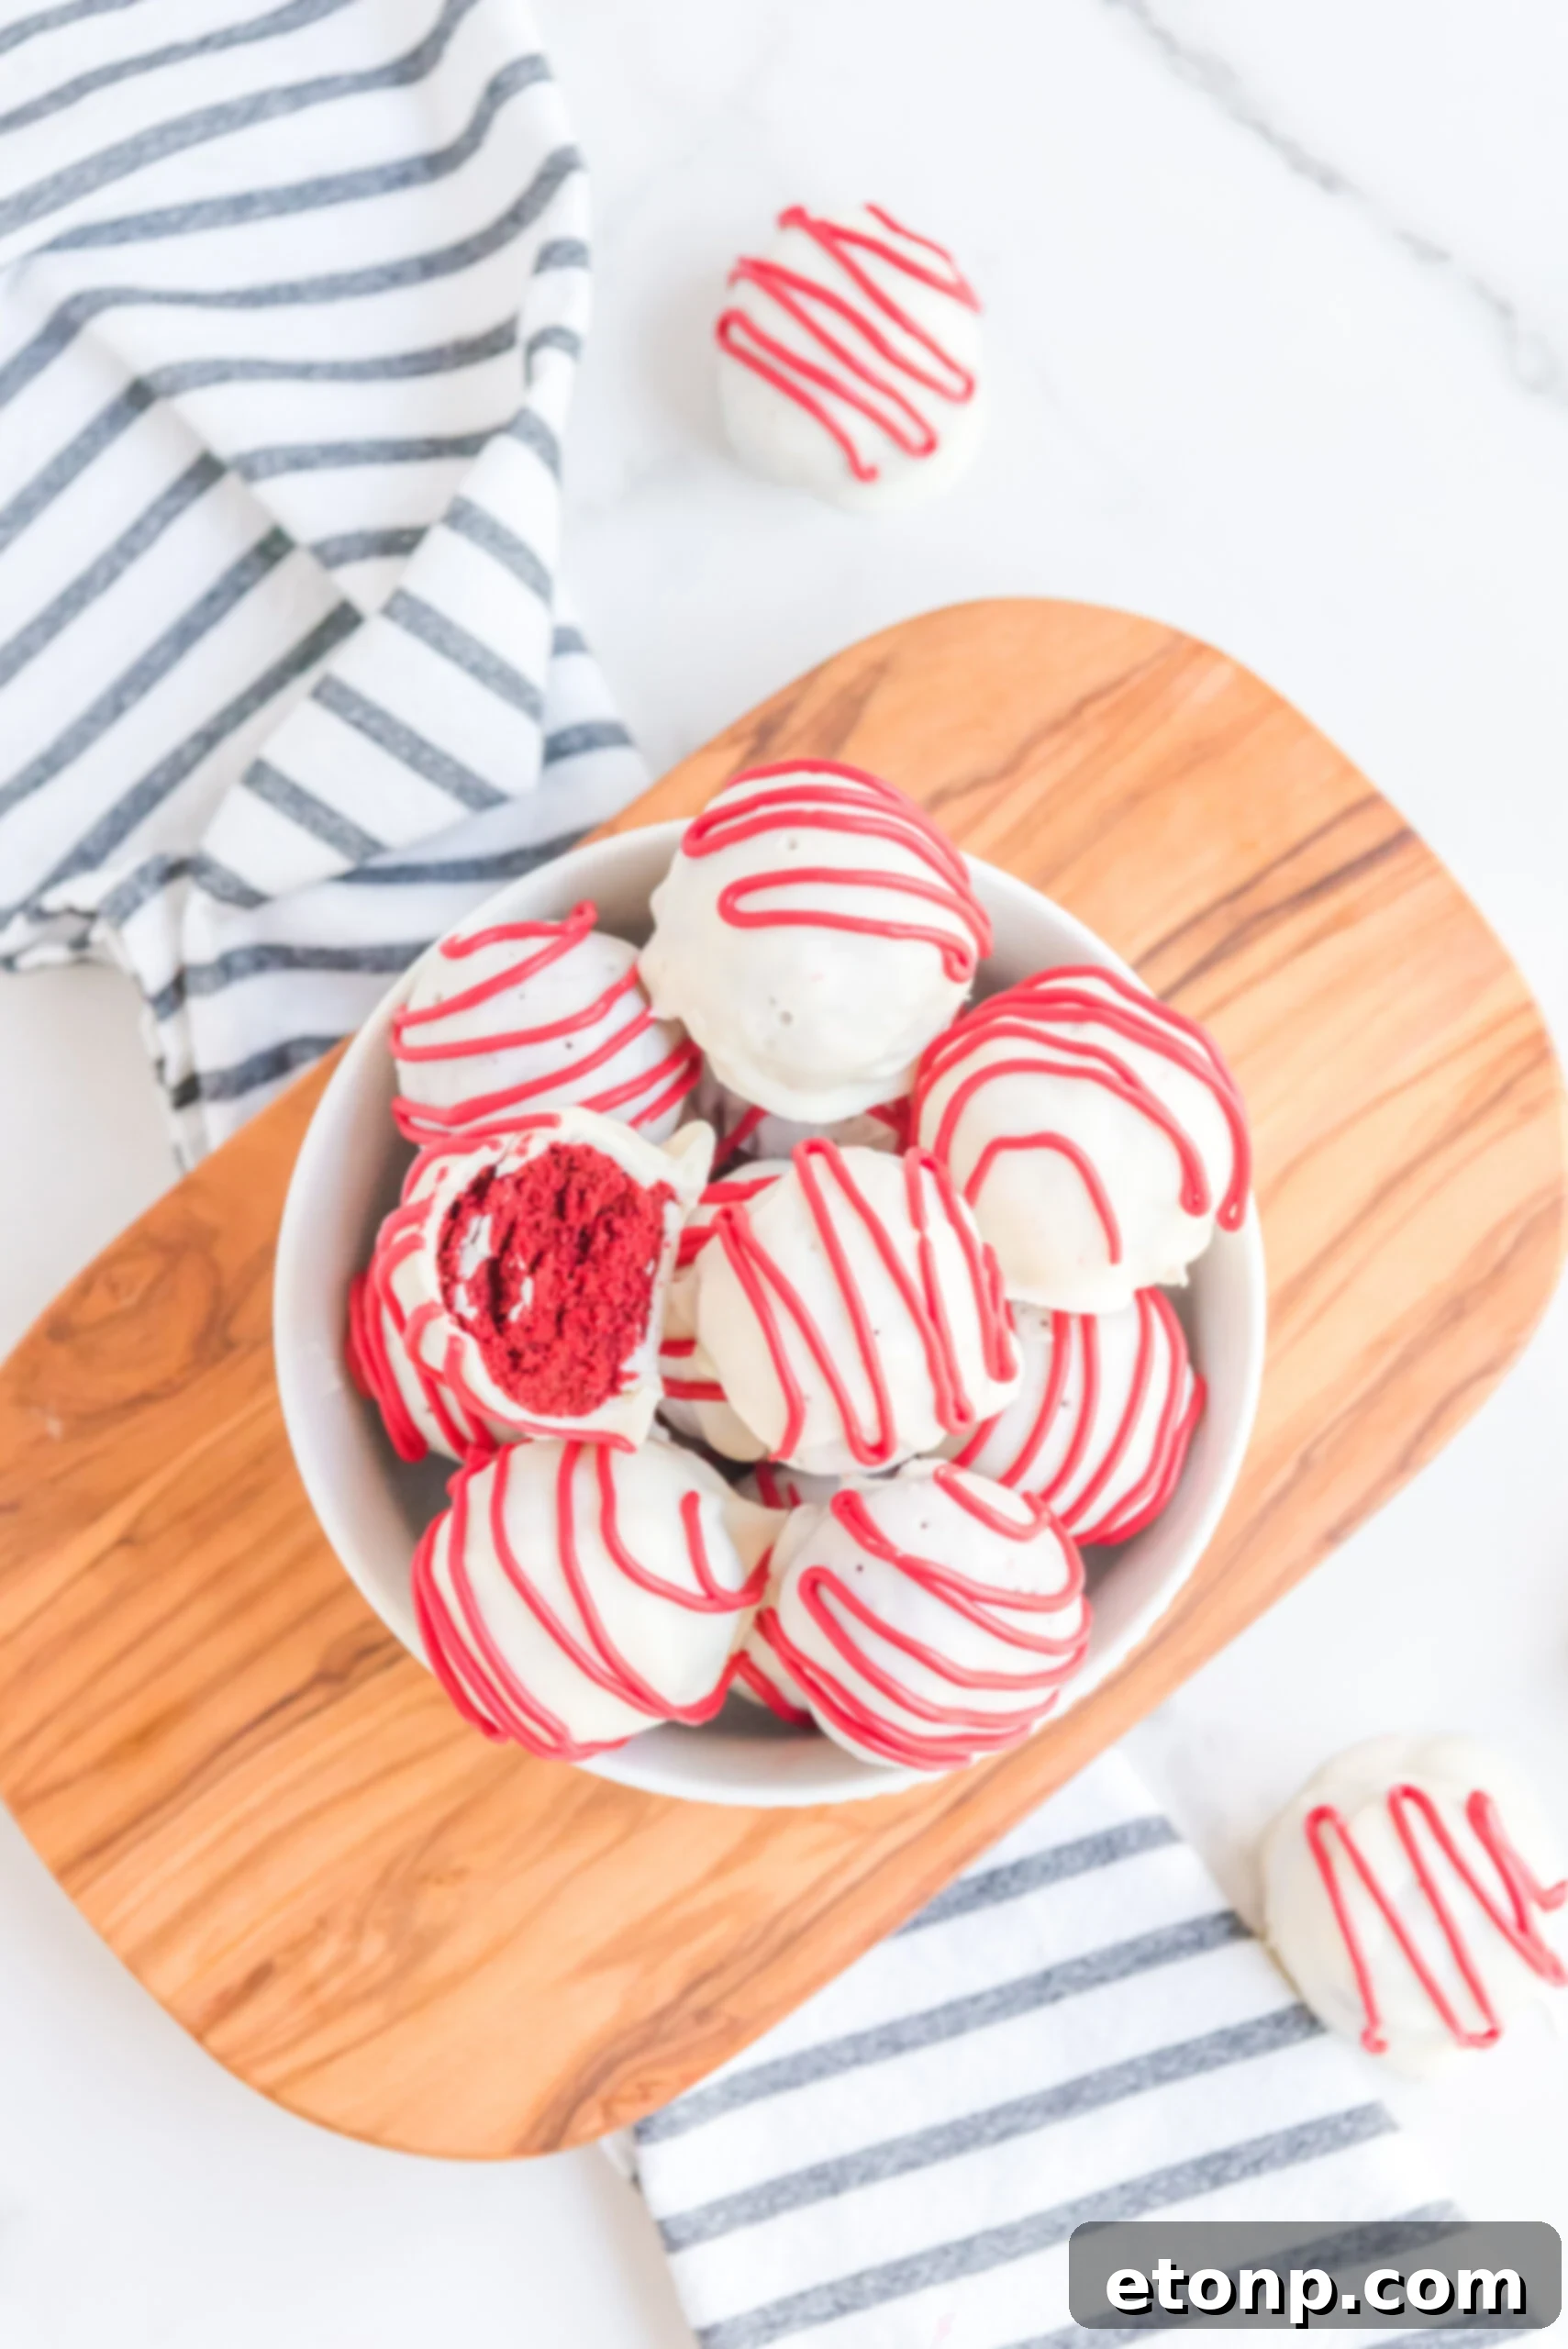
These exquisite sweet treats are celebrated for their incredibly moist and light consistency, coupled with a rich flavor profile. You’ll discover the smooth, subtle notes of chocolate beautifully complemented by the tangy cream cheese, all rounded out with a delicate hint of vanilla. Perfectly portioned, they can be served as a sophisticated snack or an elegant dessert, no specific occasion needed. We encourage you to try these Red Velvet Cake Balls; their luscious, cheesecake-like moisture sets them apart, ensuring your guests will rave about them long after the last one is gone.
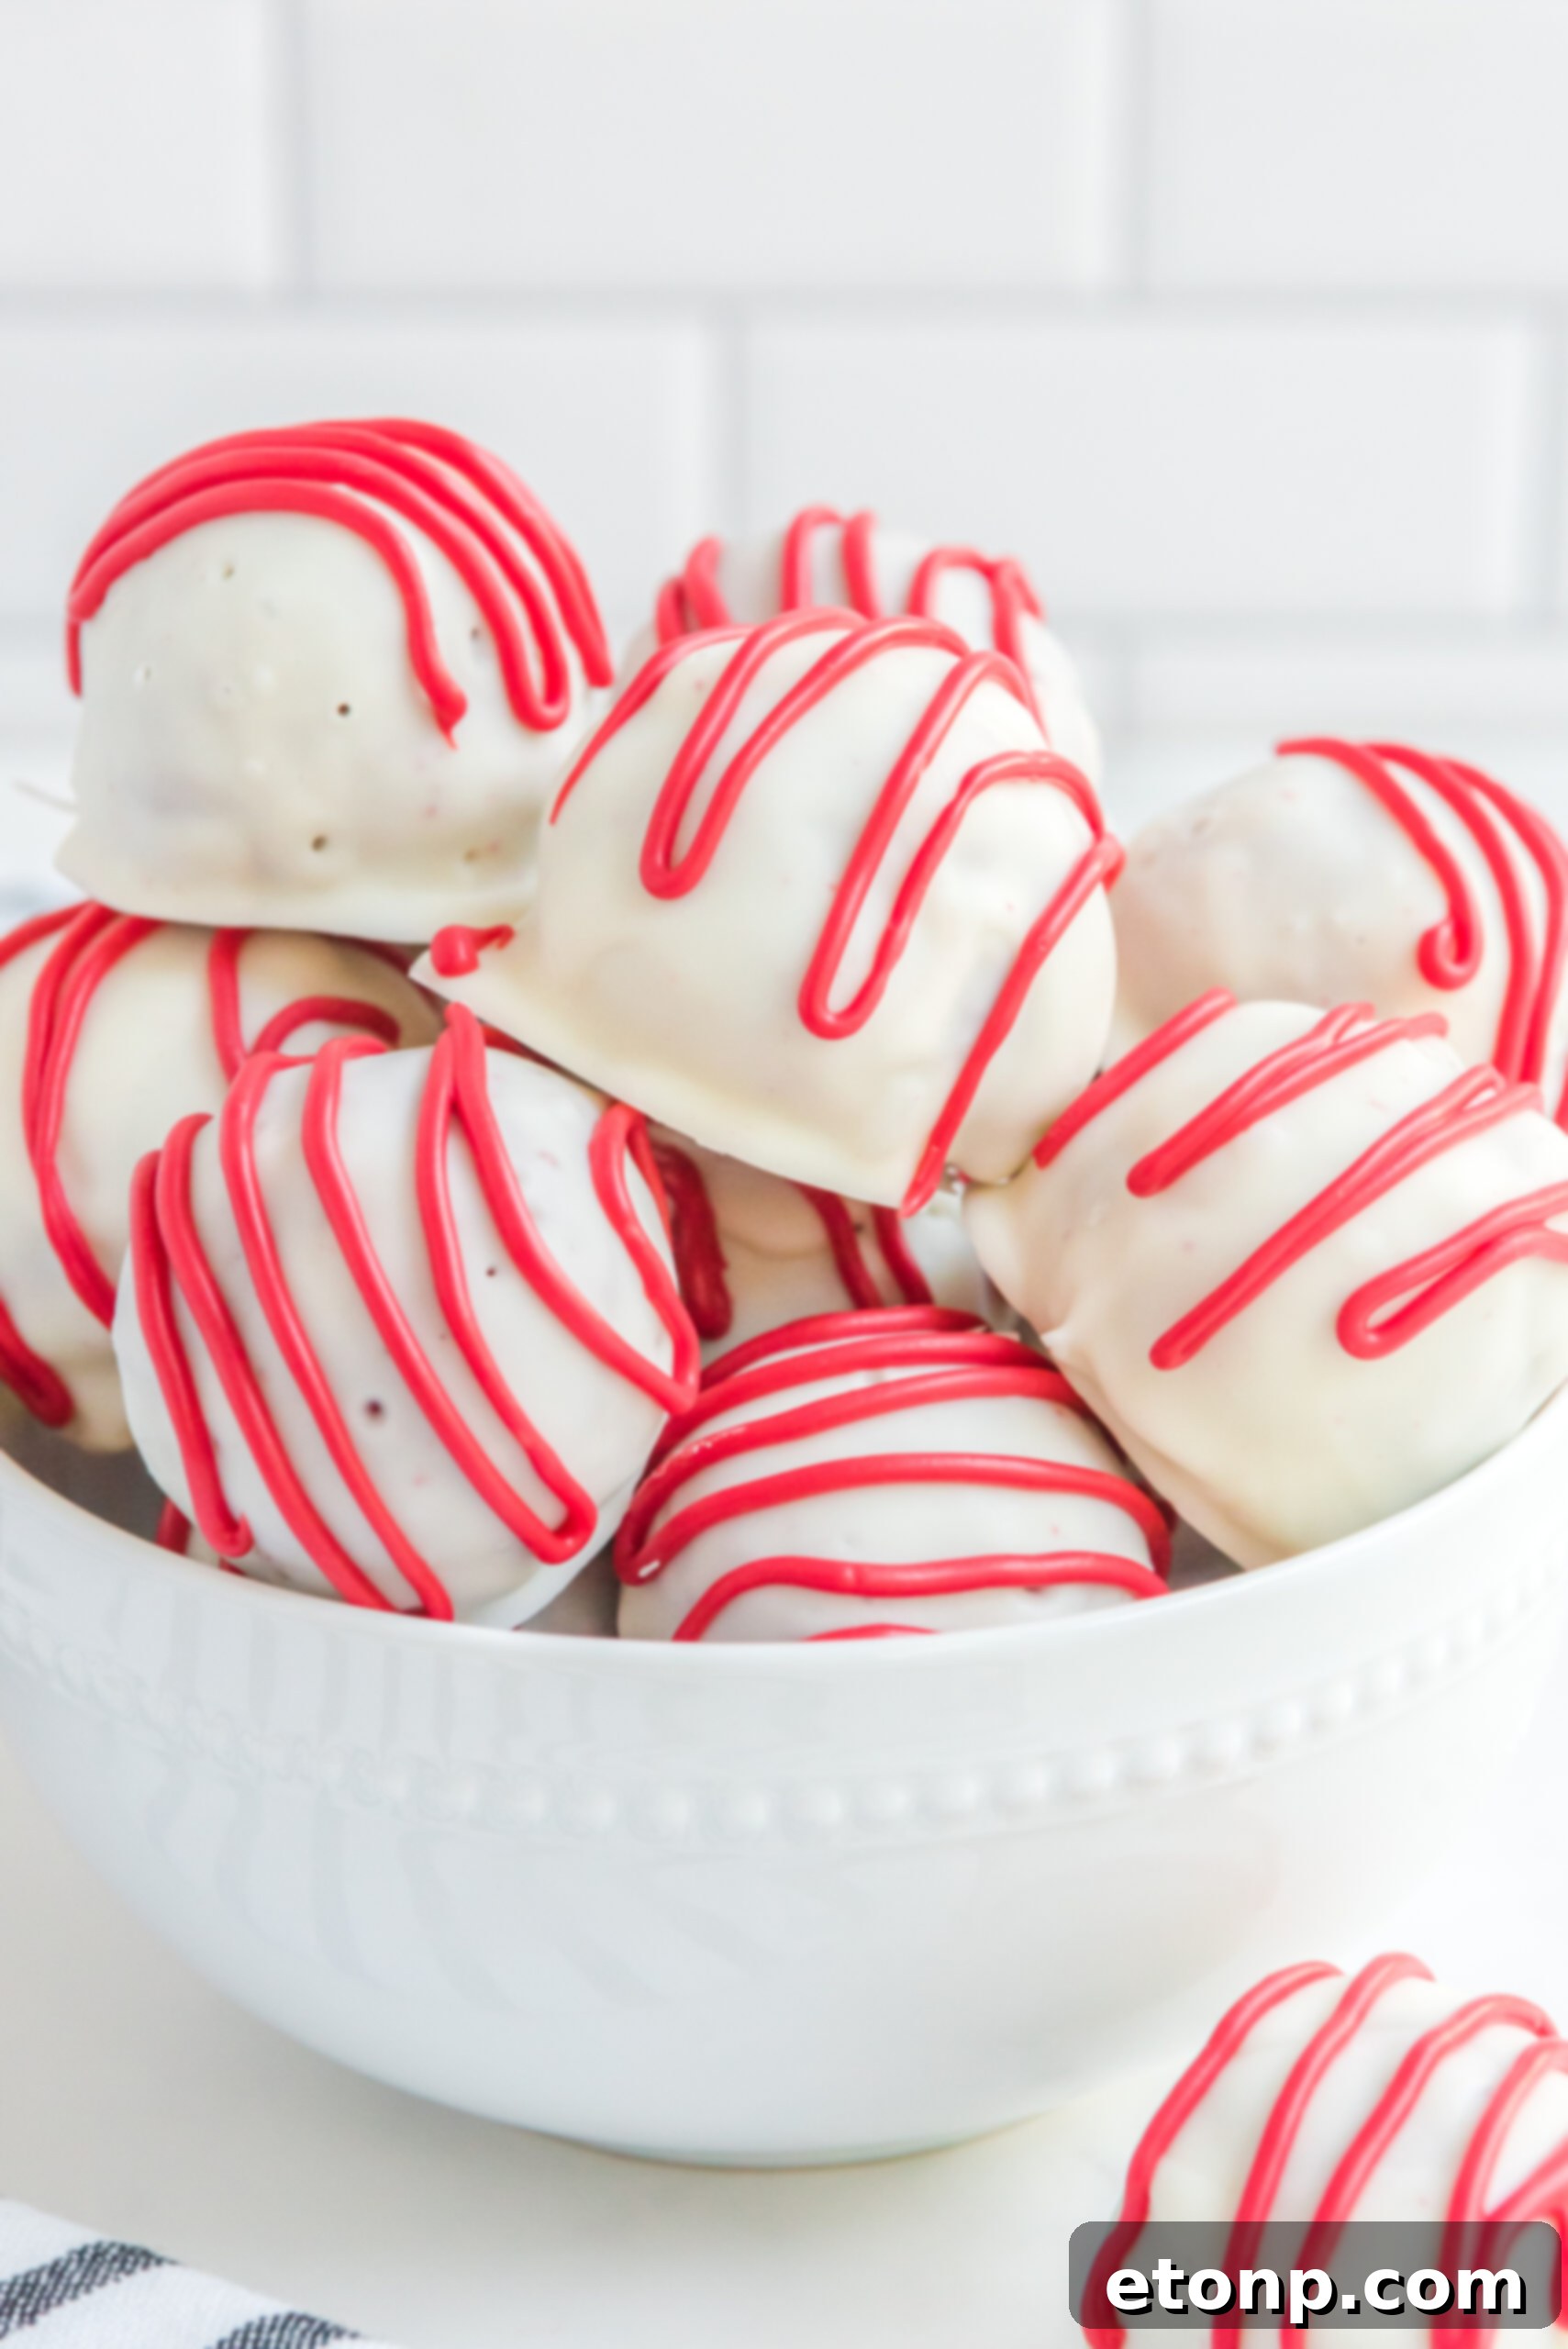
What Exactly Are Cake Balls?
Cake balls, also affectionately known as cake truffles, are delightful small, bite-sized confections crafted from crumbled cake mixed with frosting or cream cheese, then rolled into spheres and typically enrobed in a luscious chocolate or candy coating. Unlike traditional cake slices, these treats offer a concentrated burst of flavor and a wonderfully dense, yet moist, texture. They are incredibly versatile and can be customized with various cake flavors, fillings, and coatings, making them a popular choice for parties, holidays, and edible gifts. The beauty of a no-bake cake ball recipe like this red velvet version lies in its simplicity and the ability to achieve a gourmet-quality dessert with minimal effort.
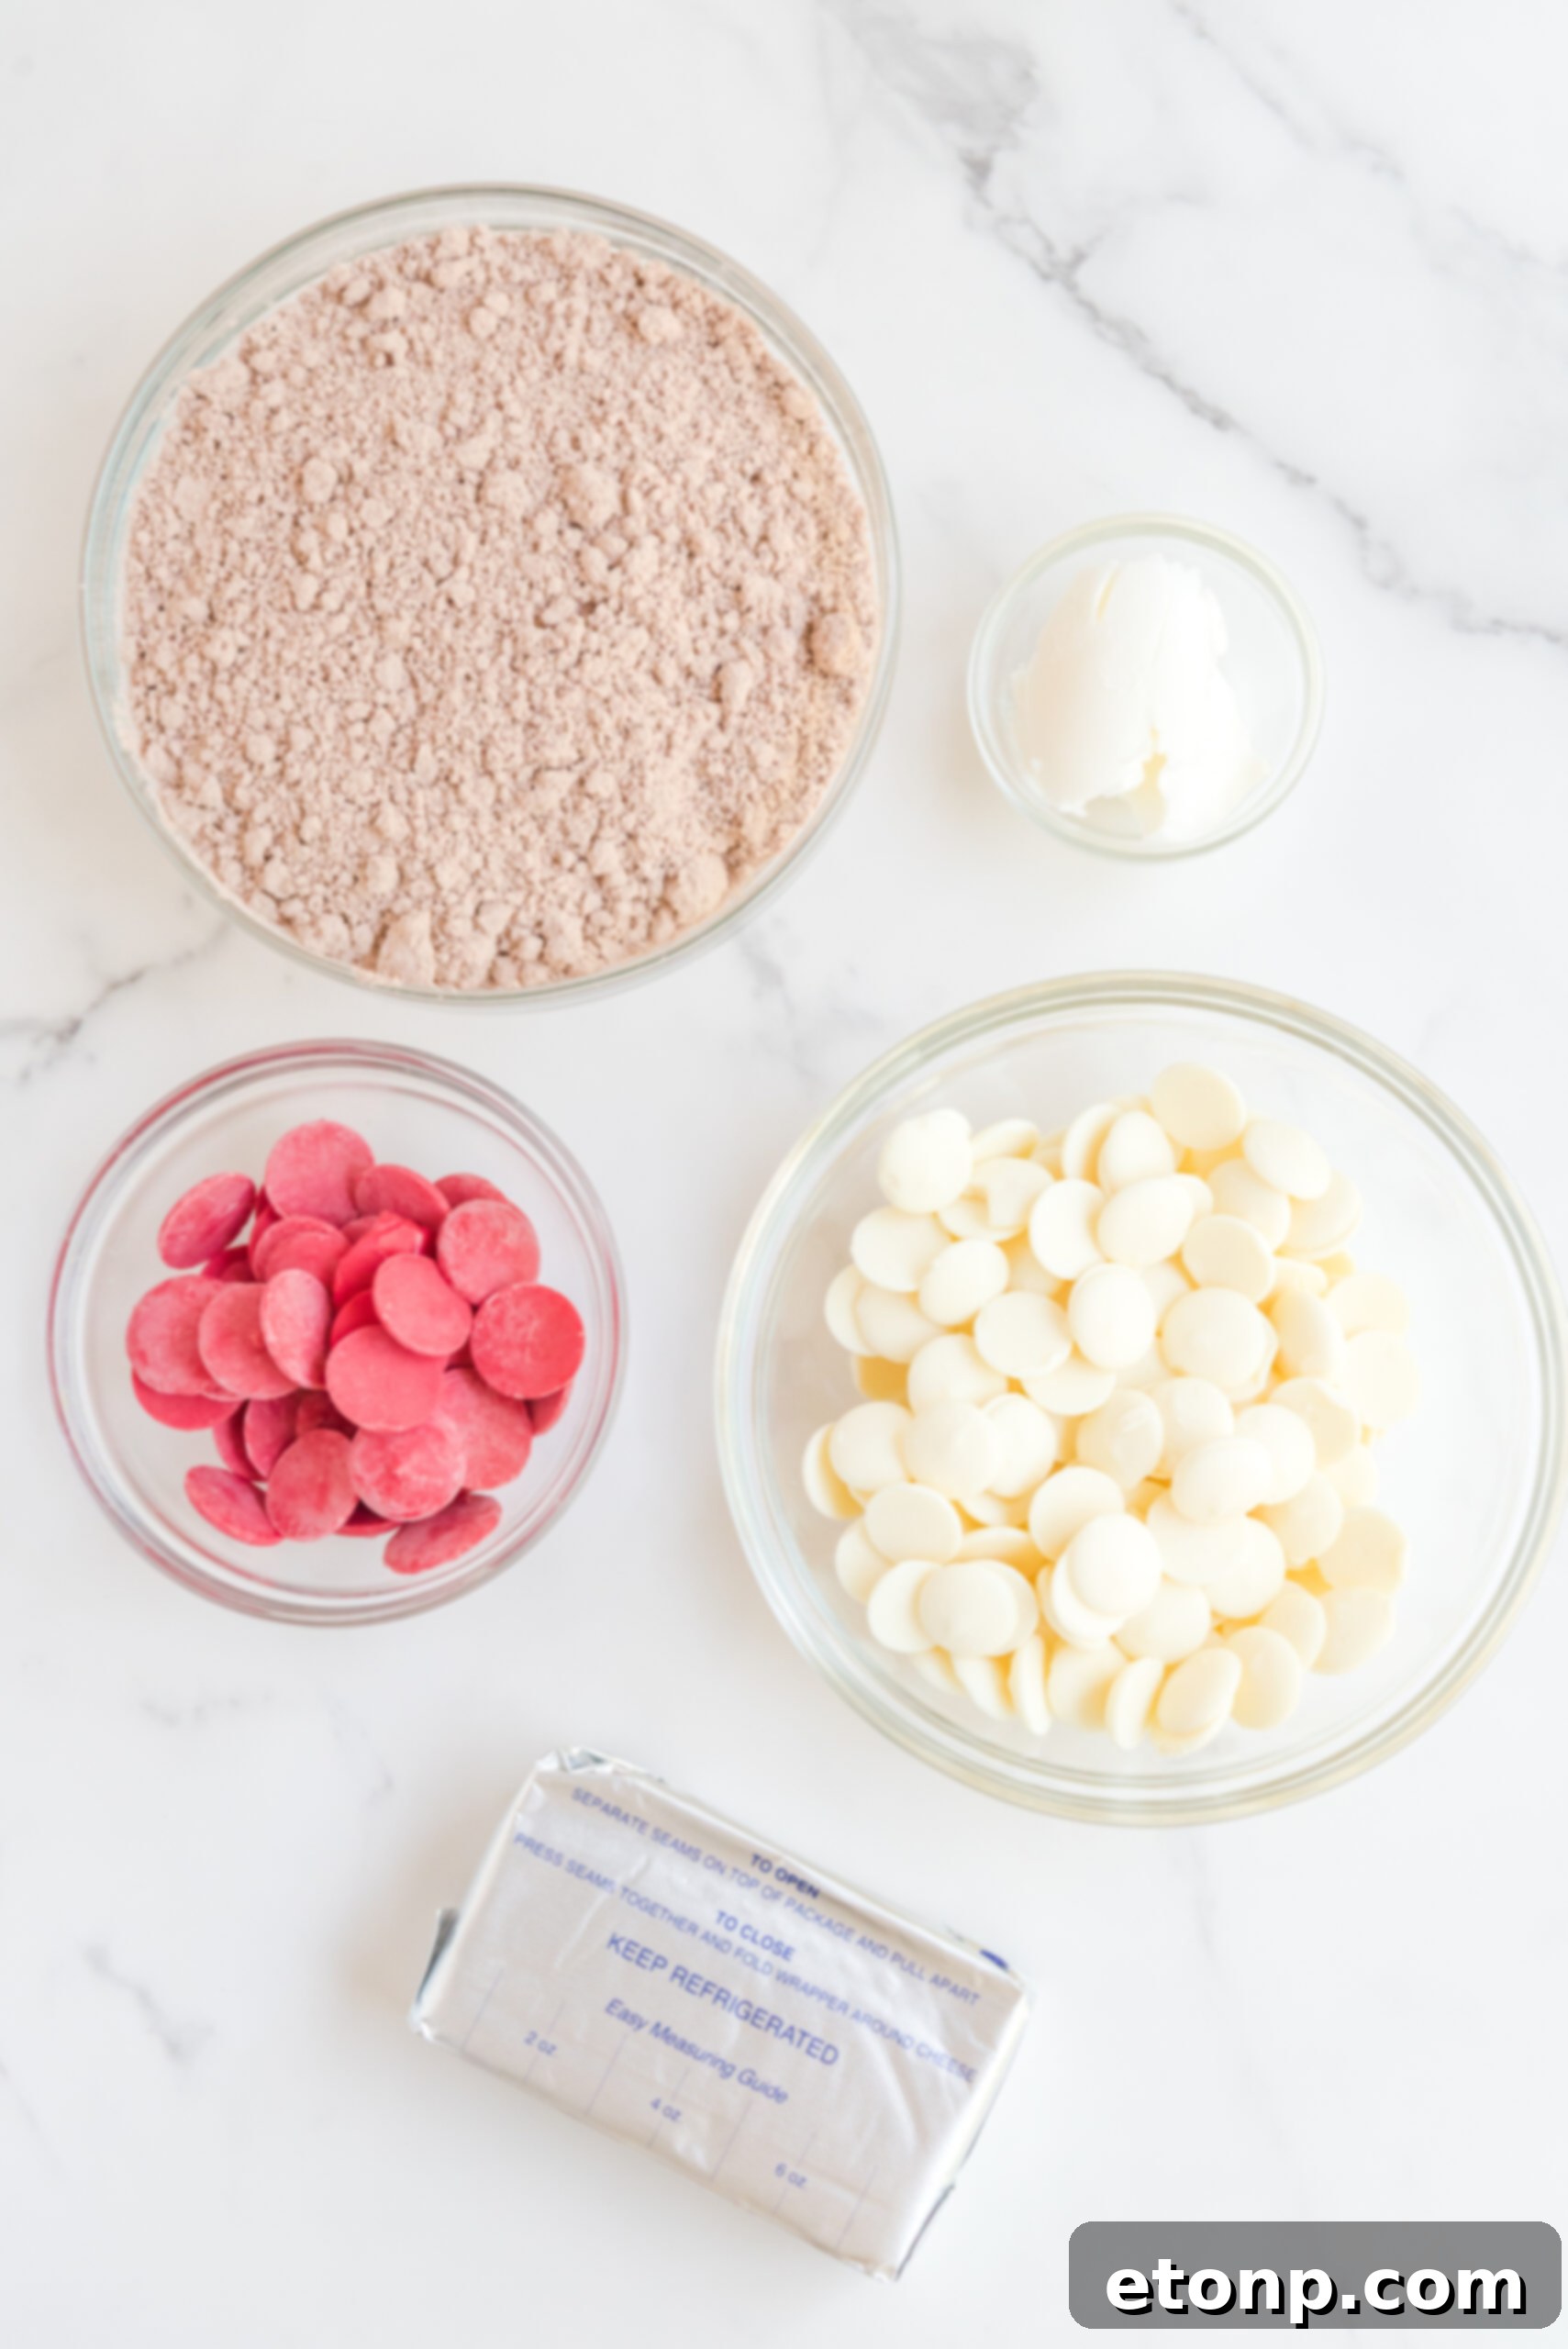
Essential Ingredients for Your Cream Cheese Red Velvet Cake Balls
Crafting the perfect Red Velvet Cake Balls begins with selecting the right ingredients. Here’s what you’ll need to create these irresistible treats, along with some helpful tips:
- Box Red Velvet Cake Mix: While we’re making these no-bake, using a good quality red velvet cake mix is the foundation for that iconic flavor and color. **Important:** Remember to heat-treat your cake mix (instructions below) as it contains raw flour, which should not be consumed uncooked. This step ensures safety without compromising flavor or texture.
- Block of Cream Cheese: Opt for full-fat, block-style cream cheese, not the spreadable kind from a tub. Softened at room temperature, it mixes beautifully with the cake crumbs, creating a rich, creamy, and firm dough that’s easy to roll and holds its shape well. The tanginess of the cream cheese is key to balancing the sweetness of the red velvet flavor.
- White Chocolate Melting Wafers: These are crucial for creating a smooth, professional-looking coating. Melting wafers (or candy melts) are designed to melt easily and harden quickly, providing a crisp shell around your cake balls. White chocolate provides a neutral canvas that allows the red velvet color to pop.
- Red Candy Melting Wafers: Used primarily for decoration, these red candy melts will allow you to create beautiful drizzles or decorative patterns, enhancing the visual appeal of your Red Velvet Cake Balls. They melt and set just like the white chocolate wafers, making them ideal for delicate finishing touches.
- Optional Toppings: Feel free to customize your cake balls with an array of toppings. Sprinkles add a festive touch, chopped nuts (like pecans or walnuts) offer a delightful crunch, or even a dusting of cocoa powder for a more sophisticated look. Get creative and make them uniquely yours!
- Crisco Shortening: A secret weapon for perfect melting. A small amount of Crisco shortening added to your melting chocolate or candy wafers helps to thin it slightly, resulting in a smoother, more fluid consistency. This makes dipping and coating your cake balls significantly easier and ensures an even, glossy finish. Be cautious not to add too much, as excessive shortening can make the coating too thin and translucent.
Storing Your Red Velvet Cake Balls for Optimal Freshness
Proper storage is key to maintaining the delicious taste and perfect texture of your Red Velvet Cake Balls. Here’s how to keep them fresh and ready to enjoy:
For immediate enjoyment or short-term storage, cake balls are best kept in an airtight container in the refrigerator. When stored correctly, they will remain fresh and flavorful for several days, making them an excellent make-ahead option for entertaining guests or simply having a sweet treat on hand. If you plan to serve your cake balls at room temperature, we highly recommend chilling or even freezing them beforehand. This helps prevent them from becoming too soft or melting, ensuring they are perfectly firm and delectable when presented.
For longer preservation, Red Velvet Cake Balls freeze exceptionally well. To freeze, simply wrap them tightly in plastic wrap (individually or in small batches) or place them in an airtight freezer-safe container. They can be stored in the freezer for up to 3 months without loss of quality. When you’re ready to enjoy them, remove the desired number of cake balls from the freezer and let them thaw at room temperature for a few hours before serving. This convenient storage method means you can always have a gourmet dessert ready at a moment’s notice.
Common Questions About Making Red Velvet Cake Balls
What is Heat-Treating Cake Mix, and Why Is It Necessary?
Heat-treating cake mix is a crucial step when making no-bake desserts that use raw flour, such as these cake balls. Raw flour can sometimes contain harmful bacteria, which are typically destroyed during baking. Since we’re not baking these treats, heat-treating the cake mix ensures it’s safe to consume. Don’t worry, it’s a very simple process!
- Microwave Instructions for Heat-Treating Cake Mix: To heat-treat the cake mix using a microwave, place the desired amount of cake mix in a microwave-safe bowl. Microwave it for two 30-second intervals, stirring thoroughly between each interval. This ensures even heating. After microwaving, allow the cake mix to cool completely to room temperature before incorporating it into your recipe.
- Oven Instructions for Heat-Treating Cake Mix: Alternatively, you can heat-treat your cake mix in the oven. Spread the cake mix evenly on a large baking sheet lined with parchment paper. Bake the cake mix at 350 degrees Fahrenheit (175 degrees Celsius) for just 5 minutes. Once baked, remove it from the oven and let it cool completely to room temperature before use. Both methods are effective in making the flour safe for consumption in no-bake recipes.
Can I Substitute Homemade Frosting in Red Velvet Cake Balls?
Absolutely, you can certainly use homemade frosting in your red velvet cake balls if you prefer to make your own from scratch. If you opt for a homemade cream cheese frosting, we recommend thinning it out slightly by adding a tiny bit of milk or cream. This will help achieve the right consistency for mixing with the cake crumbs, allowing the mixture to hold together beautifully and be easily rolled into perfect spheres.
Is it Possible to Use a Red Velvet Cake Made from Scratch?
Yes, if you’re a baking enthusiast, you can definitely use a red velvet cake made from scratch for your cake balls. Simply bake your favorite red velvet cake recipe, let it cool completely, and then crumble it thoroughly before mixing with the cream cheese. For the best results with homemade red velvet cake, remember to mix the batter with a light hand; overmixing can develop the gluten in the flour, which could result in a tougher cake texture, less ideal for the soft interior of cake balls.
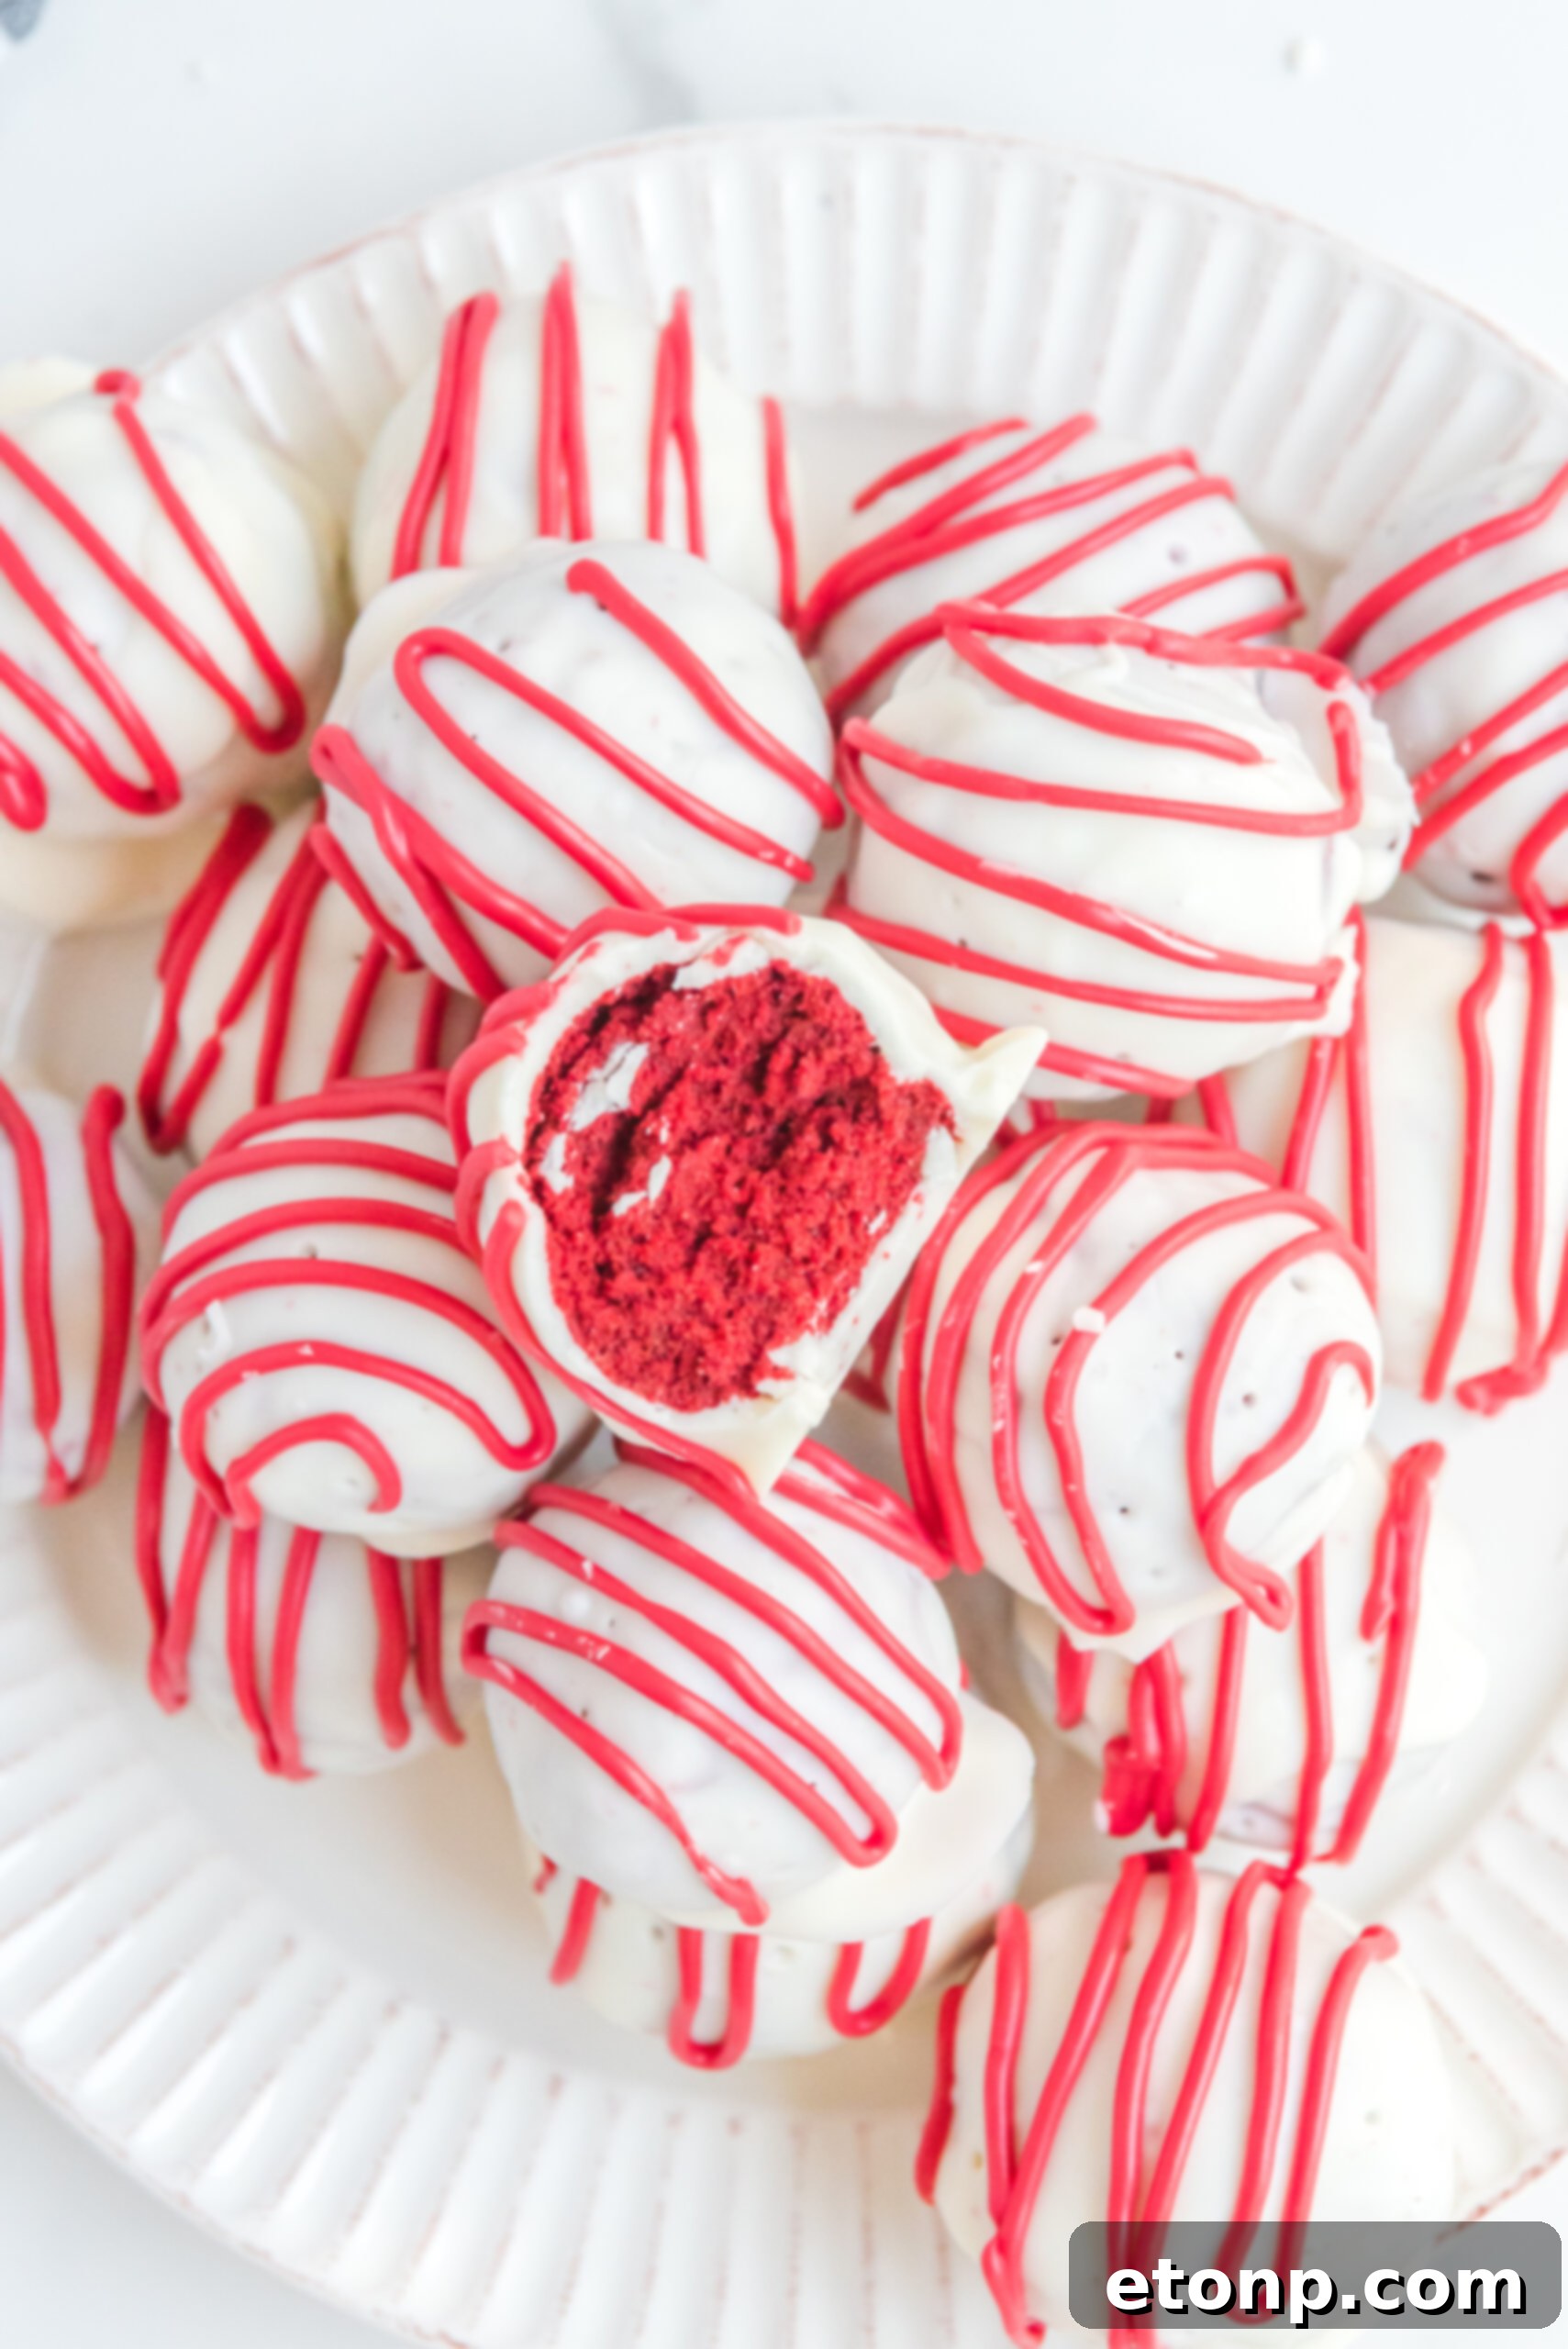
How Can I Decorate My Red Velvet Cake Balls?
Decorating your red velvet cake balls is where you can truly let your creativity shine! There are countless ways to enhance their visual appeal and add extra flavor. Some popular and easy options include:
- Sprinkles: After dipping in chocolate, immediately roll the wet coating in festive sprinkles for a fun and colorful look.
- Chopped Nuts: A classic choice, chopped pecans, walnuts, or almonds add a lovely texture and nutty flavor.
- Additional Drizzles: Beyond the red candy melts, you can drizzle with dark chocolate, milk chocolate, or even white chocolate for a striking contrast.
- Cocoa Powder: For a sophisticated touch, dust the finished cake balls with a light coating of unsweetened cocoa powder.
- Crushed Candy Canes: Perfect for the holiday season, crushed peppermint adds a refreshing minty kick.
- Coconut Flakes: Toasted or plain coconut flakes offer a tropical twist and appealing texture.
The possibilities are endless, so feel free to experiment with different toppings that match your occasion or personal preference.
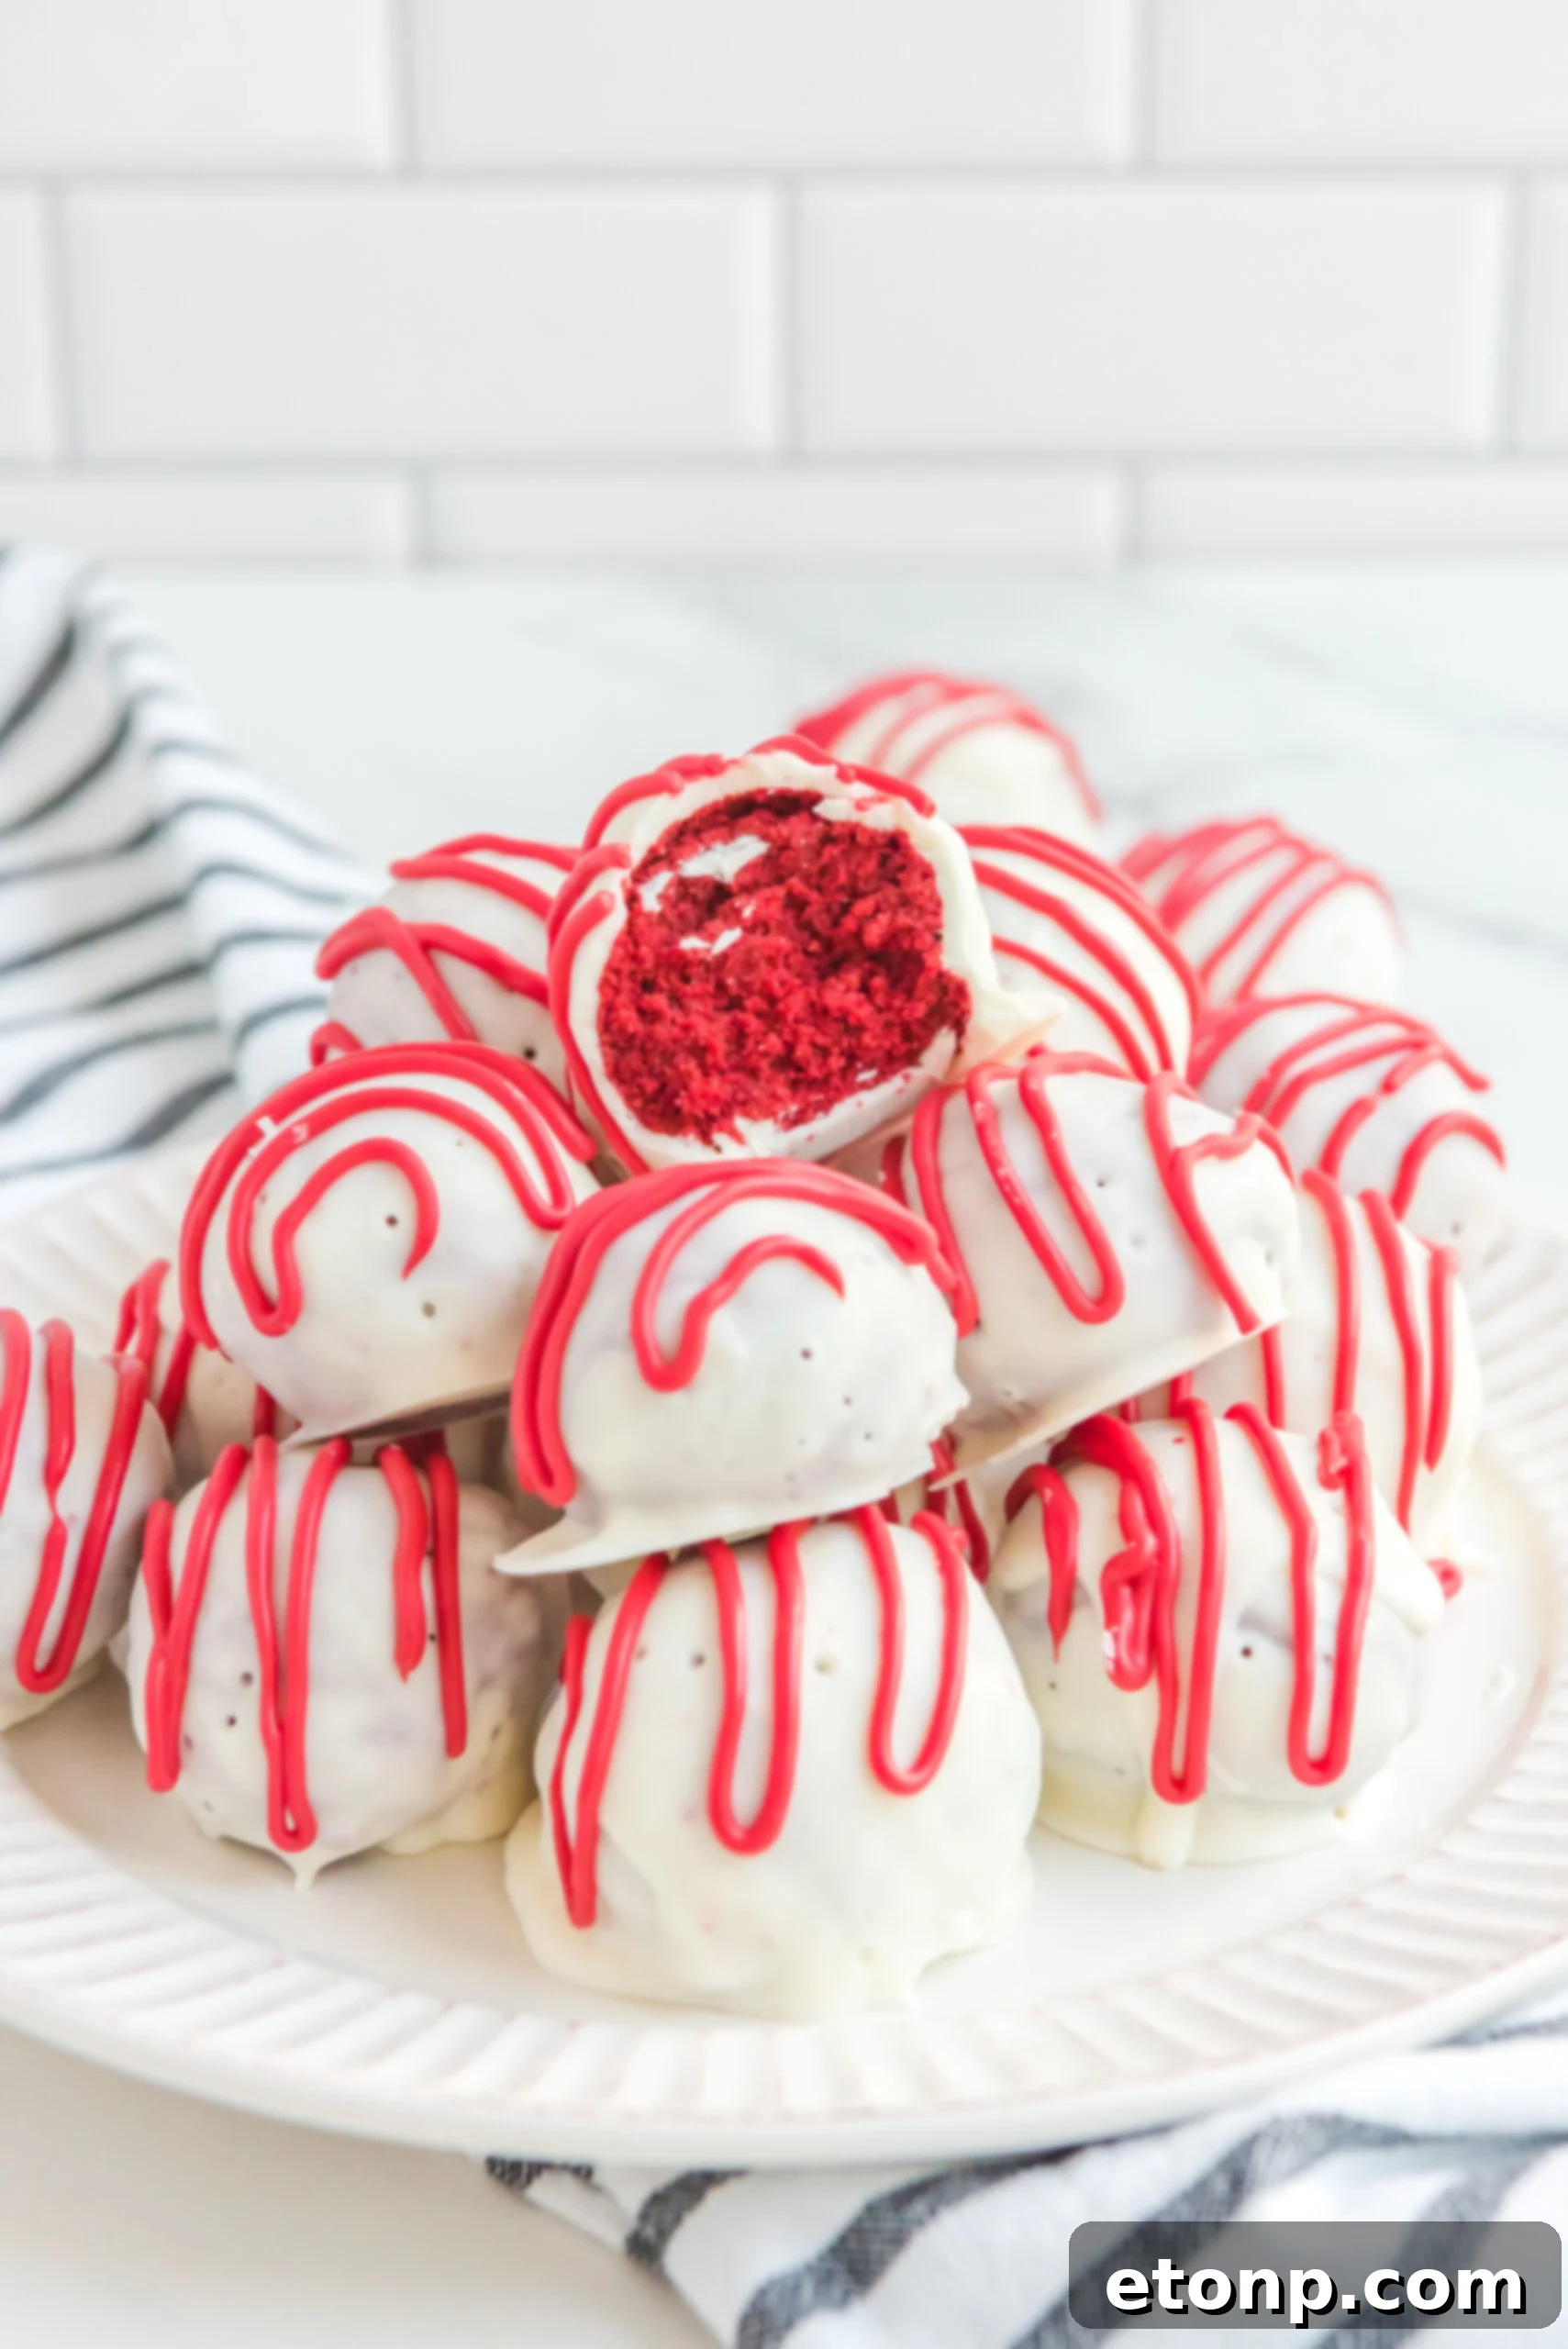
Does Cream Cheese Work Well in Cake Balls?
Absolutely, cream cheese is an exceptional ingredient for making cake balls, especially for a rich flavor like red velvet. The inherent creaminess and subtle tang of cream cheese add a wonderful depth of flavor and a luxurious texture that perfectly complements the decadent chocolate coating of these treats. When mixed with crumbled cake, it creates a moist, pliable dough that’s incredibly easy to work with and roll into uniform, bite-sized pieces. Using softened block-style cream cheese ensures the best consistency for blending, contributing to the signature moistness and rich taste that makes these cake balls so irresistible.
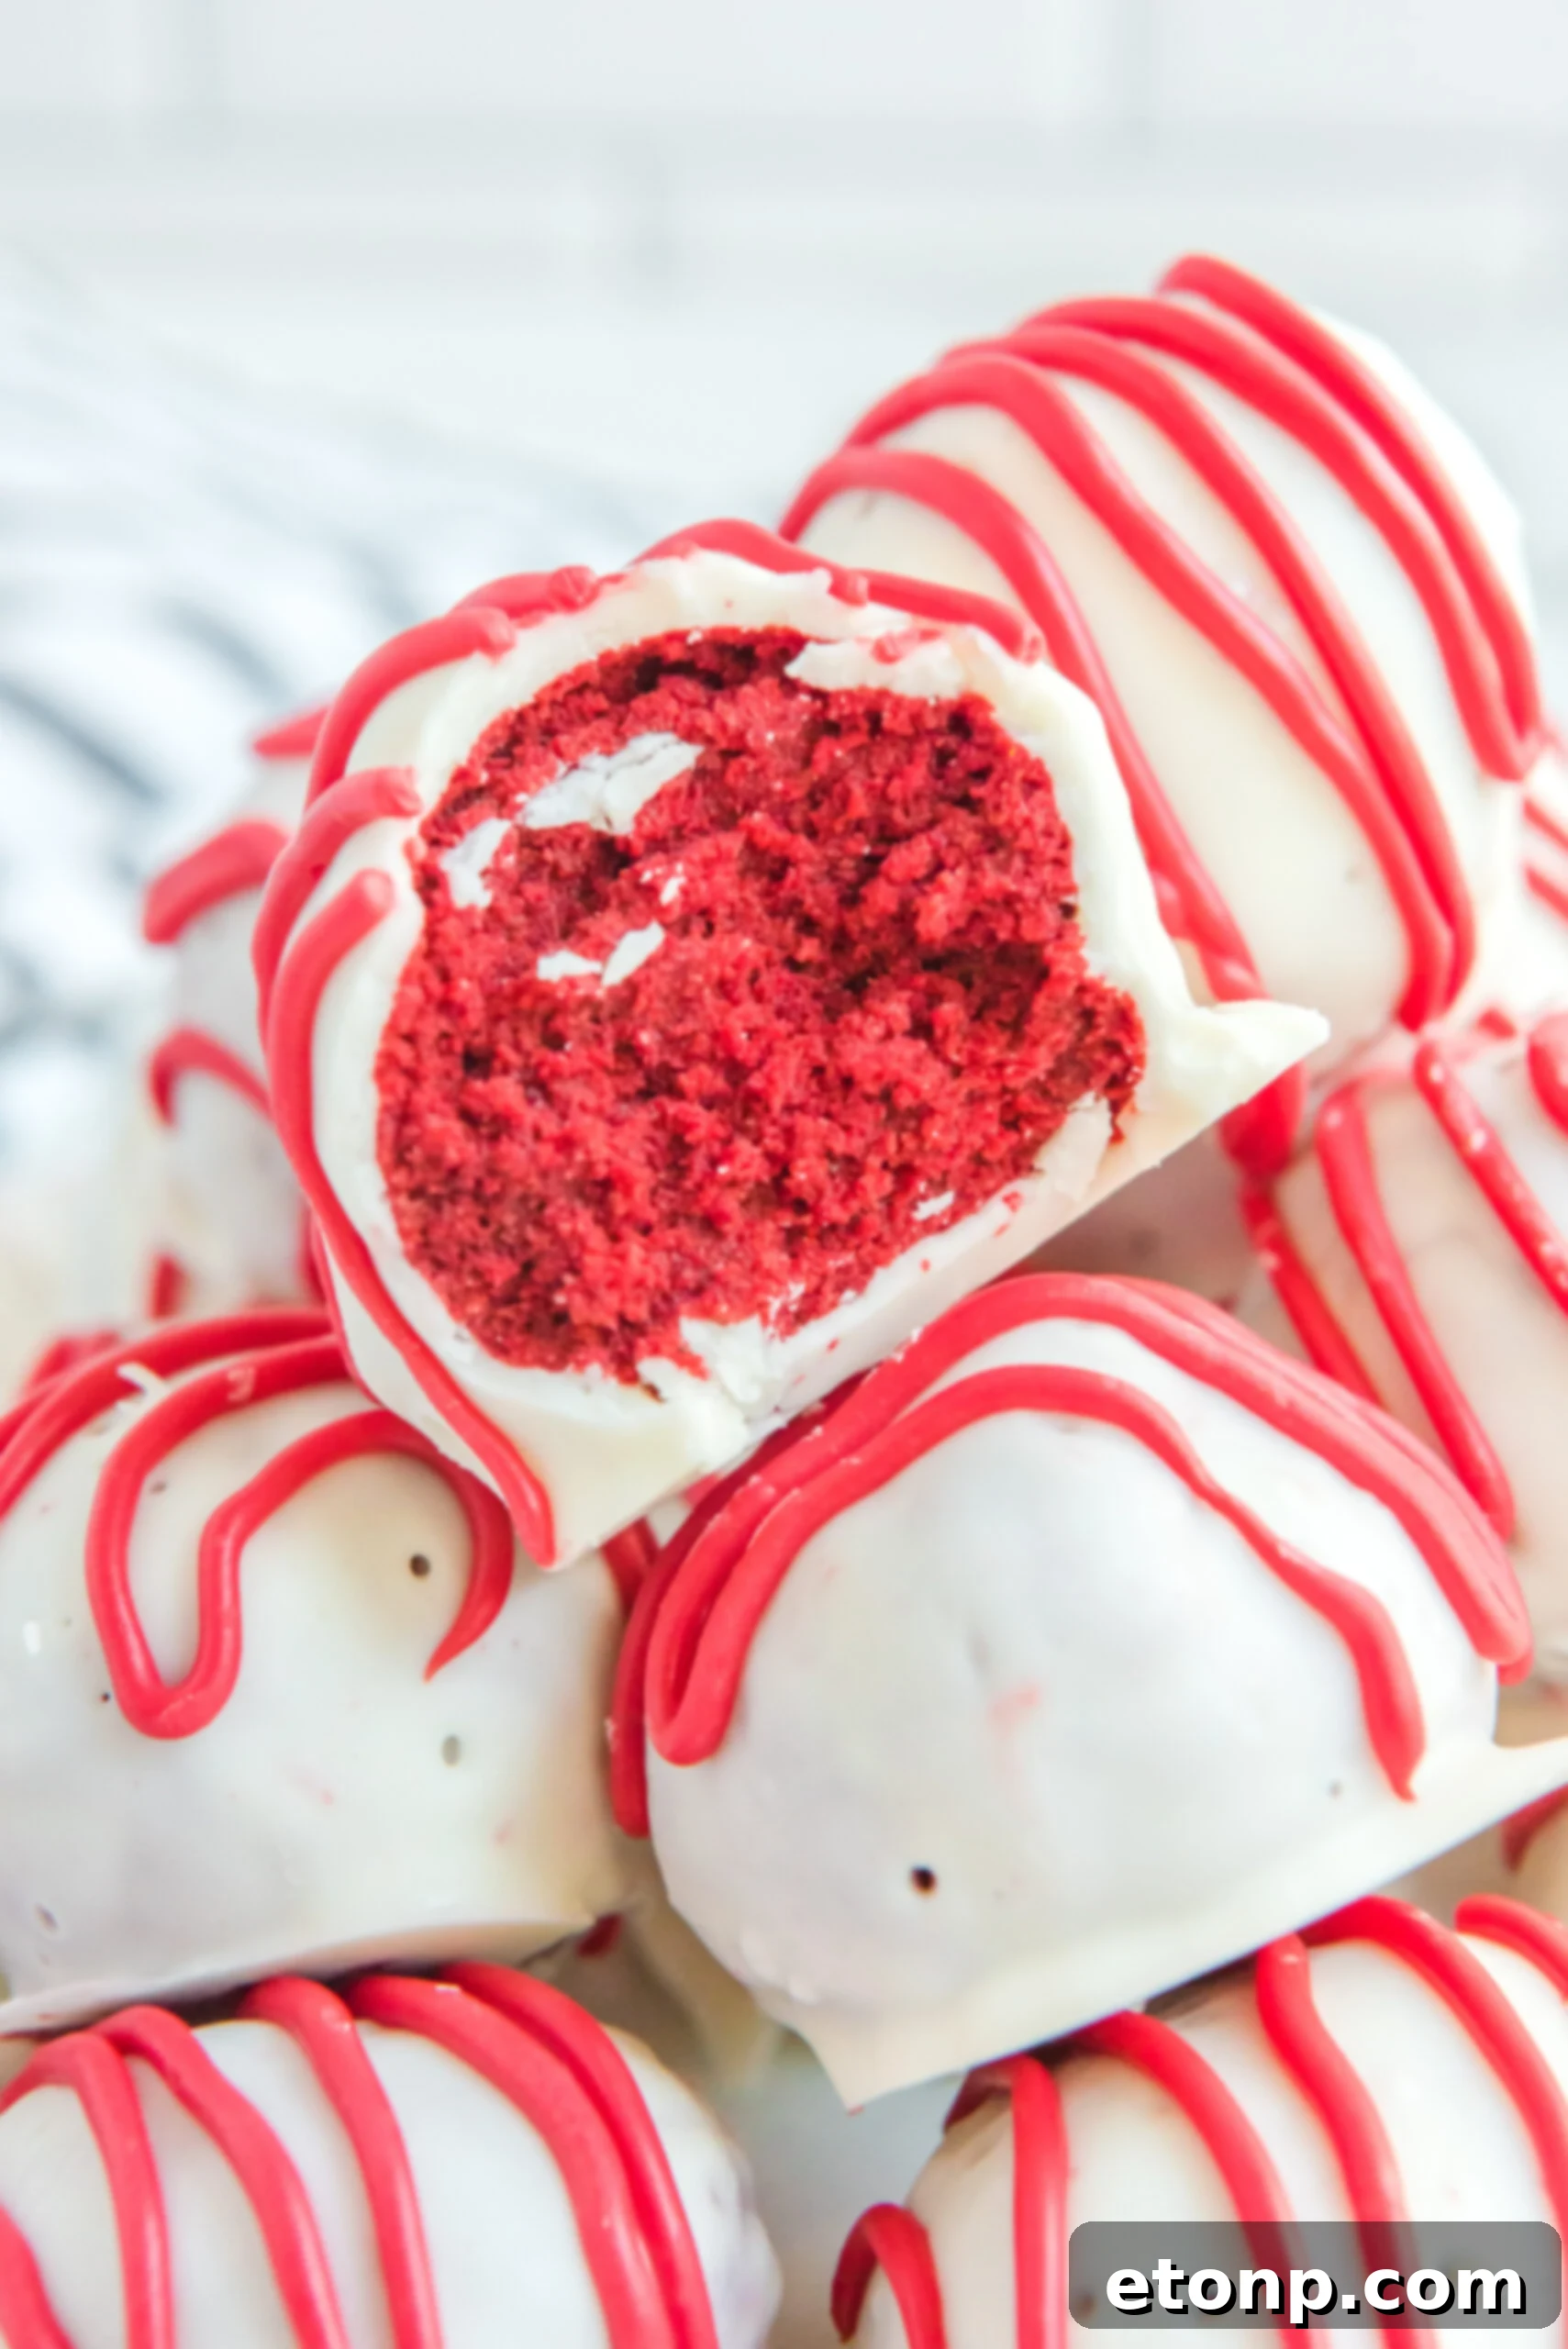
Why You’ll Adore These Red Velvet Cake Balls
These Red Velvet Cake Balls aren’t just a dessert; they’re an experience. Here’s why they’ll become your new go-to treat:
- Irresistibly Delicious: The classic red velvet flavor, with its hint of cocoa and vibrant color, is enhanced by the creamy tang of cream cheese, all encased in a snappy chocolate shell.
- No-Bake Simplicity: Forget about heating up your oven! This recipe is incredibly easy and perfect for bakers of all skill levels, allowing you to whip up gourmet treats with minimal fuss.
- Perfect for Any Occasion: From elegant holiday parties to casual movie nights, these bite-sized wonders are always a crowd-pleaser. Their festive appearance makes them ideal for Valentine’s Day, Christmas, or any celebration.
- Make-Ahead Friendly: They store beautifully in the refrigerator or freezer, making them ideal for preparing in advance and reducing stress on event days.
- Customizable Fun: With endless possibilities for decoration, you can tailor them to match any theme or personal preference, adding sprinkles, nuts, or unique drizzles.
- Portion Control: Each cake ball is a perfect single serving, making them easy to enjoy without overindulging.
Pro Tips for Perfect Red Velvet Cake Balls
Achieving bakery-quality cake balls at home is simpler than you think with these expert tips:
- Chill Thoroughly: Don’t rush the chilling process! Well-chilled cake balls are much easier to handle, roll, and dip. This prevents them from crumbling or losing their shape in the warm chocolate.
- Consistent Sizing: Use a small cookie scoop or a tablespoon measure to ensure all your cake balls are roughly the same size. This not only makes them look uniform and professional but also helps them set evenly.
- Maintain Chocolate Temperature: When dipping, keep your melted chocolate or candy melts warm over a double boiler. If it cools too much, it will become thick and difficult to work with, resulting in a clumpy coating. A consistent temperature ensures a smooth, even finish.
- Tap Off Excess: After dipping each cake ball, gently tap the fork or dipping tool against the side of the bowl to allow any excess chocolate to drip off. This prevents puddles at the base and gives your cake balls a cleaner look.
- Work in Batches: If making a large batch, dip a few cake balls at a time and return the rest to the refrigerator to keep them firm. This helps maintain their shape and prevents them from becoming too soft.
- Immediate Decorating: If you’re adding sprinkles or other toppings, do so immediately after dipping each cake ball, while the chocolate coating is still wet. This ensures the decorations adhere properly.
More Delicious Recipes You Will Love!
Rum Balls
Sugar Cookie Truffles
White Chocolate Peanut Butter Snowballs
Red Velvet Cake Balls
Summary: Take your dessert game to the next level with these easy-to-make, no-bake Red Velvet Cake Balls. The simple preparation and superior flavor combination make them a must-try for any occasion.
Course: Dessert
Prep Time: 25 mins
Servings: 20 Servings
Ingredients
- 1 box red velvet cake mix (heat treated – see notes below)
- 8 oz block of cream cheese (softened at room temperature)
- 2 cups white chocolate melting wafers
- ¾ cup red candy melting wafers
- 2 tablespoons of Crisco shortening (divided)
Instructions
- Prepare a large cookie sheet by lining it with parchment paper and set aside.
- In a small mixing bowl, combine the heat-treated cake mix and softened cream cheese. Mix until the mixture is completely smooth and well-combined.
- Using a 1-inch cookie scoop, portion out the mixture. Roll each portion into smooth 1 to 1½-inch balls using the palms of your hands. Continue until all the mixture is used.
- Place each rolled cake ball onto the prepared parchment paper-lined cookie sheet. Transfer the sheet to the refrigerator and chill for at least 1 hour to allow the balls to firm up.
- Approximately 5-10 minutes before the chilling time is complete, begin preparing your white chocolate coating. Add the white melting wafers to a large heatproof bowl.
- Create a double boiler by placing the bowl of white wafers over a stovetop pot containing about 3-4 inches of simmering water (ensure the bowl does not touch the water). Bring the water to a gentle boil.
- Stir the wafers frequently with a rubber spatula as the chocolate melts. Once melting, add 1 to 1½ tablespoons of Crisco shortening and continue stirring until the chocolate is completely smooth, silky, and free of lumps. Carefully remove the bowl from the heat.
- Using two forks or specialized dipping tools, gently dip each chilled cake ball into the melted white chocolate, ensuring it is fully coated. Roll the ball within the chocolate to achieve an even layer.
- Carefully place each coated cake ball back onto the parchment paper-lined sheet. Repeat this dipping process for all the cake balls.
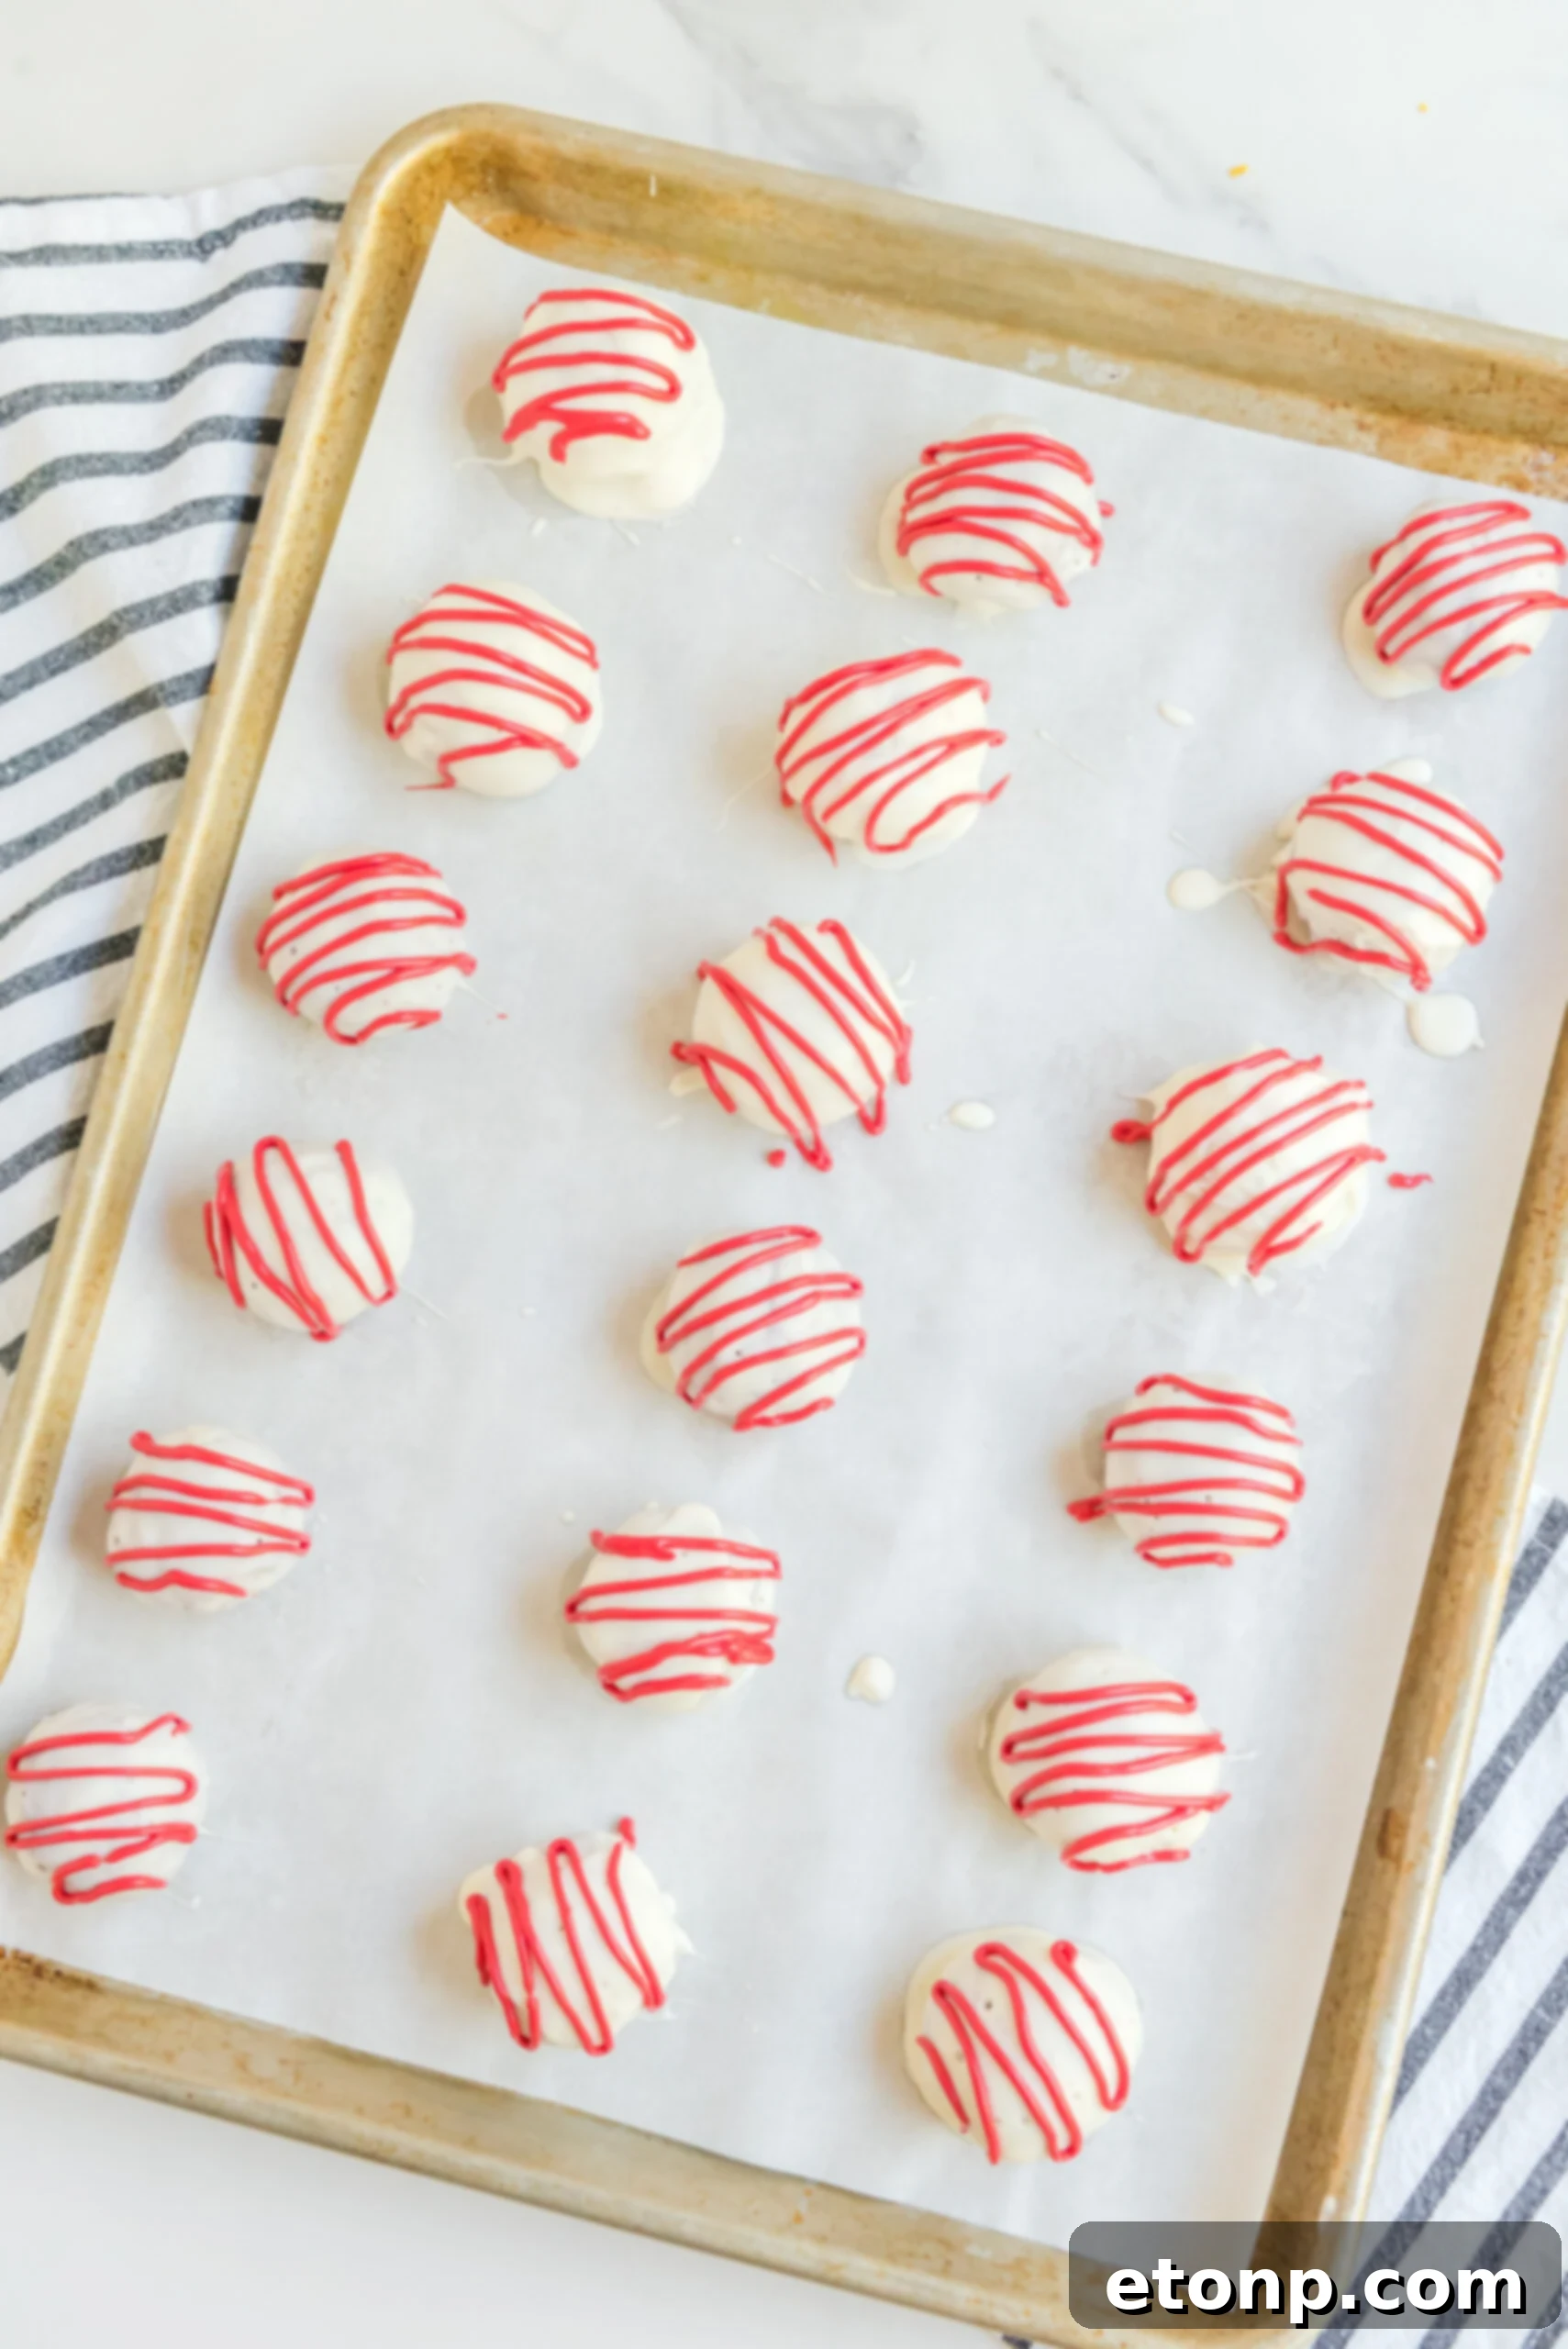
- Return the cookie sheet with the dipped cake balls to the refrigerator and allow them to chill for an additional 20 minutes to set the white chocolate coating.
- While the white chocolate is chilling, repeat the double boiler process for the red candy melting wafers. Melt the red wafers down, adding the remaining Crisco shortening, and mix until the red chocolate is silky smooth. Remove from heat once melted.
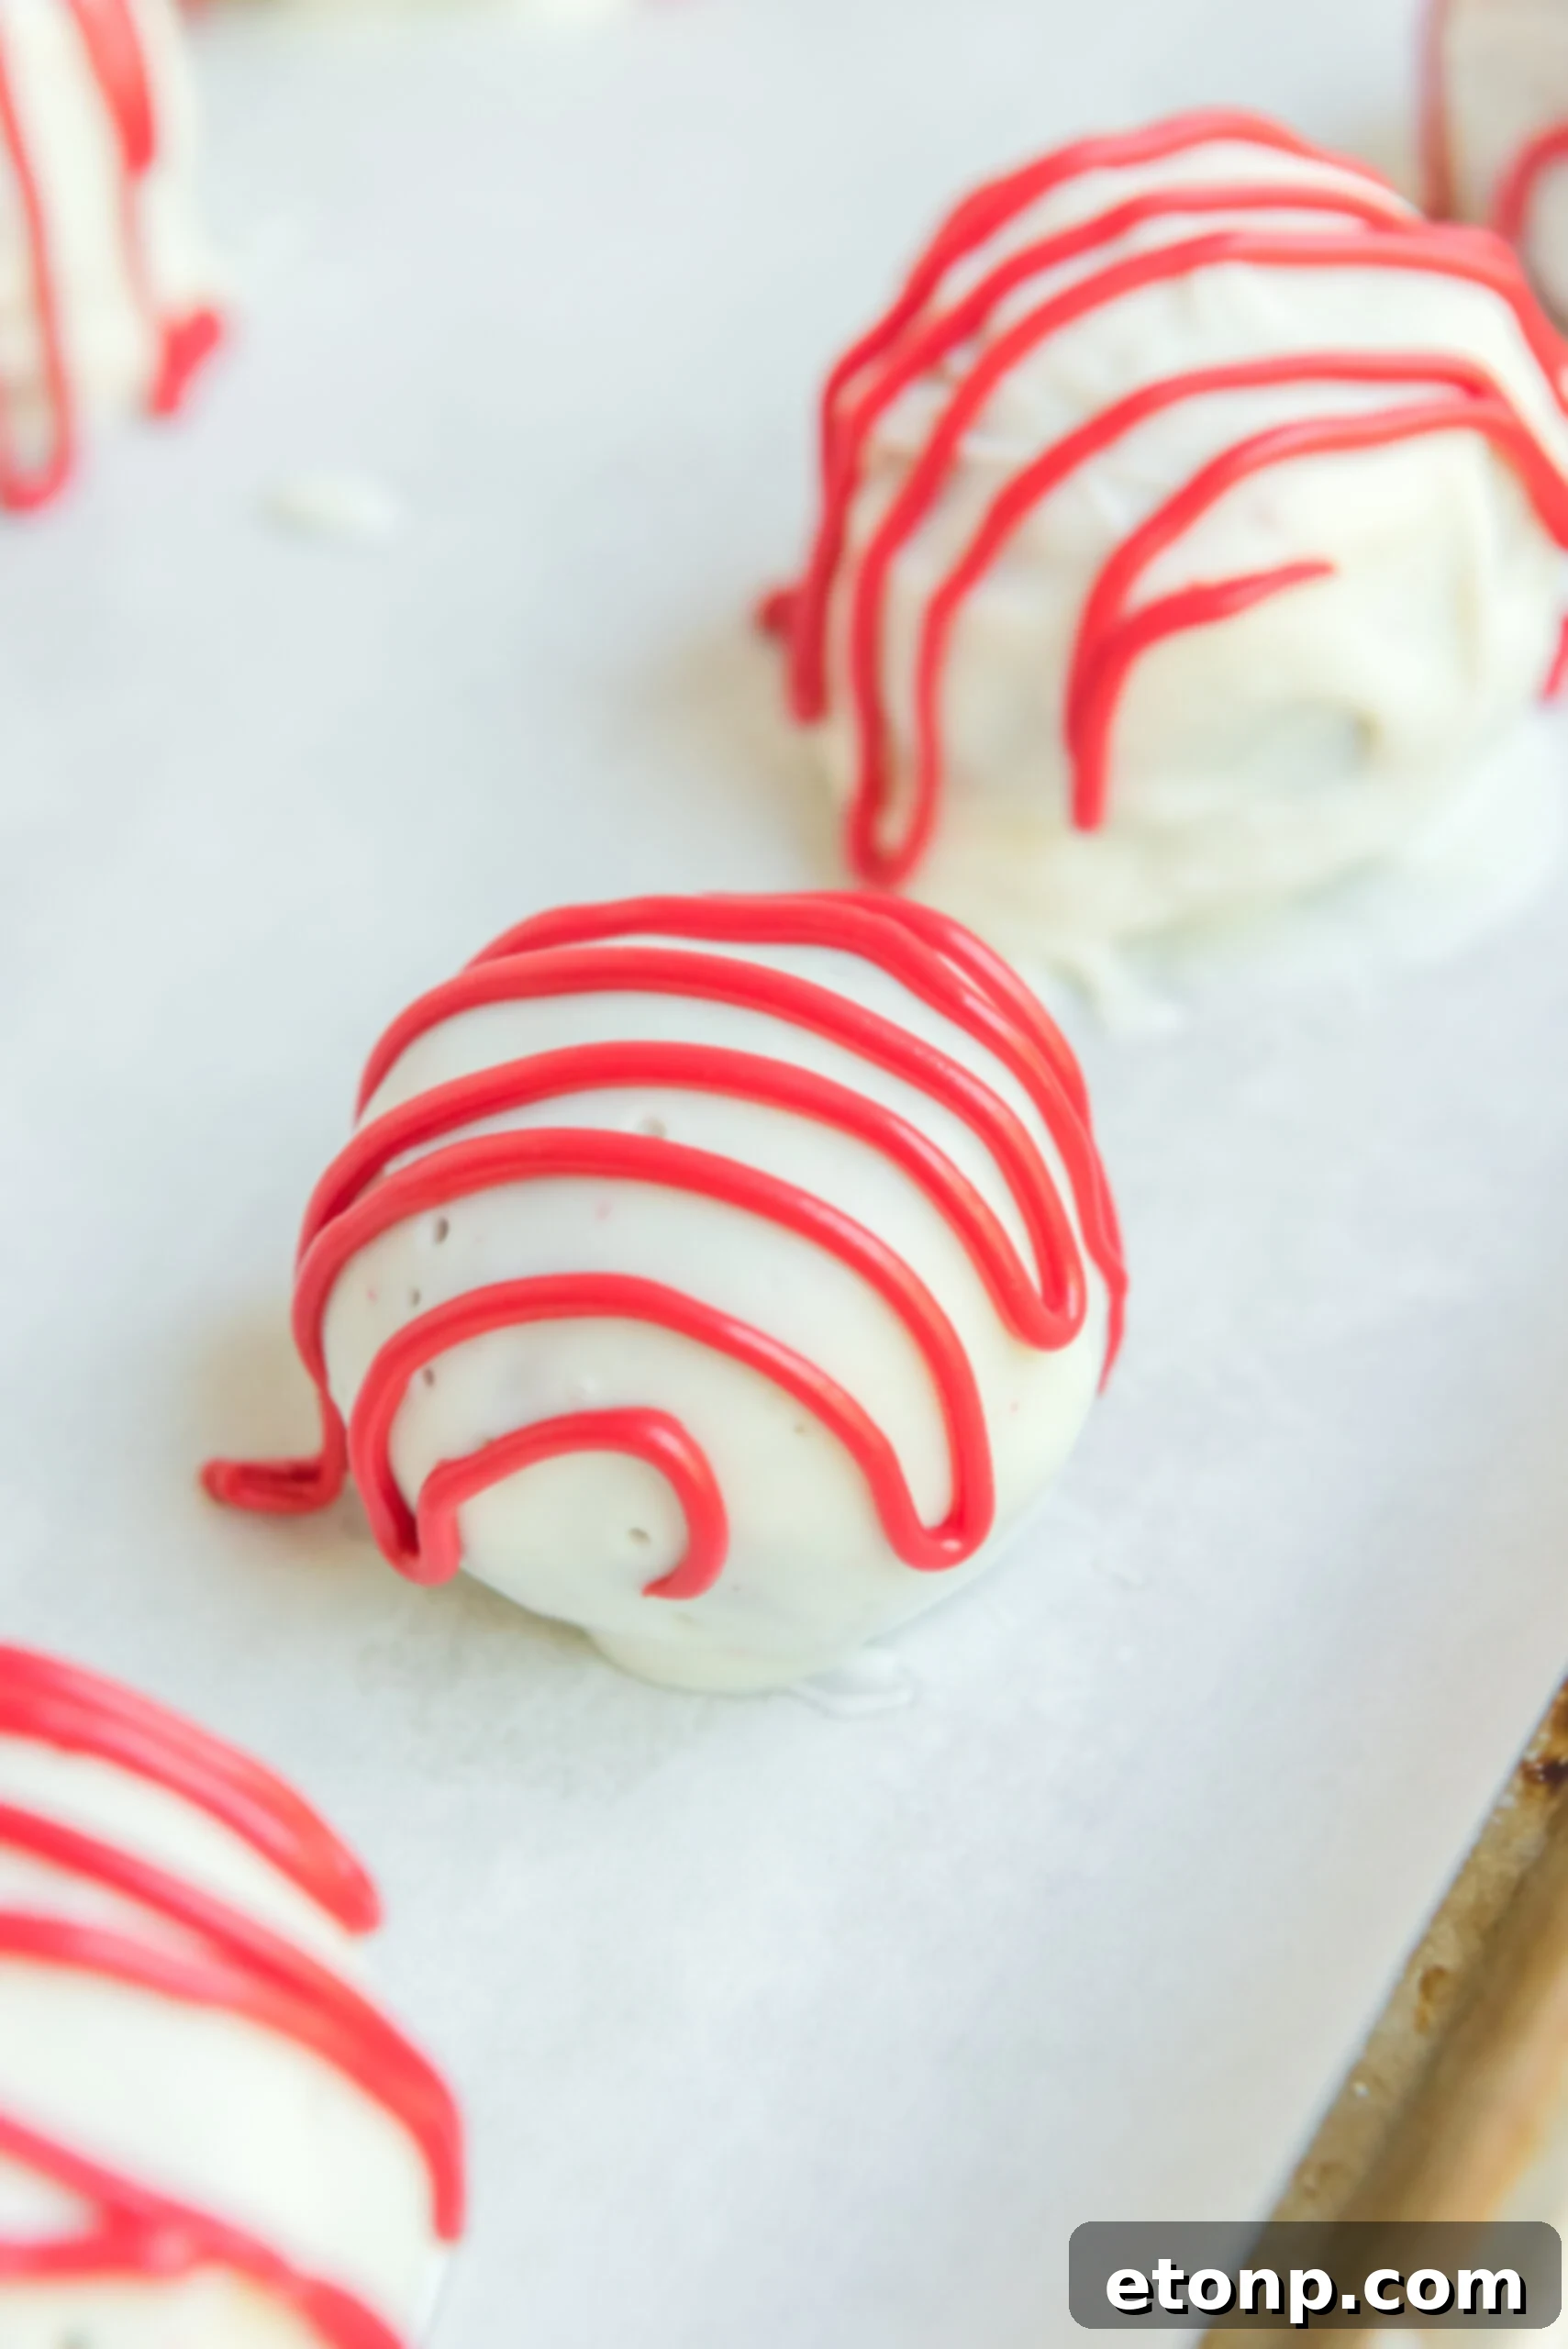
- Transfer the melted red chocolate into a piping bag or a small plastic Ziploc bag with a tiny corner snipped off. Drizzle decorative red lines over each chilled white chocolate-coated cake ball by moving the bag from side to side.
- Repeat the drizzling process for all cake balls, working one at a time. Once decorated, place the cookie sheet back into the refrigerator for a final chill of 20 minutes before serving. Enjoy your beautifully decorated Red Velvet Cake Balls!
Did you make this recipe?
Make sure to follow on Pinterest for more recipes!
Pin Recipe
Share on Facebook